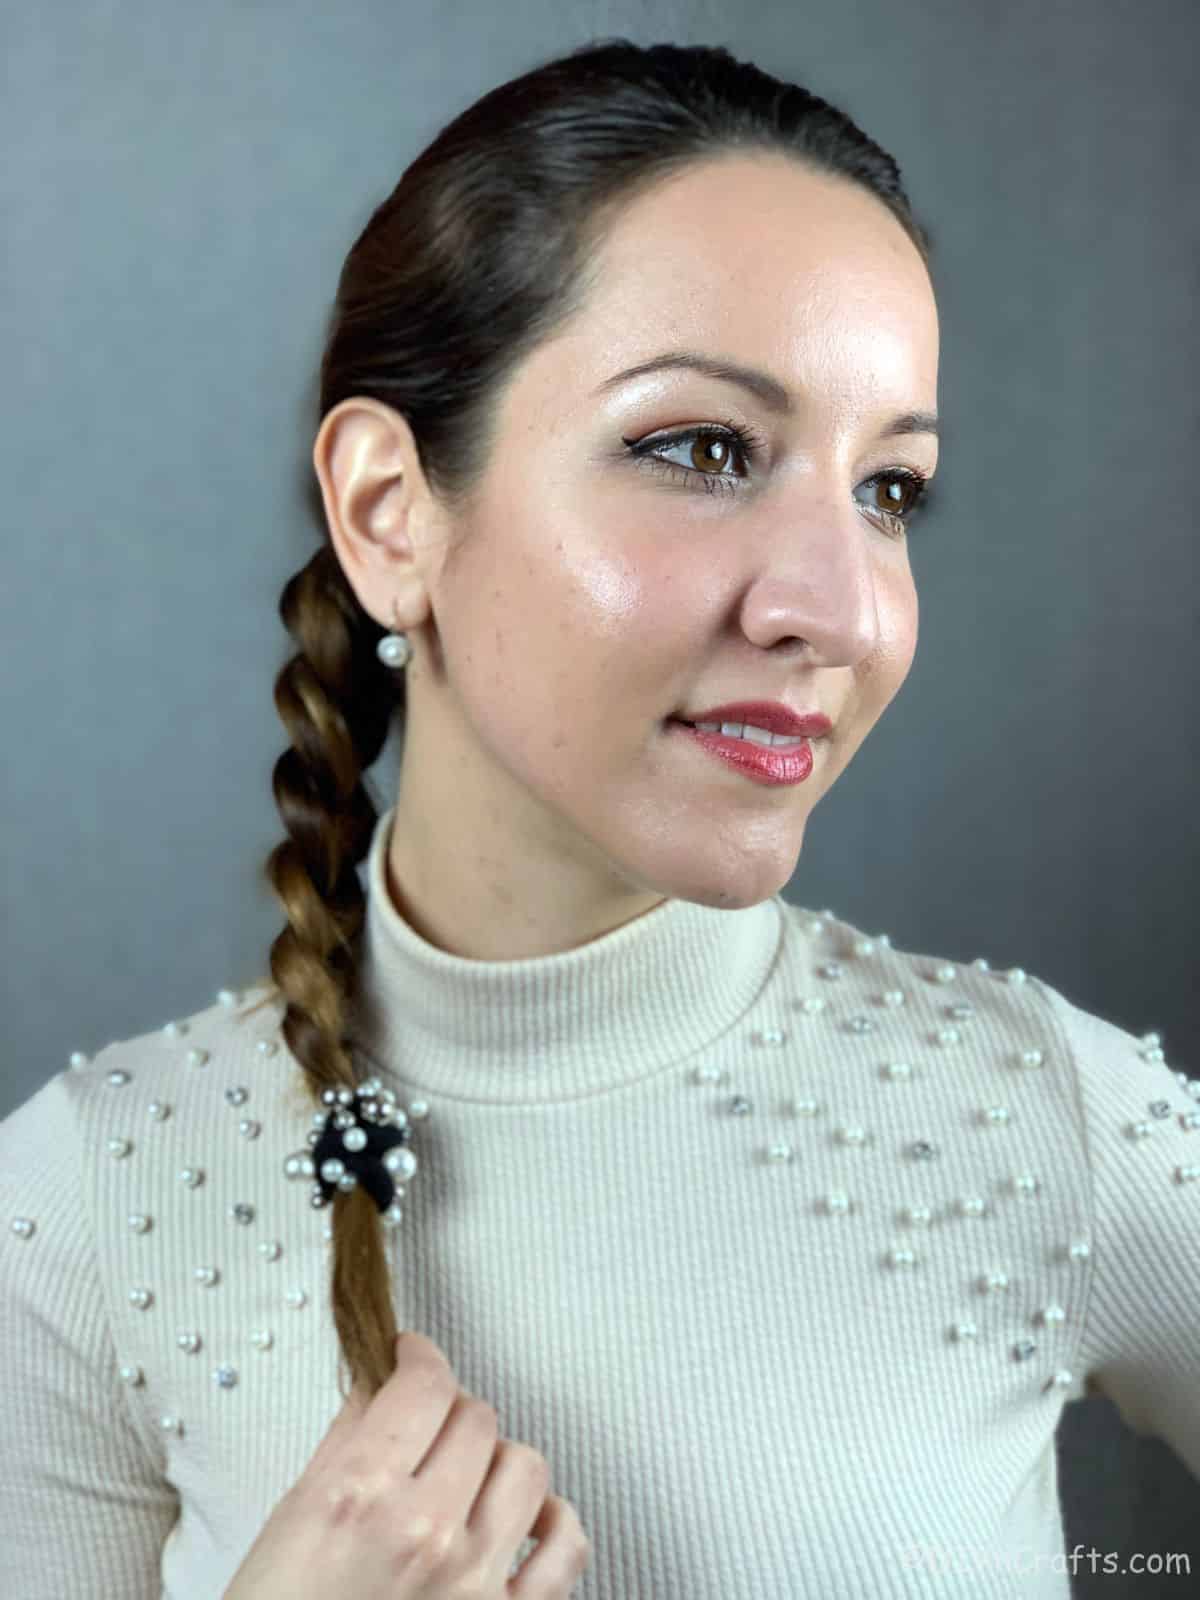
If you've ever braided your hair, then you know all about the Dutch braid hairstyle. This elegant side braid style is super easy to do, and a perfect way to add some extra style to your otherwise boring hair care routine. It's simple enough for daily wear, but beautiful enough to be a perfect style for anything from a cocktail party all the way to a wedding.
Side Dutch Braid
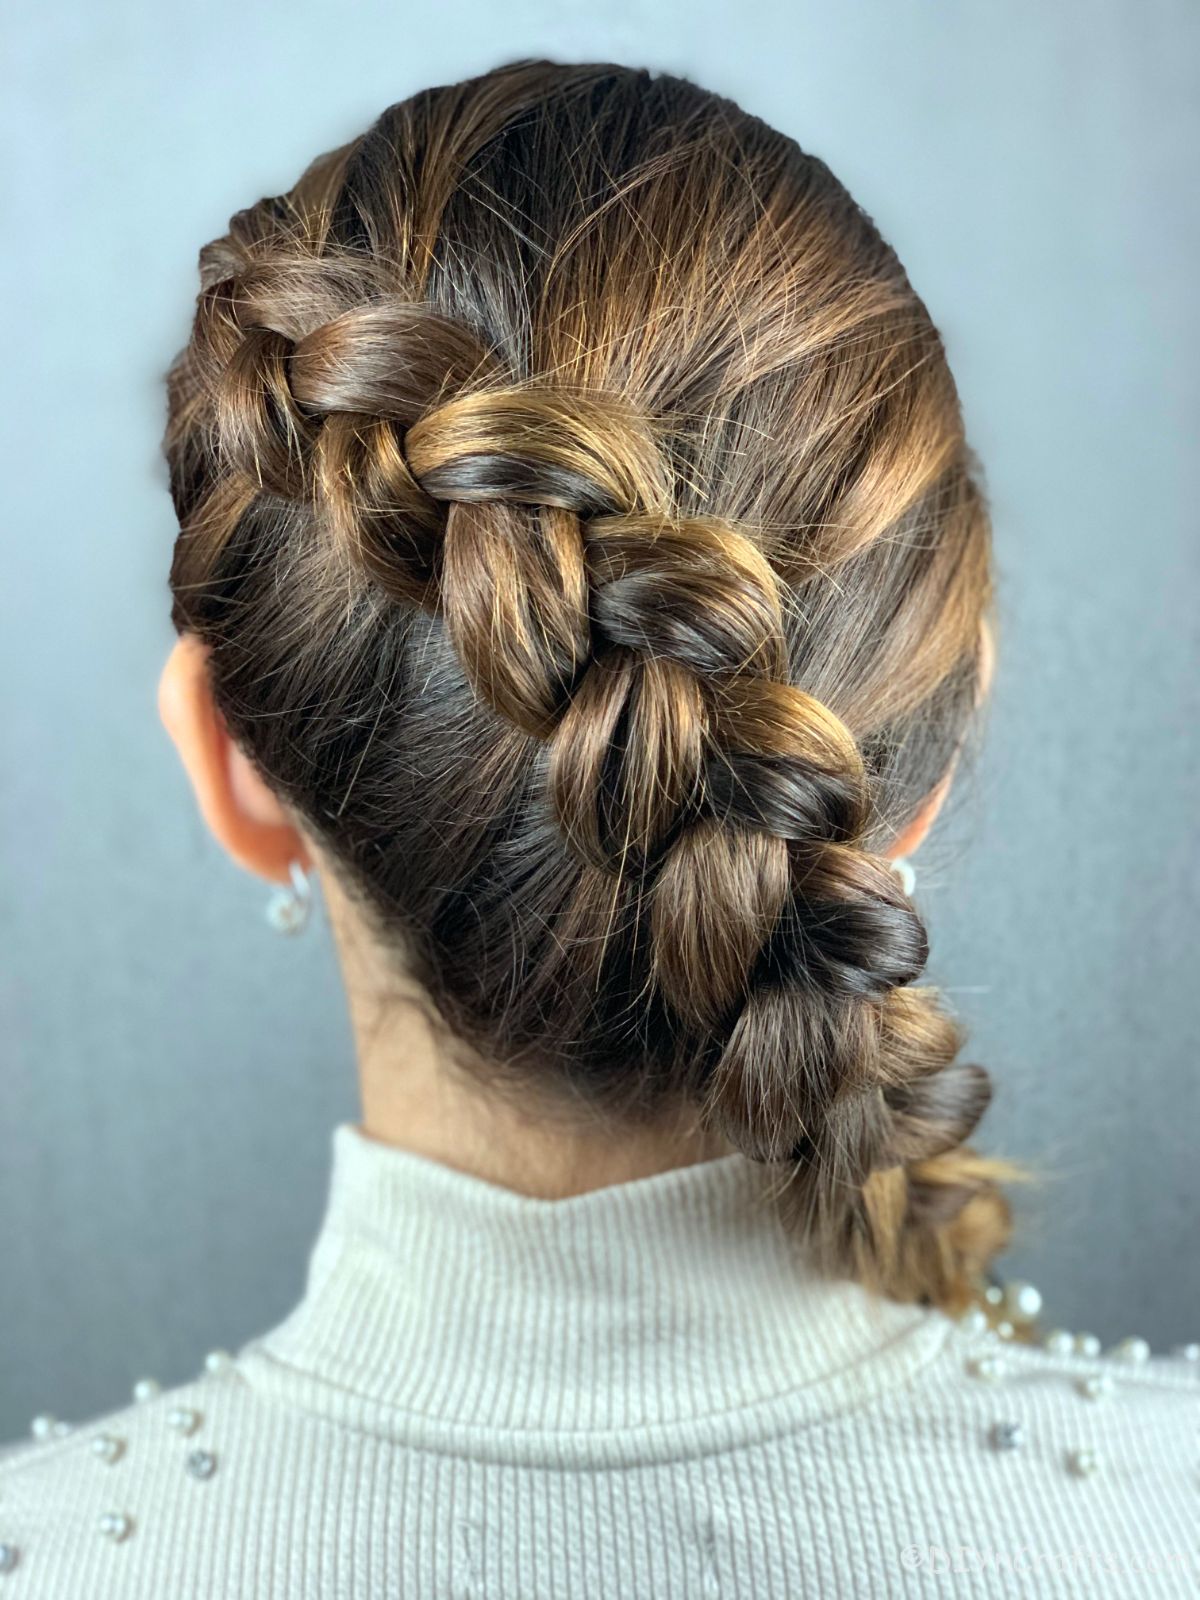
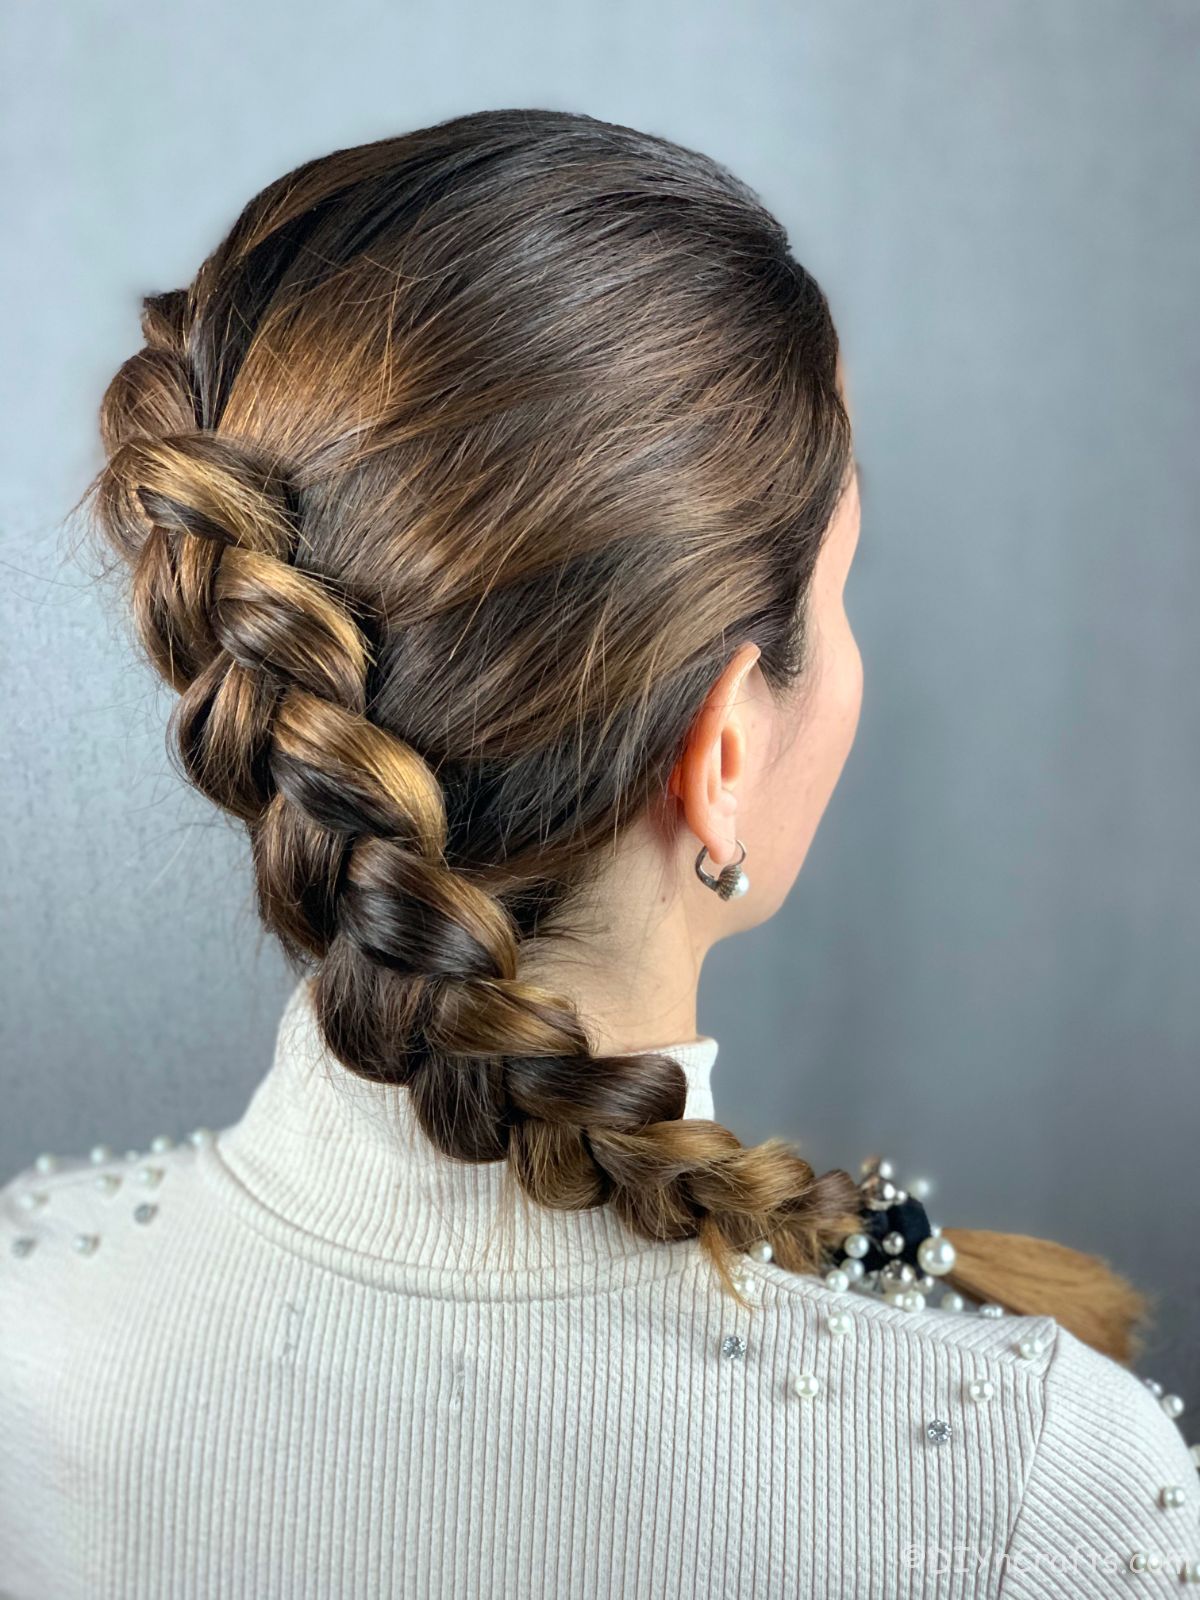
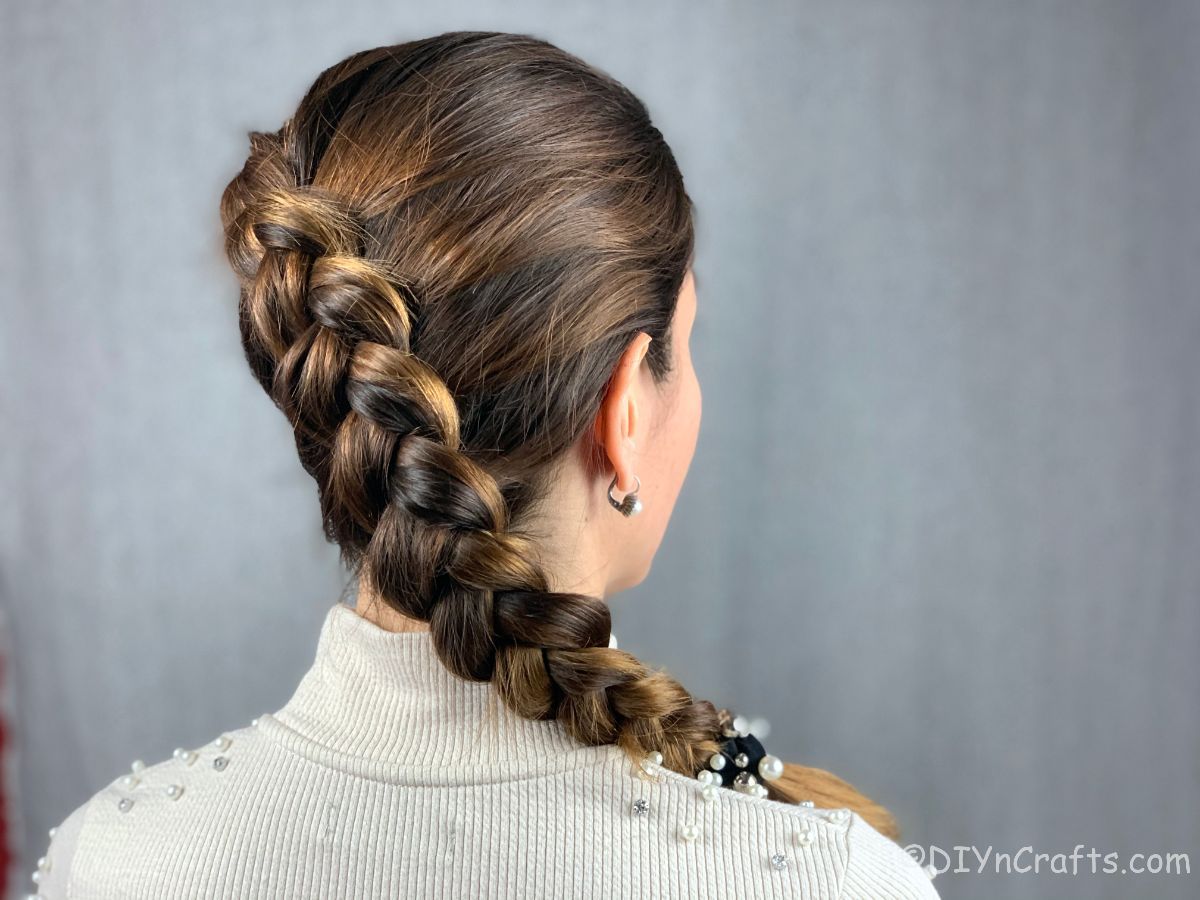
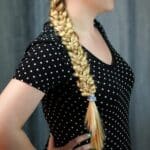
If you grew up in the 1980s or 1990s then you know all about the side ponytail, but a side braid? That's a whole other thing that is a timeless classic style. The Dutch braid brings an added element to the look with its unique braid that puffs up rather than lays flat. If you want to add a braid but still look classy, this is the style to use.
And if this is a bit more than you want to commit to doing, then check out our list of effortless hairstyles that take pretty much no time to create. You'll be showing the beauty of your hair all while not taking precious time away from your routine.
Is Dutch and French Braid the Same Thing?
While they are essentially the same process, one goes under and one goes over. When French braiding hair, the sections cross over each other which results in a flatter braid that lays against the head closetly.
A Dutch braid is when each section is pulled underneath as you braid the sections and pull in extra hair. This gives an elevation to the hair and makes the braid pop up more on top of the head rather than laying flat. While they use the same basic method, the slight difference of direction changes the look completely.
What Do I Need to Create a Dutch Braid?
As with most braids, this works great with just a comb and a hair band. I like to use a simple hair band at the base, then add a decorative band or barrette over it for added style. If you want to do something extra, there are some tips below that will make the look a little more elevated.
Below are some of my favorite tools for use when doing braids in my hair. While not all of these are needed for this look, they are handy for your daily routine and other braids we love. Check them out and add them to your existing hair care products if you don't already have them on hand.
Tools I Use
- Wide-tooth comb
- Detangling brush
- Hair rubber bands
- Satin hair ribbon (optional)
- Topsy Tail braiding tool (optional)
Other Items I Love:
How to Create a Side Dutch Braid Hairstyle
While you can do this with freshly washed hair, I find that unwashed hair that is slightly dirty or a few days after washing works best. When braiding clean hair it is softer and will have a tendency to come out of the braid easier and have more flyaways. This braid works best on a day when your hair is just a bit dirty so it will hold better.
Step 1
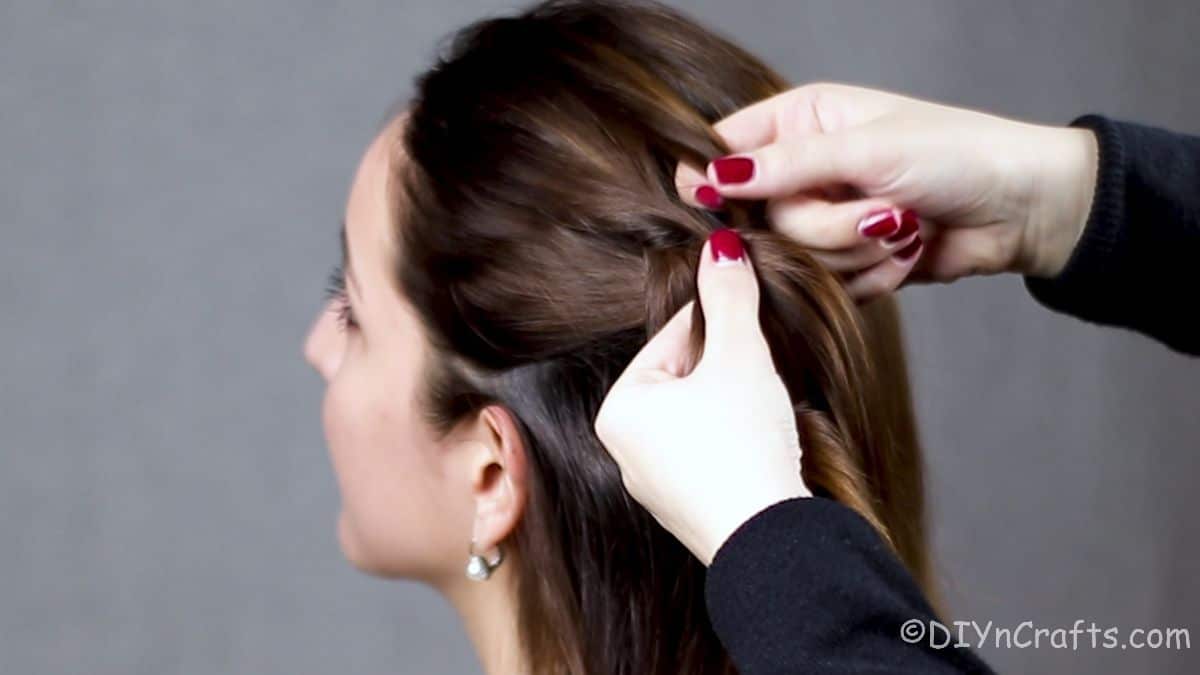
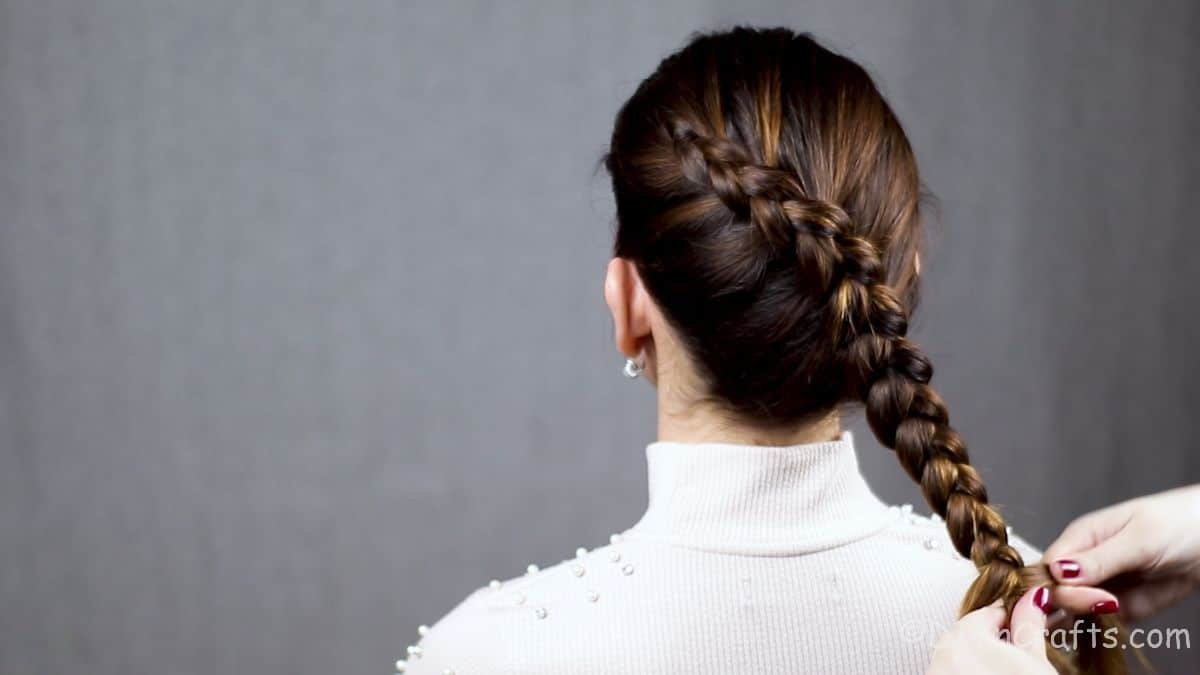
Comb through your hair, then start on one side at the temple, and begin with three strands. Cross them over each other in a traditional braid with the stands being pulled under each time. Then, on the next cross, you will pull a small section into the two outside braids from each side.
Step 2
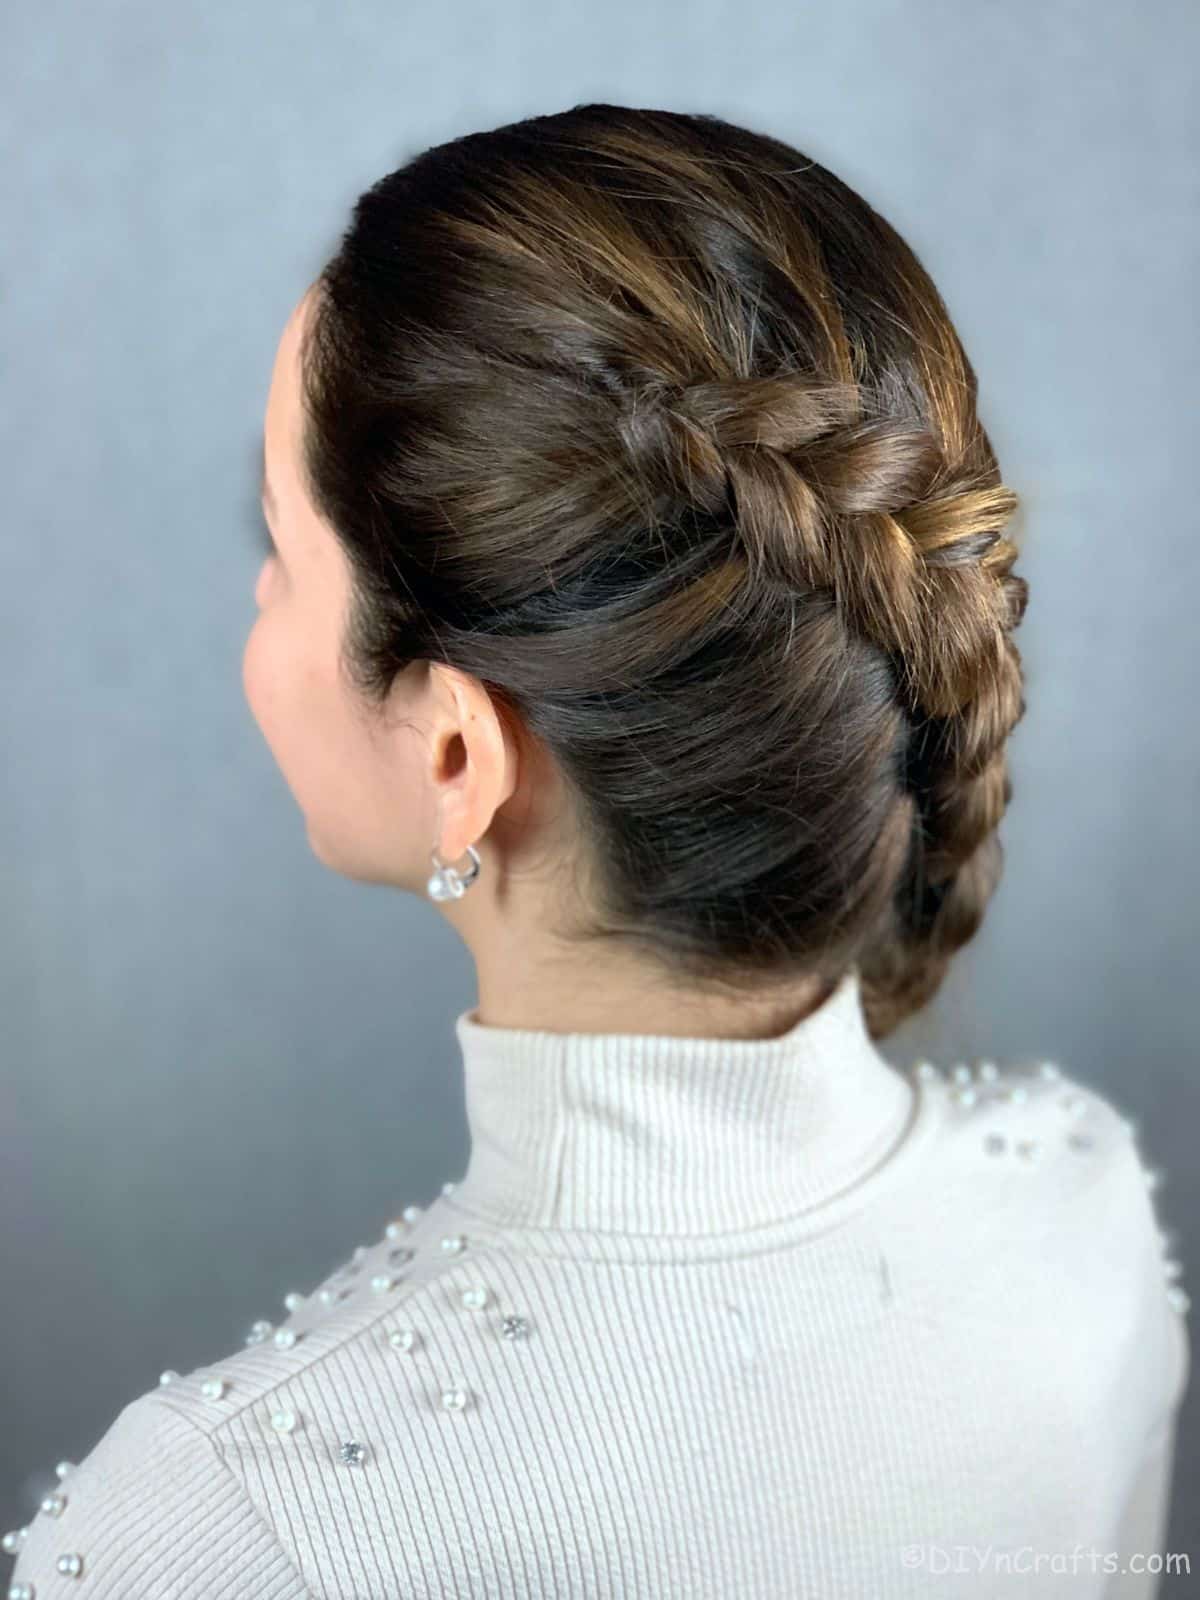
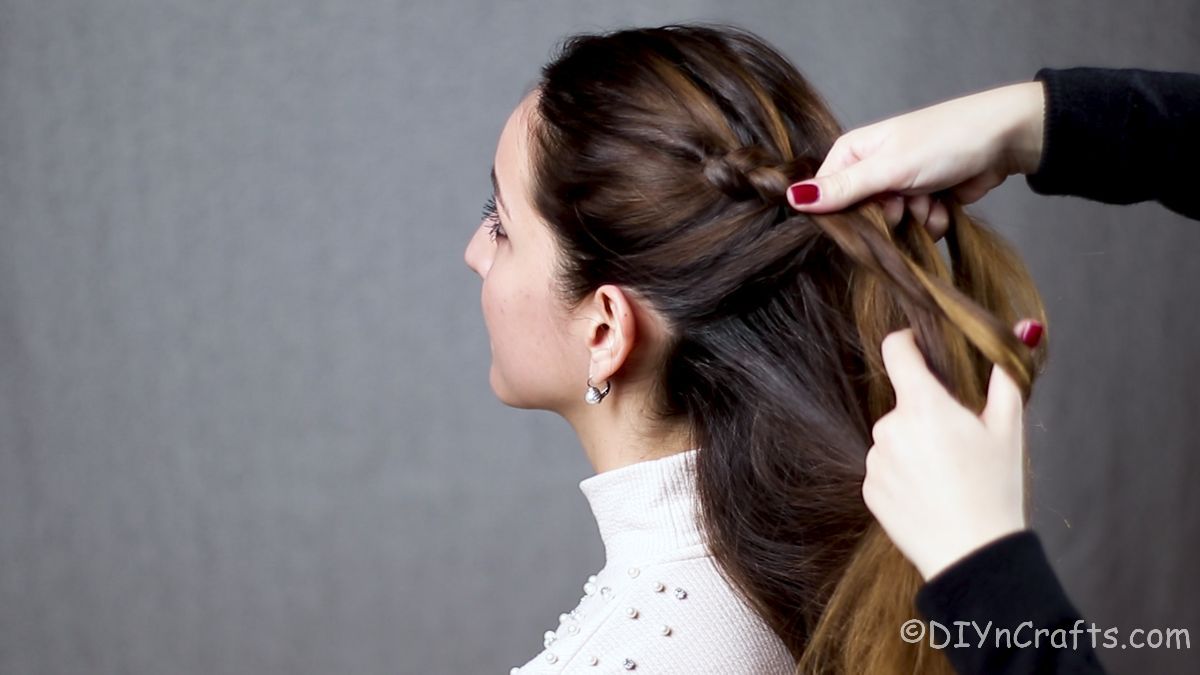
As you continue this process, bring in hair from the other side gradually, so the braid itself is against your head, but curving around the head instead of straight down.
Make sure to continue adding pieces with them going under as you braid so you keep the look clean and even all around the head.
Step 3
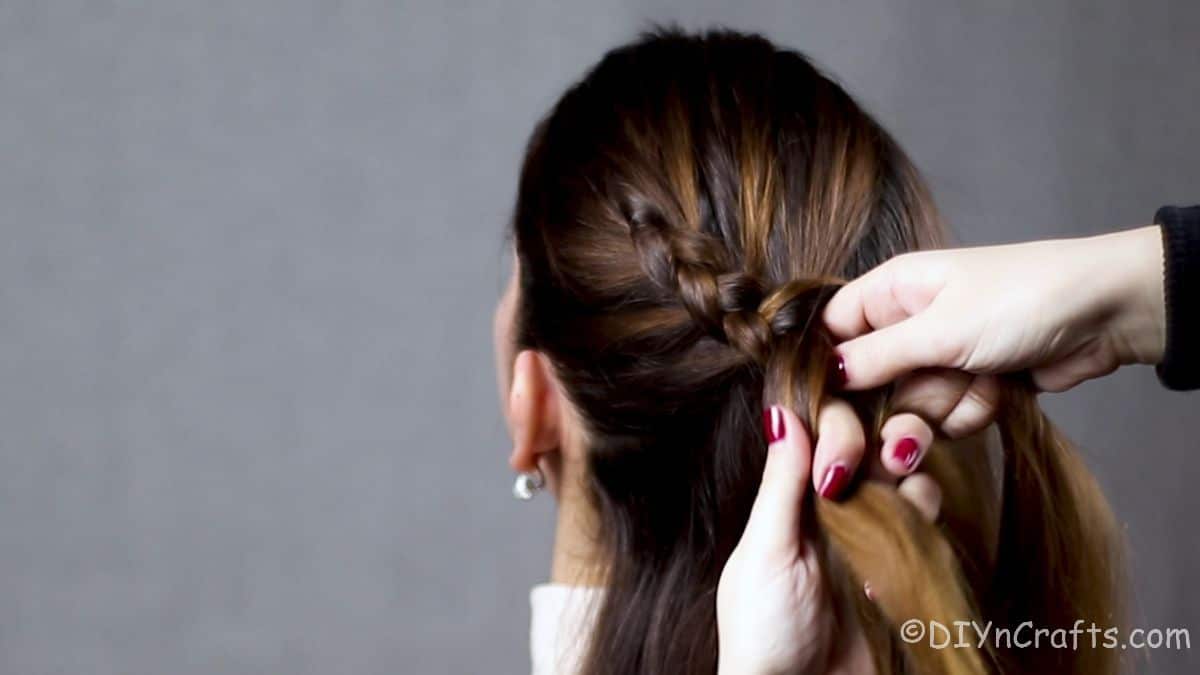
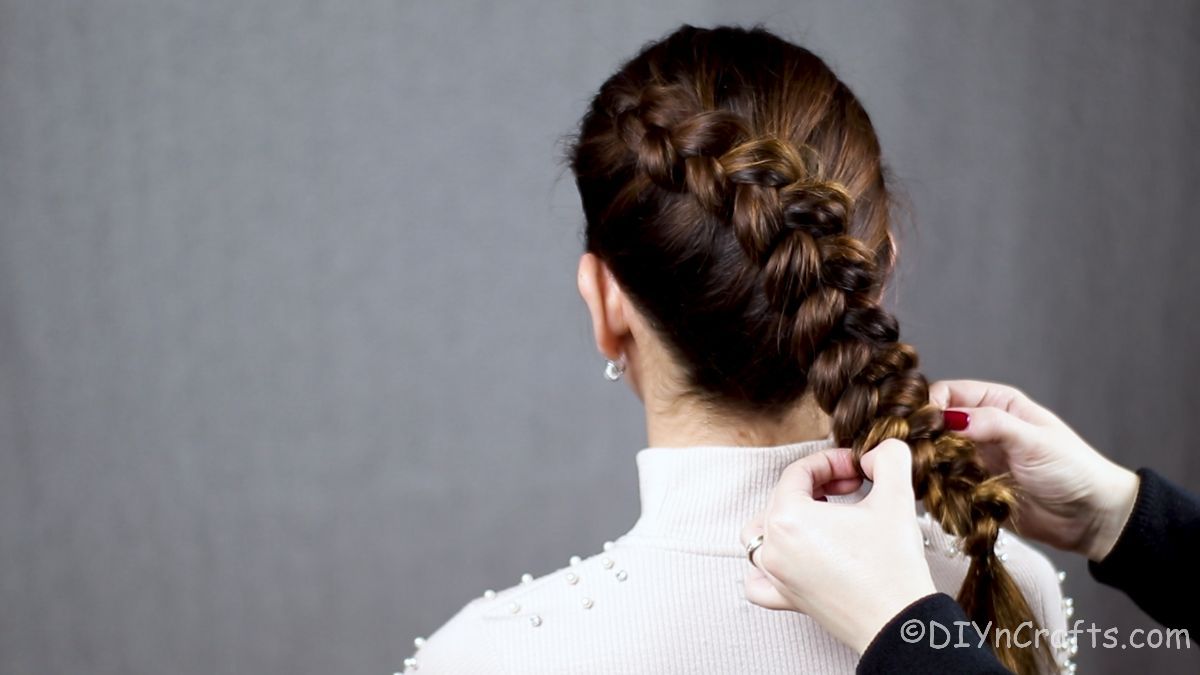
Continue braiding until all of the hair on the first side is included and you know only have the other side and a small bit at the base of your neck. At this point, you will shift slightly to make sure it is fully angled over to the opposite side shoulder.
Step 4
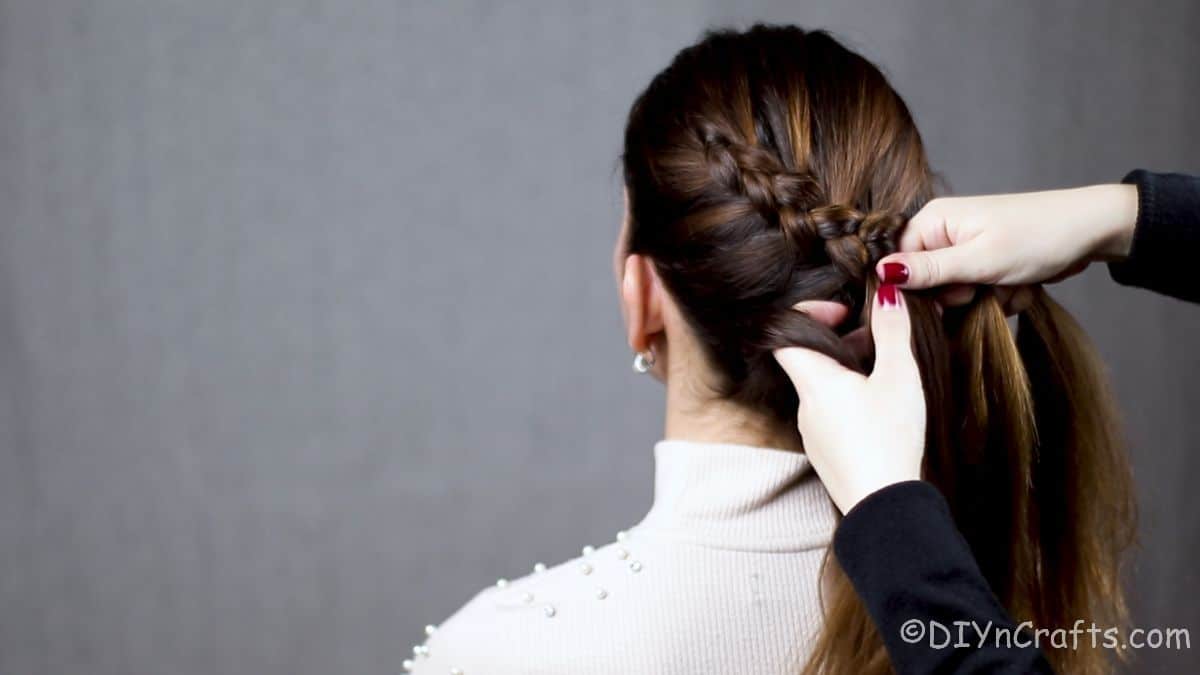
Finish the braid by pulling in the last sections on the far side and base. Then, begin a single plait braid on the end of the hair, but braid it over and around your shoulder so it lays across the shoulder. While it can hang down on your back, it looks best as it is pulled over the shoulder and hanging down the side.
Step 5
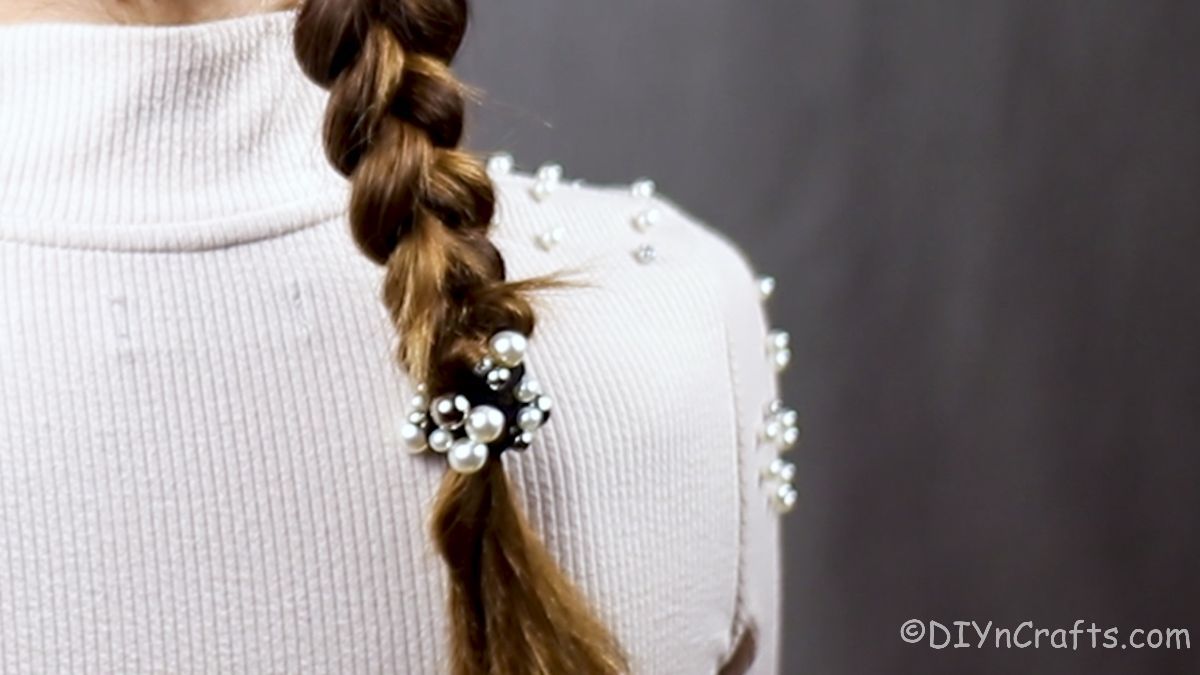
Go over the braid and pull apart the pieces slightly to make them puff out more along the outside if desired, then add a beaded hair tie or bow at the end of the braid to finish the look.
If desired, curl the end pieces of your hair. To finish, spray with a bit of hairspray or brush a bit of setting gel over any flyaways to keep them in place.
How Can I Elevate My Dutch Braids?
I love the simple beauty of this hairstyle, but if you want to go a bit extra, there are other ways to turn the braid into a stunning look. Below are a few ideas that I think pair well with Dutch braids, specifically this side-braid hairstyle.
- Rather than braiding the end of the hair and letting it hang down once you reach the base of your neck, do a simple braid and then twist it into a bun at the nape of your neck. Secure with hairpins or a decorative comb.
- Weave a satin ribbon or beaded ribbon into the braid alongside one of the main pieces to add more color or sparkle.
- Use a decorative hairband, beaded hairband, or plain lace ribbon to create a bow at the end of the braid.
- Once you reach the base of your neck, tie off and then curl the ends of the hair for a little bit of an extra special look.
More Easy Braided Hairstyles
If you want more ideas for creating beautiful braids, below are a few more of my favorites. These are all fun and easy to create and look great on most medium and long hairstyles. Make sure you bookmark the ideas you like or pin them to a haircare Pinterest board.
- Simple Braid with Ribbon Hairstyle
- Fishtail Ponytail Pigtails with Bow Accent
- Braided Crown Princess Hairstyle
- Braided Dual Top Knot Buns Half Up Hairstyle
- Easy Half Up Side Braids Hairstyle
Elegant Side Dutch Braid Hairstyle
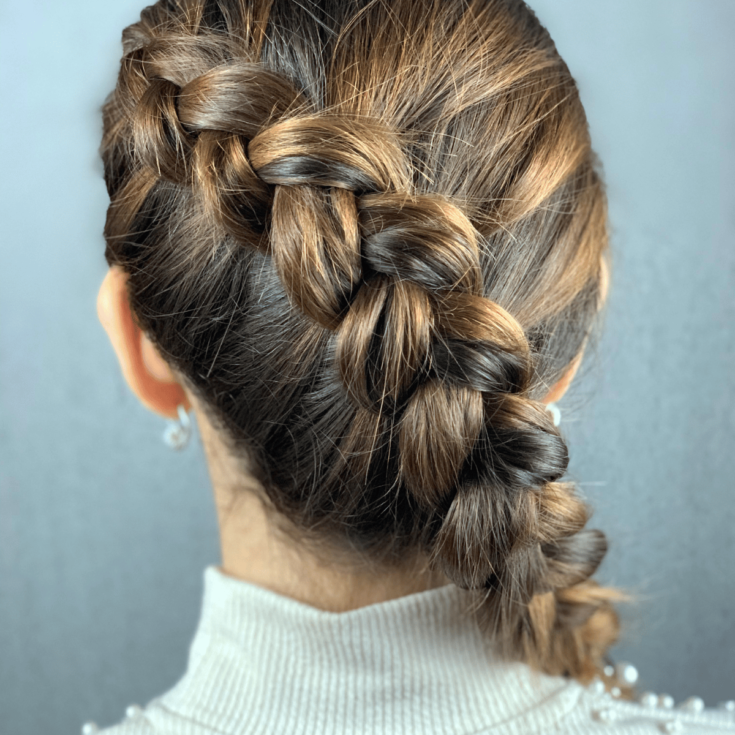
This simple Dutch braid hairstyle is super cute and elegant with a twist around the back and side of the head for a unique look.
Materials
Instructions
- Starting at one side of the temple, begin with three stands of hair. Cross them over each other in a traditional braid making sure you pull the stands under each other.
- Continue by pulling a small piece on each side, in every time you make a full cross of the braid. This will continue down the side of the head and around at an angle.
- Once you get to the base of the neck at a curve and all hair is used, then create a single braid with the strands until the end. Tie with a hair tie.
- Go back and loosen along the braid if desired for more fullness.
Notes
Best done with slightly dirty hair to stay in place for longer.
Recommended Products
As an Amazon Associate and member of other affiliate programs, I earn from qualifying purchases.
-
 Crave Naturals Glide Thru Detangling Brush for Adults & Kids Hair - Detangler Hairbrush for Natural, Curly, Straight, Wet or Dry Hair (TURQUOISE)
 -
 12pcs Topsy Tail Hair Tool, MORGLES Hair Braid Tools Hair Braid Tool Topsy Tail Maker,Hair Loop Styling Tool Topsy Twist Hair Tool Set, 6 Colors
 -
 Ribest ⅜ inch Solid Grosgrain Ribbon Set for Gift Wrapping and Bow Hair Accessories-60 Yards (2 Yards*30 Colors)
 -
 Paul Mitchell Super Clean Sculpting Gel
 -
 OGX Extra Strength Renewing + Argan Oil of Morocco Penetrating Hair Oil Treatment, Deep Moisturizing Serum for Dry, Damaged & Coarse Hair, Paraben-Free, Sulfated-Surfactants Free, 3.3 fl oz
 -
 OGX Refresh Revitalize Extra Strength Dry Shampoo, Argan Oil of Morocco, 5 Ounce





Leave a Reply