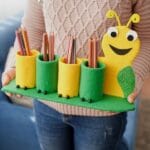
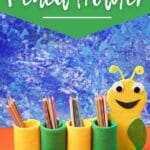
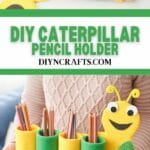
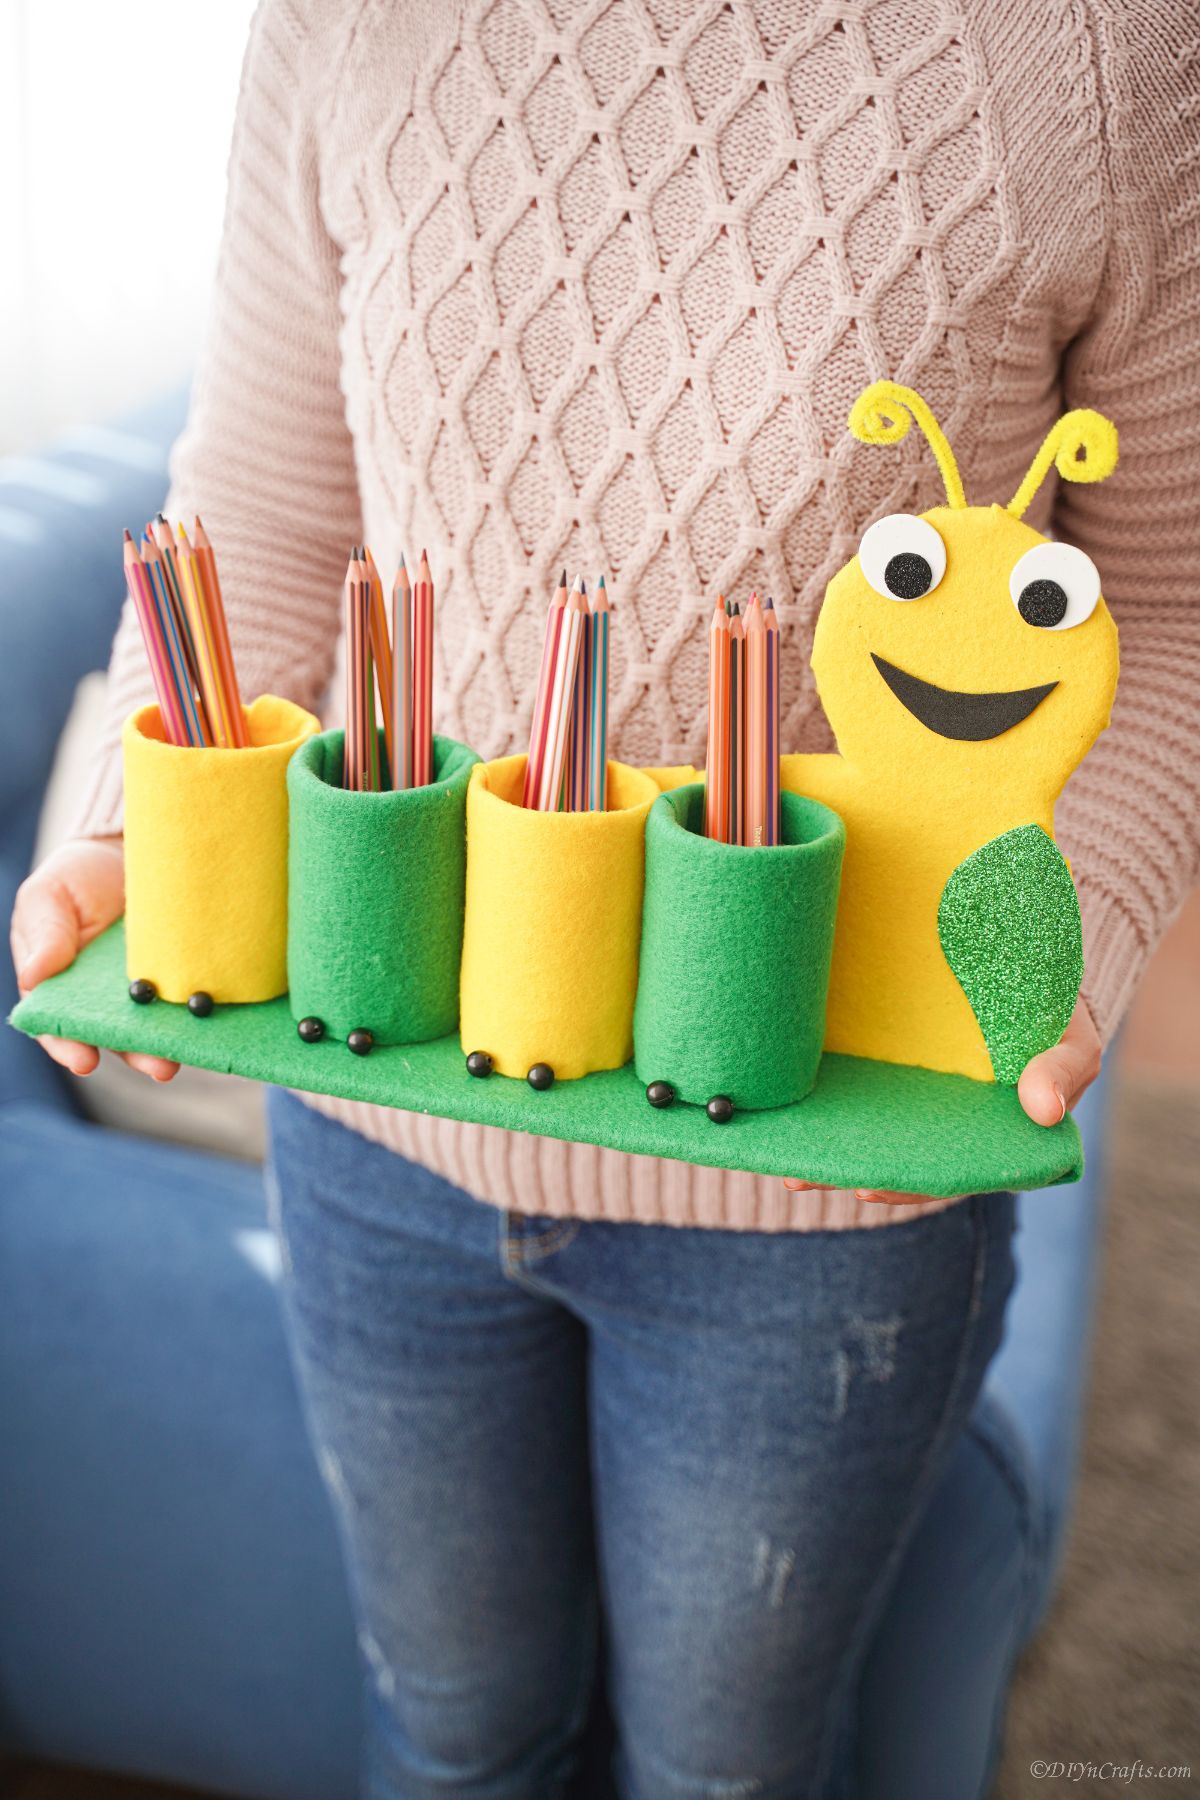
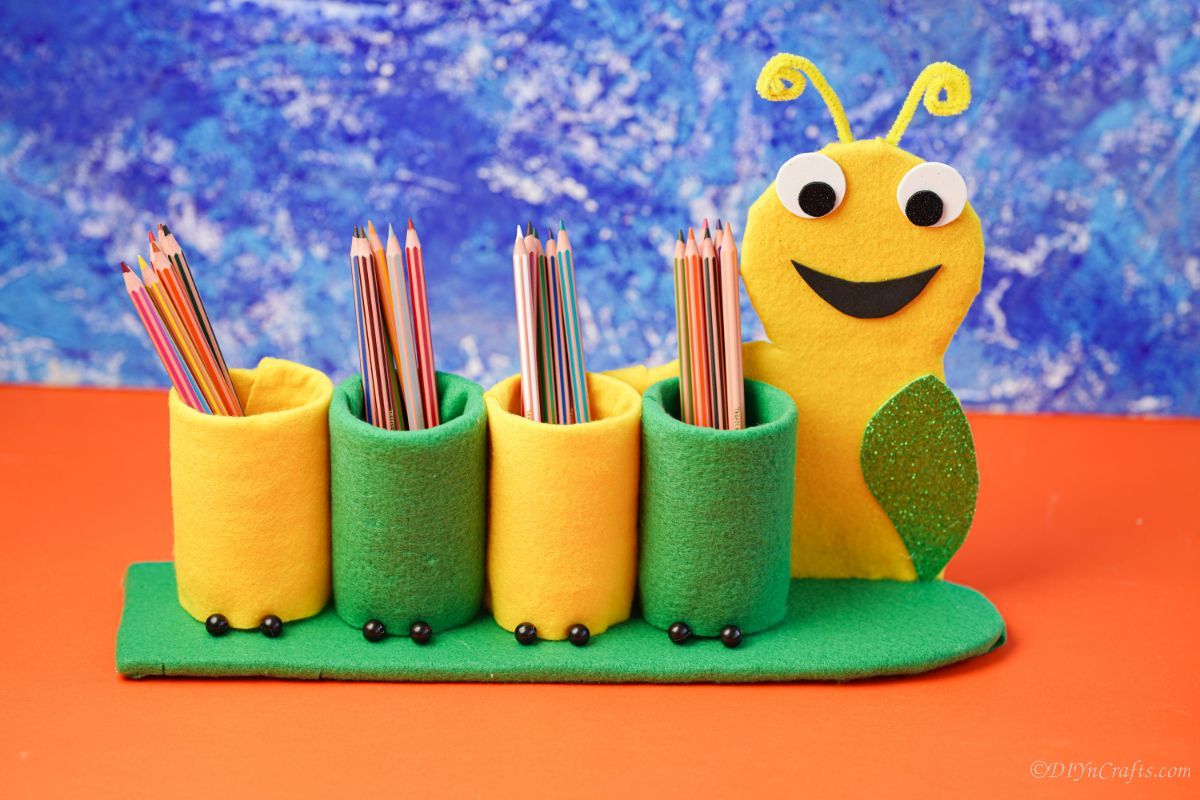
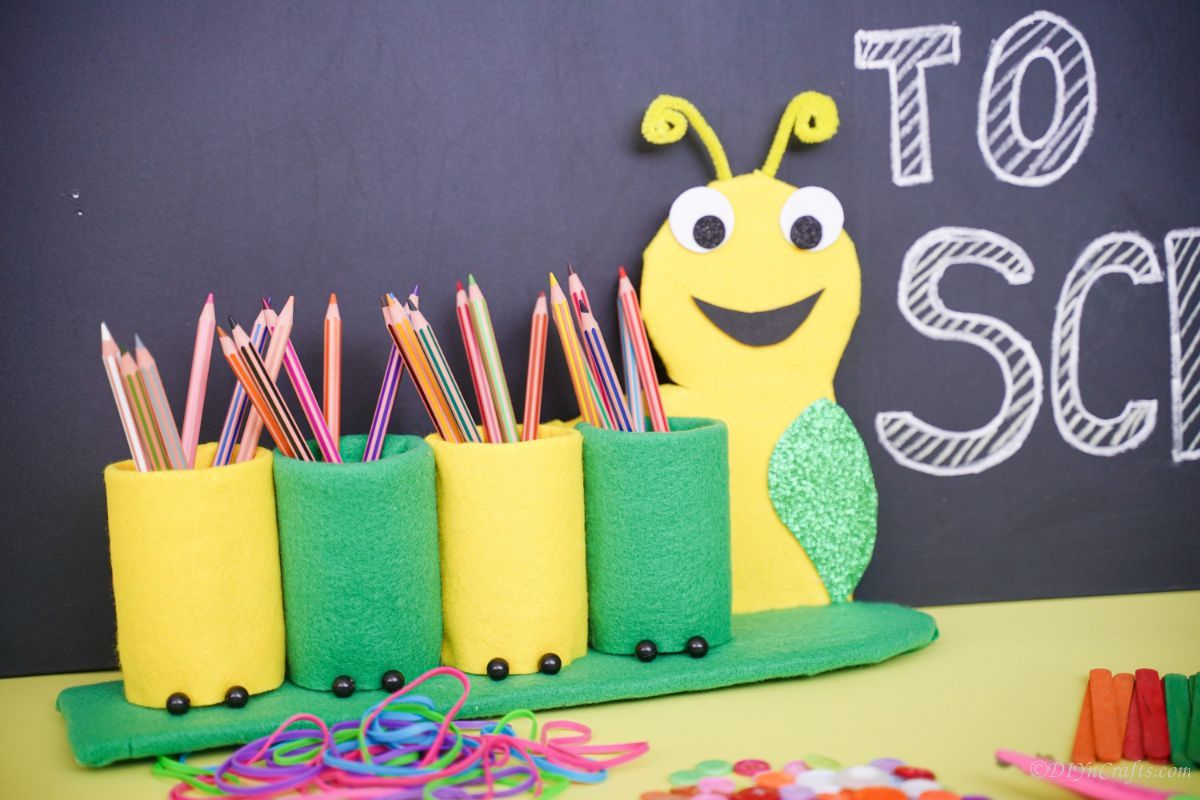
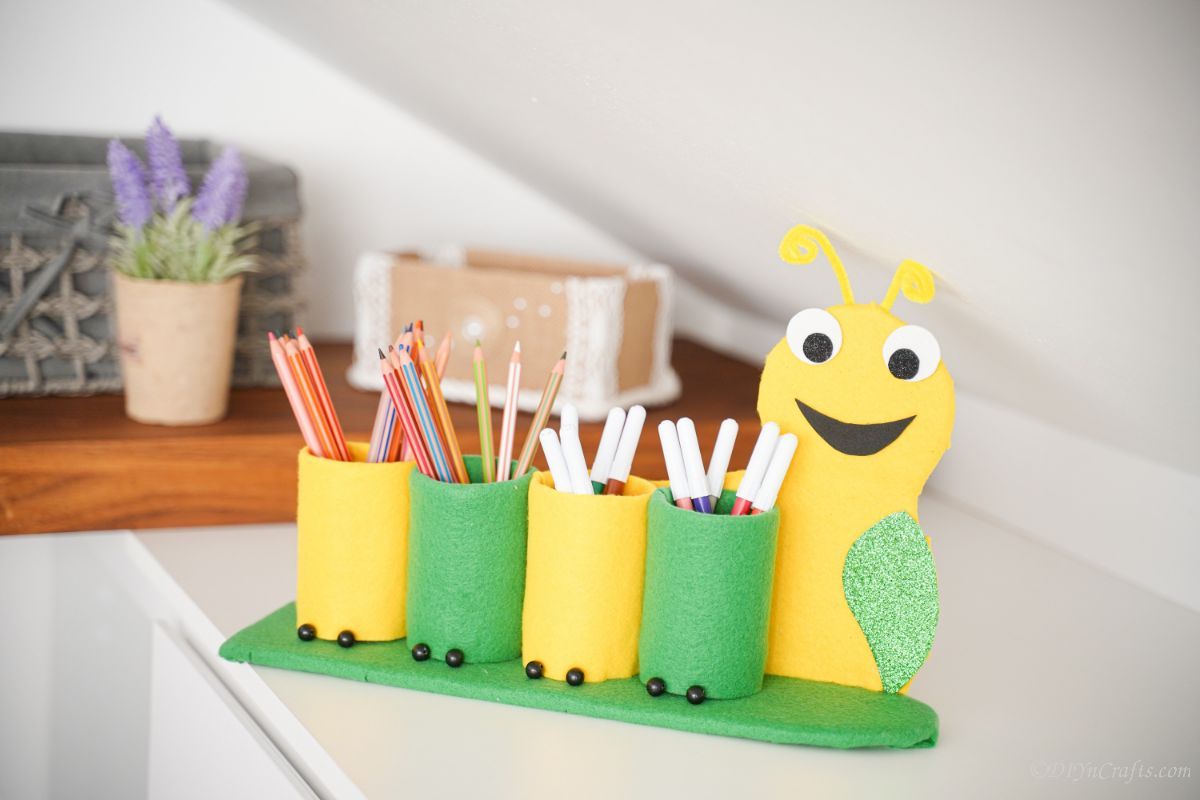
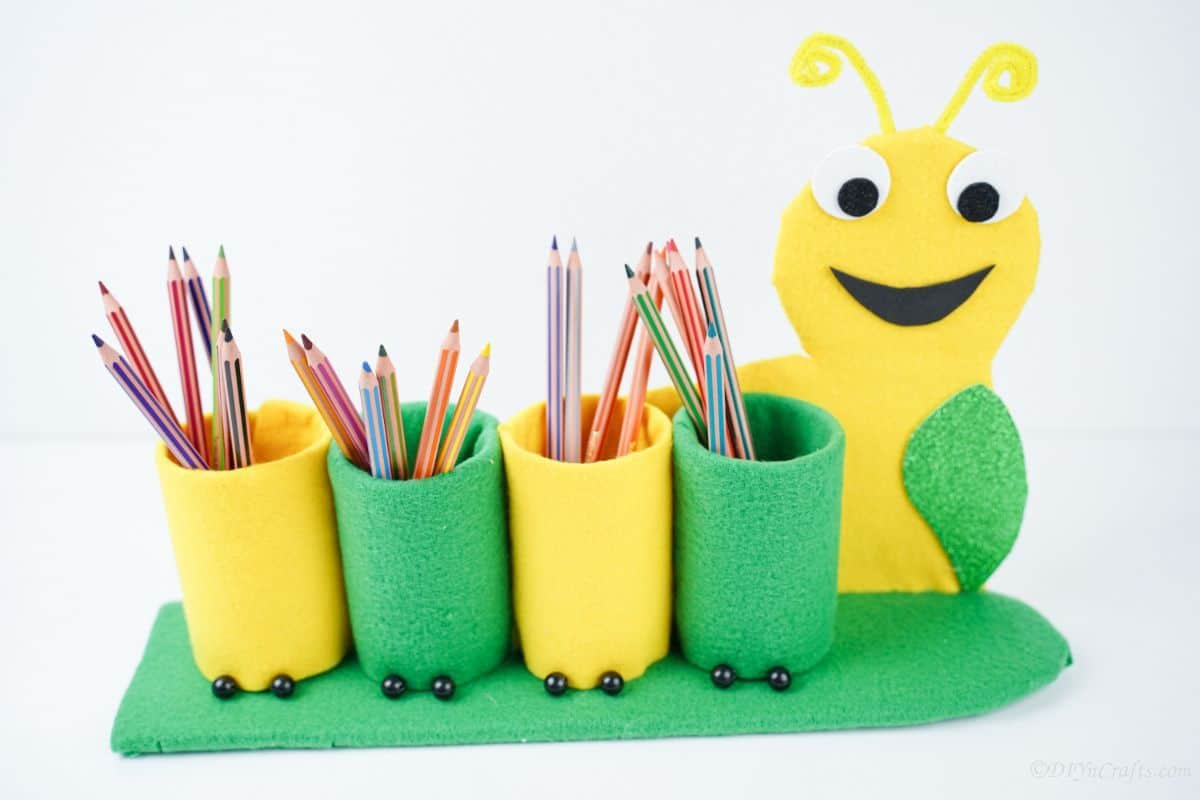
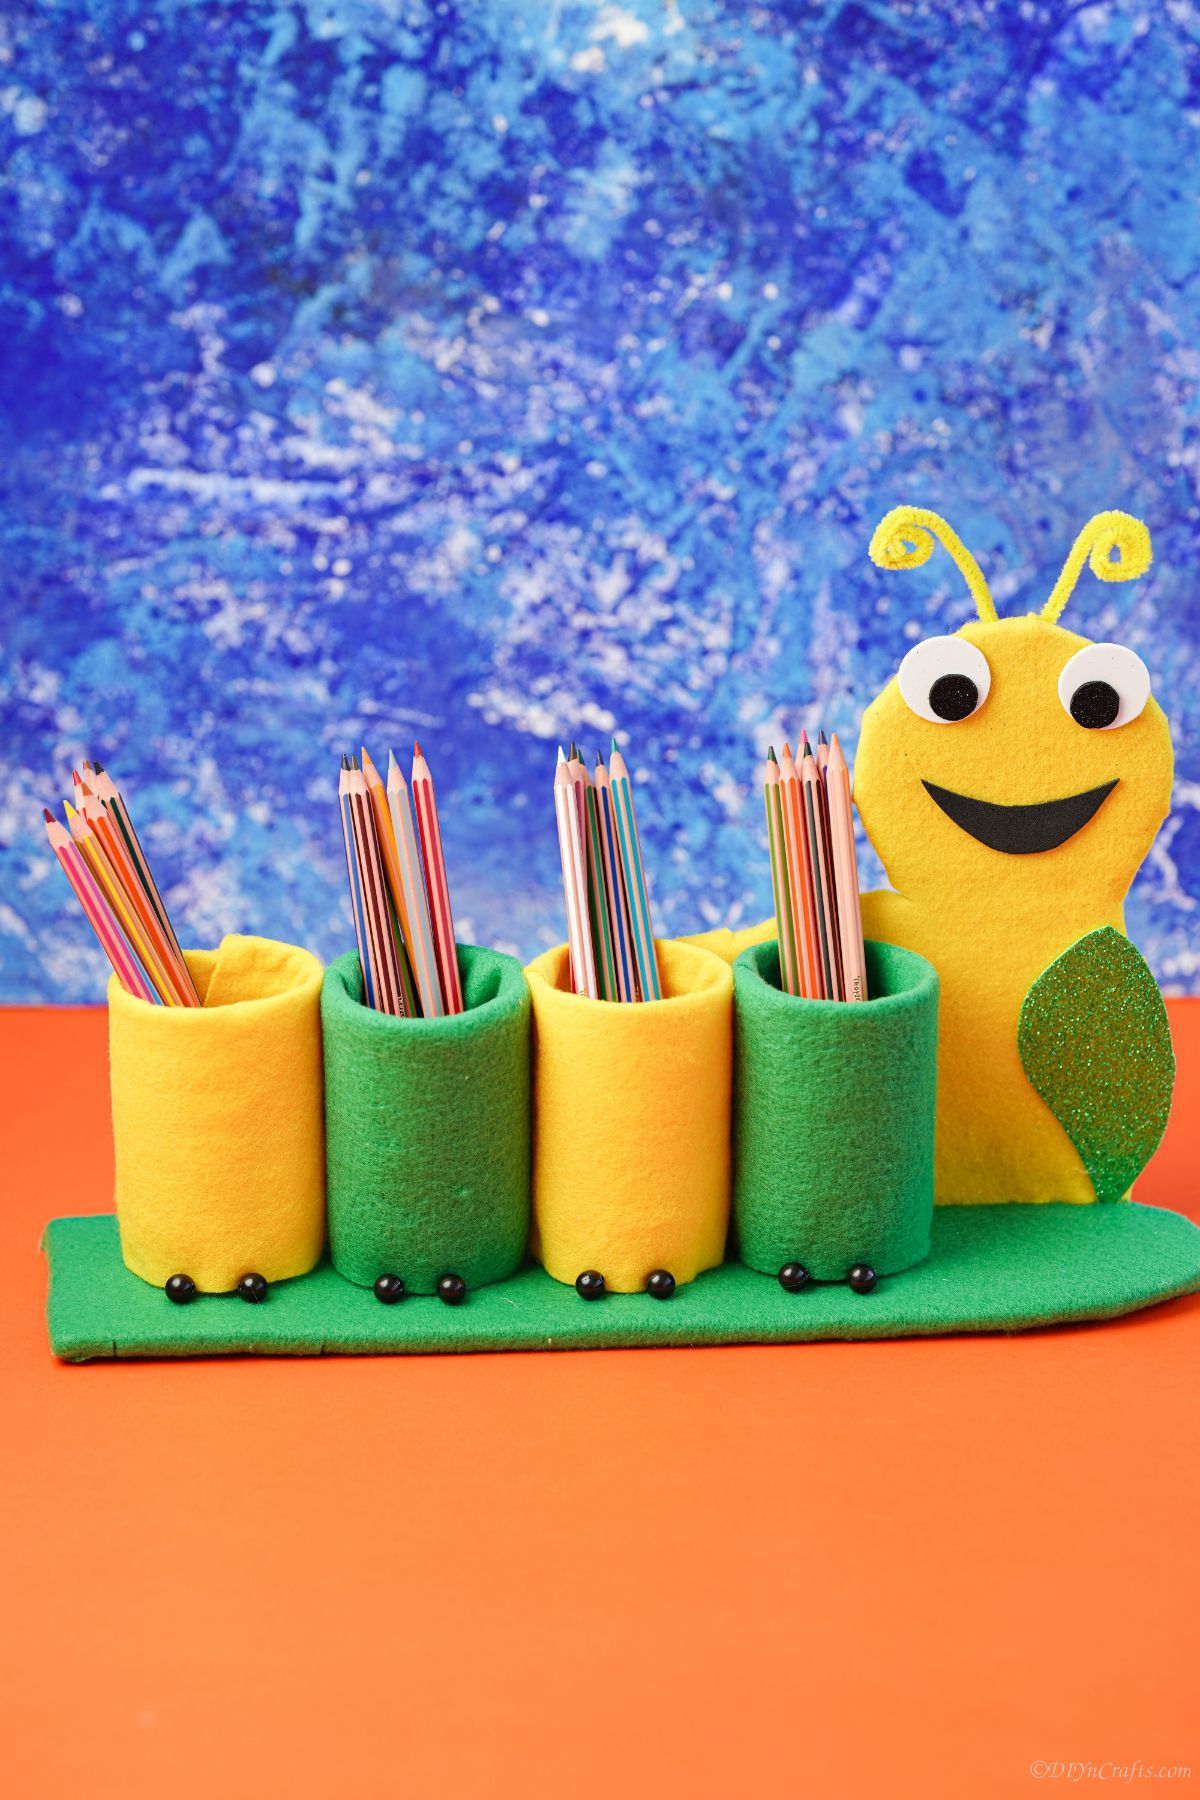
Looking for a creative way to hold your pencils? Or maybe you just want to add a little fun to your kid's desk. Either way, this caterpillar pencil holder is perfect! Made from upcycled plastic bottles, this pencil holder is both eco-friendly and fun. This project is perfect for anyone who loves to be creative. And it's a great way to recycle those plastic bottles!
Caterpillar Pencil Holder
This project is perfect for anyone who loves recycling and wants to learn how to make something fun and useful from recycled materials. You can use any color or types of plastic bottle you want, so your caterpillar pencil holder will be totally unique.
Once you’ve finished making this, it will be the perfect place to store all of your pencils, pens, and other office supplies. Not only is this project fun and easy, but it also helps the environment by recycling old plastic bottles into something new and useful.
And, if you want something else that is totally unique to hold your pencils, you might like this plastic bottle pencil holder or this adorable shampoo bottle monster pencil holder. Of course, I prefer the tin can owl pencil holder myself.
How Many Holders Should I Add to My Caterpillar?
This caterpillar can be as big or as small as you want. Since you can choose how many plastic bottles to add, you get to choose how many spaces you have. It is a simple way to customize your caterpillar pencil holder to be exactly what you need.
You can also use whatever size bottle you like. This will change the size of the caterpillar too. This is great because you can use it to hold bigger or small things depending on the bottle size.
I think 4 holders is ideal, but if your desk has room, add as many as you want to give the caterpillar a ton of extra spaces for storage.
How Can I Make the Caterpillar Face?
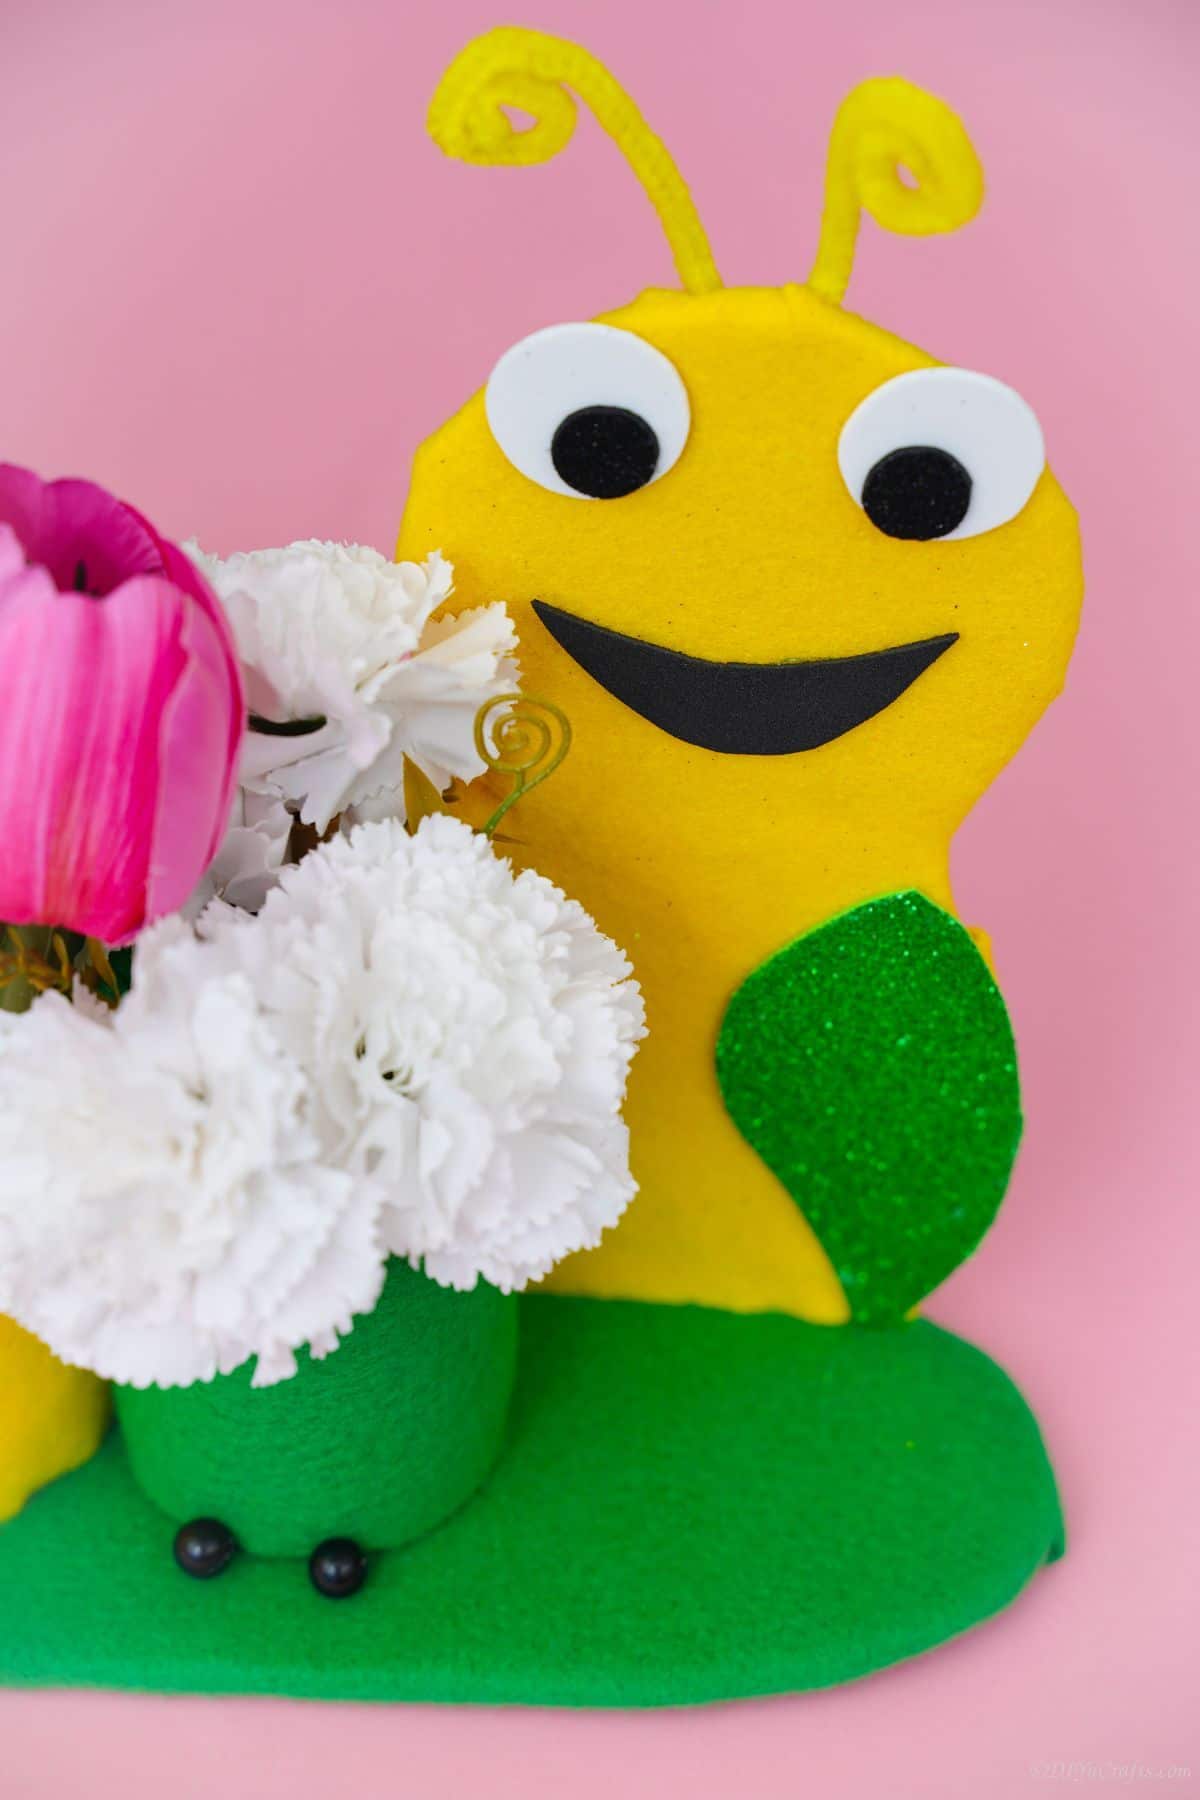
The face of the caterpillar is really easy to make. You want to form the structure. I like to use cardboard because it is a recycled material and is sturdy enough to stand up. Then it gets covered with the same felt I am using on the rest of the caterpillar. To make the details of the face, you can use more felt in different colors, use crafting foam or even paper. You can also just draw or paint it in the caterpillar pencil holder. Googly eyes would be fun and so would stickers.
Use your imagination, or look at a book of cartoon images of caterpillars to make yours look more like the popular characters. Or, you can always make it look unique and more realistic with some earth tones instead of bright colors.
What All Can I Use This Plastic Bottle Craft For?
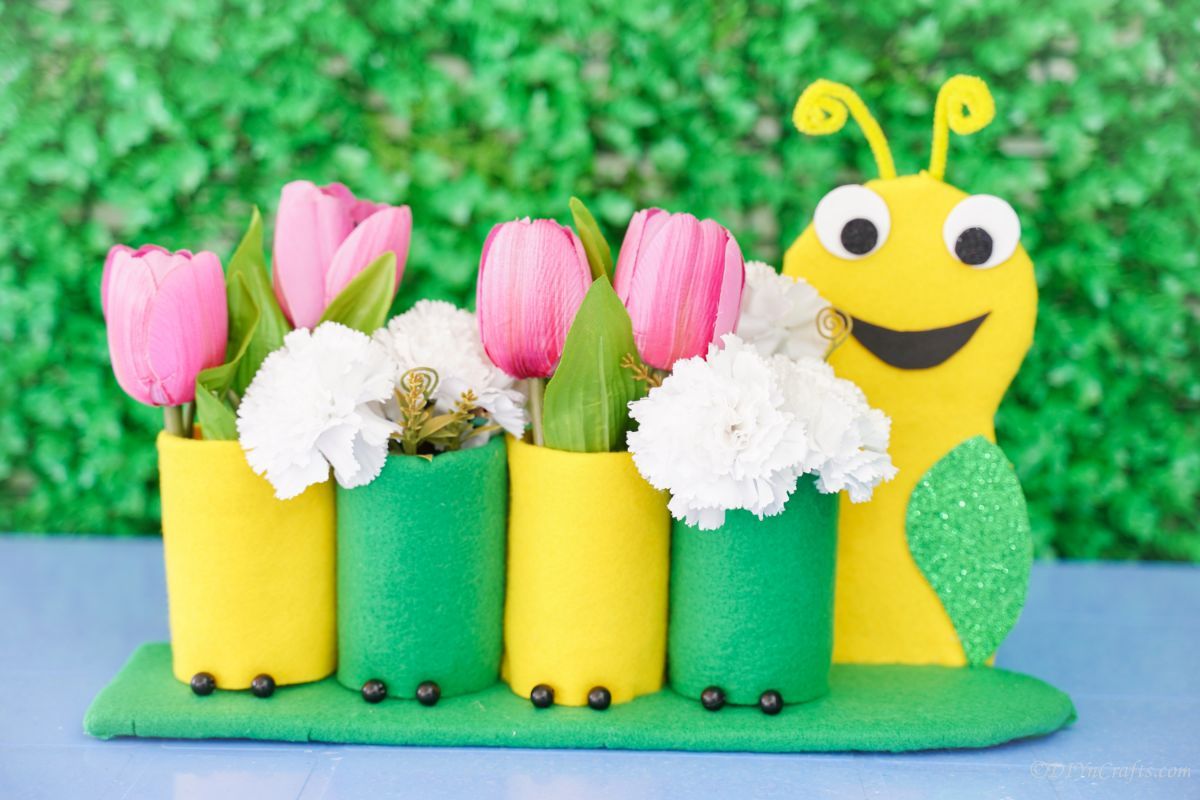
I originally planned this as a pencil holder but it can be so much more. Below are a few more ideas that work great with this project.
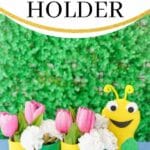
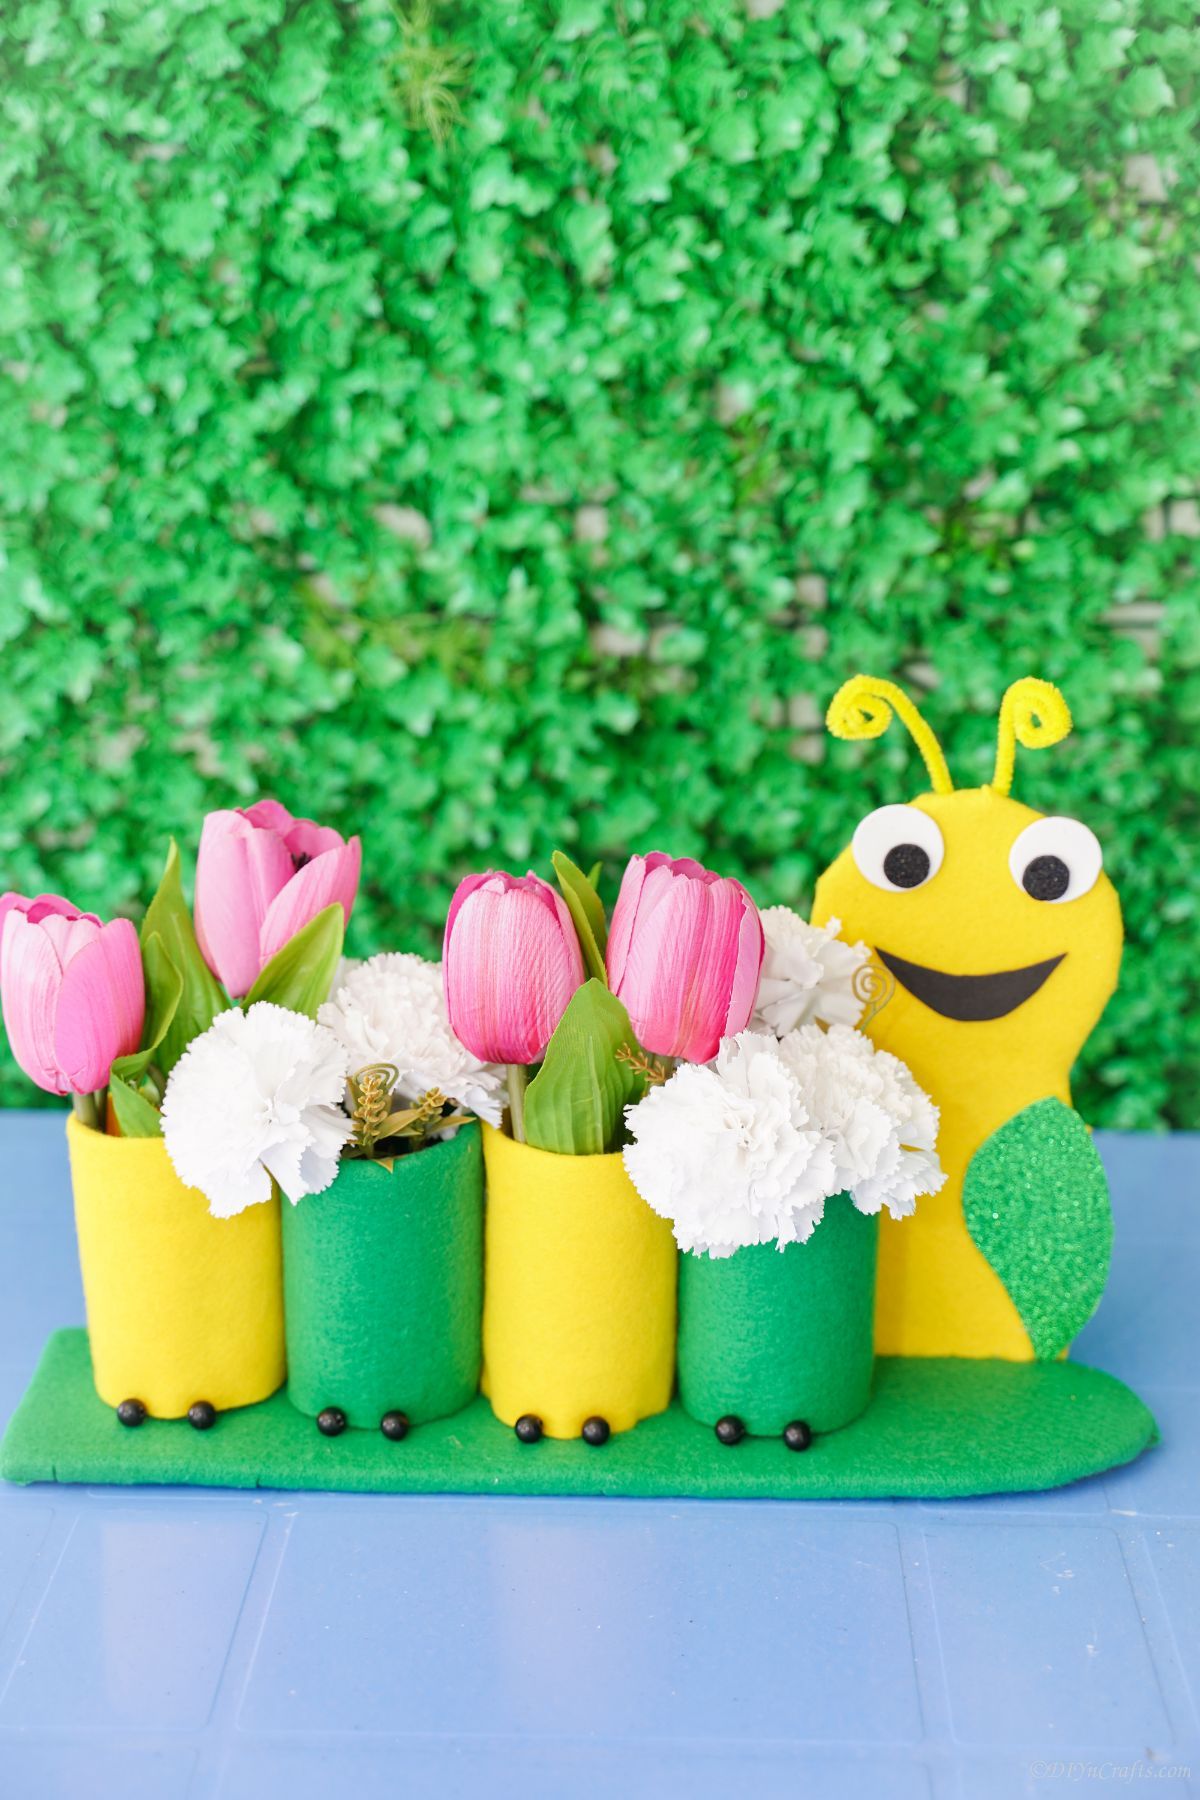
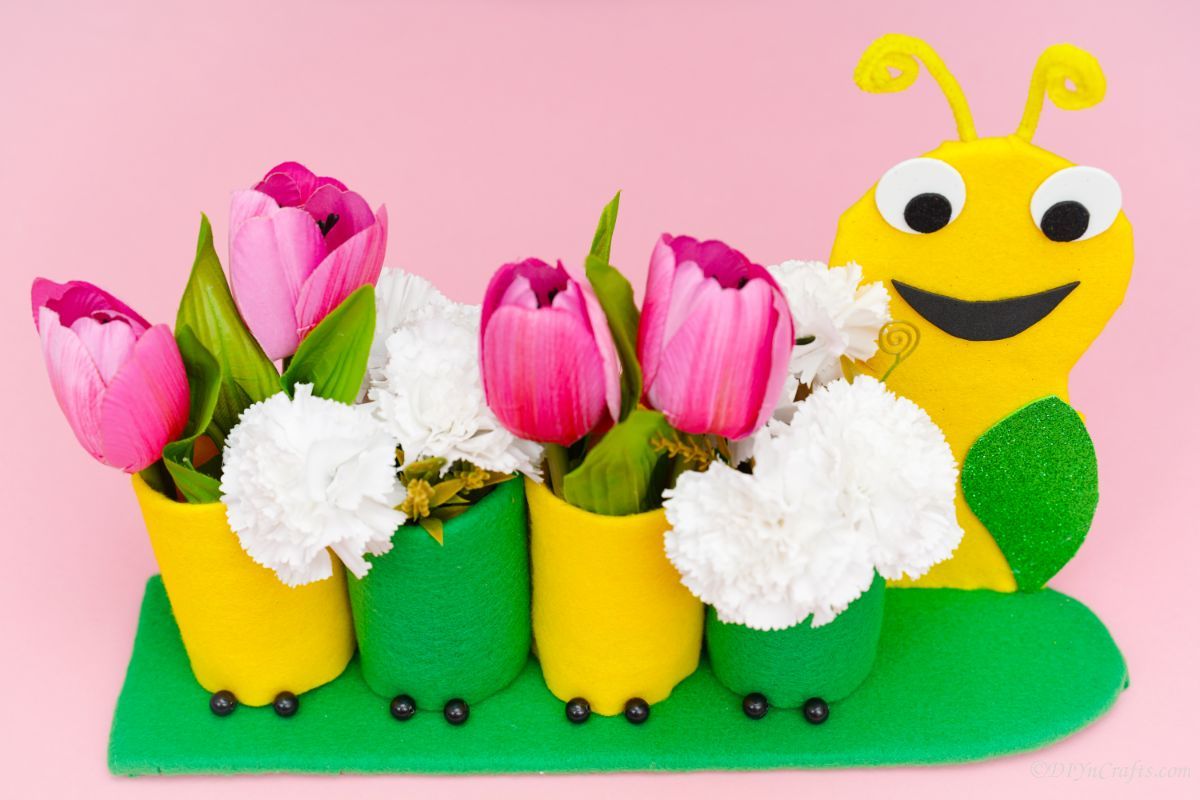
- Use it to hold flowers like a vase or use it to hold small potted plants.
- It can be used to hold crafting supplies like paint brushes and sculpting knives.
- Use it in the kitchen to hold spoons and other cutlery.
- Put on a bathroom counter in the kid's bathroom and use it for toothbrushes, toothpaste, hair ties, or similar items.
Whatever you want to store in the different sections will work. If you want to store bigger things, you can use larger plastic bottles and if you want to store things like jewelry you can use smaller ones.
Easy Ways to Customize My Pencil Holder
One easy way to customize your pencil holder is to use different colors to cover the plastic bottles. You can also decorate the caterpillar with paint, markers, googly eyes, and anything else you can think of. If you want to get really creative, you can even add a little pipe cleaner antennae!
Have fun using your imagination to add little bits and baubles to make your caterpillar sparkle and shine. Or, you can go more simple and cover each holder with some pipe cleaners in earth tones to make it fuzzy like a real caterpillar.
Supplies Needed
- 4 empty plastic bottles
- Dark green felt
- Yellow felt
- Green glitter foam paper
- White foam paper
- Black glitter foam paper
- Black sparkling pom poms
- Yellow pipe cleaner
- Cardboard
- Scissors
- Craft knife
- Hot glue gun
- Hot glue sticks
How to Make a Caterpillar Pencil Holder
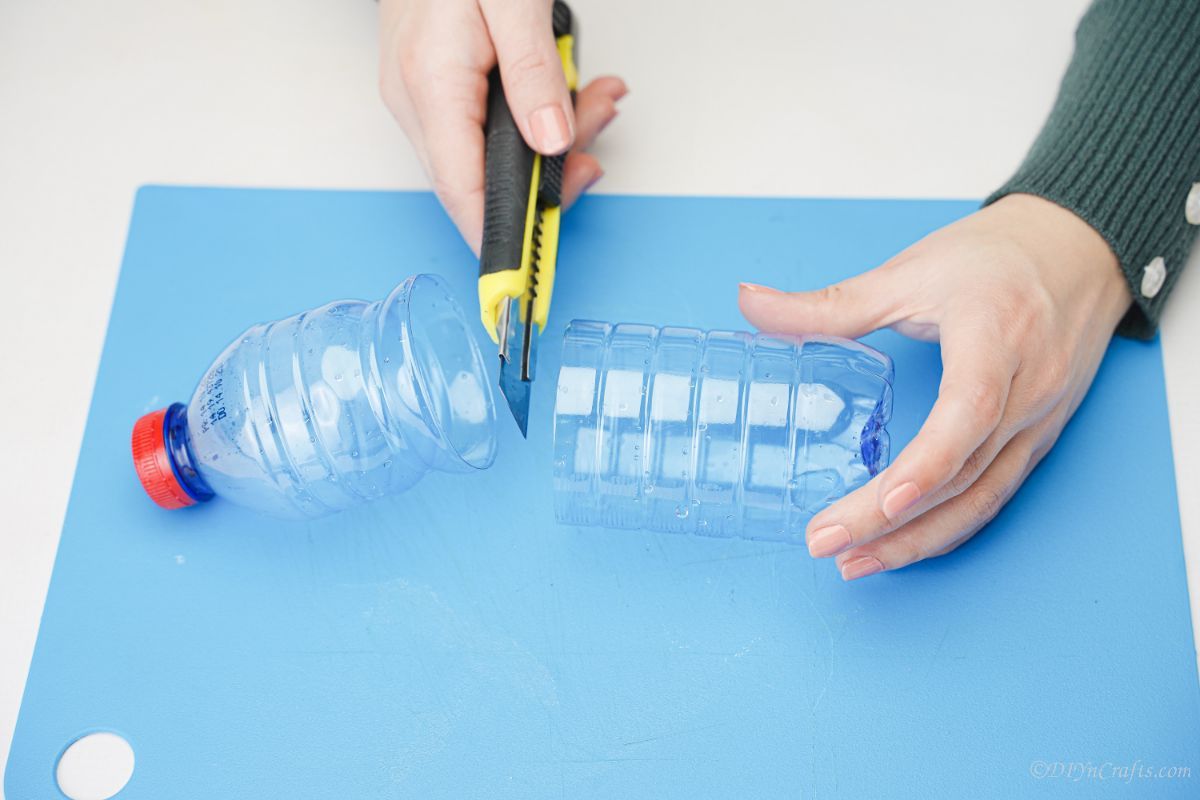
Start by removing labels from the bottles you are using, and cleaning them. Let them dry completely, then cut the top ⅓ of each bottle off and discard it, keeping the bottom half.
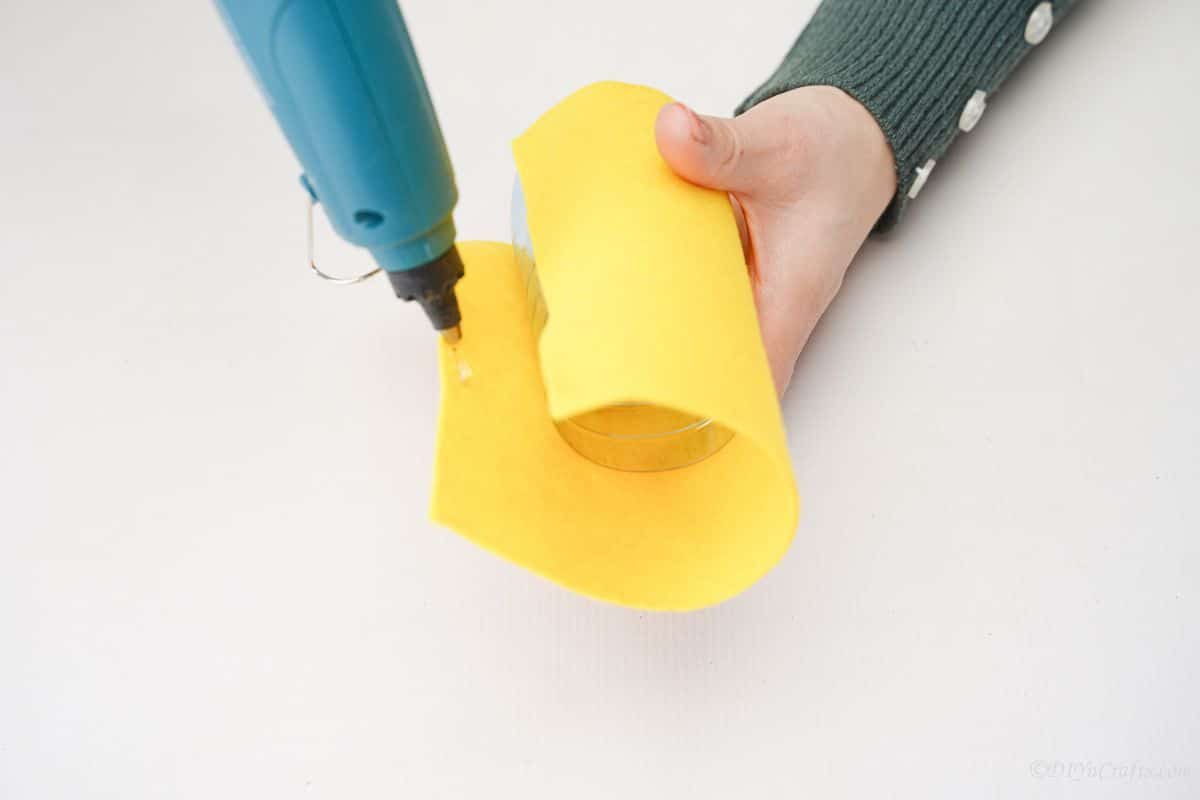
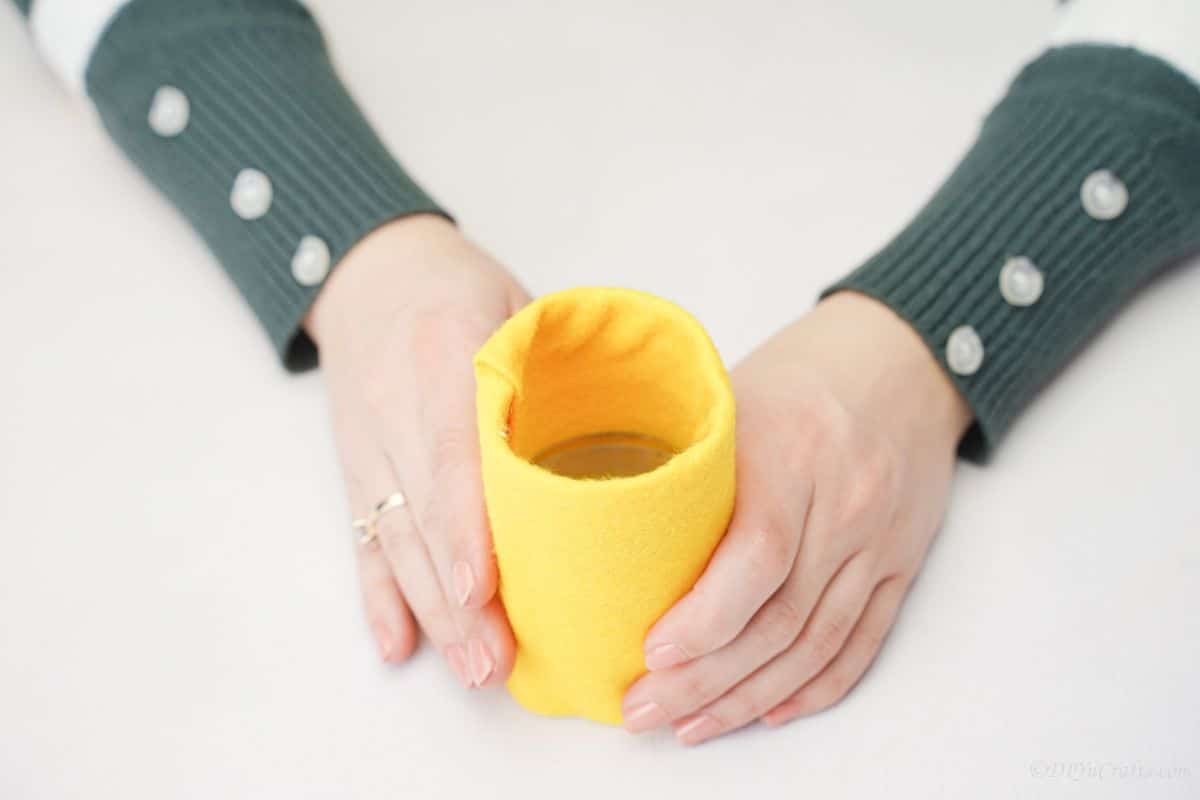
Now, cut a piece of yellow felt long enough to wrap around a bottle, but about 3" taller.
Wrap this felt piece around the bottle, and glue it into place, then tuck the extra on top inside the bottle and glue it into place.
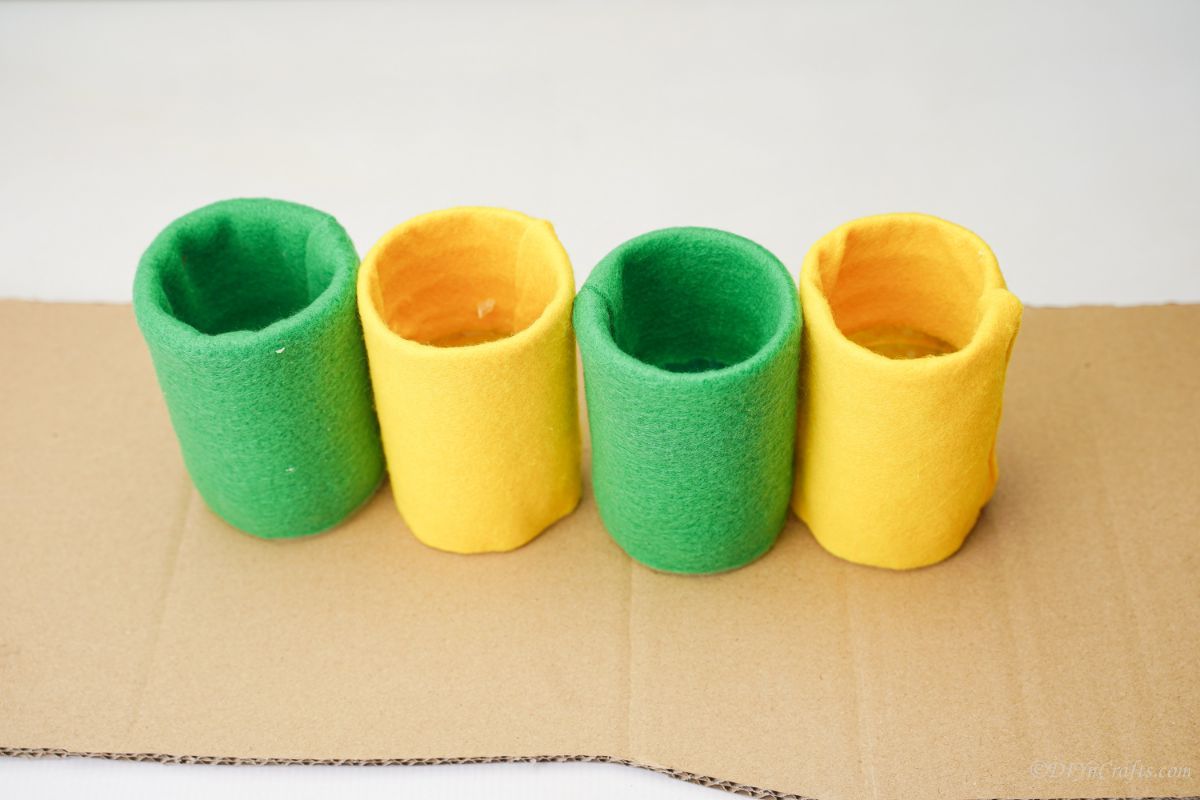
Repeat this process making a total of 2 yellow and 2 green wrapped bottles.
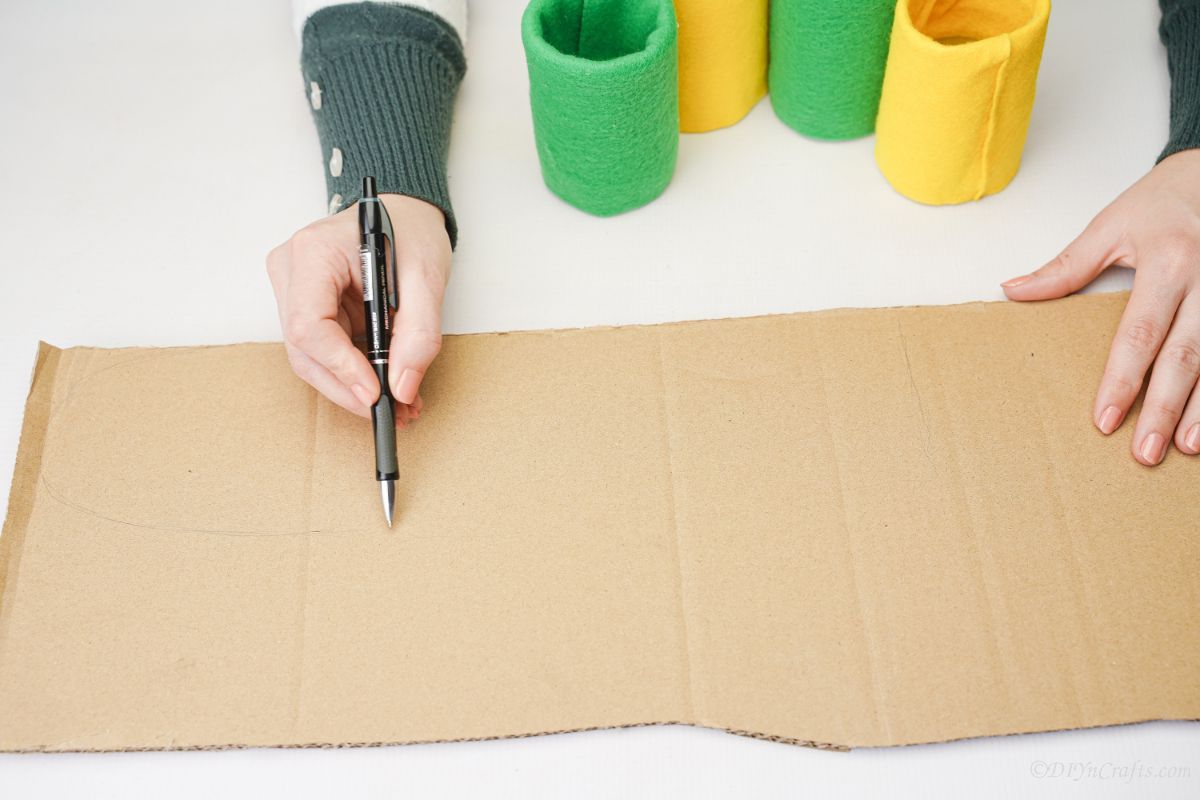
Now, place these onto a piece of cardboard and trace around them, then add about 1" extra on each side on the outside and about 6" longer on one end.
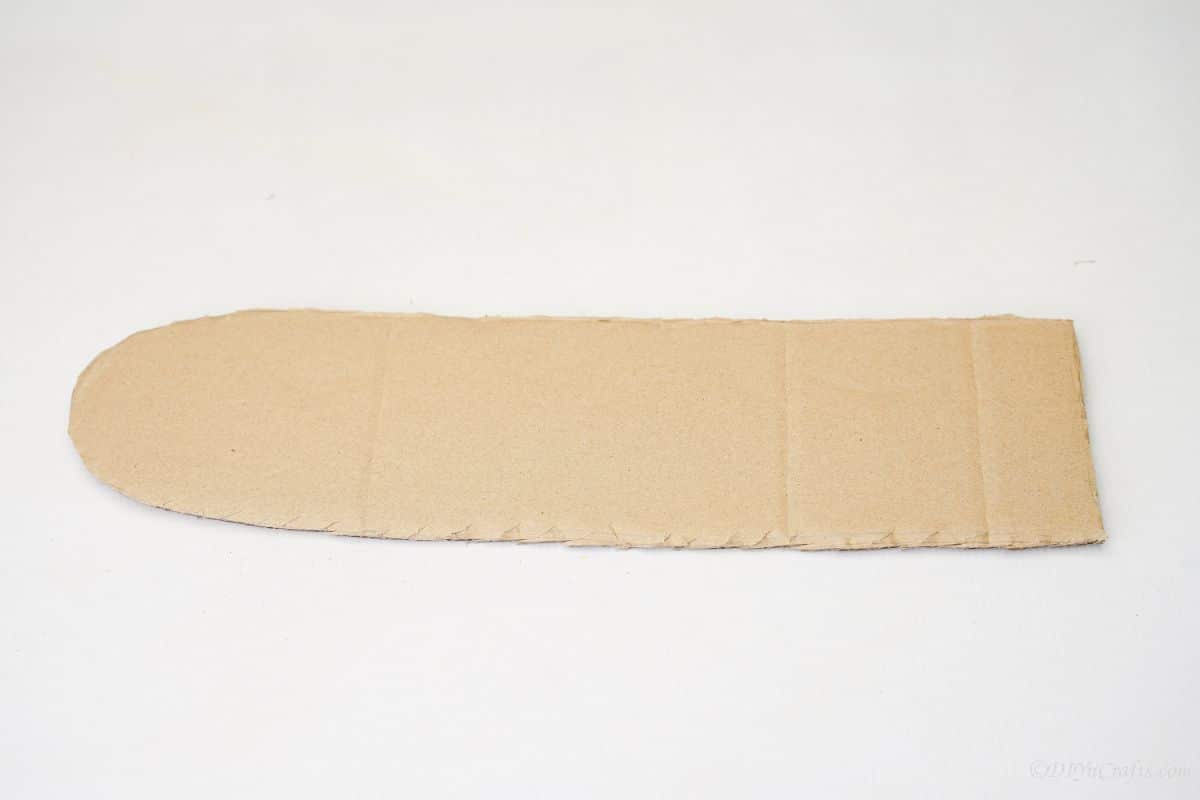
Cut this cardboard piece out, having one piece flat and one end curved.
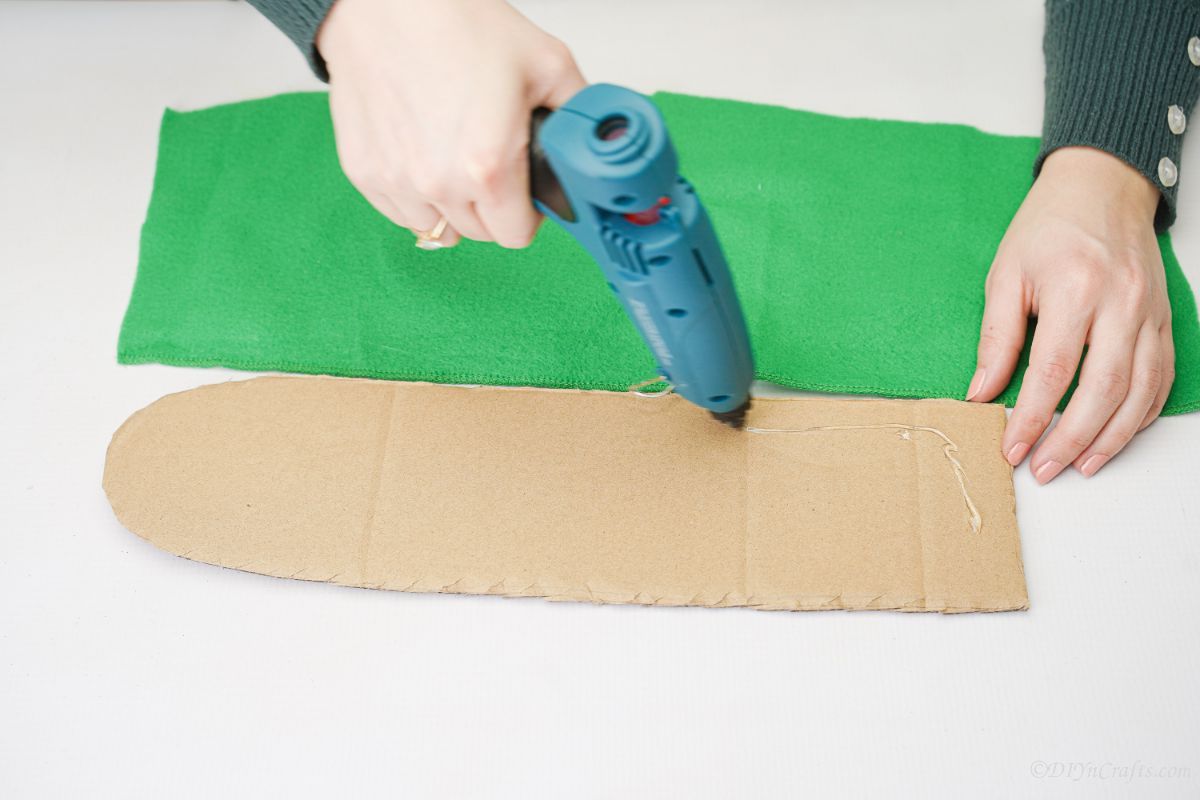
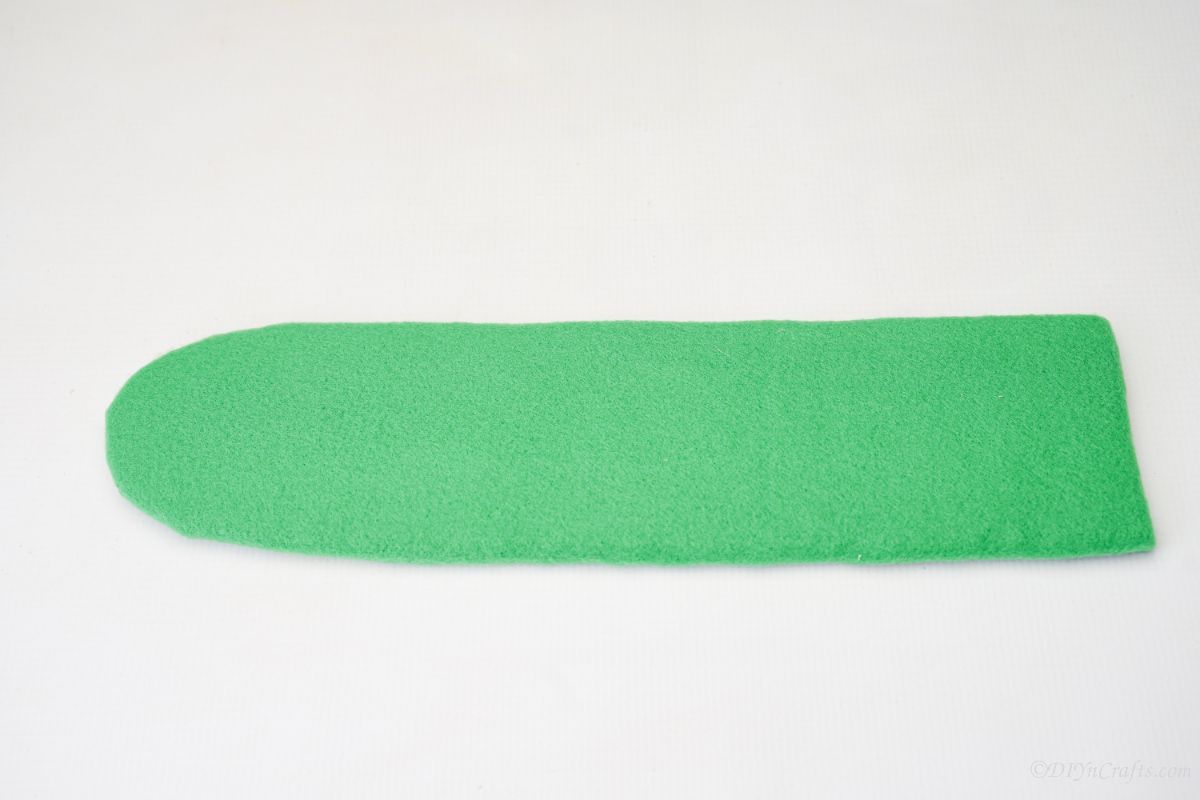
Then, wrap this longer piece of cardboard in green felt and glue it into place.
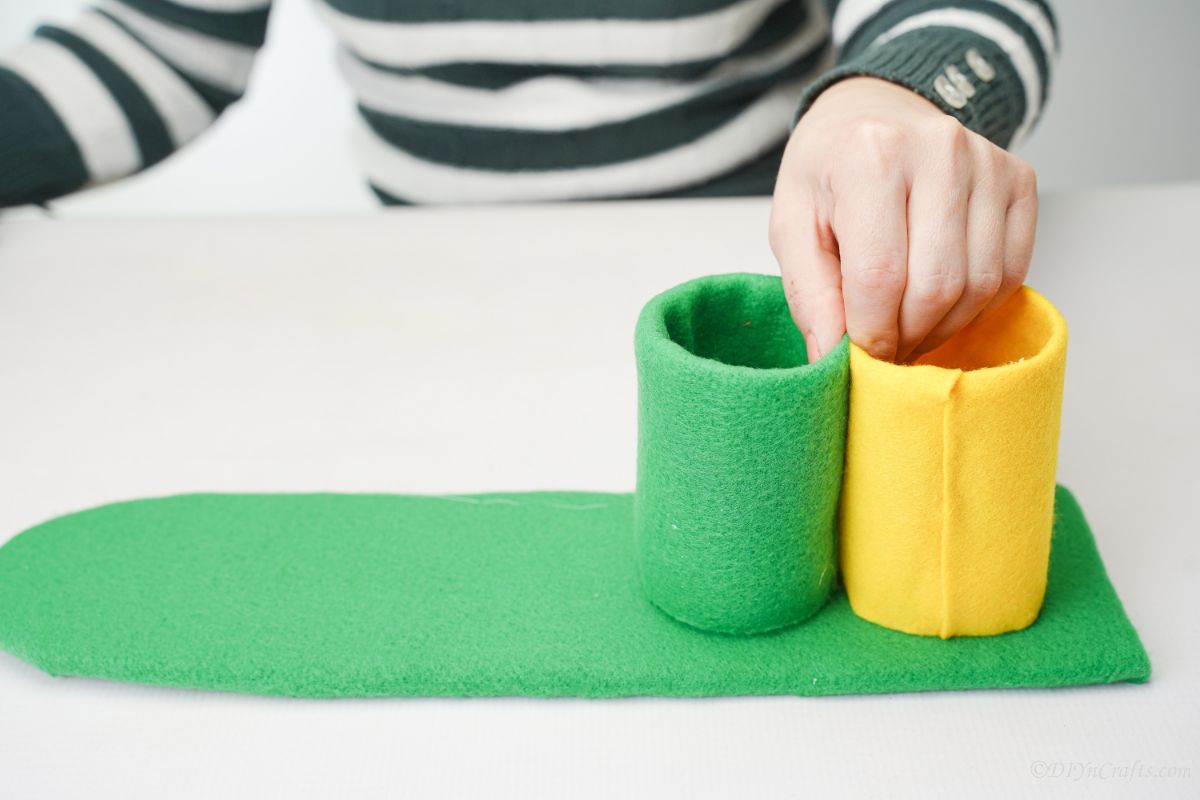
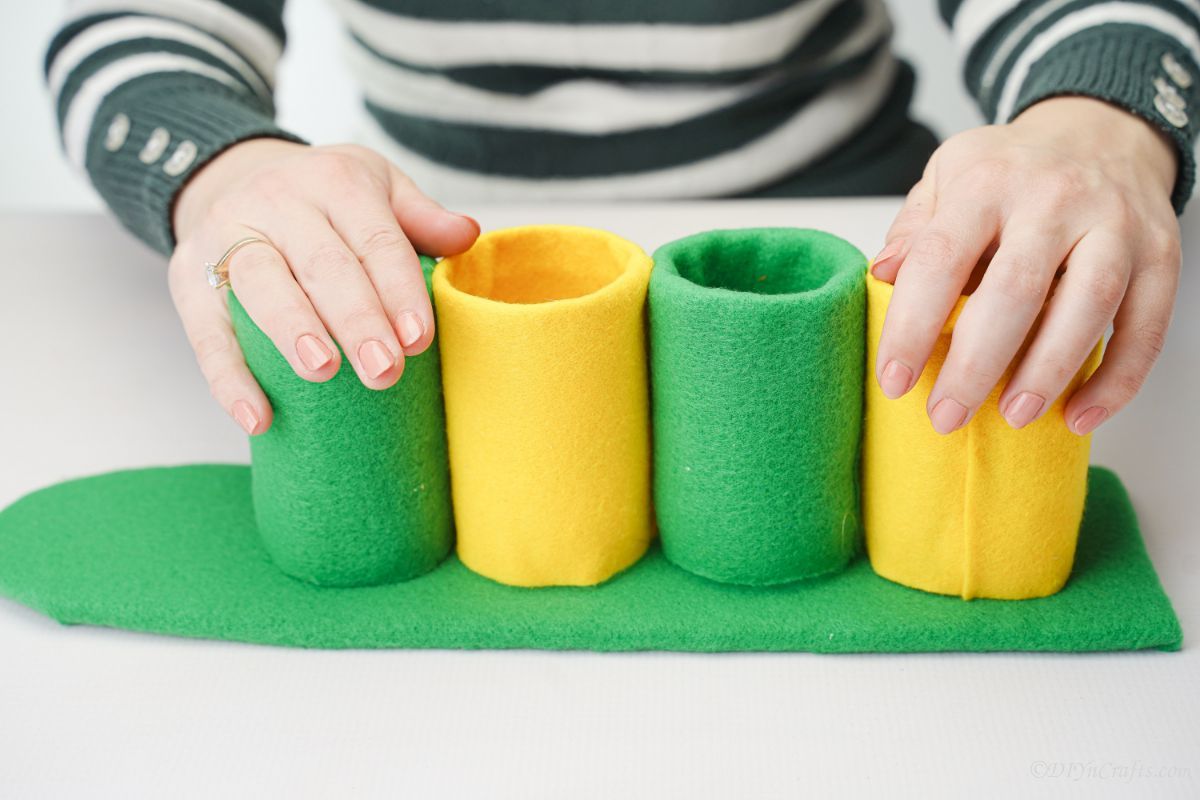
Now, glue the wrapped bottles, alternating colors, and place them on the flat end of the green-covered board with the curved end open on the other end.
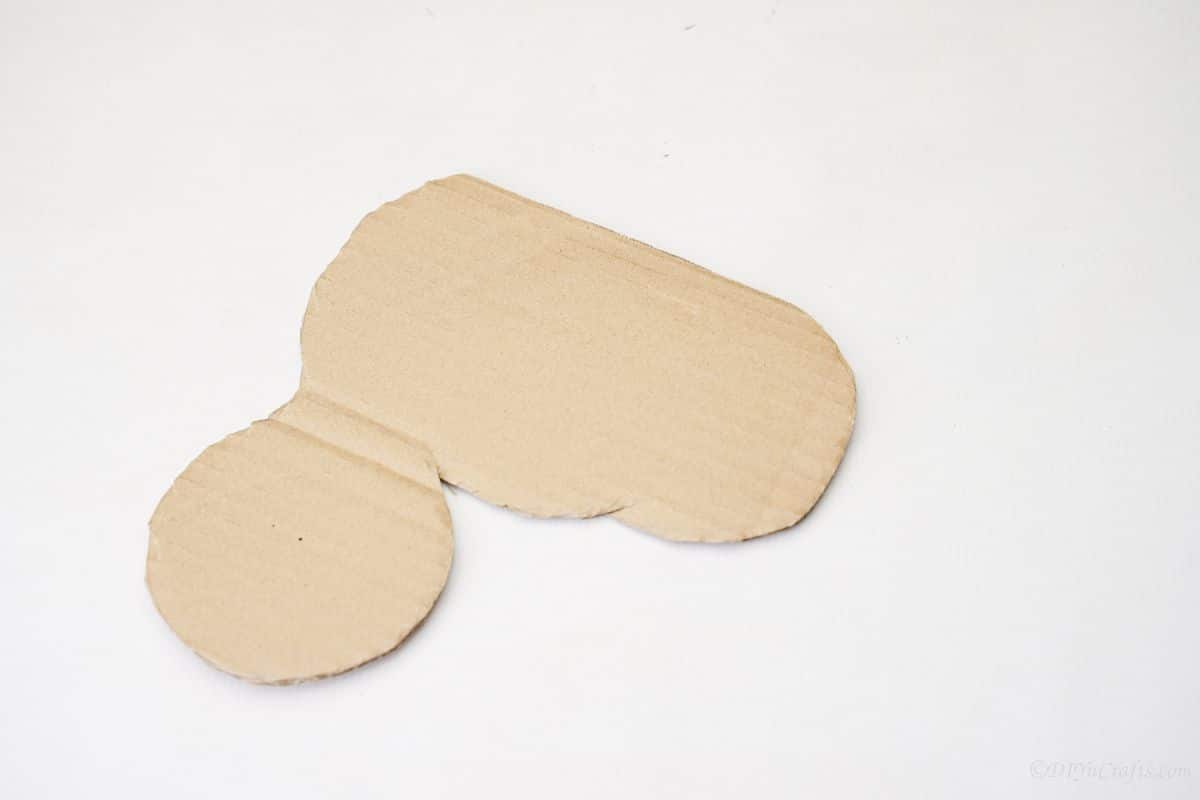
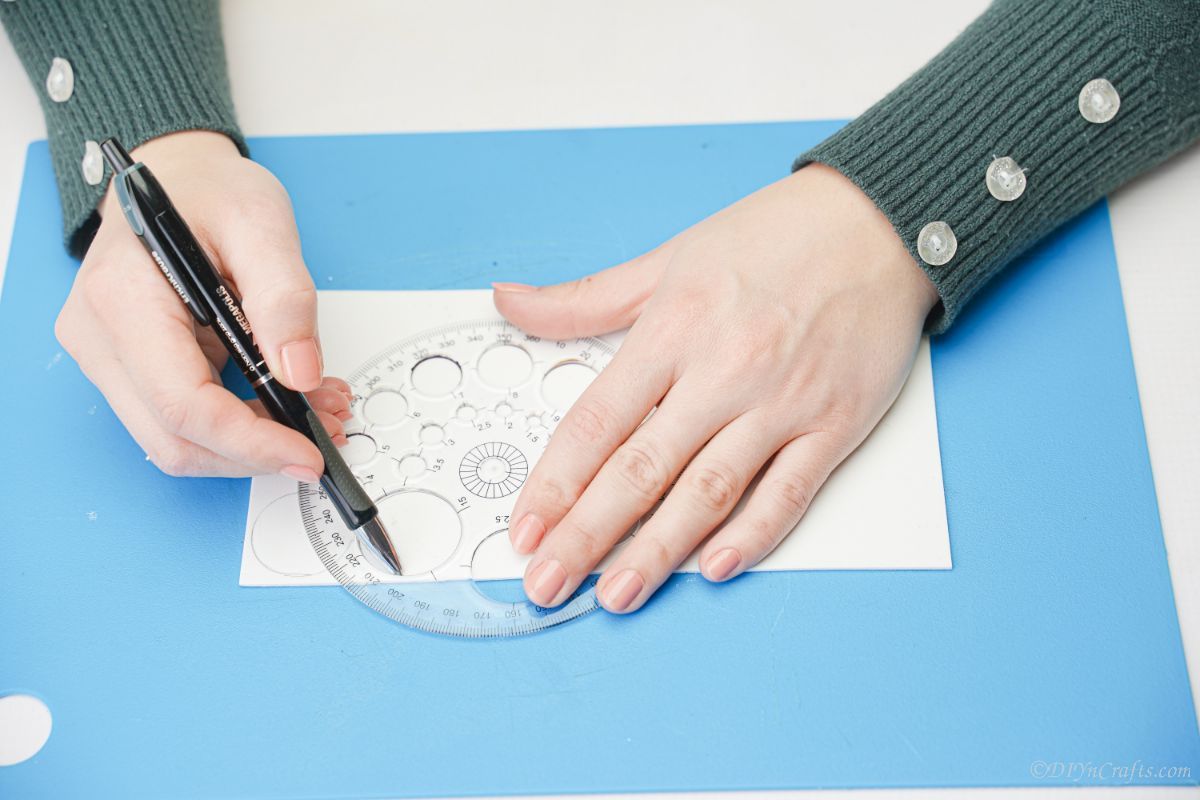
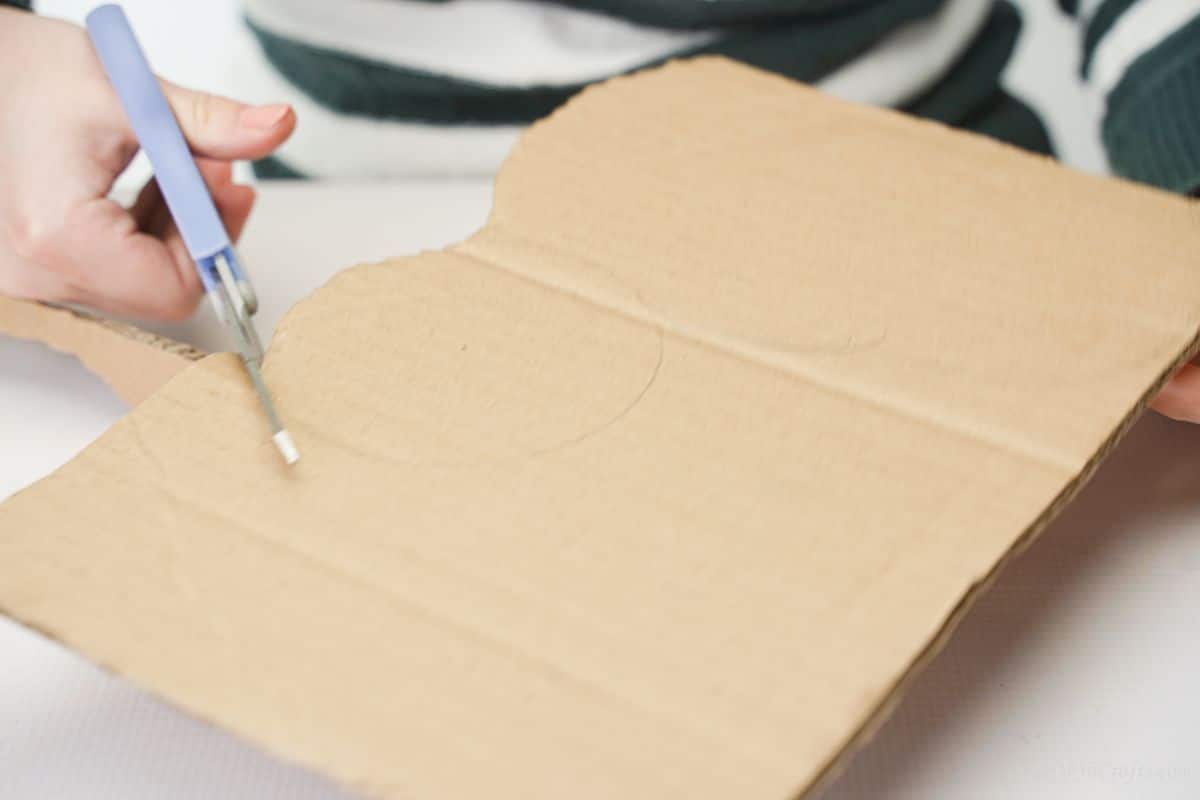
Set this aside, then on a larger piece of cardboard, draw a circle that is 5" wide. This will be the caterpillar head.
Just below that circle, trace an oval shape on its side to give the caterpillar body shape.
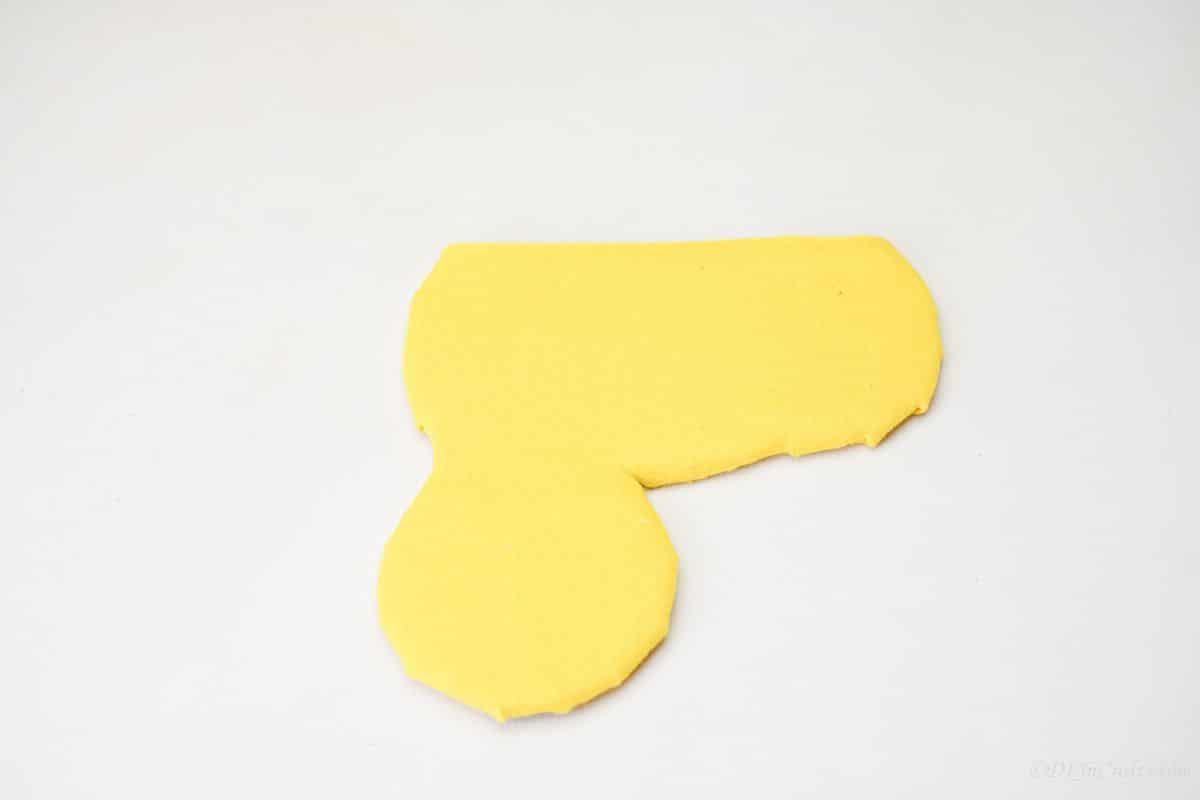
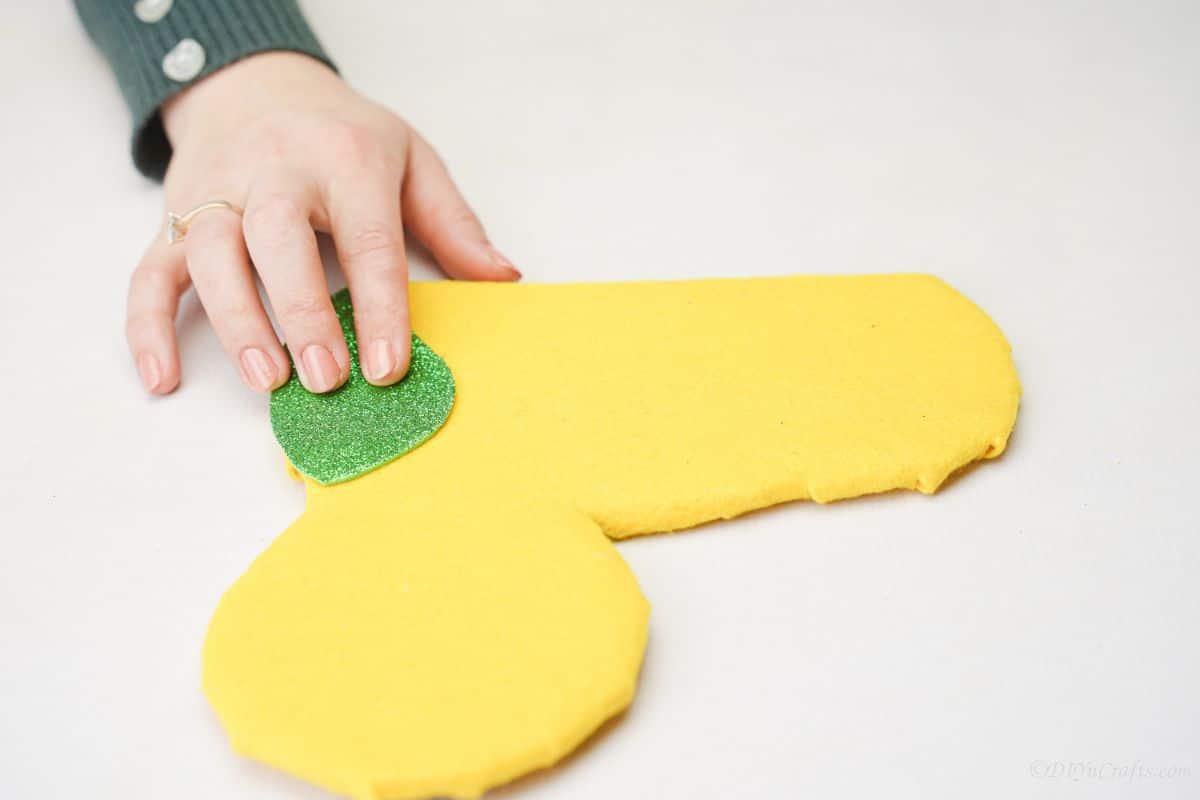
Cover this piece in yellow felt and glue it into place.
Now, cut a small green glitter foam piece that is a bit larger than a half-moon shape, and glue it to the front edge of the body of the caterpillar.
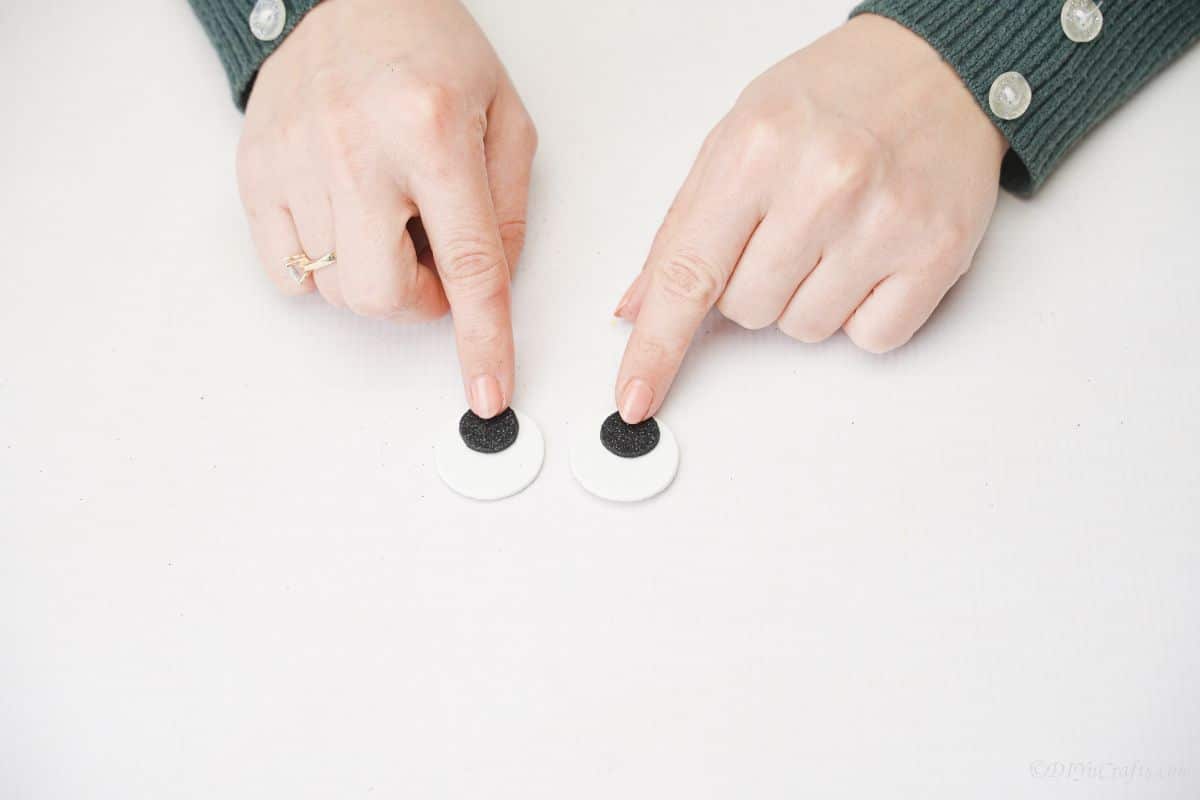
On a piece of white foam paper, cut out two 1" wide circles.
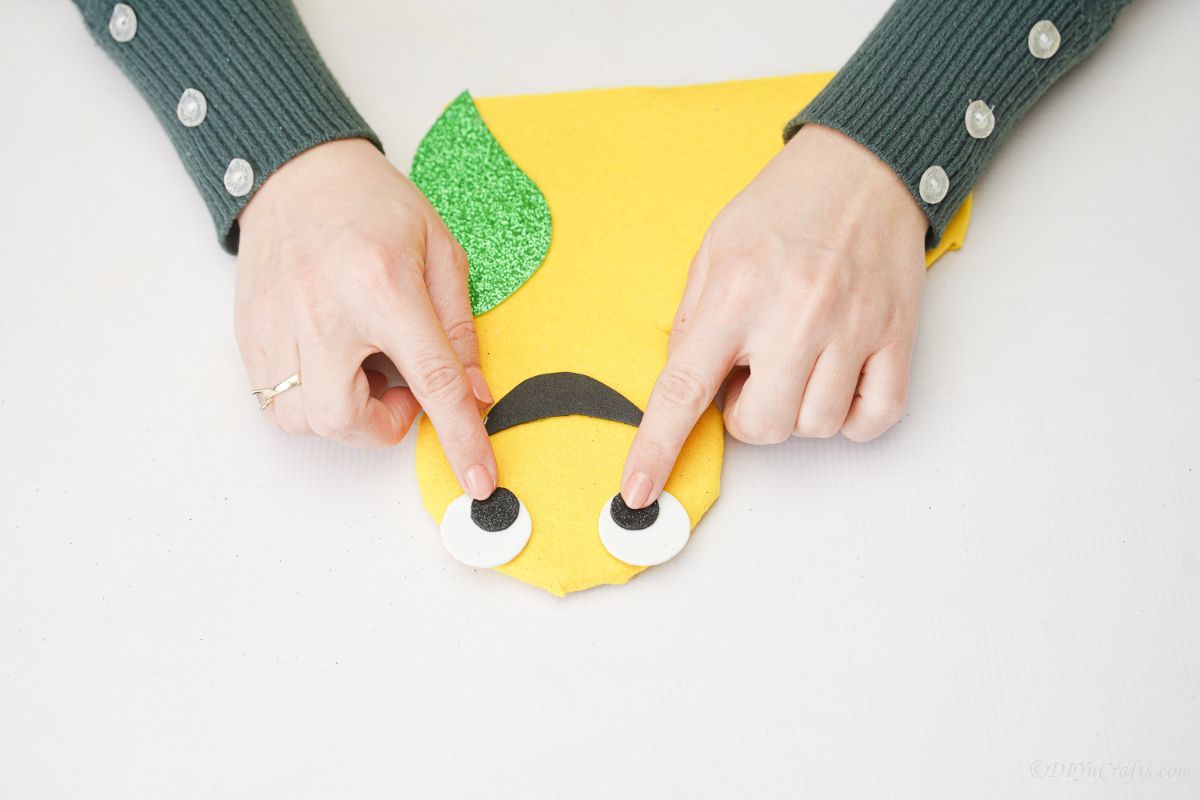
Use two smaller black foam circles and glue them on top of the white ones to create the caterpillar eyes.
Glue these on the top half of the round caterpillar head.
Cut out another piece of black paper into a half-moon shape to give it a mouth and glue this just below the eyes.
Fold the pipe cleaner in half, then twist the ends so they form spirals. Glue this at the top back of the head.
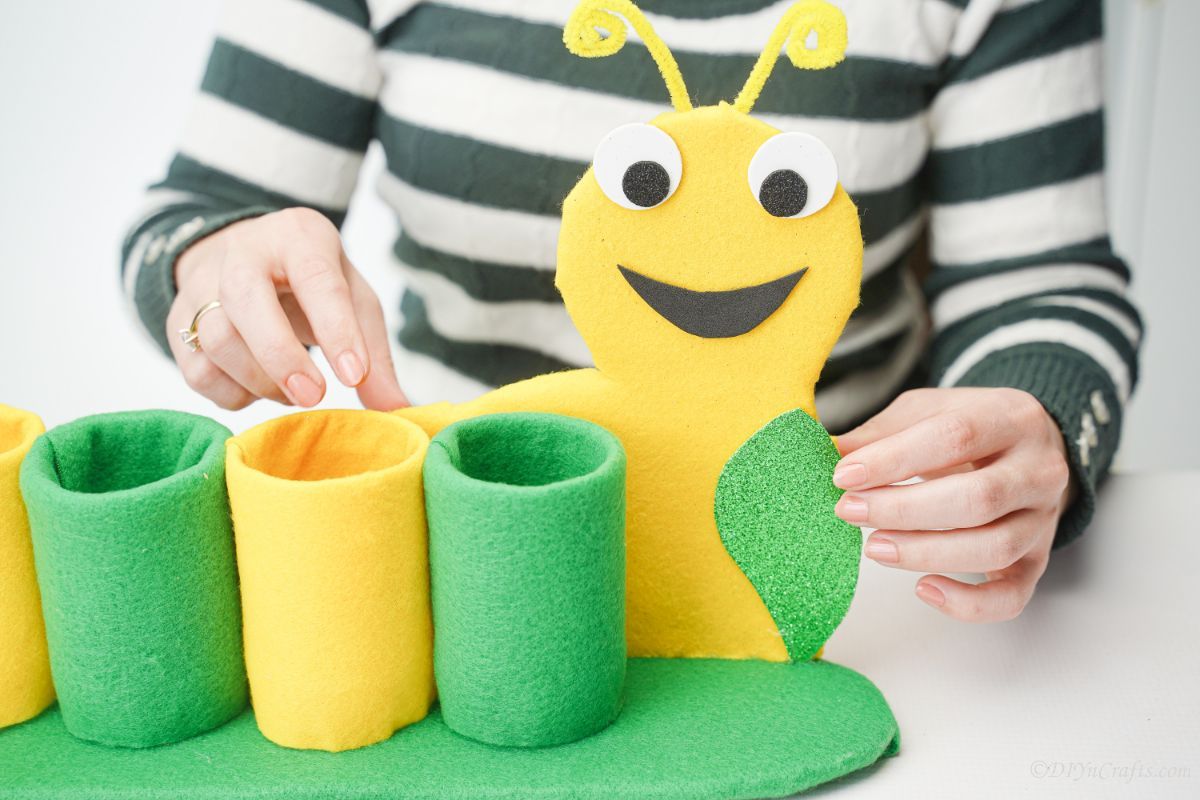
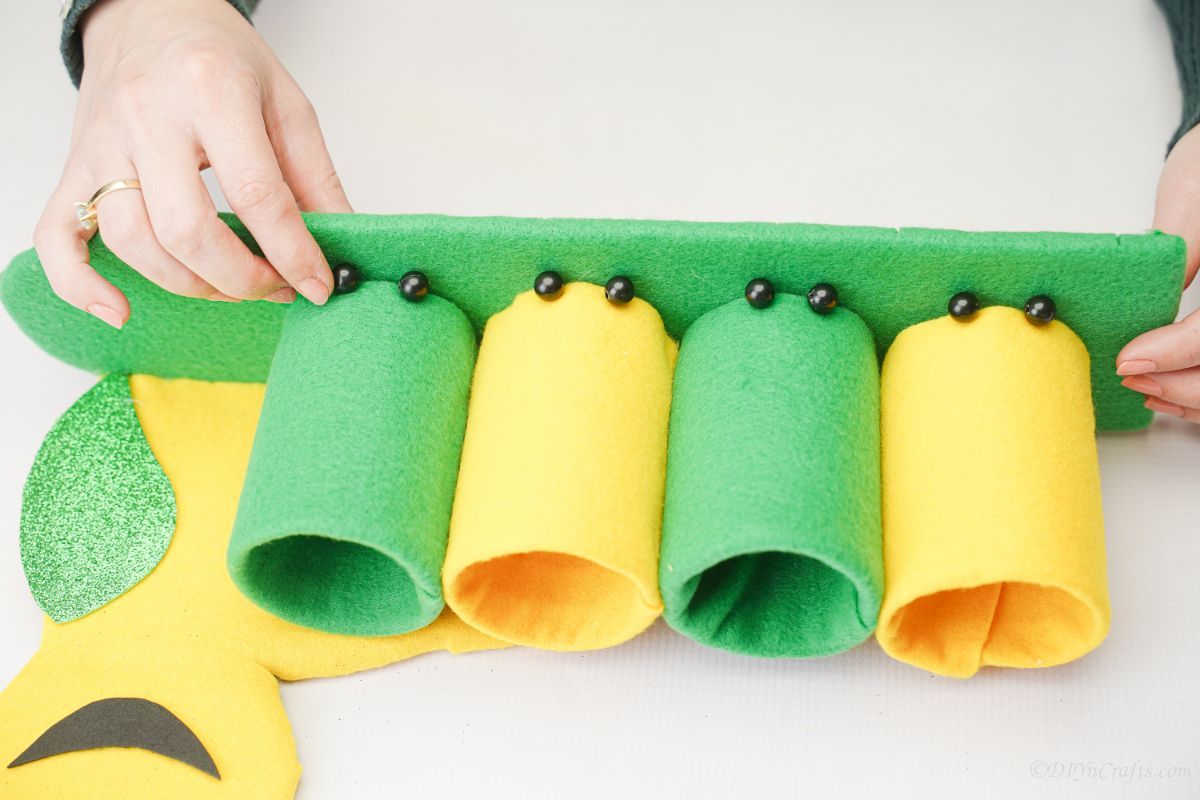
Now, glue the caterpillar body to the back of the cardboard strip holding the bottles. Attach this to the curved end, so the body shows past the bottles.
Now, glue two beads on the front bottom of each of the bottles.
More Upcycled Bottle Crafts
Empty plastic water and soda bottles are so versatile. You'll love the ideas below that take trash and turn it into treasure. Make sure that you bookmark these ideas, print out the tutorials, or pin them to a crafting board on Pinterest to make soon.
- Repurposed Plastic Bottle Bird Nest
- Upcycled Plastic Bottle Pig Planter
- Sparkling Plastic Bottle Rhinestone Vase
- Cute Upcycled Plastic Bottle Doll Craft
- DIY Plastic Bottle Jet Pack Rocket
DIY Caterpillar Pencil Holder From Plastic Bottles
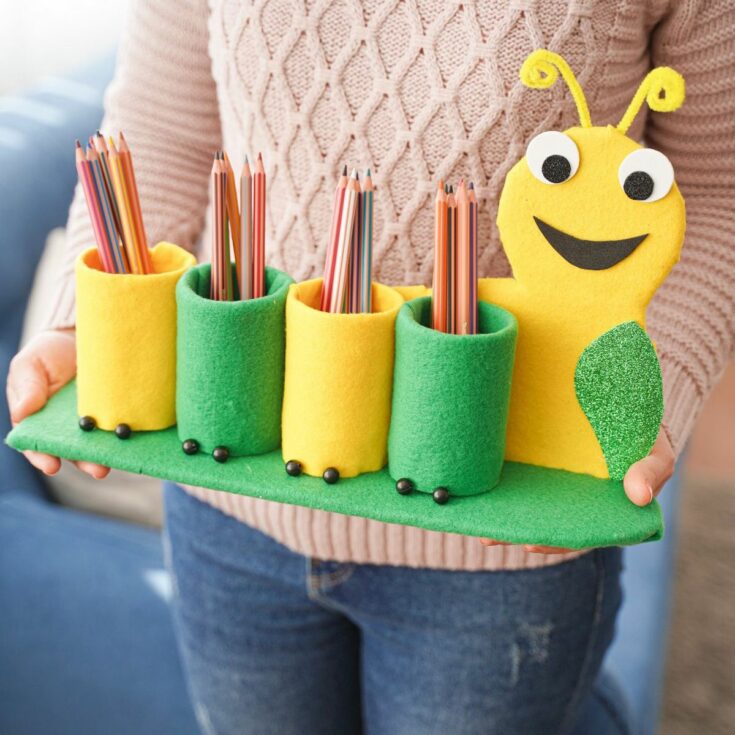
This caterpillar pencil holder is absolutely adorable! A perfect kid's bedroom organizer and fun craft for the Very Hungry Caterpillar book!
Materials
Instructions
- Remove the labels from the bottles, then cut the top ⅓ of the bottle off and discard.
- Cut a piece of yellow felt long enough to wrap around a bottle, and about 3" taller.
- Wrap the felt piece around the bottle and glue it into place, then tuck the top extra inside the top of the bottle and glue it into place.
- Repeat this making 2 yellow and 2 green felt-wrapped bottles.
- Place these side by side on top of a piece of cardboard then trace around them so you have about 1" extra on the sides and about 8" longer.
- Cut out this cardboard strip, cutting one of the ends flat and one curved.
- Wrap this cardboard in green felt and glue it into place.
- Then glue the bottle bottoms to the cardboard, alternating colors, and gluing them to each other on the sides starting at the flat edge.
- On a piece of cardboard, draw a circle that is around 5" wide.
- Then just below and attached to it, trace an oval on its side, to create a caterpillar body shape.
- Cut this out and wrap it in yellow felt to cover the entire piece.
- Then, cut and glue a small piece of glitter foam paper to the front of the body, to add an accent color.
- Draw two circles around 1" wide onto wide foam paper and cut them out for eyes.
- Then, cut out two smaller circles from the black glitter foam paper.
- Glue the black circles onto the larger white circles to create the eyes.
- Now, glue the eyes on the top edge of the caterpillar head.
- Trace and cut a half-moon mouth shape on the same black glitter paper and cut it out then glue it just below the eyes.
- Fold a yellow pipe cleaner in half, then twist the two ends over into circle/spiral pieces to create an antenna.
- Glue this onto the top back above the eyes.
- Now, glue the caterpillar body to the back of the cardboard strip holding the bottles. Attach this to the curved end, so the body shows past the bottles.
- Now, glue two beads on the front bottom of each of the bottles.
Notes
Add more bottles for additional storage if desired.
Recommended Products
As an Amazon Associate and member of other affiliate programs, I earn from qualifying purchases.
-
 Chameleon Pencil Holders Blue-green Pen Holders Unique - Etsy
 -
 Floppy Disk Translucent Orange Container Pencil Cup - Etsy
 -
 Caterpillar Brush Holder - Etsy
 -
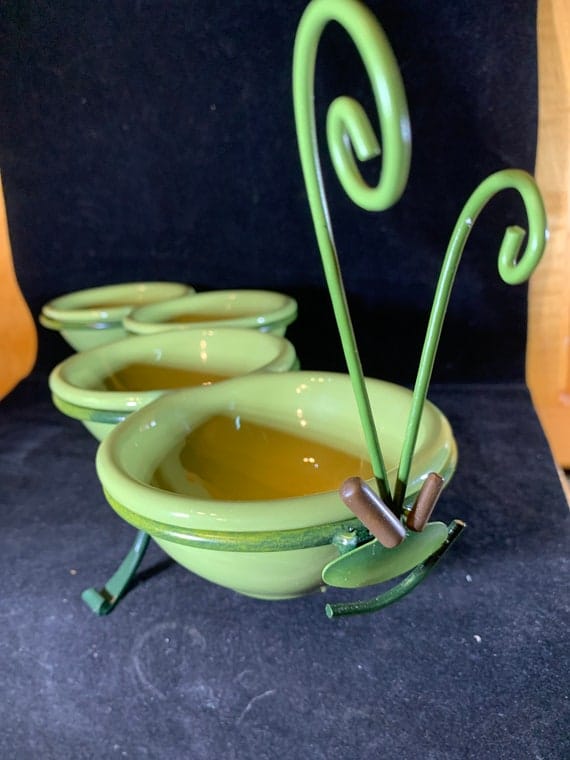 Vintage Figi Caterpillar Appetizer Bowl NEW in Original Box in - Etsy
 -
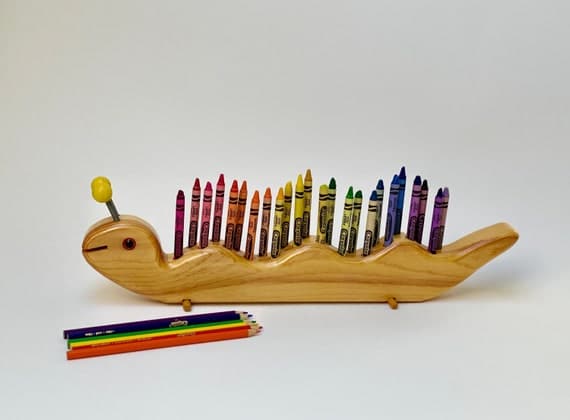 Vintage Wooden Caterpillar Crayon Holder 24 Piece sold - Etsy
 -
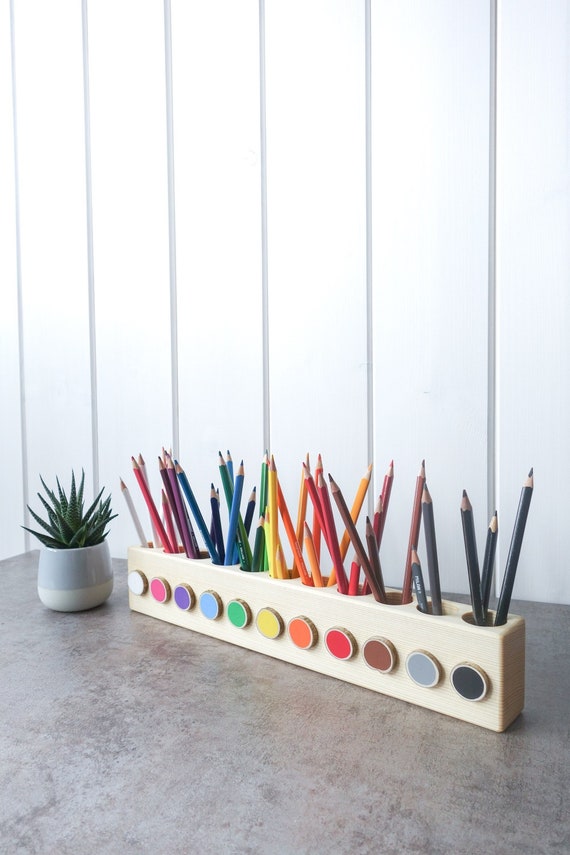 Montessori Wood Pencil Holder Crayon Holder Color Sorting - Etsy
Finished Project Gallery
Turn your caterpillar into a butterfly by adding large paper wings to the back!




Leave a Reply