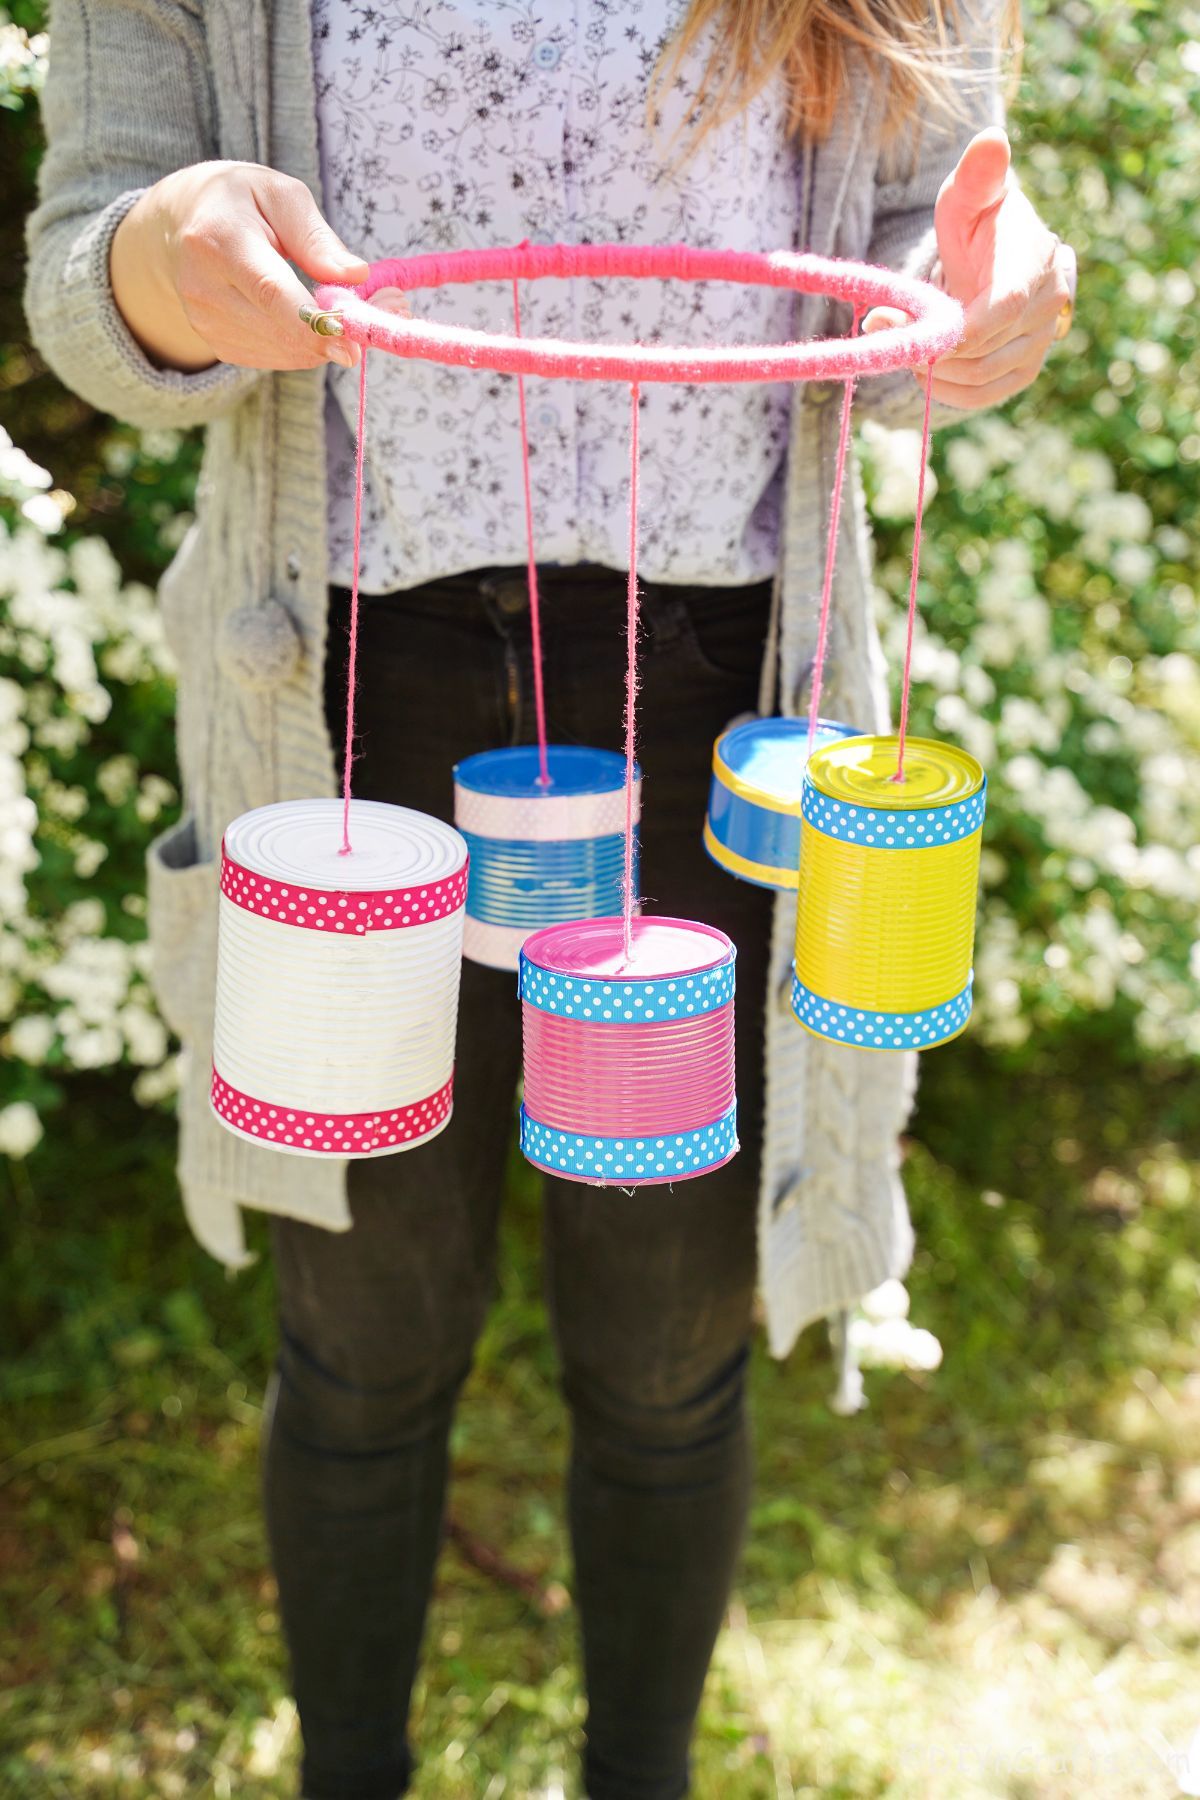
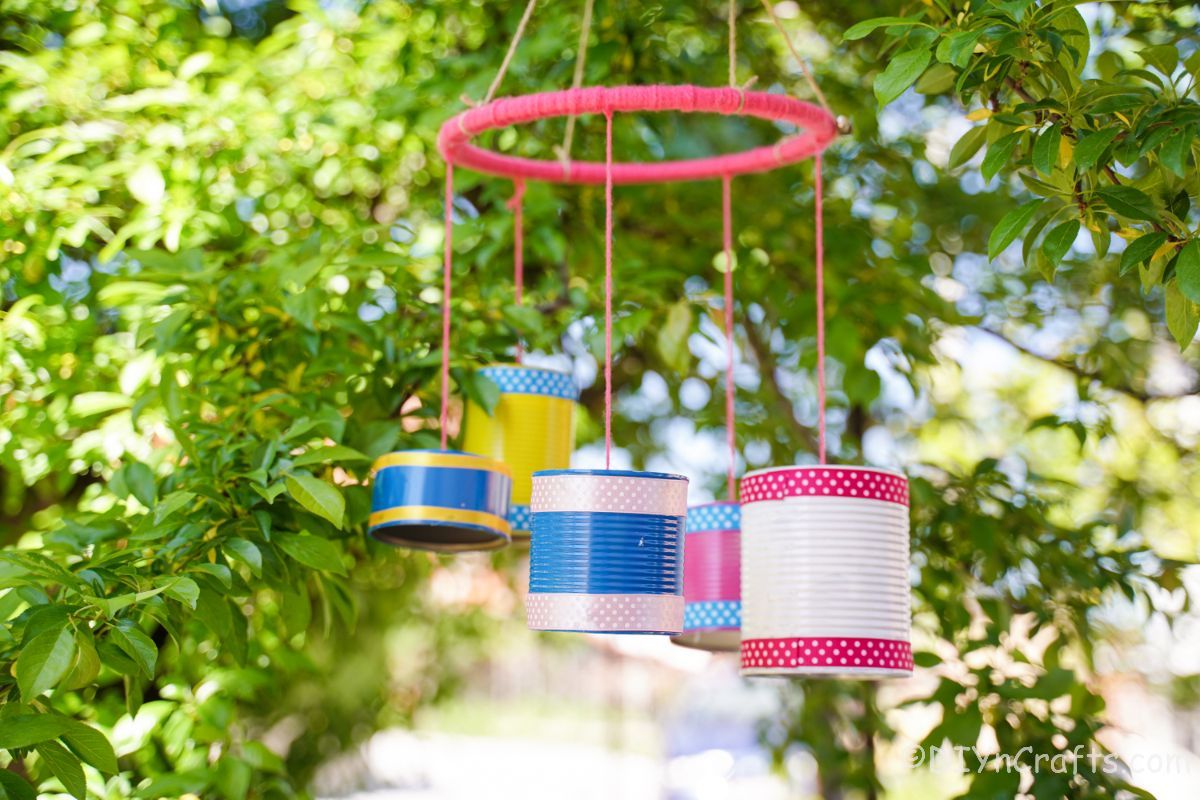
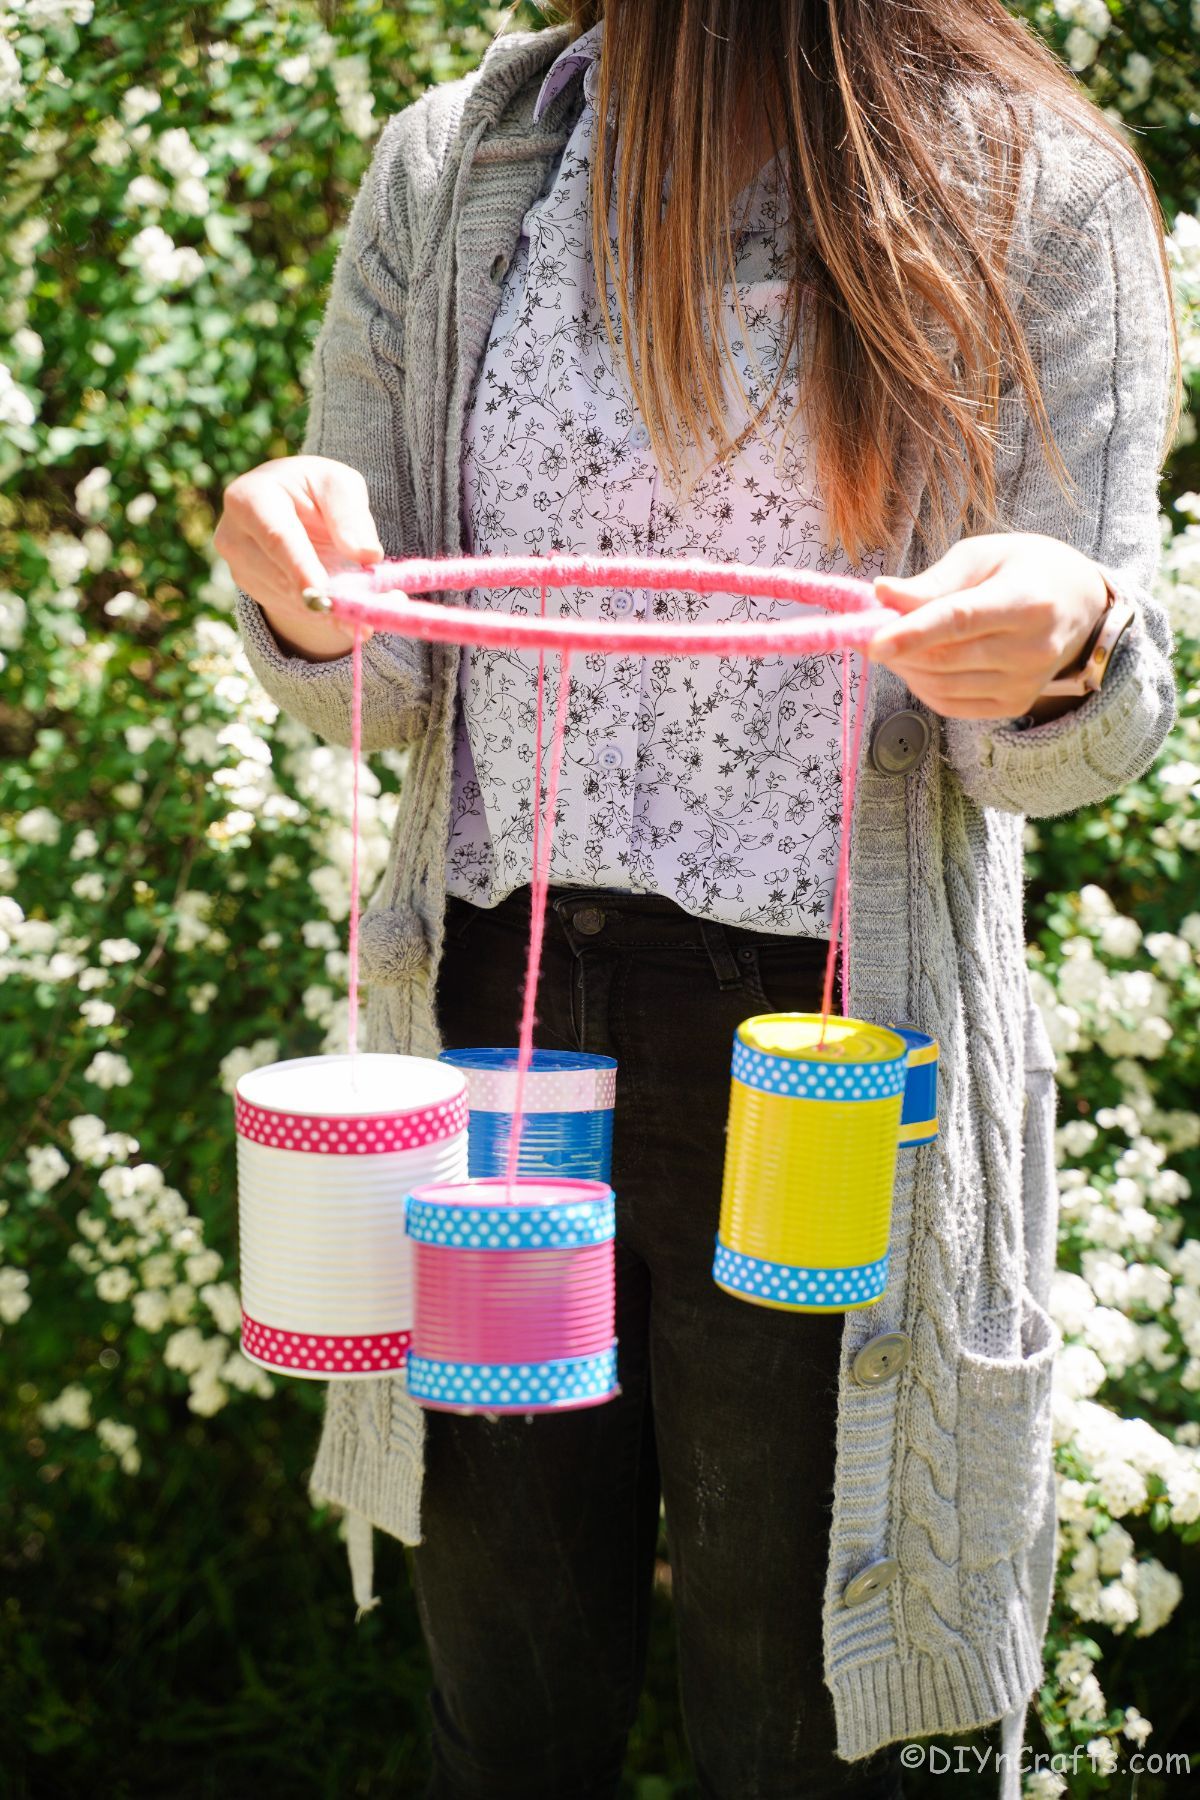
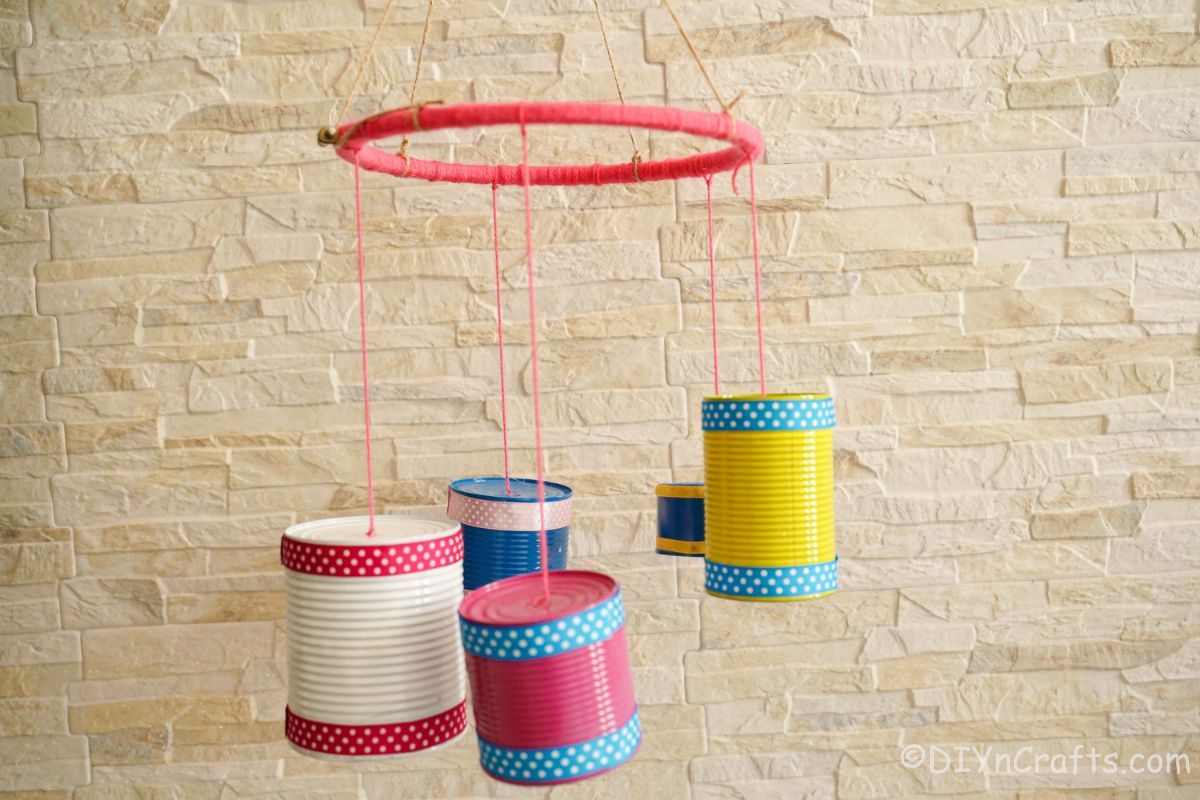
This tin can windchime is the perfect unique garden decoration! The one-of-a-kind decoration is made using recycled cans, so you can feel good about being eco-friendly. The vibrant colors and delightful tinkling sound will add a touch of whimsy to any space. Hang it in your garden or patio and enjoy the soothing sound of the wind chimes as they float in the breeze.
Tin Can Windchime
I always hesitate to throw out any empty cans. In fact, if they aren't going into the recycling bin, they are in my craft room. This is a great way to reuse those old cans and turn them into something amazing for your garden, porch, or any outdoor space. They can even be a fun gift for someone to add some joy to their lives.
Here are more easy ideas to make wind chimes for you to check out. Or, you can make an upcycled CD windchime as another fun upcycled project. And another option for a rustic beaded windchime is a great addition to your home or garden.
What is a Windchime Used For?
A wind chime is a decoration that is hung outdoors. It consists of a series of metal or glass pieces, or whatever kind of things you want to upcycle, like these cans, that chime together when they are blown by the wind.
Many say that windchimes are used to keep away evil spirits, but most often they are simply a fun decoration for a porch or garden. They are pleasing to look at and also provide a variety of benefits. Not only can help you relax, block out unwanted noise, and yes, even keep pests away, even if not evil spirits.
What Should I Hang The TIn Cans From?
Making these tin can wind chimes is easy because they are versatile. When you are hanging the cans, you can use almost anything you have on hand. You can use an embroidery hoop, a wreath form, or even a wire hanger turned into a hoop. The options are limitless. Just use what you already have on hand.
Since you are wrapping the hoop with yarn or ribbon, it doesn't matter as much what it actually looks like. Just make sure that it is sturdy enough to hold the weight of the cans. You'll also want to consider whether you use yarn, ribbon, or twine depending upon how many cans and how heavy the cans are that you will use.
Can I Use The Cans as Bird Feeders?
If you wanted to use the cans as a bird feeder, you can easily use this design but change it to make it work. You would make everything the same but you would need to turn the cans upside down. If doing this, make sure a drainage hole is added. Just make sure it is also small enough that the birdseed won't fall out and, so that rainwater does not collect in the cans.
A dual purposed windchime? Definitely, something I would love to see hanging on my porch or in a tree in my garden. We love attracting birds, and this is a fun way of doing that!
Where Should I Hang This Windchime?
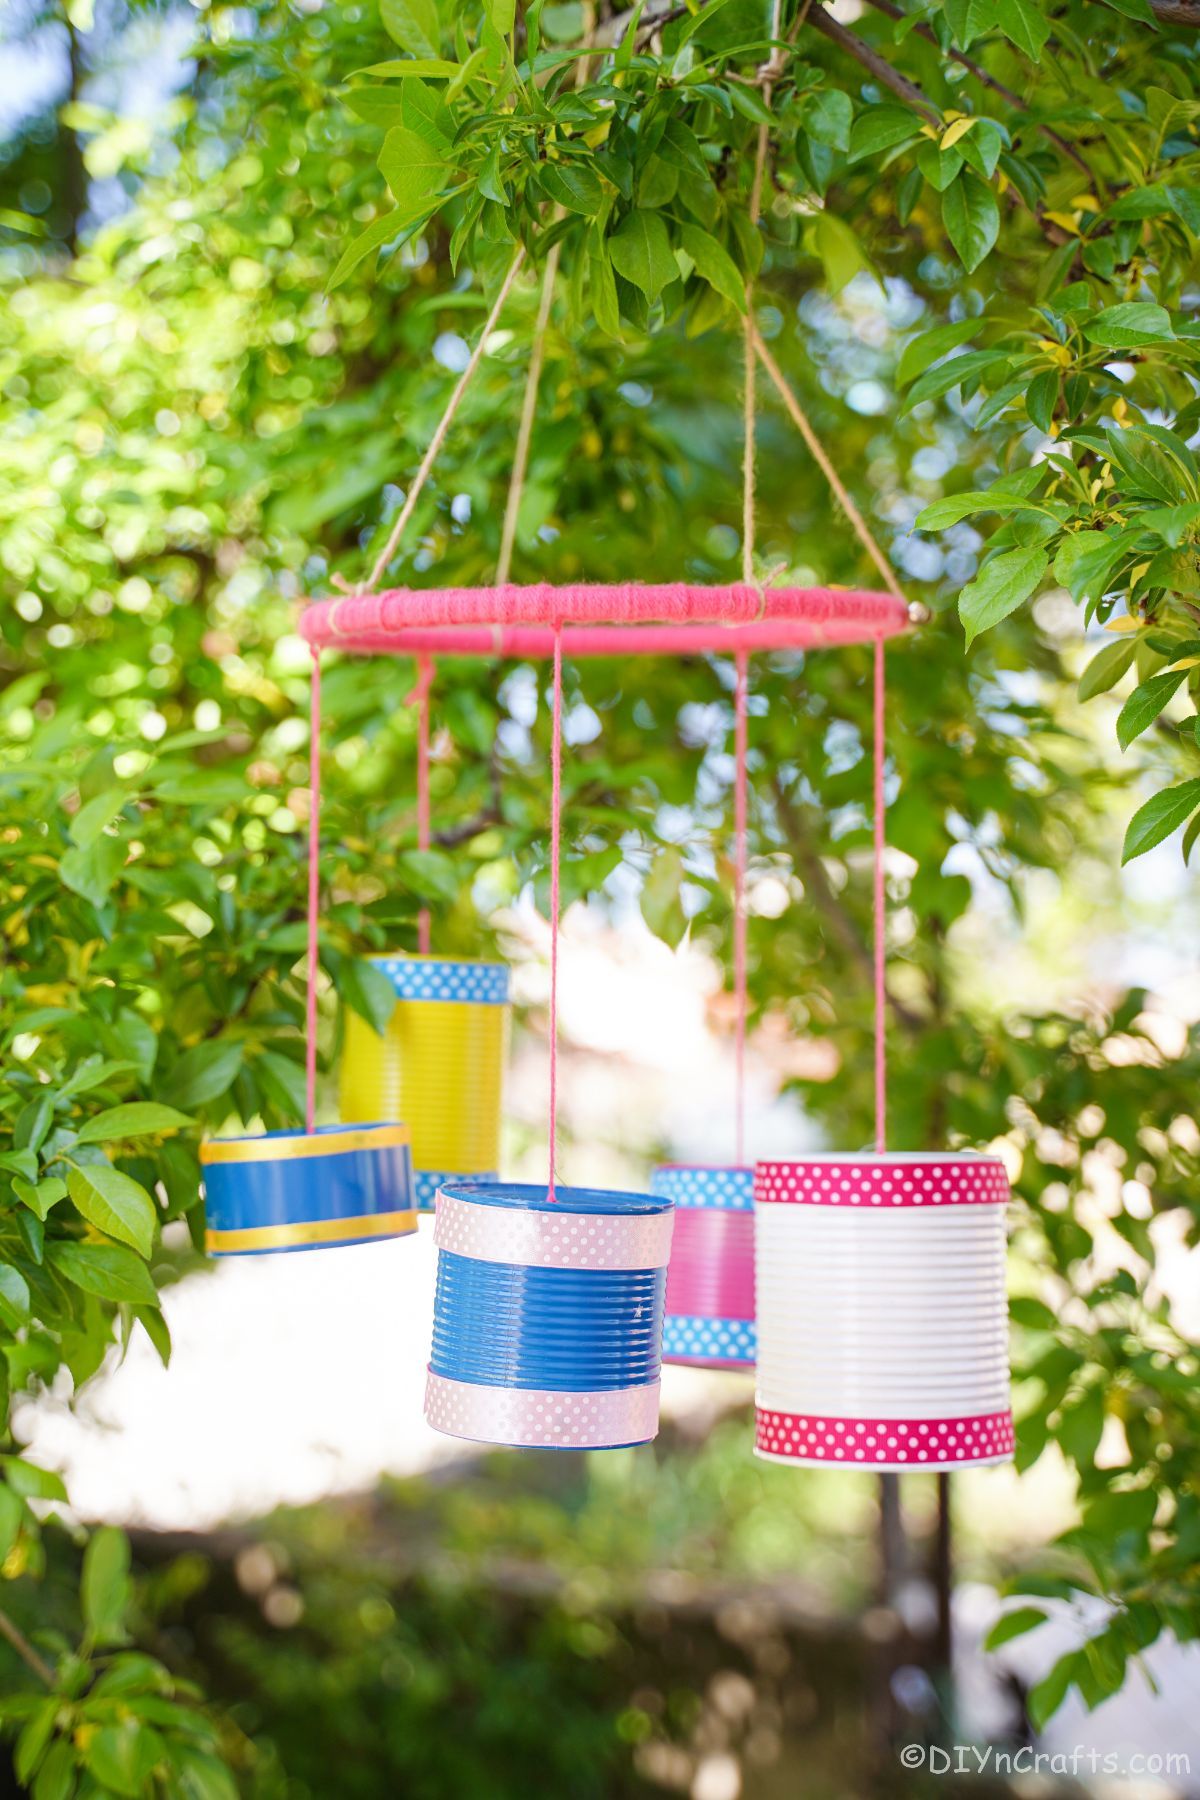
This windchime is perfect for any outdoor space, but it can also hang inside if you prefer. You can easily hang this from a porch railing, porch roof, or in your garden from a hook. On trees or shrubs that are tall, it looks great and works wonderfully.
If hanging inside, it's nice in a doorway or open area, but can be hung from the ceiling if you want. It's a fun and cheerful addition to your home, both inside and outside.
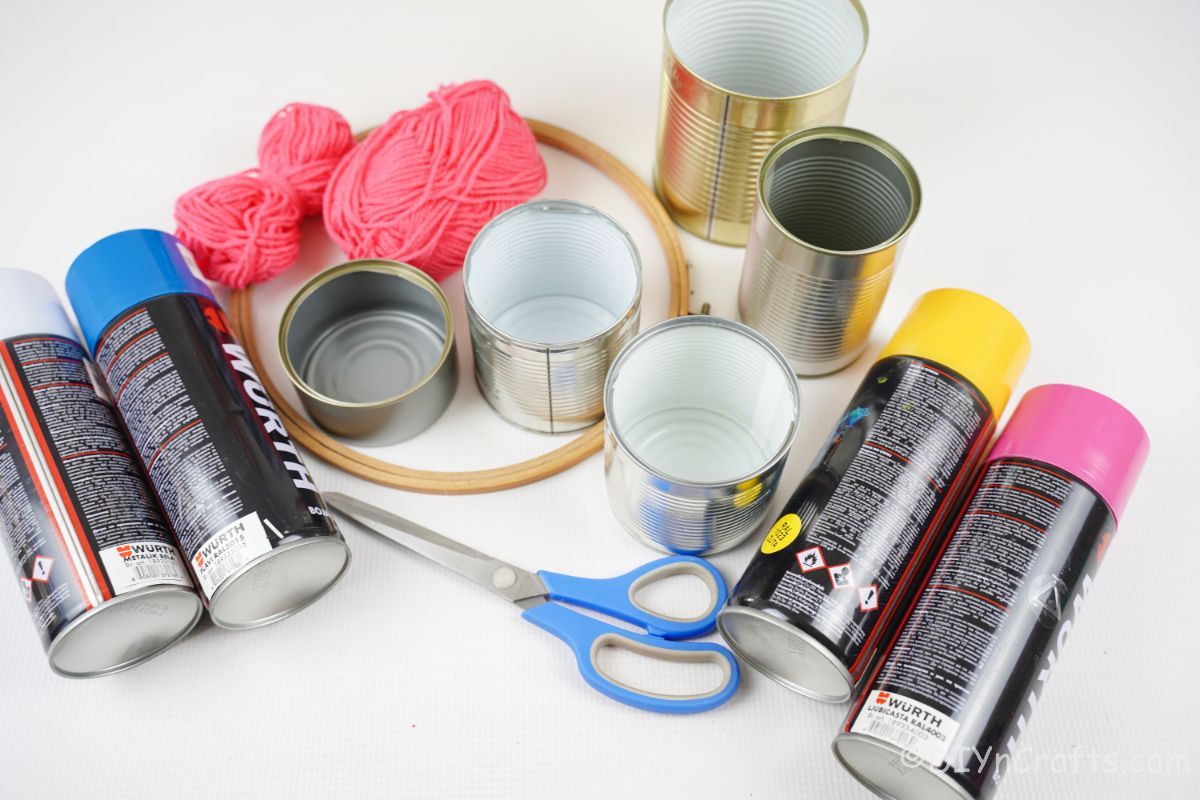
Supplies Needed
- Embroidery hoop
- Various sized tin cans
- Pink yarn
- Pink spray paint
- Yellow spray paint
- Blue spray paint
- White spray paint
- ½" Blue polka dot ribbon
- ½" Pink polka dot ribbon
- ¼" Yellow ribbon
- Scissors
- Hot glue gun
- Hot glue sticks
How to Make a Windchime From Tin Cans
Start by removing labels and glue from the cans. Clean them out and let them dry, then spray paint each can in a different color and set them aside to dry. This usually takes 30-minutes
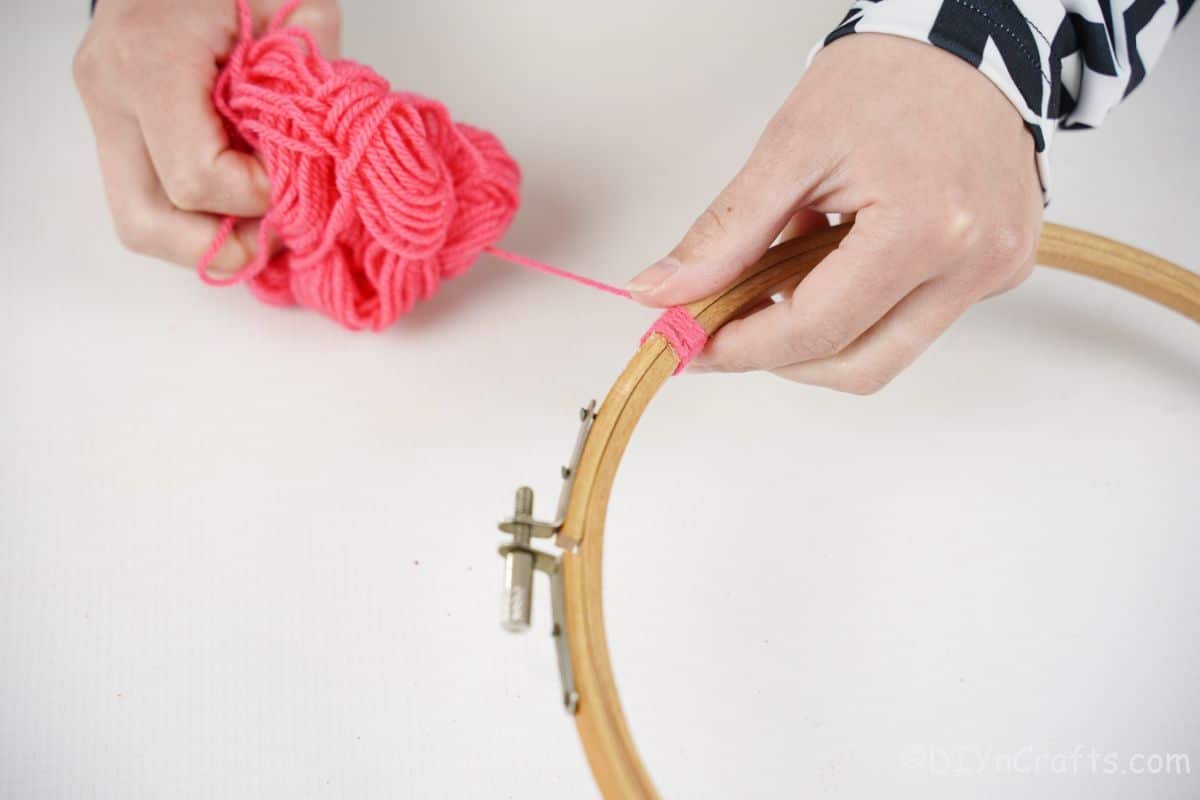
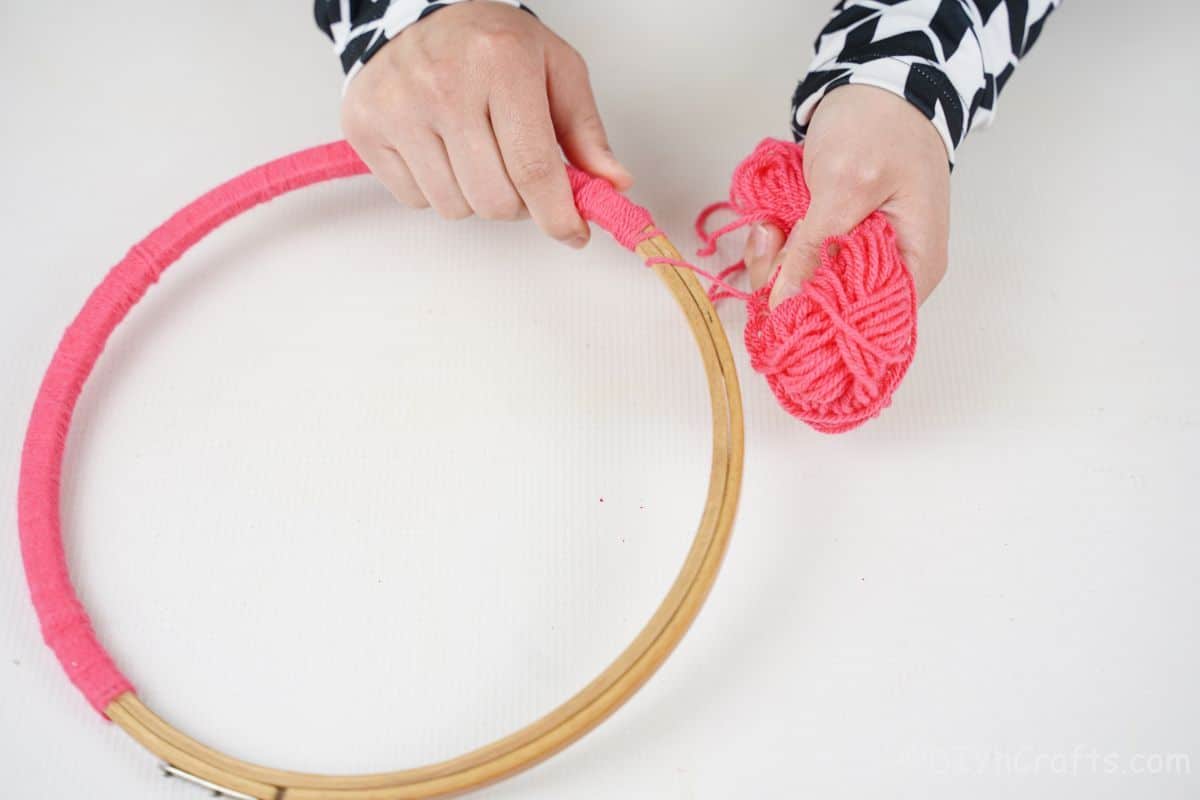
While you let the paint on the cans dry begin wrapping the embroidery hoop with yarn. Start by gluing one end to the hoop, then continue wrapping.
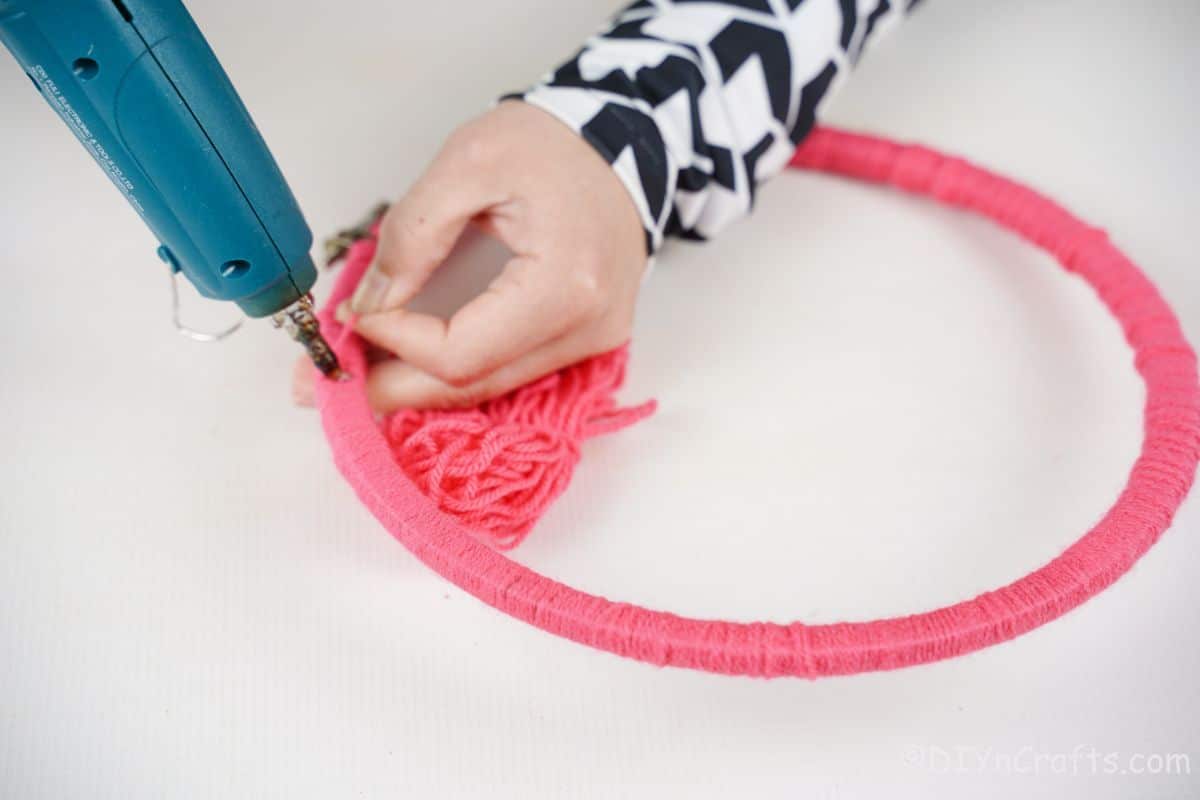
Wrap around the hoop until it is completely covered, using glue as needed every few inches to secure it into place. Once covered, set it aside.
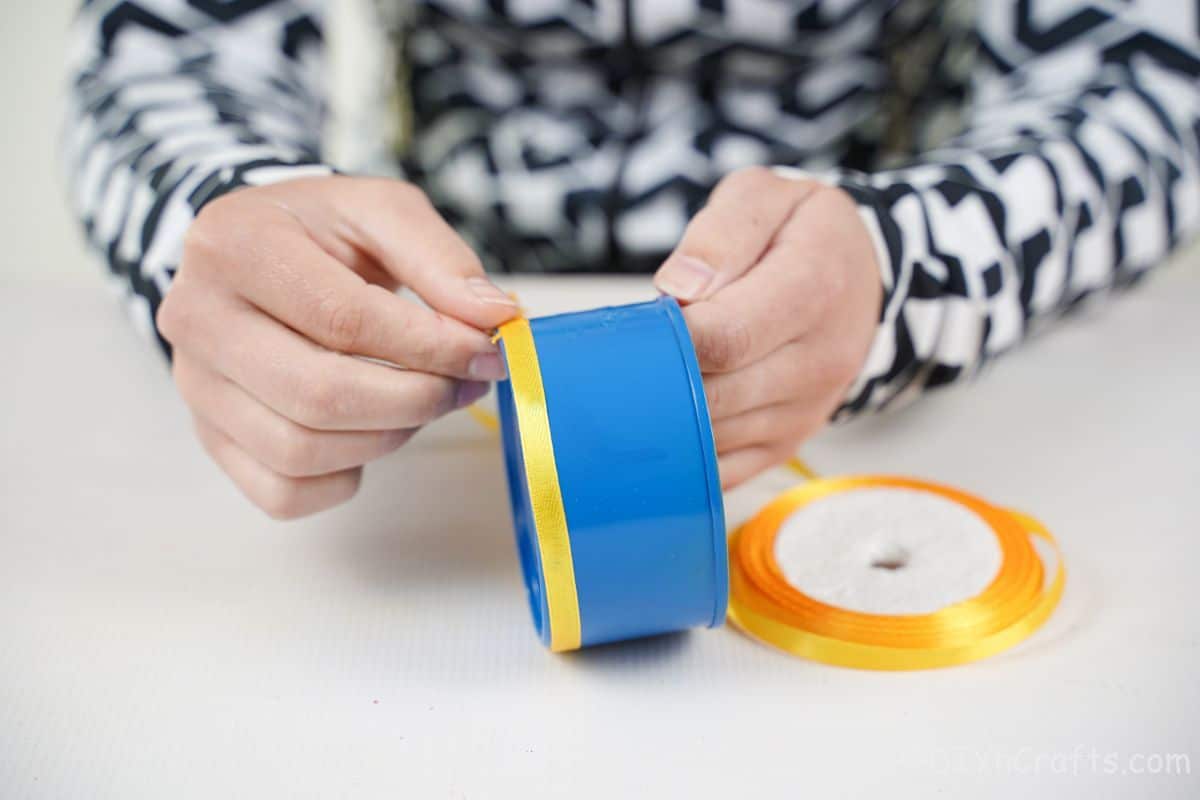
Once the cans have all dried completely, it's time to finish decorating them. Choose a different color ribbon or washi tape for each can.
Glue a length of ribbon around the top edge and the bottom edge of each can. You can also paint on other details or even use stickers or beads if you want. Continue this until all of the cans are decorated.
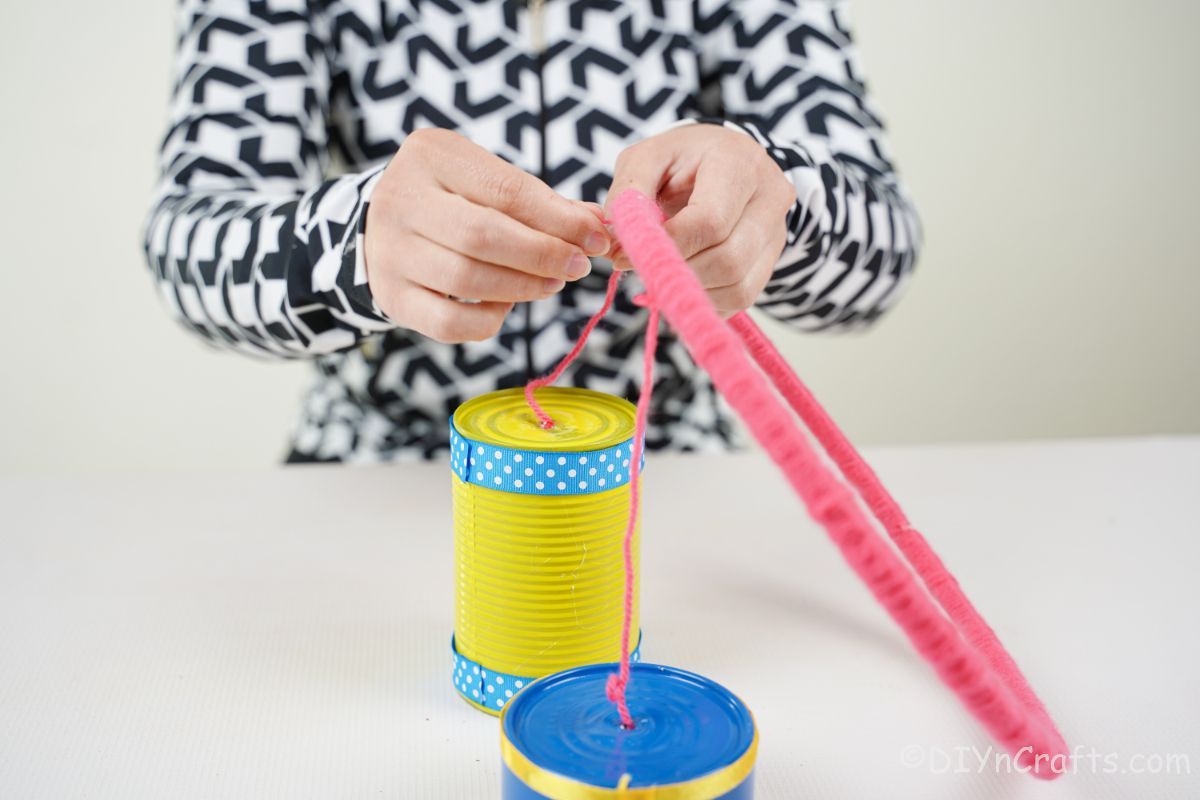
Use a nail and hammer to create a hole on top of each can.
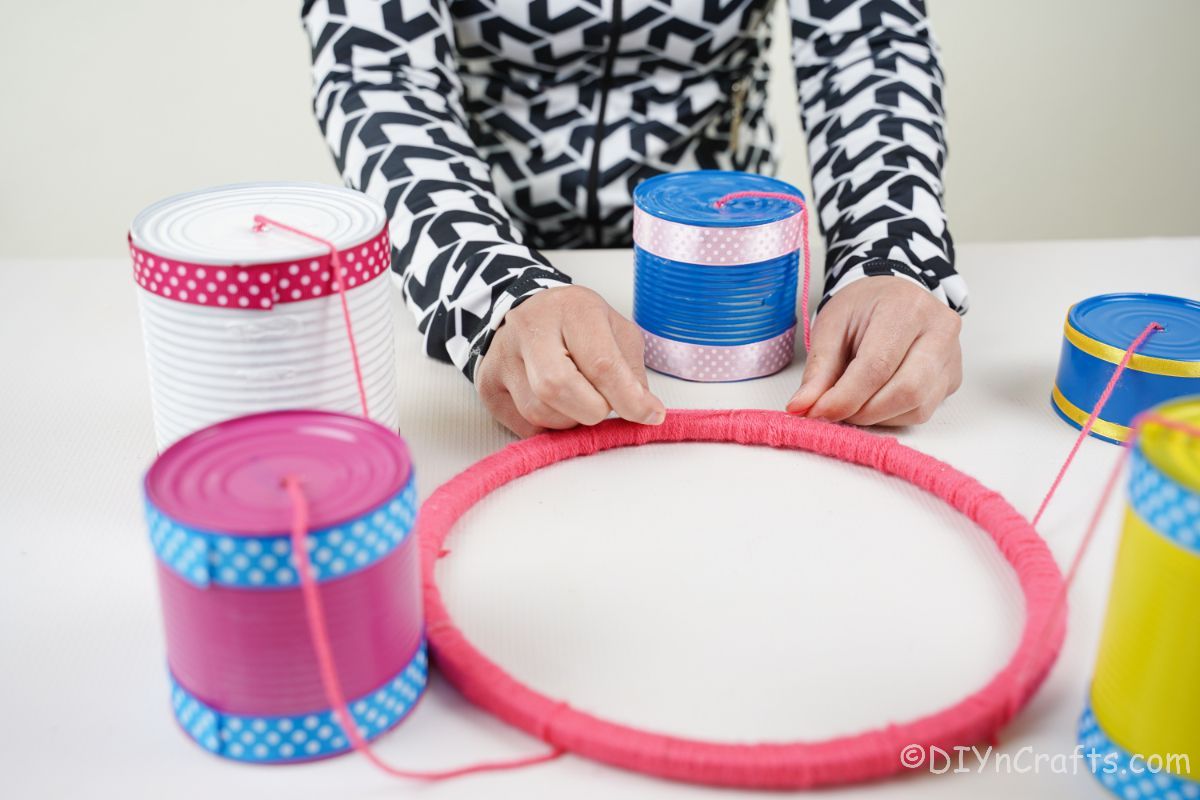
Then, string the yarn through each can. Cut these at varying lengths so the cans will dangle differently from the hoop. Push the yarn through the hole in the can, then tie a knot on the inside, or glue it in place so it doesn't slip out of the can.
Once all of the cans have a string inside, begin tying those around the hoop every few inches.
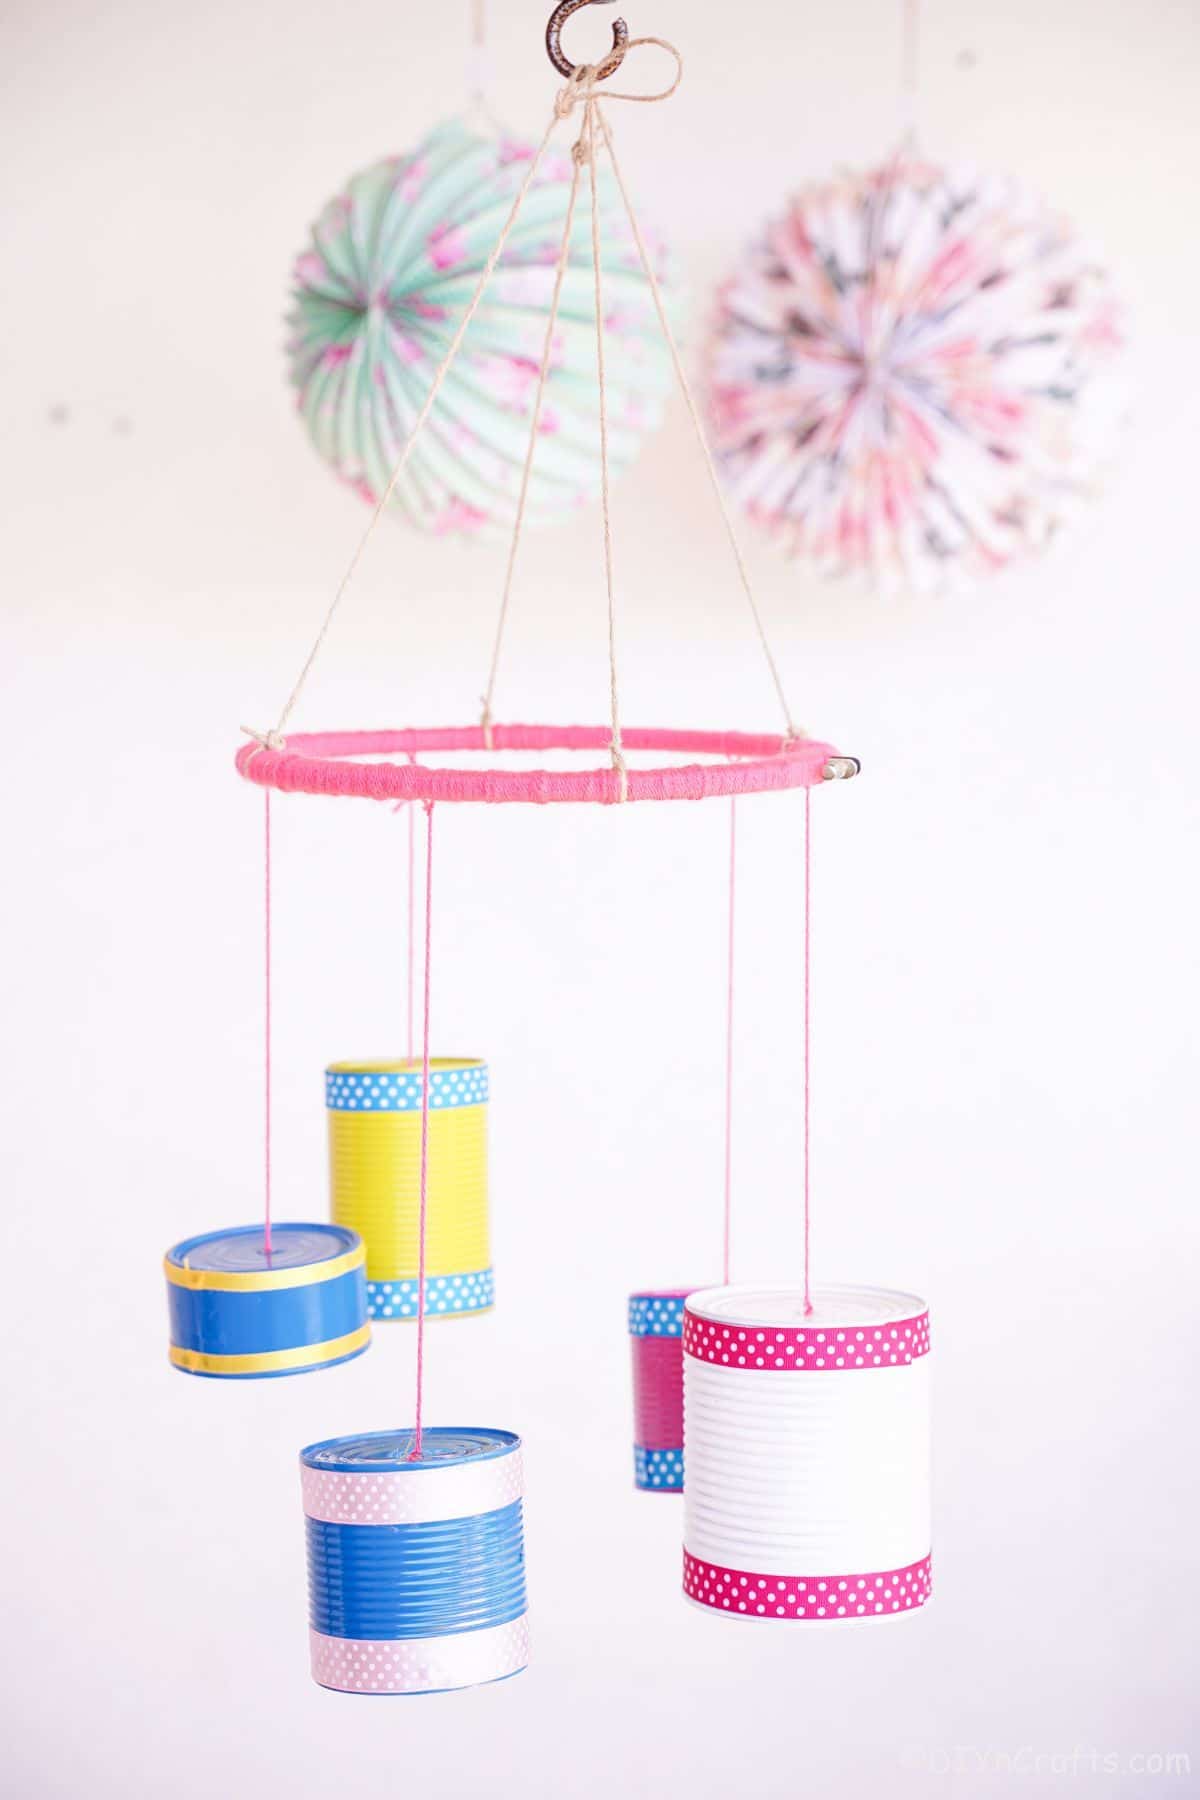
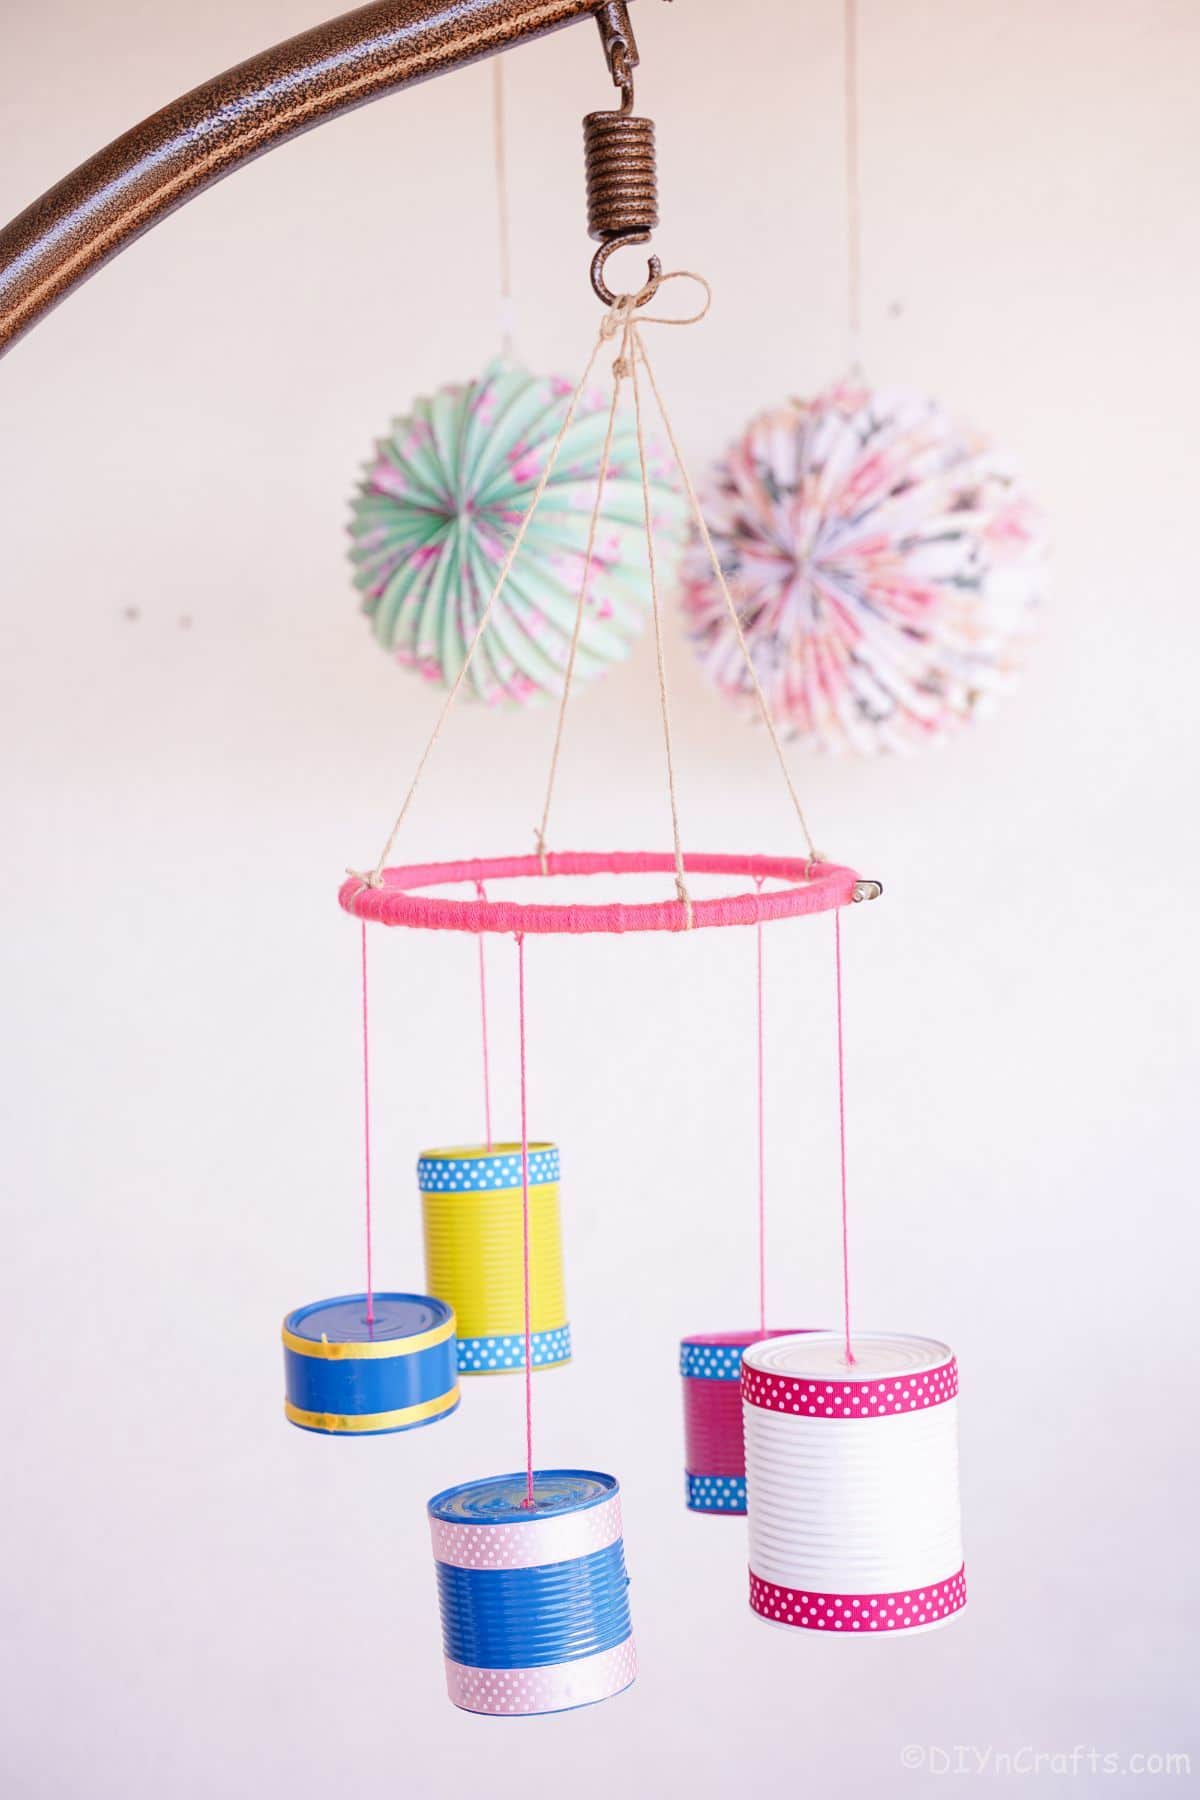
To hang the hoop, cut a length of twine or ribbon and tie it to three different "sides" of the hoop. Connect them at the top and hang as desired. Now you can hang your wind chime on the porch, in your garden, or even inside of your house.
More Tin Can Craft Ideas
Tin cans are so versatile! I absolutely love using them as a base for crafting. Below are some more of my favorite ideas that are great for organizing, decorating, or turning that basic can into something totally new and unique. Get creative and upcycle cans for every season and holiday!
- 50 Jaw Dropping Ideas for DIY Tin Can Decorations
- Rustic Burlap and Lace Tin Can Organizer
- How to Make Gorgeous DIY Tin Can Lanterns
- Rustic Coffee Bean Tin Can Fake Watering Can

Tin Can Windchime
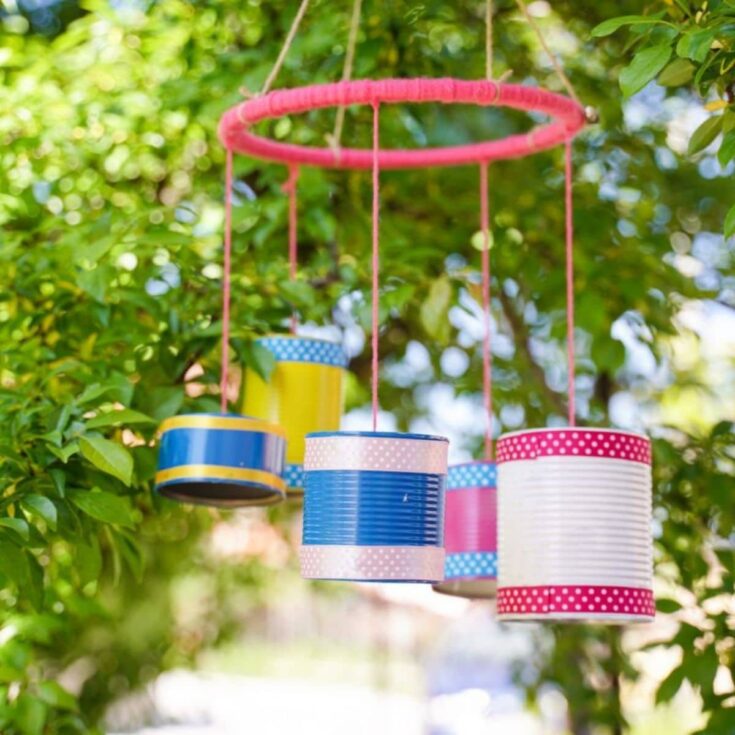
This upcycled tin can windchime is such a cute idea! Using old cans as the chimes with an embroidery hoop base!
Materials
Instructions
- Spray each of the tin cans with spray paint in the colors you prefer. Set these aside to dry for at least 30 minutes or until no longer tacky.
- While the cans dry, begin wrapping yarn around the embroidery hoop.
- Start by gluing the end to one side, and continue wrapping until the entire thing is covered using glue every few inches as needed. Once done trim the end of the yarn, glue it in place, and set this aside.
- When the cans are dry, begin adding strips around the top and bottom of the cans.
- I used a variety of polka dot ribbons in different colors and added a strip at the top edge and one at the bottom edge. Repeat this for all of the cans.
- Now, use a nail and hammer to create a small hole in the top of each can.
- Once all cans are decorated, begin stringing yarn through the hole in the top making sure it is glued or secured in place on the inside with a large knot or glue.
- Repeat this on all of the cans at various lengths.
- Now tie the ends of these strings to the embroidery hoop every few inches.
- Add an additional length of twine or chain on three areas of the hoop then pull up and tie in the center at the top to create a way to hang the windchime.
- Hang the wind chime in your garden or along your porch railing.
Notes
Decorate your cans with beads, stickers, or even painted designs that you prefer to add charm to your garden!
Recommended Products
As an Amazon Associate and member of other affiliate programs, I earn from qualifying purchases.
-
 Serene Ceramic Wind Chime Organic Hanging Bells Garden | Etsy
 -
 Ring Solar Wind Chimes Lights Outdoor Lighting for Garden | Etsy
 -
 Glass Wind Chimes Made From Pyramid Shaped Bottles Hand Cut | Etsy
 -
 Bohemian Glass Bead Holiday Wind Chime Window Suncatcher | Etsy
 -
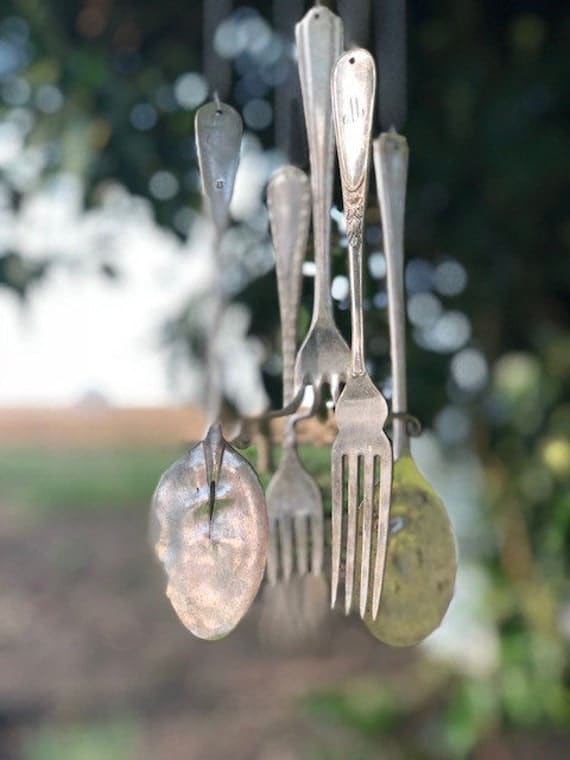 Cutlery Wind Chime From Recycled Vintage Plated Cutlery & | Etsy
 -
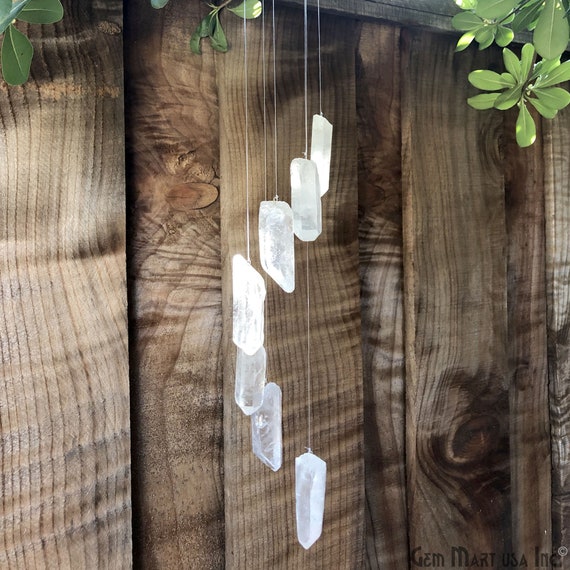 Wind Chime in Natural Colors of Agate for Outside Melodic | Etsy
Finished Project Gallery
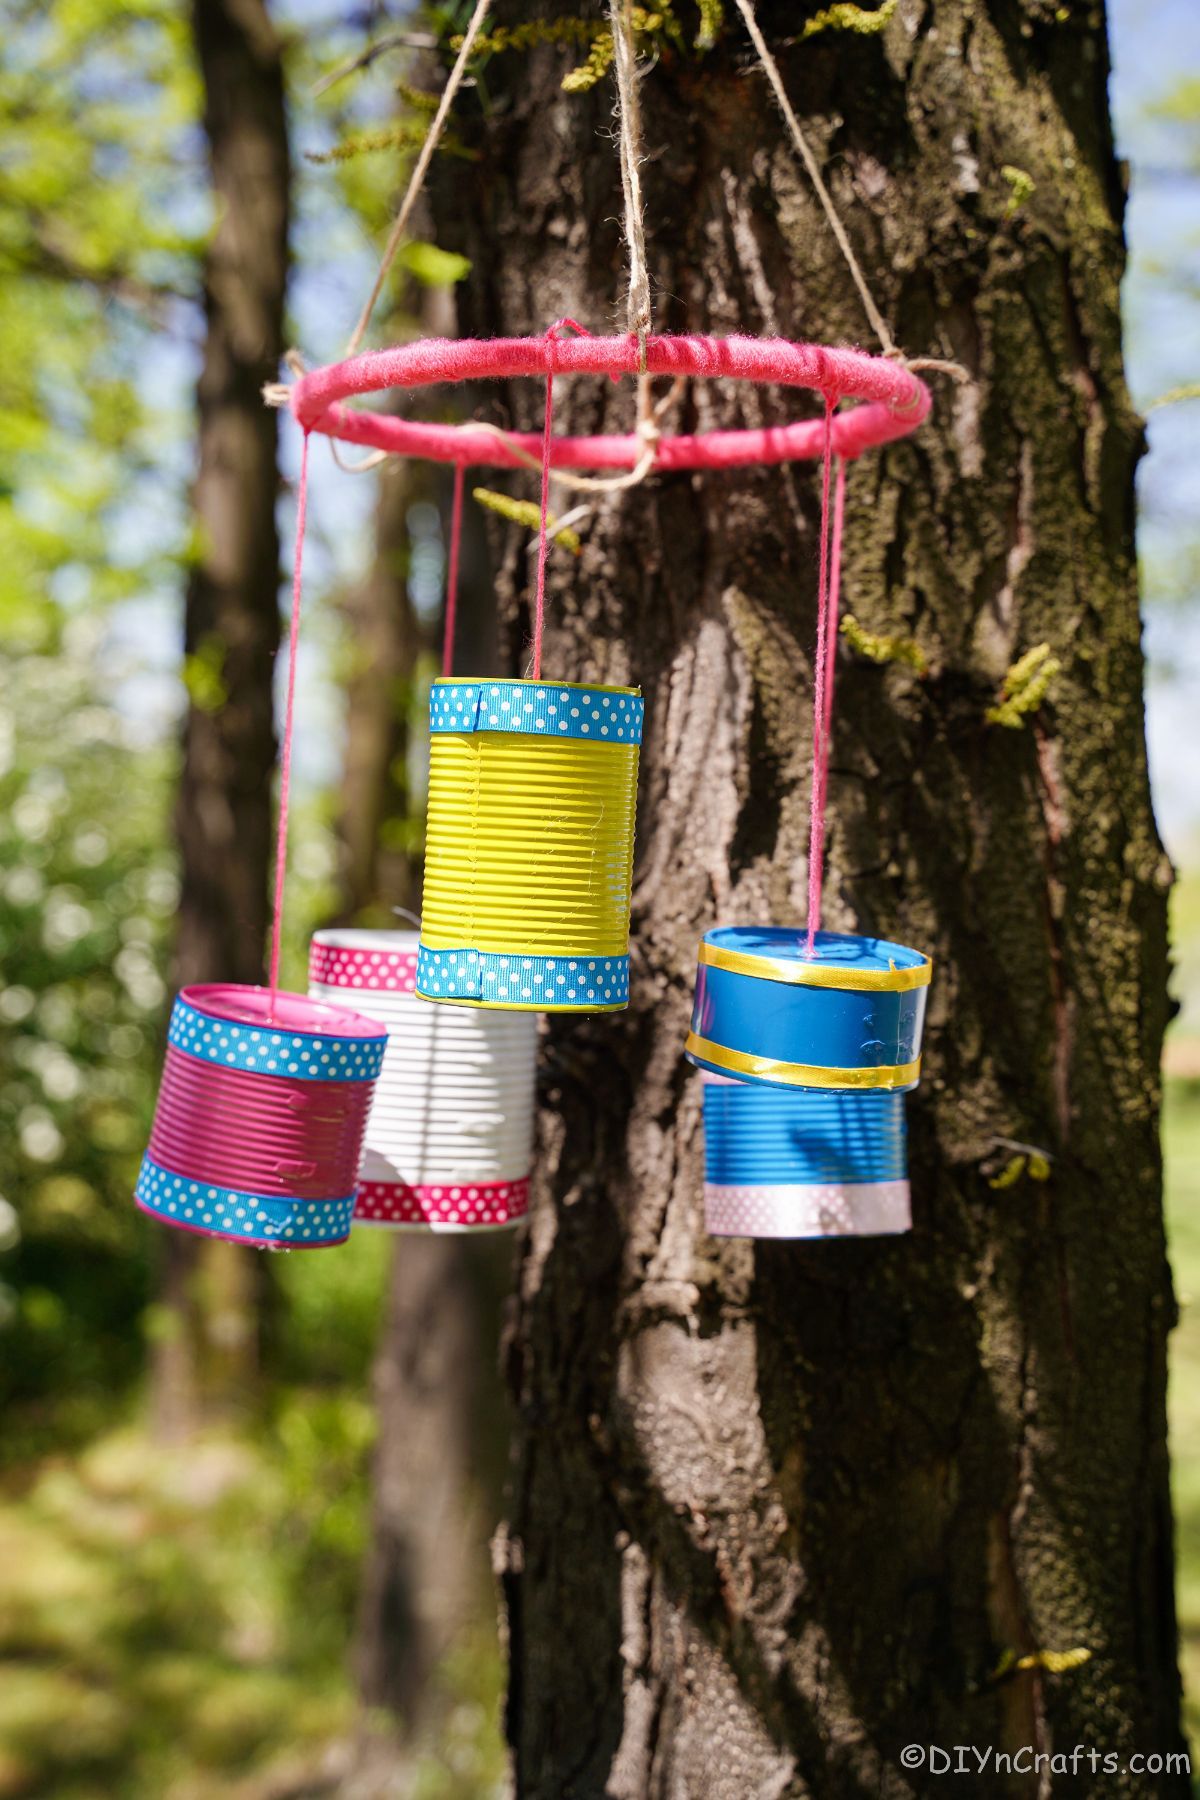
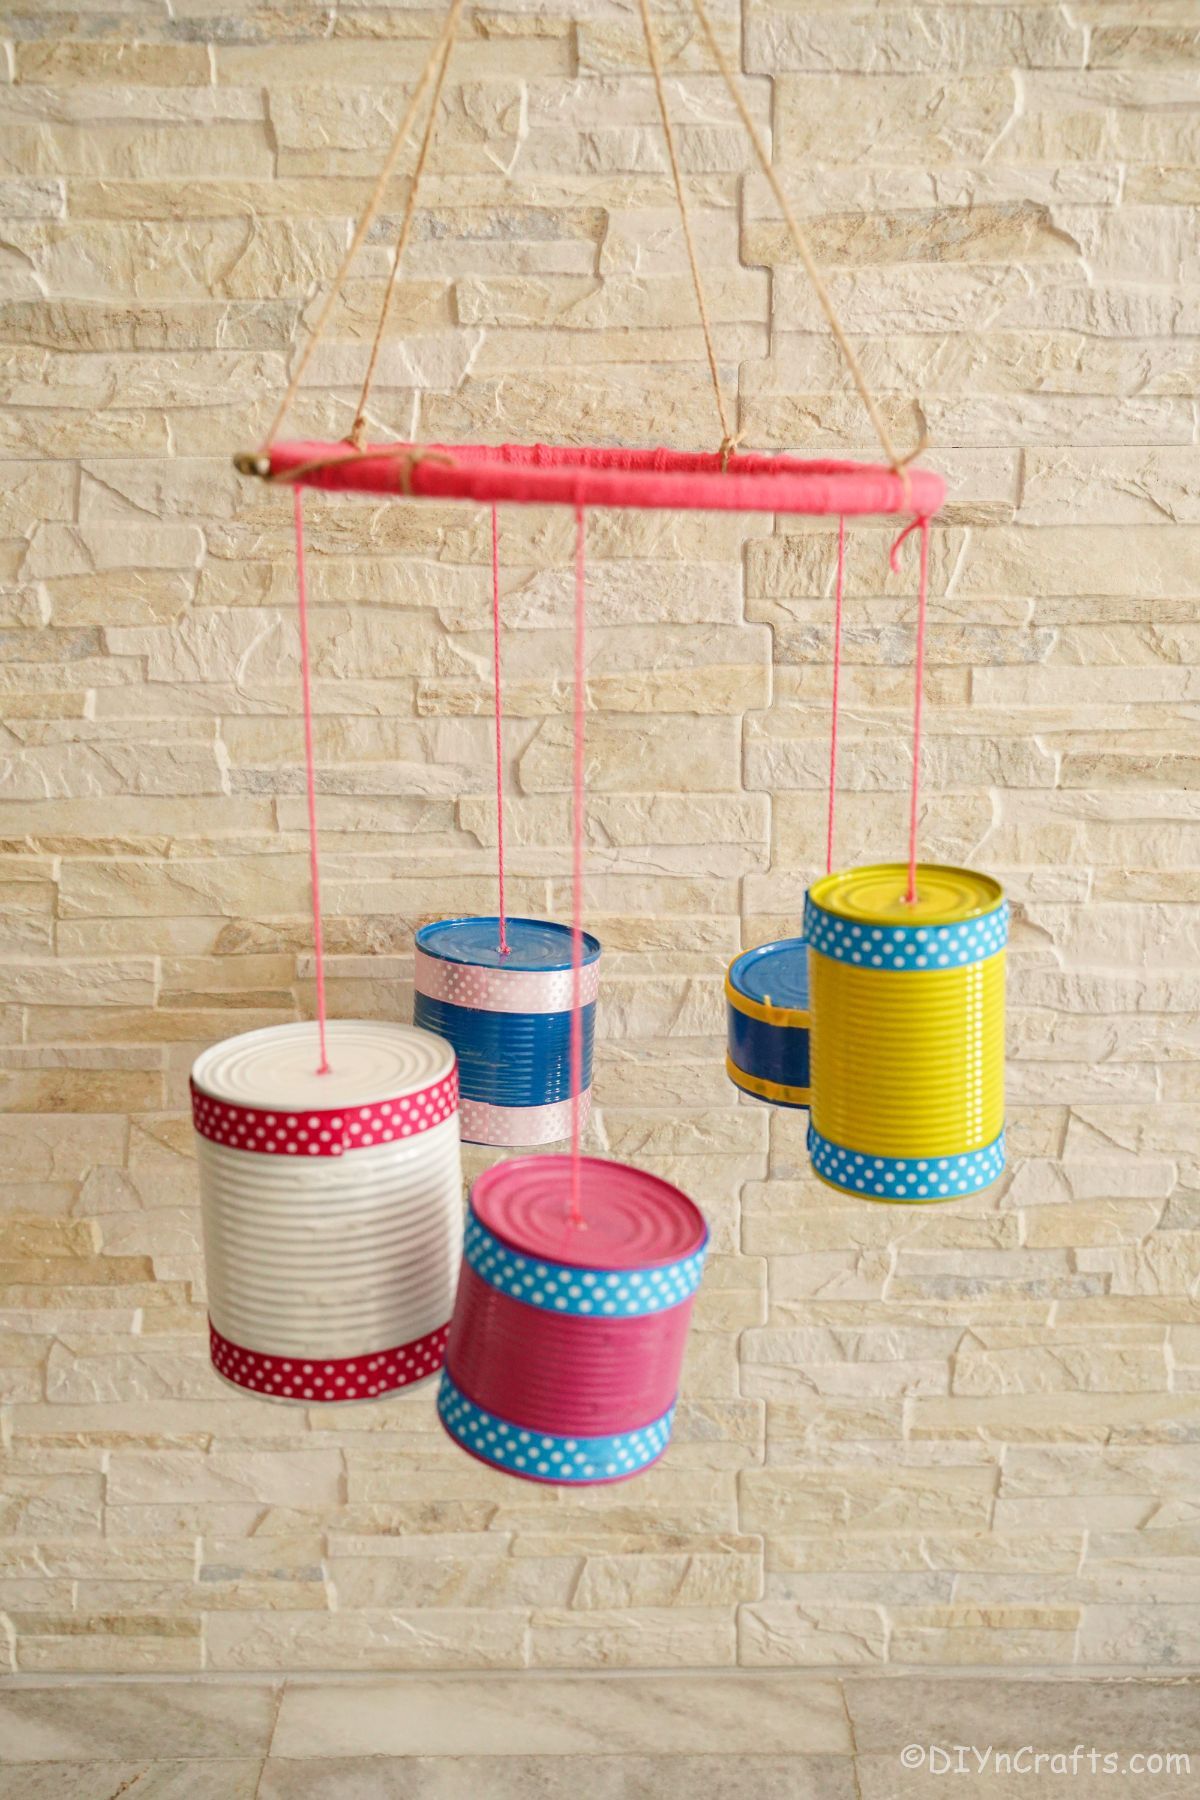
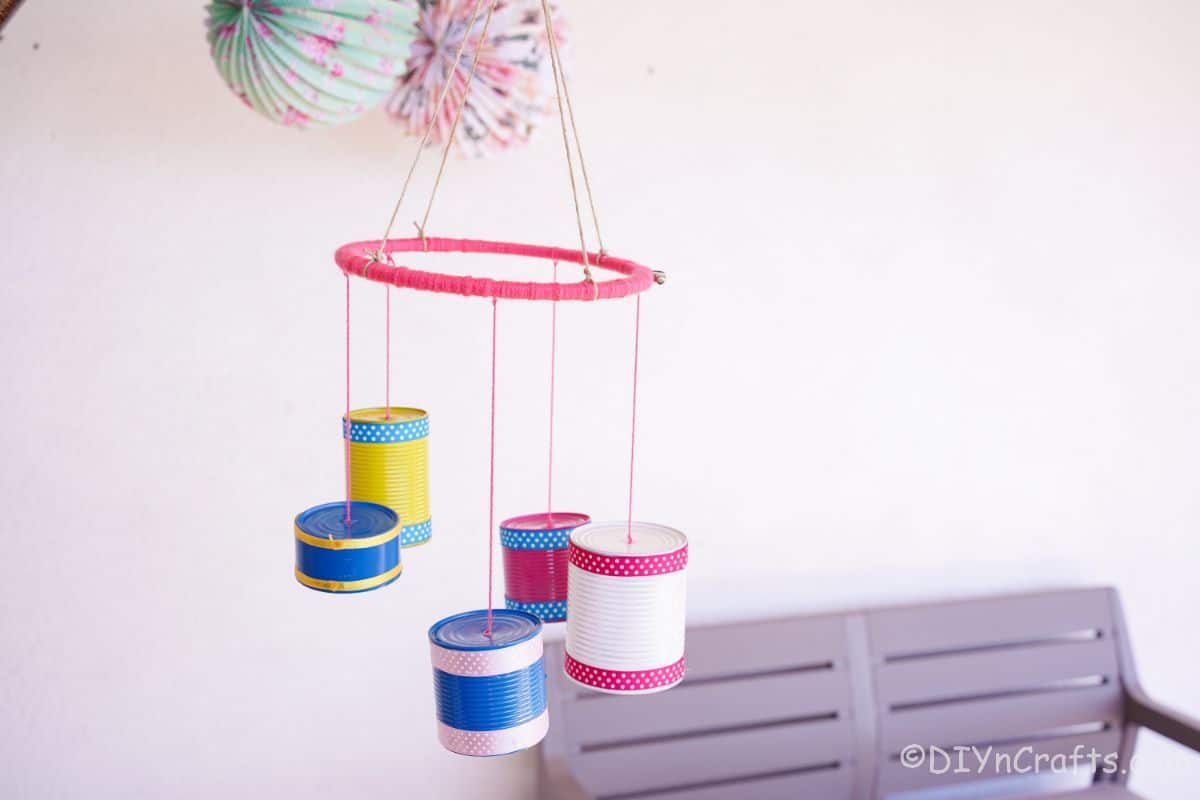
Decorate the cans however you wish with paint, ribbon, washi tape, or add beads for sound.












Leave a Reply