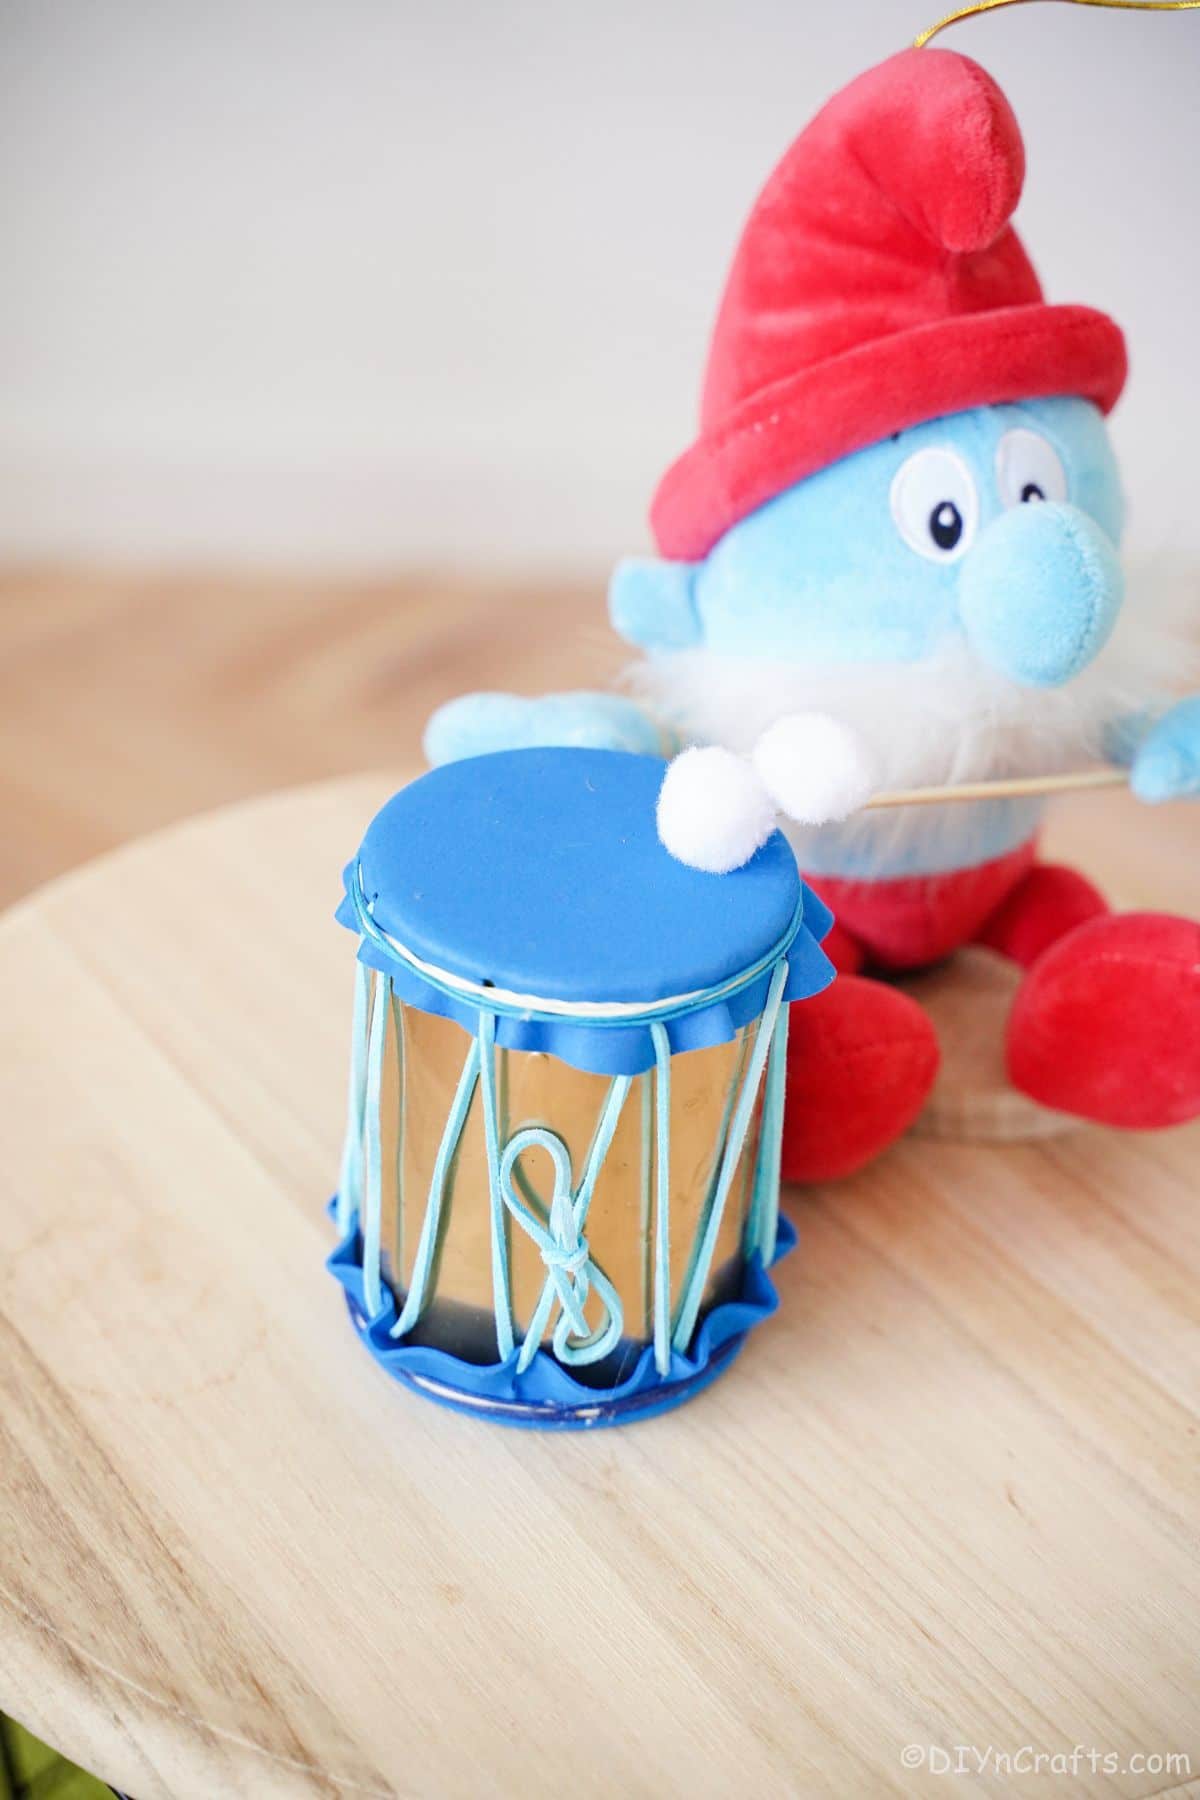
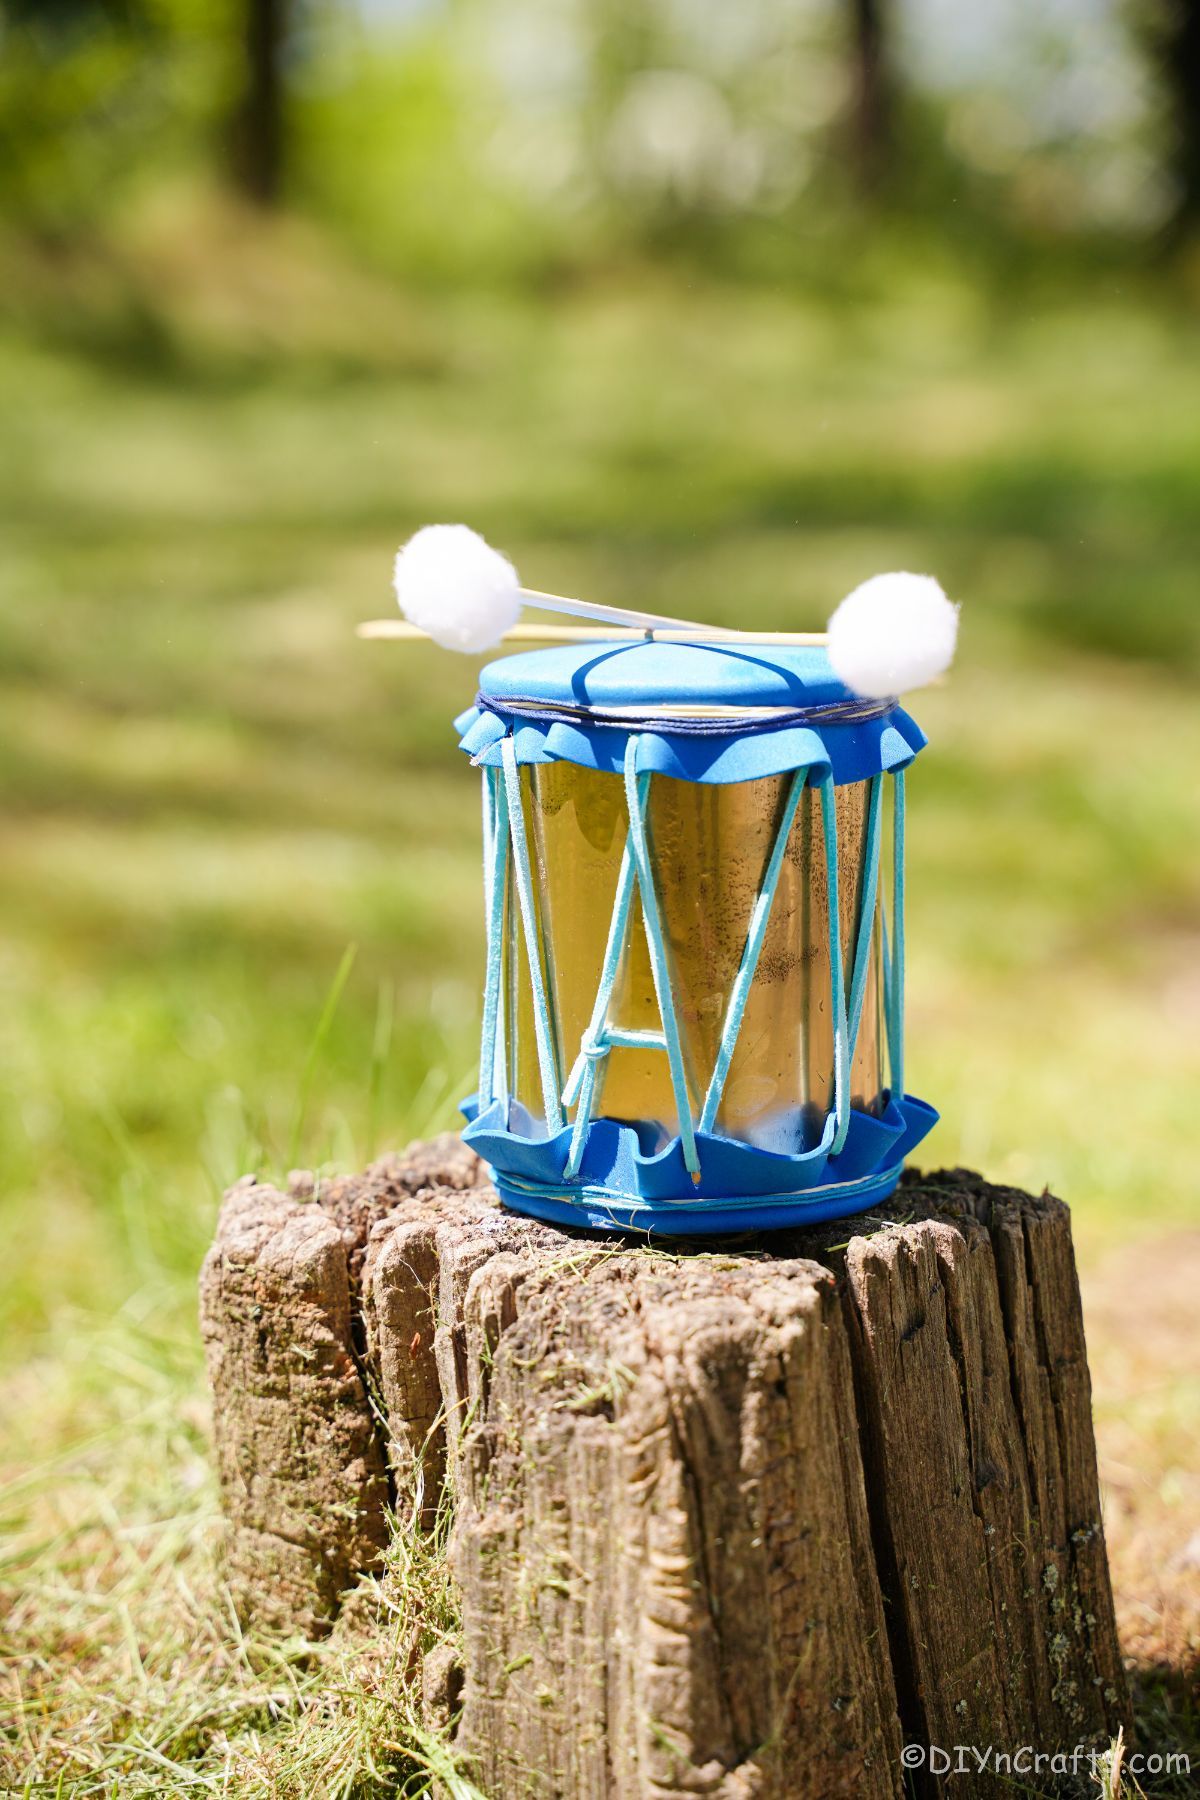
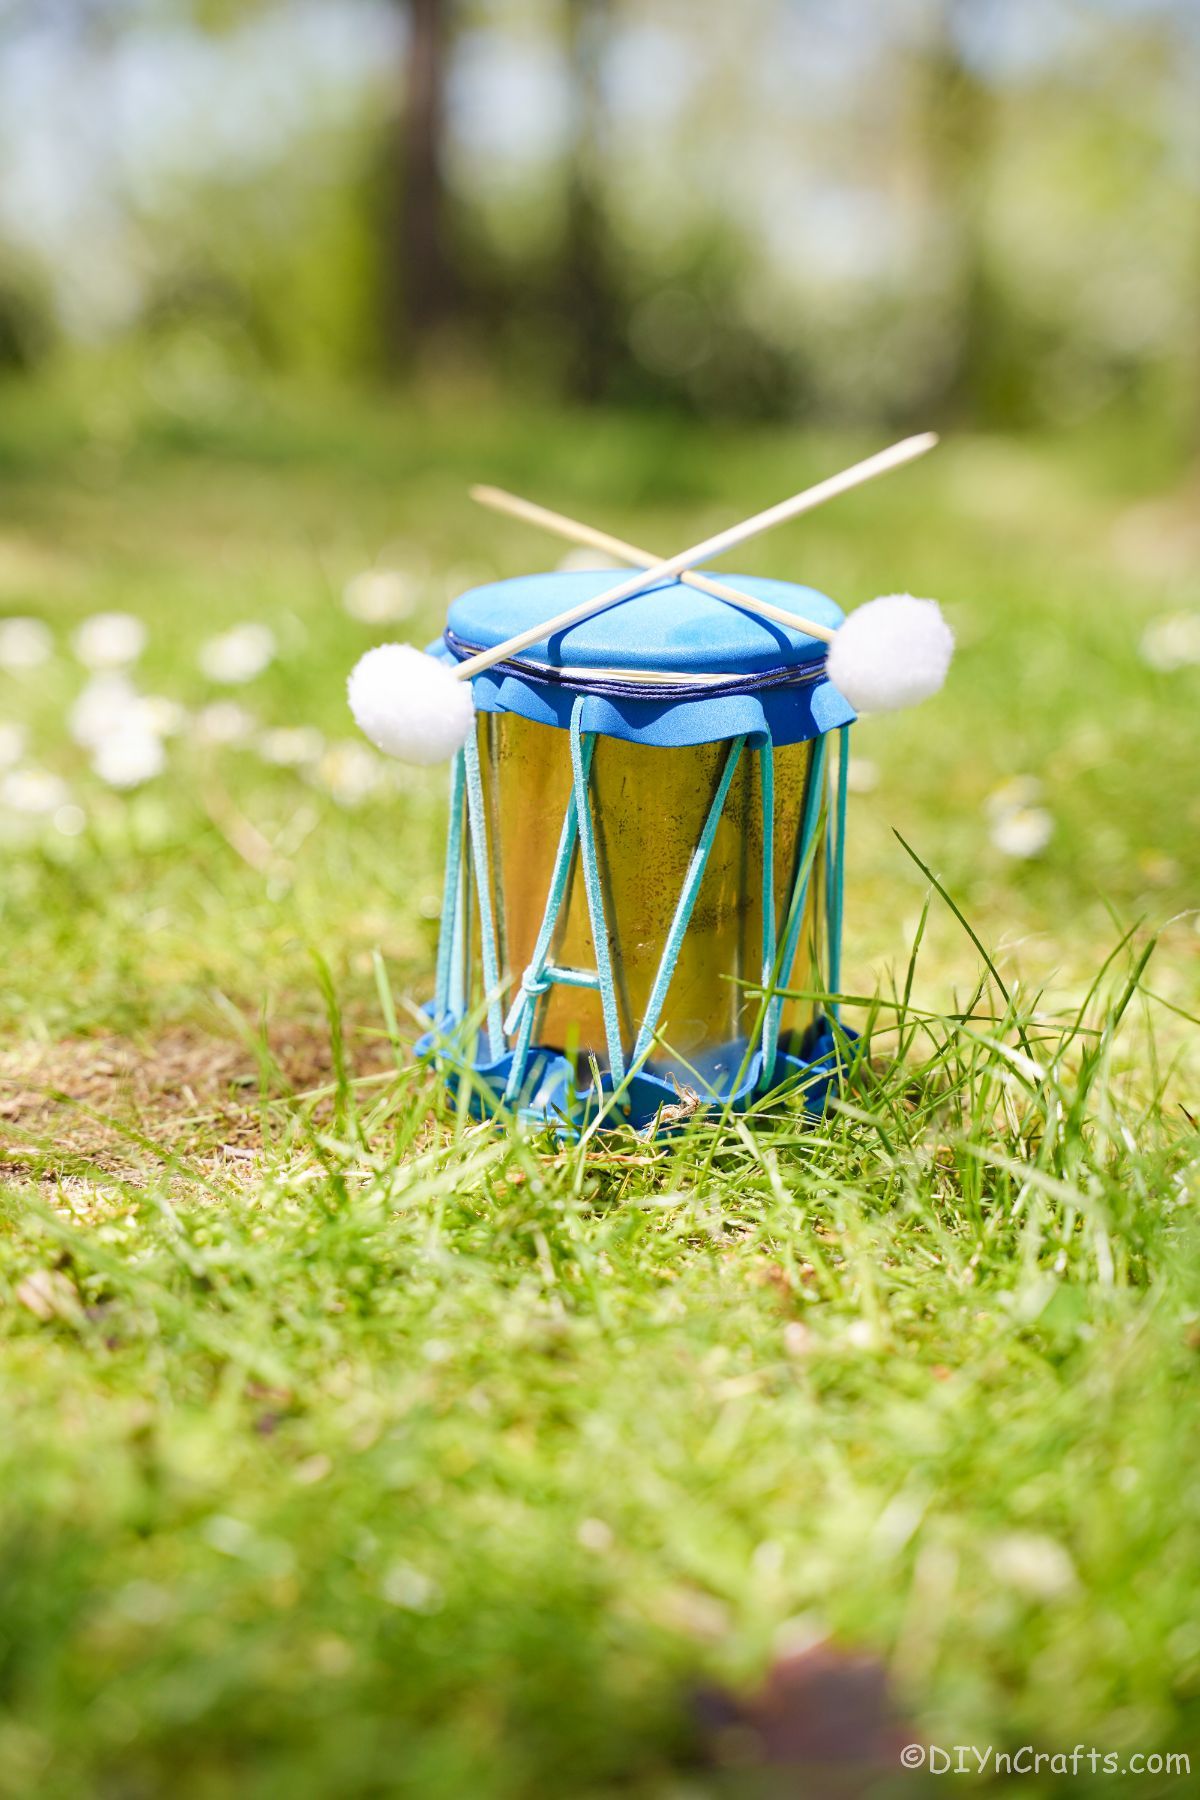
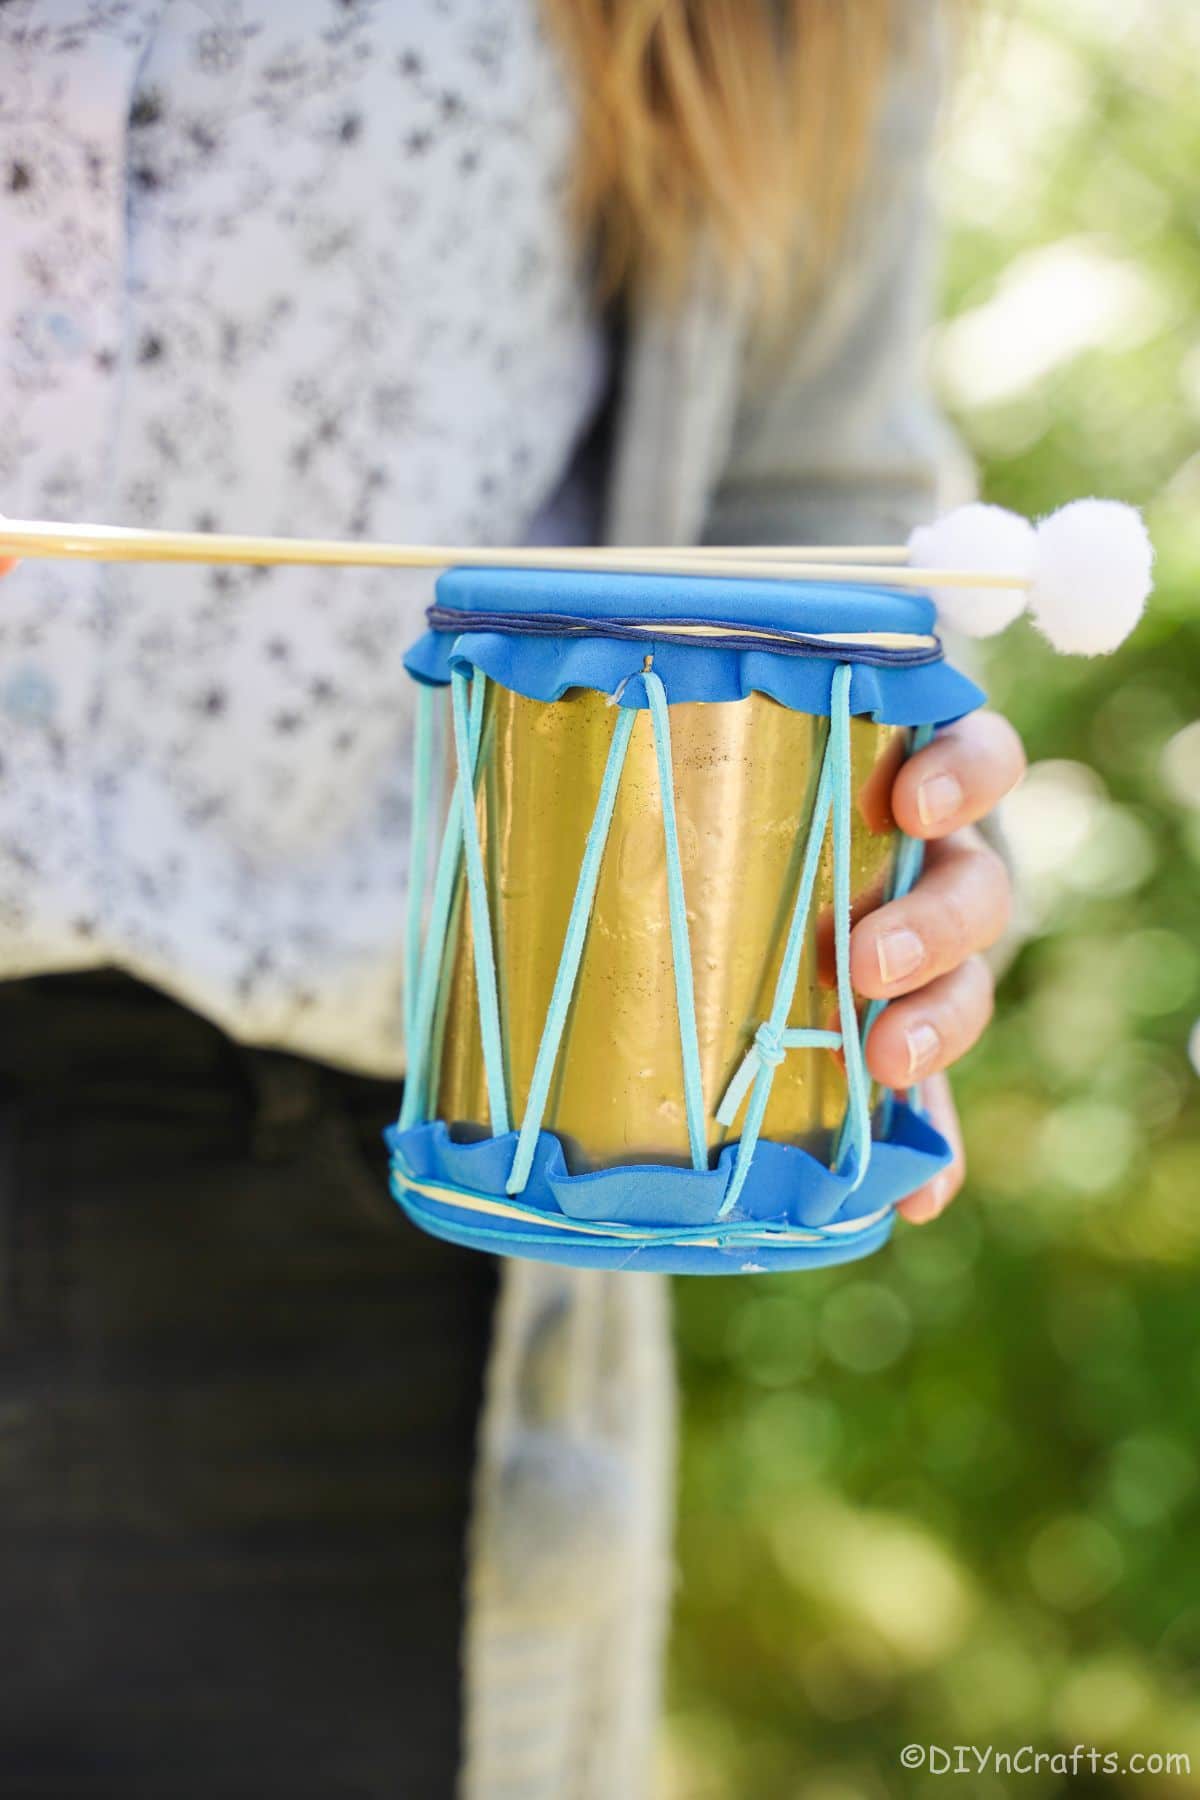
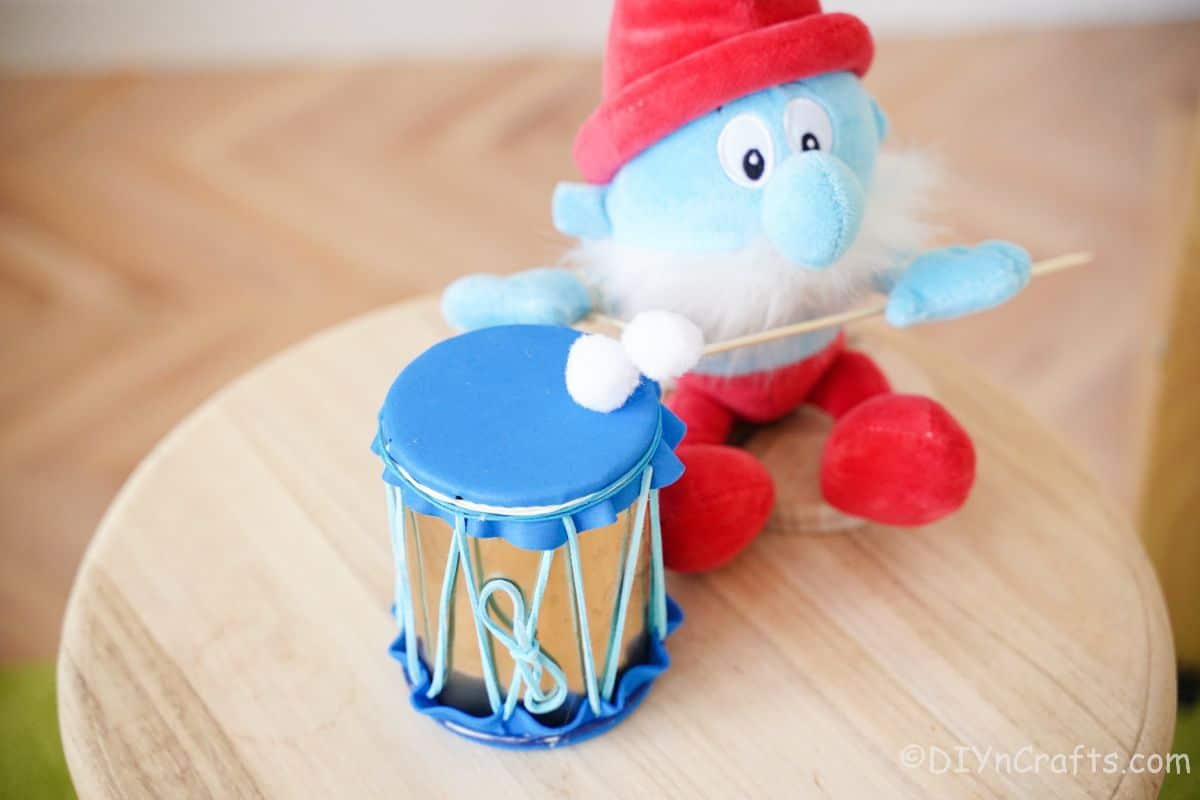
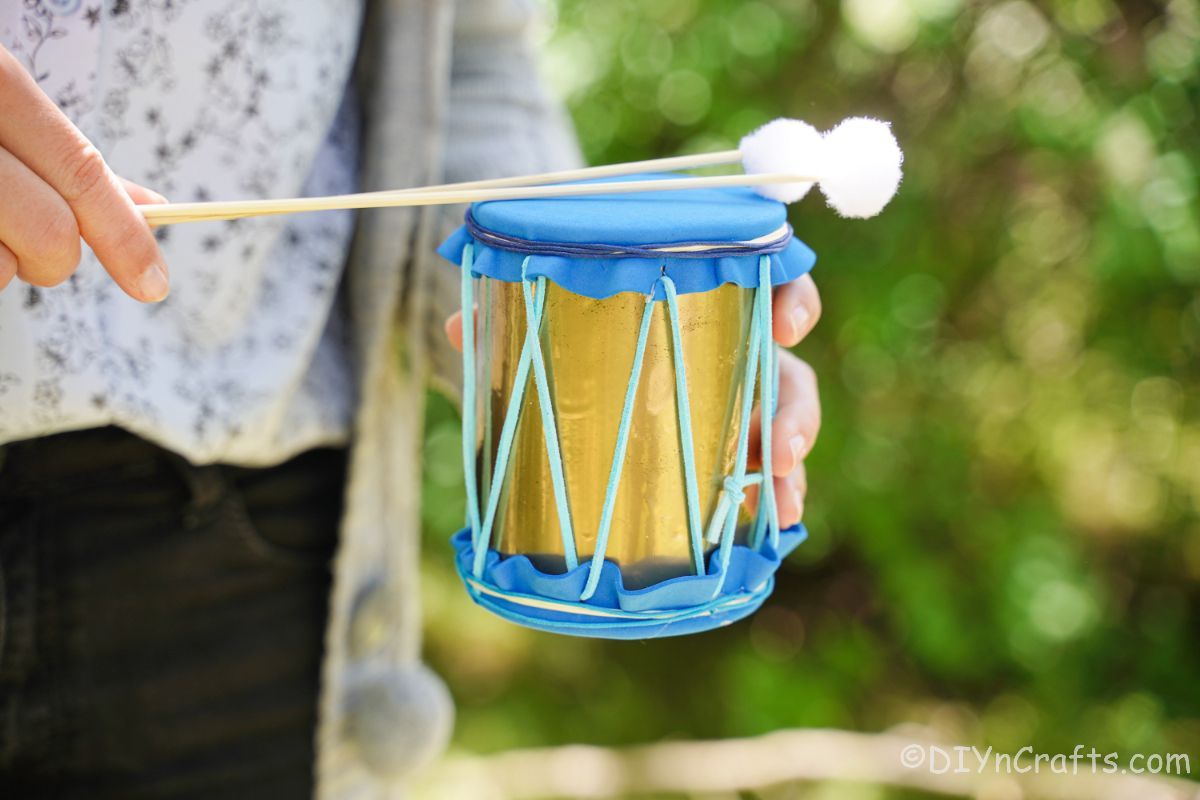
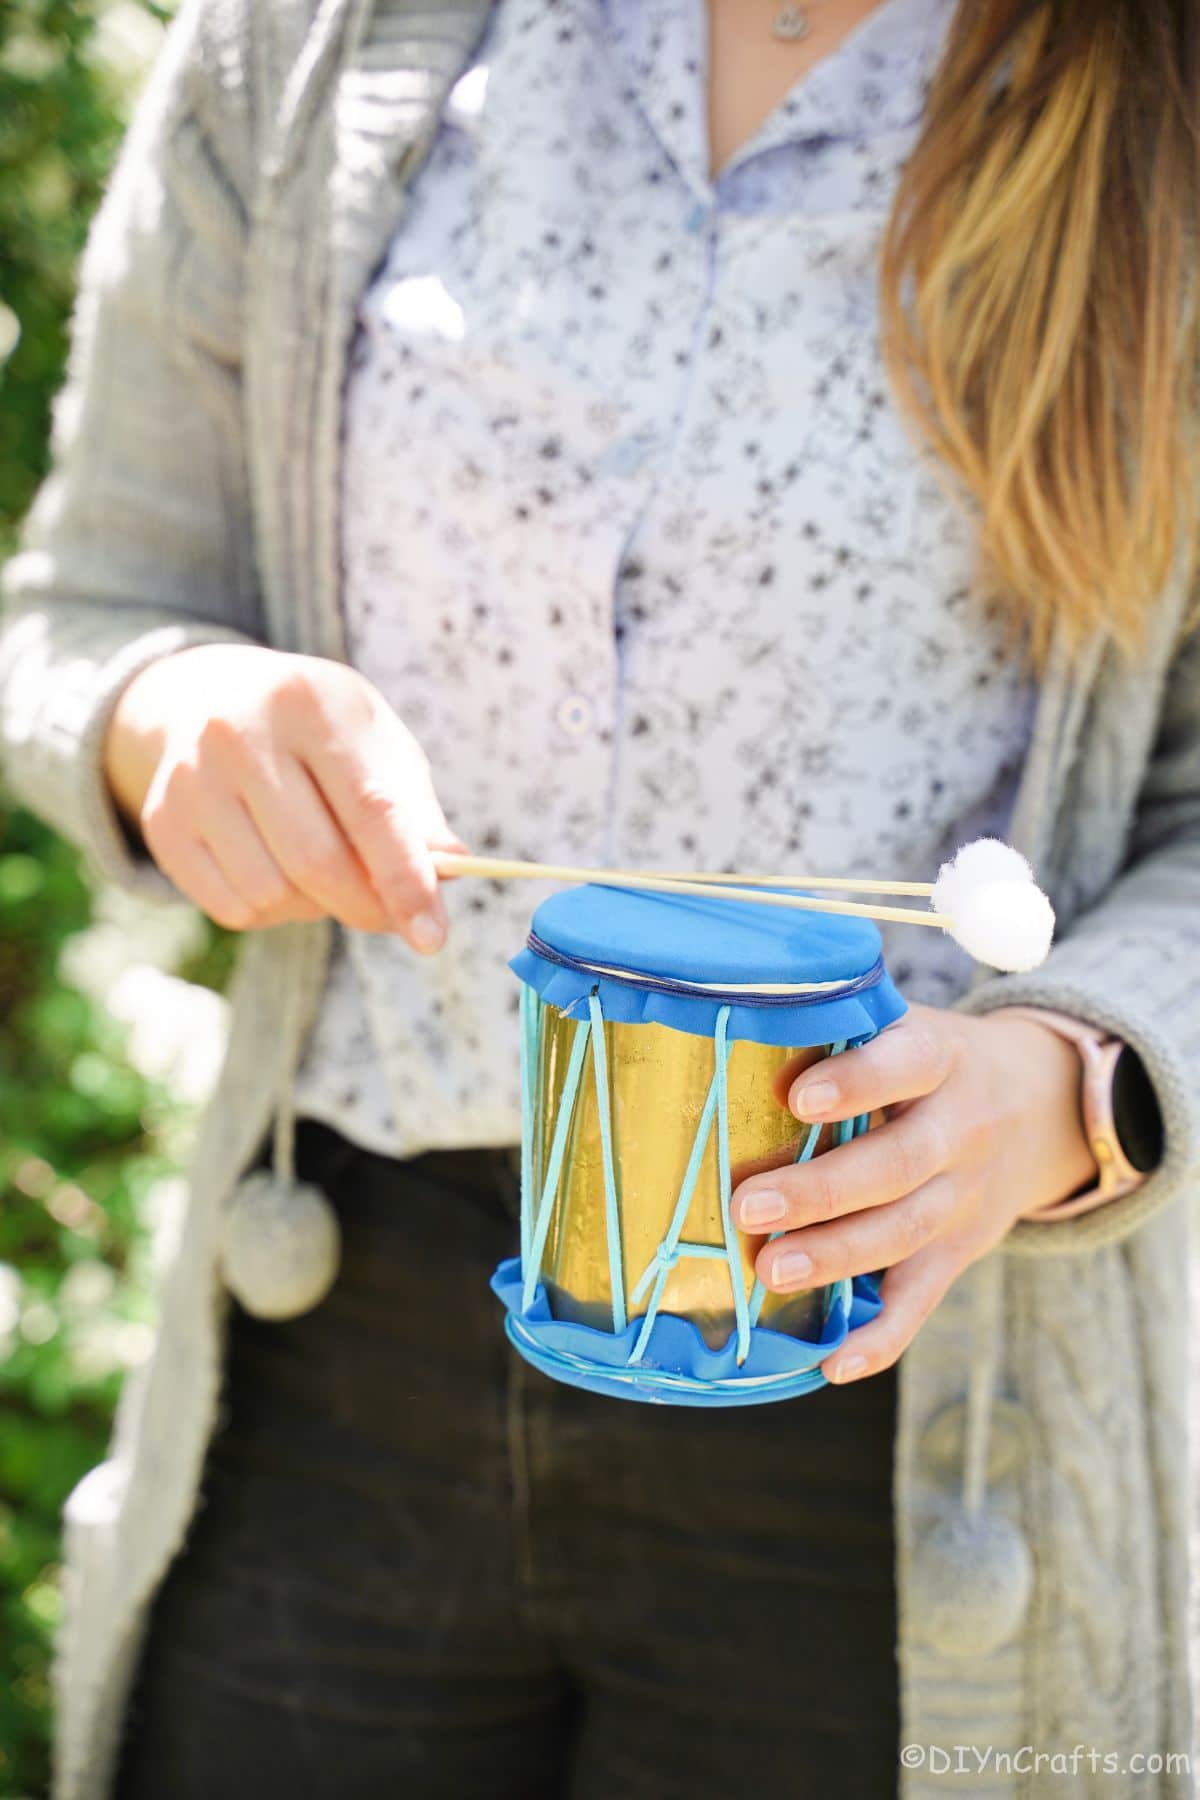
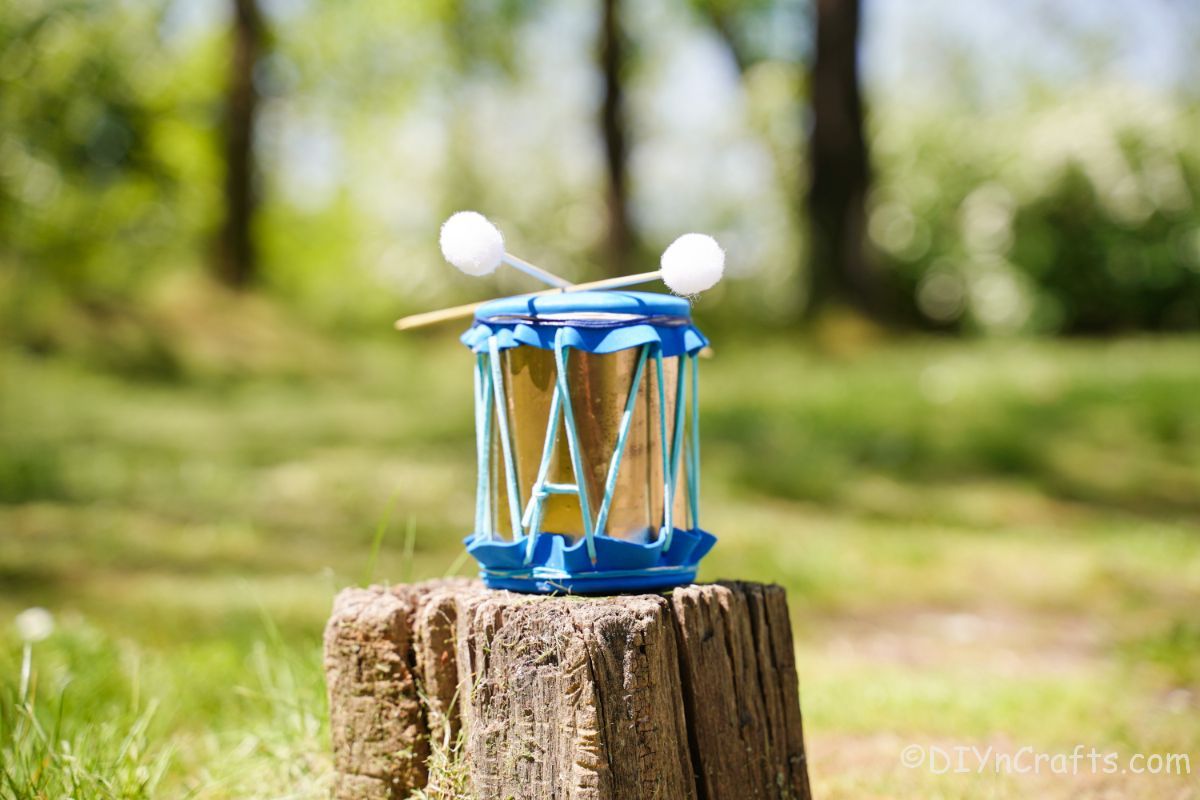
How cute is this tin can drum? This is an easy craft that is perfect for anyone who loves music or just wants to add a bit of whimsy to their decor. Such a cute gift idea, you are going to love how simple it is to make. All you need is an empty tin can, some foam paper, a bit of leather ribbon, and some gold spray paint and you will be well on your way to making this cute craft!
Tin Can Drums
Making this homemade drum craft is a great way to upcycle those old tin cans into something new and exciting! Plus, it's a really fun activity that the whole family can enjoy. I love making crafts with tin cans because it is a great way to upcycle something that would otherwise be thrown into the trash. Not to mention, the drums will look so cute sitting around your house or even in your garden.
I also love that this can so easily be made by or made for kids. It's just so simple and is also great for younger kids to learn about lacing! This is such a fun idea to gift to kids. If you need more inspiration for gifting, check out this huge list of DIY gift ideas for kids!
What Can I Use for the Top of the Drum?
Making the top of the drum is easy. You can use almost anything you have on hand, but some things work better. When making this, do consider if you want it to be for show only, or if you want it to make some sound when tapped or drummed.
I chose to use foam paper because it stretches nicely over the top of the can, is inexpensive, and has a certain texture and thickness that would make the drum somewhat functional for playing music fun. Another good option that is a bit pricier but would make it a little more authentic is to use a fake leather fabric.
Felt, craft paper, and any regular fabric can all be used with varying results. Just know that what you use will need to be somewhat durable and able to fold or bend over the sides and laced together with the leather ribbon. If you are hoping to keep this tin can drum outside, make sure you are using materials that will stand up against the weather. Fabric can be used for outside, but it doesn't always look nice after a few storms.
What All Can Be Used to Make Drumsticks?
When making the drumsticks for the tin can drums, I am using a thin dowel rod and cotton balls. You can use anything similar. If you don't have dowel rods, you can use pencils. Another fun option if you want a rustic look, you can even use sticks. Leave the sticks with the bark on them, or carefully remove the bark for a less rustic, more polished look.
Other options for the end of the drumsticks can be styrofoam balls or even fabric wrapped around cotton batting and attached to the stick.
How Can I Personalize My Tin Can Drums?
There are a lot of ways that you can personalize your tin can drums. I love adding washi tape or another decorative tape to the outside of the can. This is a great way to add some color or pattern to the drums.
You could also paint the can different colors or even attach a label with a brand name or similar to the sides. If you are using fabric for the drumhead, you could sew on some beads or sequins to add a bit of bling around the edges.
More ideas to customize the tin can drum would be to add a design to the top of the can. This could be anything from a simple dot or line pattern to a more complex design. If you are using a balloon for the top of the drum, you can even add some temporary tattoos to the outside of the balloon before you stretch it over the can. The options are really endless!
What is the Difference Between Drums and Bongos?
The main difference between drums and bongos is the size of the drums. Drums are usually much larger than bongos. Bongos are also played with the hands, while drums are usually played with sticks. Bongos often have a higher pitch than drums as well. In this instance, you can call these drums or bongos depending upon what you are using them for and how large you make them.
Supplies Needed
- Tin cans
- Dowel rods
- Cotton balls
- Leather ribbon
- Blue foam paper
- Gold spray paint
- Rubber bands
- Hole punch
- Scissors
- Hot glue gun
- Hot glue sticks
How to Make Tin Can Drums
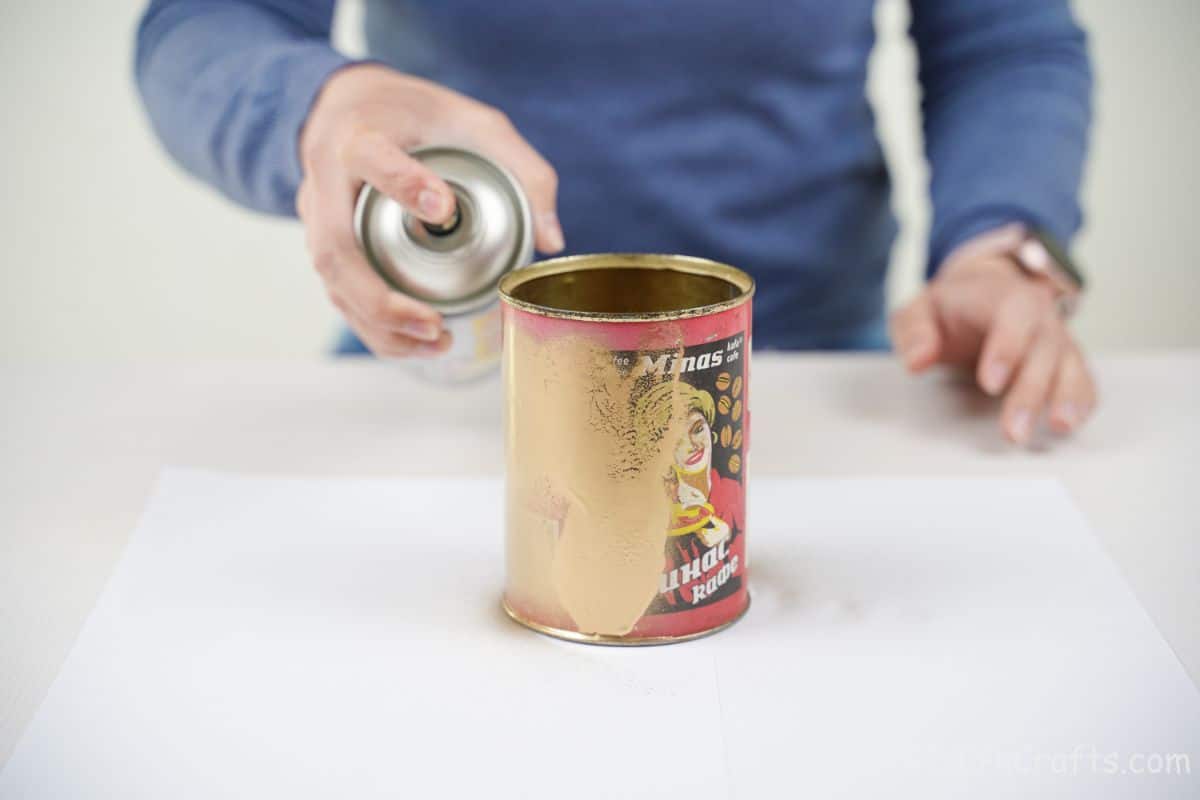
Start by cleaning the tin can and removing any labels. Then you will spray it with gold paint until nicely coated and set aside for at least 30-minutes to dry or until no longer tacky.
Measure the width of the top of the can, then measure a circle onto a template paper that is approximately ½" to 1" wider on all sides.
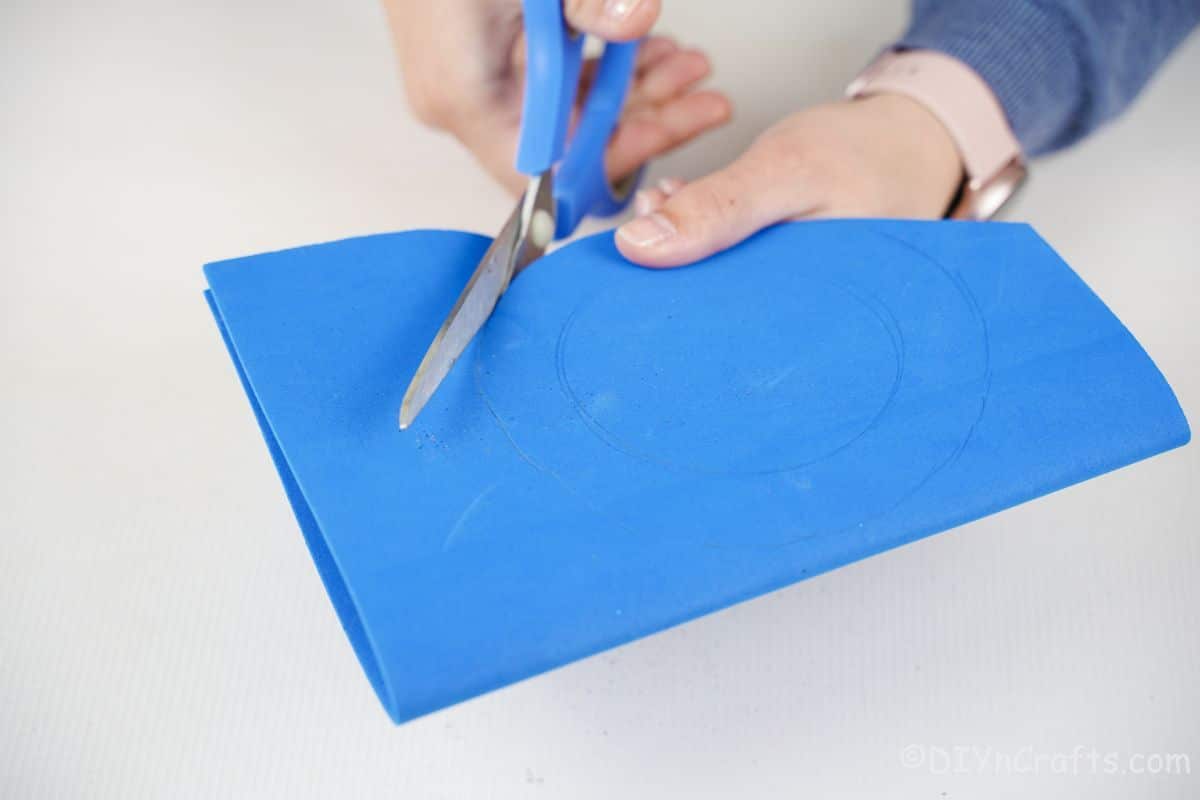
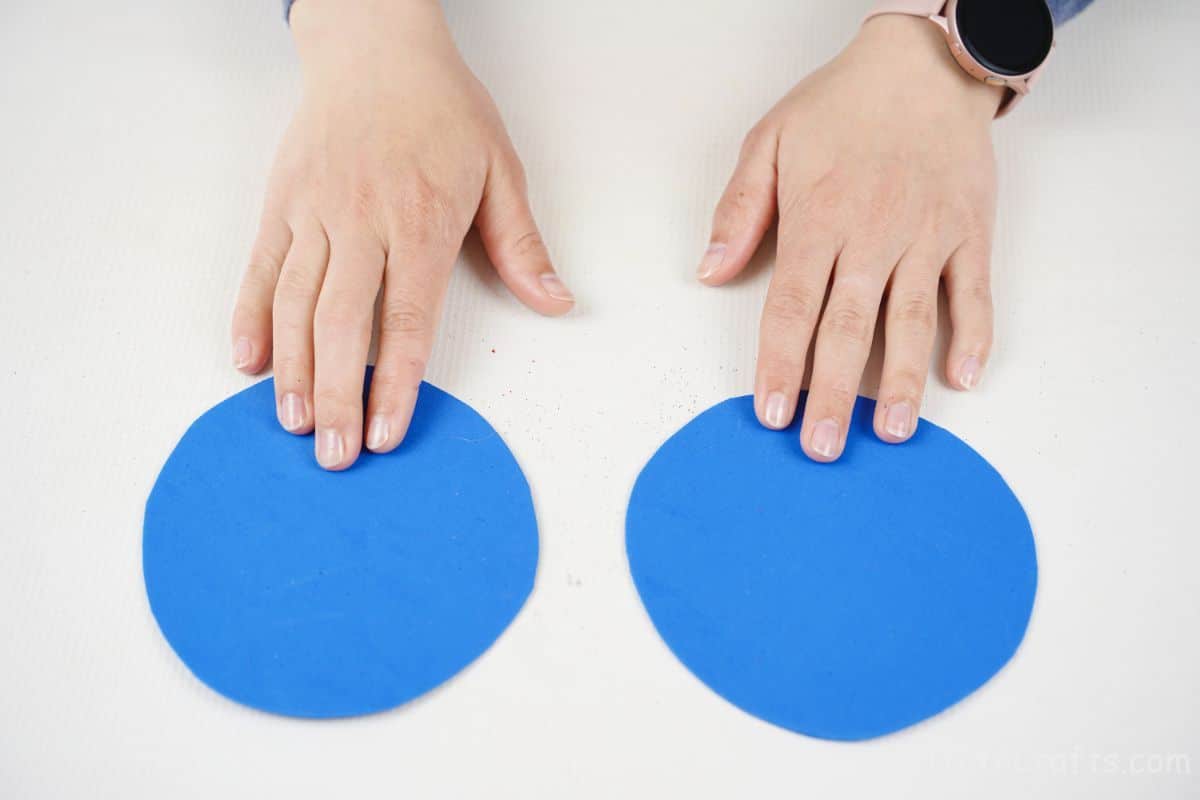
Use this to trace and then cut out two circles of foam paper.
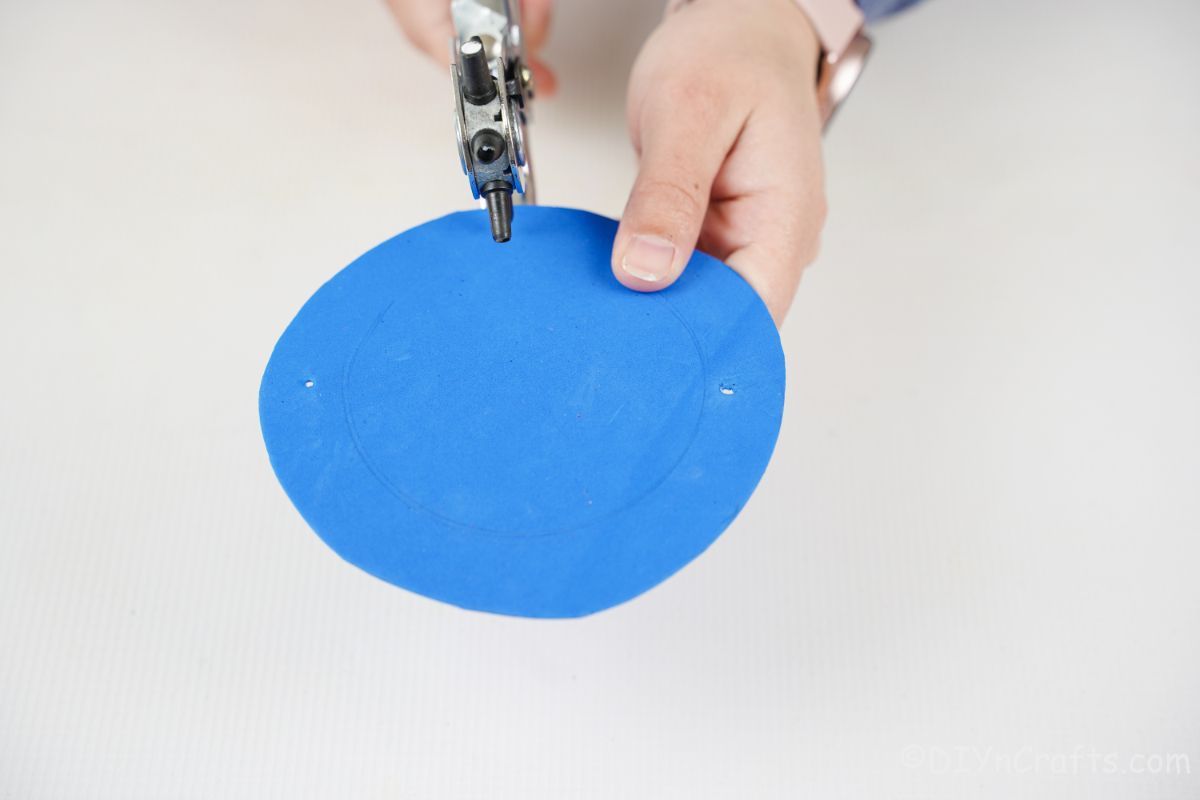
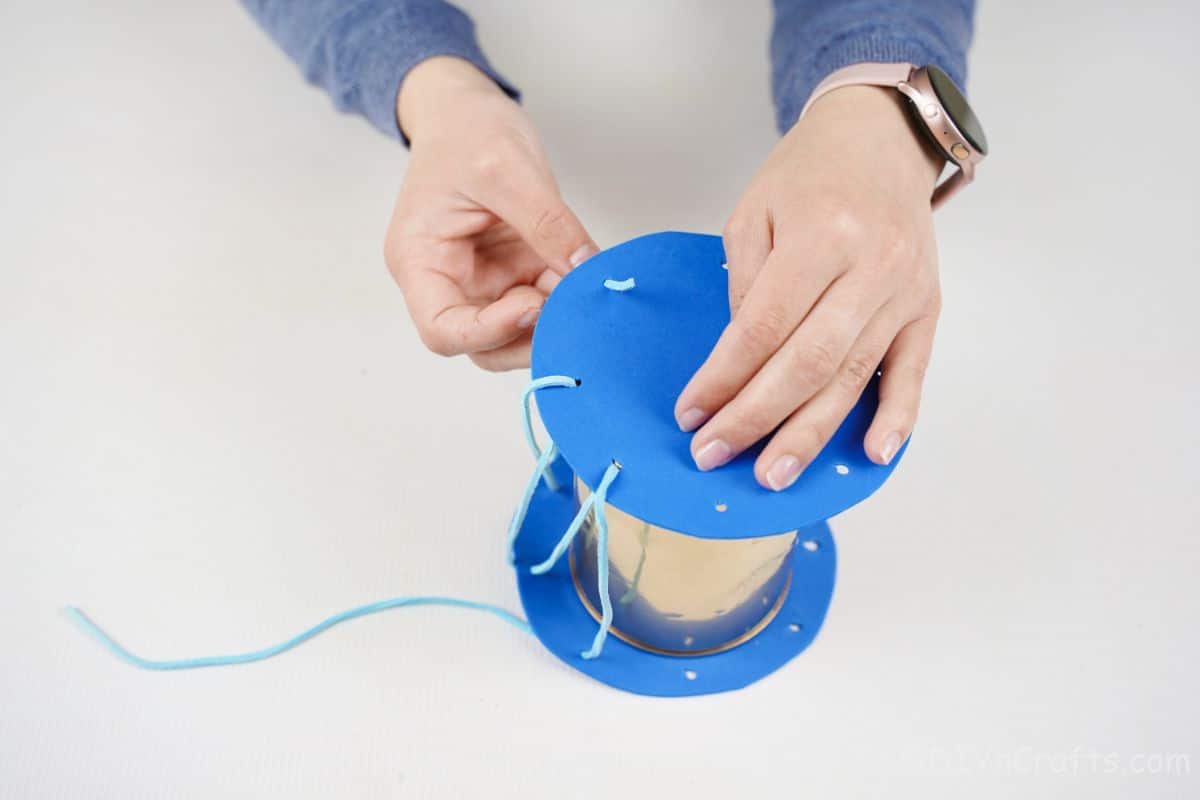
Now, use a hole punch to cut 6 to 8 holes out around the outer edge of both of these rounds.
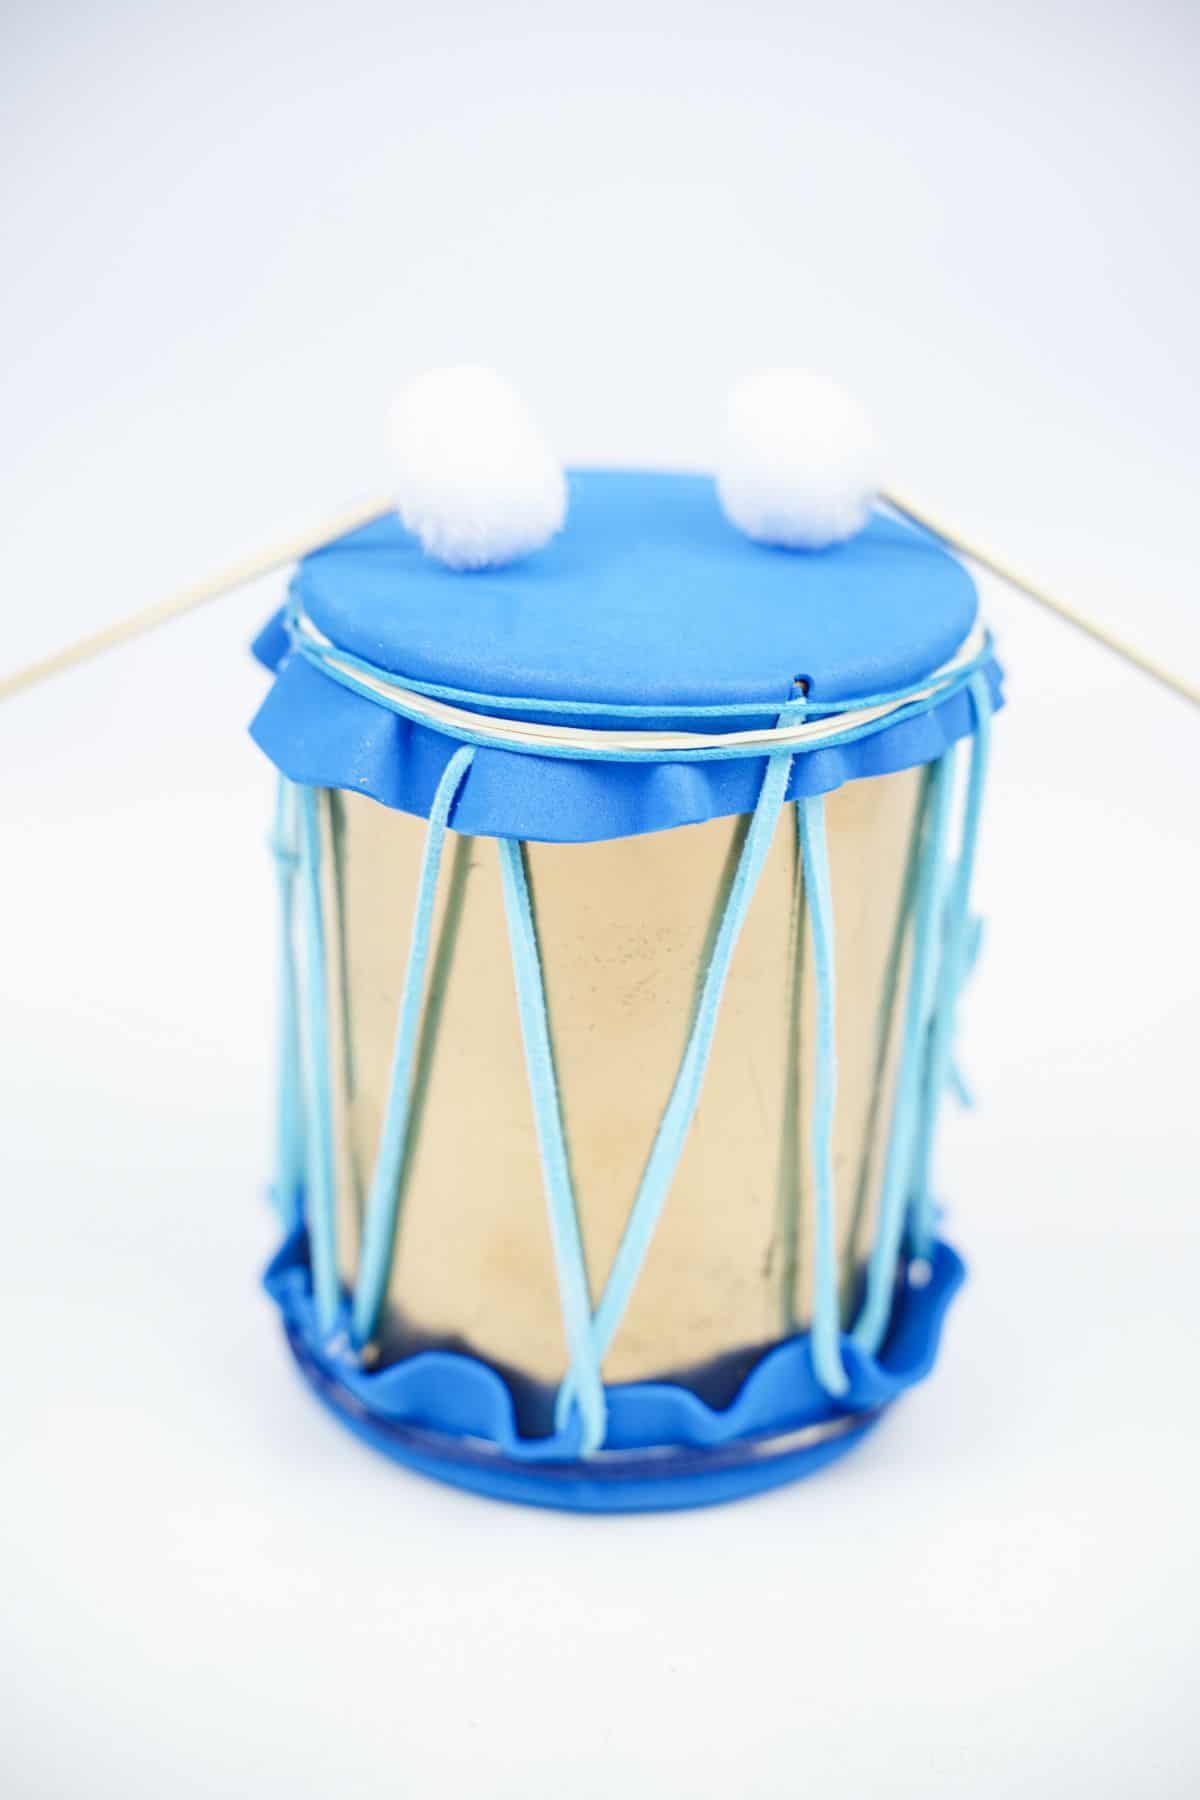
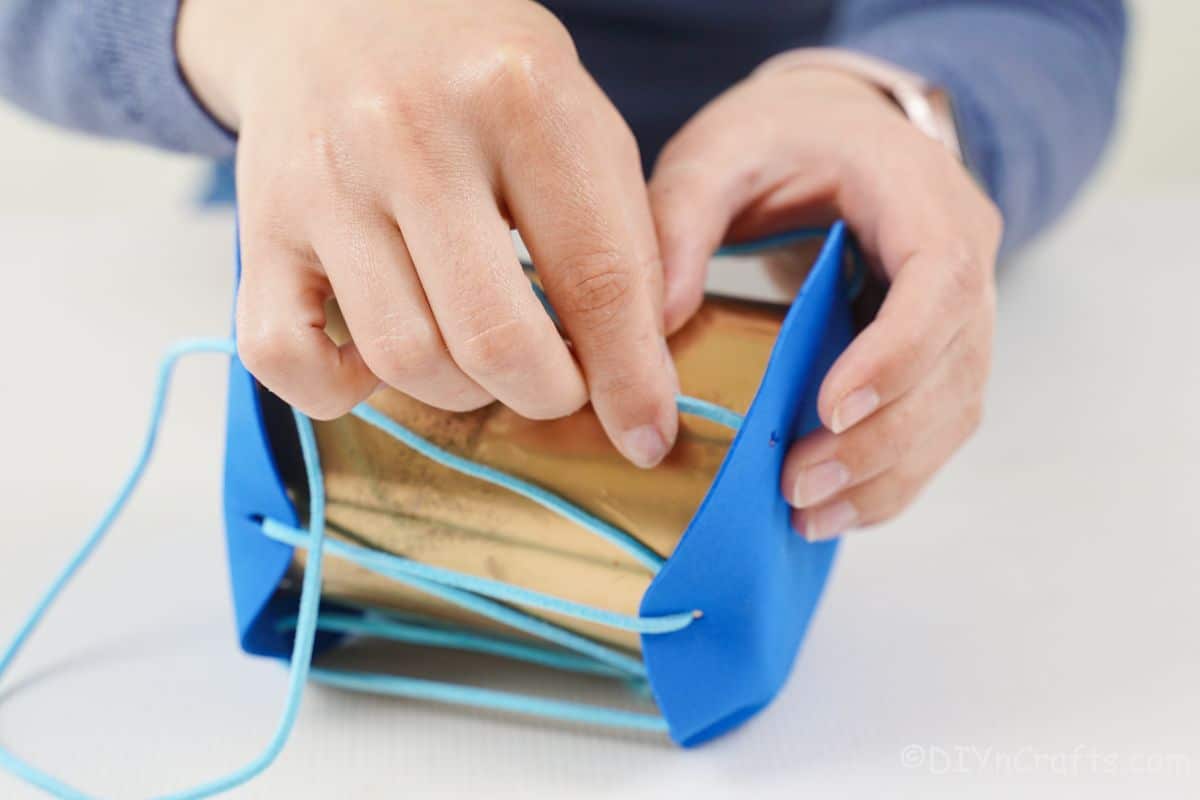
Place the dry tin can on top of one of the foam circles, then place the second on the top of the can. Next, you will start threading the leather ribbon through the holes. Start by going through the top from below. Then bring it over and down to the bottom circle of foam.
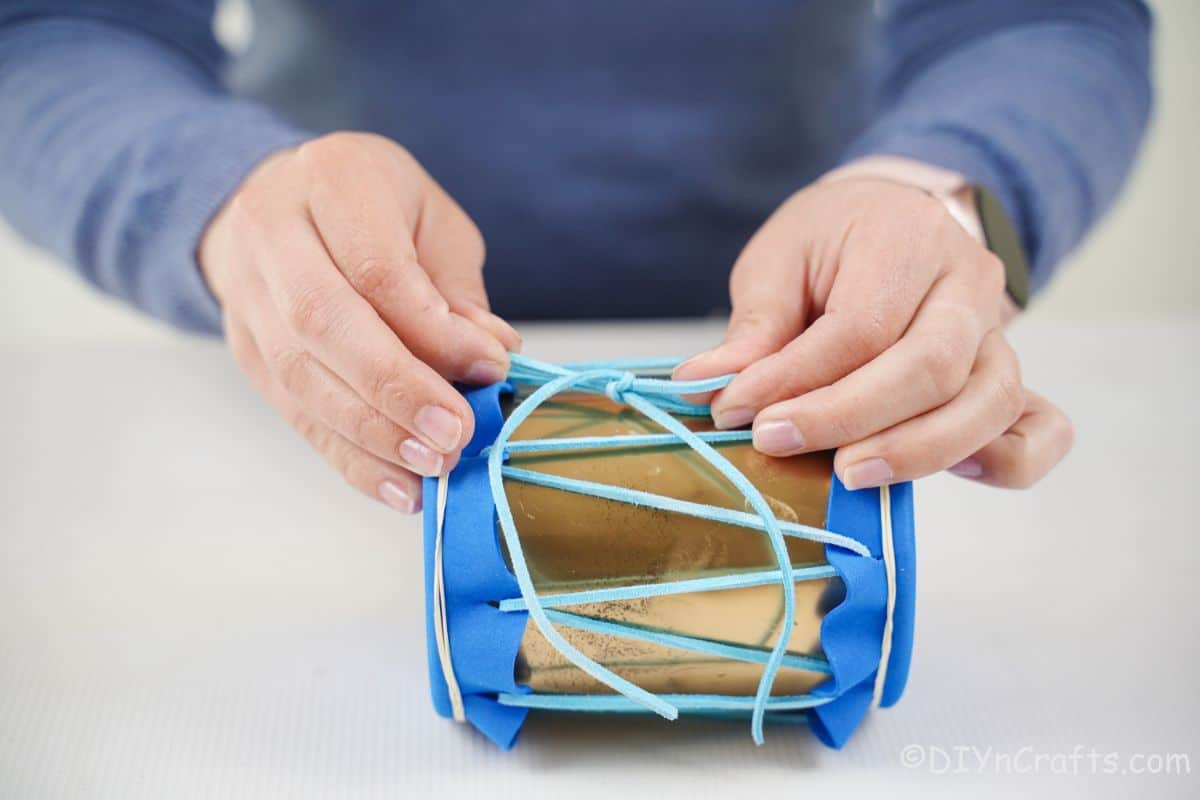
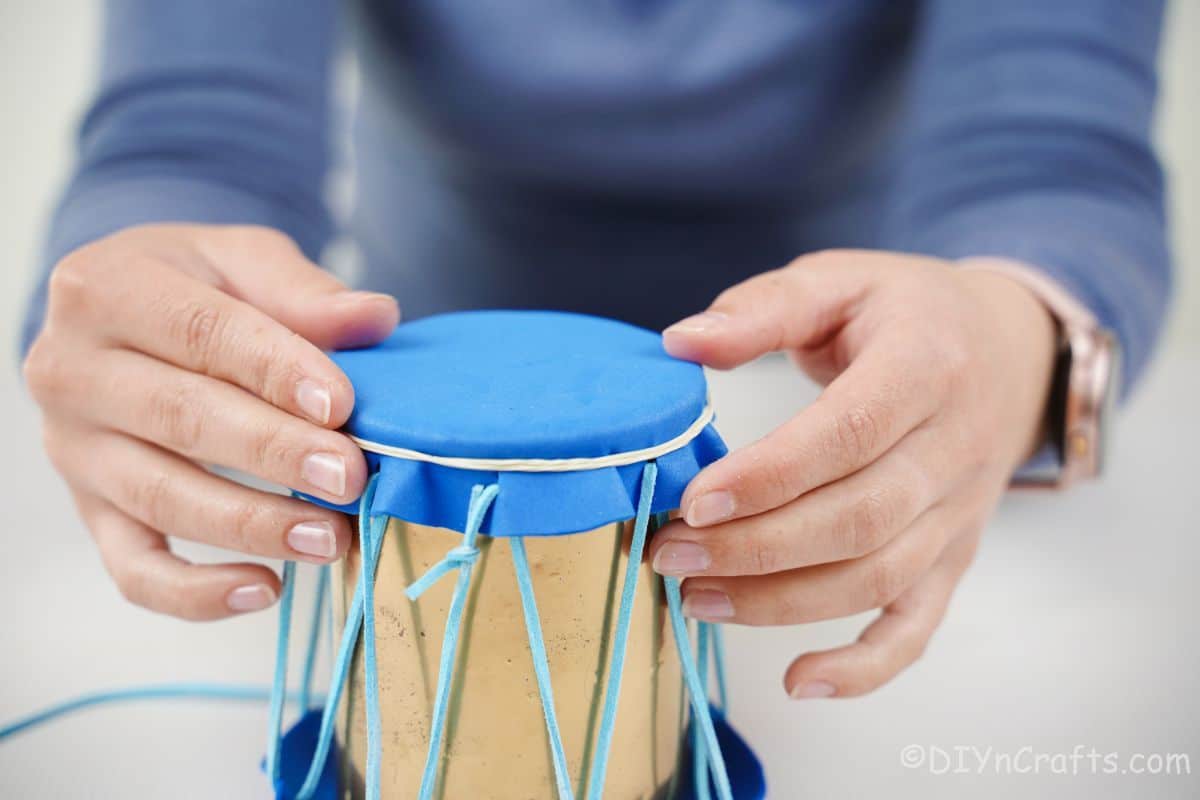
Continue, weaving the ribbon back and forth through the holes, until it is secured all around the can. Tie off the ends and trim off any excess. Now place a rubber band around the top and bottom of the tin can, to hold the foam paper down close around the edge of the can.
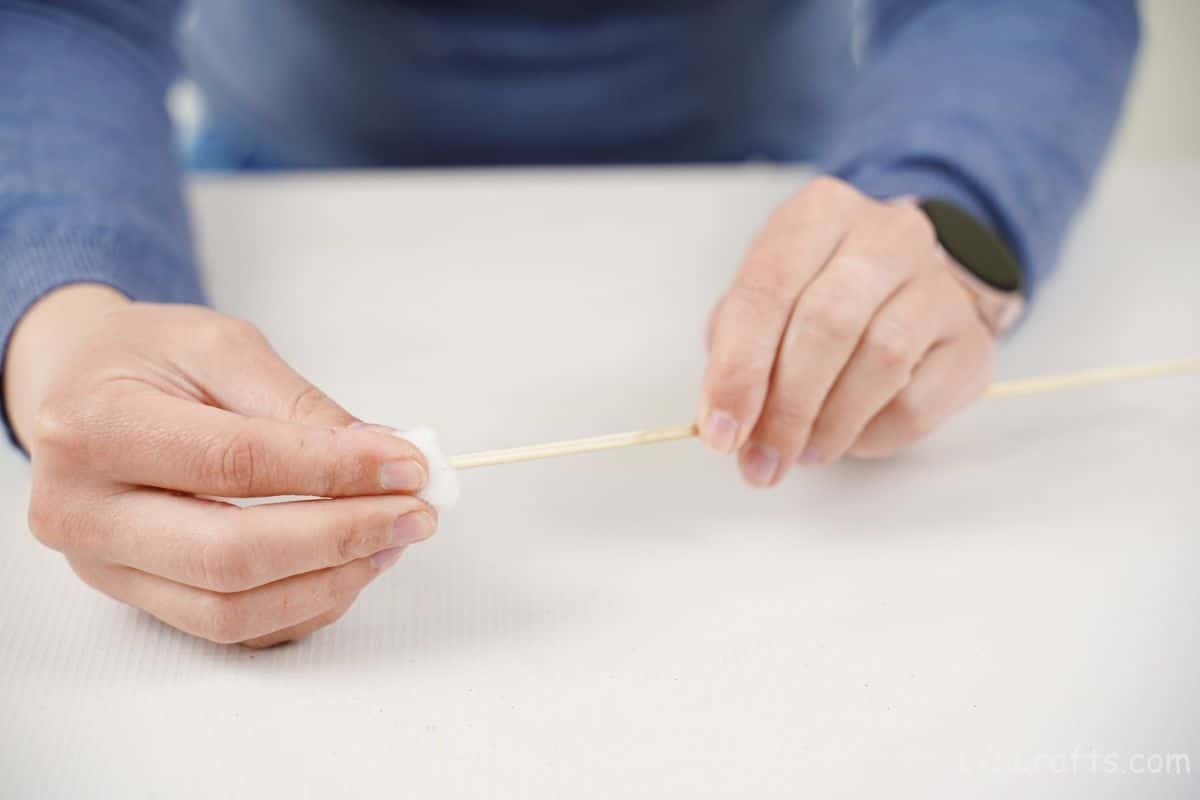
You can also add a length of ribbon around the top and bottom to cover the rubber band if desired. Glue a cotton ball to the end of dowels and now you have drumsticks for your drum!
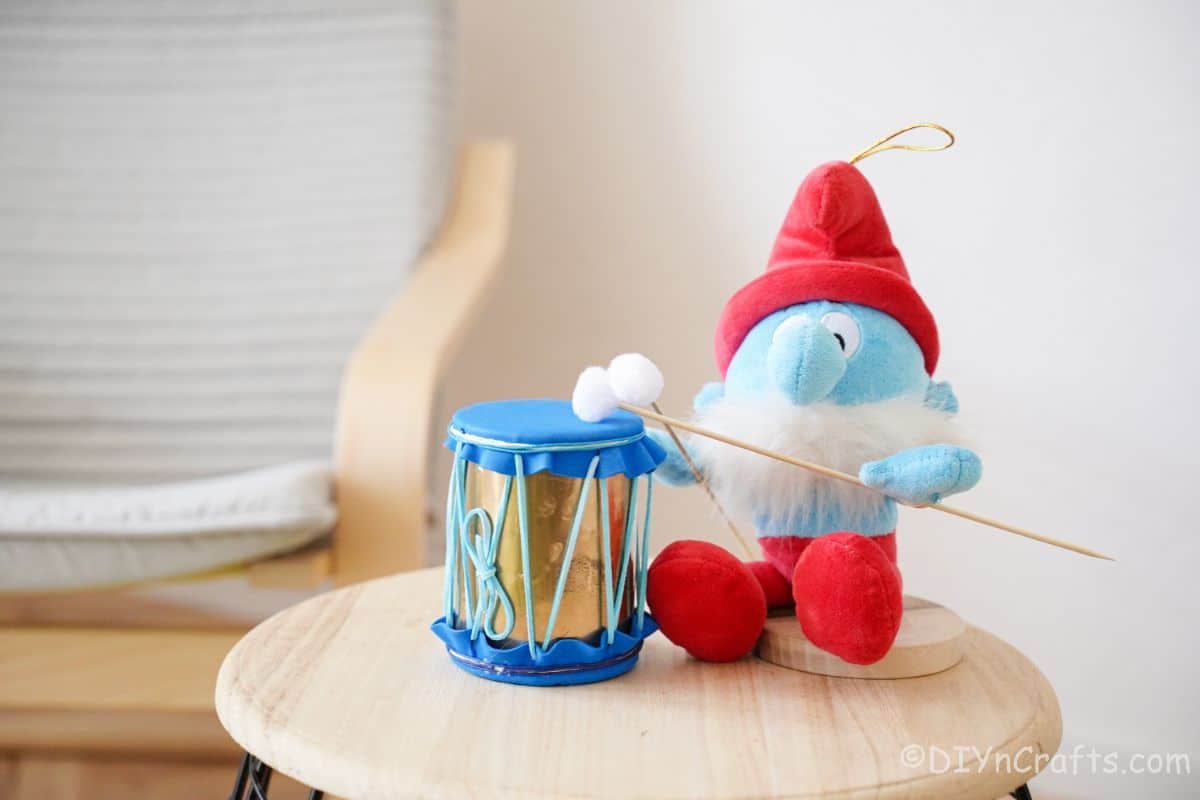
Gift or display your drum. Make sets of them for a more unique look or for toys!
More Easy Tin Can Craft Ideas
Tin cans are the perfect base for many different crafts. This idea is super easy to make and has tons of variables you can choose to customize. If you have more tin cans and want to put them to use in crafting, check out the ideas below. Bookmark these, print out the tutorials, or pin them to Pinterest to make soon!
- Decorative Clothespin Tin Can Planter
- Rustic Coffee Bean Tin Can Watering Can
- 50 Jaw-Dropping Ideas To DIY Tin Cans
- Super Fun Upcycled Tin Can Ball Toss Game

Unique Upcycled TIn Can Drums or Bongos
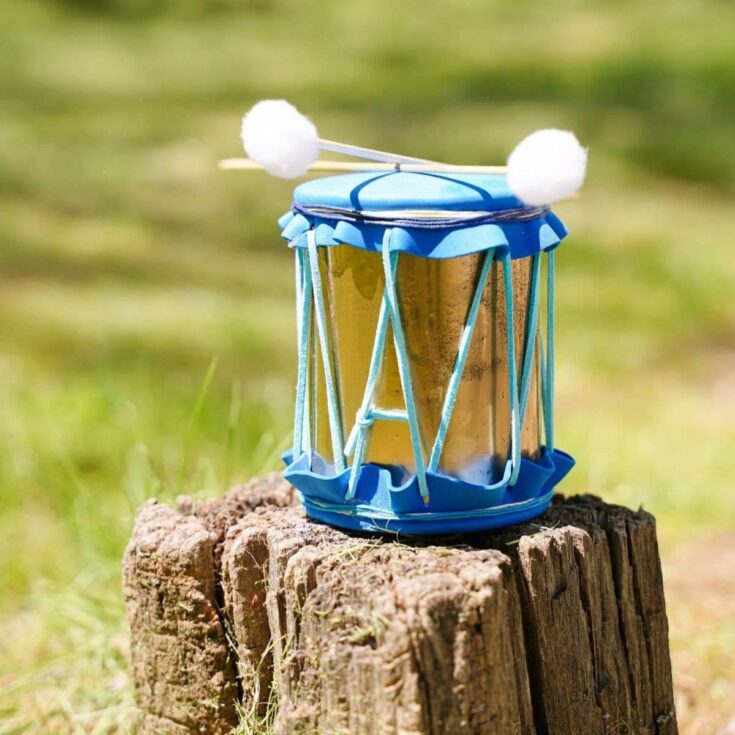
A super cut-upcycled tin can drums project is perfect for kids to help make and play!
Materials
Instructions
- Spray paint a tin can with gold paint then set it aside to dry.
- Fold a piece of foam paper in half, then trace a circle onto the paper that is around ½" wider than the top of the can.
- Cut this out and repeat to create 2 circles of foam paper.
- Use a hole punch to cut 6 to 8 holes through the outer edge of each of these circles of foam paper.
- Place the can on top of one of the foam circles, then place the second one on top of the can.
- Now, begin threading the leather ribbon through the holes of the foam circles.
- Go back and forth pushing up and over then down to the bottom and back over and up creating a criss-cross of leather ribbon on the sides of the can securing the two foam pieces on the top and bottom.
- Tie the end and cut off any excess once it has gone through all of the holes.
- Now place a rubber band around both the top and the bottom of the can, so it pulls the foam pieces down on the side to create a tighter seal around the top of the cans.
- Wrap additional ribbon or leather around the top of the can to cover the rubber bands and glue it into place.
- Now, glue a cotton ball onto the end of each dowel or skewer to create drumsticks.
Notes
Make this in any size you have on hand.
Recommended Products
As an Amazon Associate and member of other affiliate programs, I earn from qualifying purchases.
-
 Sale Vintage OHIO ART Metal Child's Metal Toy Drum With | Etsy
 -
 1:12th Toy Drum and Sticks for the Dolls House Nursery | Etsy
 -
 Miniature African Drum Musical Instrument Model Gift for Her | Etsy
 -
 Toy Drum Set With Carry Strap and Mallets Montessori Kids | Etsy
 -
 Personalized Leather Kid Drum Custom Printed Toy Insturment | Etsy
 -
 Djembe Beginner Carved 10 12' 16 20 | Etsy
Finished Project Gallery
This is such a fun project to make and gift to kids!






Anonymous
How to lace sneaks so they can be slipped on