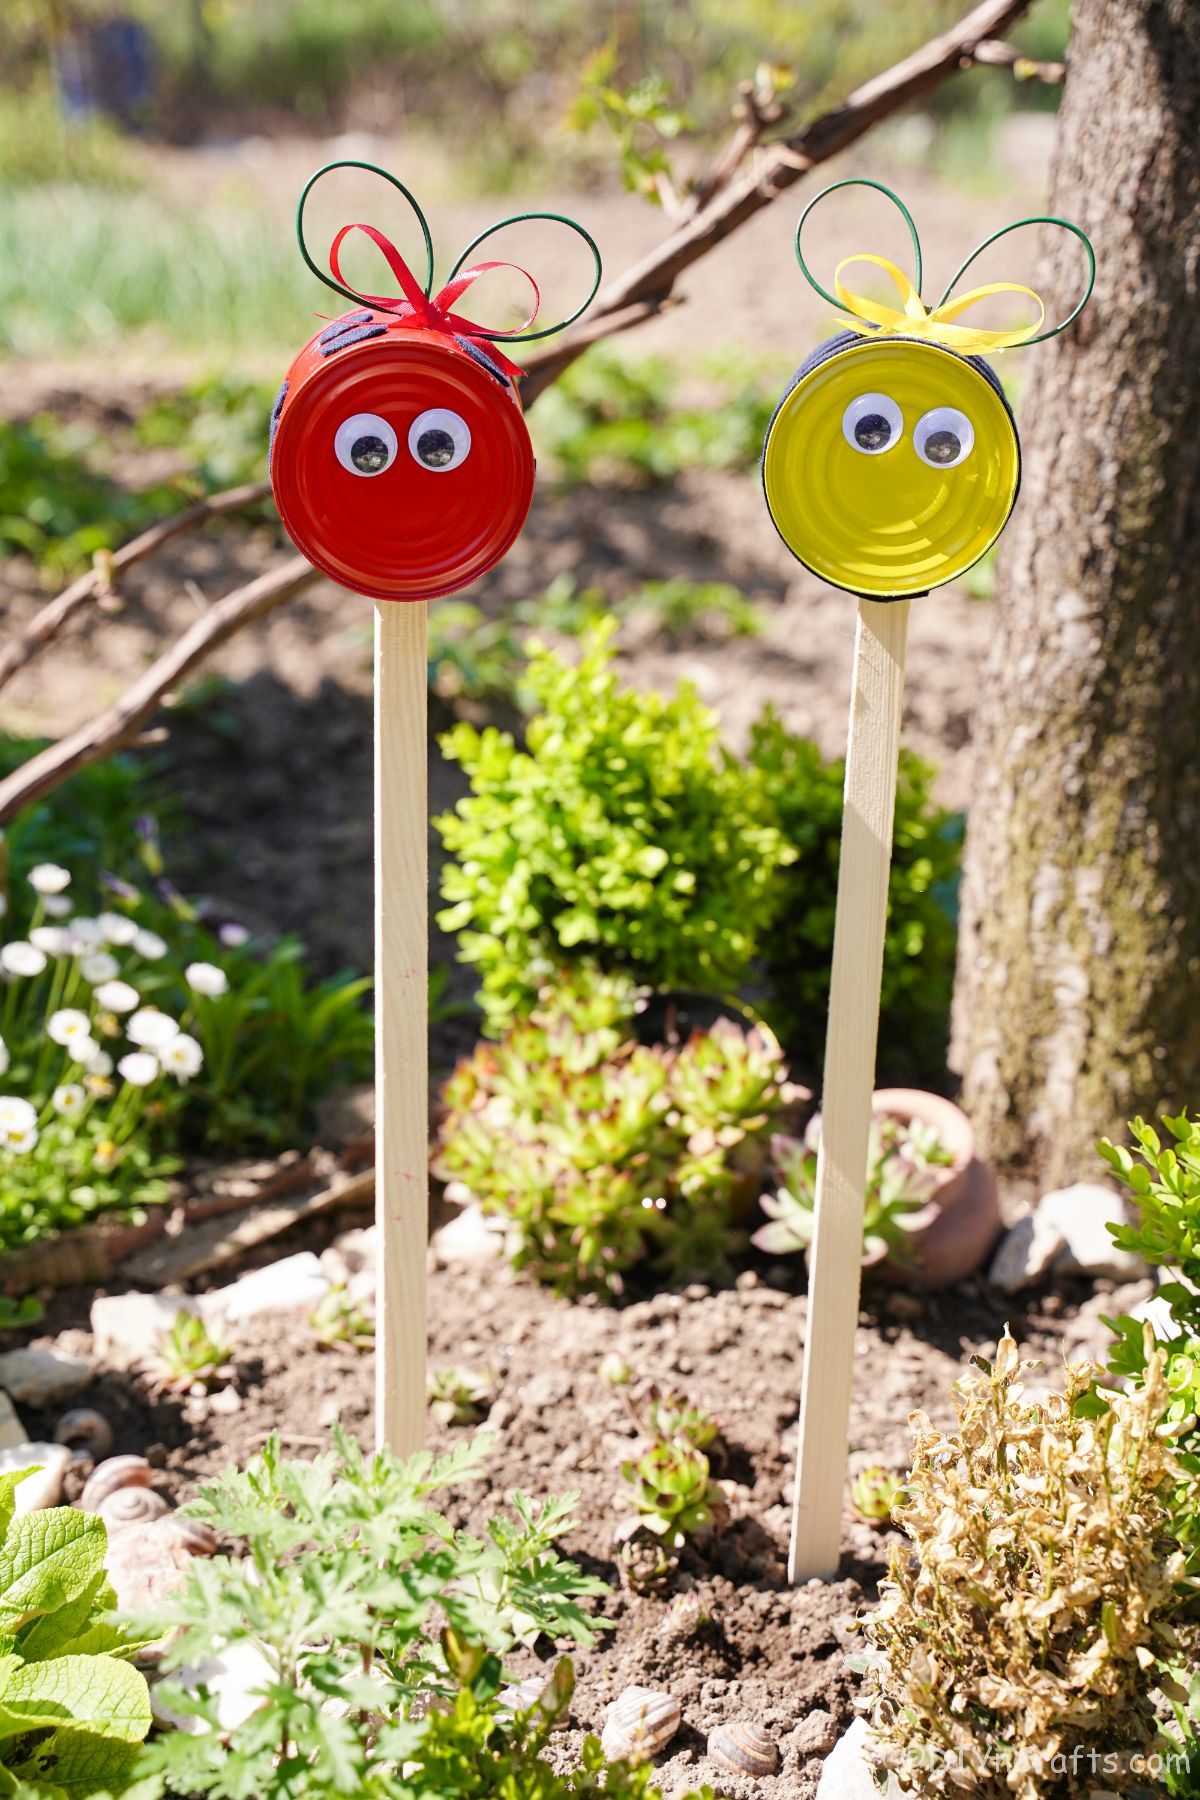
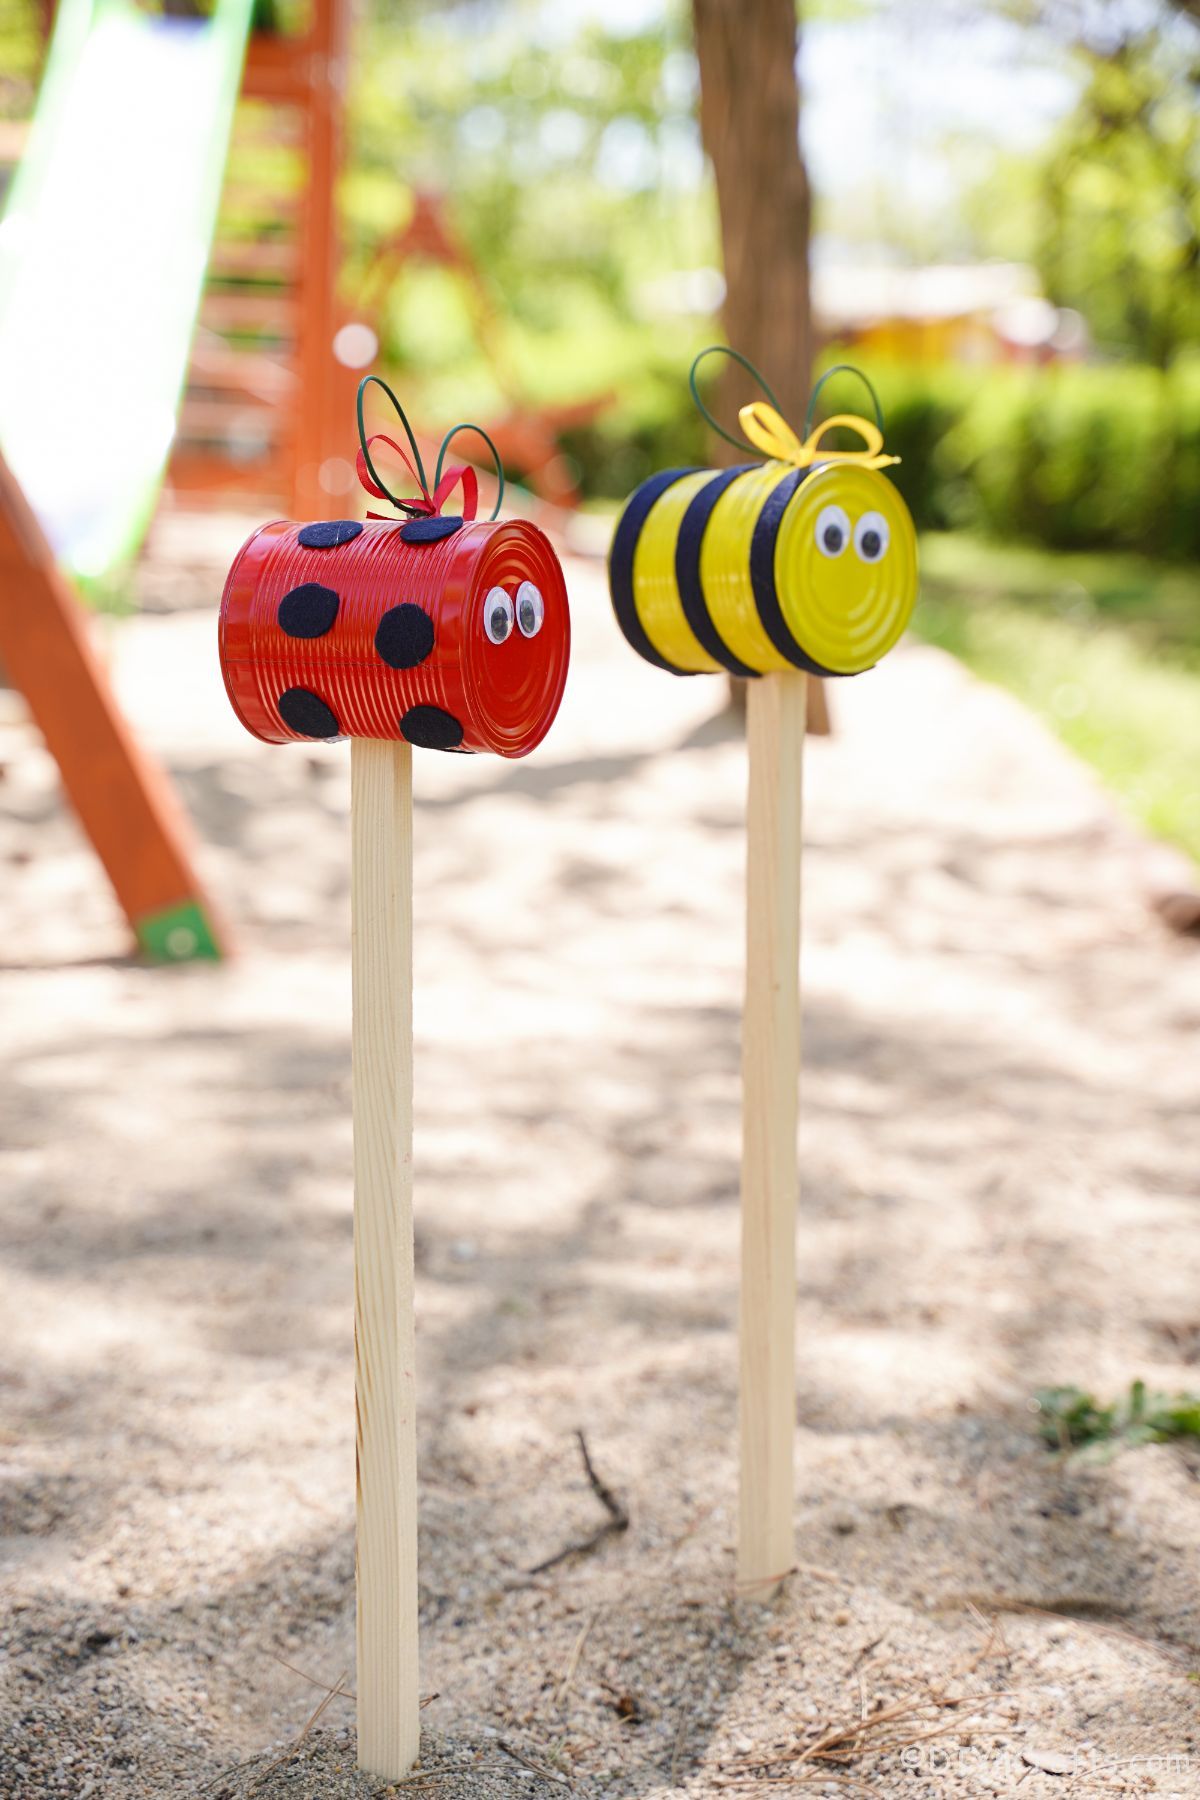
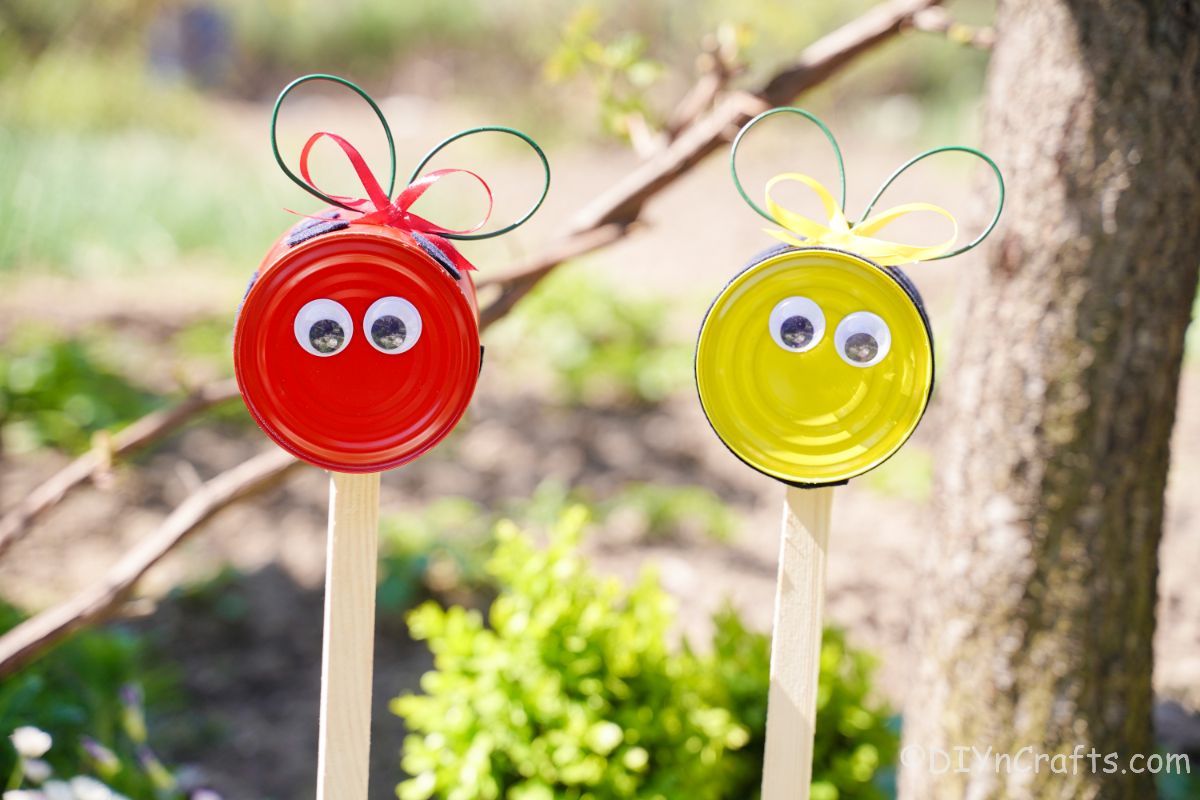
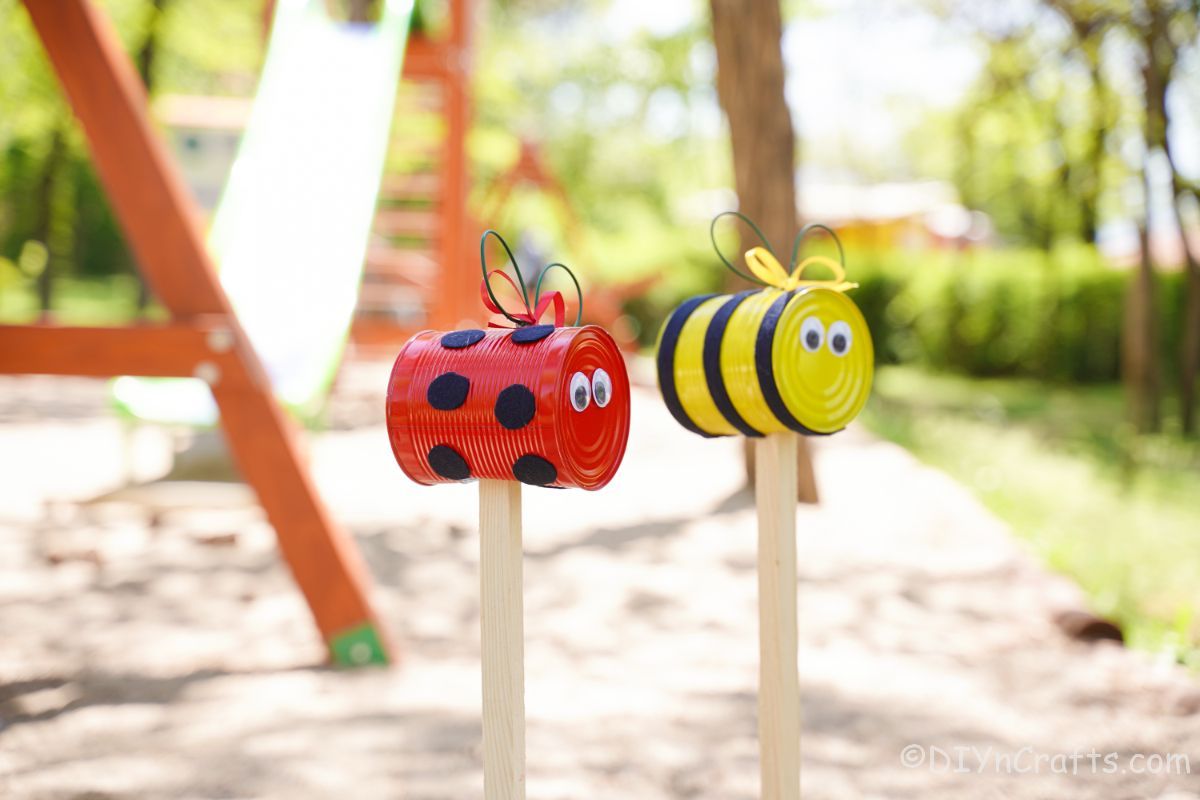
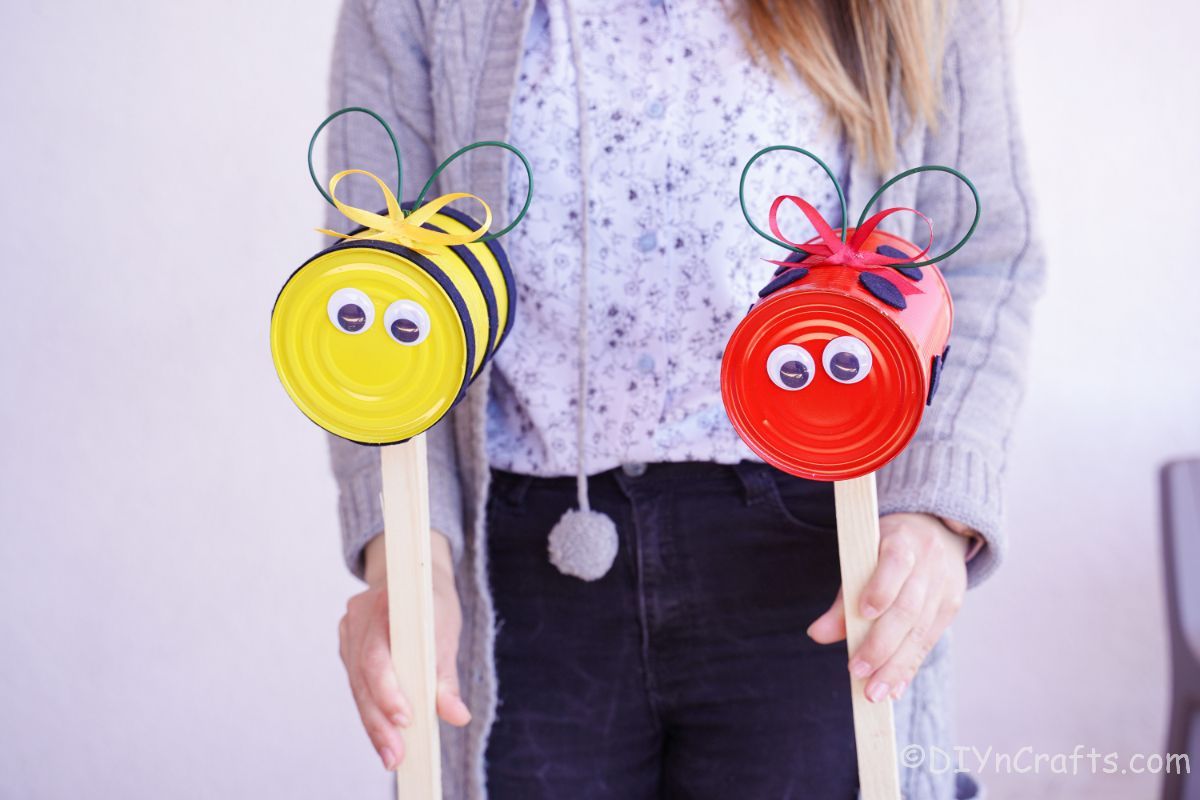
Bring some life to your garden with these adorable tin can ladybugs and bees! These decorations are sure to bring a smile to your face. Each can is painted with beautiful ladybug and bee designs, adding a splash of color to your garden. It is the perfect way to show your personality while also keeping your garden looking cute. Not only will it make the space look perfect, it is almost free to make.
Tin Can Ladybug and Bee Garden Decoration
These tin can crafts are so cute! A tin can ladybug or a tin can bee is the perfect way to show your love for nature. These adorable creatures are made out of recycled tin cans, so you can feel good about adding them to your garden. They fit into any garden landscape, or even just in a potted plant indoors if you prefer!
If you like this idea, then you'll probably love the hanging tin can bee decoration, or this little upcycled planter bee house idea. Both fit into a garden so easily and look adorable! This and others are such simple DIY projects that add so much design to your garden or outdoor area.
What Paint is Best for Tin Can?
The best paint to use for making tin can ladybugs and bees is something that will not rust. You want to make sure the paint you use is made of metal. I like to use spray paint because not only is it all of these things it is also very easy to apply to the cans. Some brands that would work well are Valspar, Rust-Oleum, and Krylon. You can find these at your local hardware store or online.
You can also use acrylic paint on the cans. Any craft paint will work well. You can use a basic paintbrush, foam brush, or similar to cover the can and allow it to dry before decorating further.
What Should I Put These On for Standing in Soil?
What helps to make this project so cute is that they stake in the soil. You can use any type of wooden or metal stake. Scrap wood is the best choice since this is such a budget-friendly project, even sticks from the yard would work.
Heavy-duty dowel rods can be bought inexpensively at hardware, craft, or big box store. You can also find them online. Lastly, you can also use a metal rod as the stake. I usually look to what I already have on hand, but you can buy something unique to this if you prefer.
What Ways Can I Customize My Tin Can Garden Decorations?
You don't have to stop with just the directions that we use to make these garden decorations. Customizing your garden decorations is a fun part of any crafting experience, but especially this one. Some ideas below are worth considering.
- Add glitter or glitter spray so the cans sparkle in the sunlight.
- Create different animals such as frogs, elephants, spiders, butterflies, or even ants using different colors and embellishments.
- Add a bow tie or hair bow onto the creatures to make them appear more feminine or masculine.
- Beads or sequins can be strung onto the floral wire for the wings to make them sparkle in the sunlight.
Use your imagination and create unique garden decorations that will fit your garden layout and your personal decor preferences. The possibilities truly are endless.
Are These Safe to Leave Outside in All Weather?
Technically these are not all-weather safe. Because they are not sealed and they have cloth and ribbons on them, the weather will affect them quickly. If you want to make these all-weather, so that you can place them in the yard and forget to take them inside during bad weather, you would want to make a few changes.
Seal the paint. No matter what kind of paint you are using, you want to make sure they are sealed with either a spray sealer or Mod Podge.
Next, use something other than felt or ribbons. I would recommend painting the paint or the stripes so that the felt doesn't get worn. You can still use ribbon but you want to use high quality, more durable ribbon or you need to be prepared that the ribbon will start to look worn easily.
When you are attaching the eyes and decorations, use a glue that is not water-soluble. This means that the glue does not come off with water. Alternately, you can also paint the eyes onto the cans if you prefer.
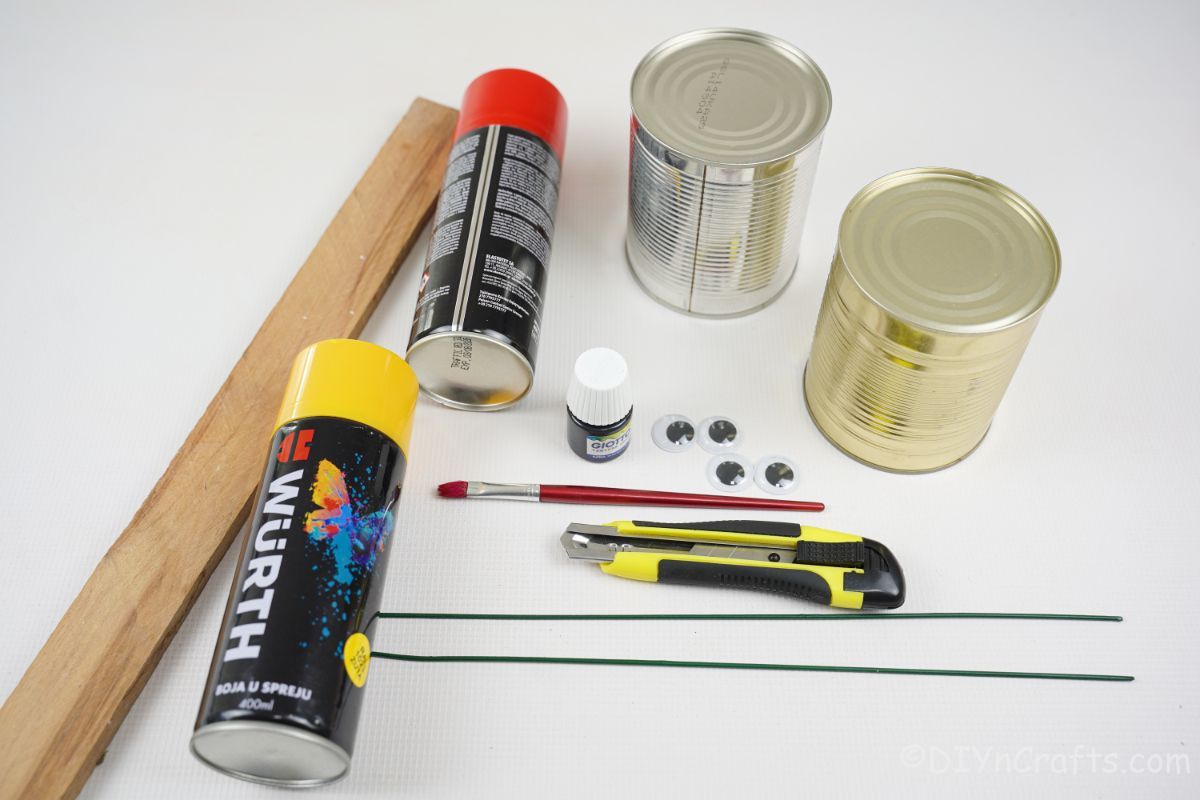
Supplies Needed
- Tin cans
- Red spray paint
- Yellow spray paint
- Black foam paper or black felt
- Googly eyes
- Floral wire
- ½" yellow ribbon
- ½" red ribbon
- Garden stake or dowel for standing
- Scissors
- Hot glue gun
- Hot glue sticks
- Nail
- Hammer
- Metal cutters
How to Make a Tin Can Garden Decoration
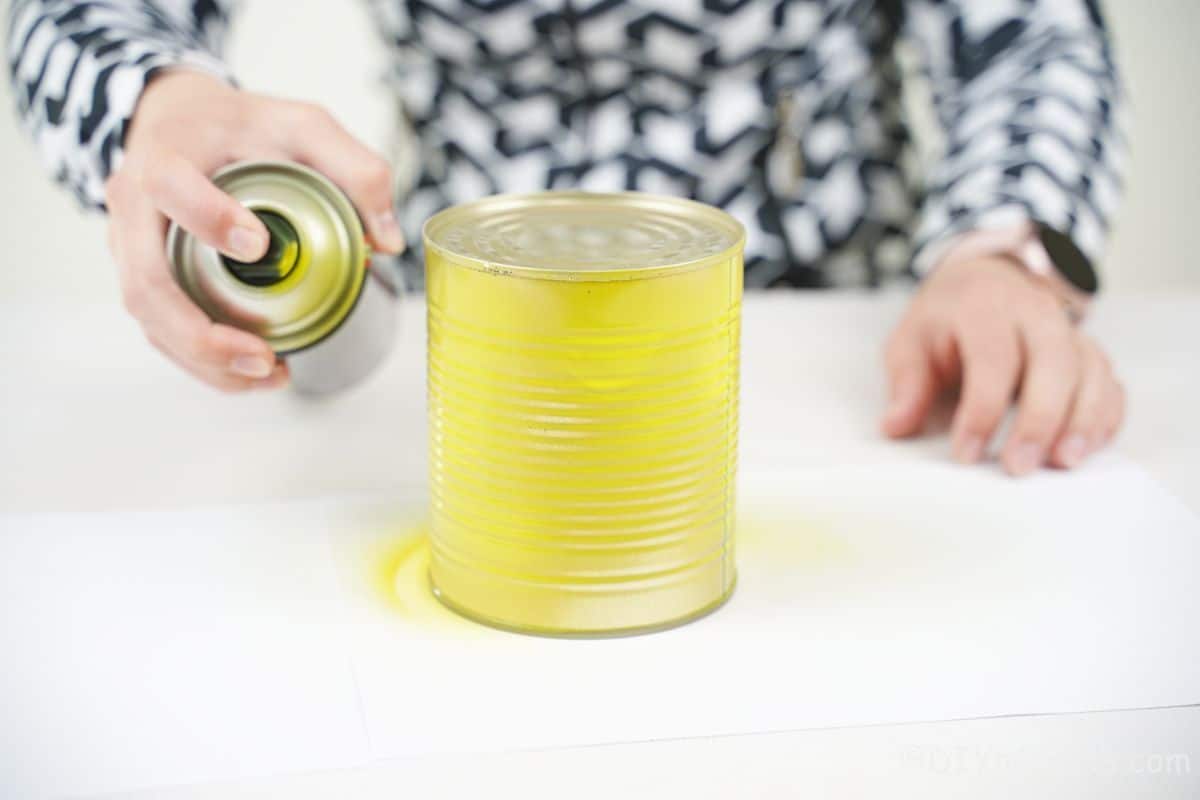
Start by preparing your tin cans by removing labels and glue. Wash and dry them completely then spray paint them the desired colors used. In our case, one was red and one was yellow. Then set them aside to dry completely before continuing the project.
For Ladybug
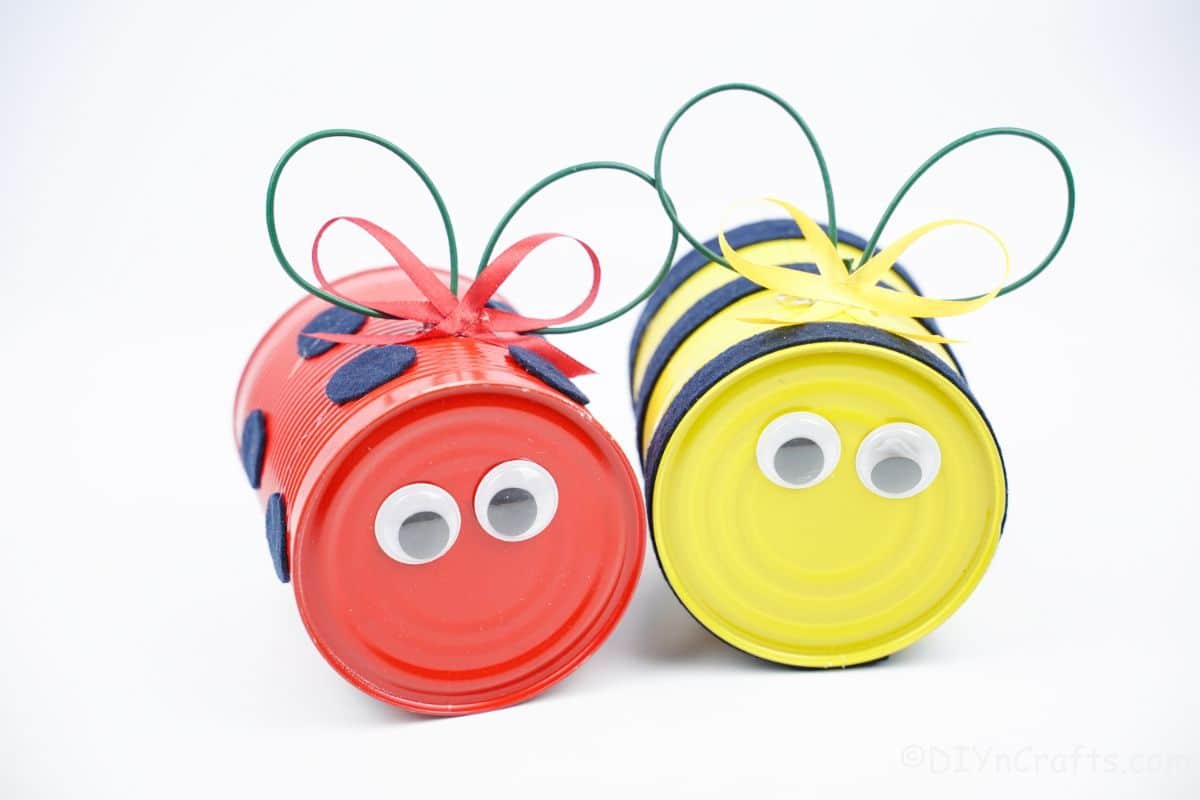
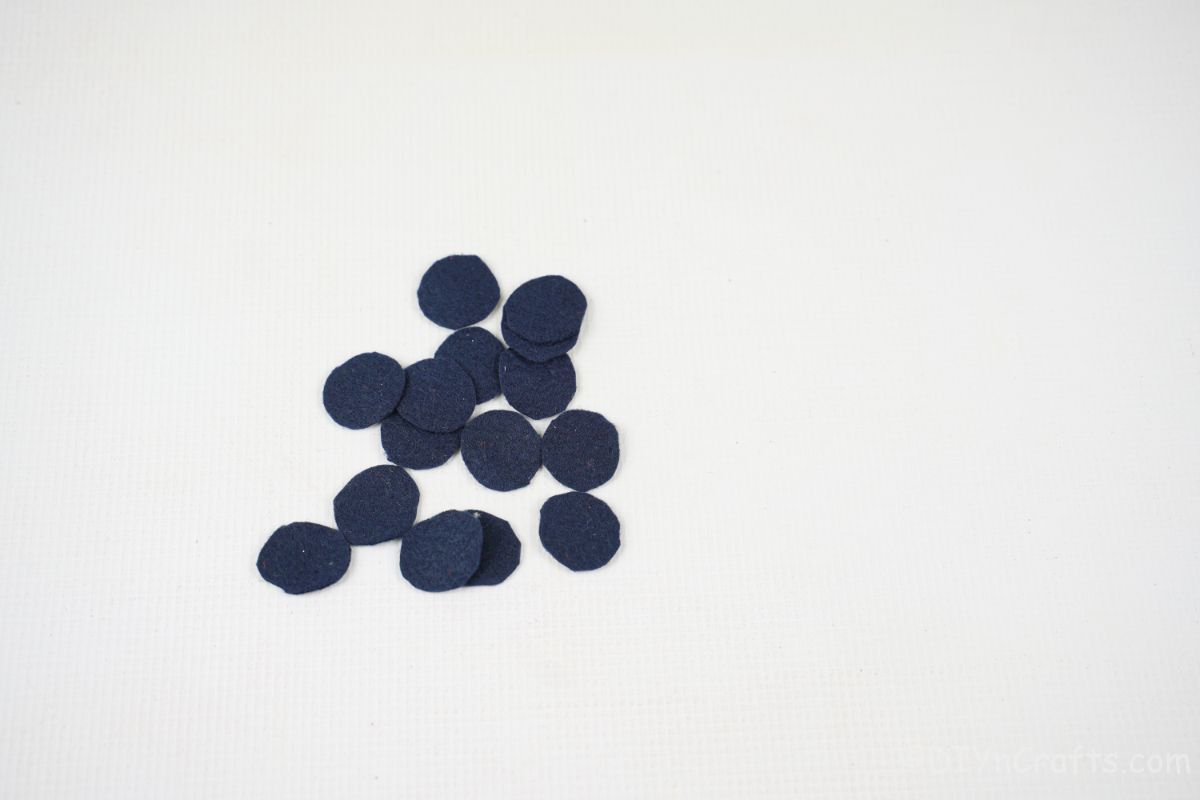
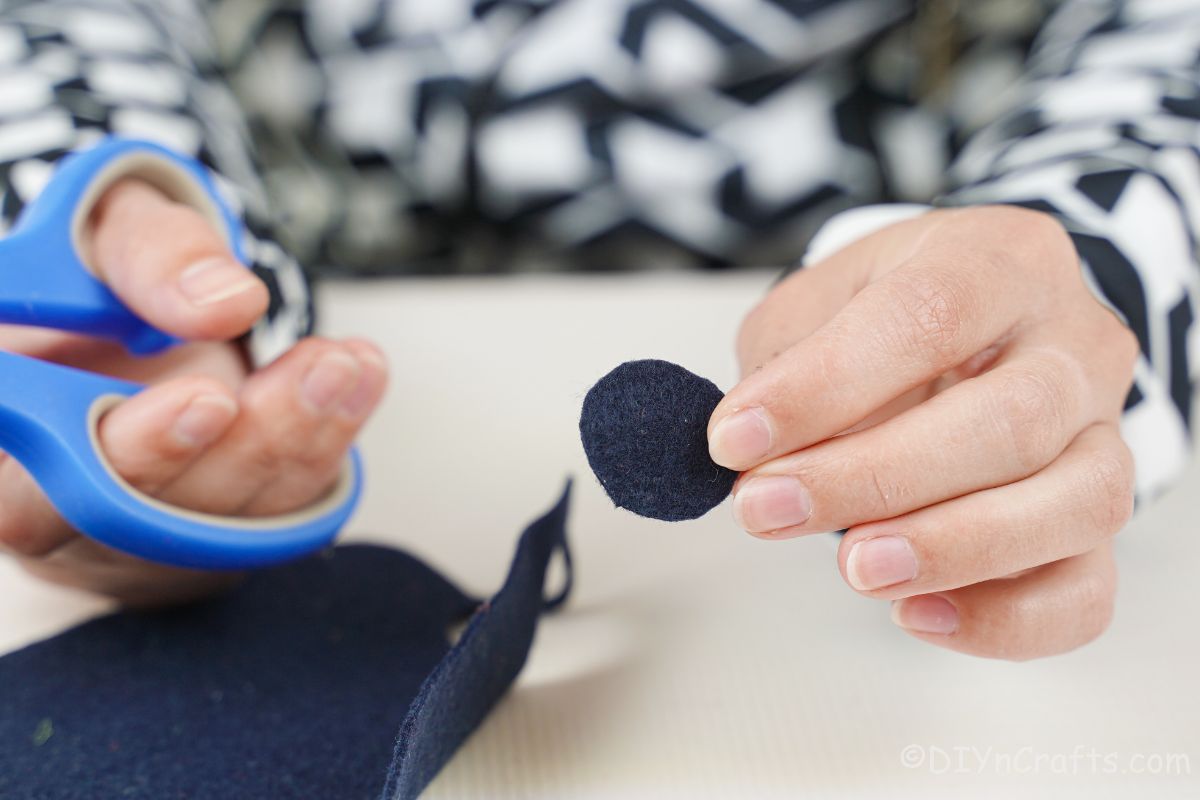
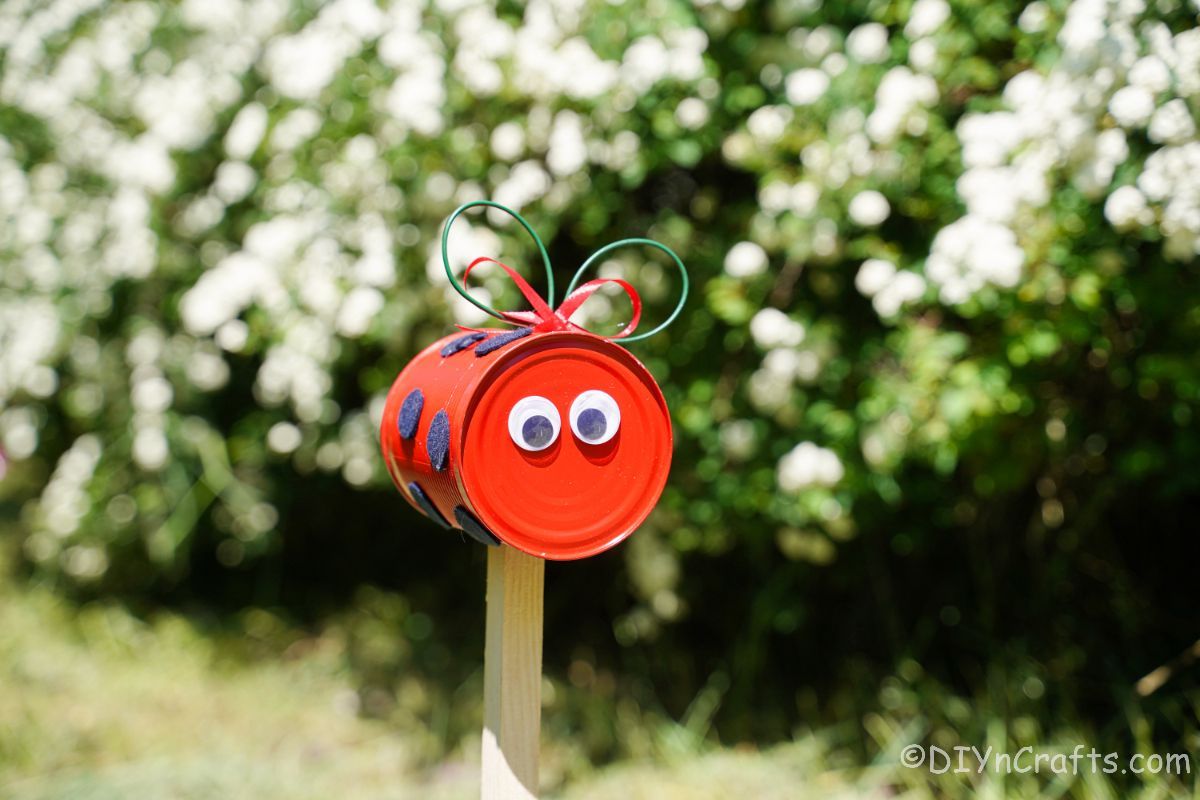
While the paint dries, prepare the ladybug spots. Cut out 8 to 10 circles on black felt or foam paper, approximately 1" in diameter.
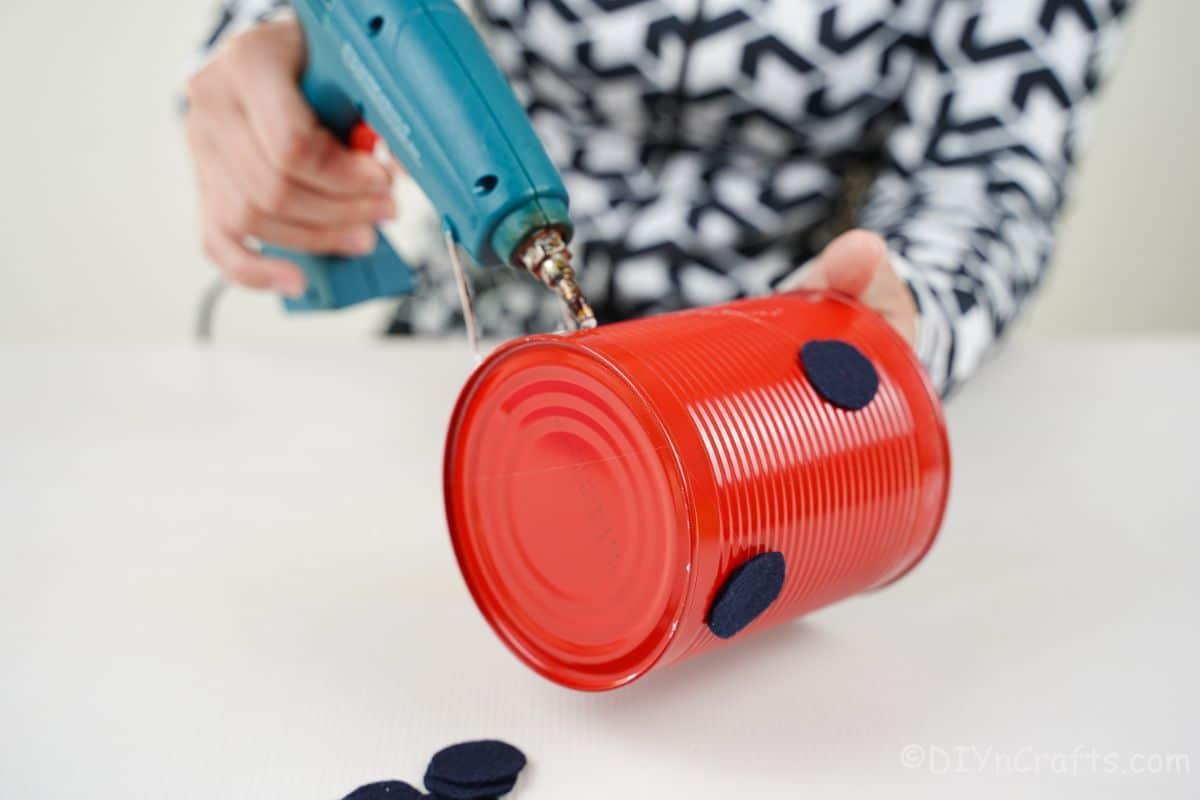
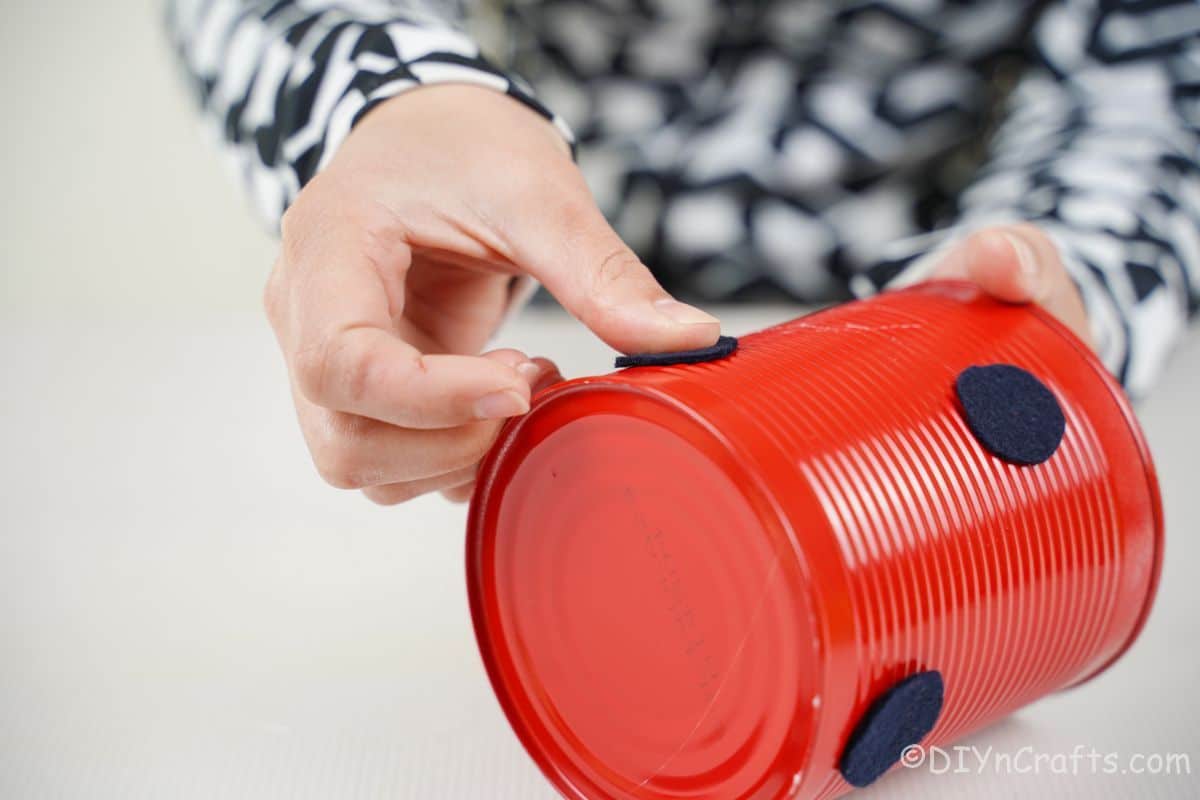
Once the paint has dried, glue these circles onto the can.
Place them at various places around the can not too close together or uniform. Make them look natural.
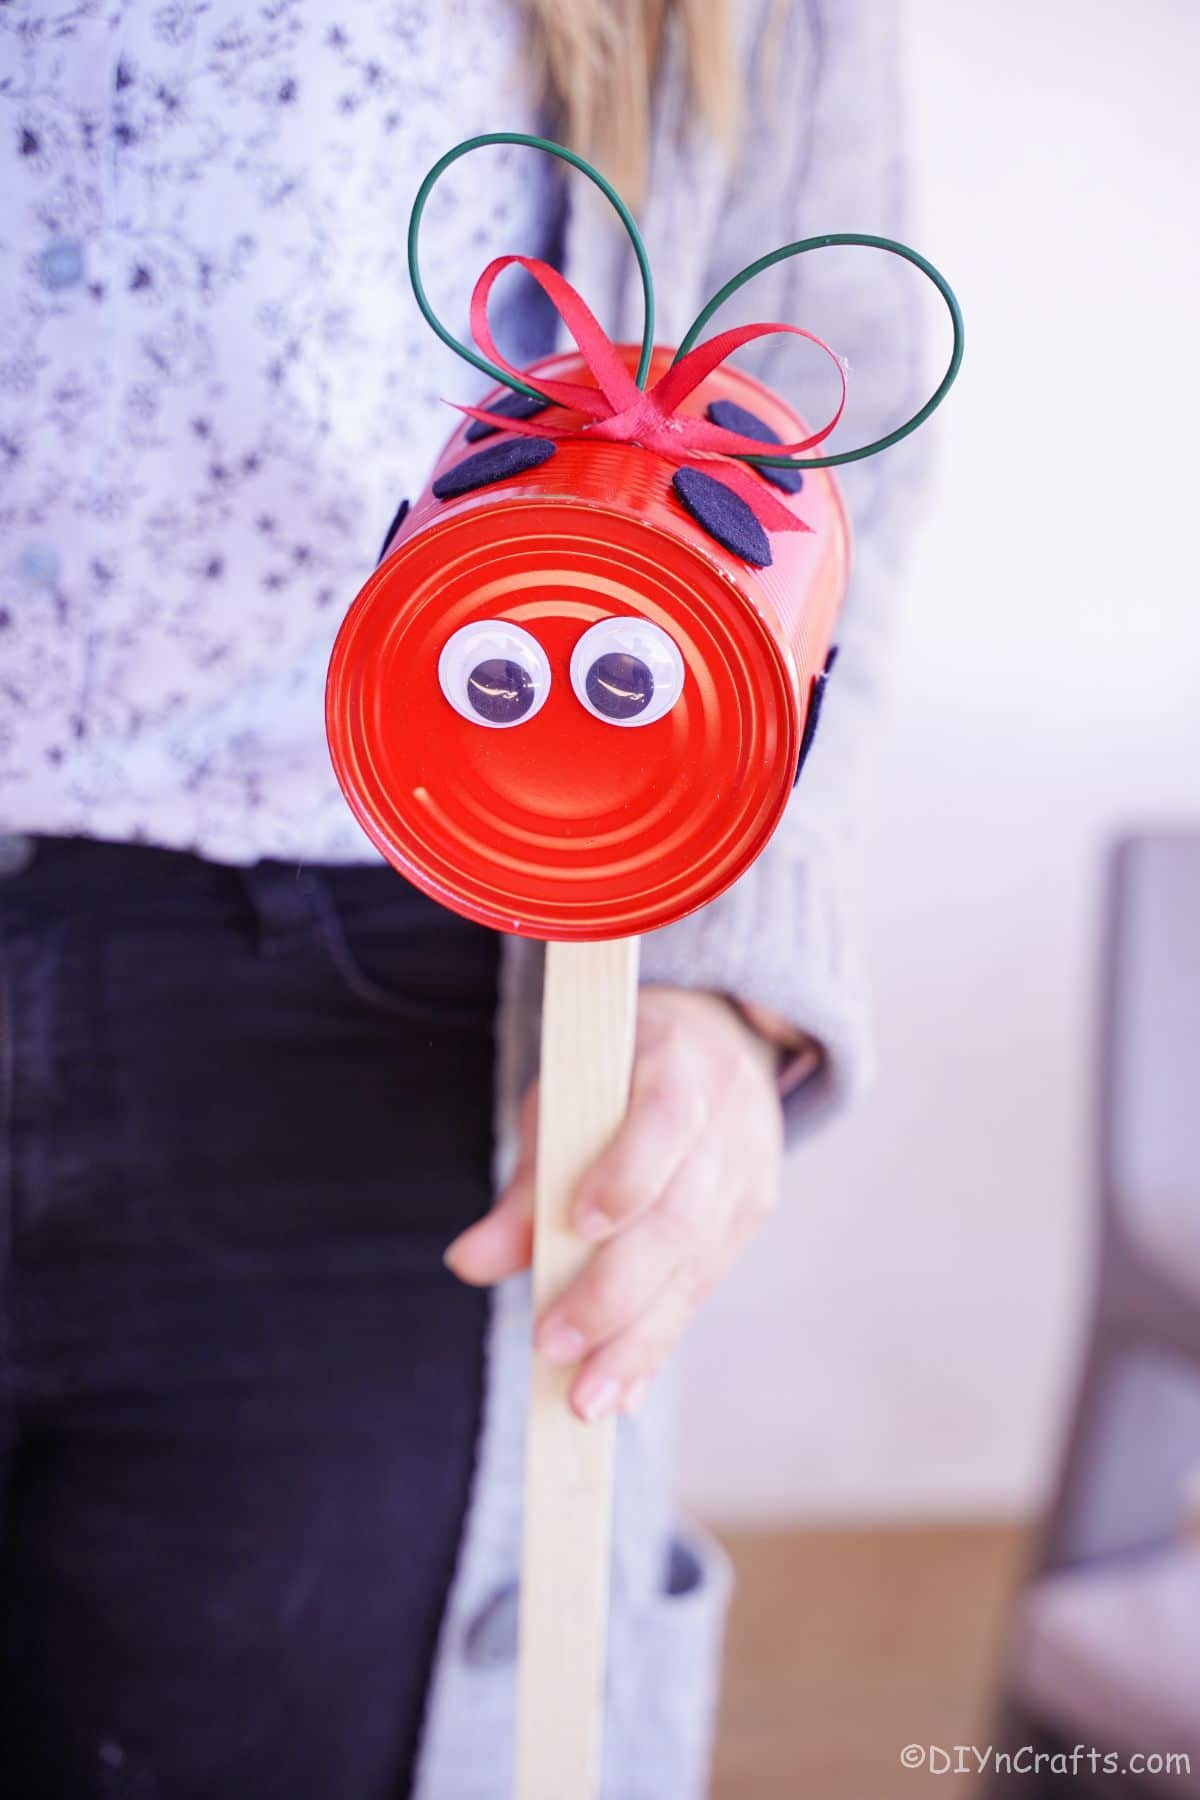
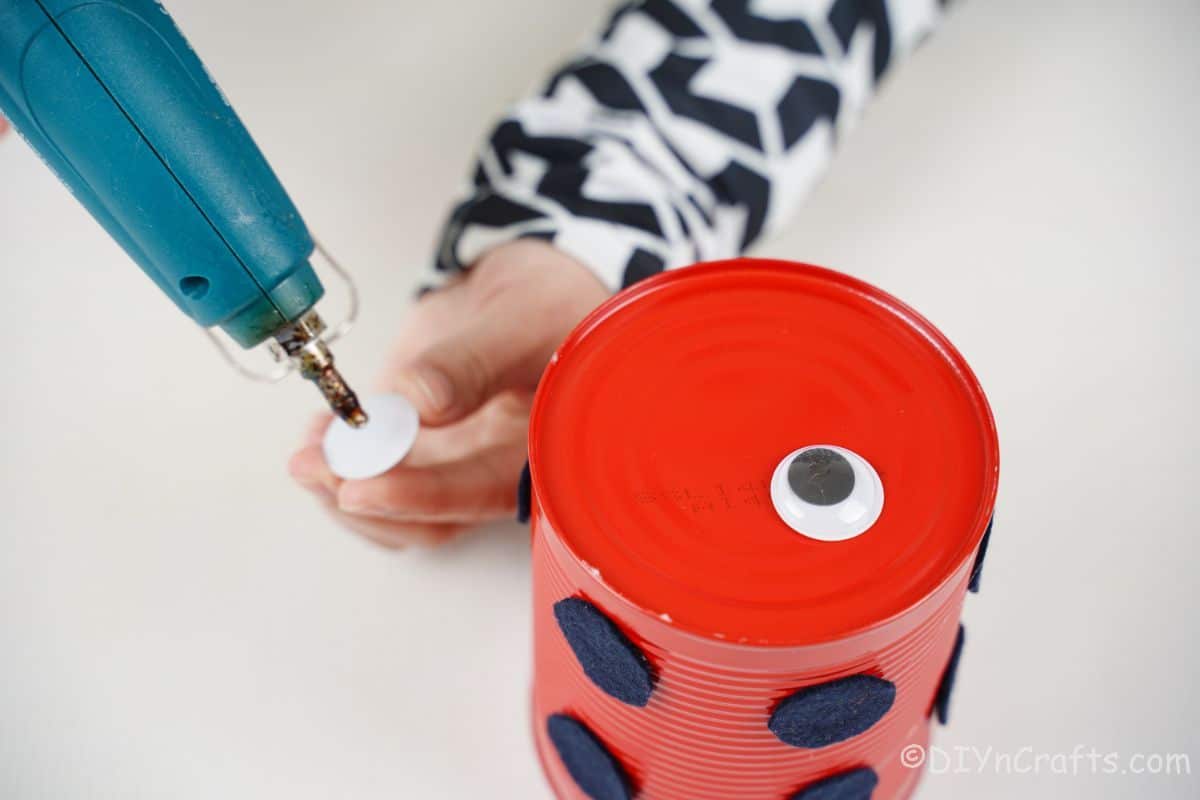
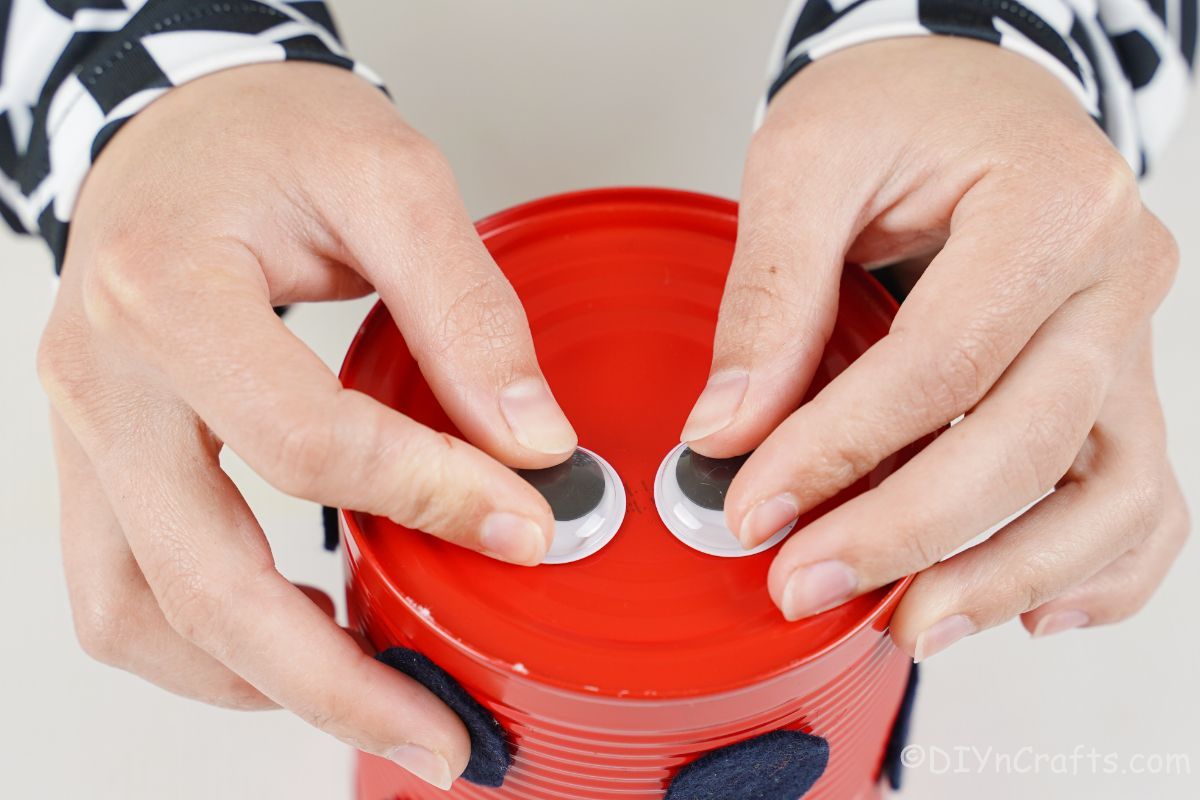
Now, glue the googly eyes to the end of the tin can that is still intact.
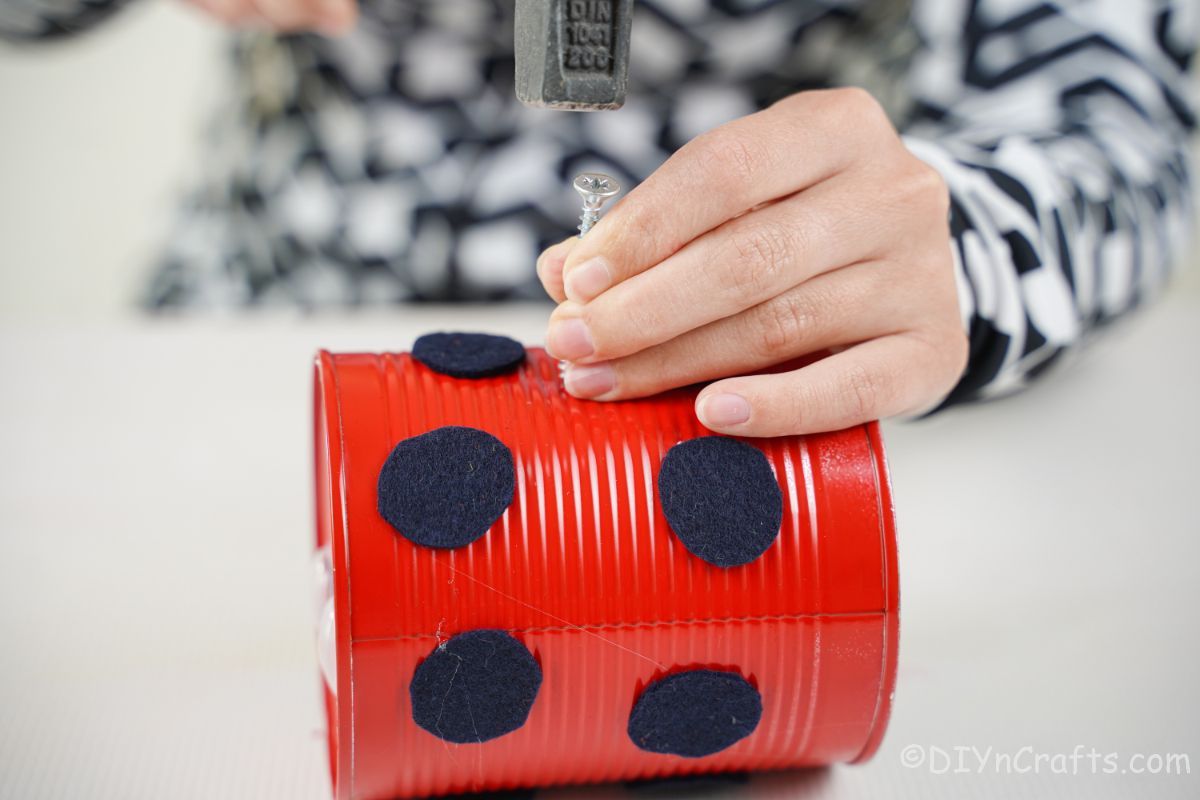
Using a nail or screw, hammer a hole into the middle of the can on the bottom side. This is where you will stick the garden stake through the can.
Carefully use wire cutters if needed to snip around the edges and make this just large enough for the can to slide over to secure.
Now, or after decorating, you can place the stick inside the hole and glue it around the edges to secure it.
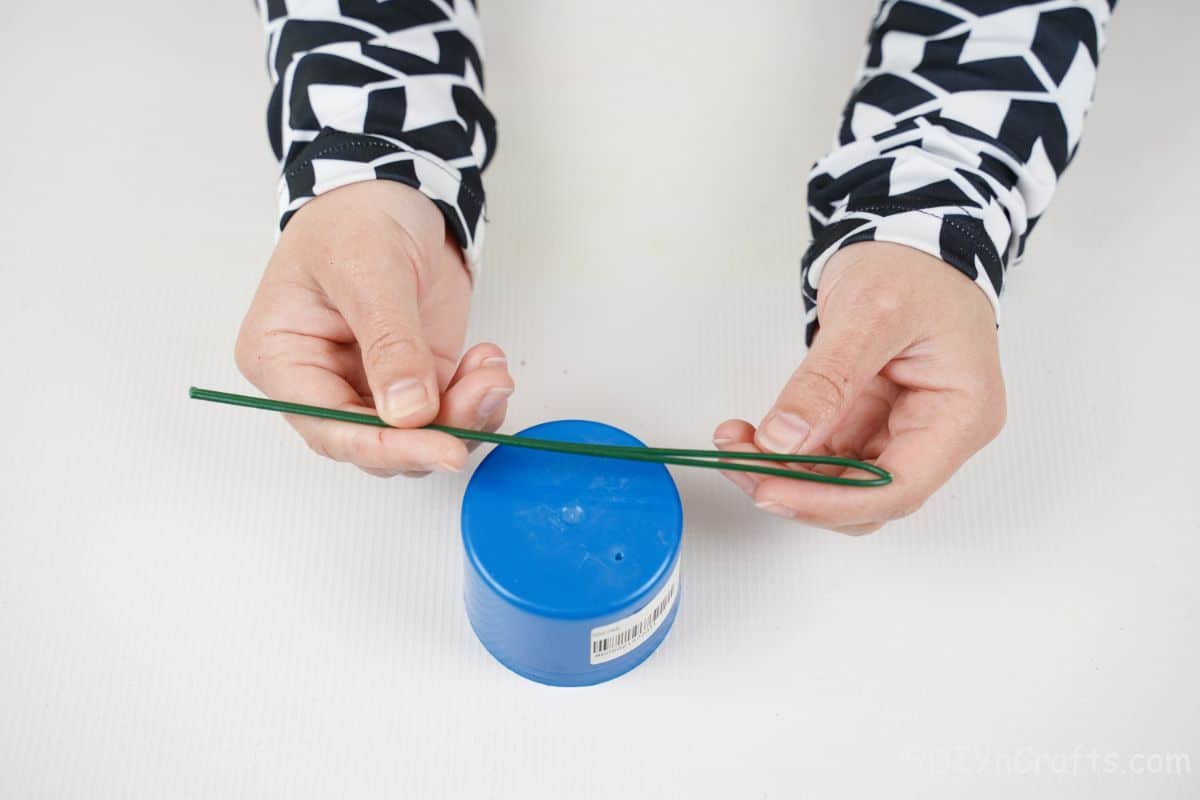
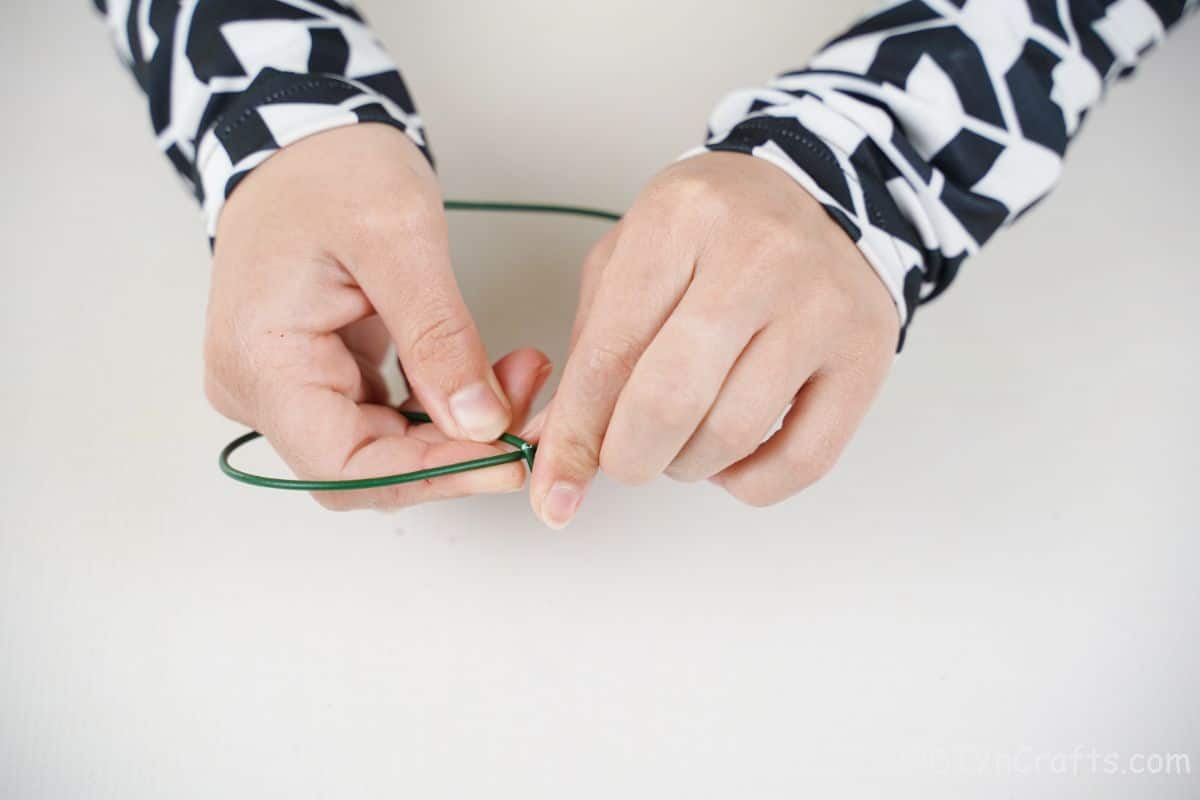
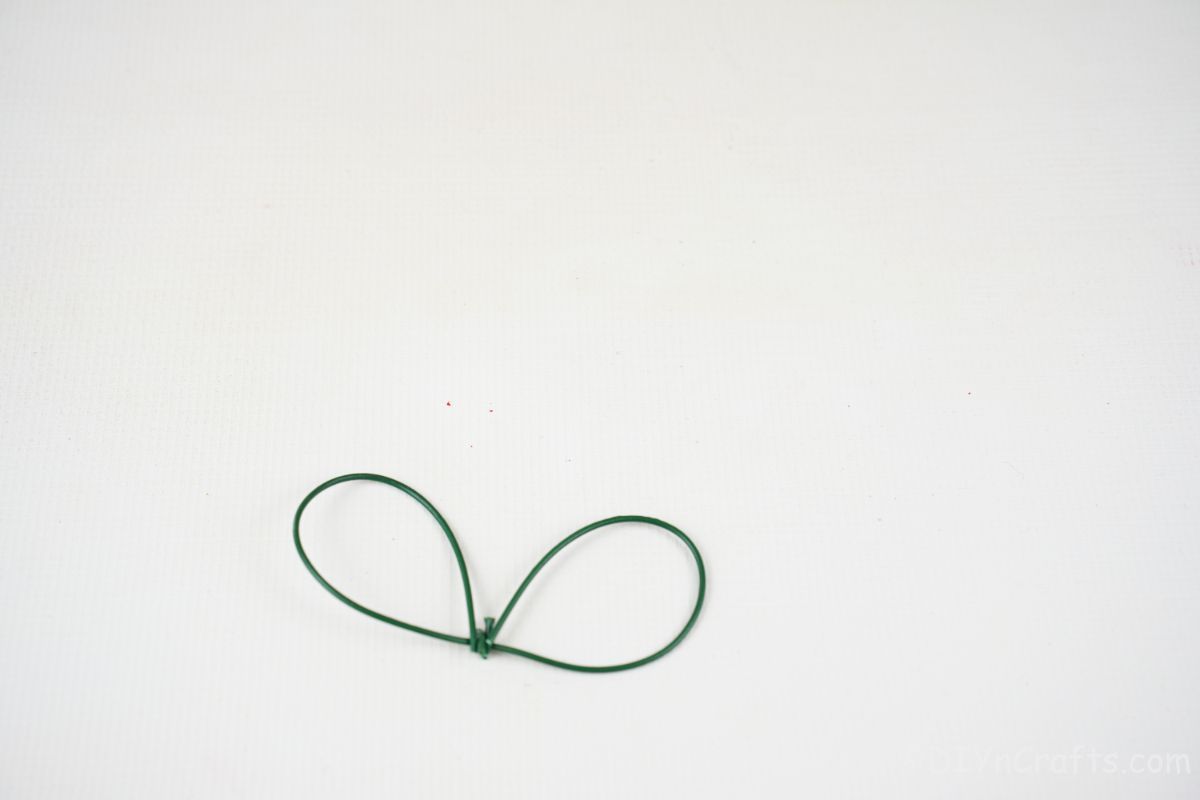
Next, use something round to help bend the floral wire into a bow shape.
Twist the ends over each other so you don't have dangling ends, but just the two rounded sides. This creates the bug's wings.
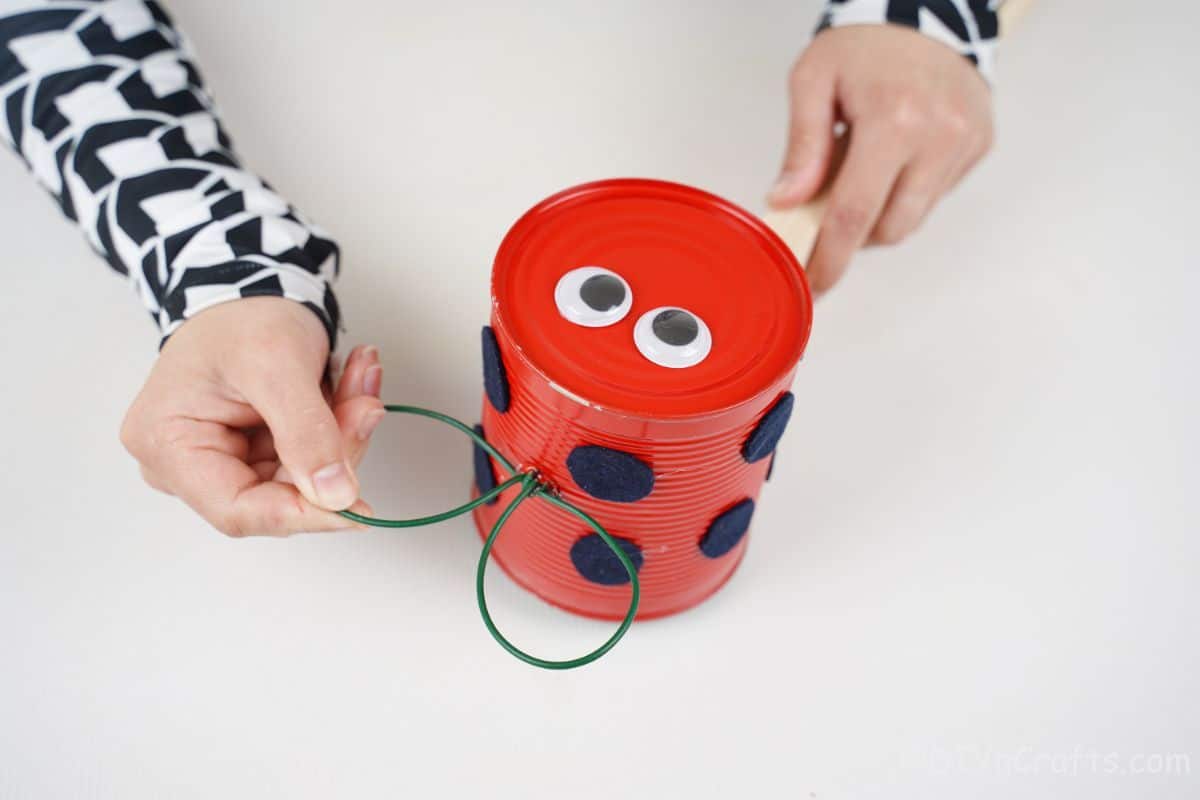
Glue this to the top of the tin can. You can also tap a hole into the can and stick the loose end through it if you prefer.
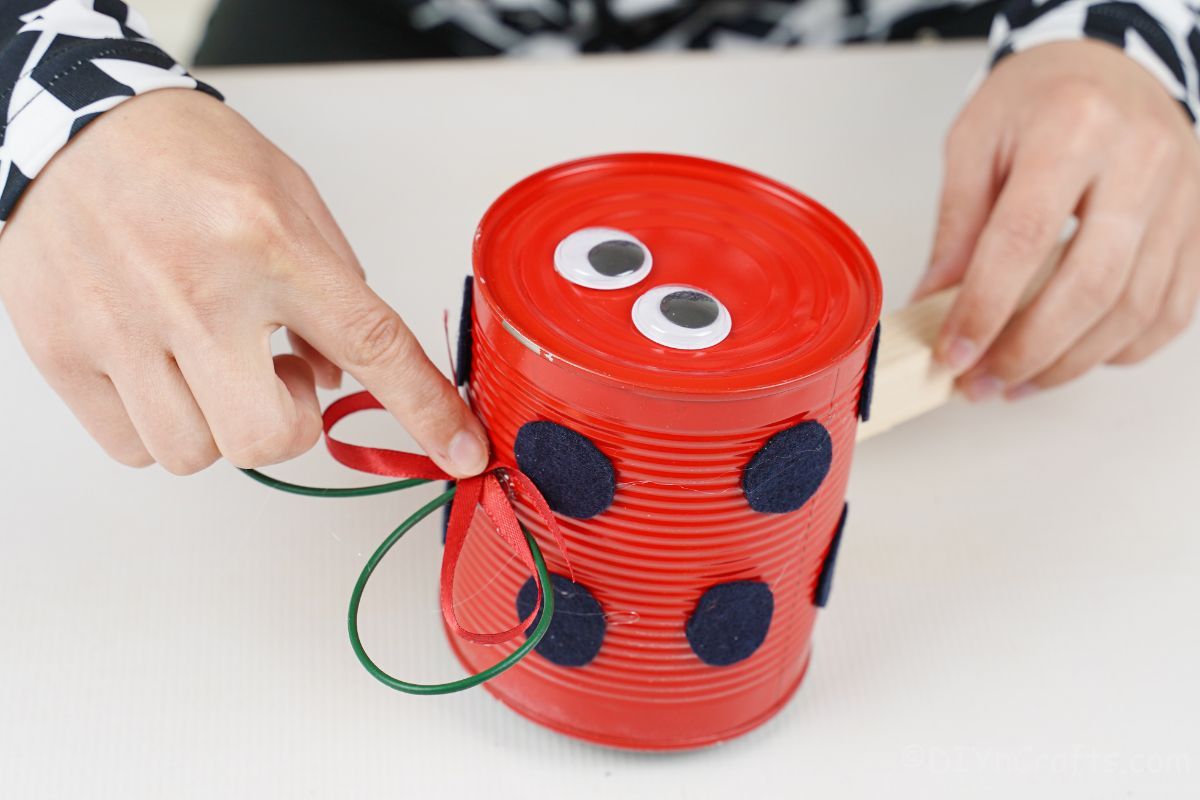
Next, make and attach a small red bow to the front of the wings of your ladybug.
If you need to add the garden stake at this point do so.
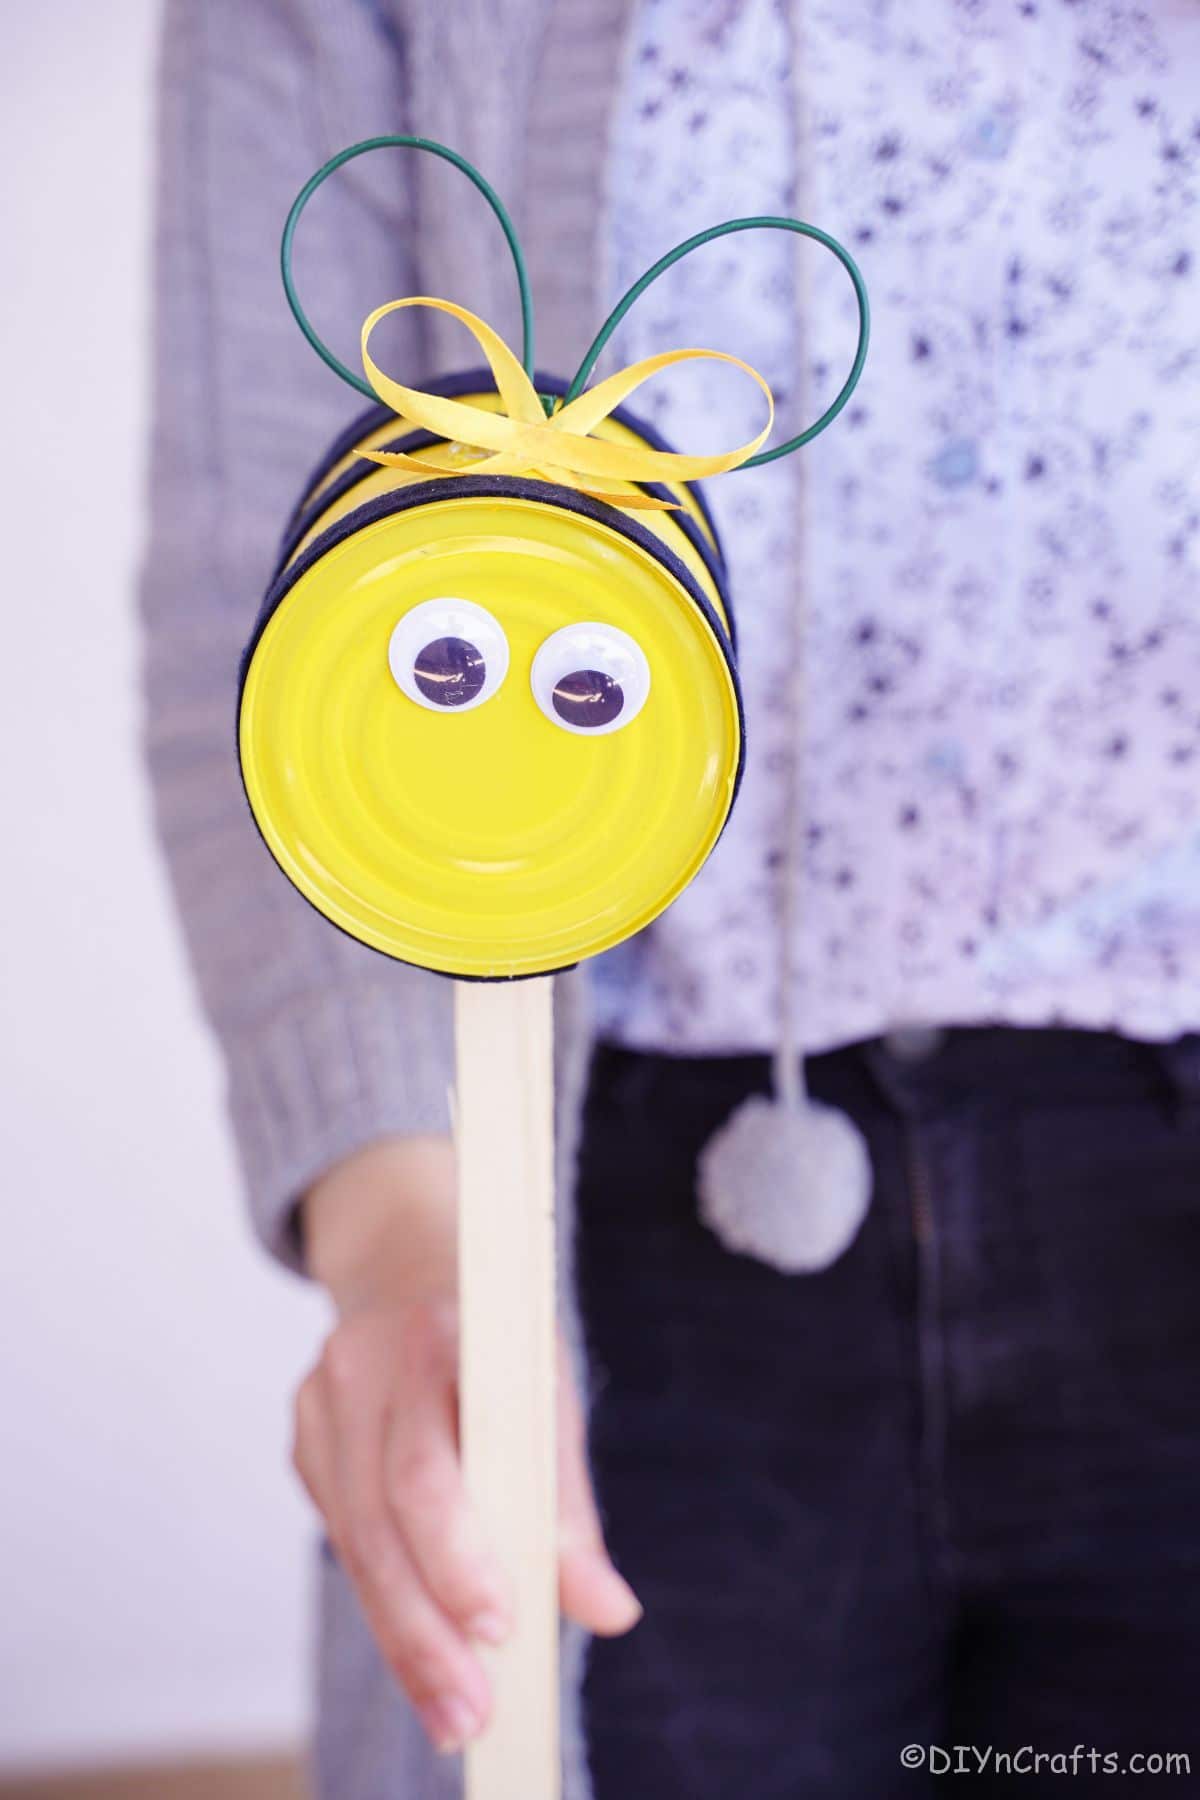
For Bumble Bee
Repeat the same steps above to create the hole in the bottom of the yellow tin can for adding the garden stake. Set the stake aside, and then continue prepping the decorations on the bee.
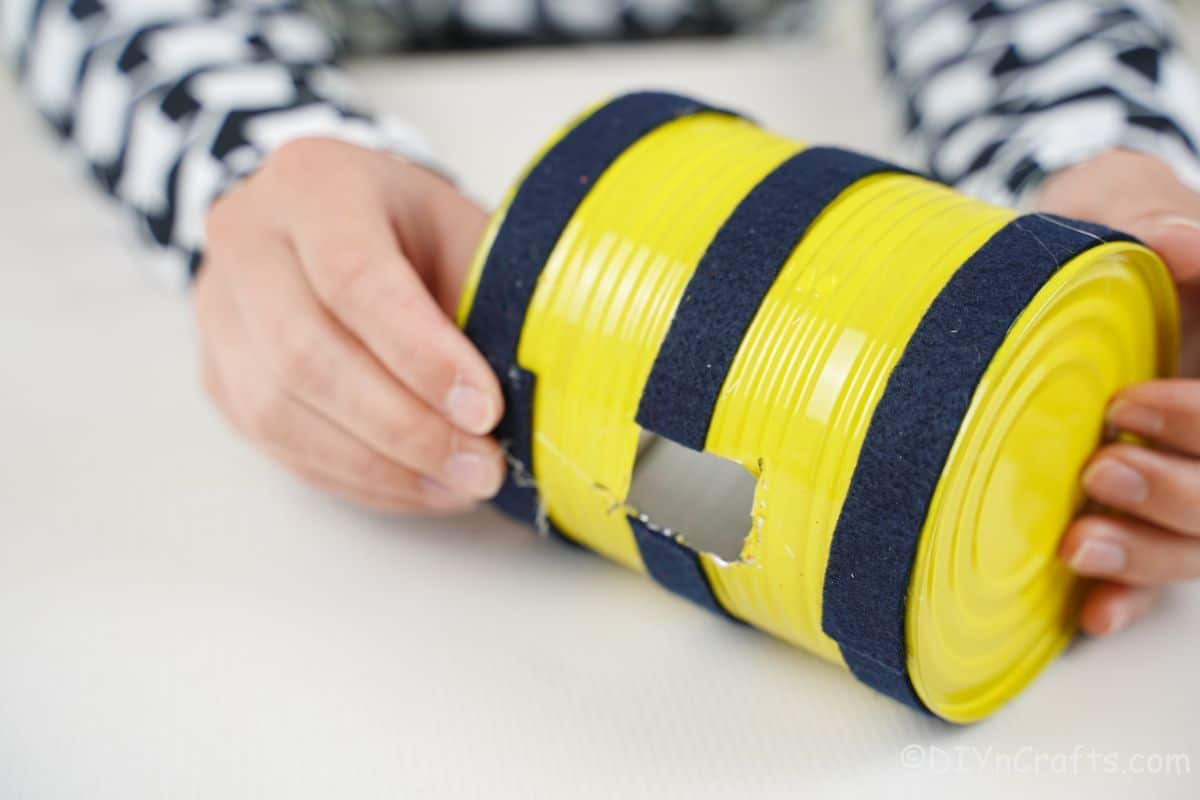
Cut 3 strips of black felt that are around 1" wide and long enough to wrap completely around the can.
Now, glue these in place on the can with one on the top edge, one on the bottom edge, and one in the middle.
The middle strip will go around the can to tuck inside and under where the hole is for the garden stake.
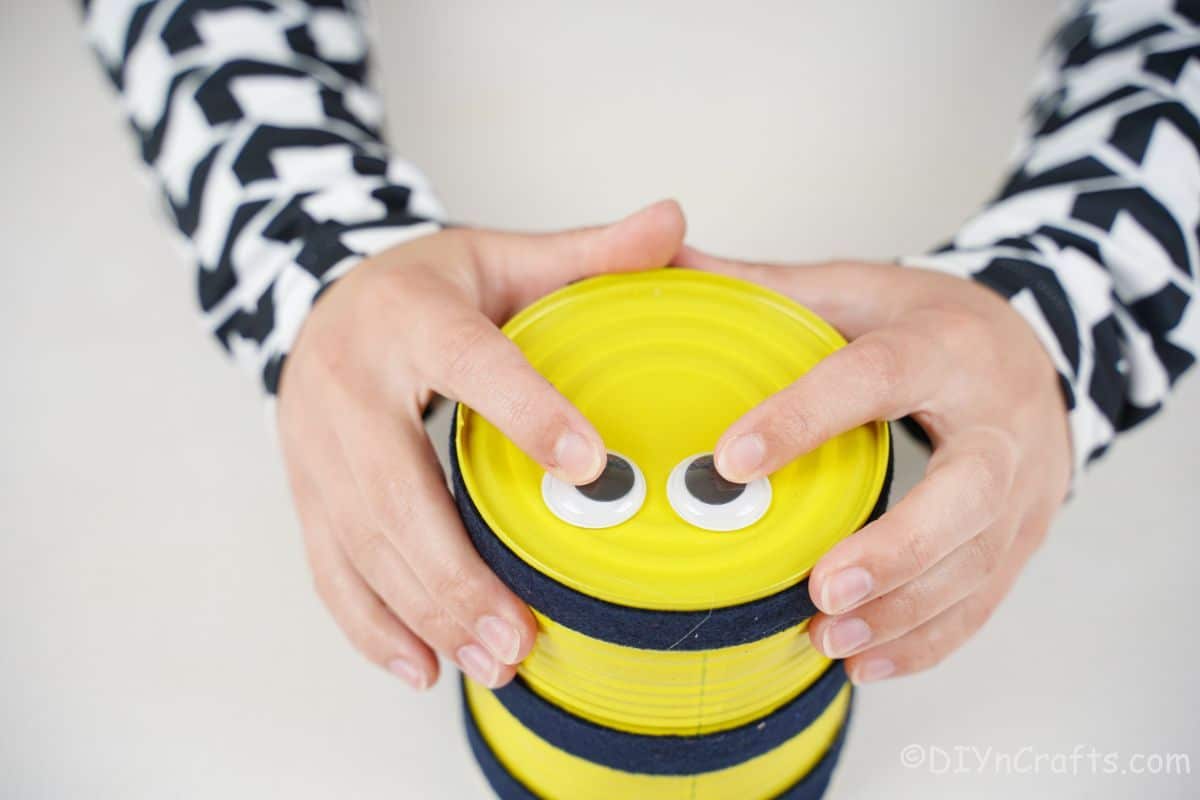
Now, glue on googly eyes for the front of the can.
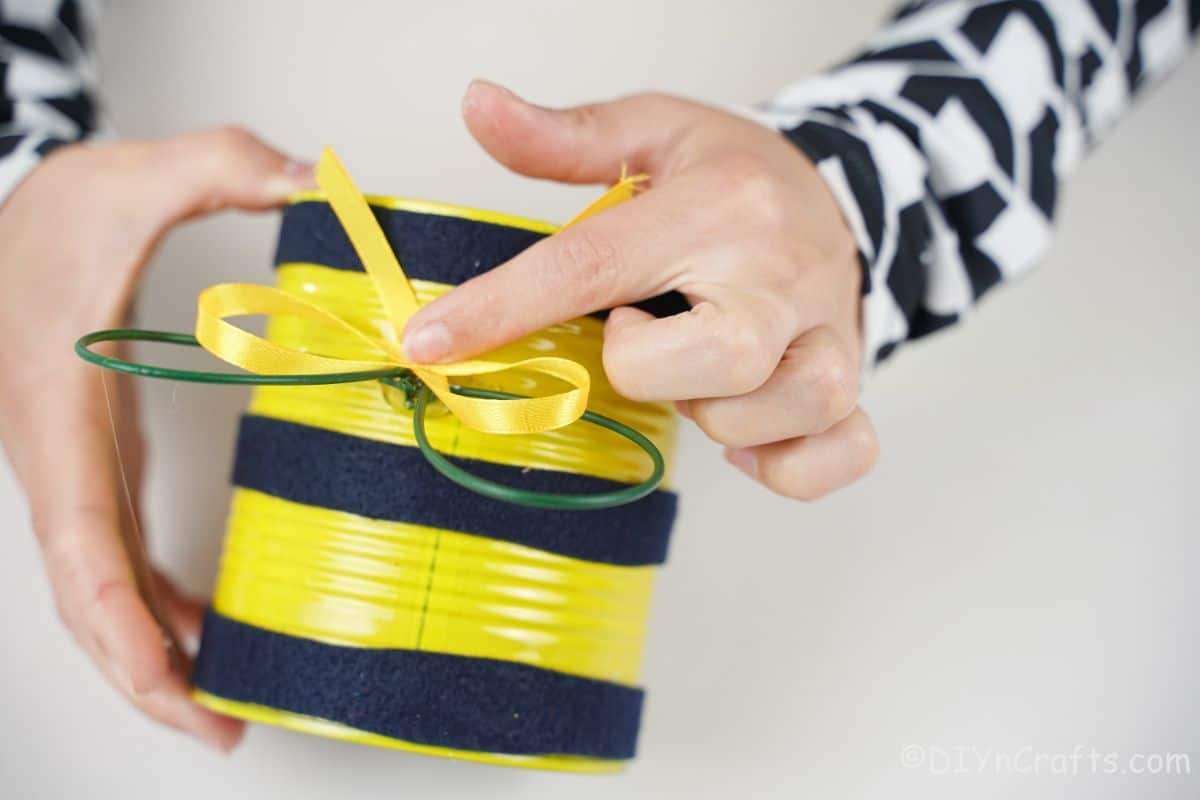
Using the same method above, create wings for the bee using floral wire.
Add a small yellow bow in front of the wings.
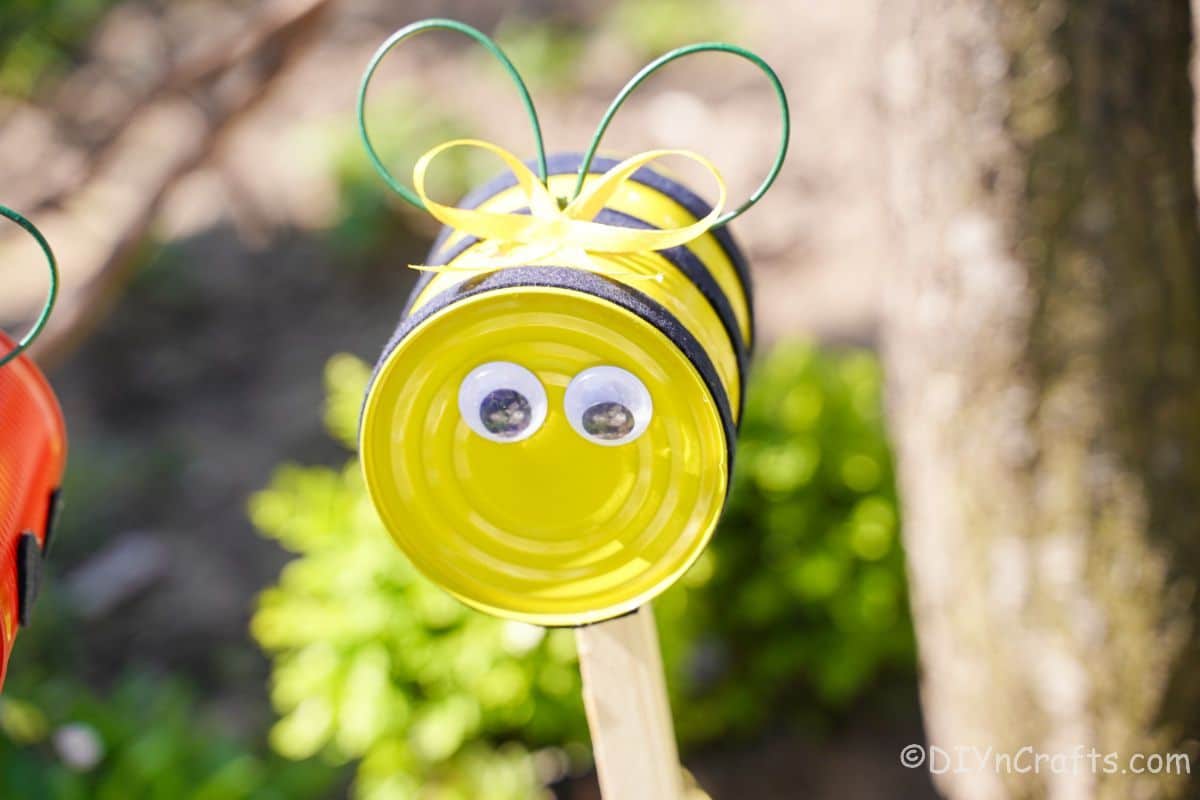
Then attach the bee to a garden stake for displaying.
More Tin Can Craft Ideas
Tin cans are the base of many of my favorite crafts. They are so fun and of course, pretty much free since you already have them on hand. Below are some of my favorite ideas for you to consider. Make sure that you bookmark these ideas, print out the tutorials, or pin them to your favorite craft board on Pinterest.
- Upcycled CD and TIn Can Windchime Garden Decoration
- Rustic Coffee Bean and Twine Upcycled Tin Can Decor
- Super Fun Upcycled TIn Can Ball Toss Game
- 50 Jaw-Dropping Upcycled Tin Can Ideas

Tin Can Ladybug and Bee Garden Decoration
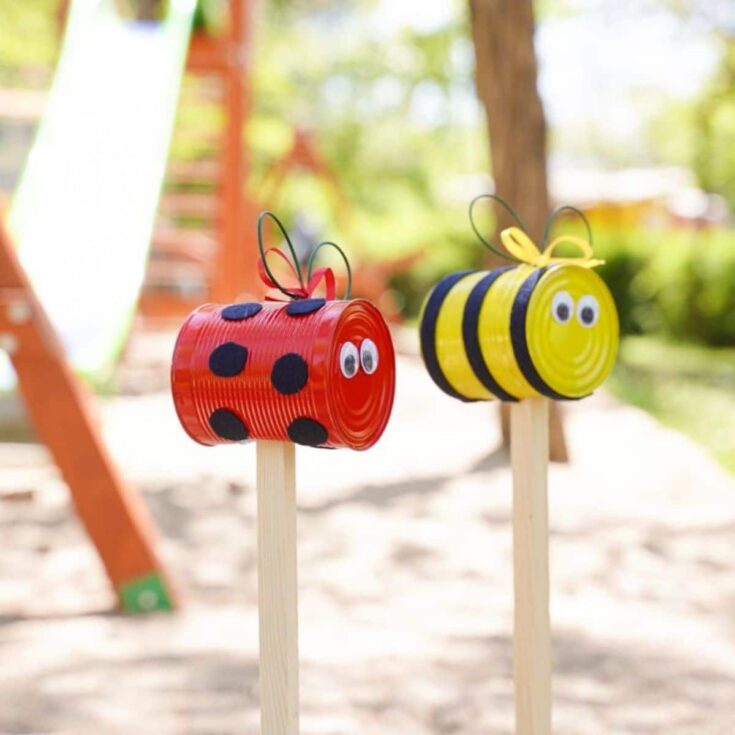
This upcycled tin can ladybug garden decoration is so cute and easy to make! Includes a bumble bee garden stake tutorial!
Materials
Tools
Instructions
How to Make a Tin Can Garden Decoration
- Remove the label from the tin cans and wash them then dry them completely.
- Spray paint the cans yellow and red and set them aside to dry.
For Ladybug
- Cut out 8 to 10 1" circles from black foam paper or felt.
- Glue the black circles onto the now dried red can, putting them at various places around the can as dots for the ladybug.
- Now, glue the googly eyes onto the end of the tin can.
- Use a nail or screw and pliers to hammer a hole into the middle of the side of the can, then clip around it making sure it is on the bottom where the eyes are on the upper half.
- Glue or secure the stick/garden stake into the hole you created.
- Now, bend the floral wire into a "bow" shape using the ends to twist over itself to secure the two bubble sides. This creates "wings" for the bug.
- Glue this on top of the ladybug.
- Create a small red bow and glue it directly in front of the floral wire "wings".
For Bumble Bee
- Repeat the step above for creating a hole on the bottom of the yellow tin can for the garden stake, however, do not put the stake in place yet.
- Cut 3 strips of black felt or foam paper that are 1" wide and long enough to wrap completely around the can.
- Wrap one of these on each edge of the can and glue it to secure.
- Then glue the third strip over the middle tucking the edges into the opening you created for the garden stake.
- Glue the googly eyes in place on the end of the can making sure the opening is below.
- Now follow the same steps as above to create a bow/wing set from floral wire and secure it to the top of the can.
- And create a small yellow bow just in front of the wings.
- Finally, attach the garden stake through the hole in the bottom of the can.
Notes
Make these with different bugs or insects and different colors of paint to create a fun garden of critters.
Recommended Products
As an Amazon Associate and member of other affiliate programs, I earn from qualifying purchases.
Finished Project Gallery
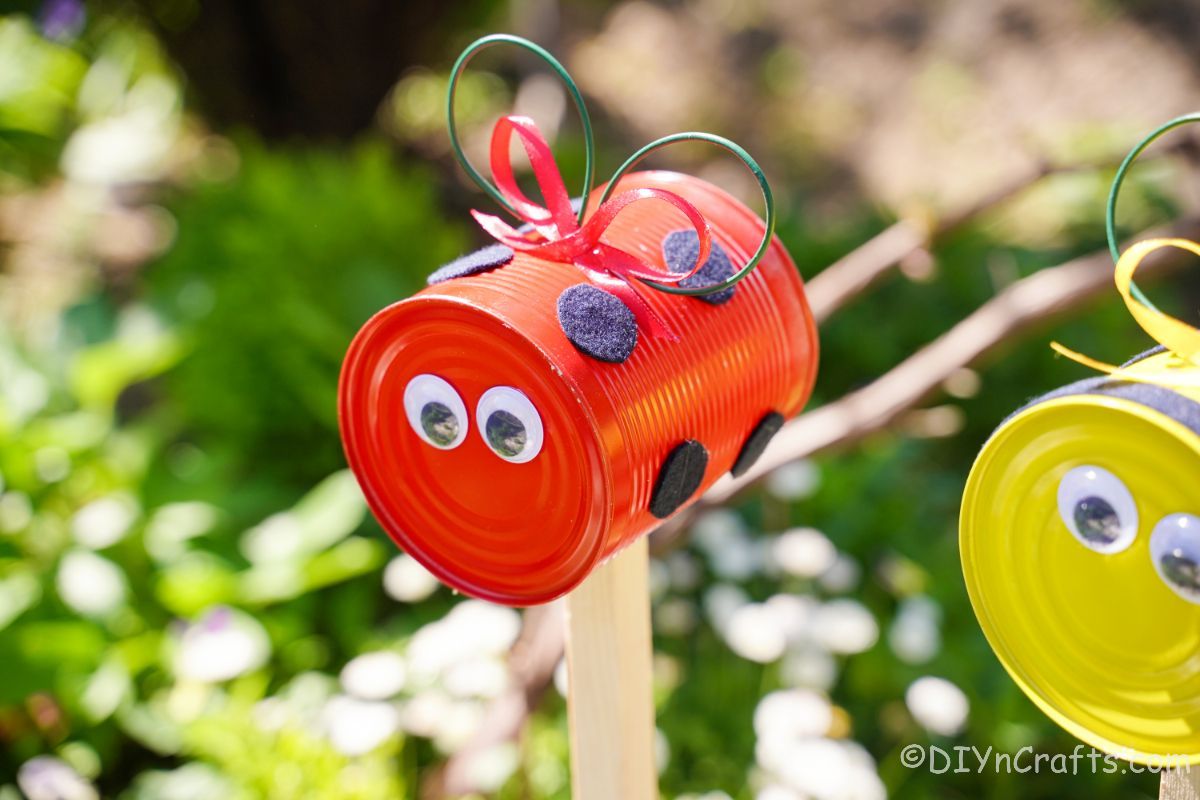
Add these to potted plants inside if you don't have a garden outside for displaying them.









mary Ann Breitbach
sooooo cute --should you paint inside of can bein it is open --- for rust--