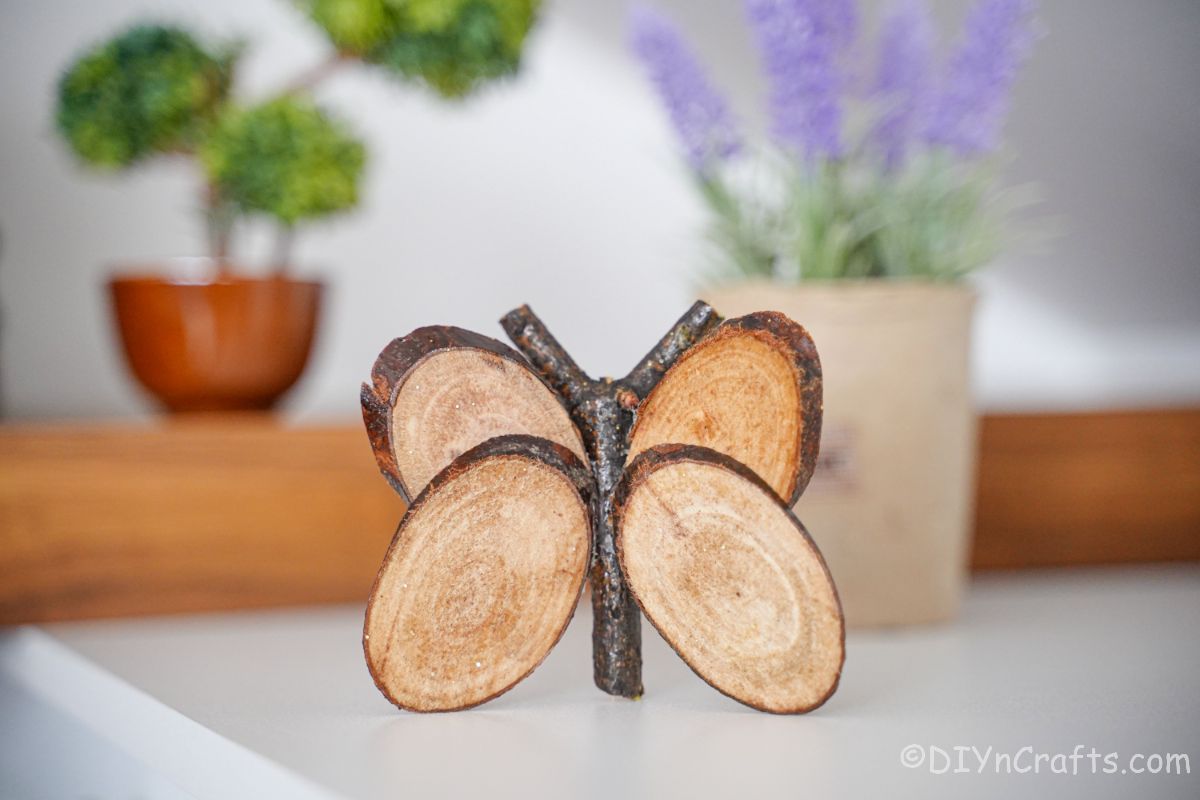
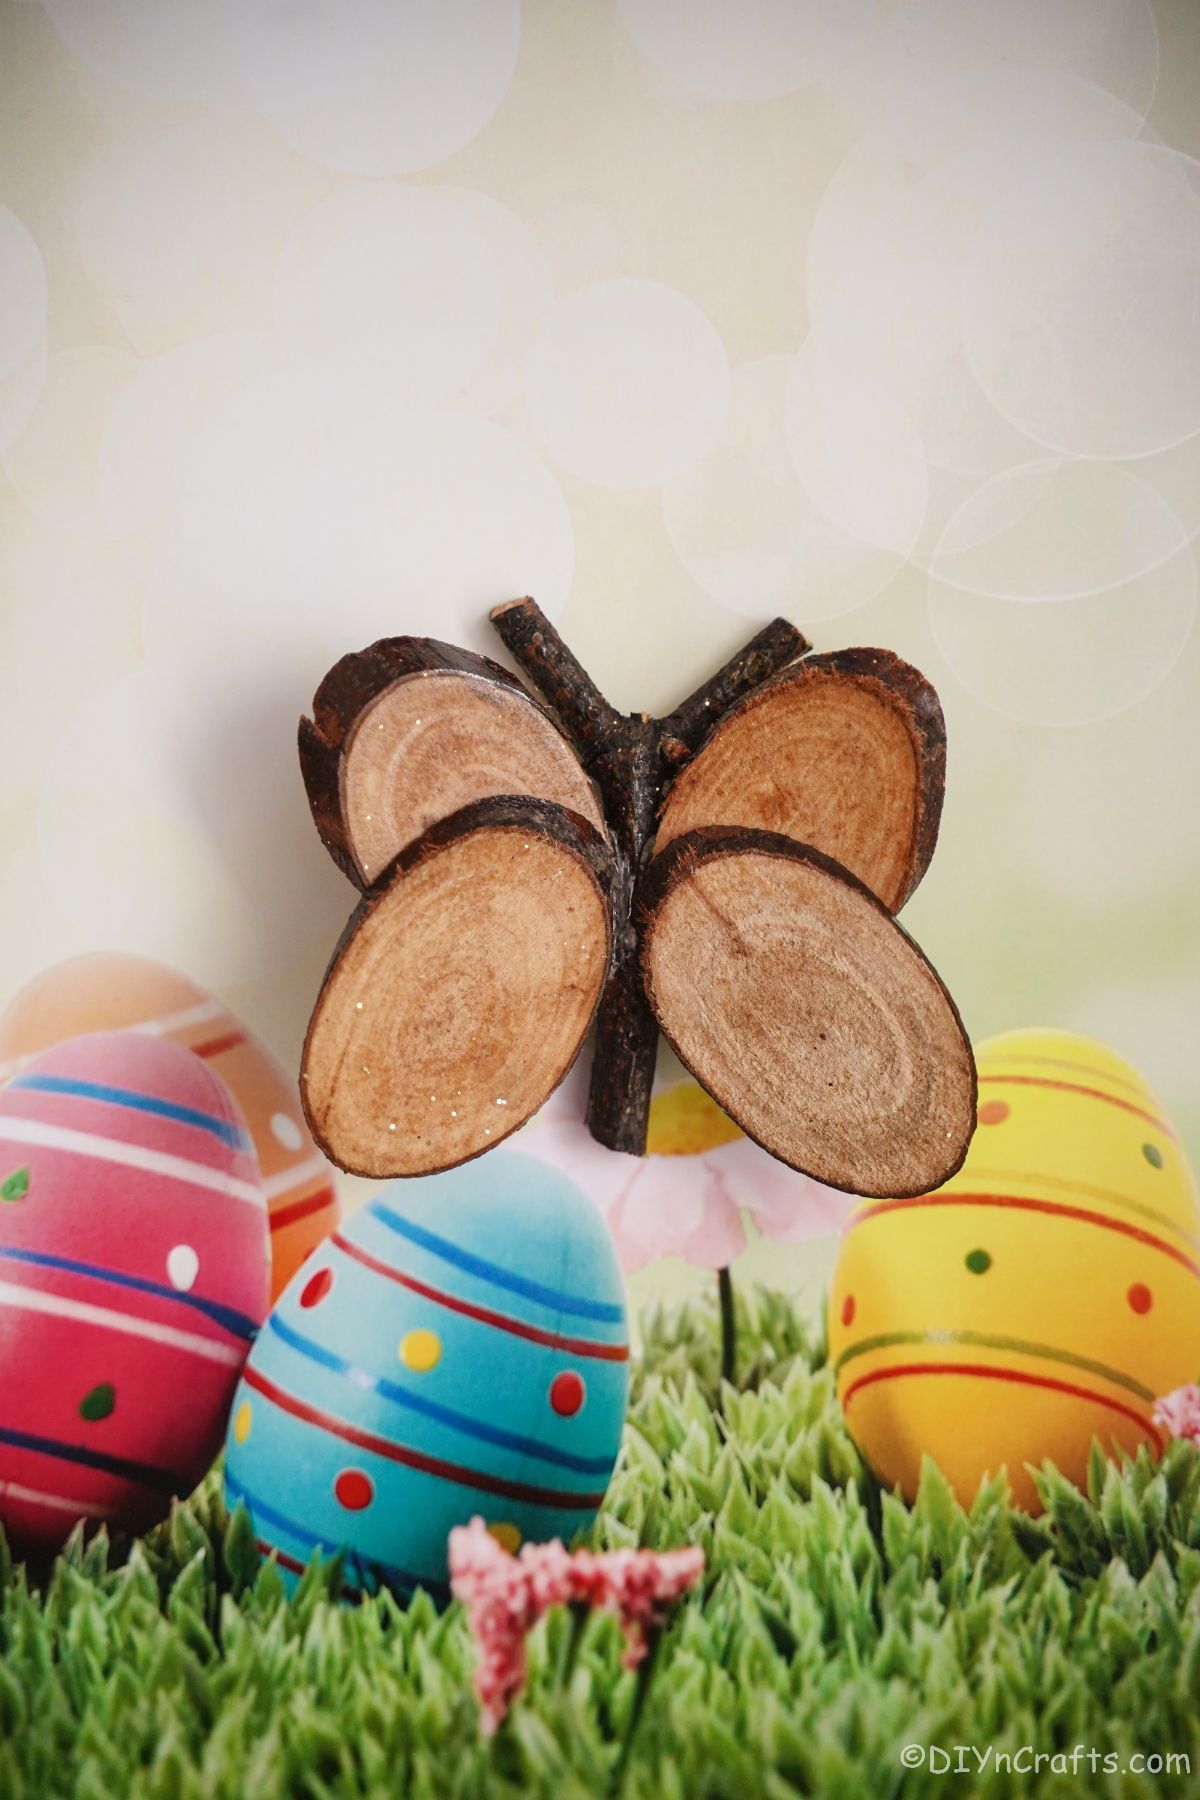
Add some whimsy and magic to your décor with this DIY wood slice butterfly! It is perfect for kids of all ages. This is a fun and easy-to-make craft that is perfect for any budding artist or nature lover! With just a few simple steps, you'll have a beautiful butterfly to hang in your home or give as a gift. Best of all, no two butterflies will be alike, so you can personalize yours however you like.
Wood Slice Butterfly
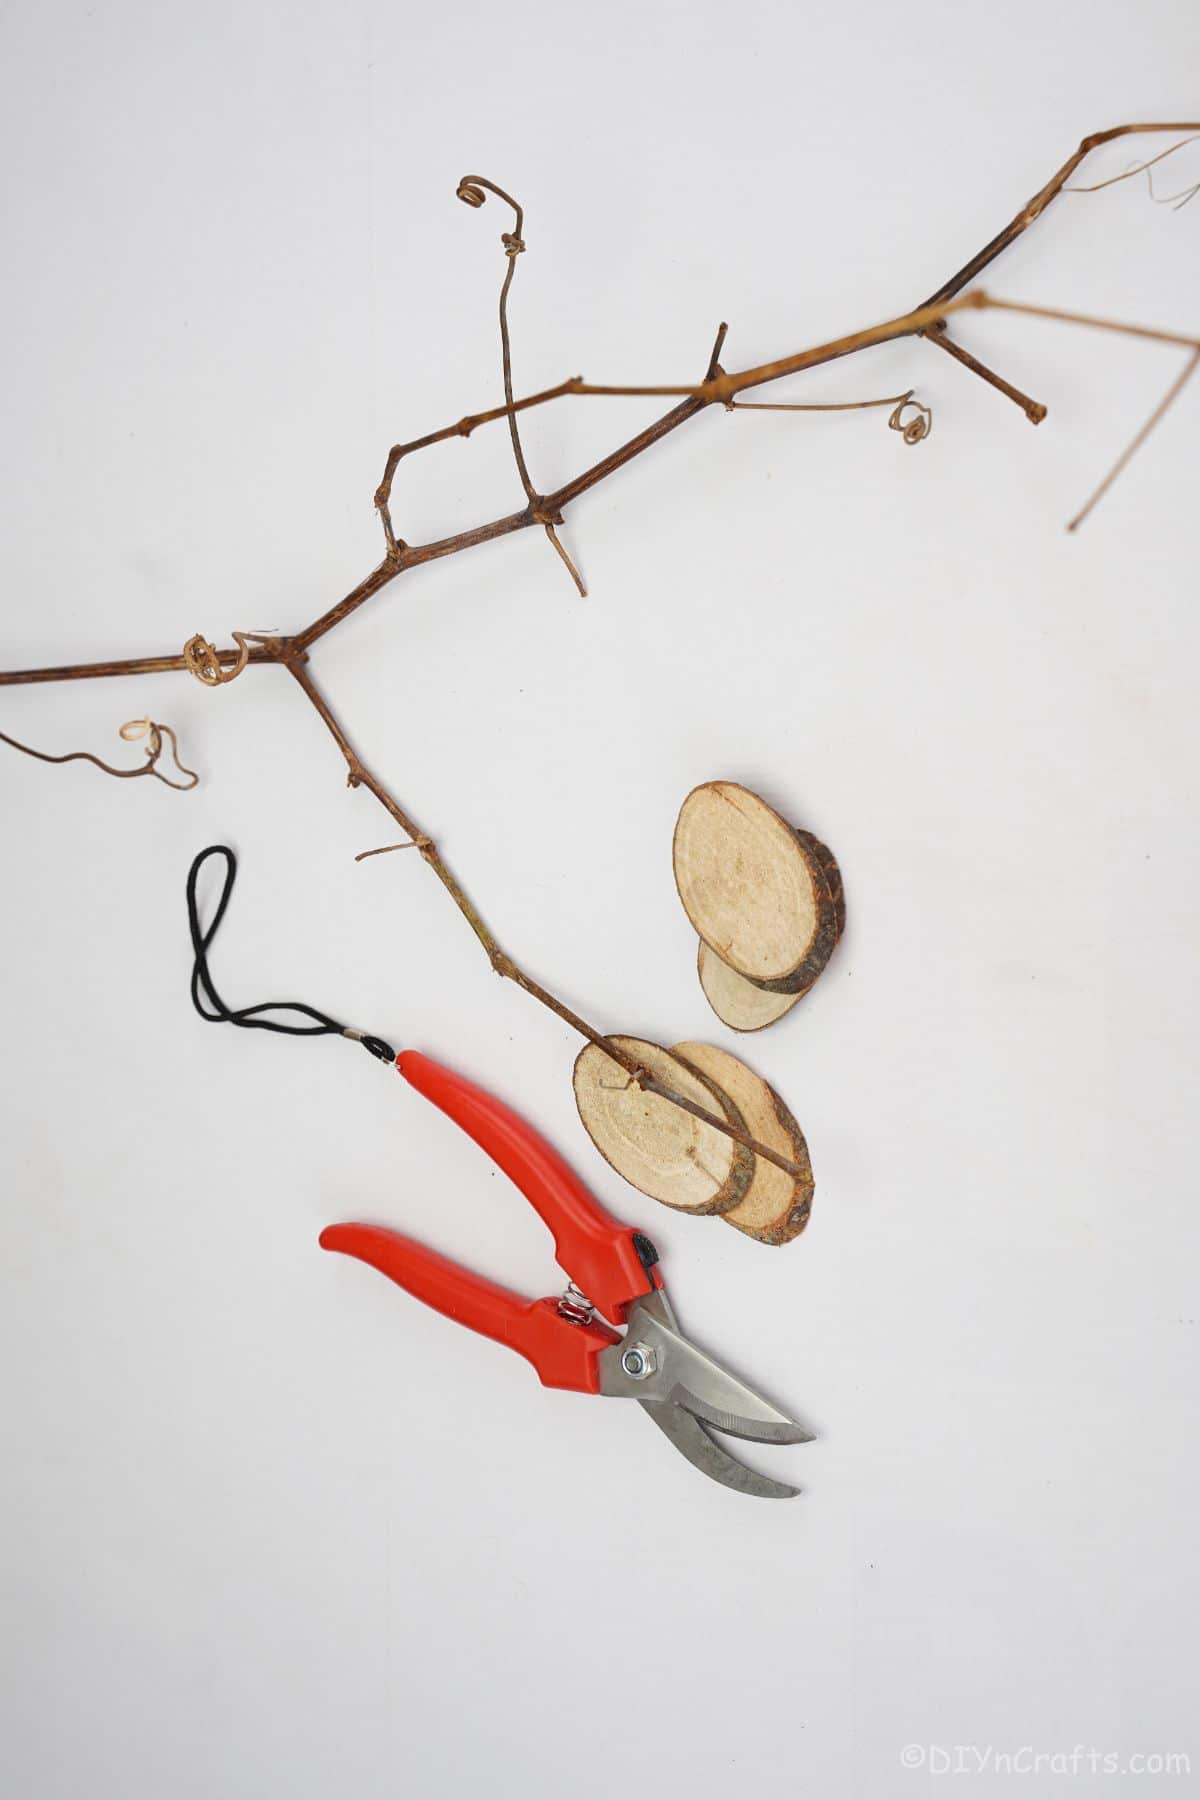
The best part of this craft is that it can be practically free. If you already have hot glue on hand, then all you have to do is go rummage a bit in your backyard for the scrap wood to create this adorable little wood slice butterfly!
I love that this uses up scrap wood and is something that is also rustic. The rustic look is super popular in decor these days, plus it goes great with kids' nature walks and lessons around butterflies in school. Plus, it teaches them all about the importance of upcycling or repurposing items you might otherwise have ignored or thrown away.
I love working with wood slices. There are so many things that can be created. As a bonus, the wood slices are cheap to buy and can even be made from branches that you have in your own yard. If you have leftover wood slices, you can save them to make these wood slice Easter bunnies or even these adorable wood slice owls.
What Should I Use to Glue This Together?
You want to make sure that you are using a very strong glue. I recommend using hot glue to hold the wood pieces together or you can use wood glue. Using something like a gorilla glue or a E6000 type of glue can be used to keep the wood slices together.
While you may want kids to help with this project, it's not one that works with school glue. So, be careful and supervise them if they are the ones doing the gluing, no matter what type of glue you end up grabbing for use with this project.
How Can I Customize My Wood Butterfly?
When I work with wood slices, my style is to leave them basic. I love the way the rustic look works with the wood. I like to see the wood grain shine. However, a lot of people like to change up the look and add more design to the wood butterflies. Below are some great ideas for this project that you might want to try with yours.
- Paint or stain wood slices to a unique color to match your decor. If you don't have a stain on hand but don't want the solid paint, thin out any acrylic craft paint with water. It will add a light coating that allows the wood grain to show through.
- Add glitter spray or glitter around the edges for a little sparkle.
- Use googly eyes on the branch in the center to create a cartoonish look on the butterfly.
- Color the wings with sequins or beads in a unique pattern that is mirrored on both sides.
Where Should I Display This?
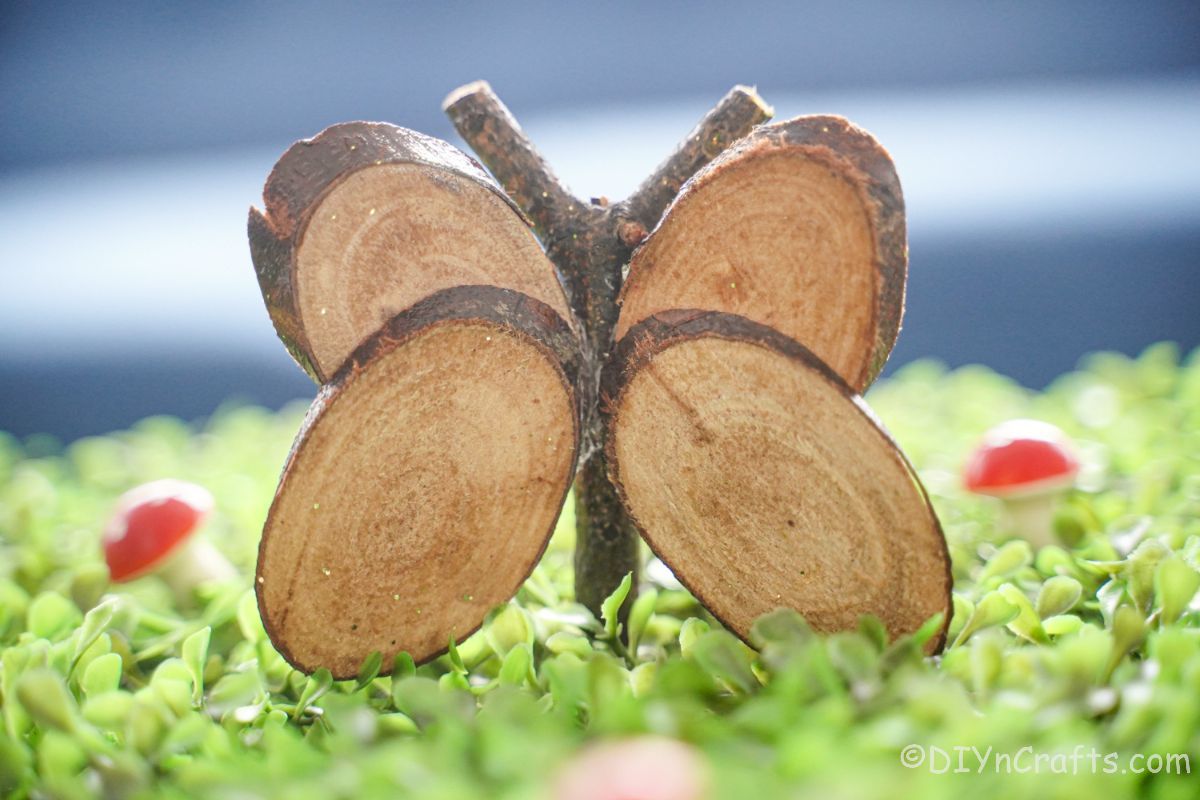
This butterfly will look so pretty sitting on the mantle or on a shelf. You can also use the butterfly as part of a rustic centerpiece. Add some artificial flowers around the base or depending on how often you want to change the centerpiece design, you can also use real cut flowers.
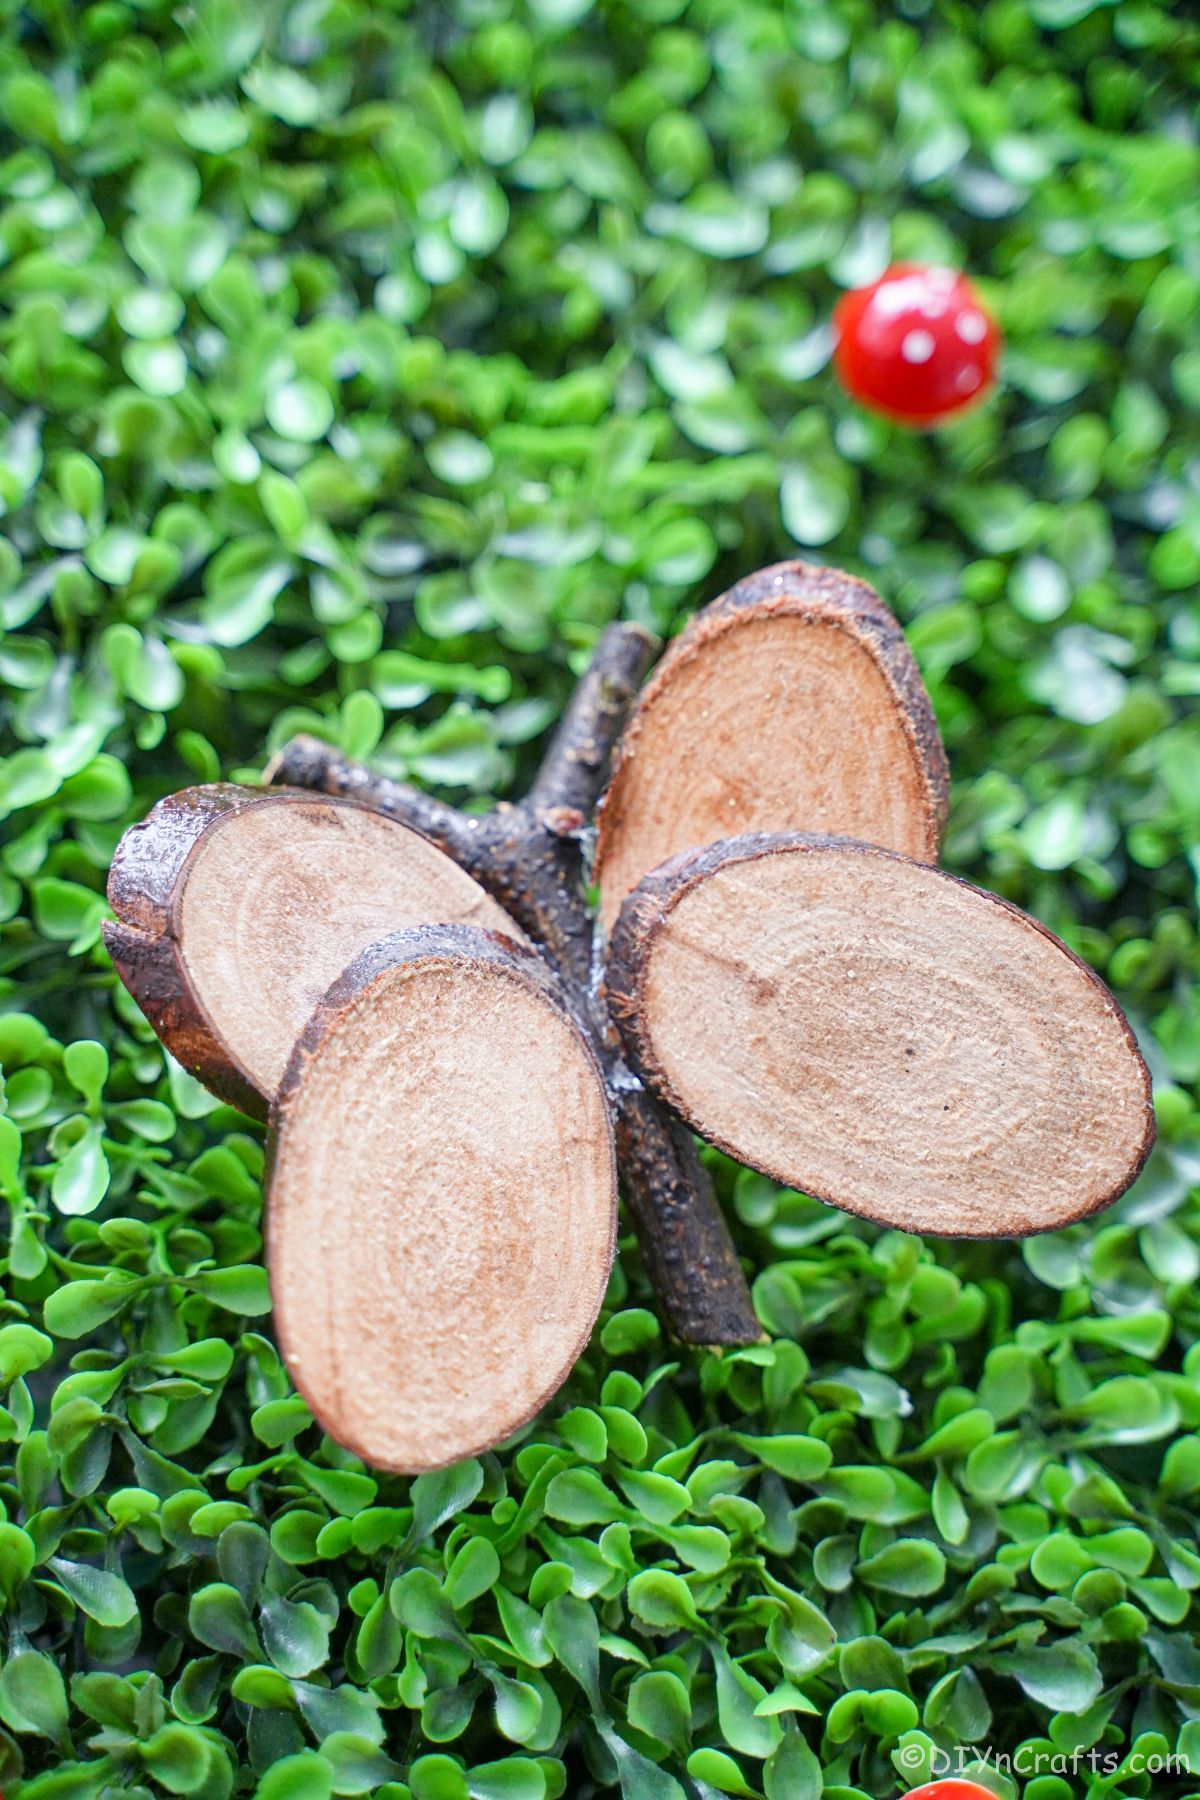
You can also create this butterfly to display as part of a garden design. If you are leaving the design natural, it will last for some time as part of the landscape before it starts to look worn or start to fall apart. You can seal the wood butterfly to make it last longer.
Supplies Needed
How to Make a Wood Slice Butterfly
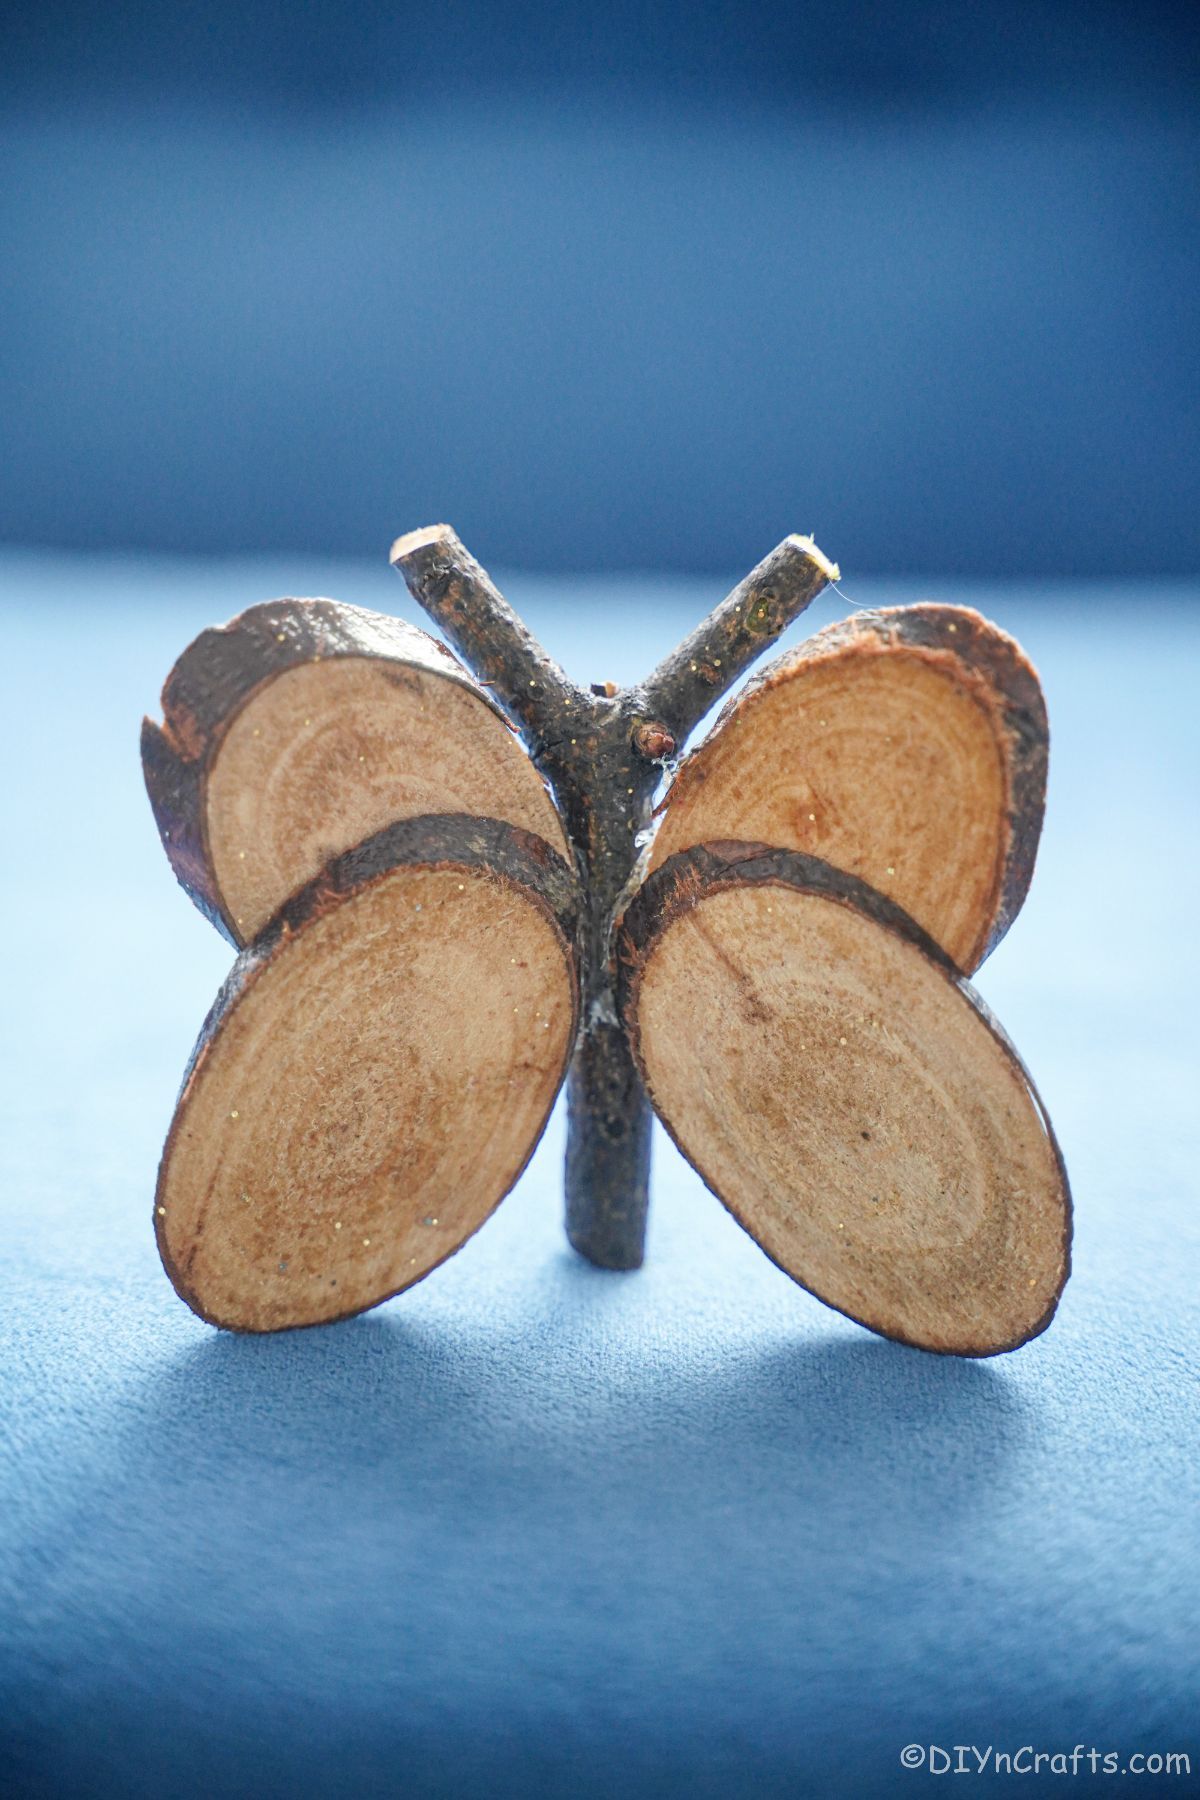
Cut 4 wood slices at an angle so they are oval.
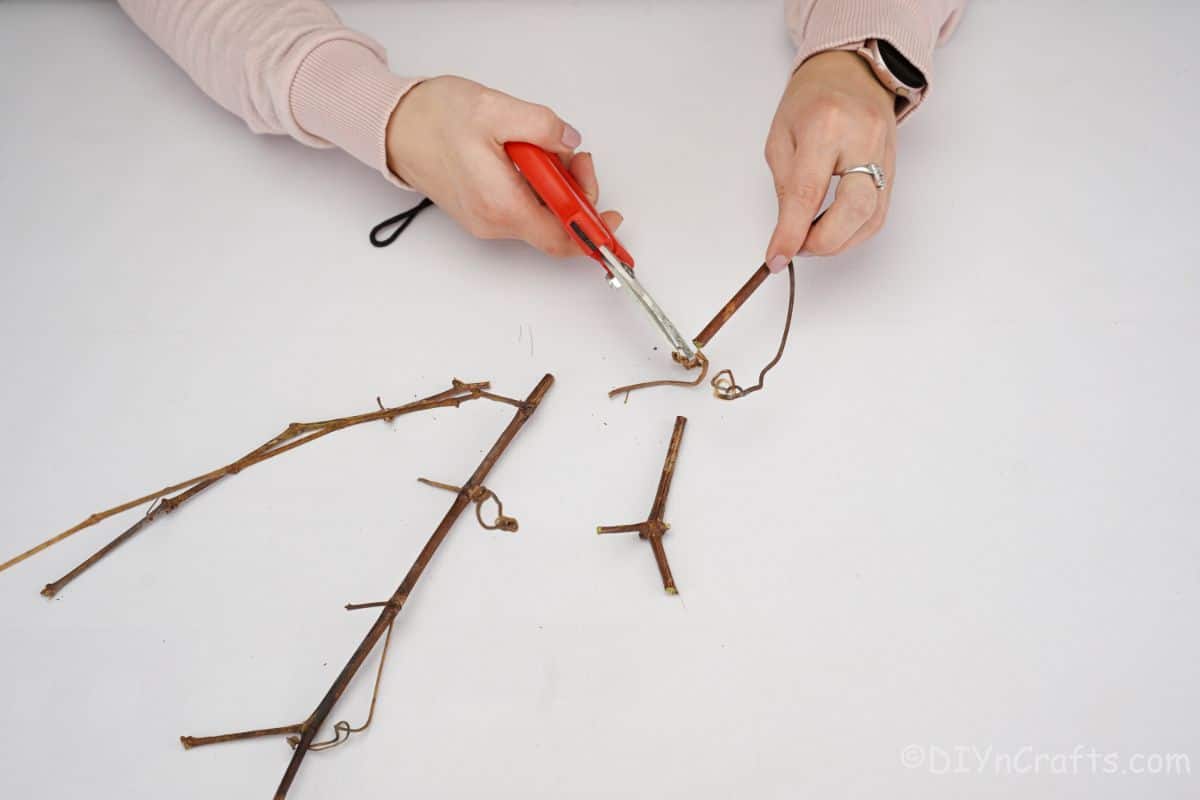
Then cut a 4 to 5" length of a branch with a forked end.
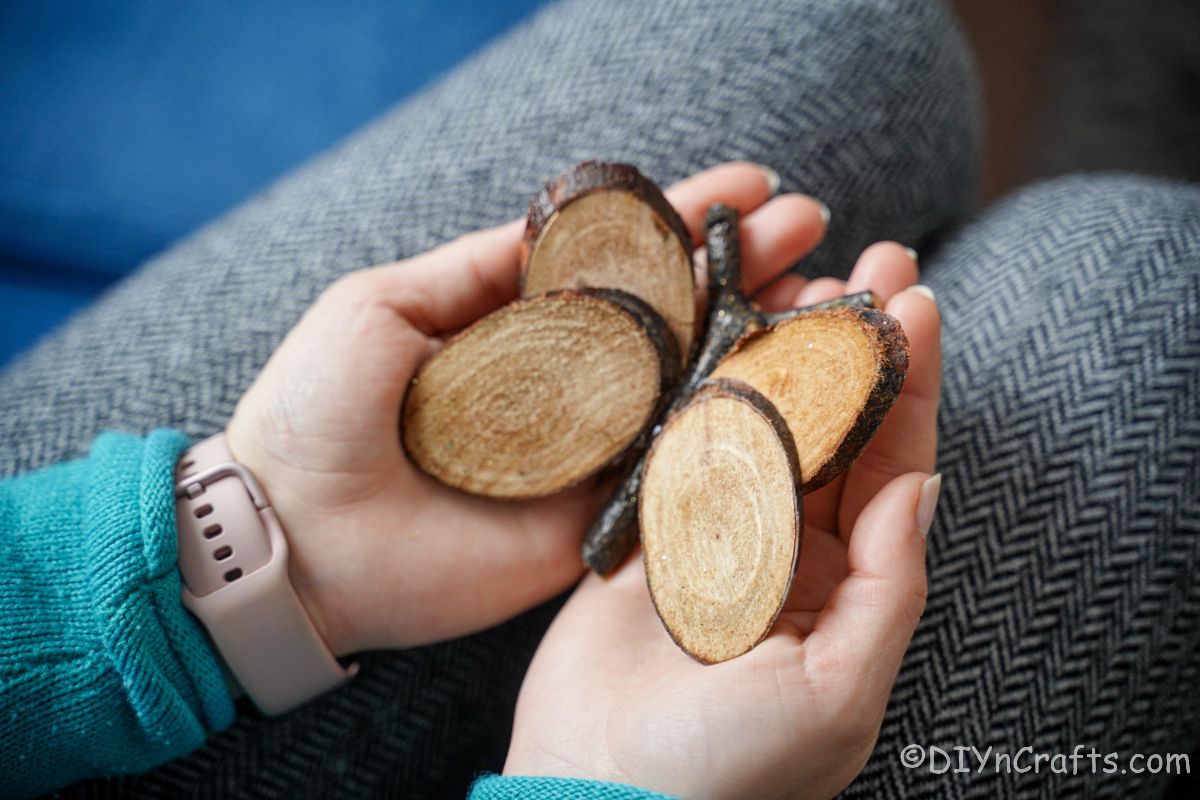
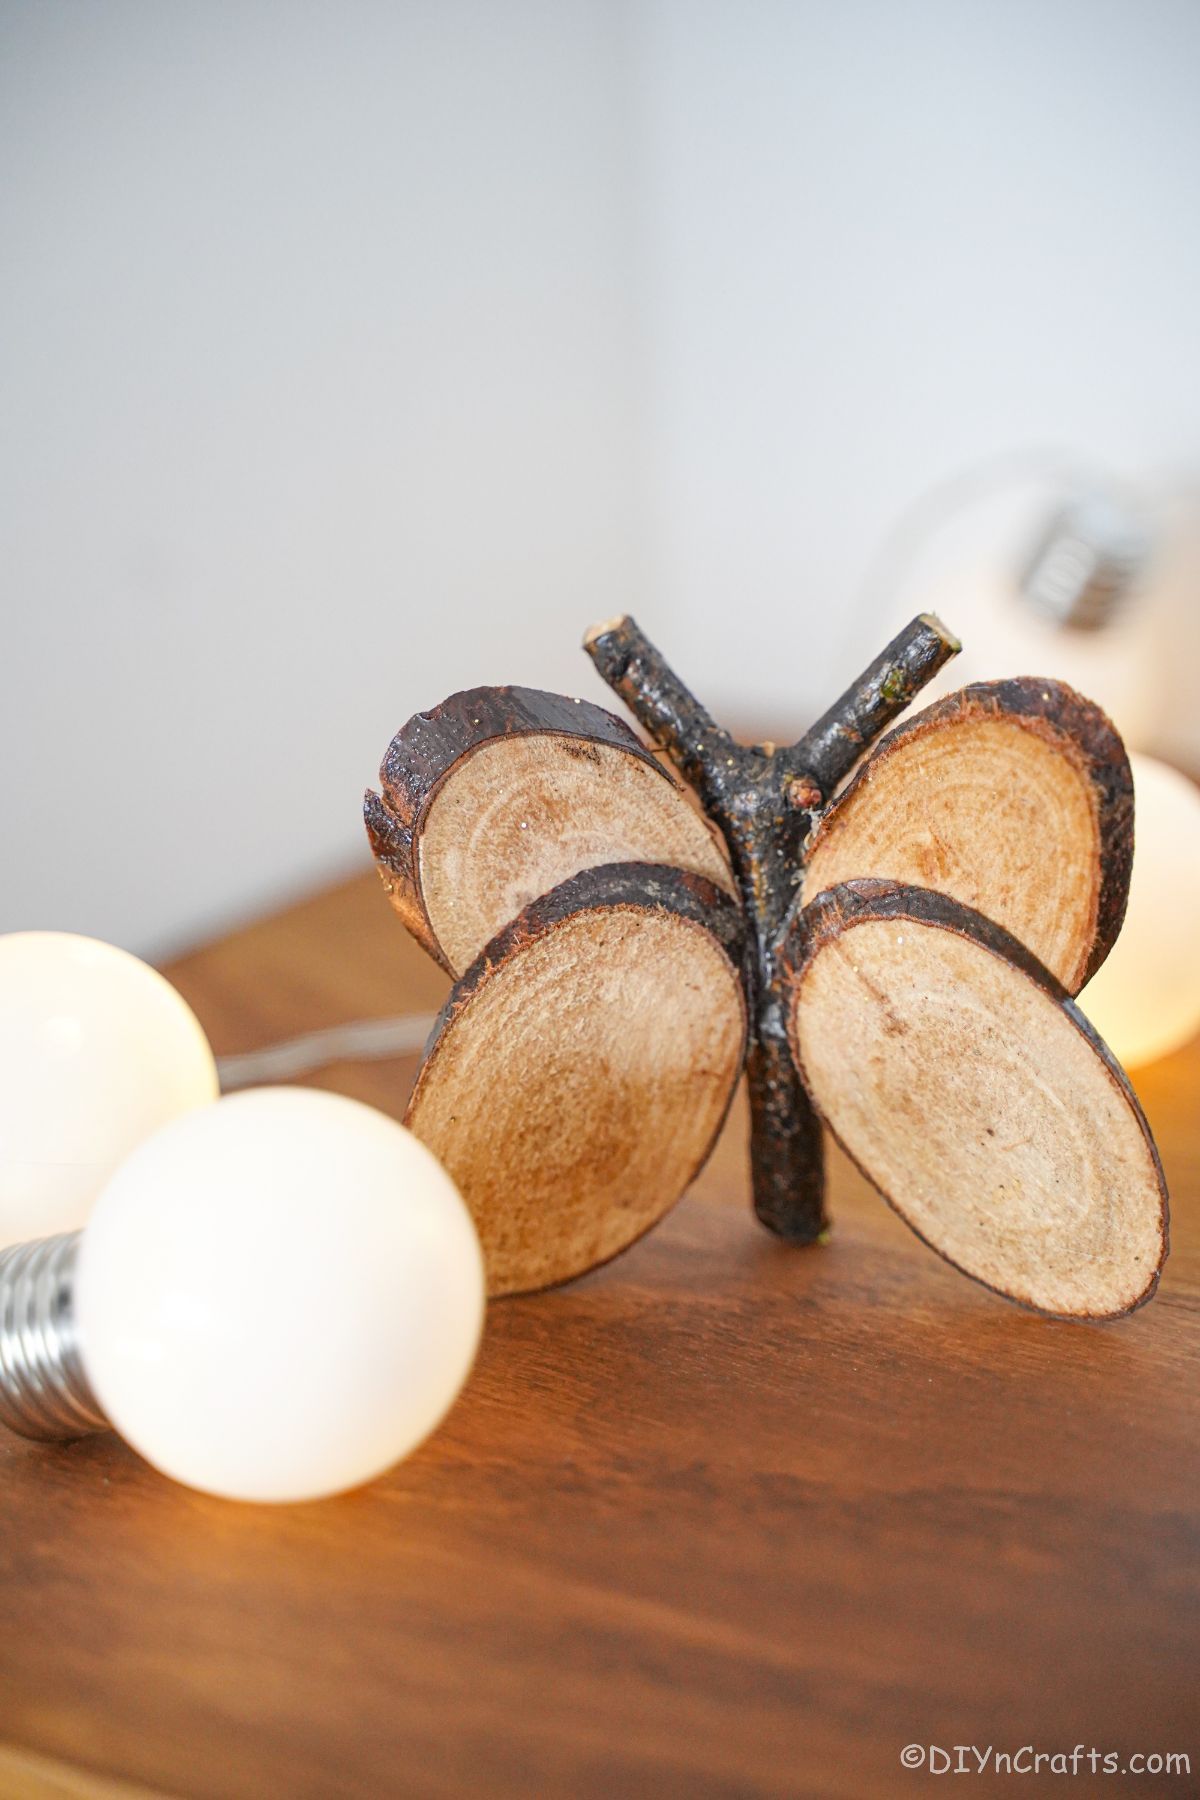
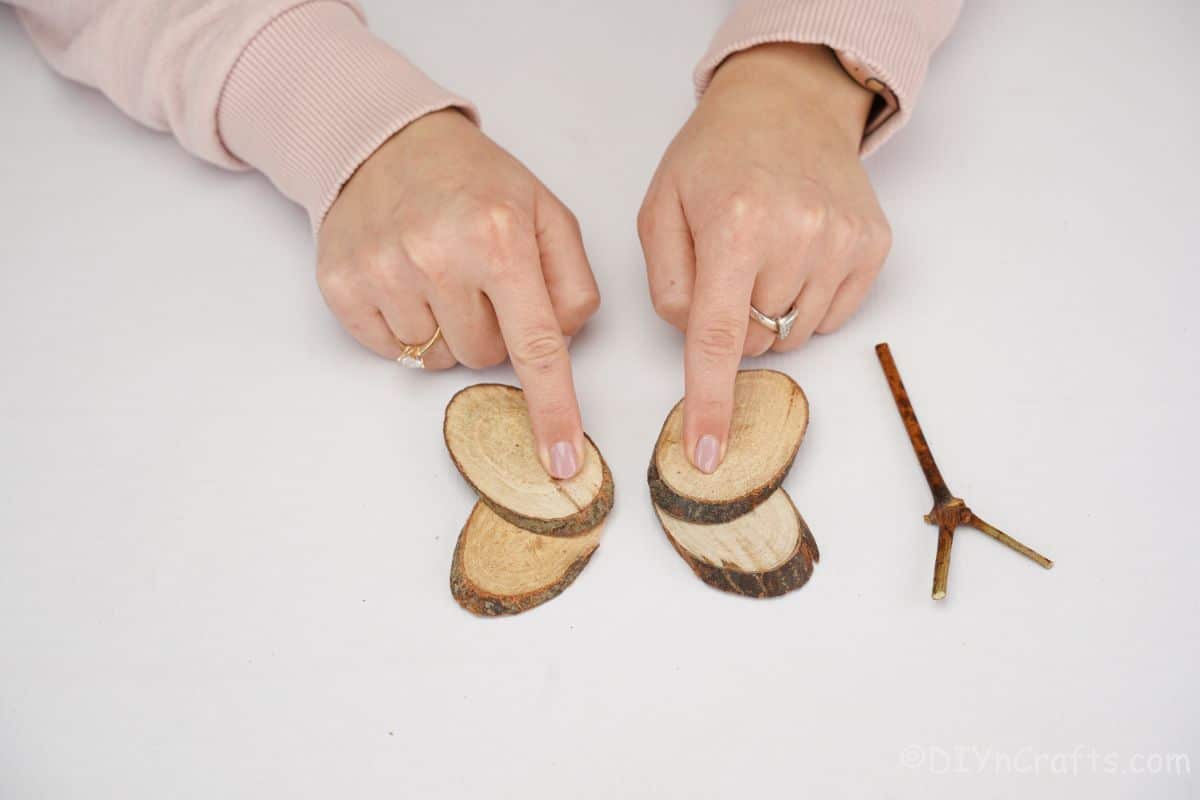
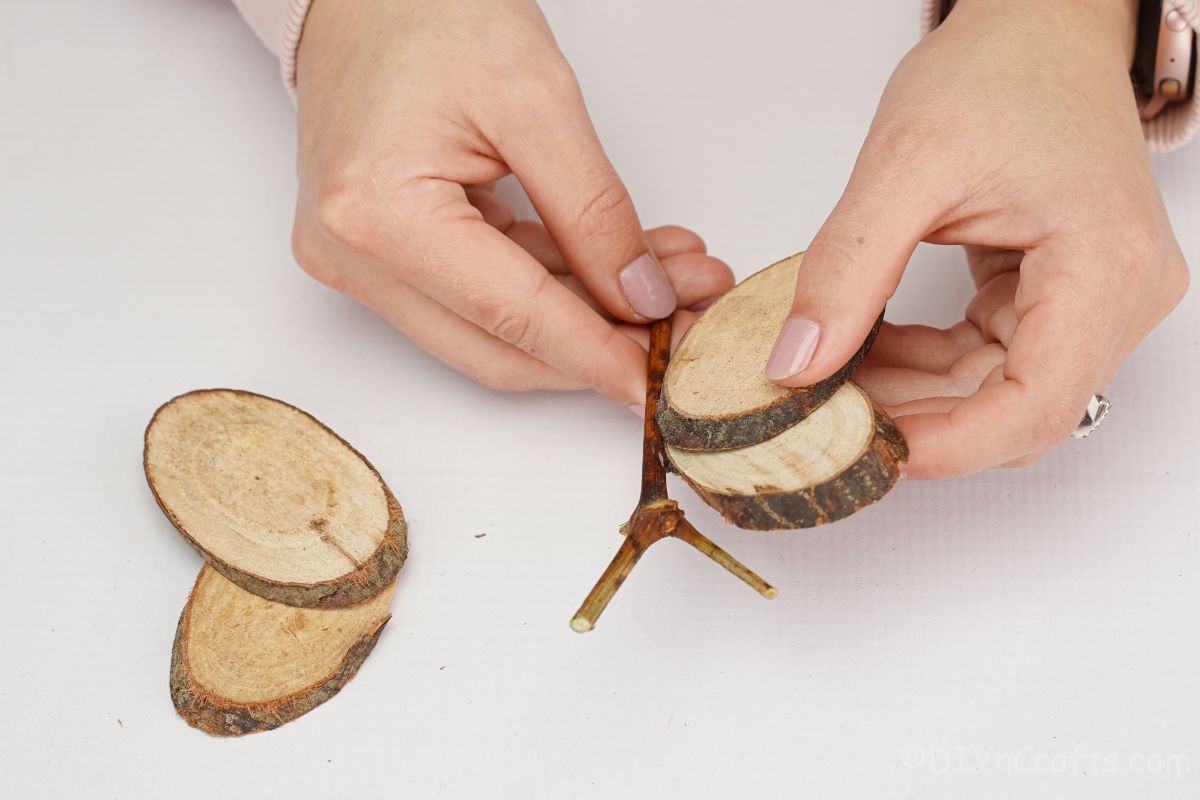
Glue the wood slices into two separate sets of two with the slices angling one up and one down on both.
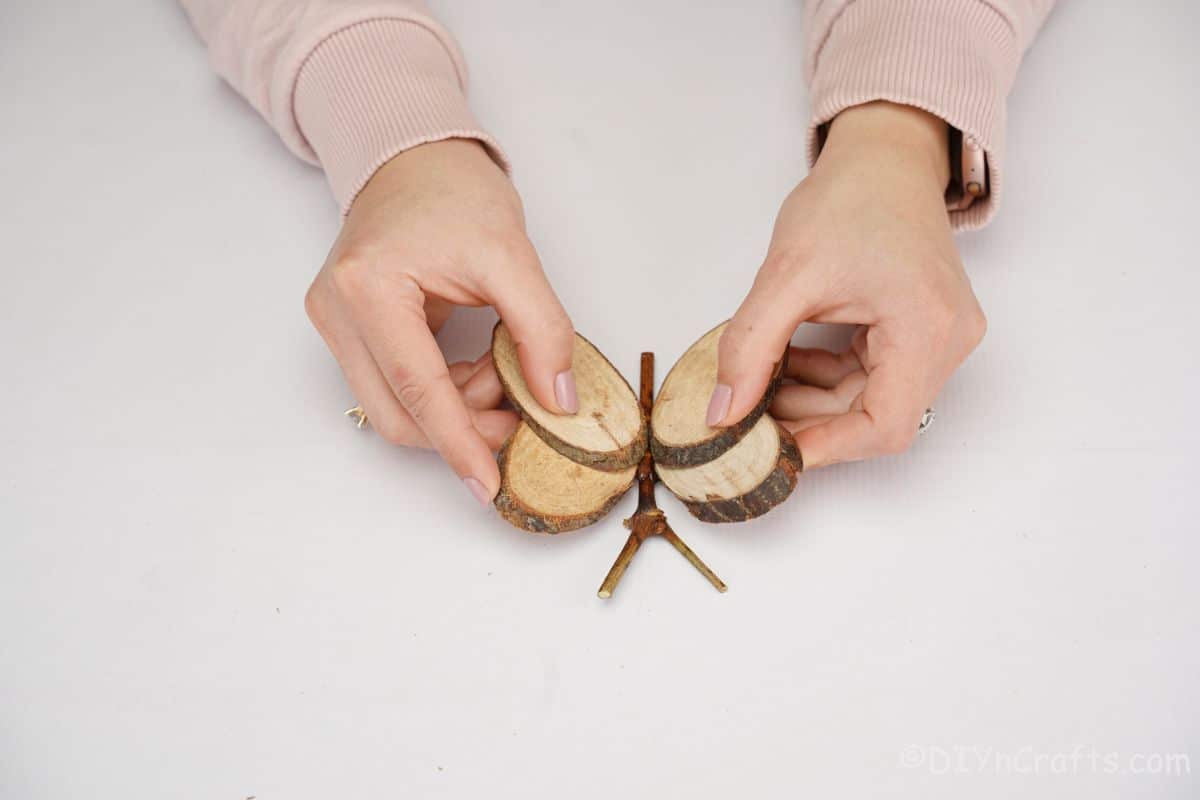
Attach these two sides to the branch in the middle with hot glue.
Add additional greenery, glitter, paint, or something similar to the butterfly if desired.
More Easy Butterfly Craft Ideas
I admit that I absolutely love the butterfly. Since it is so simple and beautiful, it is a great addition to any project list. If you like them as much as I do, then below you will find some great ideas that are unique and all about the butterfly. Make sure that you bookmark the projects or print them out to make them soon!
- How to Make a Butterfly Terrarium Jar
- Colorful Upcycled Plastic Spoon Butterfly
- Easy Painted Paper Roll Butterfly Craft
- Rustic Butterfly Decoration From Old Book Pages
- Beautiful Rustic Burlap Butterfly Craft
- Colorful Spring Paper Butterfly Craft for Kids

Rustic Wood Slice Butterfly Decoration
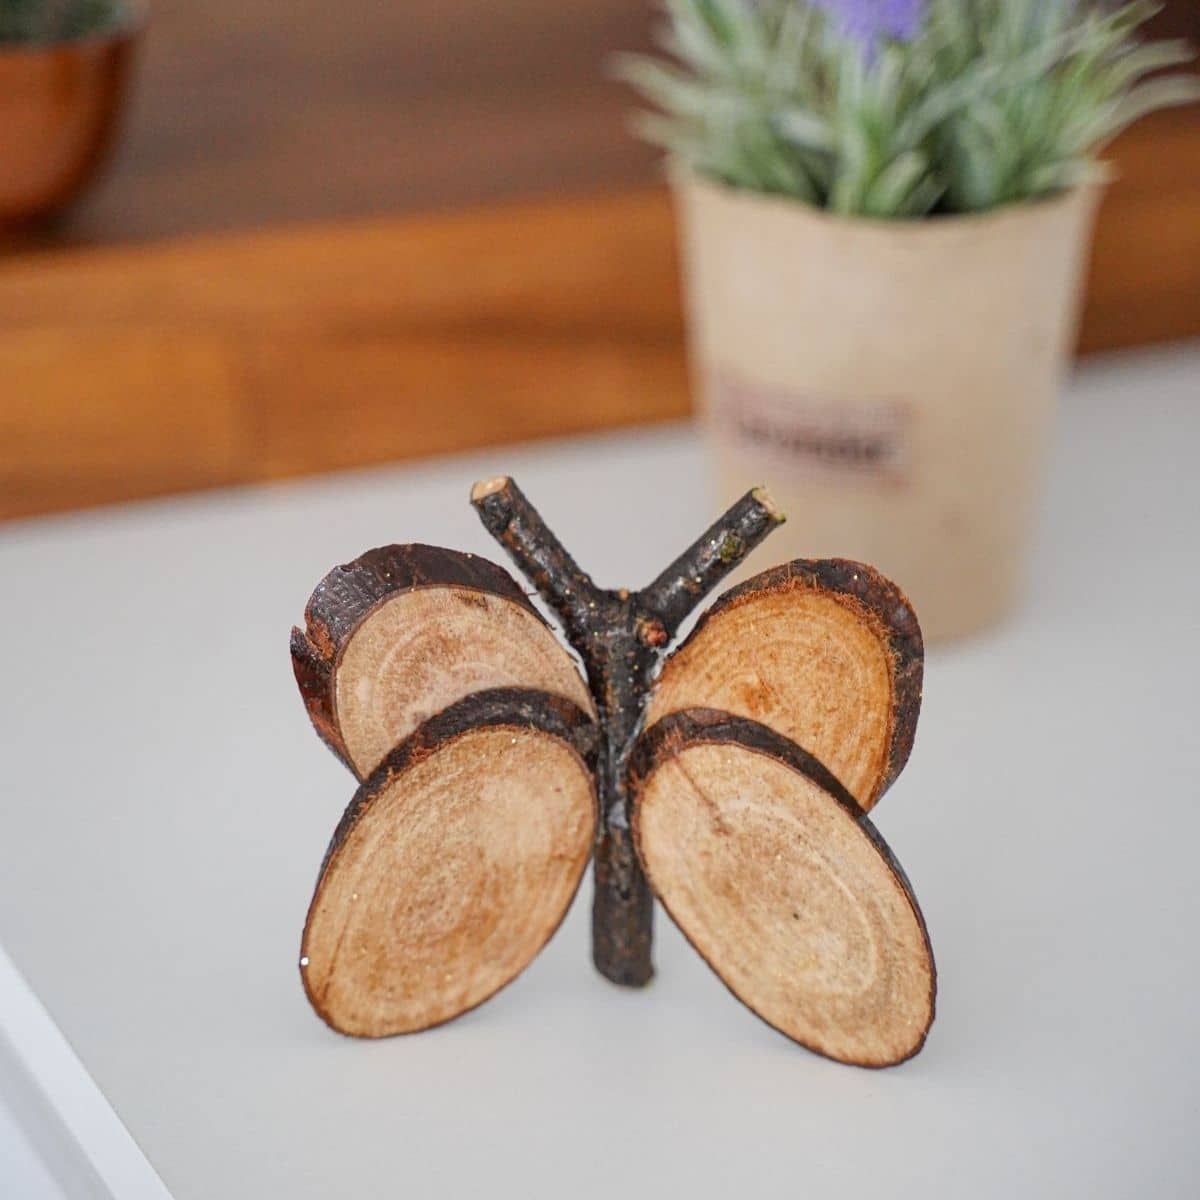
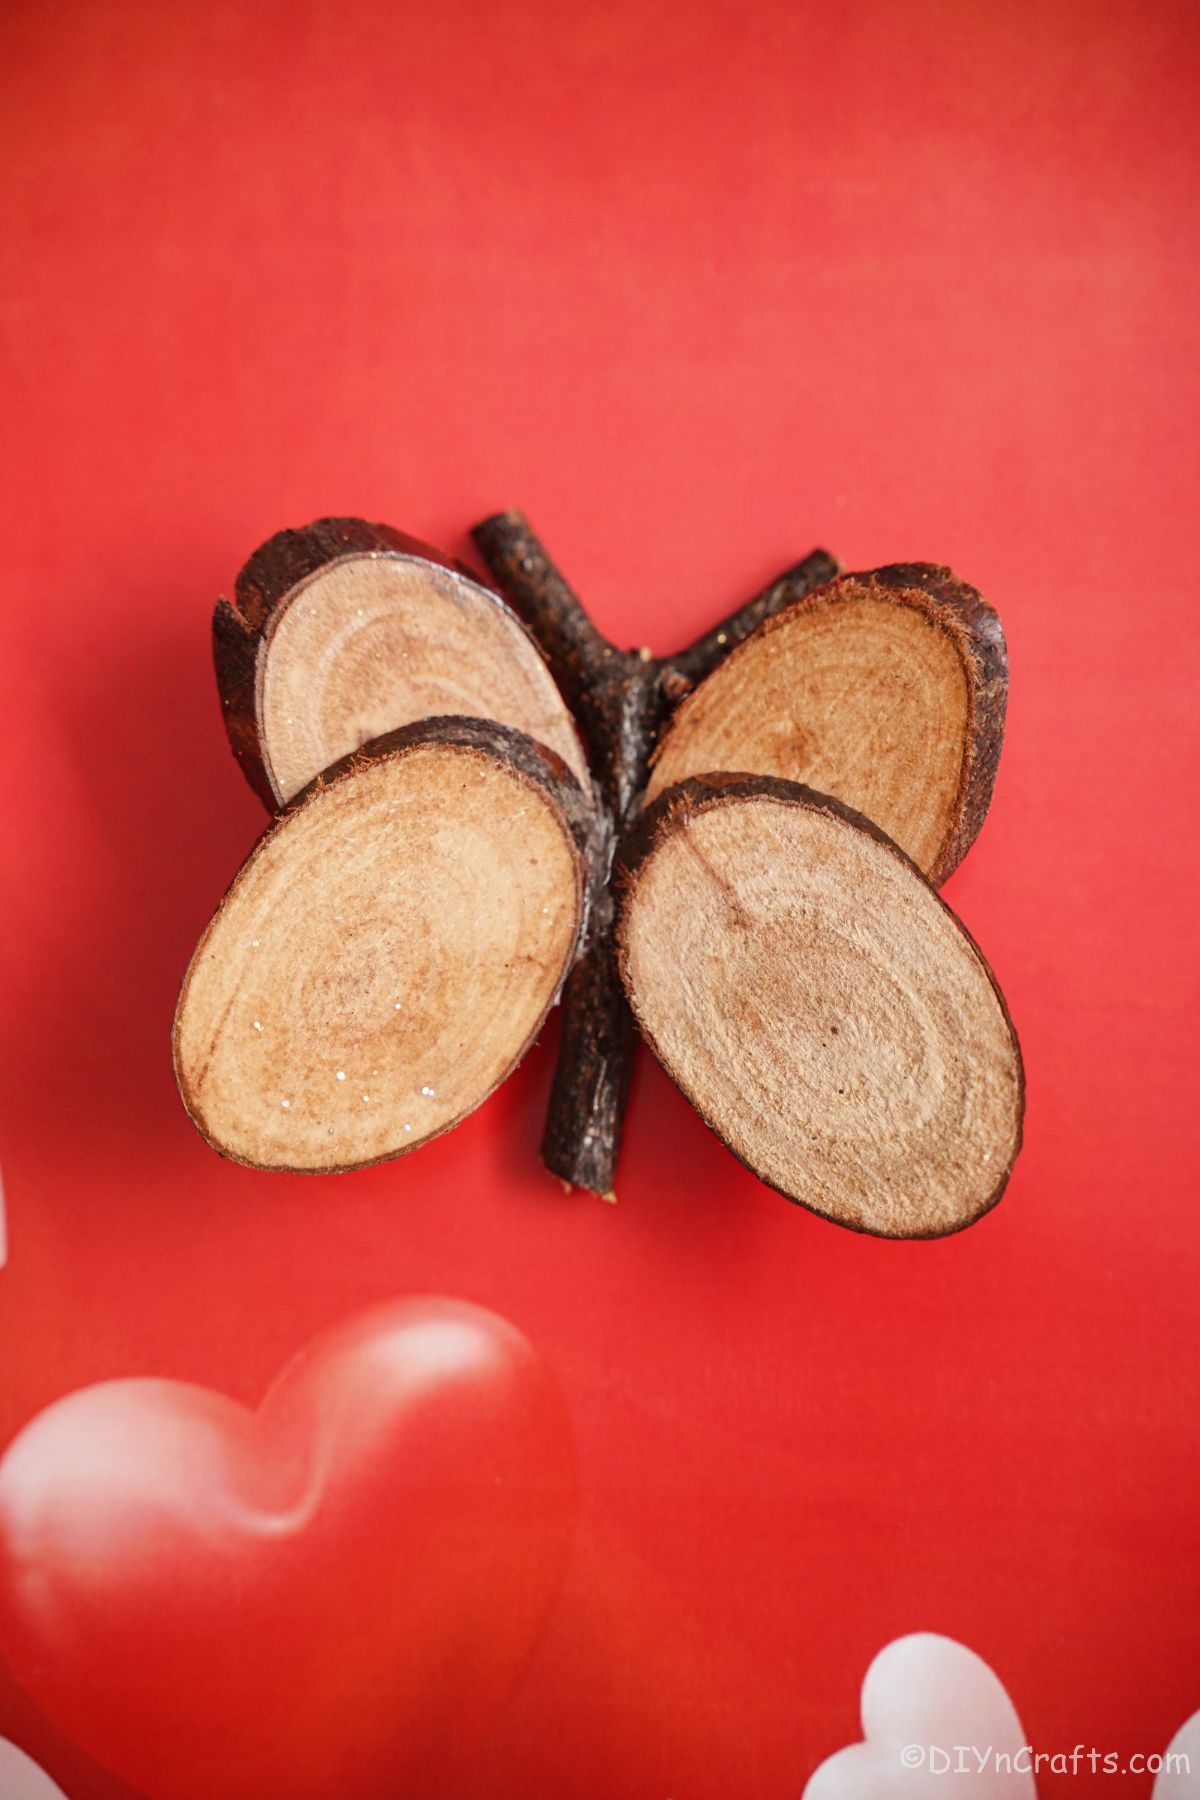
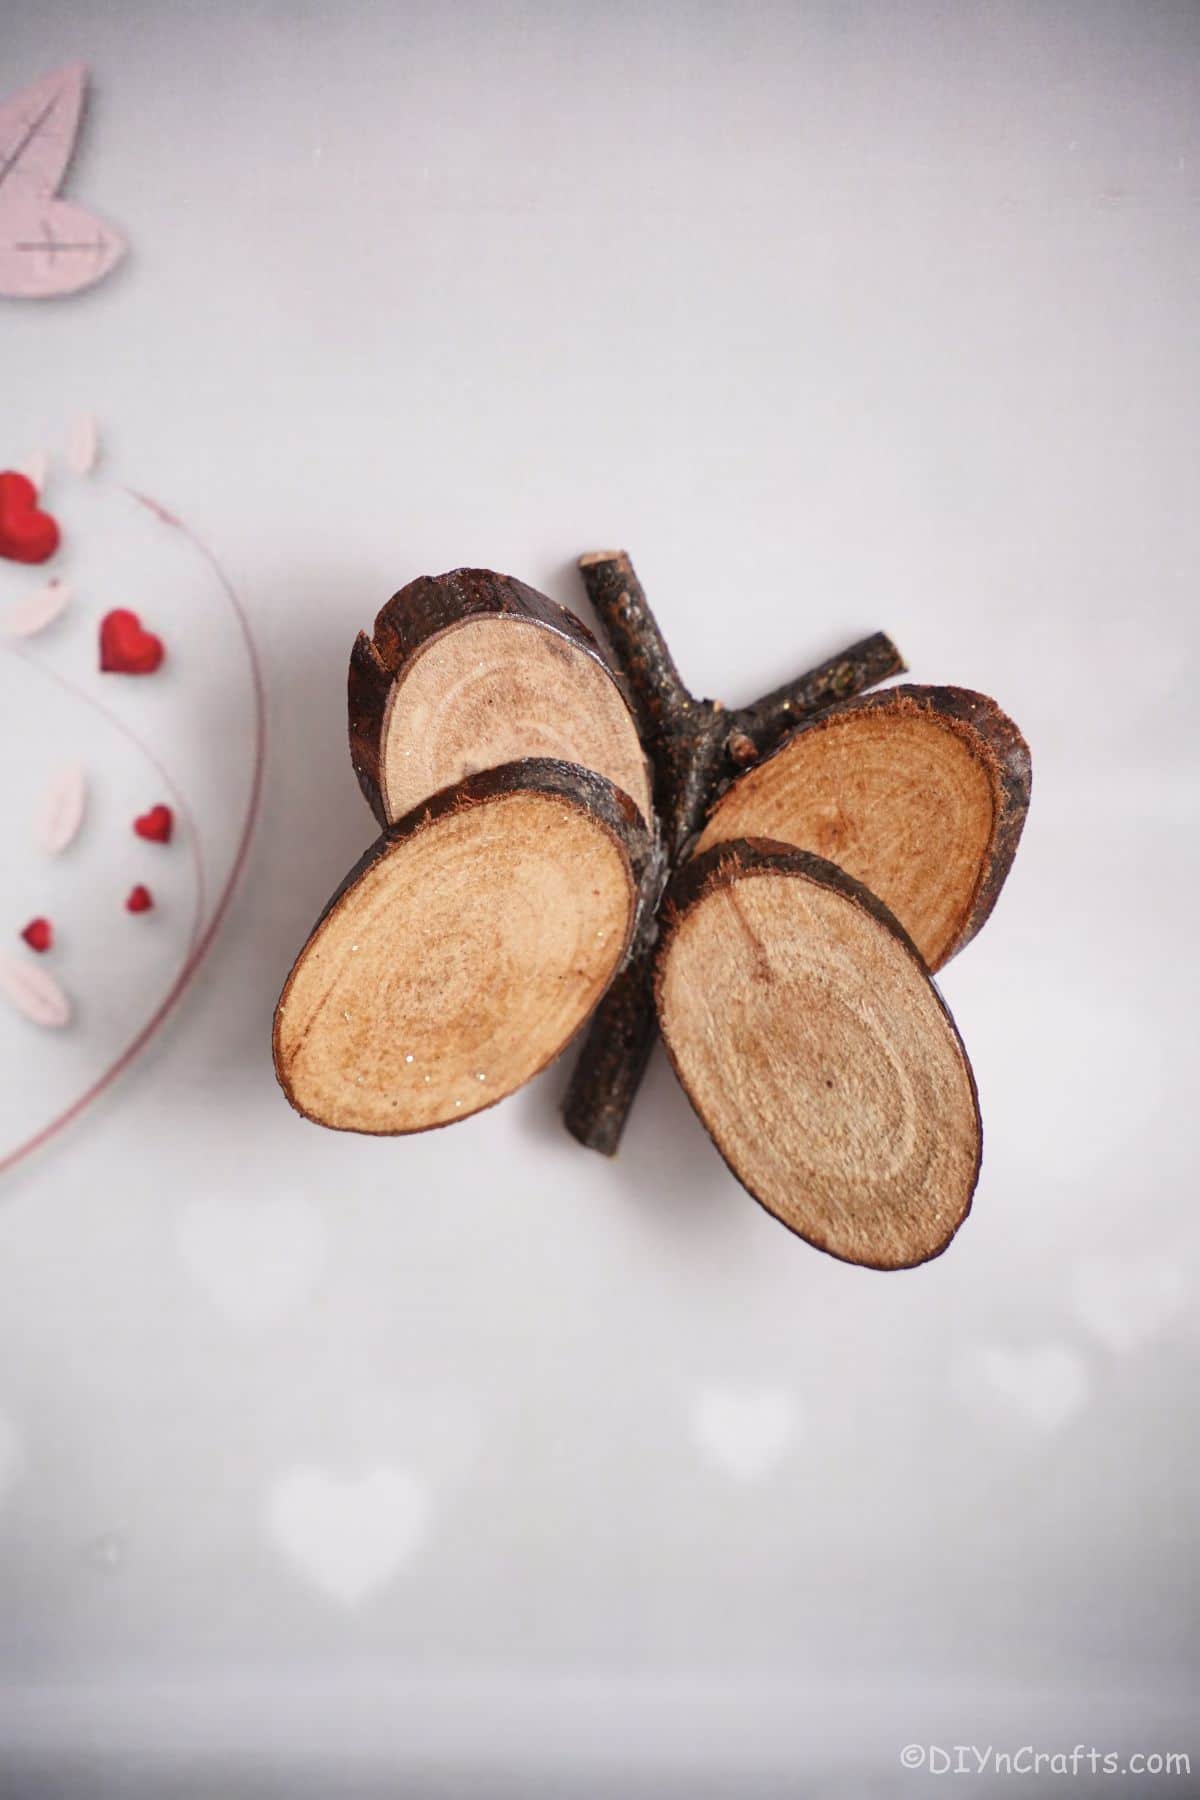
A cute little springtime decoration made of wood slices is a perfect addition to your Easter table! This wood slice butterfly is adorable!
Materials
Instructions
- Cut 4 wood slices at an angle so they are oval.
- Then cut a 4 to 5" length of a branch with a forked end.
- Glue the wood slices into two separate sets of two with the slices angling one up and one down on both.
- Attach these two sides to the branch in the middle with hot glue.
- Add additional greenery, glitter, paint, or something similar to the butterfly if desired.
Notes
Paint your butterfly with different colors or add a bit of glitter to make it more unique.
Recommended Products
As an Amazon Associate and member of other affiliate programs, I earn from qualifying purchases.
-
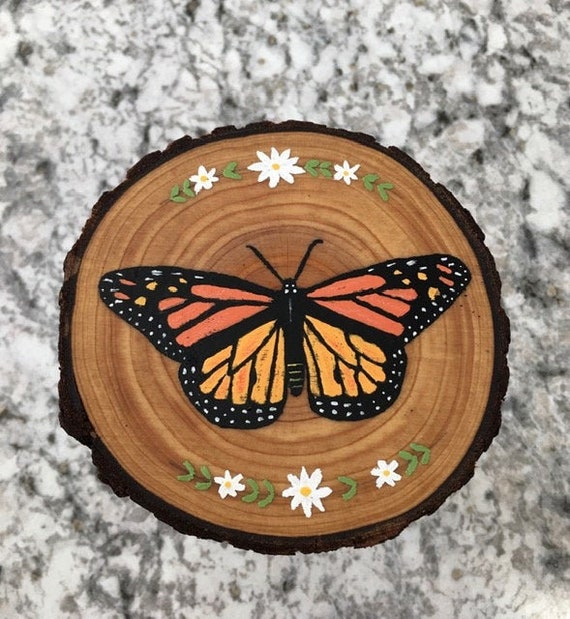 Wood Slice Art. Monarch Butterfly. Personalized. Memorial. | Etsy
 -
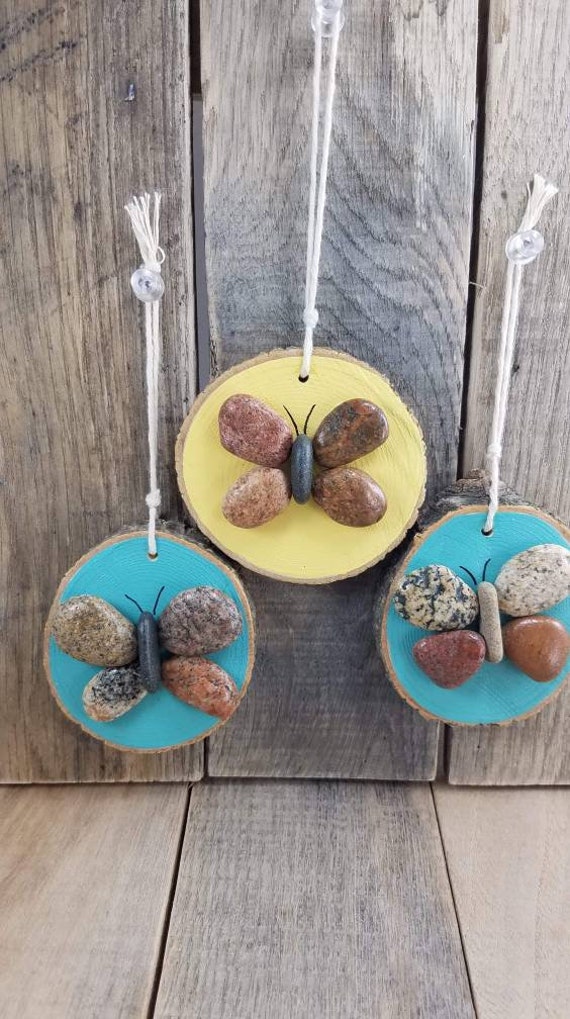 Wood Slice Butterfly Christmas Ornament Handmade | Etsy
 -
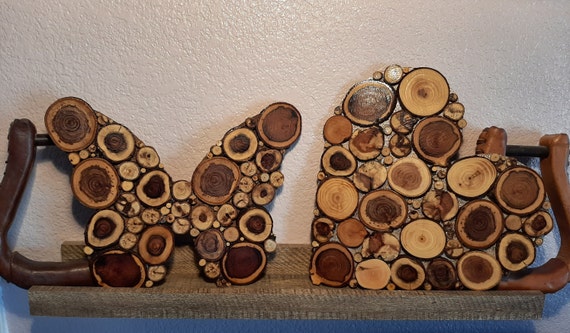 Handmade Unique Rustic Farmhouse Wood Slice Butterfly or Heart | Etsy
 -
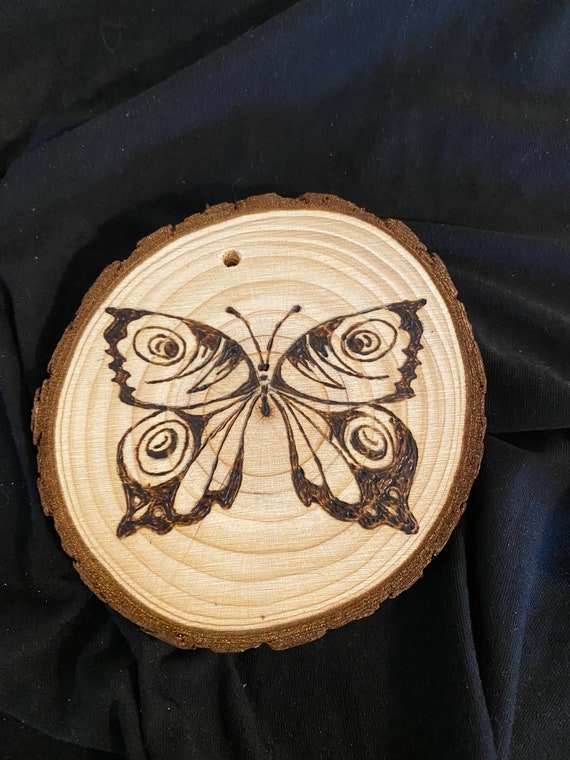 Butterfly Wood Slice | Etsy
 -
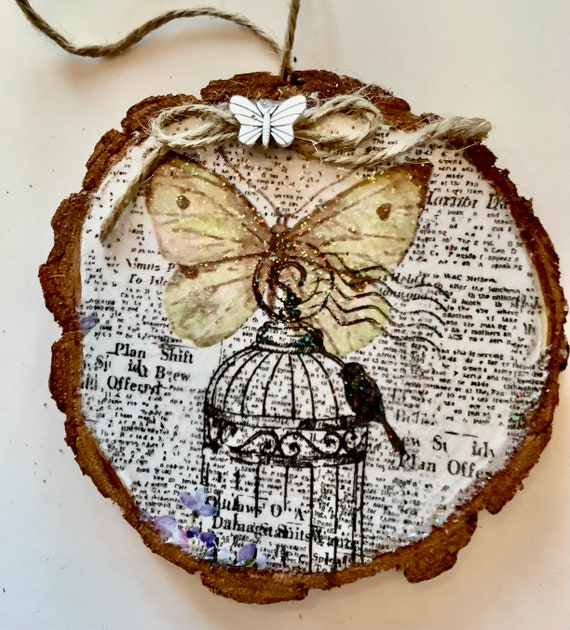 Butterfly Wood Slice Ornament | Etsy
 -
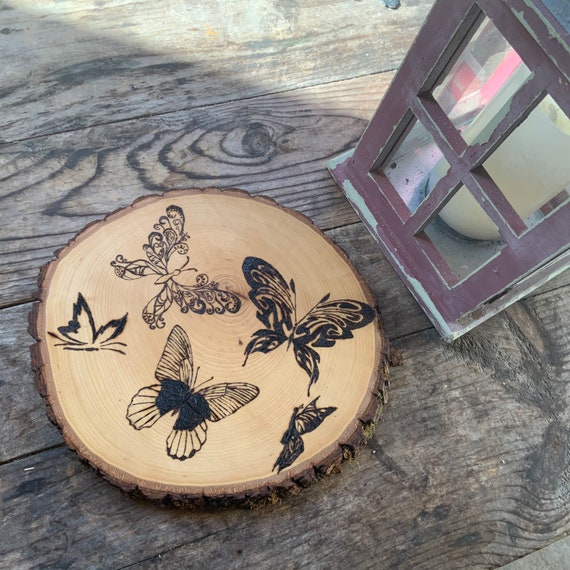 Butterflies Wood Burned Rustic Wood Slice | Etsy
Finished Project Gallery
I love how easy this project is to make and how versatile.
It's ideal for making to decorate throughout the year, but especially during springtime months.






minimagination
What a wonderful idea! We are big on up-cycling and creating with nature over here, and we raised caterpillars to butterflies last year - my kids would love this project!