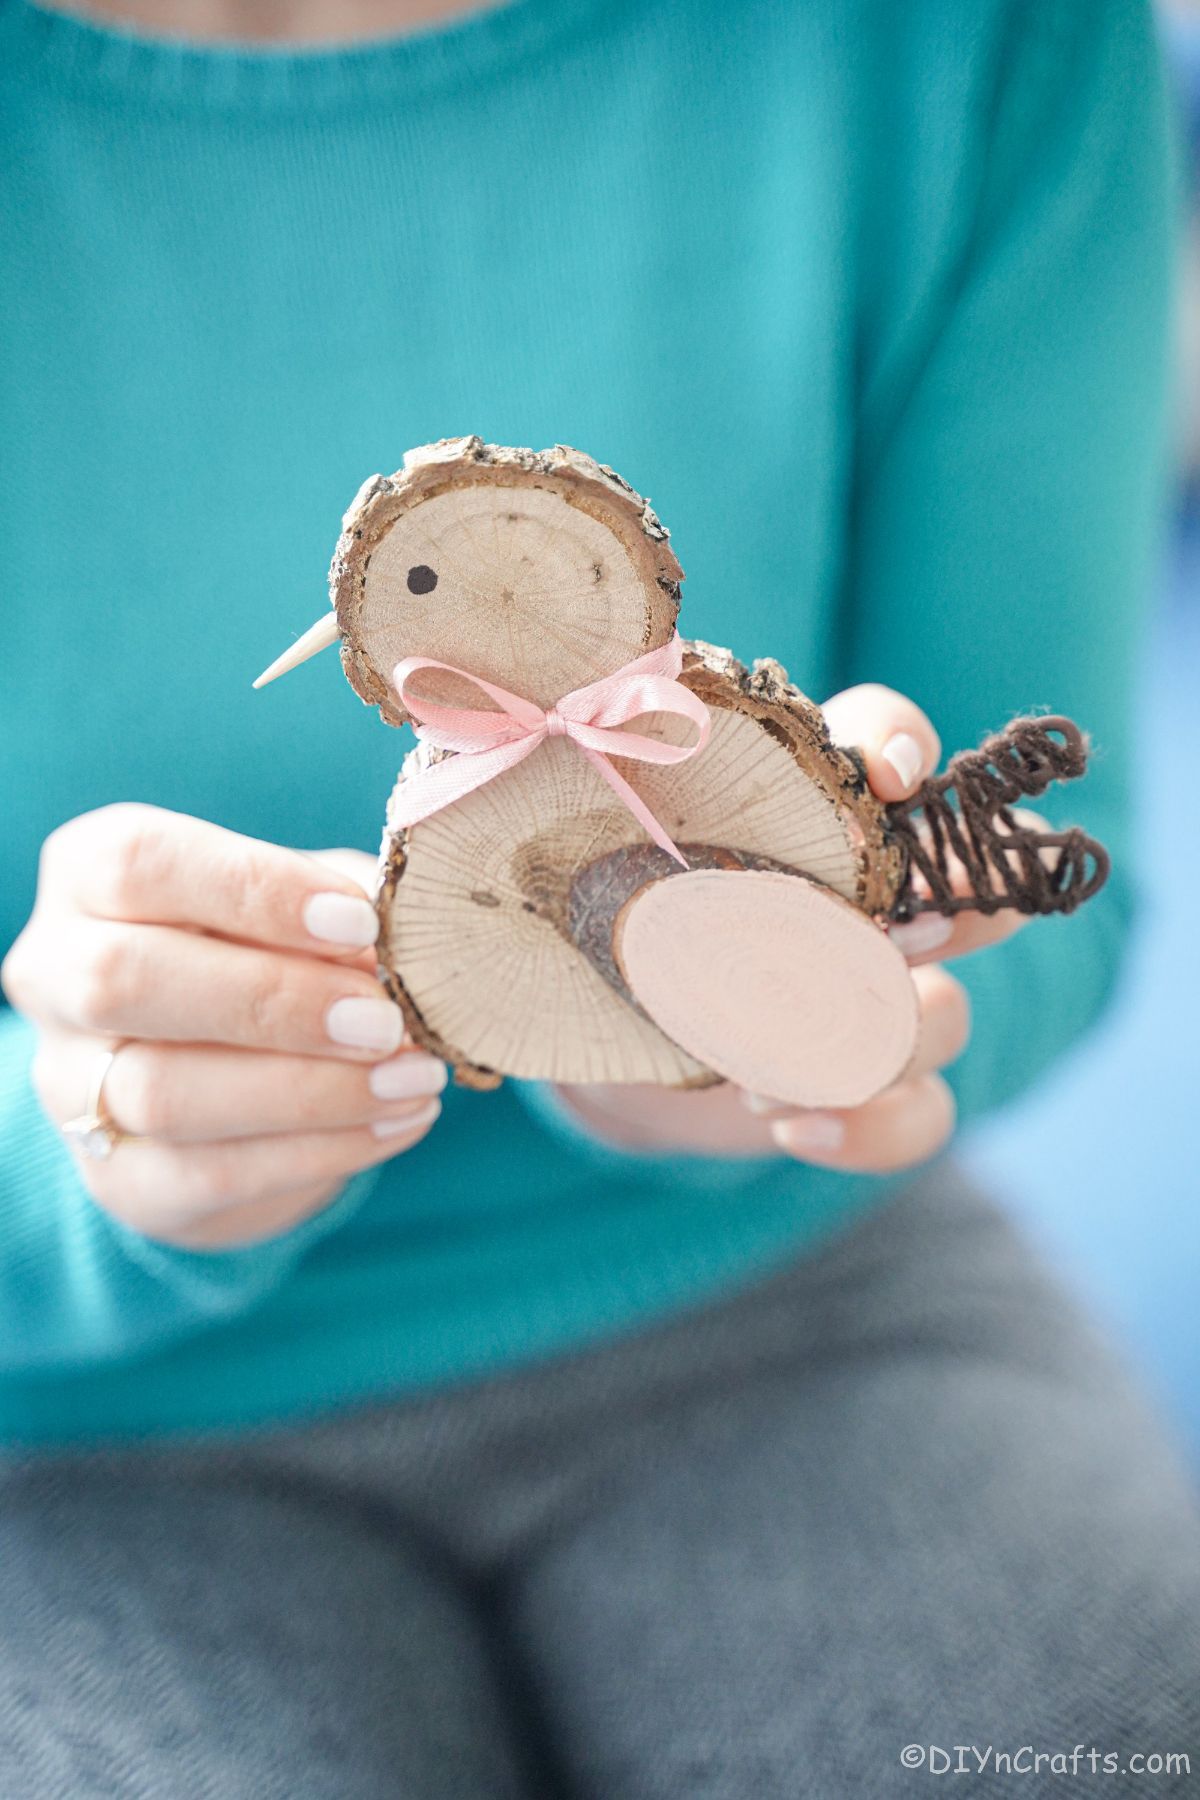
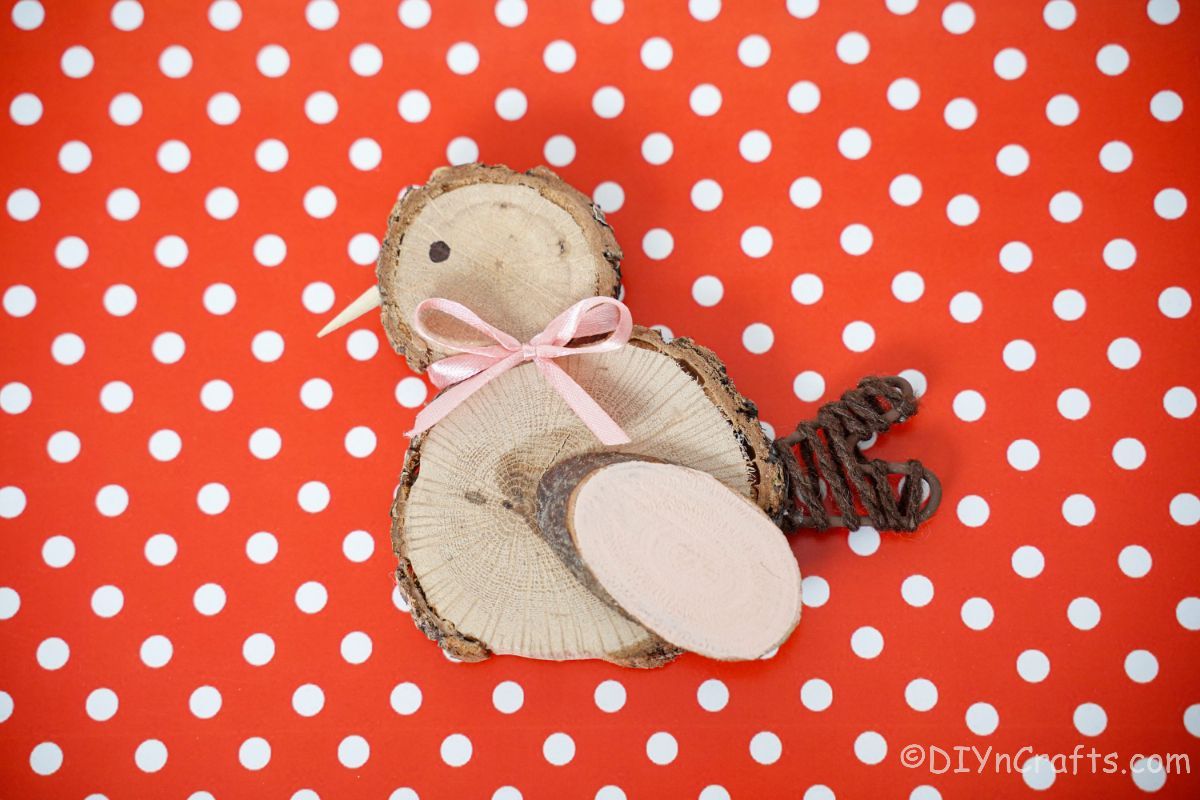
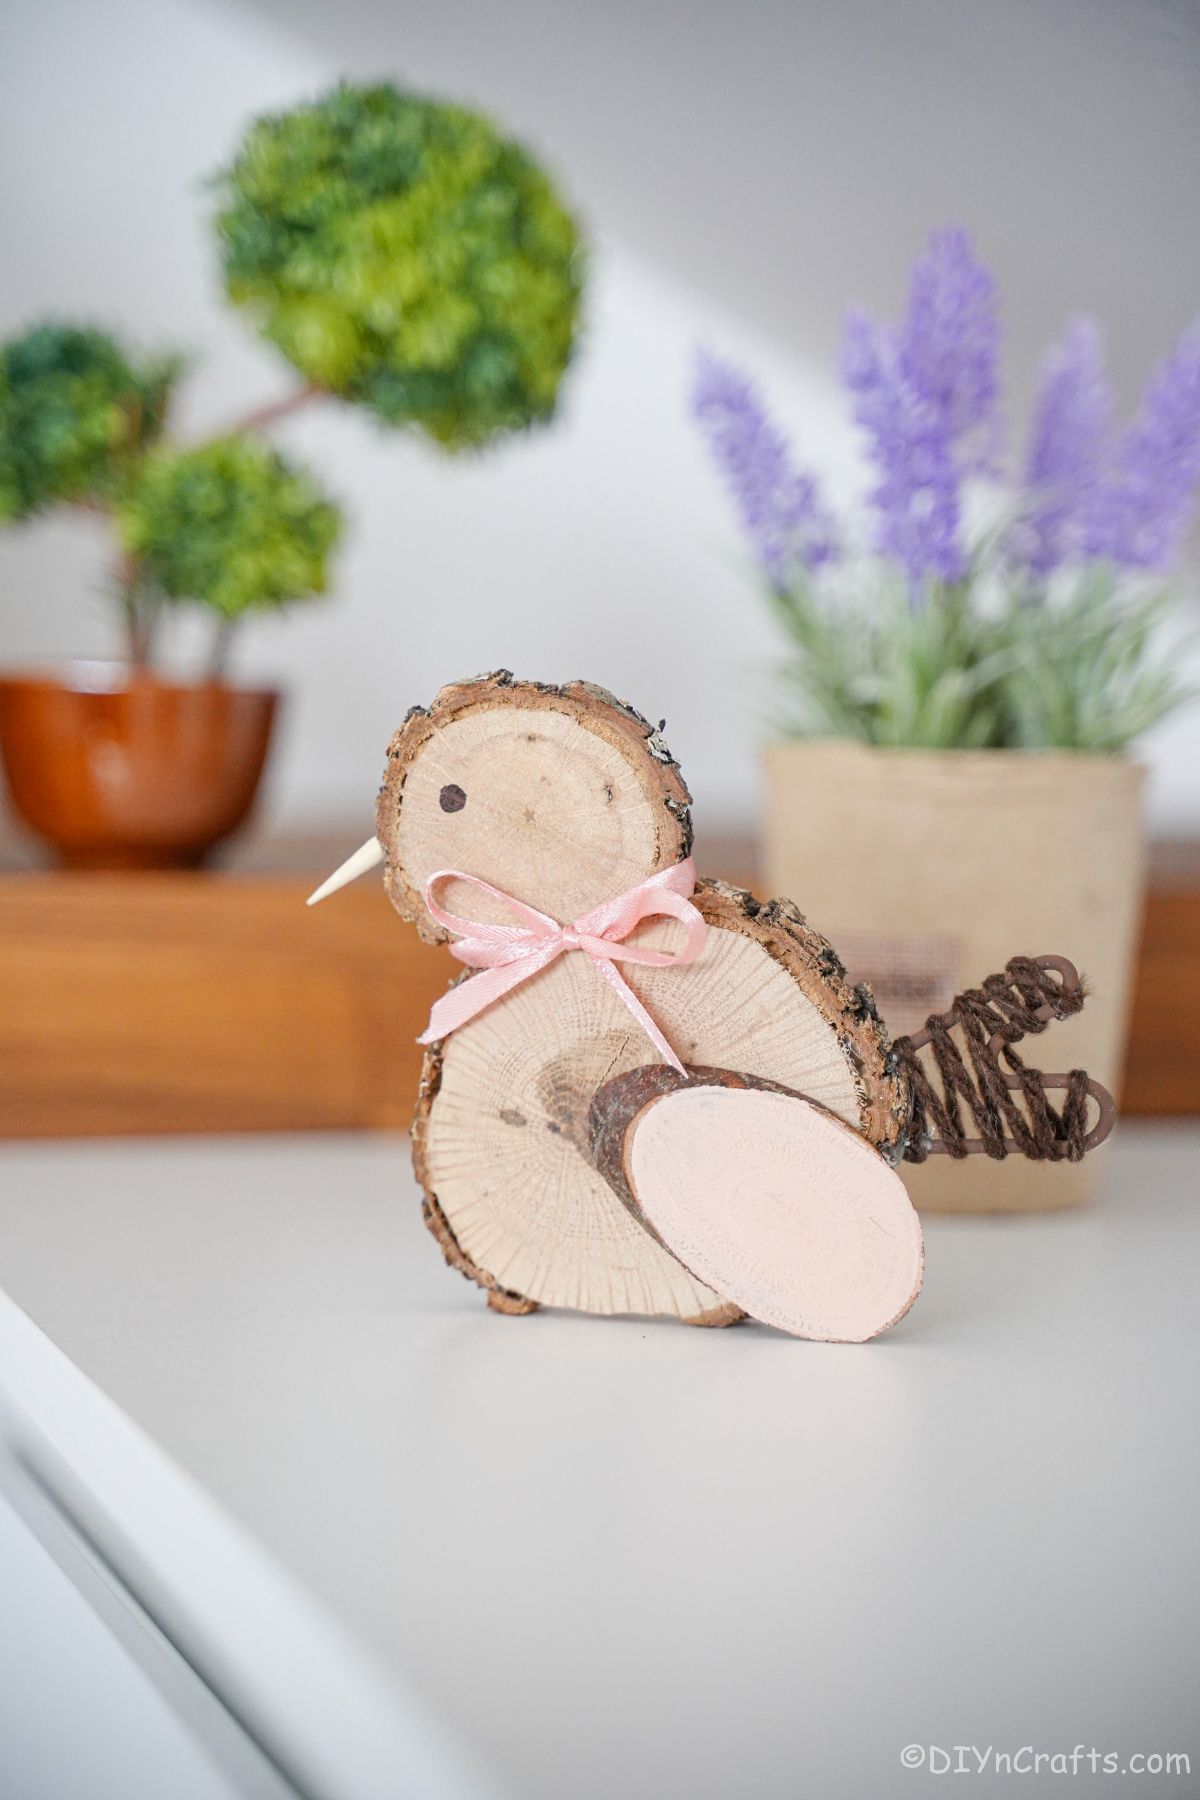
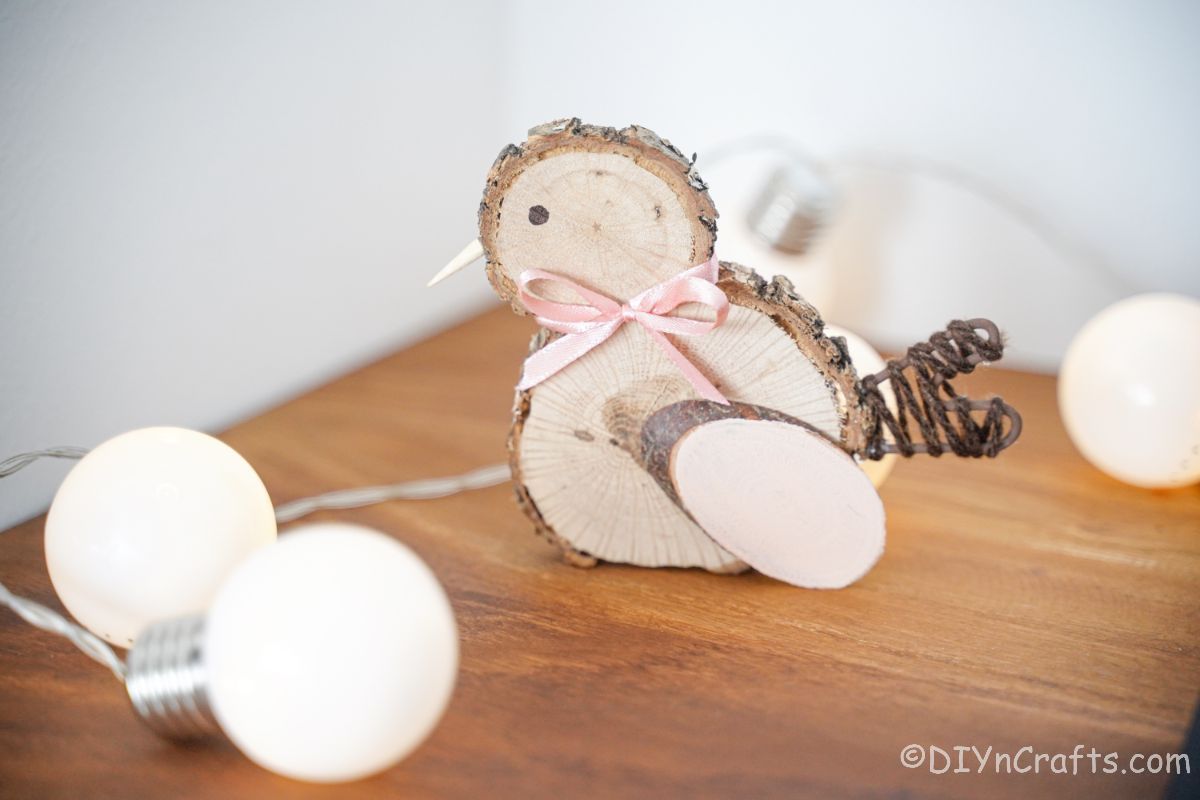
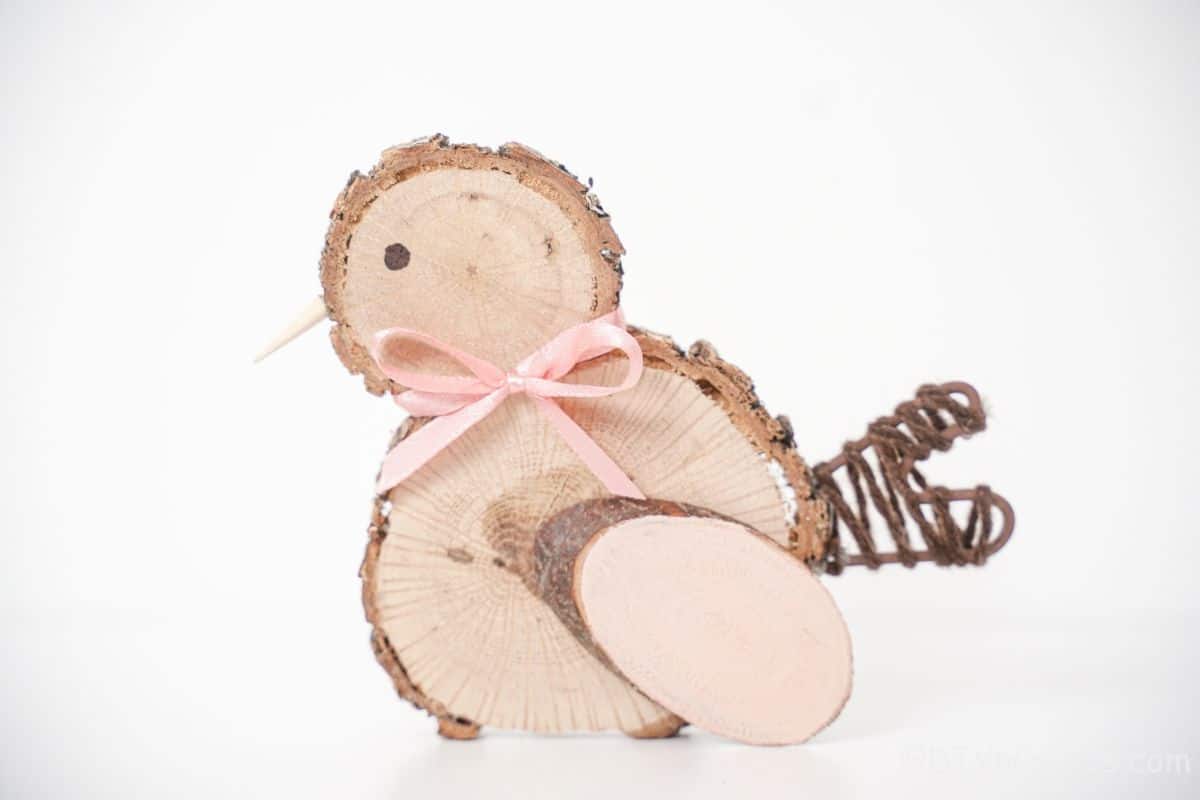
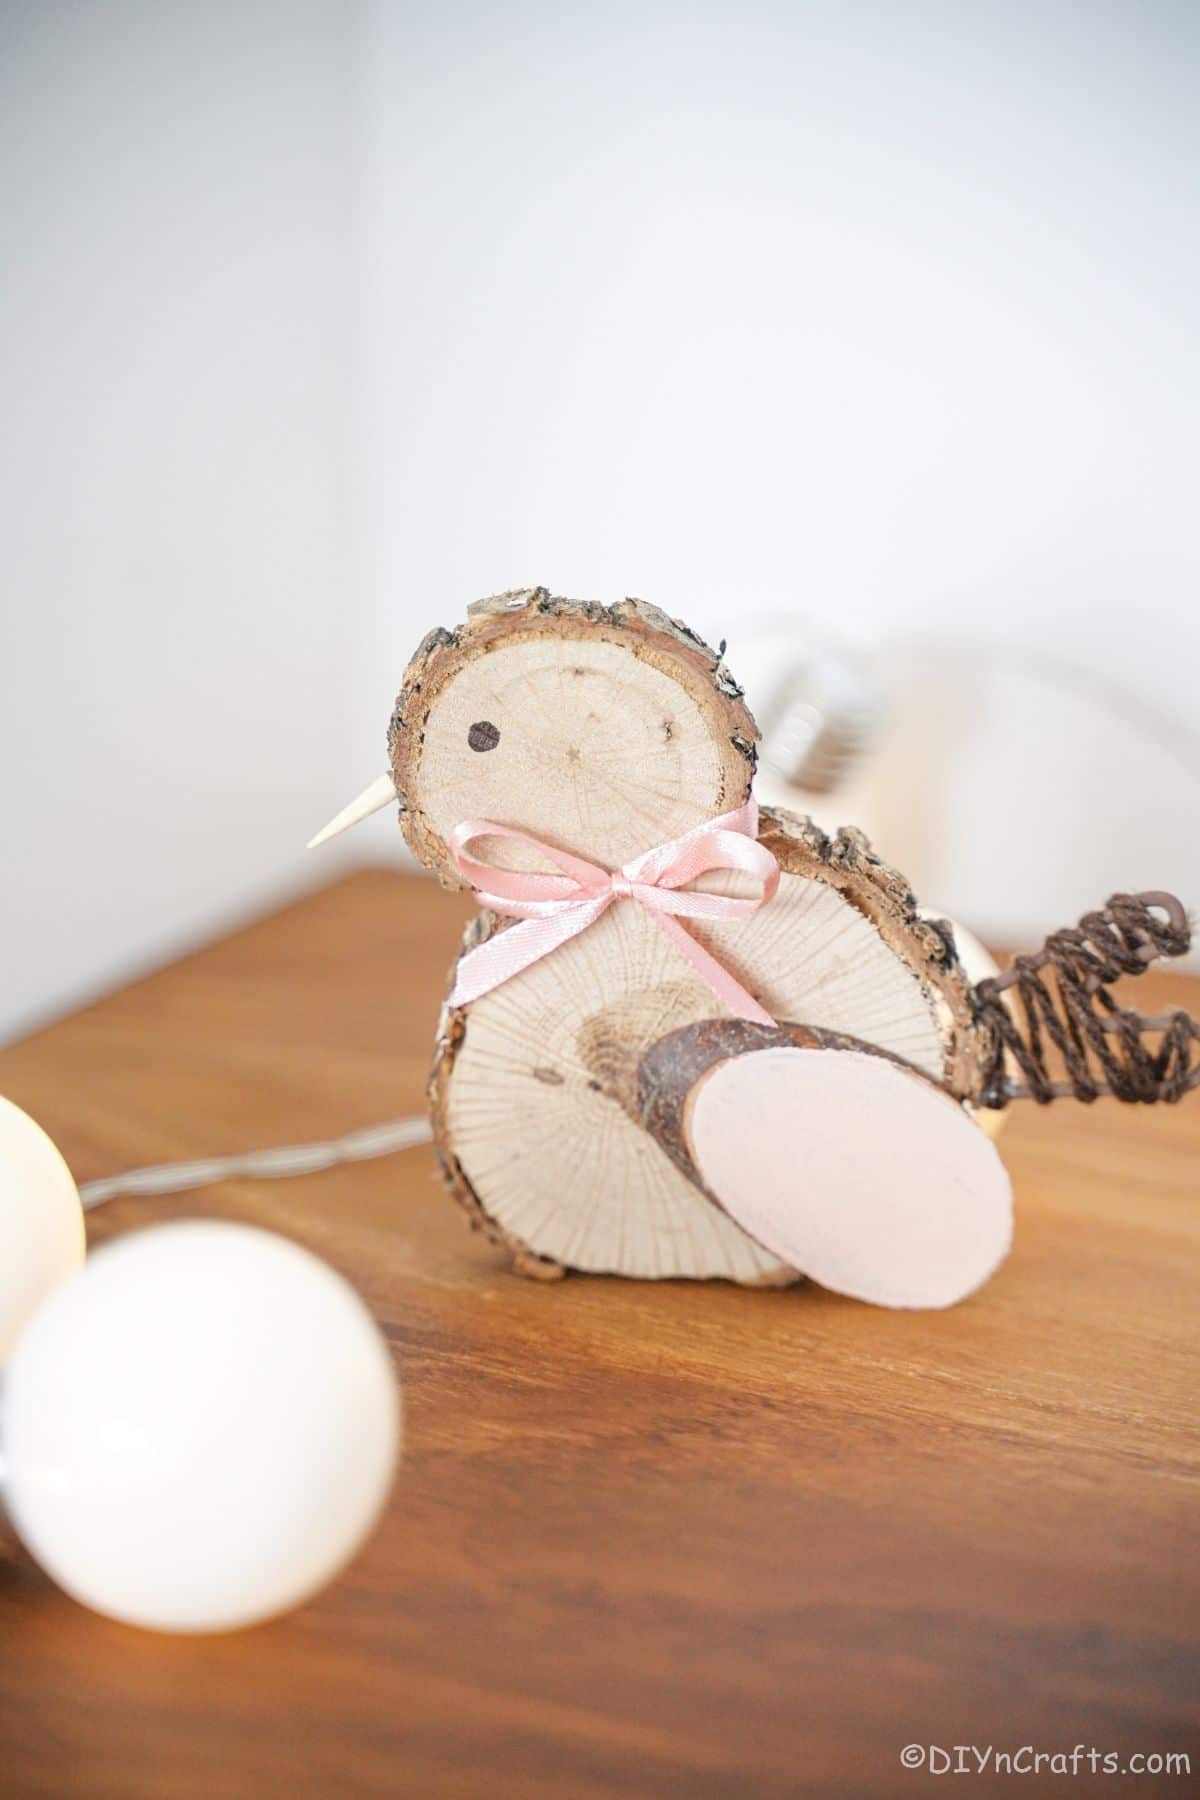
This easy-to-make cute wood slice spring chicken is a perfect decoration for all spring and Easter seasons. When you are looking for the perfect spring decoration, skip the fancy boutiques and create the ultimate rustic decor yourself. Combine wood slices with strong wood glue and create a fun decoration that is versatile as a centerpiece, on a mantle, or even hanging in your home!
Cute Wood Slice Spring Chicken Decoration
It can be so hard to find cute spring decorations. Everything is focused on Easter and sometimes you just want spring. Since I love crafting with wood slices, I decided to make some spring chicken decorations. These wooden chickens can be used as a rustic farmhouse style design, used to celebrate the start of warmer weather in the spring, or used as part of Easter decor. They look great alongside crafts like this flowerpot chicken idea!
You can get these small wood slices from a lot of stores in your area. Craft stores and big stores often have these slices at a very reasonable price. Sometimes, you can even find the wood pieces at dollar stores. They are super handy for all sorts of decor including this cute wood slice bunnies craft and even these adorable little wood slice photo decorations.
If you can not find the wood slices at a local store, you can also buy them online. Places like Amazon, crafts store websites like Michaels, or online stores like Etsy. If you live in a wooded area, you can make slices in a cut-off limb. You can use a fallen limb or one that is cut off the tree while trimming.
Ways to Customize This Wood Slice Spring Chicken Decoration
I am leaving this wood chicken with a raw look and letting the natural wood colors shine through. However, you can make your chick unique with all sorts of fun additions. Below are a few great ideas that we love.
- The first easy option is to paint or stain the wood pieces to give the chicken a unique look.
- Use paint pens or craft paint to draw a face on the wood slice or even just add little details like wings or feathers.
- Glue real feathers onto the sides of the wood.
- Add glitter or glitter glue details so the bird sparkles.
Get creative and set up your chicken to have a unique personality with simple changes. Whether it is a different color, stain, or embellishment that gives it style, there are numerous options to make this chick craft have your style and personality.
How to Display This Wooden Chicken Design
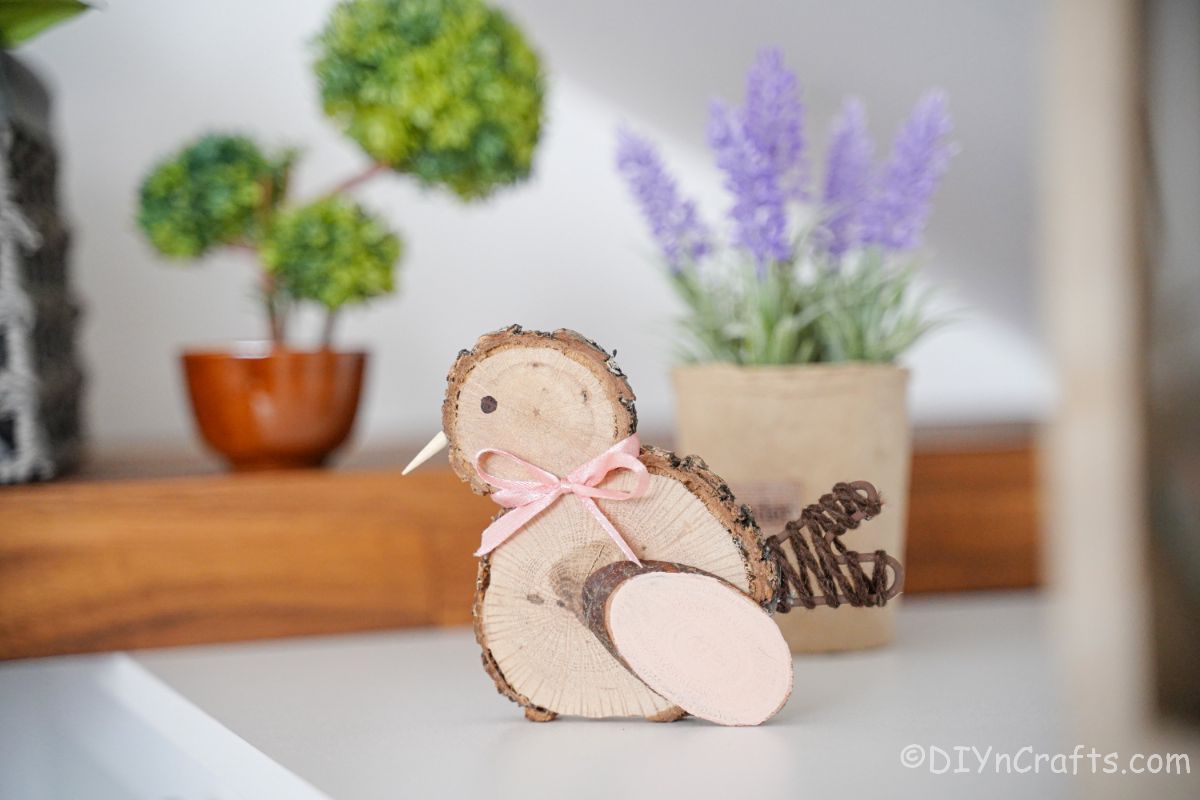
I love rustic decorations like this one. It's great for adding something unique to your mantle or Easter dinner centerpiece. This is small enough that it can be a part of another decoration, but also large enough to stand out on its own if you prefer.
You can prop this chick on a shelf, bookcase, table, or mantle. Other options include adding wire to hang it from the ceiling. Of course, I like the idea of gluing a heavy dowel rod underneath the chick and making it easy to stick into a potted plant.
Add this to your front porch decor for a fun little springtime addition that is cute and simple. It's ideal for those with a rustic style or a farmhouse decor style.
Supplies Needed
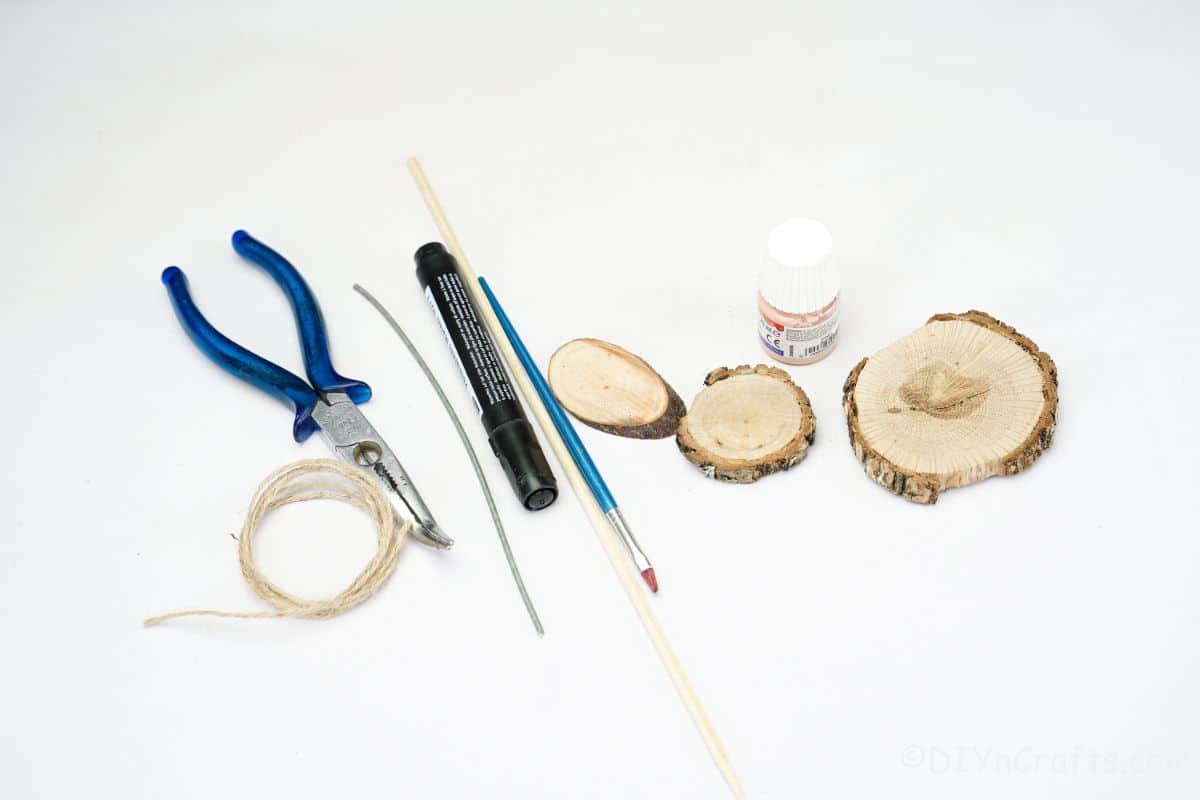
- 1 medium round wood slices
- 1 small round wood slice
- 1 oval wood slice
- Cream craft paint
- Black marker
- Metal wire
- Twine
- Pink ribbon
- Hot glue gun
- Hot glue sticks
- Scissors
- Sandpaper
- Paintbrush
- Pliers
How to Make a Wood Slice Chicken
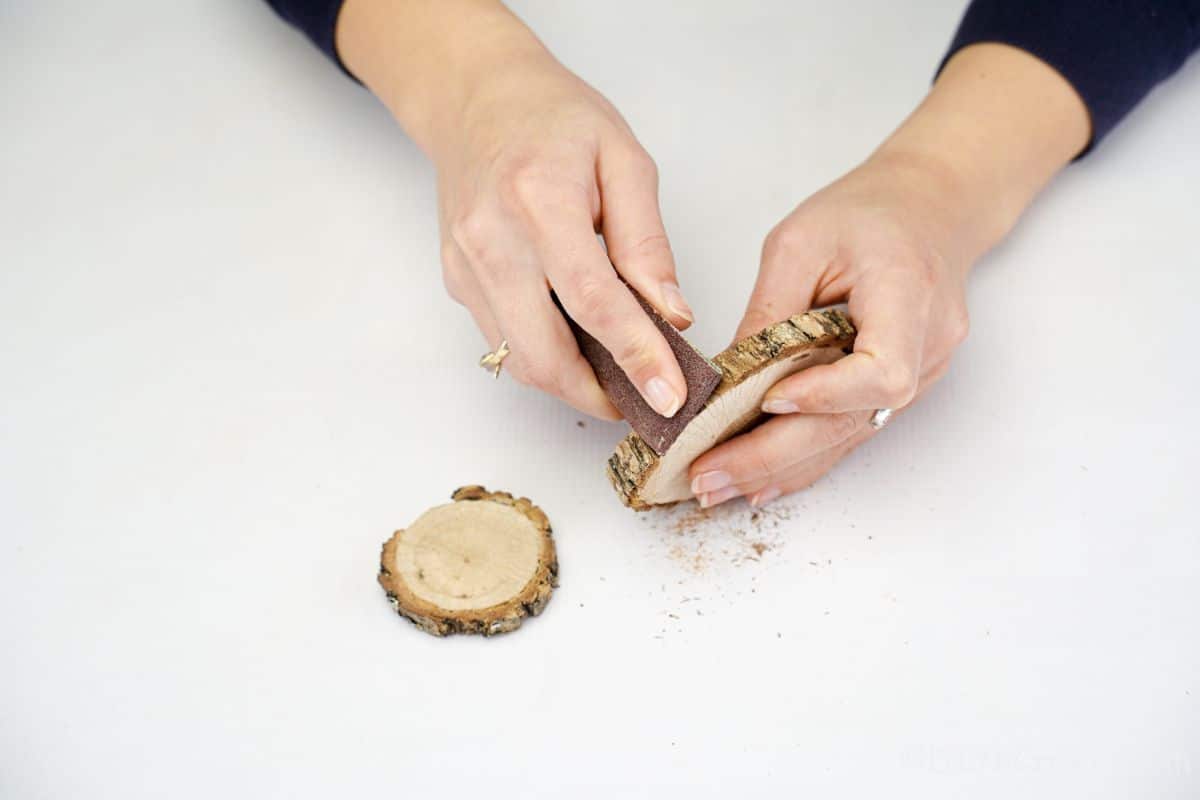
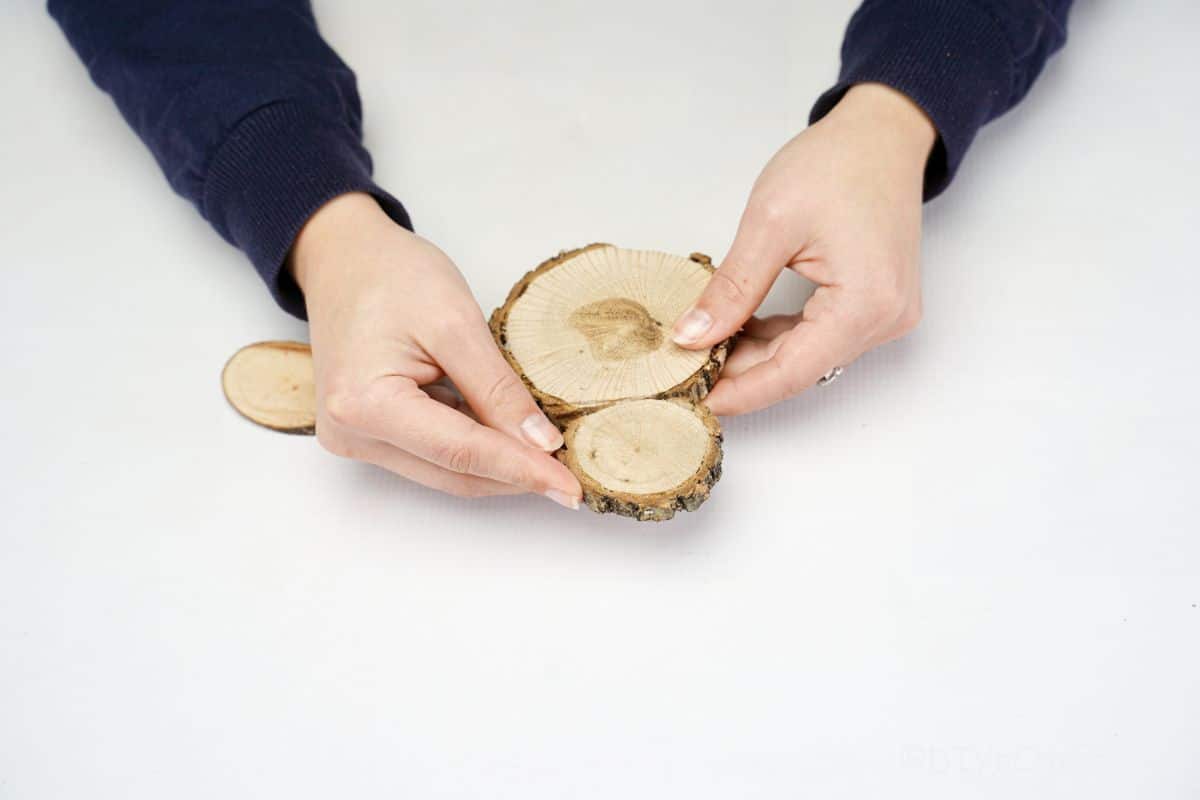
Use scissors or a craft knife to trim the bark off of the top and bottom of the larger wood slice so you have a flat top and flat bottom with a rounded side.
Do the same on only one side of the smaller wood slice. You can use sandpaper to smooth these edges if you want a cleaner edge.
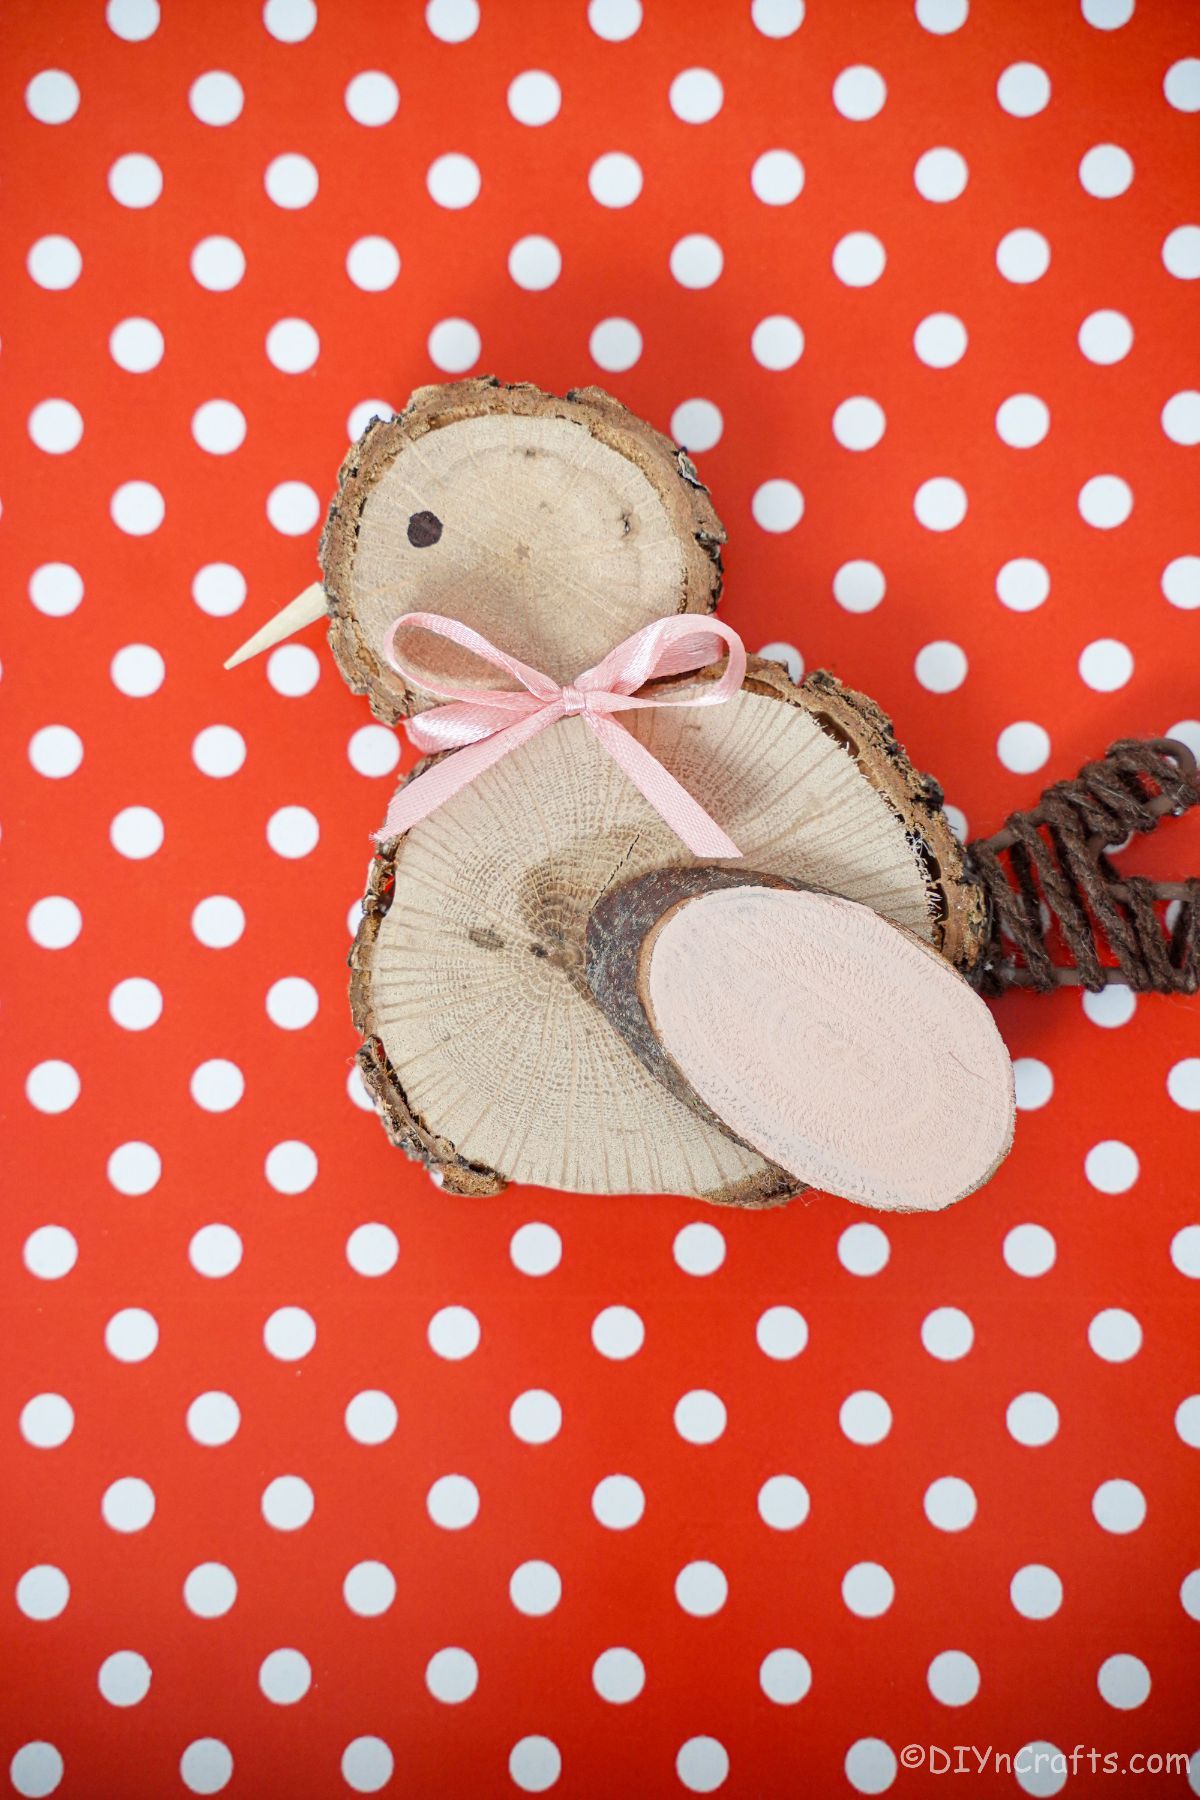
Now, glue the smaller one on top of the larger one so that the two are glued together at the flattened spaces.
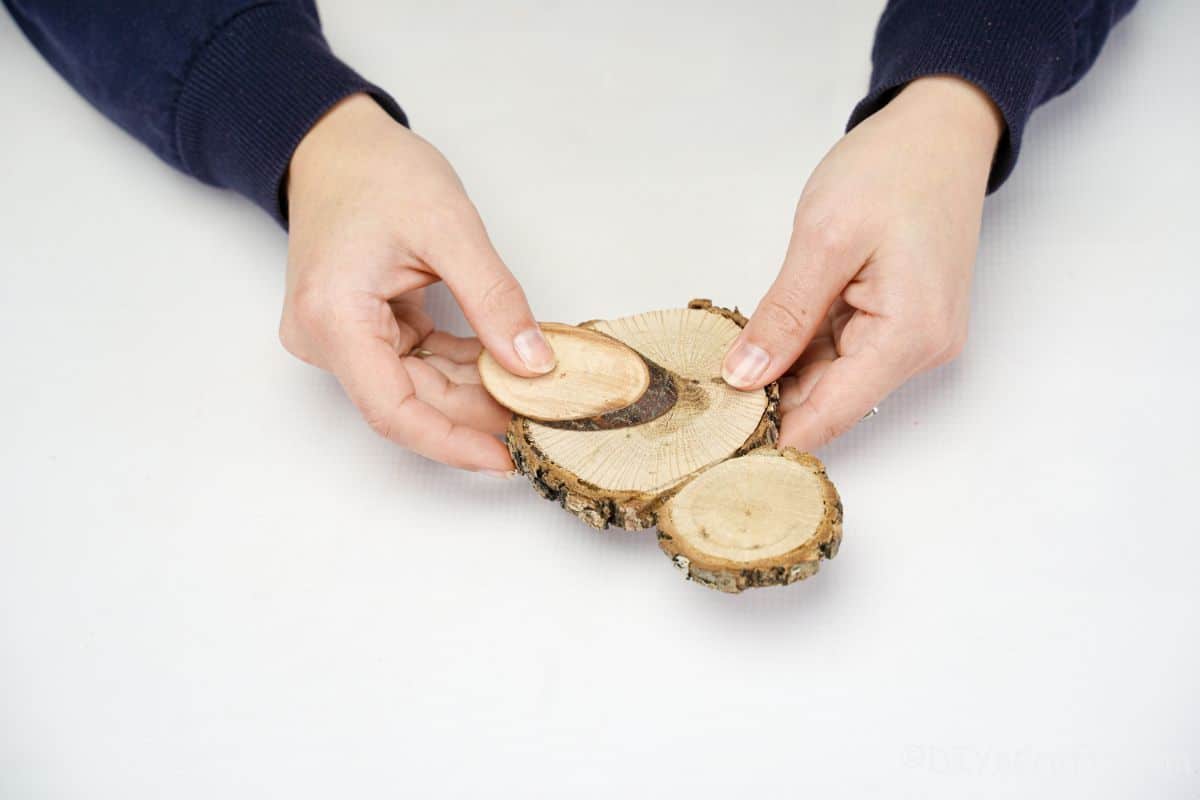
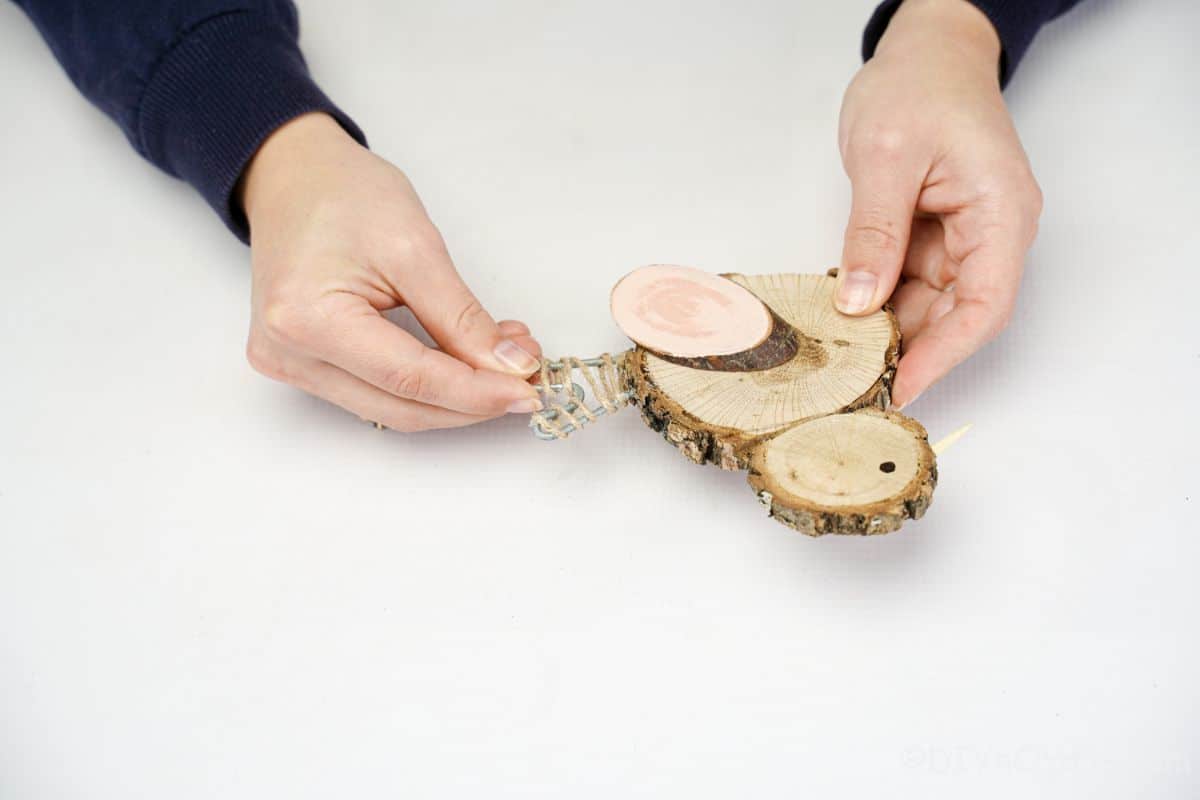
Next, glue the oval wood slice to the side of the "bird" to create a wing.
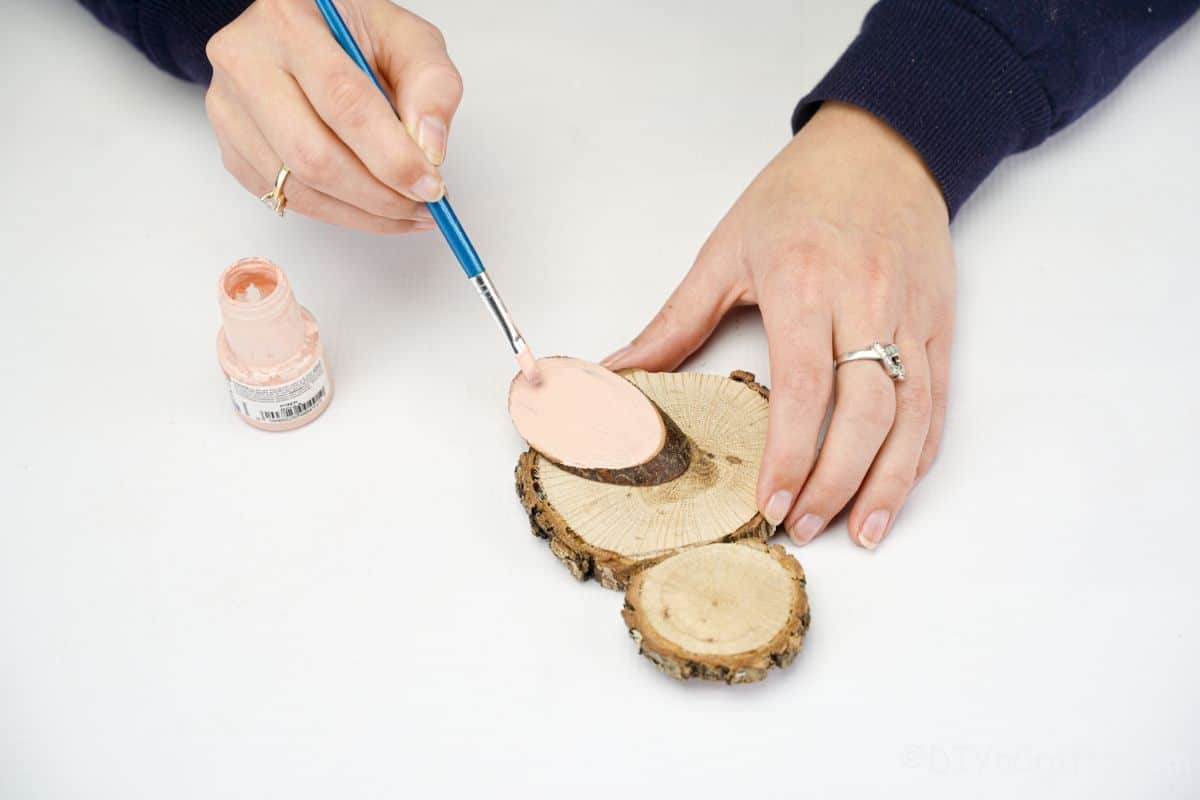
Paint the wing with cream, pink, or brown paint and set it aside to dry. If desired, you can paint the entire bird at this time, but it is not necessary to create a rustic look.
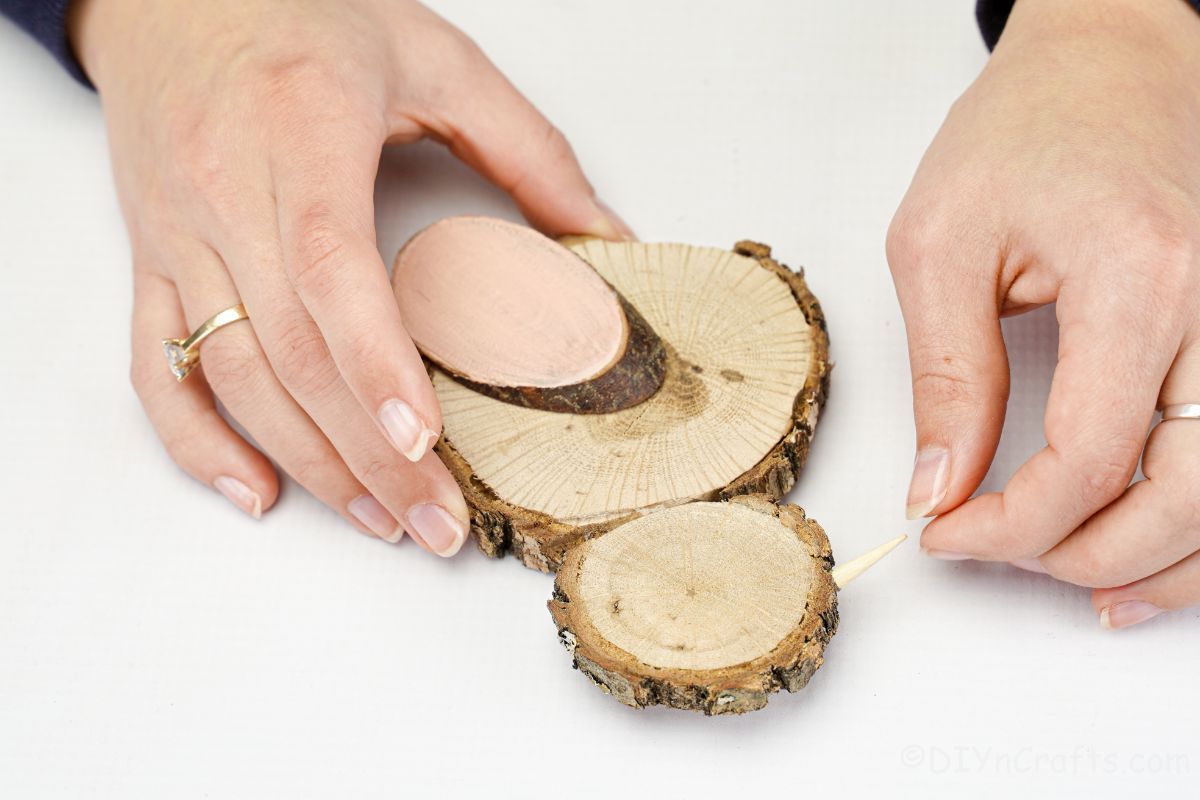
Once the wing has dried, add a small beak from wood to the front. This is easy to make from scrap wood, a toothpick, or even a dowel that has been cut into a point. If not available, you can use felt or paper to create a little peak.
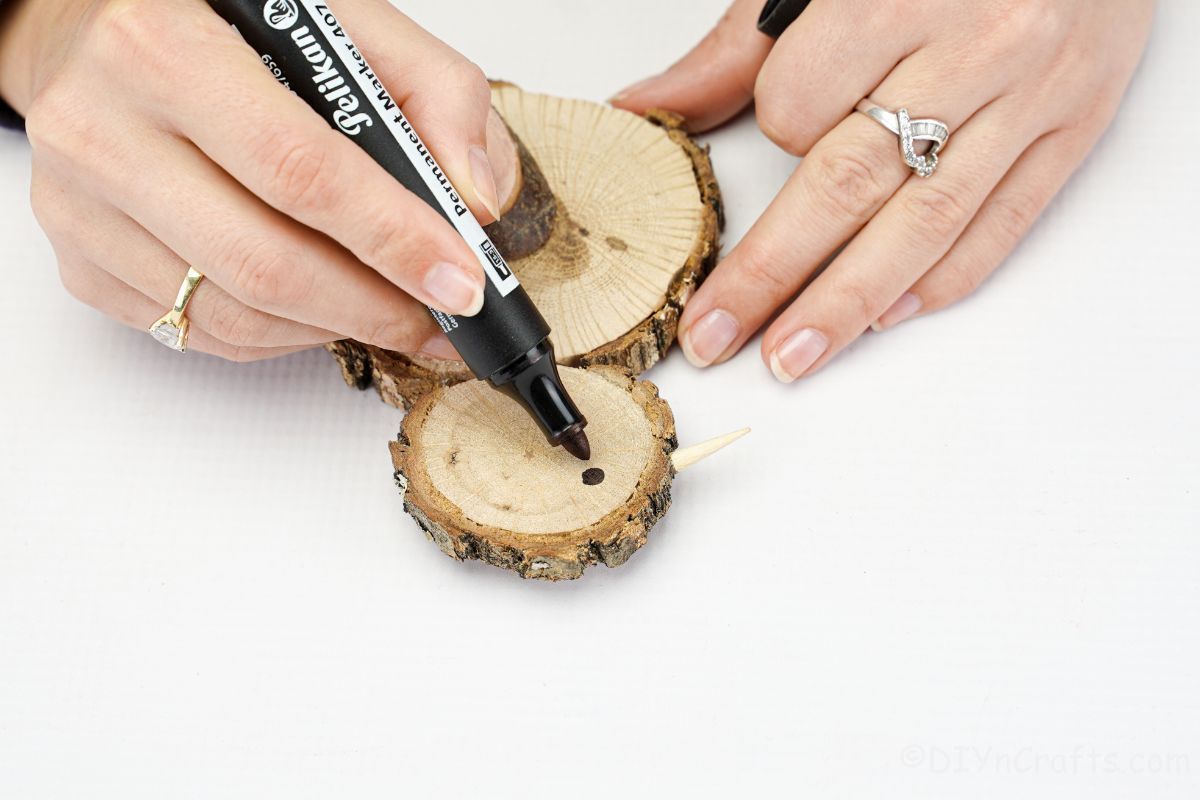
Then use a marker to create an eye on the side.
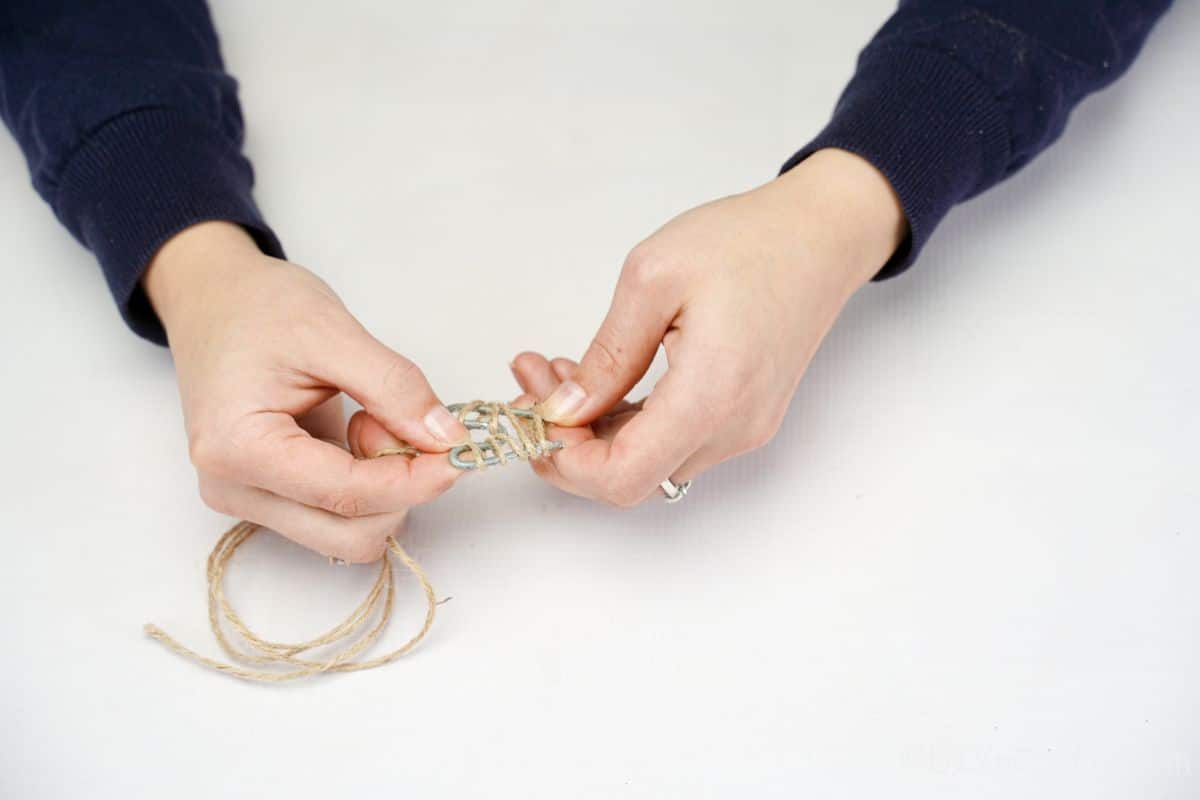
Use pliers to shape a piece of metal or floral wire into an "m".
Wrap twine around the "m' loosely, then glue into place. You want some of the metal to show, but if you prefer it can be painted or you could wrap the twine all the way around the metal so it is totally covered.
Glue this tail onto the bottom side of the bird below the wing.
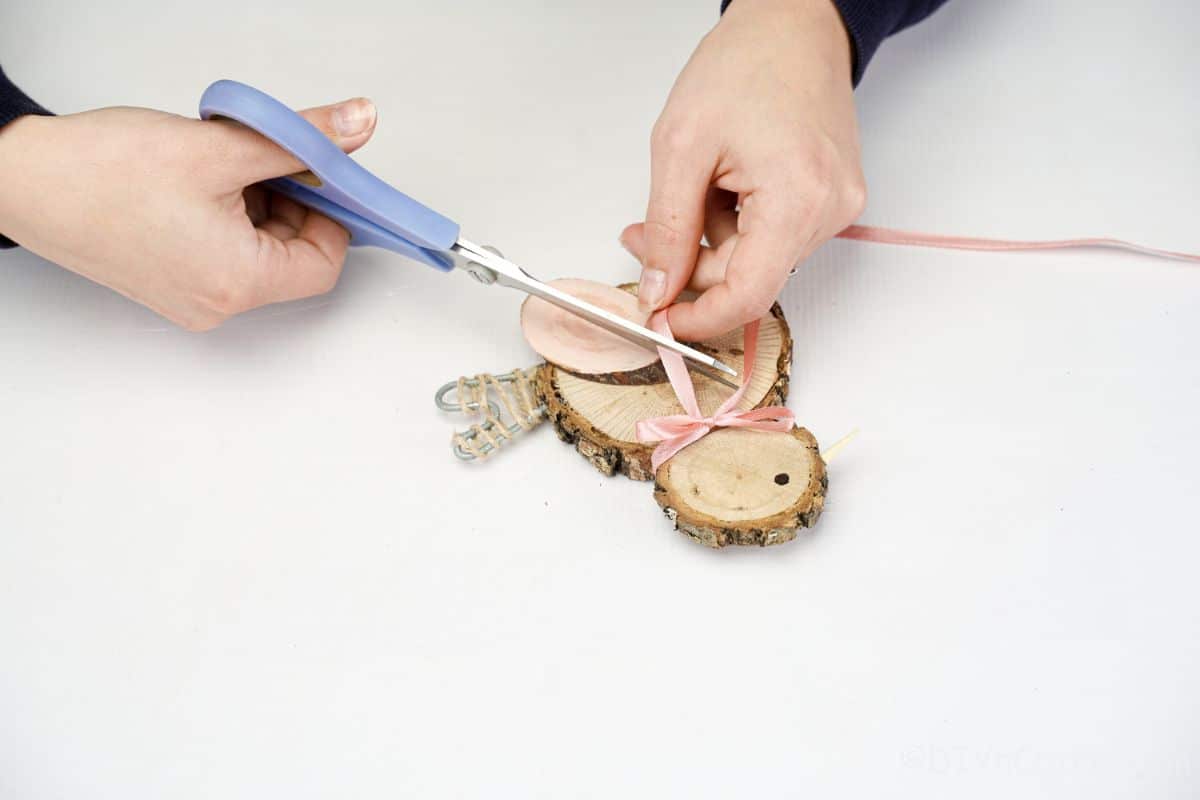
Next, cut out some ribbon and tie it around the neck of the bird, then tie the ends into a bow shape. Glue this to secure in place.
If desired, you can add additional embellishments like feathers, glitter, or paint the other wood slices before you display it!
More Easy Easter Crafts
If you want or need more inspiration to create cute little chick-themed crafts, check out some of my favorites below. These are great throughout the springtime months but are also ideal for Easter decor. Get crafting soon and make sure you bookmark or print out these tutorials for your next crafting day!
- Cute Wooden Spoon Bunny and Chick Easter Decorations
- Easy Painted Popsicle Stick Craft Easter Decoration
- Upcycled Planter Painted Chick Easter Decoration
- Cute Upcycled Mason Jar Chicken Vase
- DIY Cute Easter Egg Chicken Decoration

Cute Wood Slice Spring Chicken Decoration
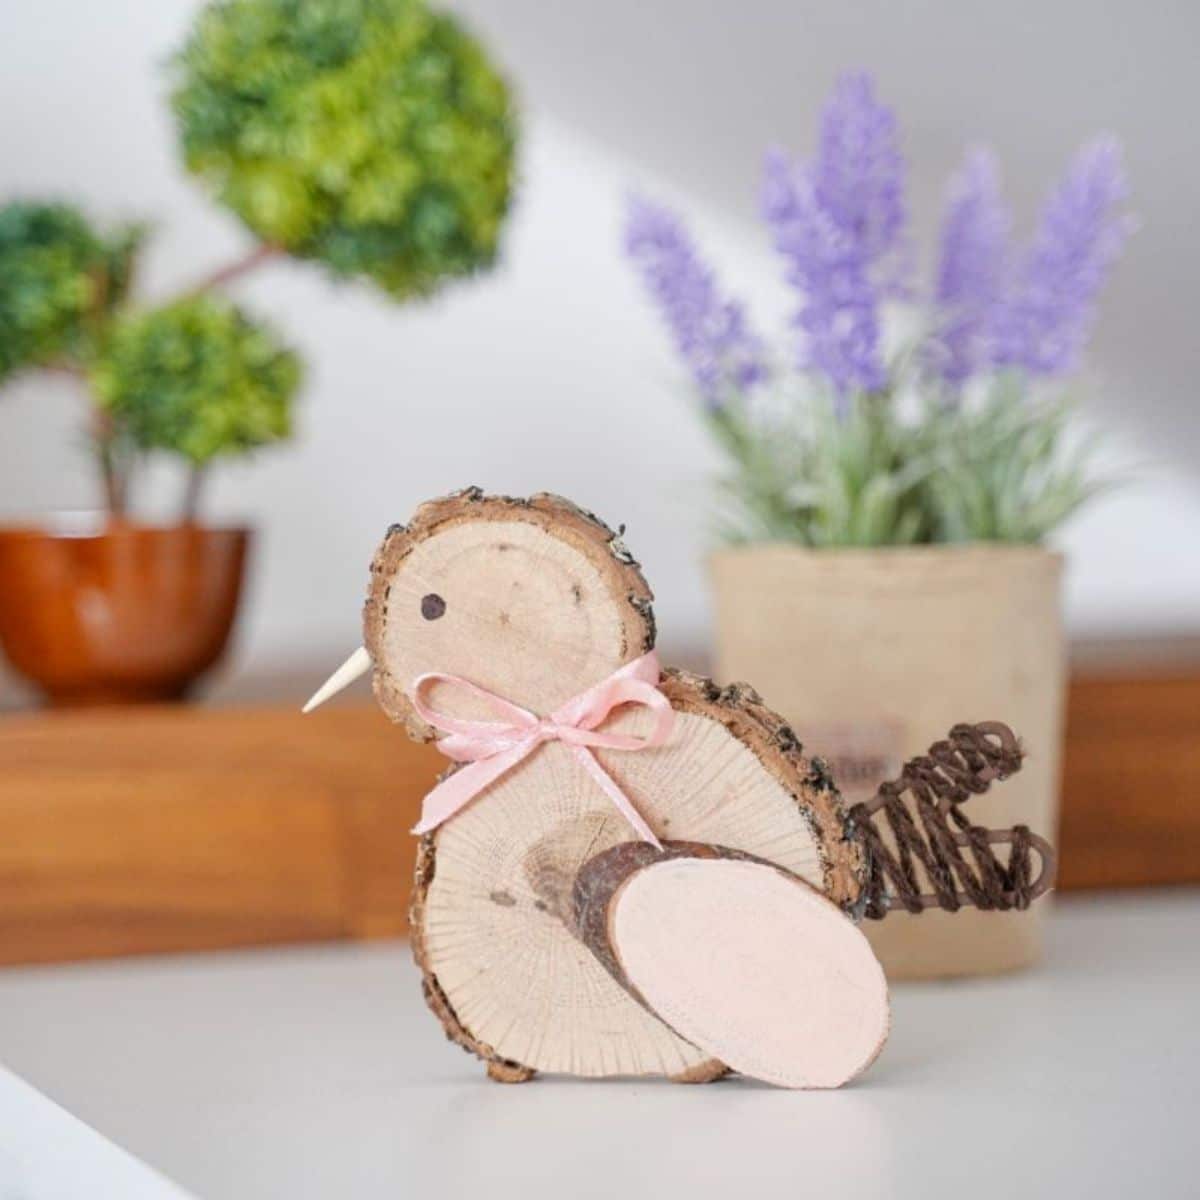
Turn wood slices into this adorable little Easter wood slice chicken decoration! A great springtime craft!
Materials
Instructions
- Trim the bark off of a 1" portion of the top and bottom of the medium wood slice then sand it until smooth.
- On the smaller circle, trim an equal patch on one side and sand smooth.
- Glue the smaller wood slice onto the open spot of the larger one leaving an additional flat surface on the bottom for standing upright.
- Next, glue the oval wood slice onto the side of the bottom circle at an angle to create a bird "wing".
- Using cream or light brown craft paint, paint the wing.
- Then glue a small toothpick or bit of wood on the edge of the smaller wood slice to create a bird's beak.
- Use a black marker to draw a small circle for the bird's eye just above where you have glued the beak.
- Use a pair of pliers to shape a piece of metal or a length of floral wire into the shape of a small "m".
- Using hot glue, attach twine to the end of the "m" and wind it back and forth around to wrap around the piece, gluing as needed.
- Then, glue this to the bottom side of the bird below the wing as a "tail".
- Cut and tie a length of pink ribbon around the neck of the chick and glue in place.
- Decorate as desired with additional glitter or embellishments before displaying.
Notes
Paint the wood slices different colors to make your chick look unique.
Recommended Products
As an Amazon Associate and member of other affiliate programs, I earn from qualifying purchases.
-
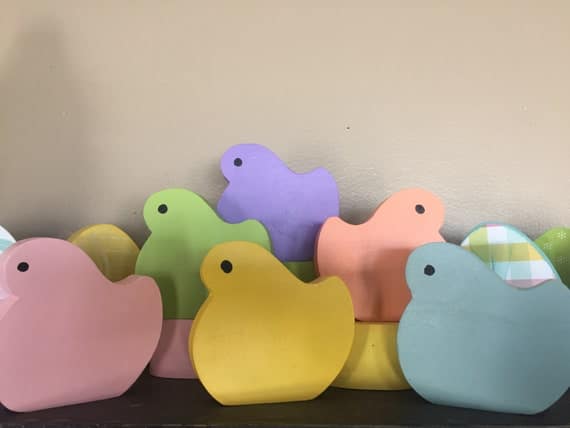 Easter Marshmallow Wood Chicks Easter Chick Wood Chick | Etsy
 -
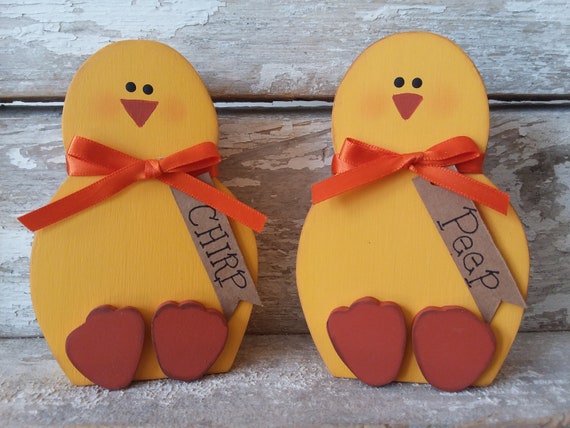 Wood Chick Spring Chick Easter Tier Tray Decor Easter Shelf | Etsy
 -
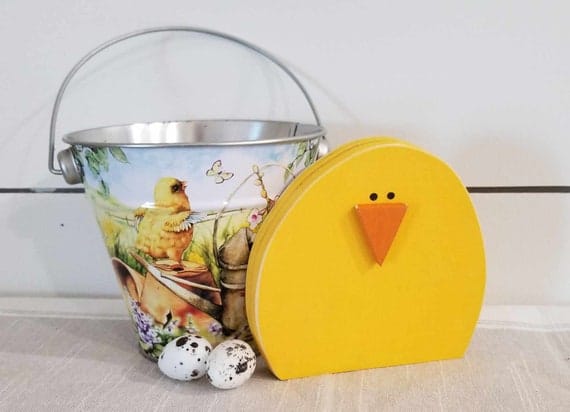 Chicks Easter Decor Spring Decor Wood Chicks Spring Gift | Etsy
 -
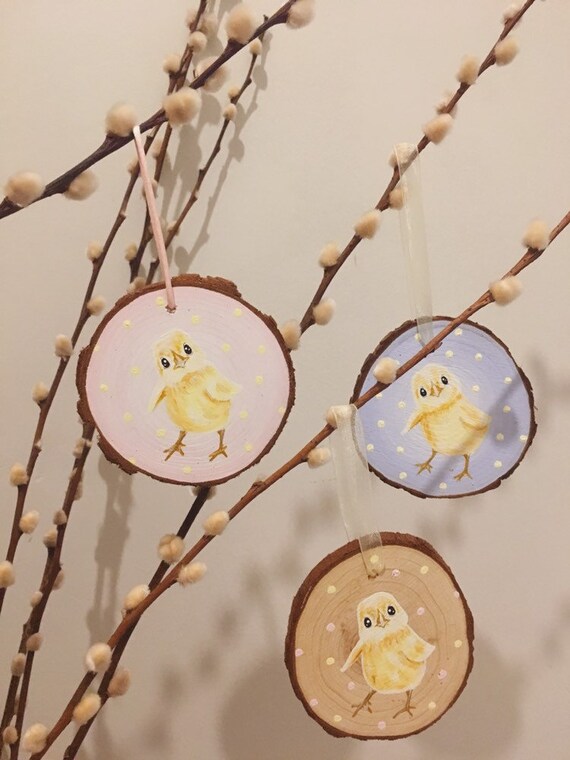 Easter Chick Wood Slice Hanging Decoration | Etsy
 -
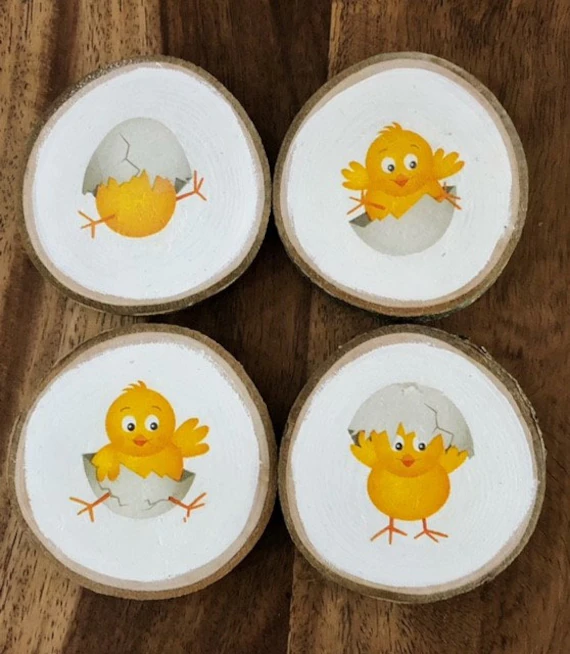 Cute Easter Chick Wood Slice Hanging Decoration | Etsy
 -
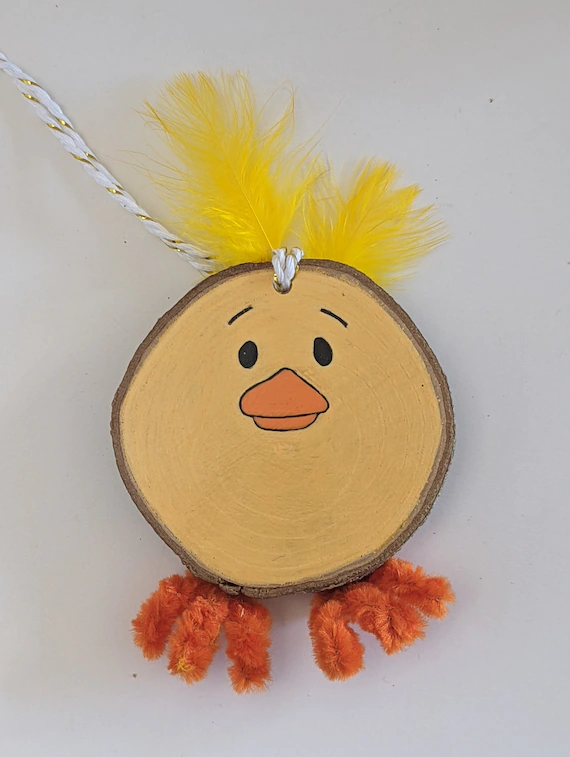 Hand Painted Easter/spring Wood Slice Tree | Etsy
Finished Project Gallery
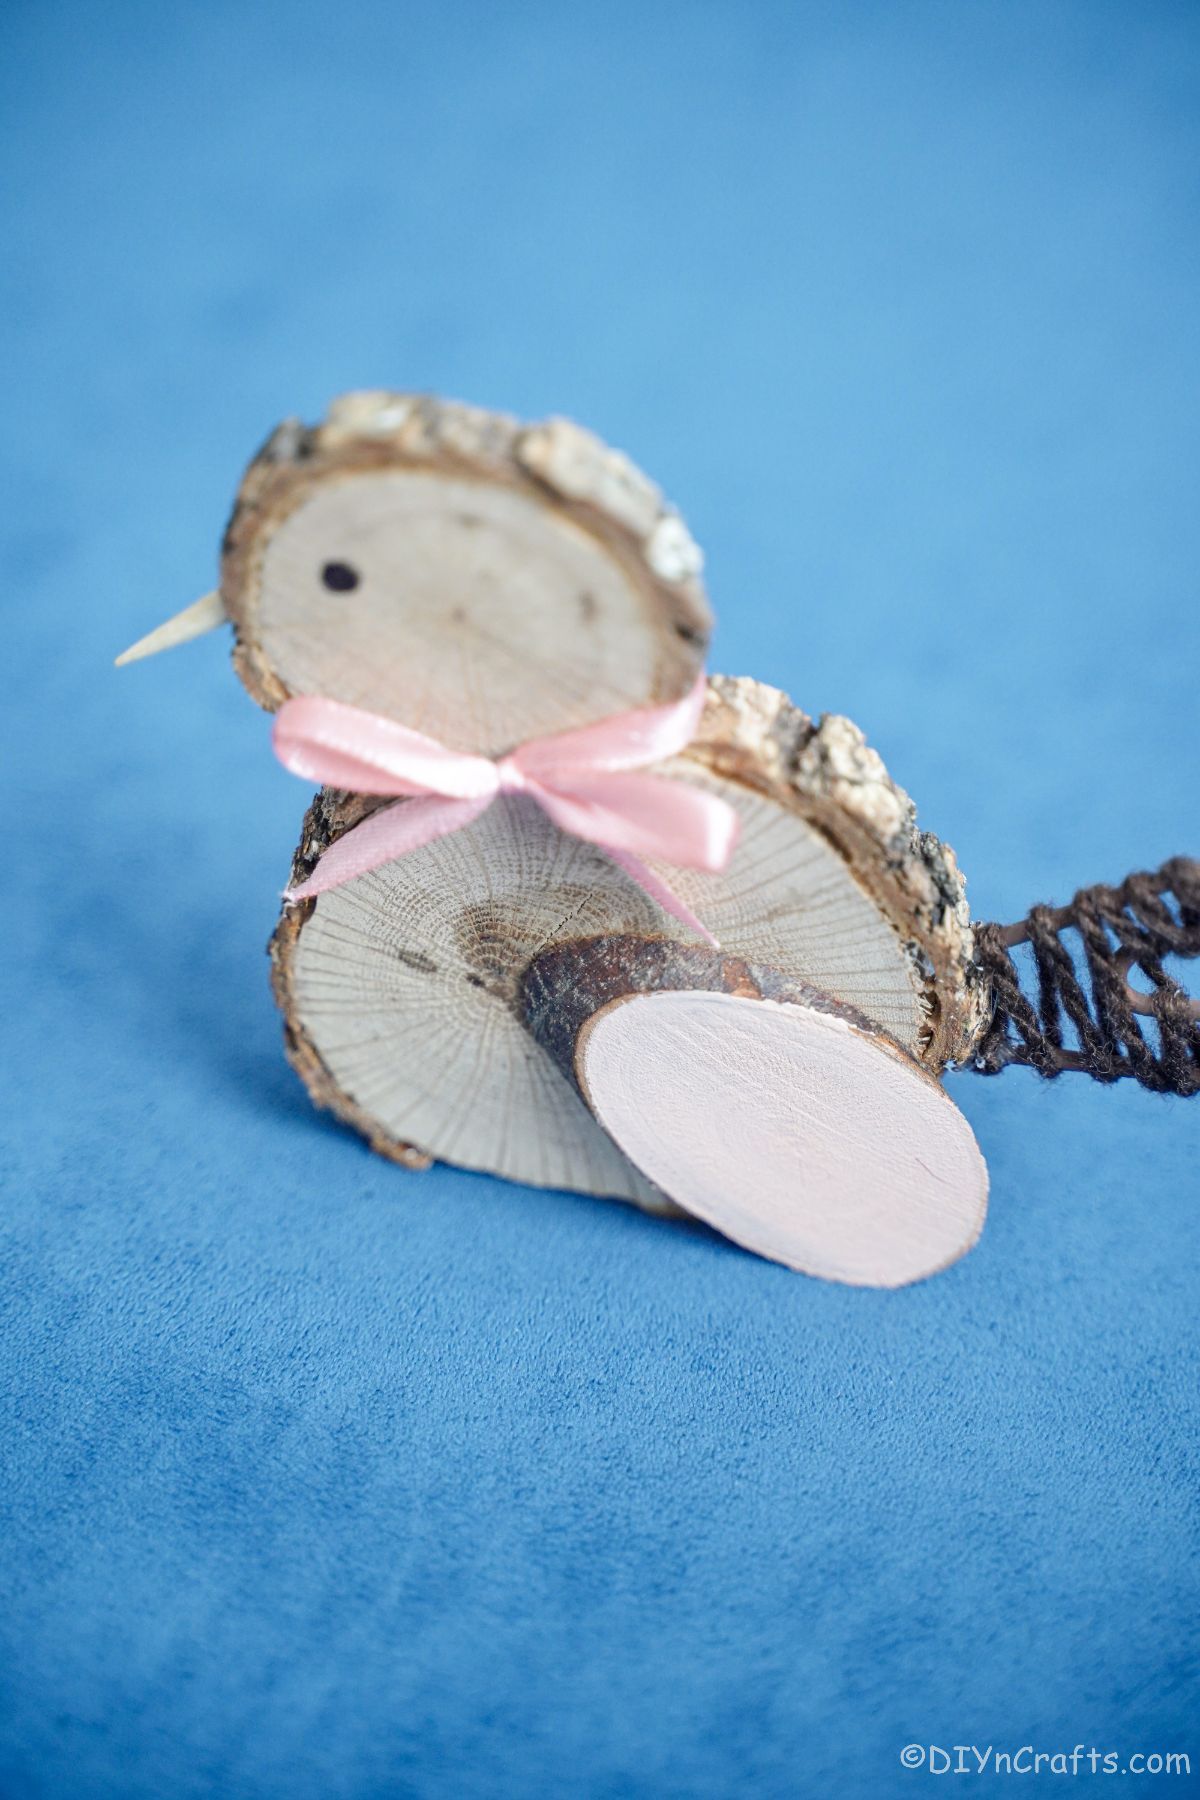
You can also paint or stain all of the wood slices to give this chicken its own unique look.
I love the idea of making these in various sizes to create a cute little chick family!






Leave a Reply