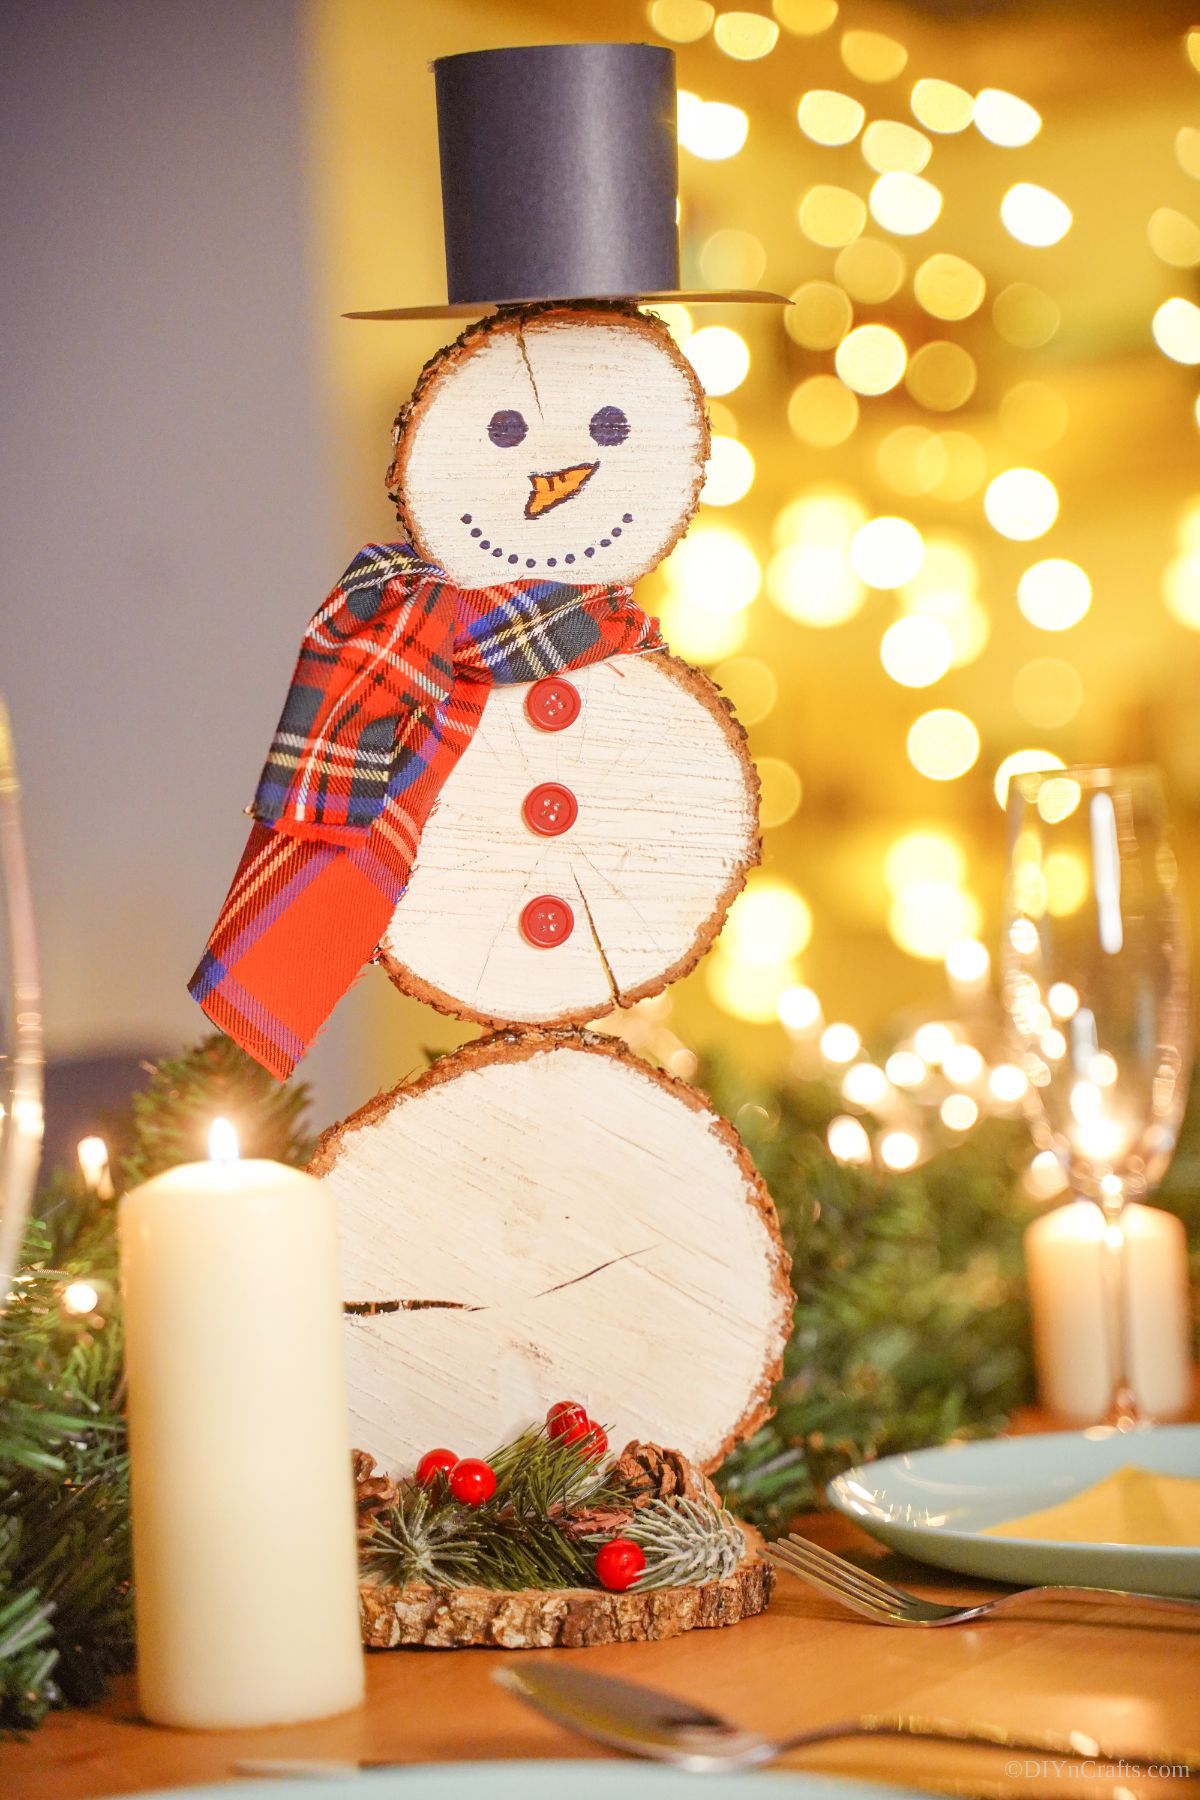
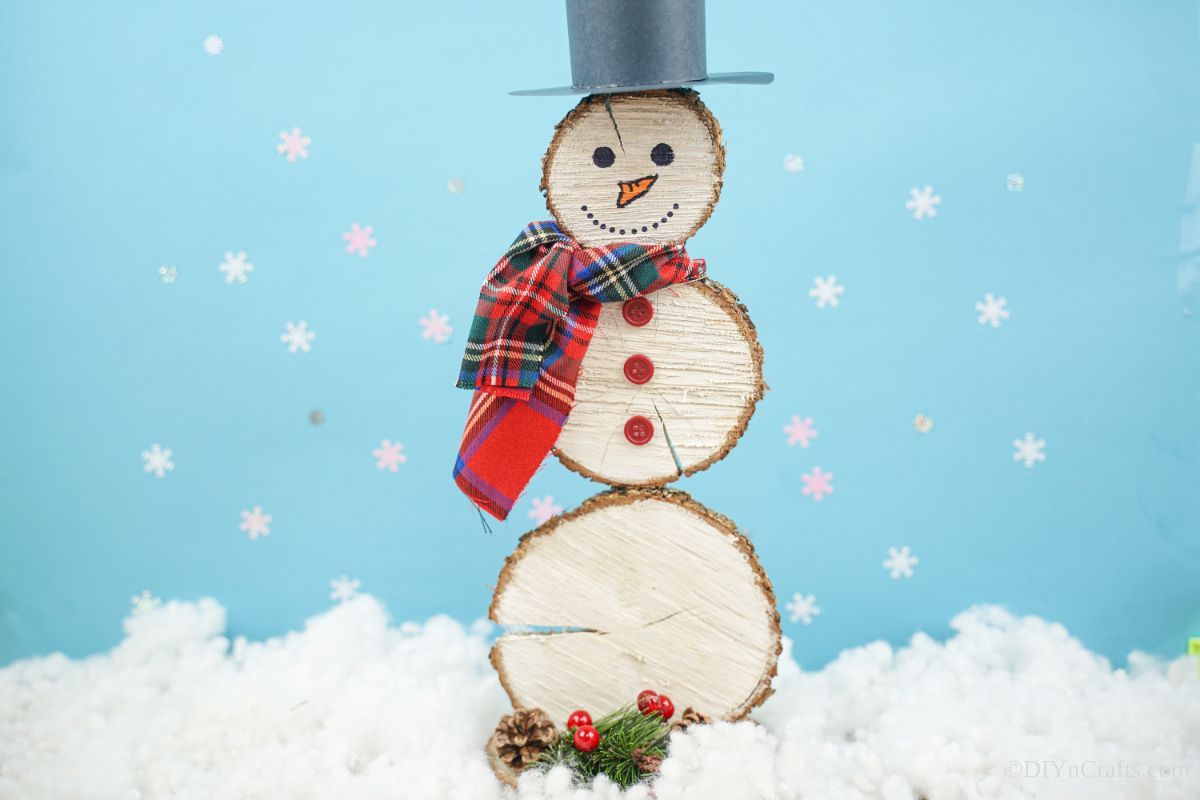
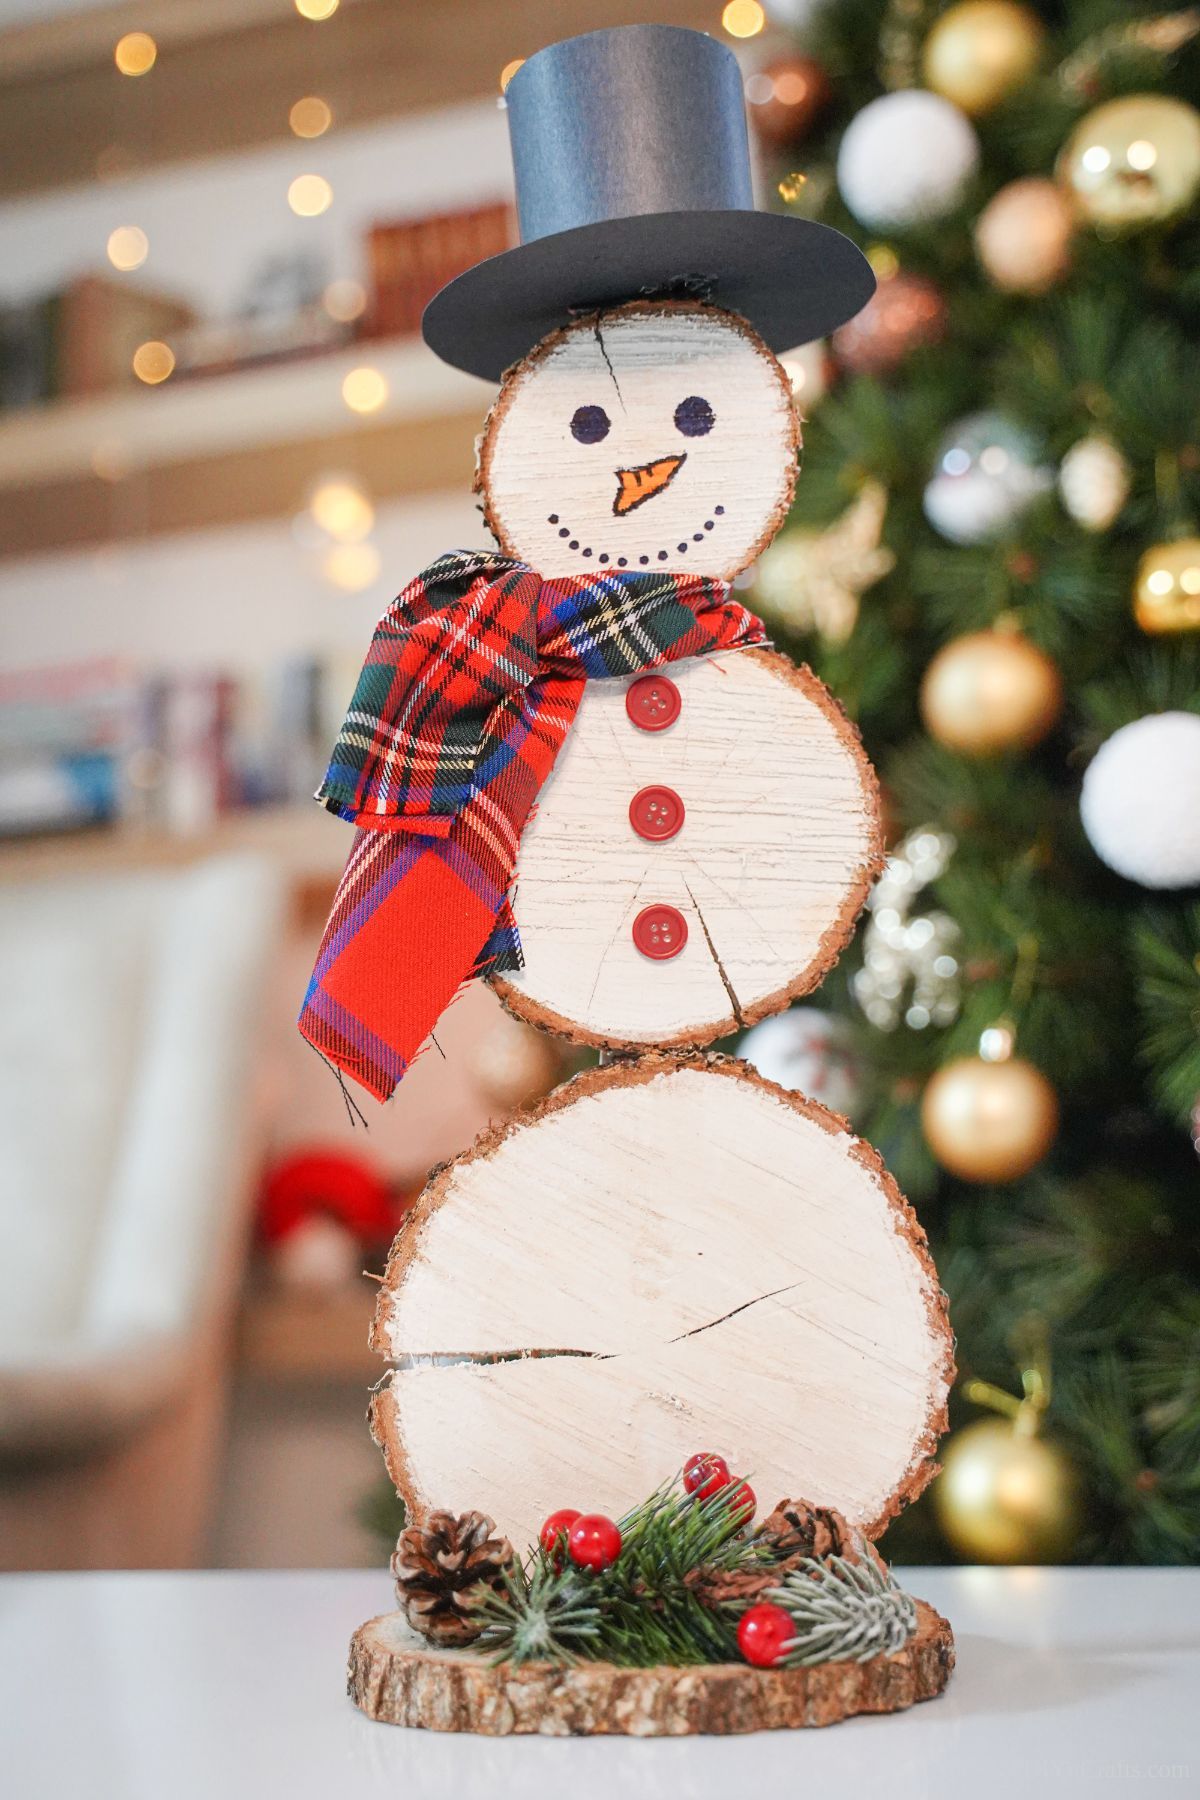
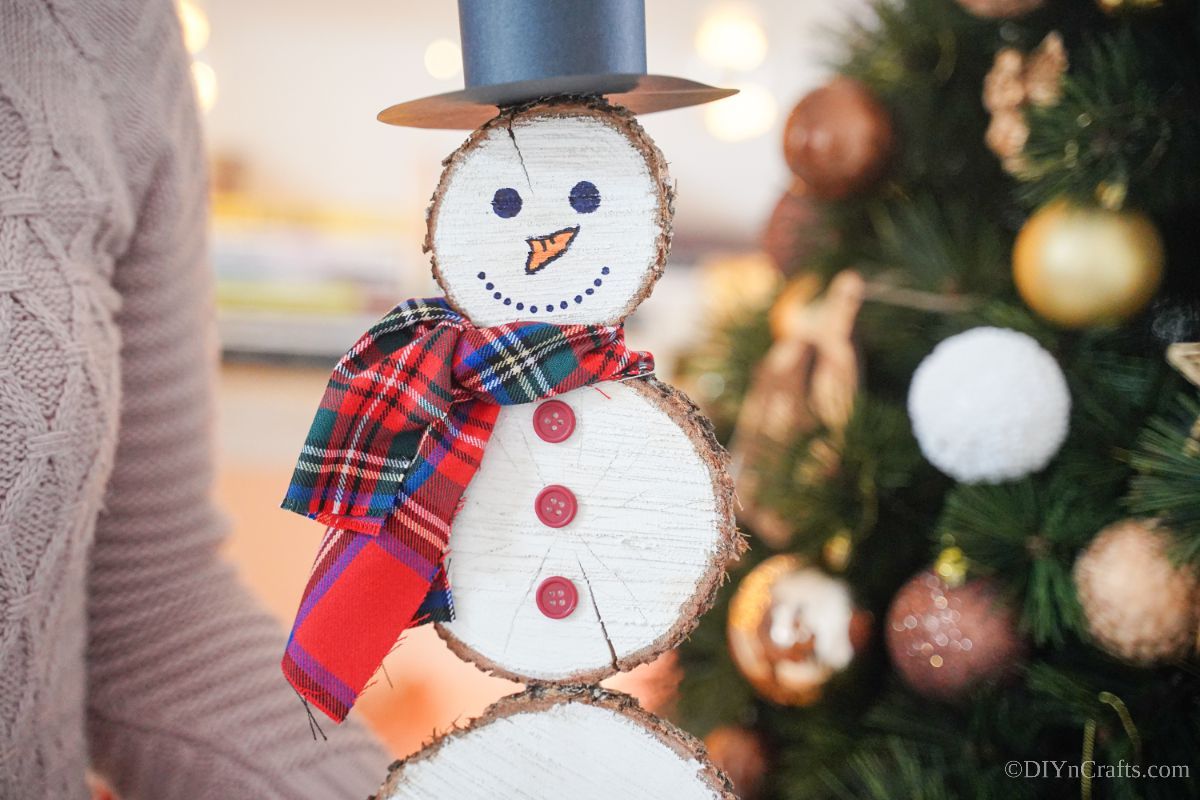
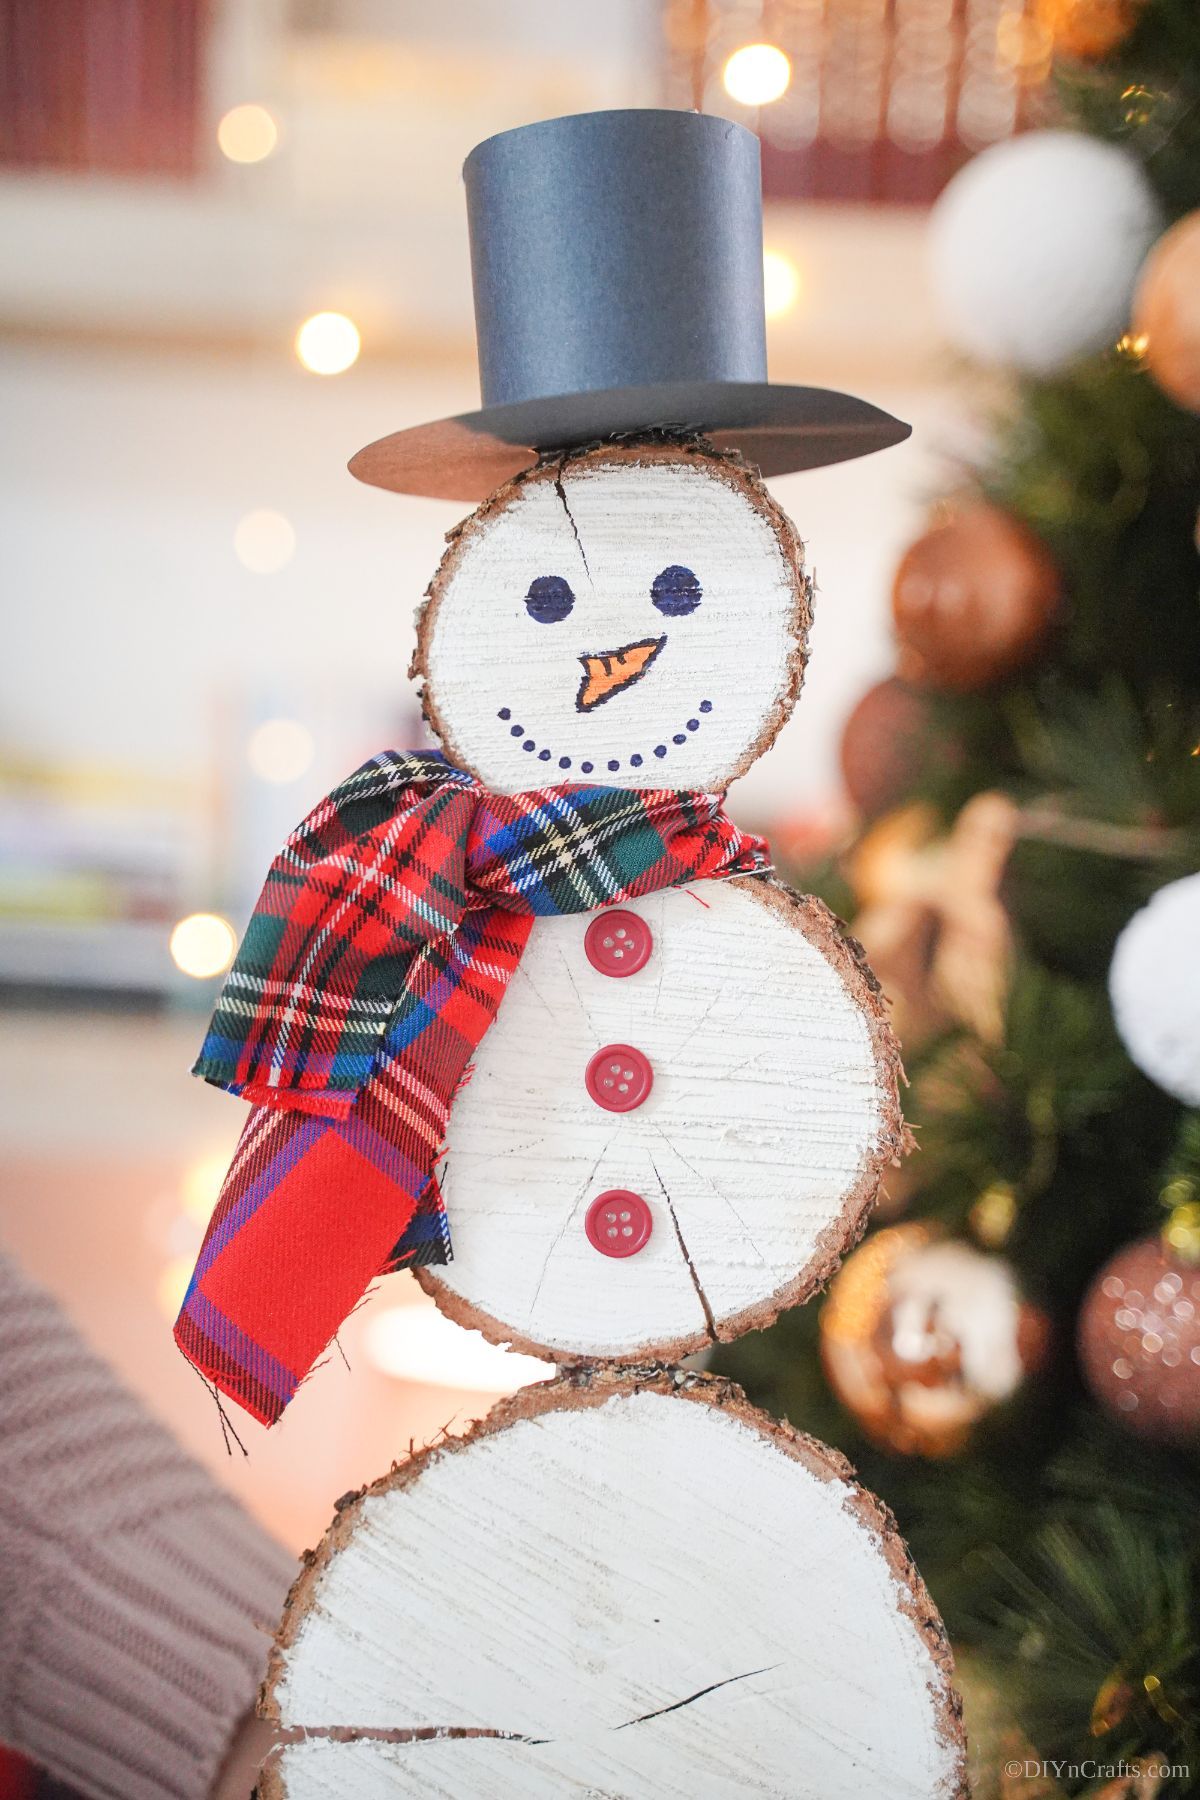
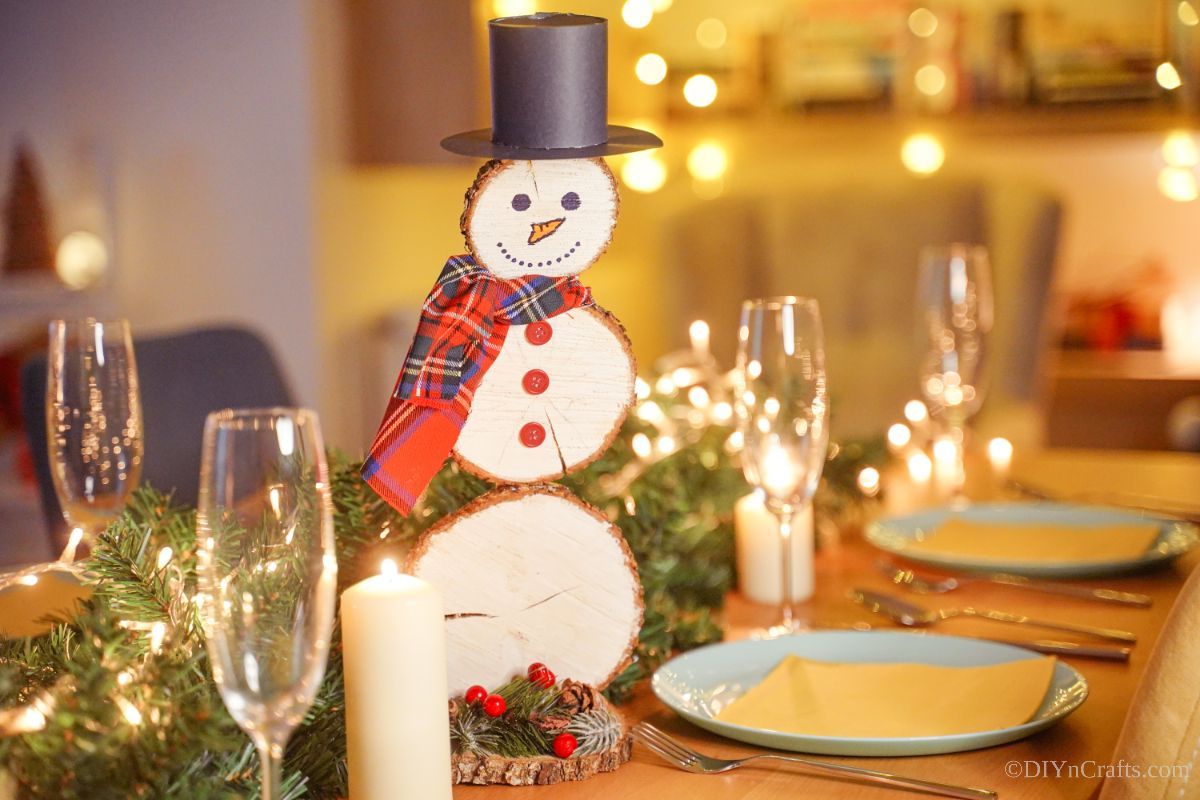
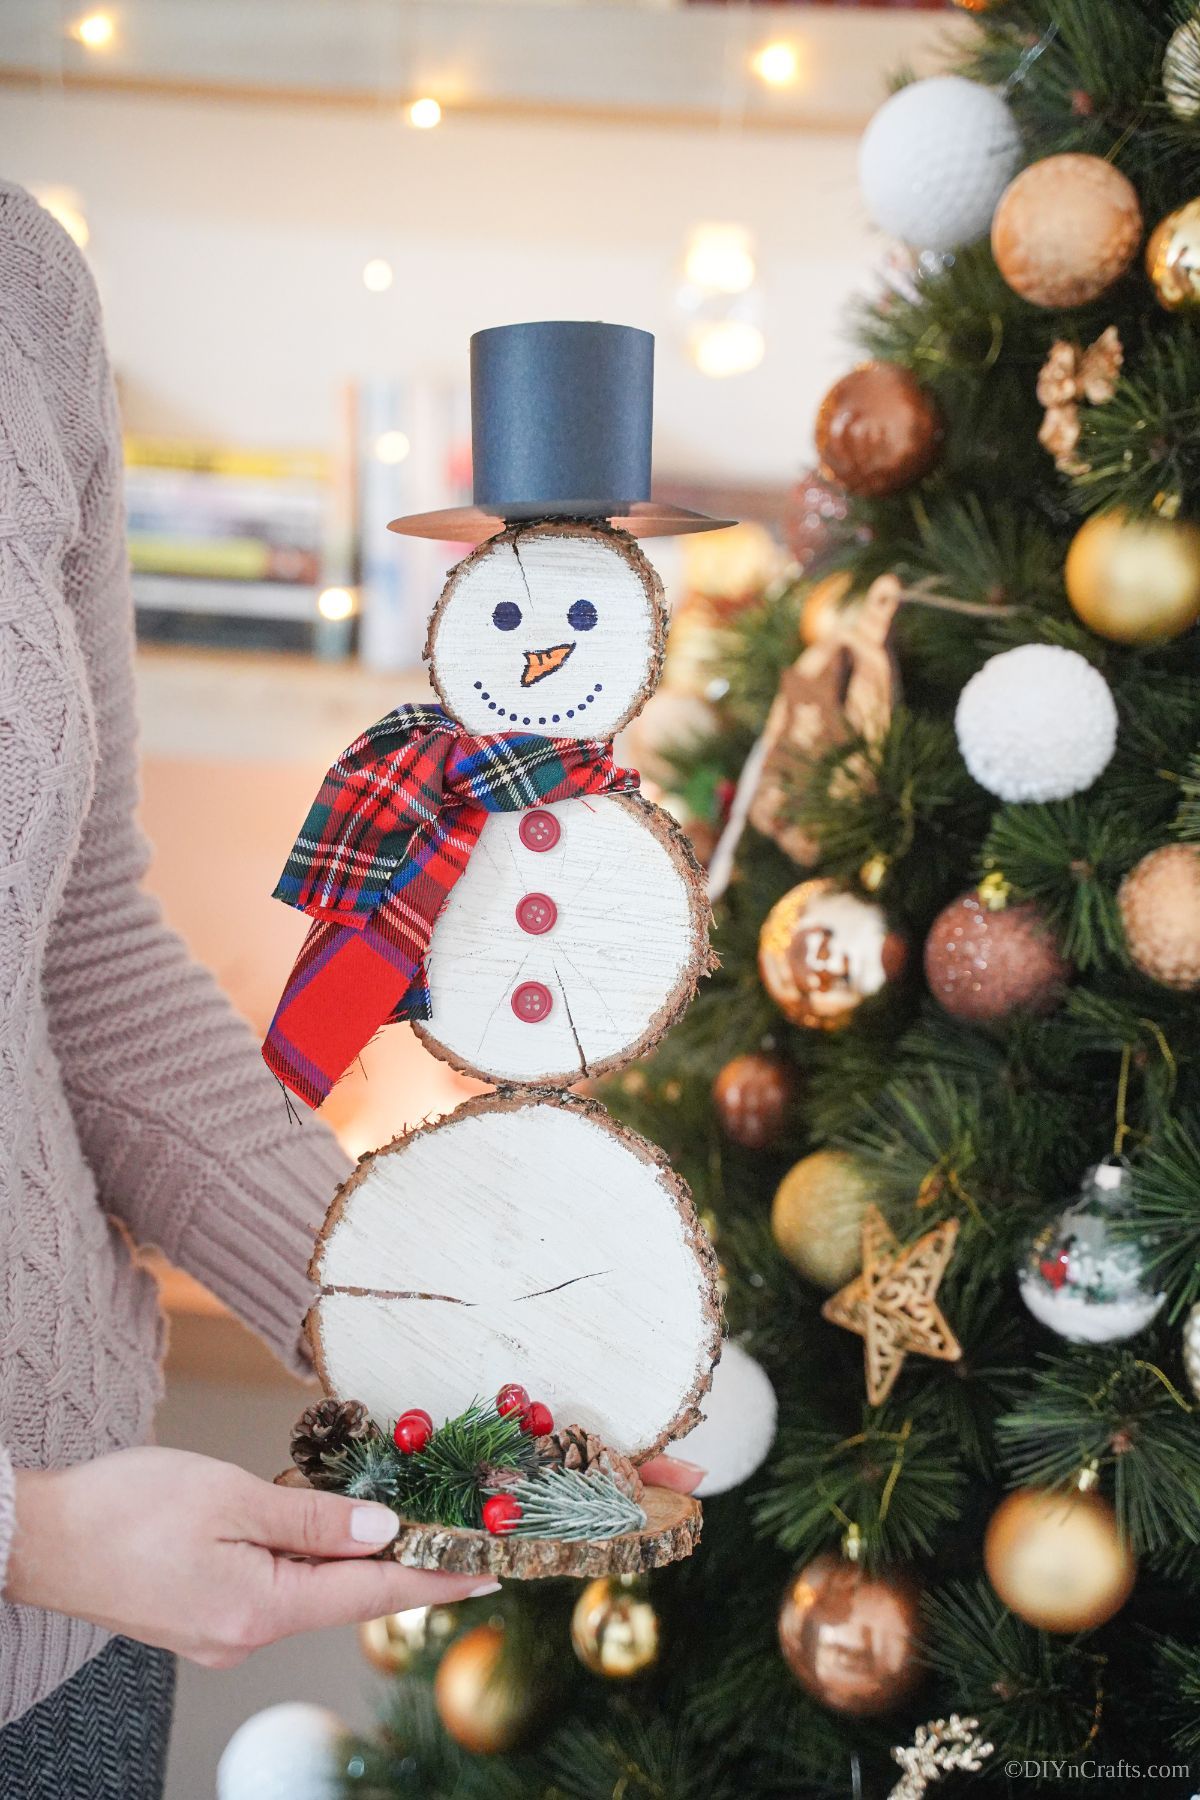
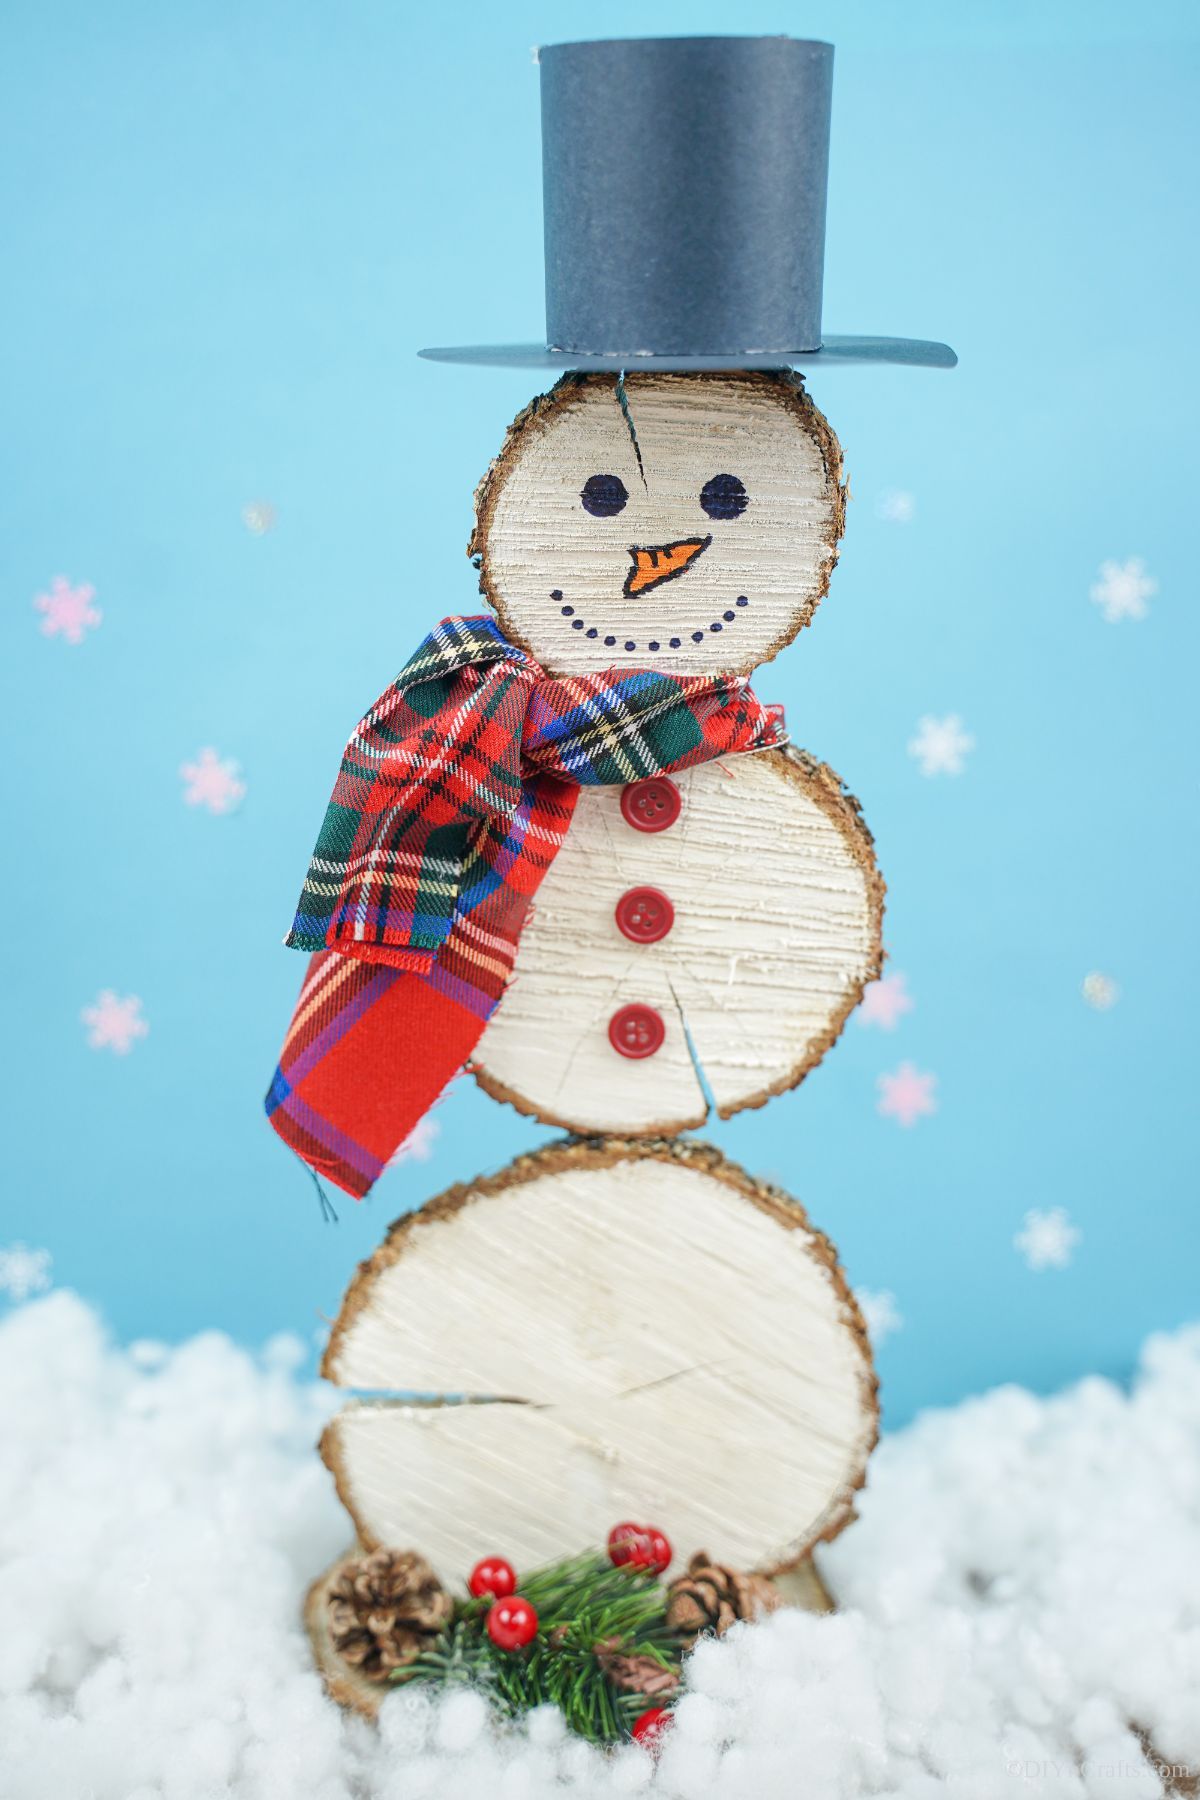
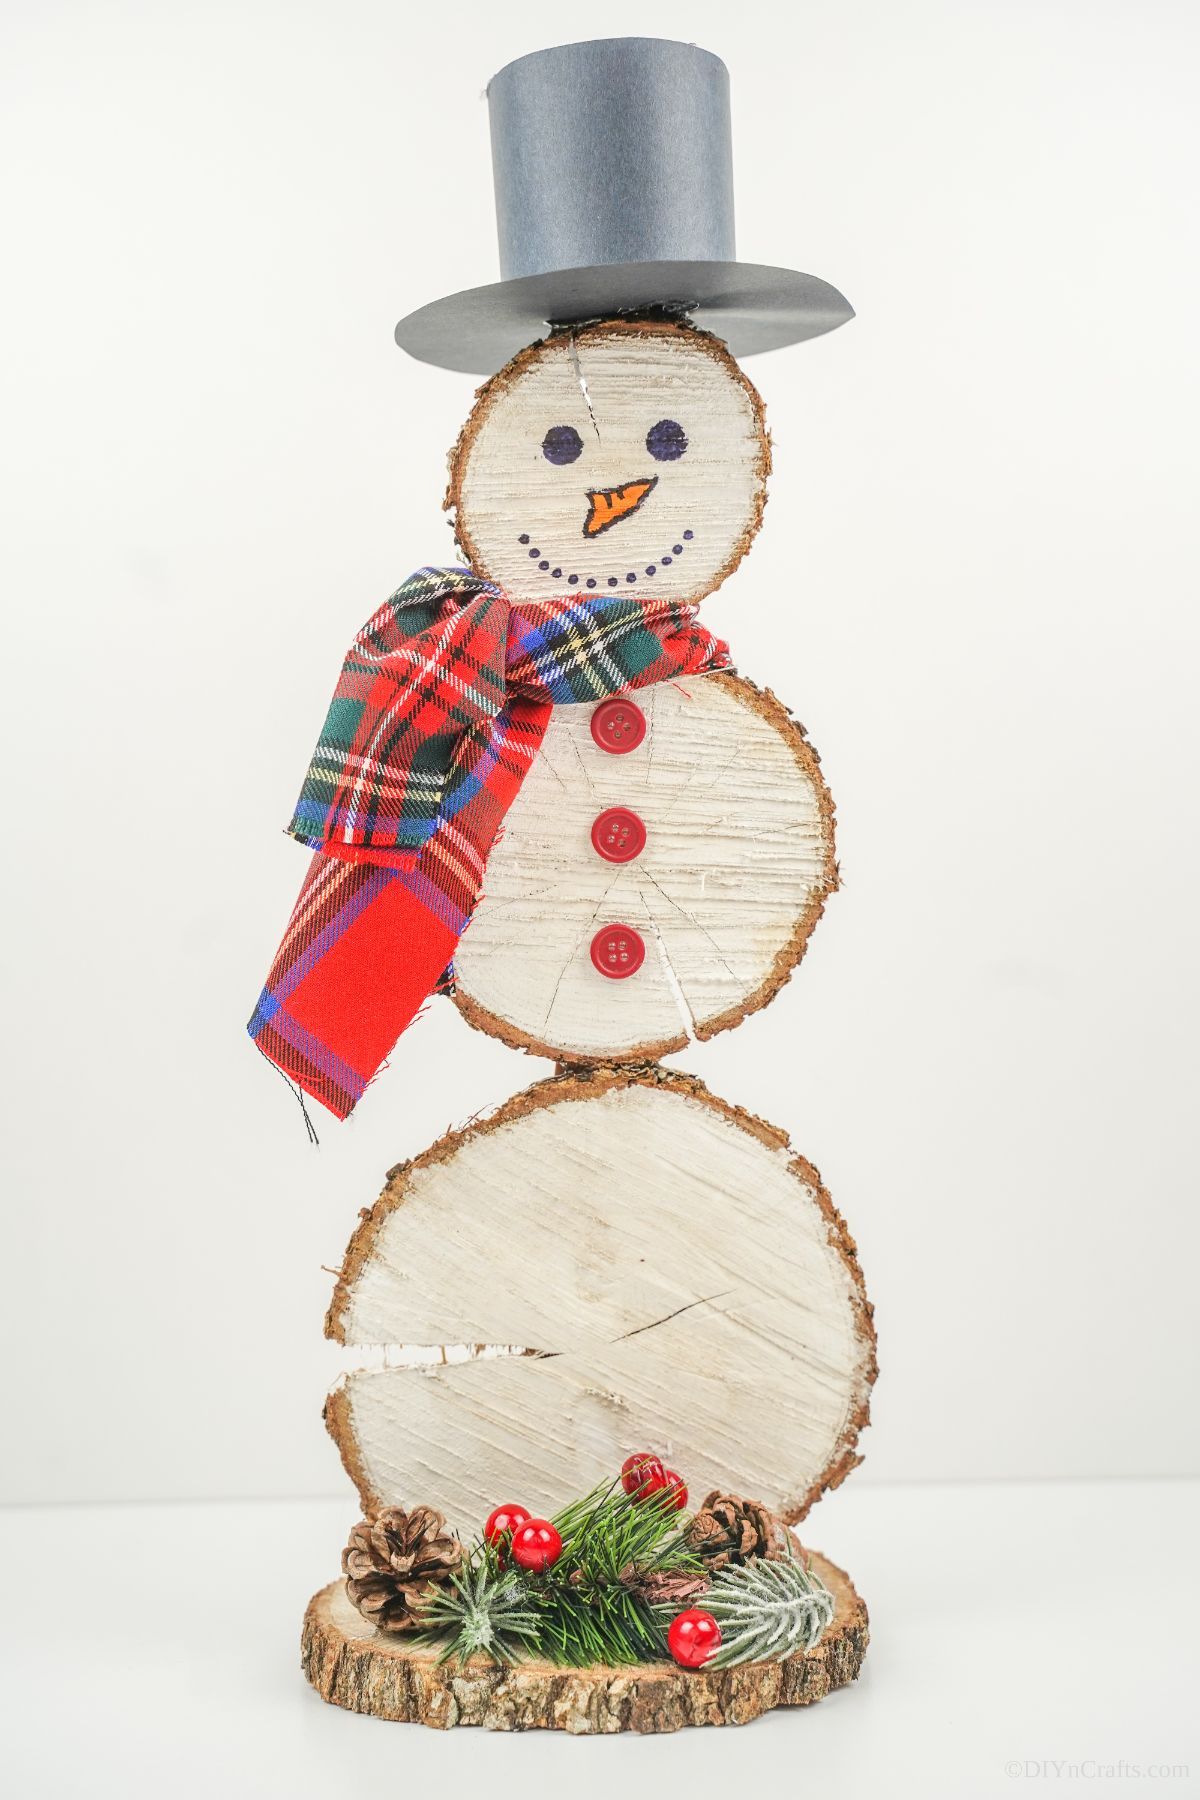
This wood slice snowman makes the perfect addition to your winter décor. He is a simple decoration made from rustic sliced wood that brings the outside indoors in a fun and unique way. You can enjoy this decoration year after year and customize it for winter or Christmas. This is a perfect choice for adding to your mantle or displaying on your front porch as a unique and festive decoration.
Wood Slice Snowman
Make your Christmas decorations extra special this year with this rustic snowman decoration! This unique craft is perfect for anyone who like to use natural materials in their crafts as it uses repurposed wood slices from tree trimming. It's easy to make and will look adorable as part of your holiday decor.
If you are as big a fan of snowmen as I am, then this is sure to be a favorite addition to your decor. I also love this fun tin can snowman and even this unique little smaller rustic snowman decoration. They are both adorable and super easy to make!
What Can I Use for the Snowman Hat?
Get creative when making your snowman. I grabbed the construction paper since it was handy already, but that doesn't mean you have to do the same thing. You can use anything you already have on hand or get creative with unique craft supplies. Below are a few ideas that work great for this project.
- Painted or paper-coated toilet paper roll on top of a cardboard circle.
- A small child's hat or even a miniature doll hat.
- Cardstock or cardboard cut and shaped into a hat shape.
- Felt or fabric is sewn or glued into a hat shape then stiffened with Mod Podge or spray starch.
These are just a few of the ideas that come to mind, but you could definitely create a hat using any number of items you already have on hand in your crafting supplies.
How Do I Get The Snowman To Stand Up?
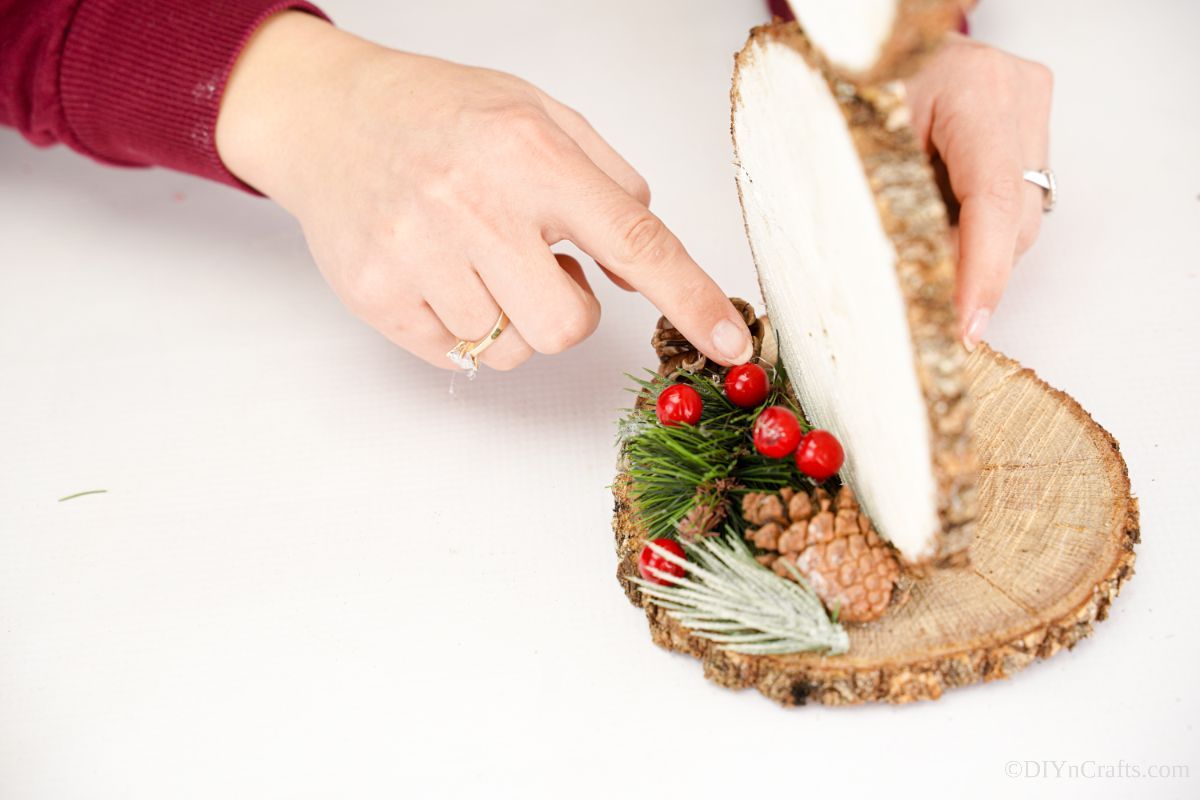
To make the wood slice snowman stand up, you are going to glue him to another wood slice. You want to slice the bottom section of the snowman so that the edge that will be the bottom is a flat edge. Once it is flat, you are going to glue that part to the snowman to the base. Glue it in the center so that the weight is distributed evenly. This will keep the snowman from falling over.
If your snowman is still a bit too top-heavy to stand upright, you can easily add a brace by gluing a stick at an angle on the backside to prop the snowman upright.
What Other Ways Can I Customize My Wood Slice Snowman?
When you are customizing the snowman you can add a lot of things to make it truly unique. Below are some fun ways to make your snowman look unique for your style.
- Add scrap fabric to or as the scarf. This can be felt, fabric, or even ribbons. I love the idea of a nice thick burlap ribbon being used as the scarf instead of a real scarf.
- If you knit or crochet, you can make a customized scarf and even match a bit around the brim of the hat to give it a unique seamless look.
- You can add decorations to the hat like a belt buckle, beads, ribbon, lace, or even some fake greenery and berries. It can even be sprayed with fake snow if you prefer.
- Decorate the bottom of the snowman by adding fake greenery and snow around the base so it looks like it is really outdoors.
- Swap out the scarf for a bow tie or regular tie for a masculine snowman, or add a pink bow on the side or on the hat if you want it to be feminine.
- Spray or sprinkle with glitter so it looks like it is sparkling in the light as real snow would.
- Paint the wood slices silver instead of white before assembling the snowman so it looks a bit more realistic.
No matter what you do to decorate your snowman, he or she is sure to be a great addition to your holiday decor this year.
Where Can I Display This?
There are so many places where you can display the wood slice snowman. Since it is a bit bigger than some of our projects, it can be a centerpiece to many displays.
One of the best options is to put it on the mantle so that it can be upfront so everyone can see it. You can also place the snowman as the center of a centerpiece on your dining table and surround it with fake snow or greenery.
Of course, this adorable snowman can stand on the shelf among your other Christmas decorations. It is a great bookend to a bookshelf, or can just stand on the floor next to your tree or a side table in your home.
Another fun idea is to make them in different sizes and create a little snowman family to display on your mantle or outside on a porch railing or front porch. Since they are wood, depending on what you decorate them with, they can be safe outside, even in the snow. There are tons of ways to display this around the house, and even outside on the front porch. Just get creative!
Supplies Needed
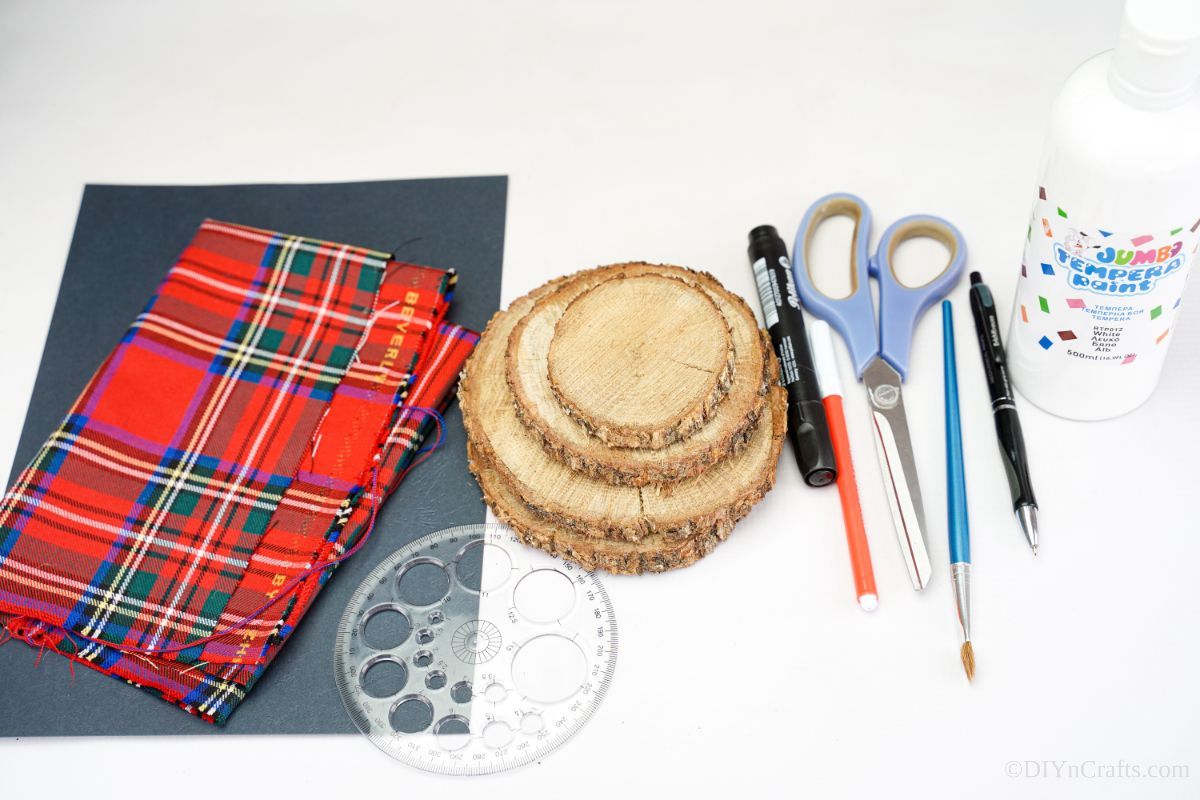
- Wood slices
- White paint
- Red buttons
- Plaid fabric
- Black marker
- Orange marker
- Mini pinecone
- Holiday greenery
- Paintbrush
- Scissors
- Hot glue gun
- Hot glue sticks
How to Make a Wood Slice Snowman
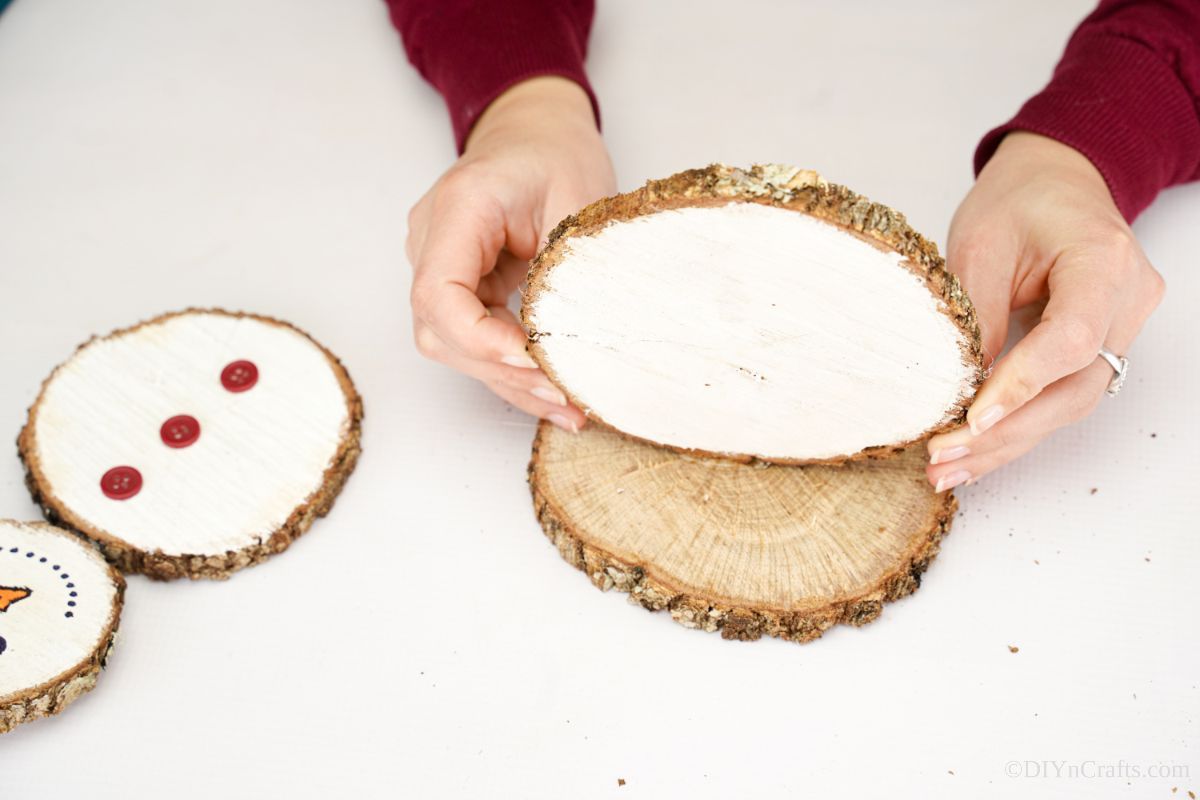
Choose three wood circles in graduating sizes: small, medium, and large. Paint the front side of each of these circles with white paint, then set aside to dry.
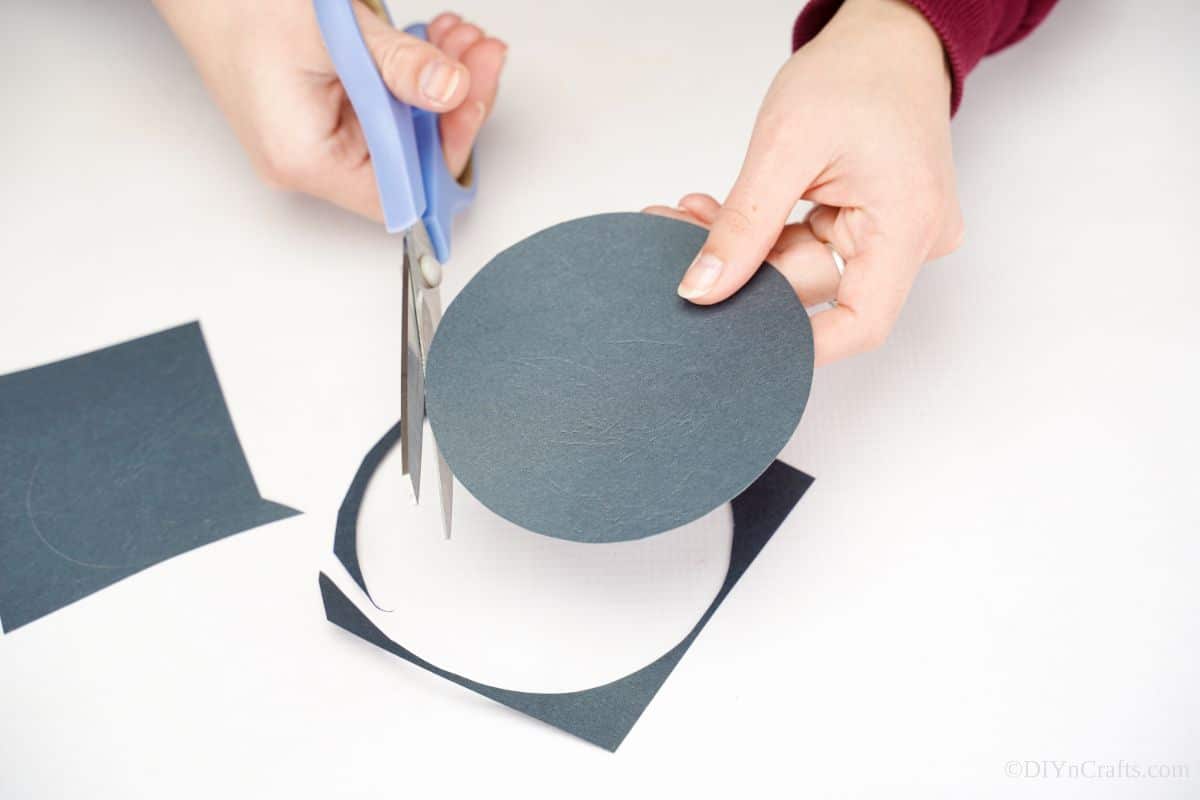
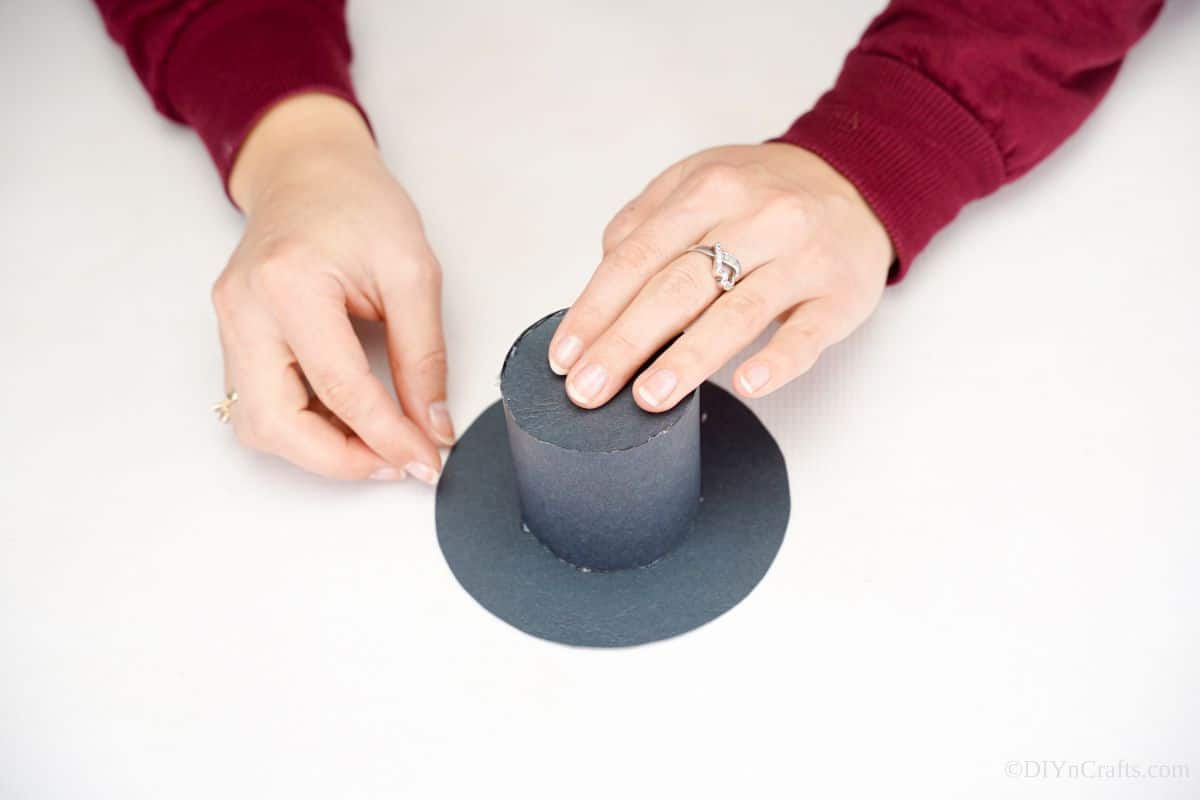
While the paint dries, use two round items in slightly different sizes, to trace and cut out two circles. These will be the top and bottom of your hat.
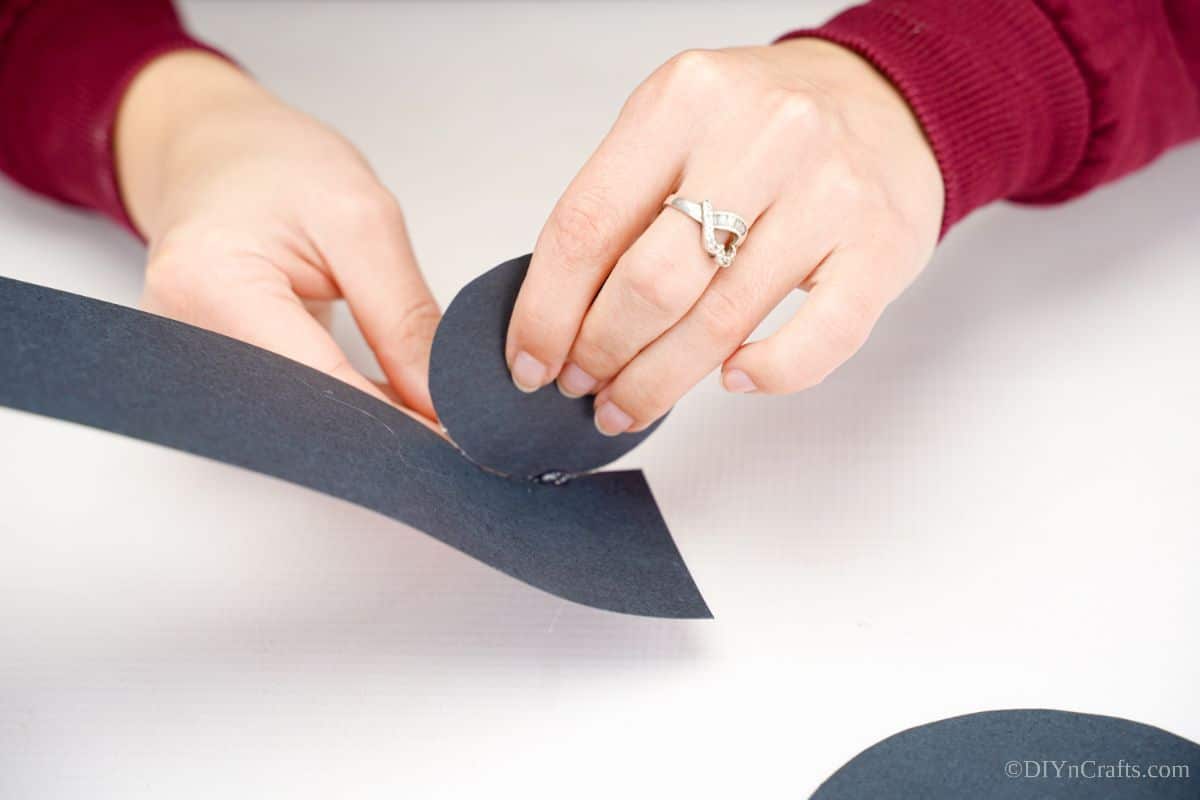
Cut out a strip of paper that is 3" wide and long enough to wrap around the smaller of the two black circles to create the middle of the hat.
Assemble the hat and attach it with glue then set it aside.
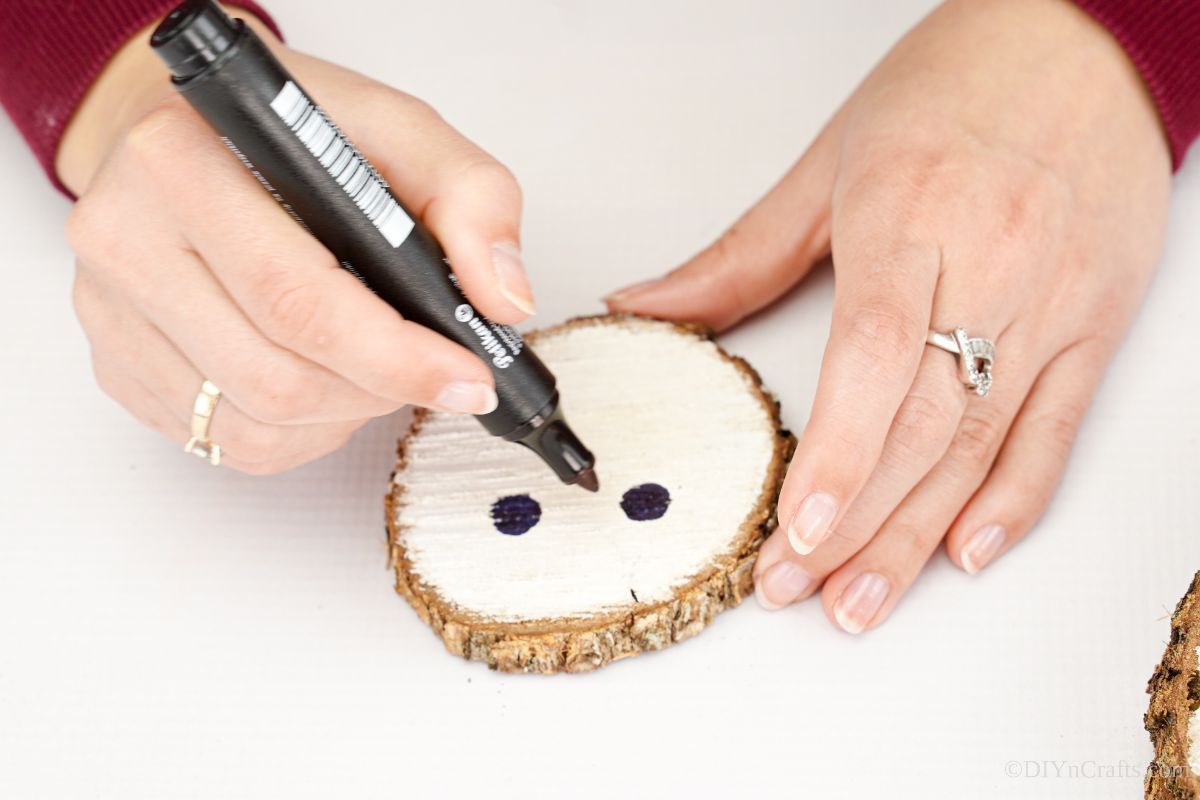
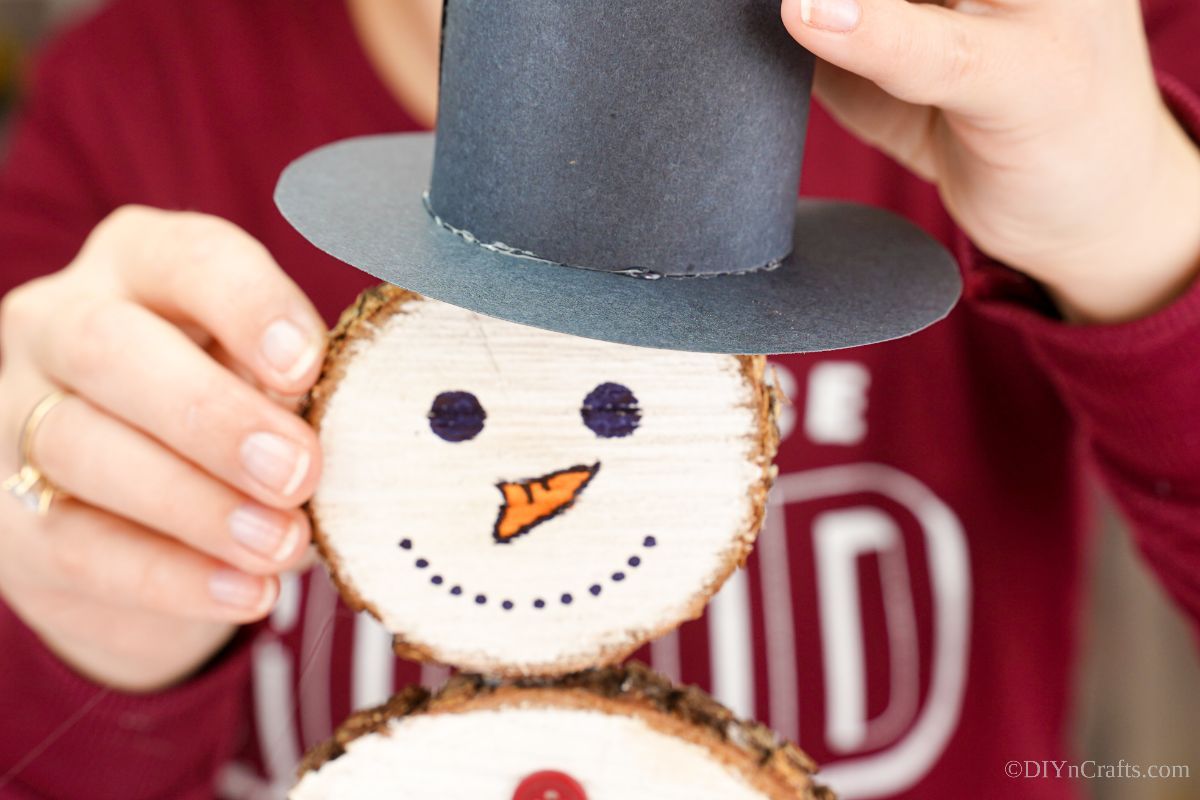
Once the paint has dried on the wood slices, draw two circles on the smallest slice and fill them in with a black marker or paint to create the snowman eyes. Then use the black marker to create a dotted line smile.
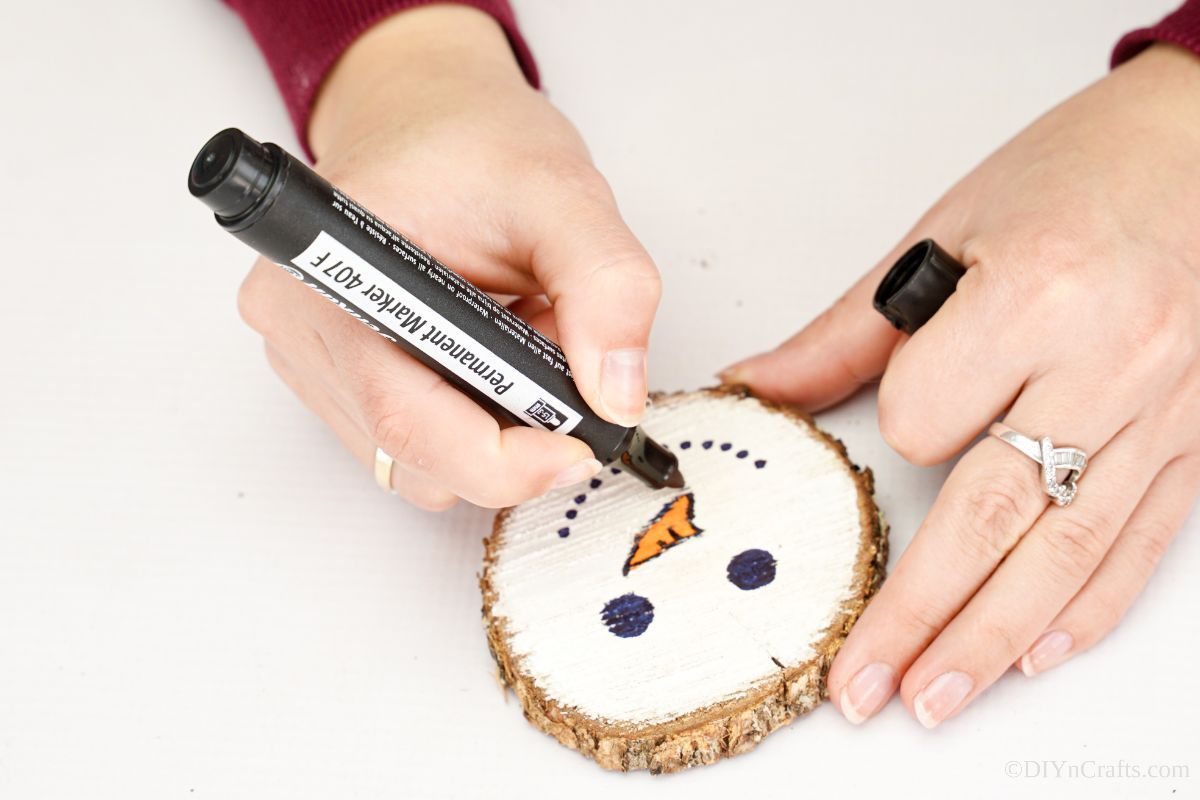
Use an orange marker to create a carrot-shaped nose, then outline that nose with a black marker.
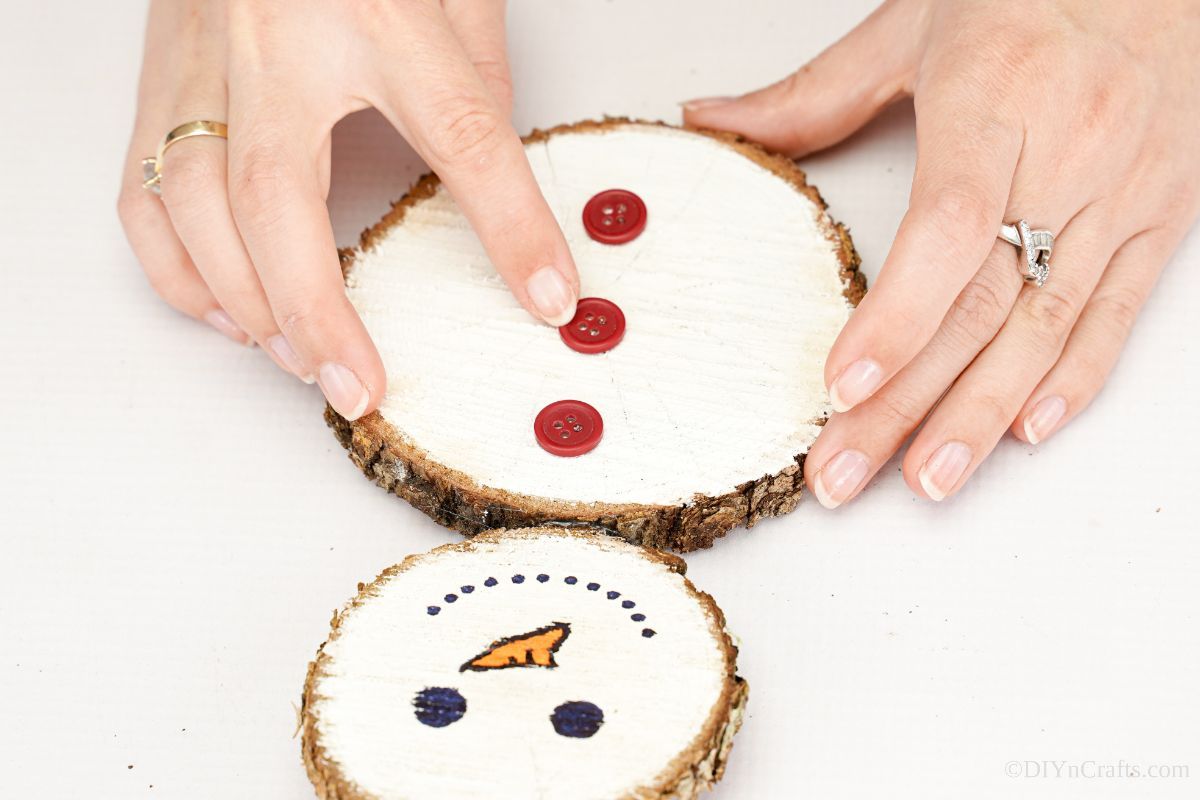
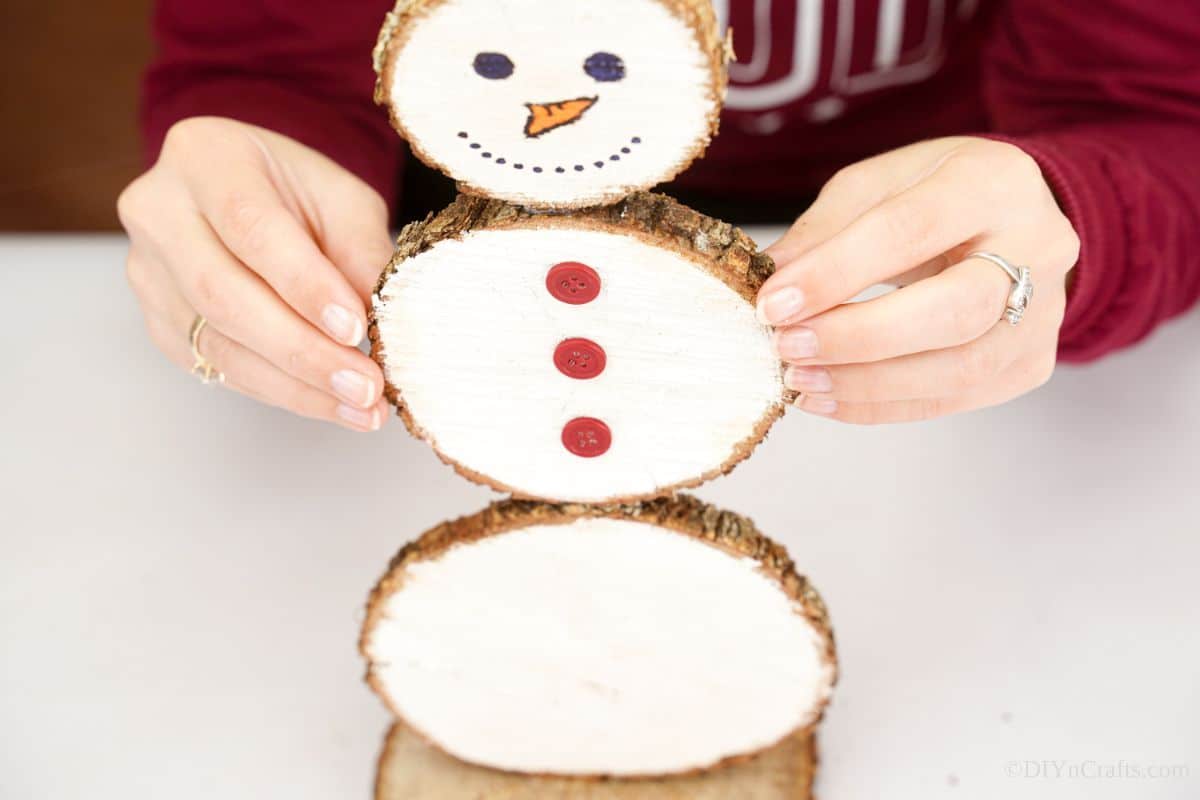
Hot glue the small wood slice onto the medium wood slice and hold to secure.
Then, glue three buttons onto the medium wood slice along the middle.
Lay a 4th wood slice on a flat surface, then glue the largest of the wood slices upright to create the bottom of the snowman.
Attach the medium wood slice with a smaller face slice on top of that standing upright.
Cut a slice in the base of the paper hat, then attach it to the head, at an angle, with hot glue.
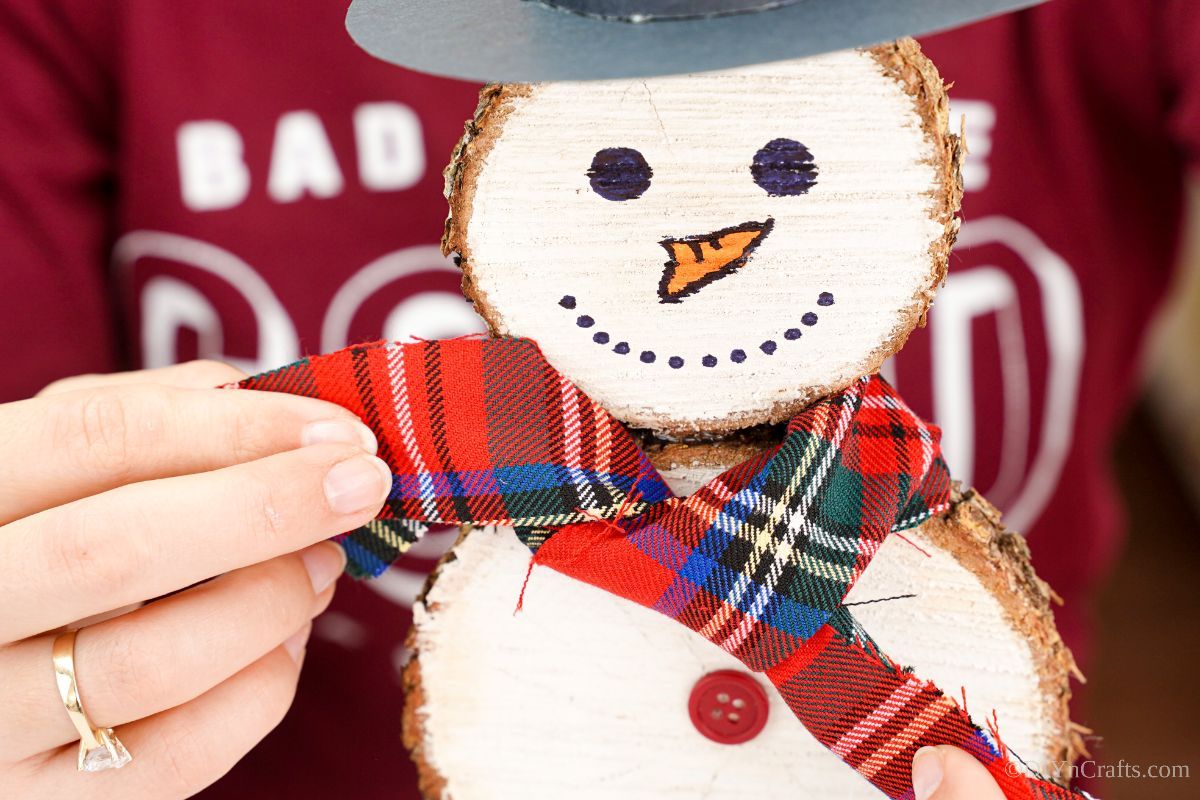
Wrap a bit of scrap fabric around the middle of the neck on the snowman and tie or drape as a scarf.
Finally, decorate the bottom of the snowman, on the base, with some pinecones, berries, fake greenery, or fake snow as desired.
Now you can place your snowman on a mantle, shelf, table, or front porch.
More Snowman Crafts
The snowman is one of the most iconic wintertime characters, and that means I have tons of ideas here to share with you for creating your own unique snowmen to add all-around your home this holiday season. Below are a few of my favorites for you to check out and create this year. Make sure that you bookmark these ideas, pin them to Pinterest, or print out the tutorials to use soon!
- Adorable Rope Snowman Christmas Decoration
- DIY Flowerpot Snowman Winter Porch Decor
- 35+ DIY Snowman Crafts Perfect for Winter
- Adorable Craft Stick Snowman Photo Ornament
- Upcycled Ping Pong Ball Snowman Christmas Decor

DIY Wood Slice Snowman Winter Decoration
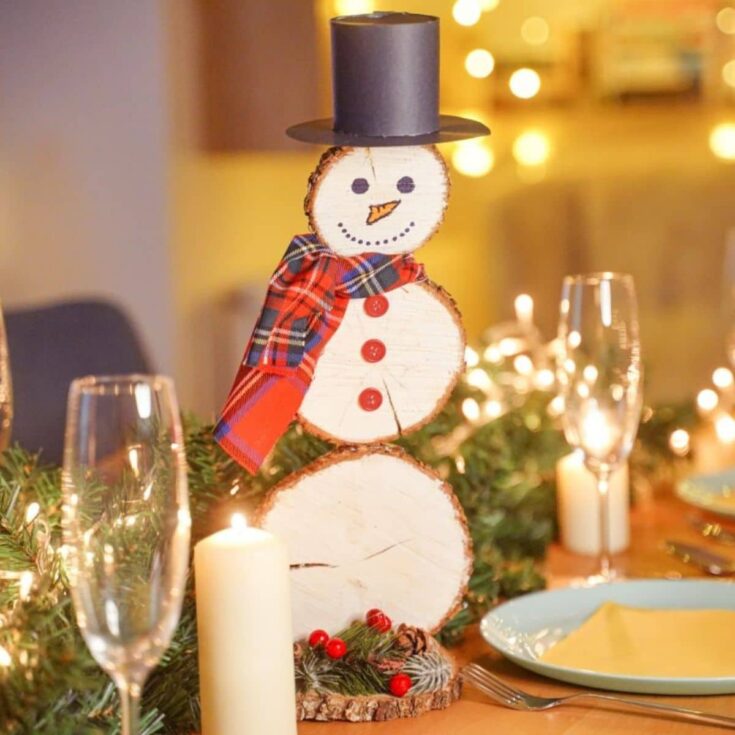
This wood slice snowman is a perfect winter decoration that is festive, easy to make, and rustic!
Materials
Instructions
- Choose three wood circles in graduating sizes: small, medium, and large. Paint the front side of each of these circles with white paint, then set aside to dry.
- While the paint dries, use two round items in slightly different sizes, to trace and cut out two circles. These will be the top and bottom of your hat.
- Cut out a strip of paper that is 3" wide and long enough to wrap around the smaller of the two black circles to create the middle of the hat.
- Assemble the hat and attach it with glue then set it aside.
- Once the paint has dried on the wood slices, draw two circles on the smallest slice and fill them in with a black marker or paint to create the snowman eyes. Then use the black marker to create a dotted line smile.
- Use an orange marker to create a carrot-shaped nose, then outline that nose with a black marker.
- Hot glue the small wood slice onto the medium wood slice and hold to secure.
- Then, glue three buttons onto the medium wood slice along the middle.
- Lay a 4th wood slice on a flat surface, then glue the largest of the wood slices upright to create the bottom of the snowman.
- Attach the medium wood slice with a smaller face slice on top of that standing upright.
- Cut a slice in the base of the paper hat, then attach it to the head, at an angle, with hot glue.
- Wrap a bit of scrap fabric around the middle of the neck on the snowman and tie or drape as a scarf.
- Finally, decorate the bottom of the snowman, on the base, with some pinecones, berries, fake greenery, or fake snow as desired.
- Now you can place your snowman on a mantle, shelf, table, or front porch.
Notes
Paint both sides of the wood slices to make this look more realistic no matter where you display the snowman.
Recommended Products
As an Amazon Associate and member of other affiliate programs, I earn from qualifying purchases.
-
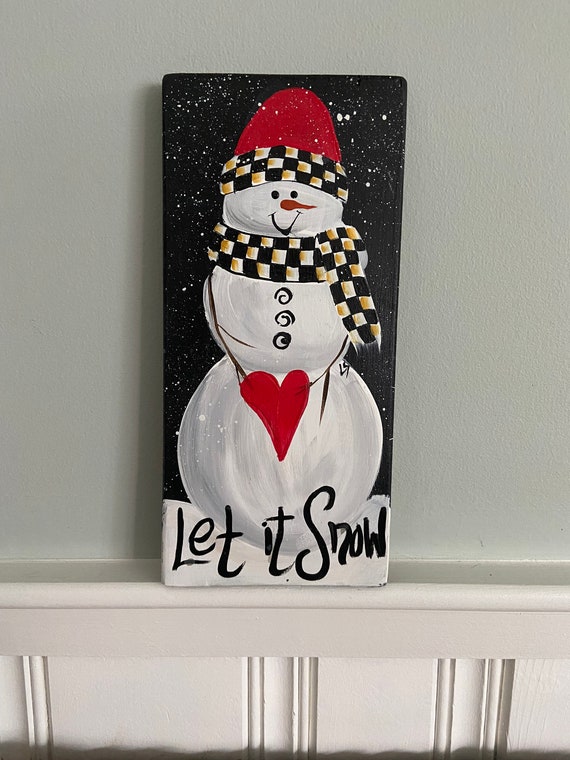 Hand Painted Wood Snowman Sign Painted Wood Decor Painted | Etsy
 -
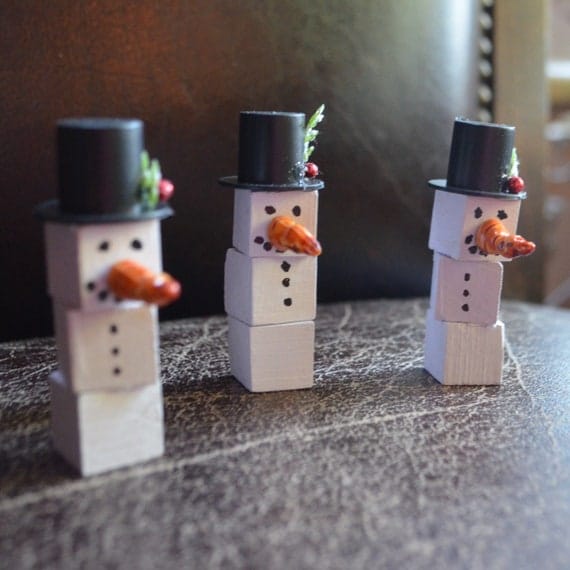 Miniature Wood Snowmen | Etsy
 -
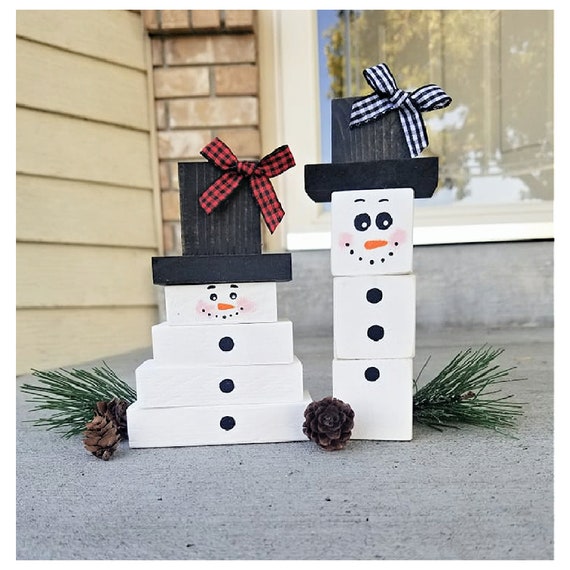 Small Wood Snowman Christmas Shelf Decorations Tier Tray | Etsy
 -
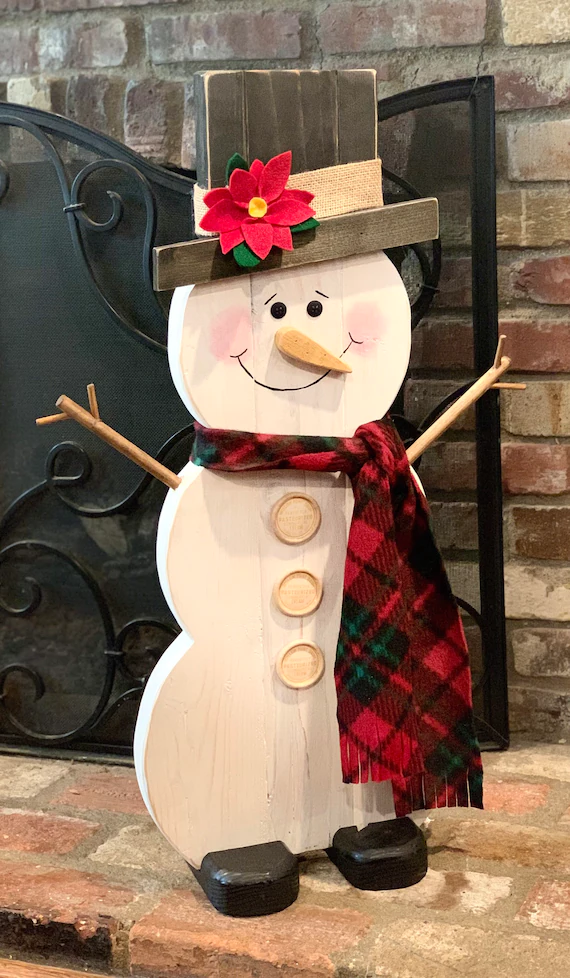 Rustic Tall Classic Wood Snowman | Etsy
 -
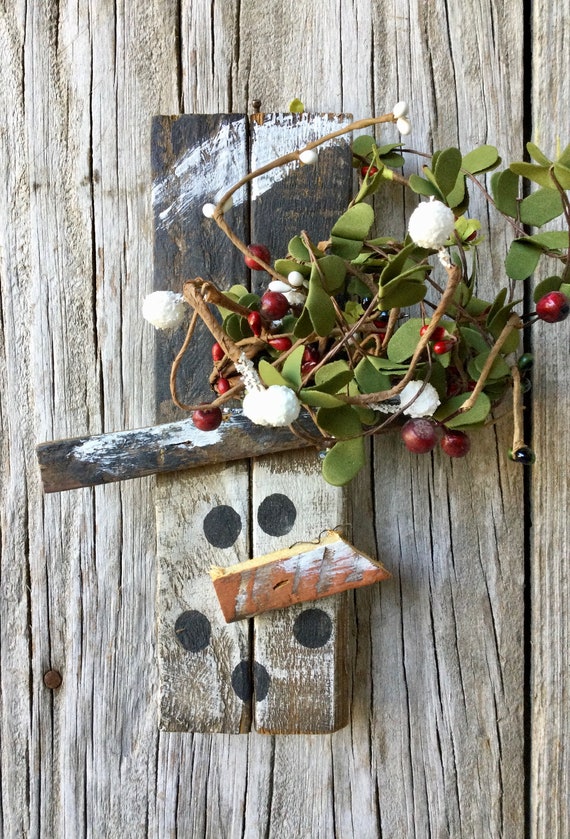 Primitive Snowman With Winter Berries Winter Decor Snowman | Etsy
 -
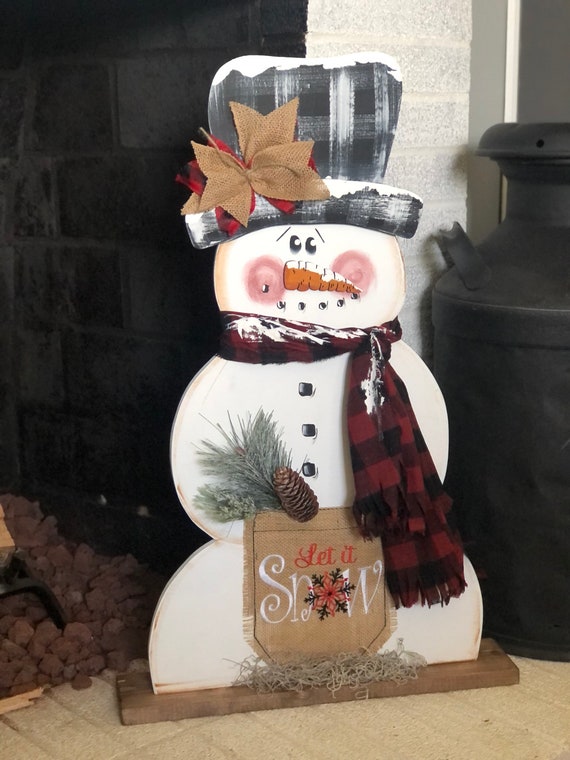 Winter Snowman Porch Decor Sitting Snowman Wooden Winter Porch | Etsy
Finished Project Gallery
Use this idea to repurpose sliced wood pieces from other crafting adventures.





Leave a Reply