Looking for a fun and easy Christmas craft? A paper Christmas lantern is an inexpensive, easy-to-make decoration that will add a festive touch to your home. They’re also great for kids because they can be made with minimal adult supervision. This is the perfect project for those who want to get into the holiday spirit but don’t have much time or money! Make one today and enjoy it all season long!
Paper Christmas Lantern
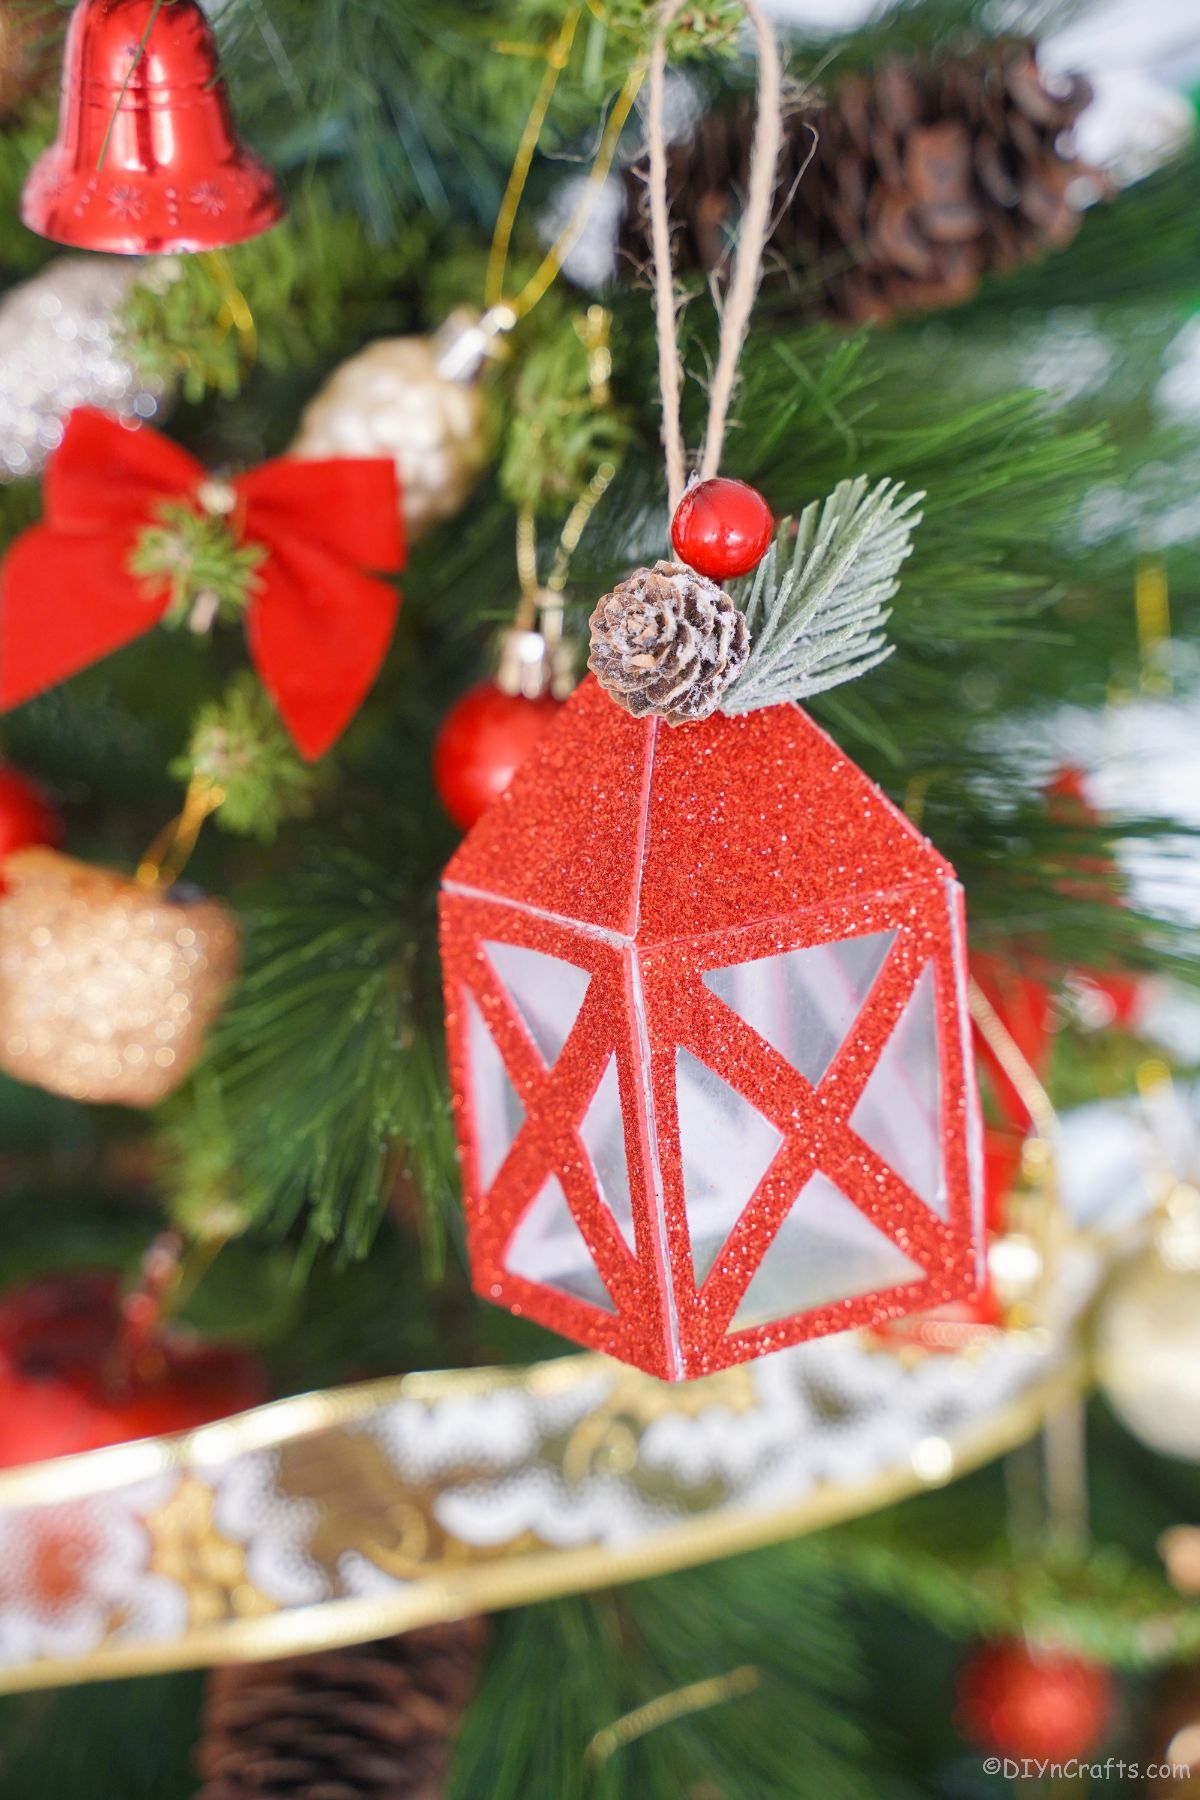
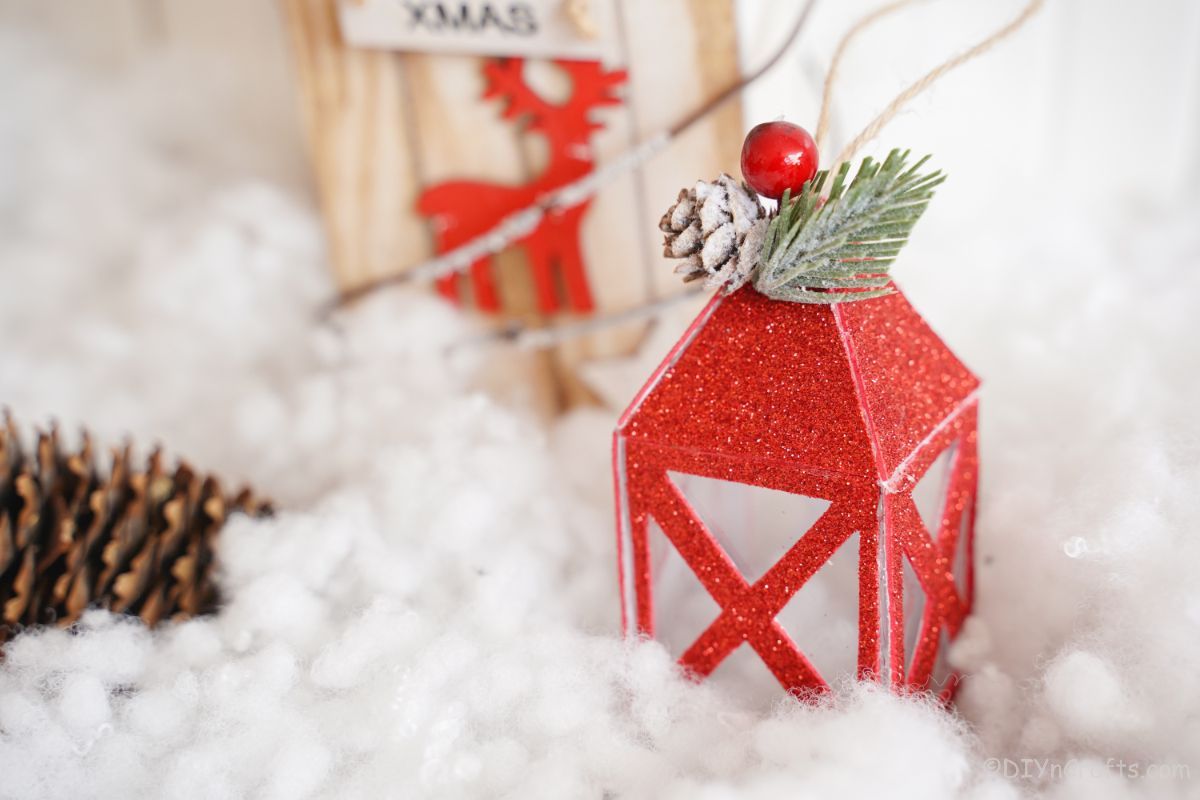
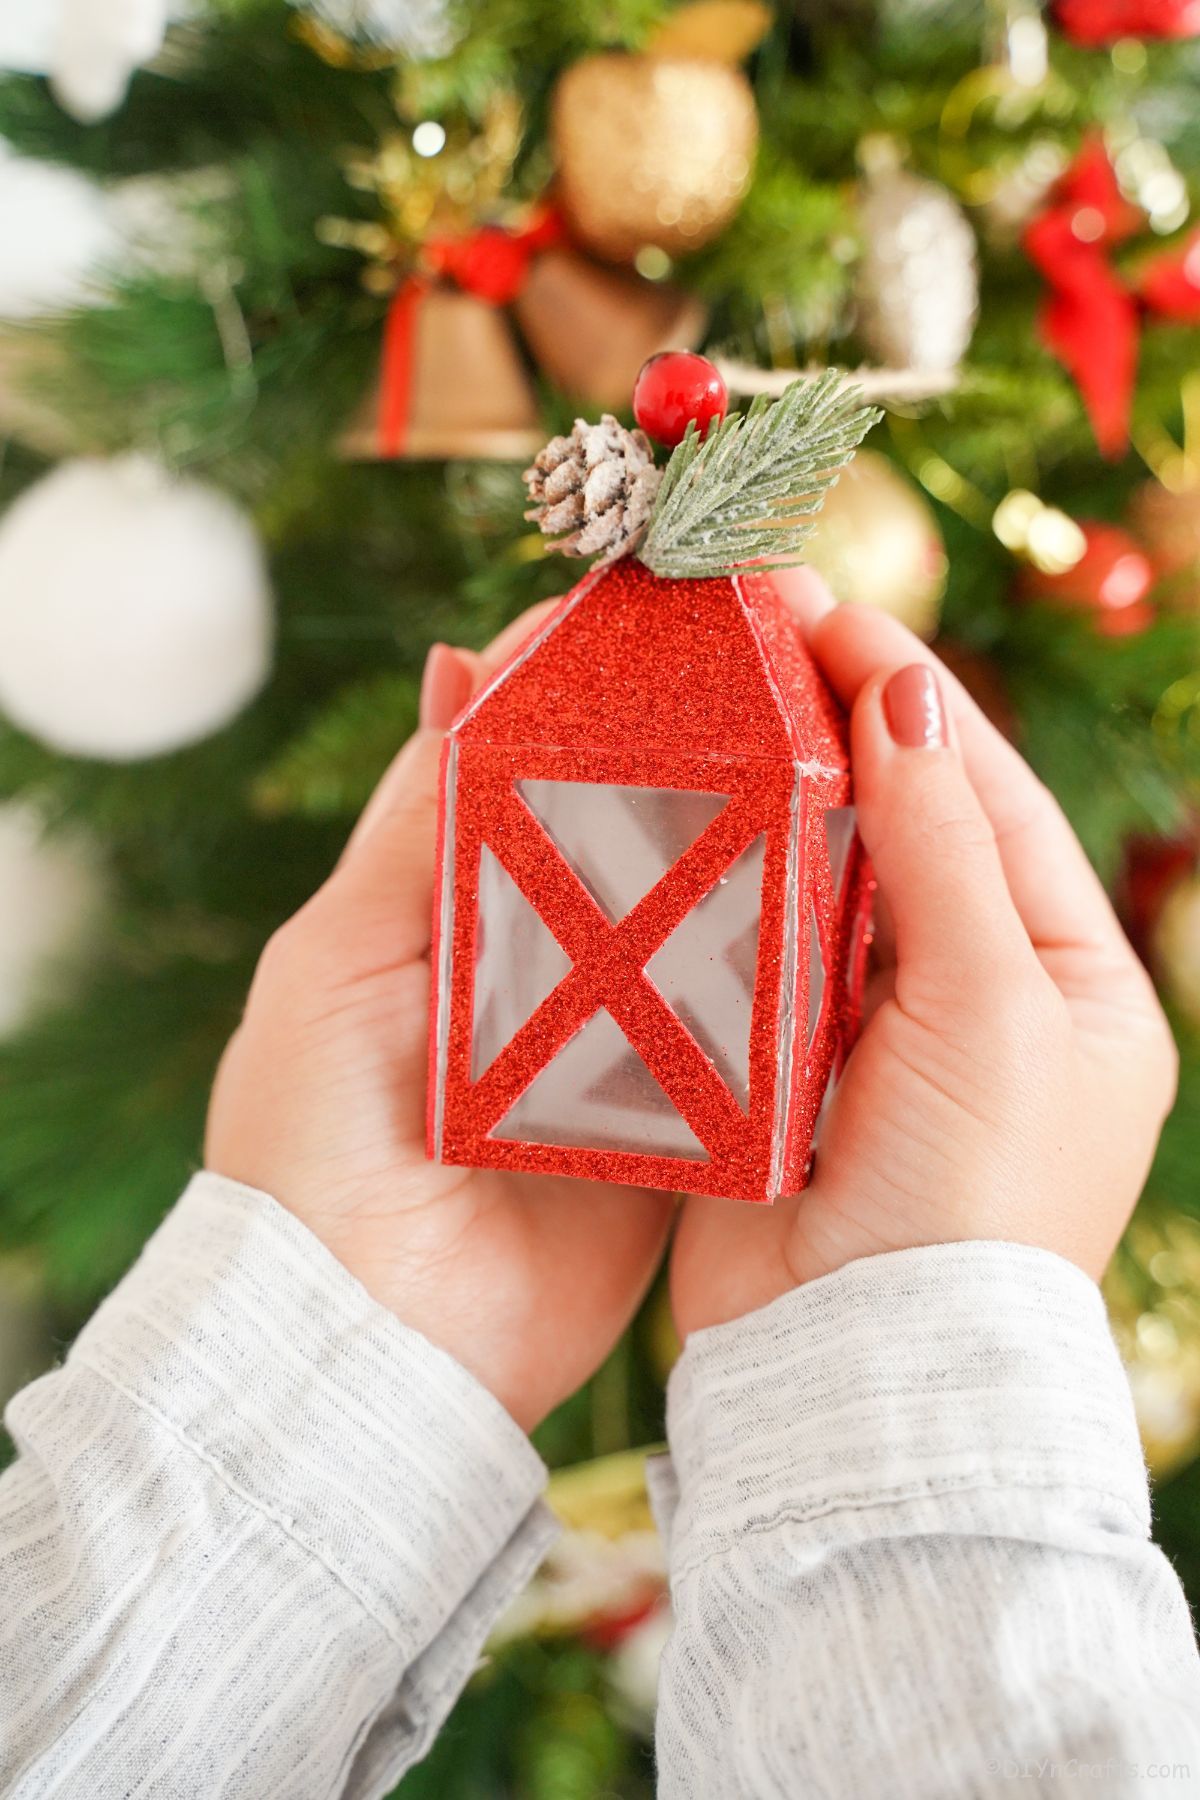
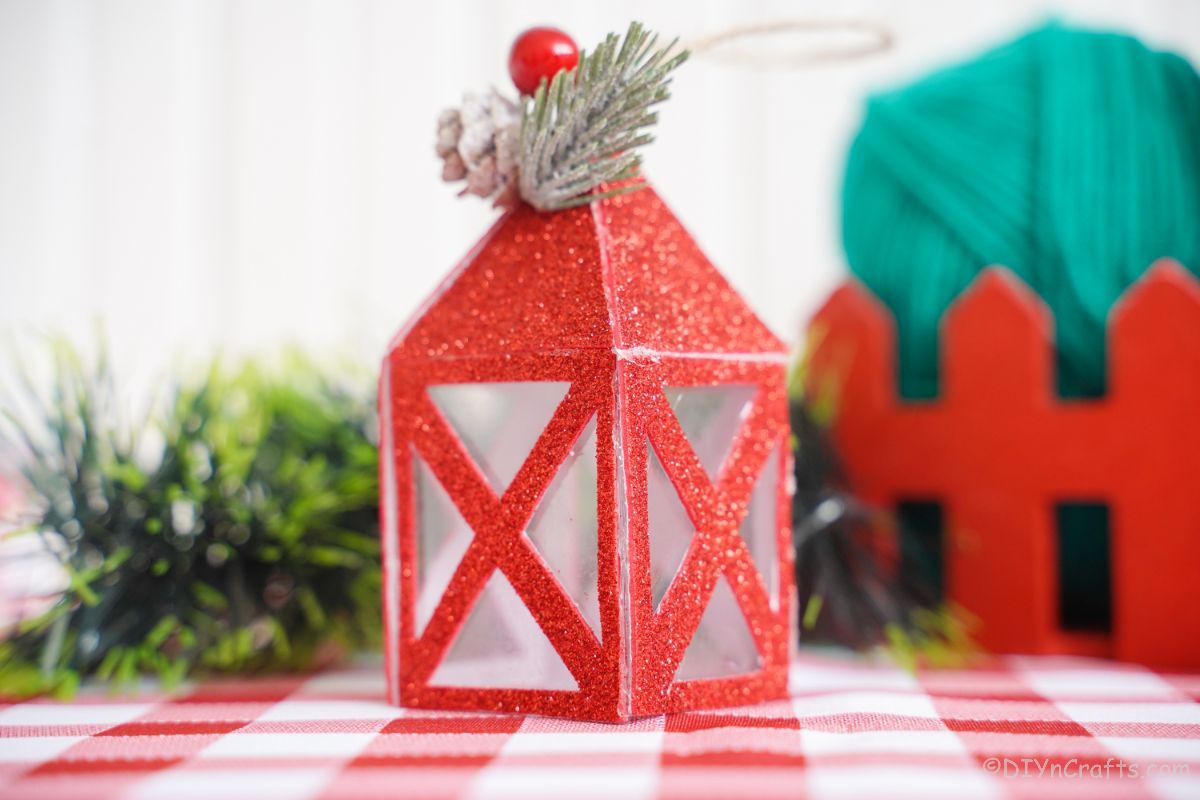
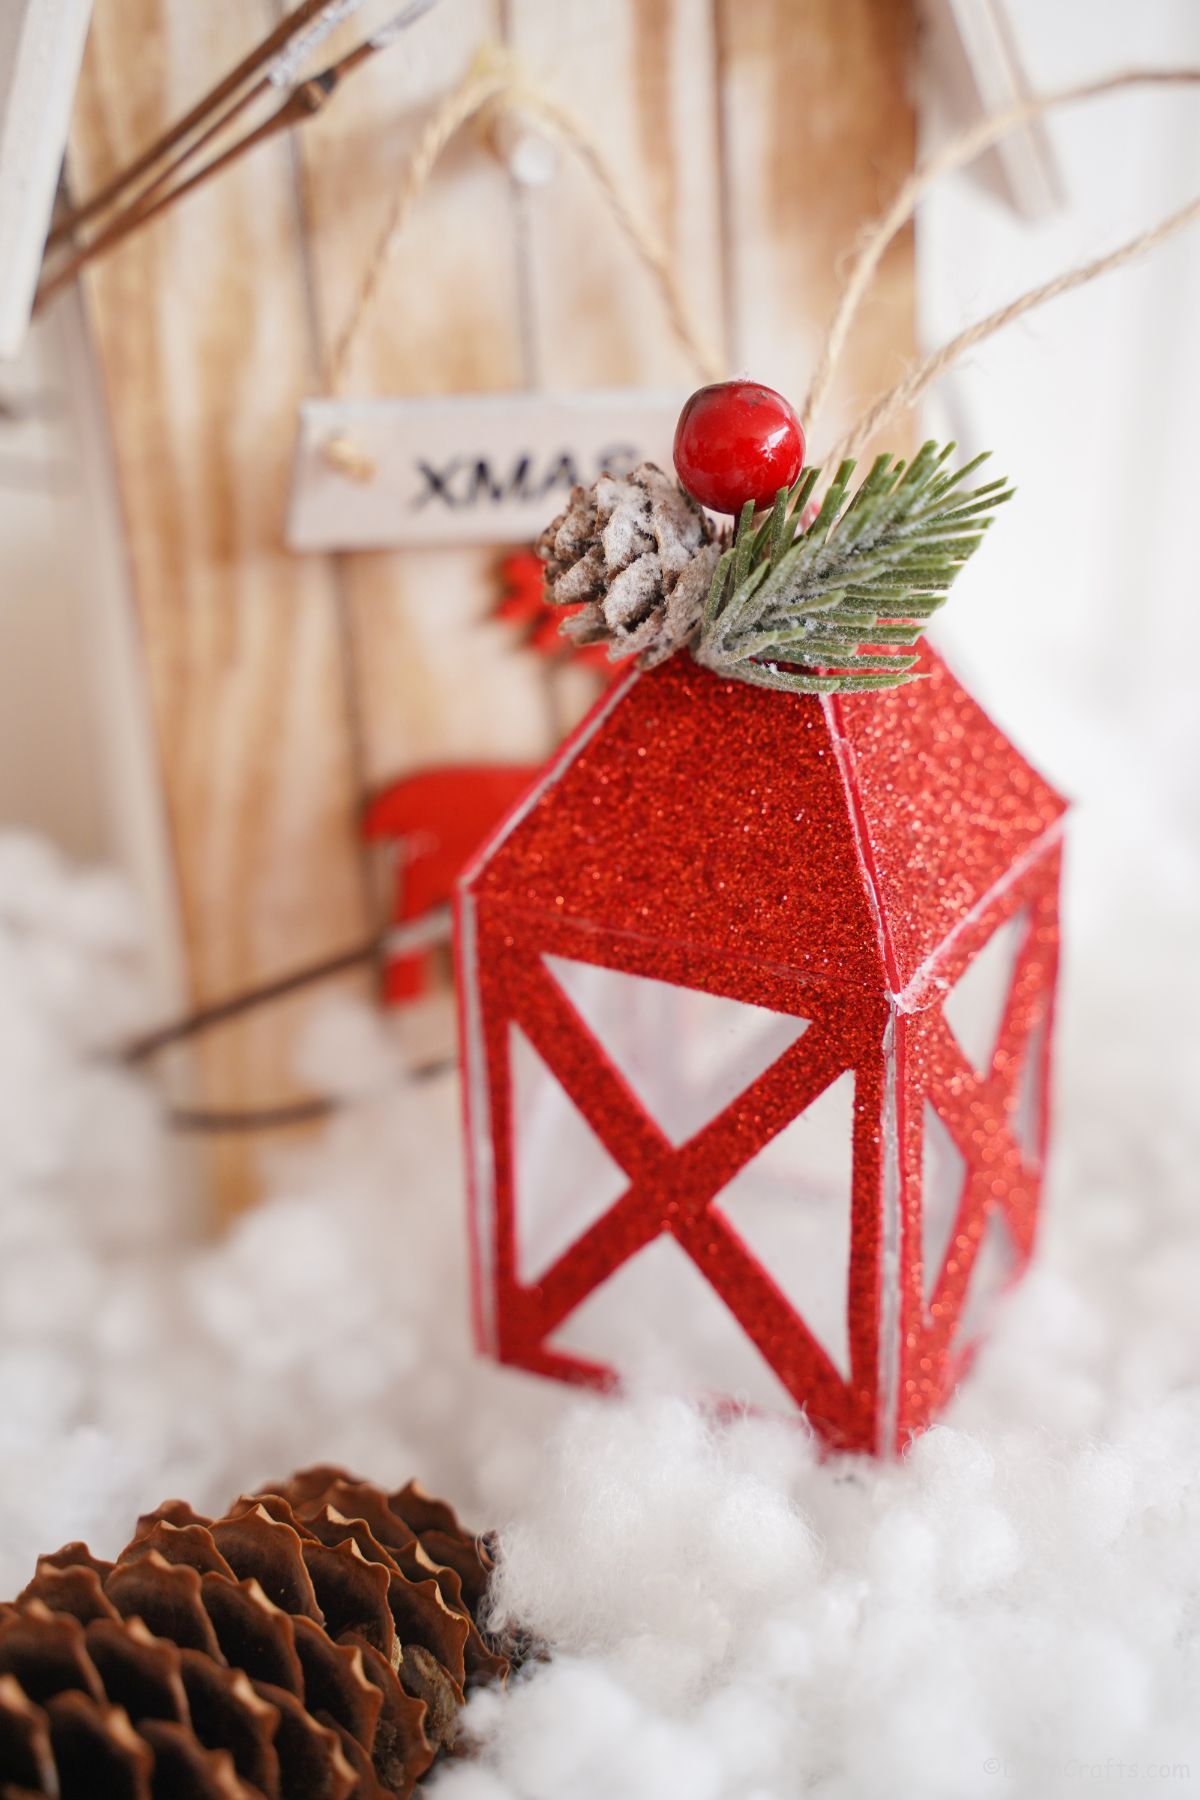
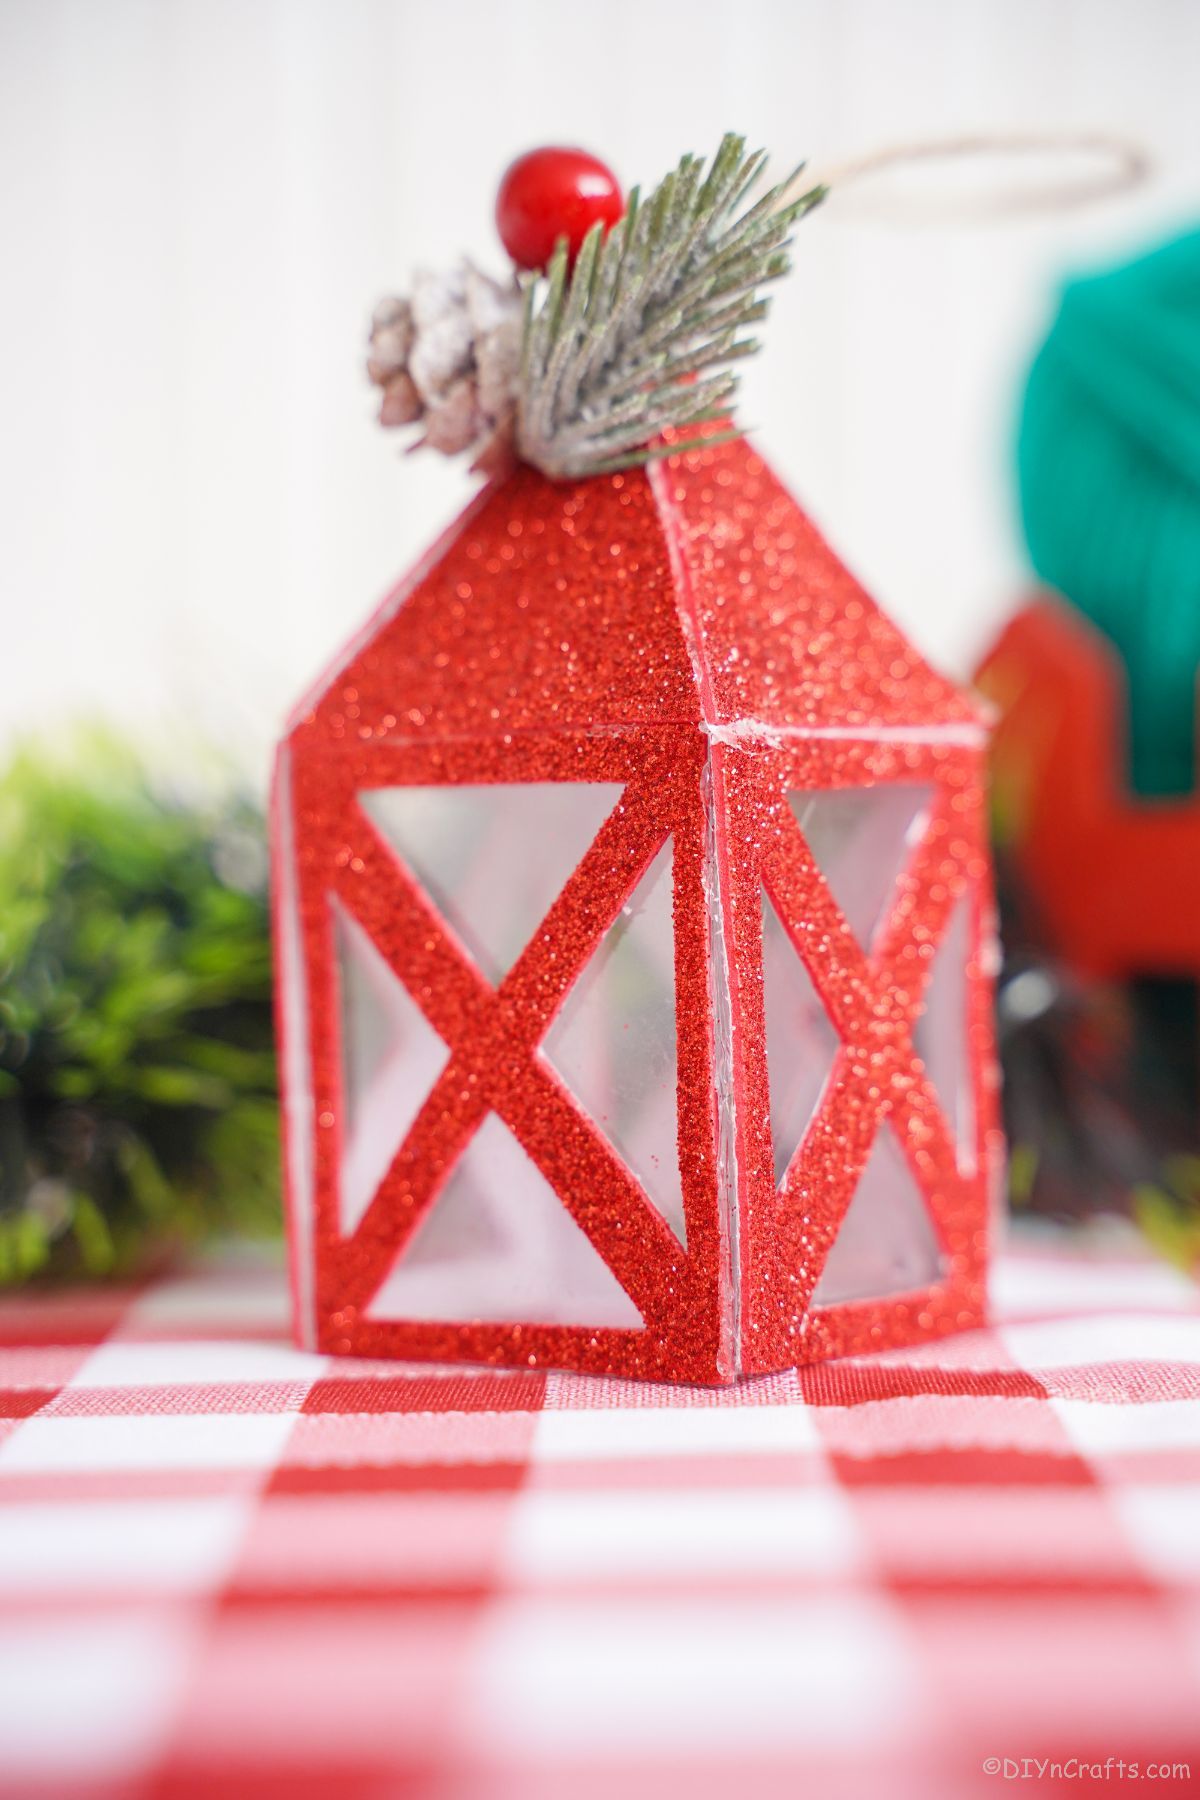
When it comes to making Christmas decorations, you want to include this paper Christmas lantern. I am making this lantern in a small ornament form, but you can make them larger for a decoration for your shelf or smaller if you want to place them around a miniature house or for a train village decoration.
Kids can make these lanterns and give them to friends and family to enjoy. If you have a kid who likes to play with figurines, these lanterns can be used as part of their pretend play as their figures are spread out in their own "village" or play area.
If you want more ideas for the kids, the paper straw mini Christmas tree ornament is a perfect addition to your tree that's also fun to make. These paper Christmas tree ornaments are also excellent for them to assemble and look rustic and unique.
What is the Best Paper to Use for This?
You can use any type of sturdy paper. I like to use things like cardstock, foam paper, or poster board. Another idea is to use cardboard that you paint so that it has the decorative look to it.
Stiffened felt paper is another option. This is the felt that is a combination of thick cardstock with decorative or glittery felt on the other side. Any type of paper will work as long as it is stiff enough to hold its shape as it is held up so that the wall doesn't fall over.
Of course, if you don't mind it being just a bit flimsy, you can make this with scrapbook paper or construction paper too. It's just not as nice and formal looking.
What Candle Can I Use In This?
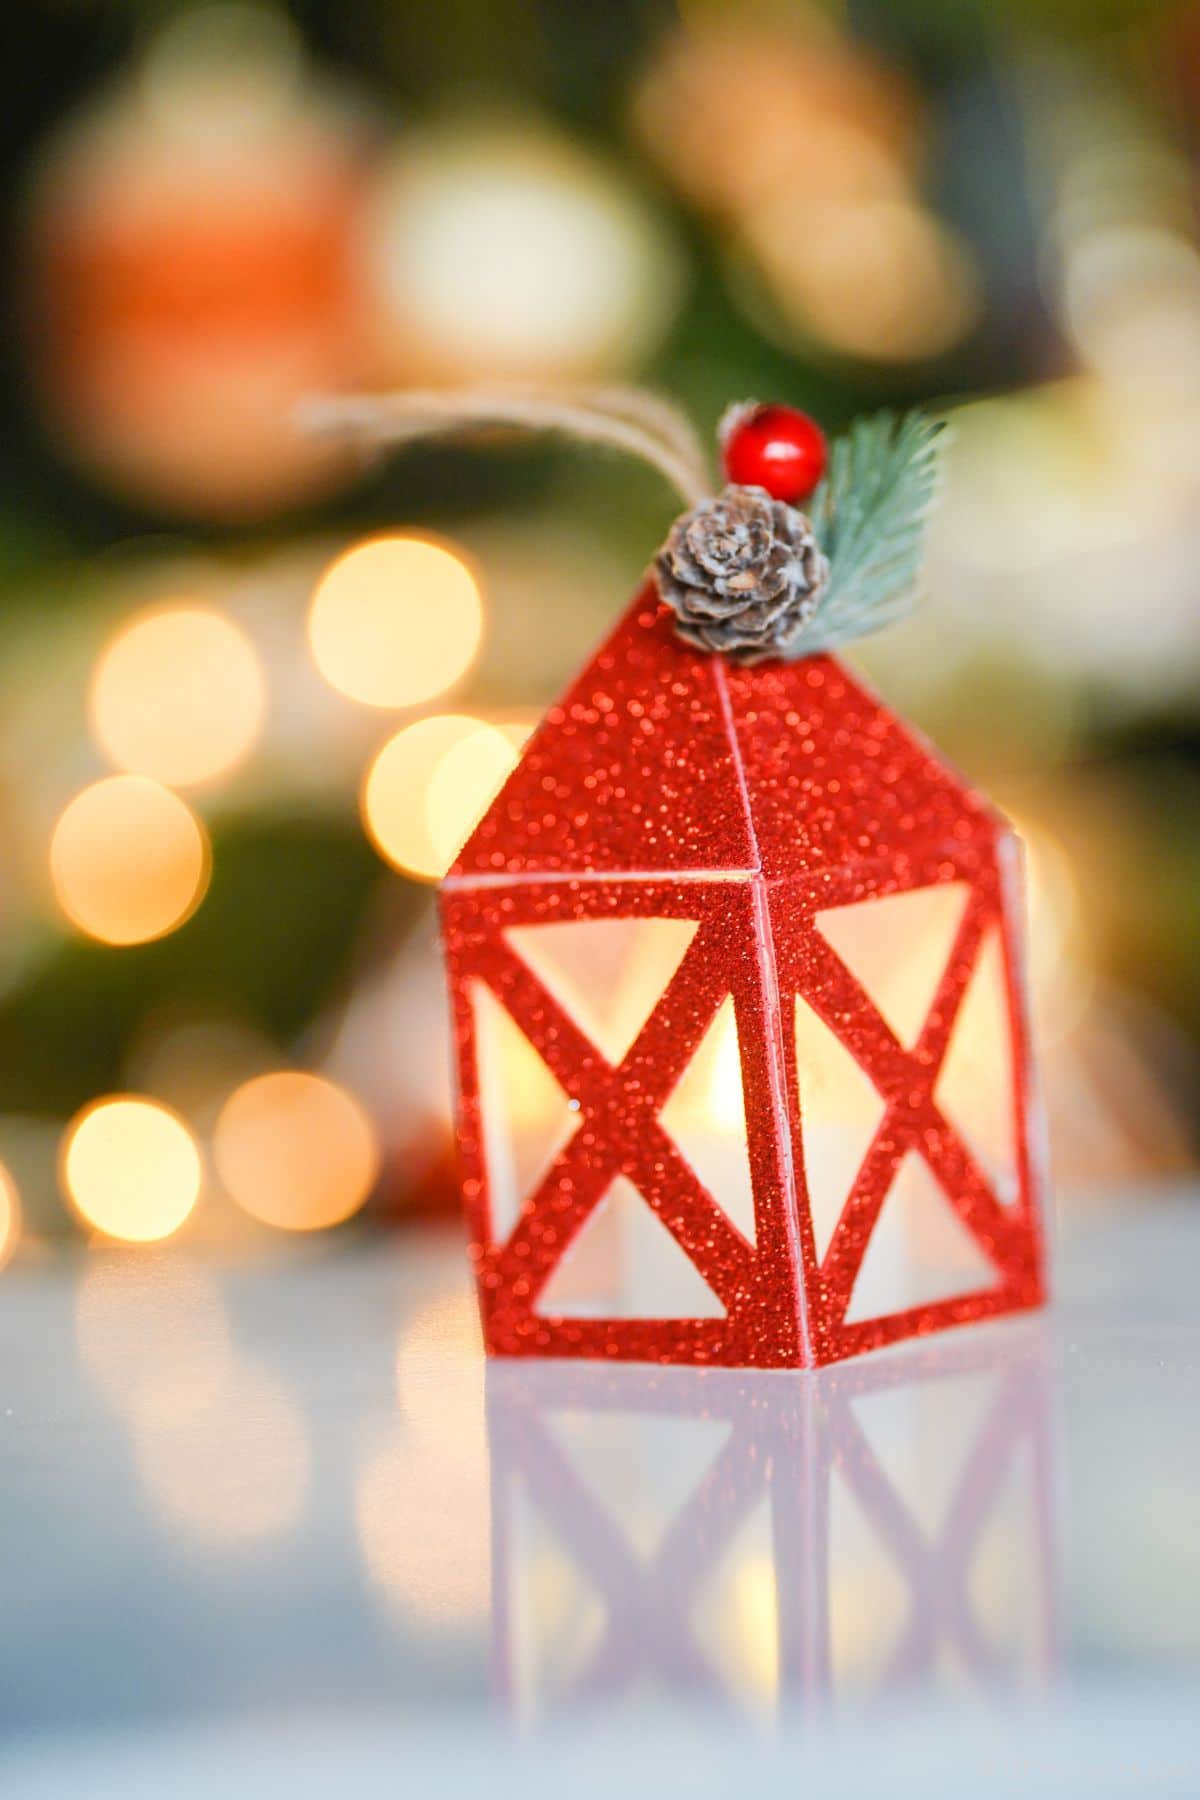
The candlelight makes this paper Christmas lantern shine. Both figuratively and literally. But since this is made from paper, you want to make sure you are using only LED candle lights. These lights look like candles but run on batteries. These are touch-safe, paper-safe, and do not get hot. Since this doesn't have a base on it, you would need to set the lantern over the top of one of these candles if you want it to be used for a light-up option.
What Do I Use to Make the “Glass”?
You want to use something for the "glass" that lets the light shine through. I would recommend something like plastic wrap or wax paper. Vellum, a scrapbooking paper, will also work in a pinch. It isn't as see-through as the other ideas but it will let the light shine through in a diffused way.
You could even cut a piece of a clear folder to use for this instead of wax paper. Whatever you use, it should be mostly clear or see-through if possible. Of course, you can leave this without anything on the windows and make it just open as if there are windows even though they aren't.
Can I Make This Larger?
It is easy to make this paper Christmas lantern bigger. You simply make each section larger. They also sell larger led candles so you can have the light shine through the windows similar to the smaller version. You can use the larger lanterns around the house for decorations on a shelf or mantle.
What Other Ways Can I Decorate This Lantern?
The easiest what to decorate this paper lantern is to change the outside paper that you use. Whether you use red, blue, silver, or gold, this will create a different look for each house you make. Of course, you can also add different things to the outside of the house. Below are a few of the ideas that I had for adding more decoration to the lantern.
- Add fake snow or snowflake stickers on the outside of the lantern.
- Attach a snowman to the side, or even add a Santa Claus sticker on the roof.
- Add more ribbon or twine around the windows as "curtains".
There are so many simple ideas to decorate this lantern. Just use your imagination and make it a fun way to cerate unique and custom decorations for your tree.
Supplies Needed
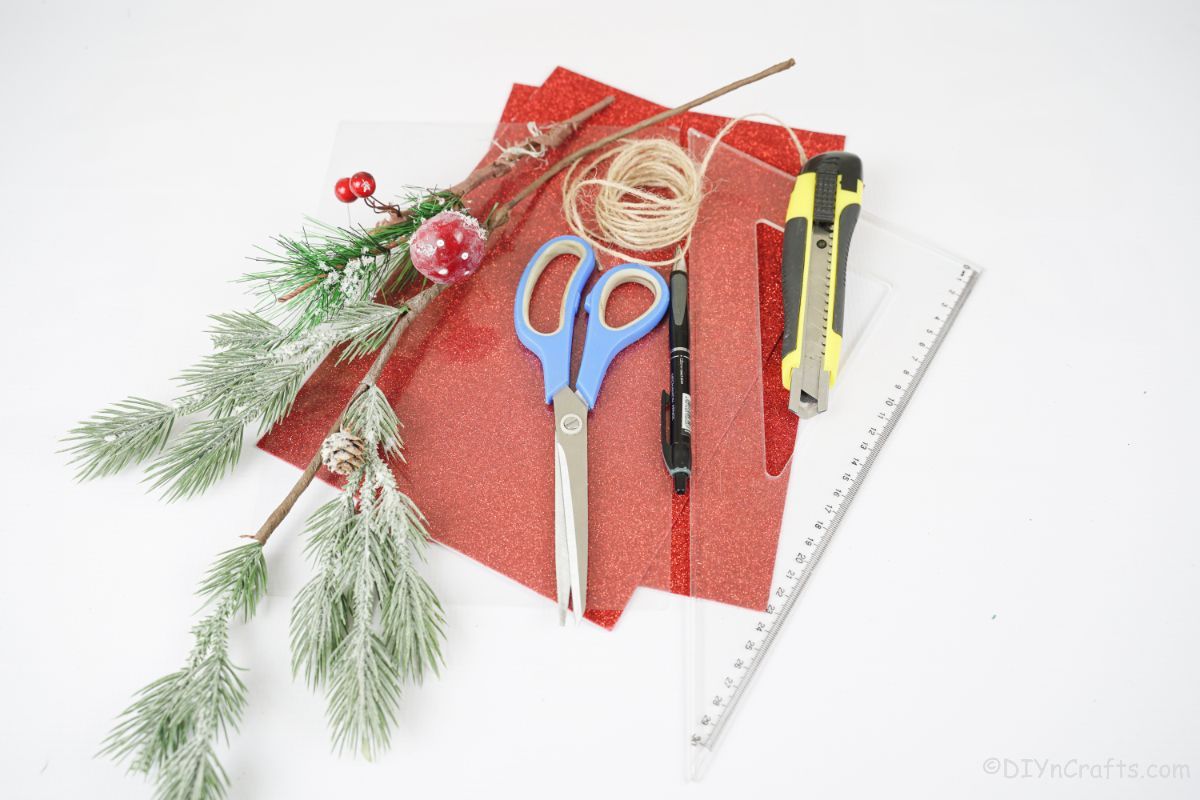
- Red glitter foam paper
- Wax paper
- Twine
- Holiday greenery or berries
- Ruler
- Pen or pencil
- Craft knife or scissors
- Hot glue gun
- Hot glue stick
How to Make a Paper Christmas Lantern
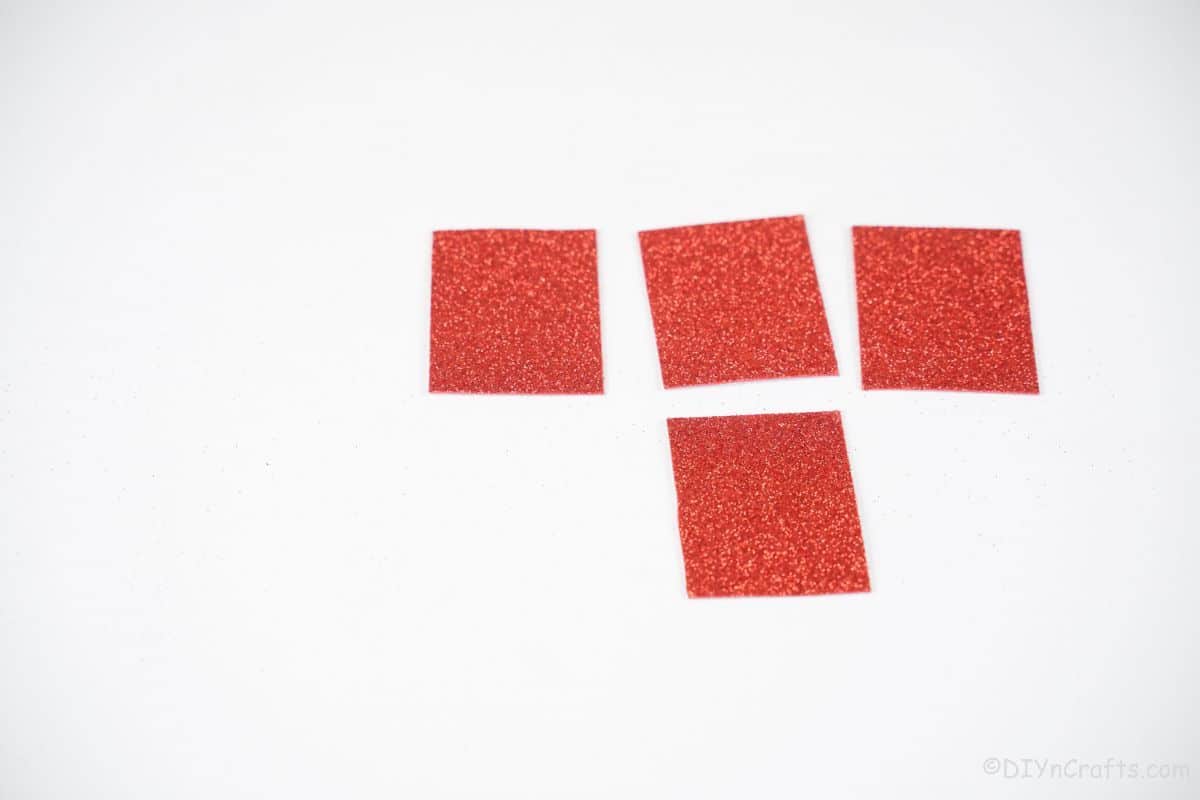
On the back of the red foam paper, measure out 5 blocks that are 3" by 2". Cut these out and set them aside.
On 4 of the blocks, use a ruler to draw a line diagonally across the back, both ways, to divide it into 4 triangle spaces.
In each of the triangles on the back of these pieces, draw a slightly smaller triangle.
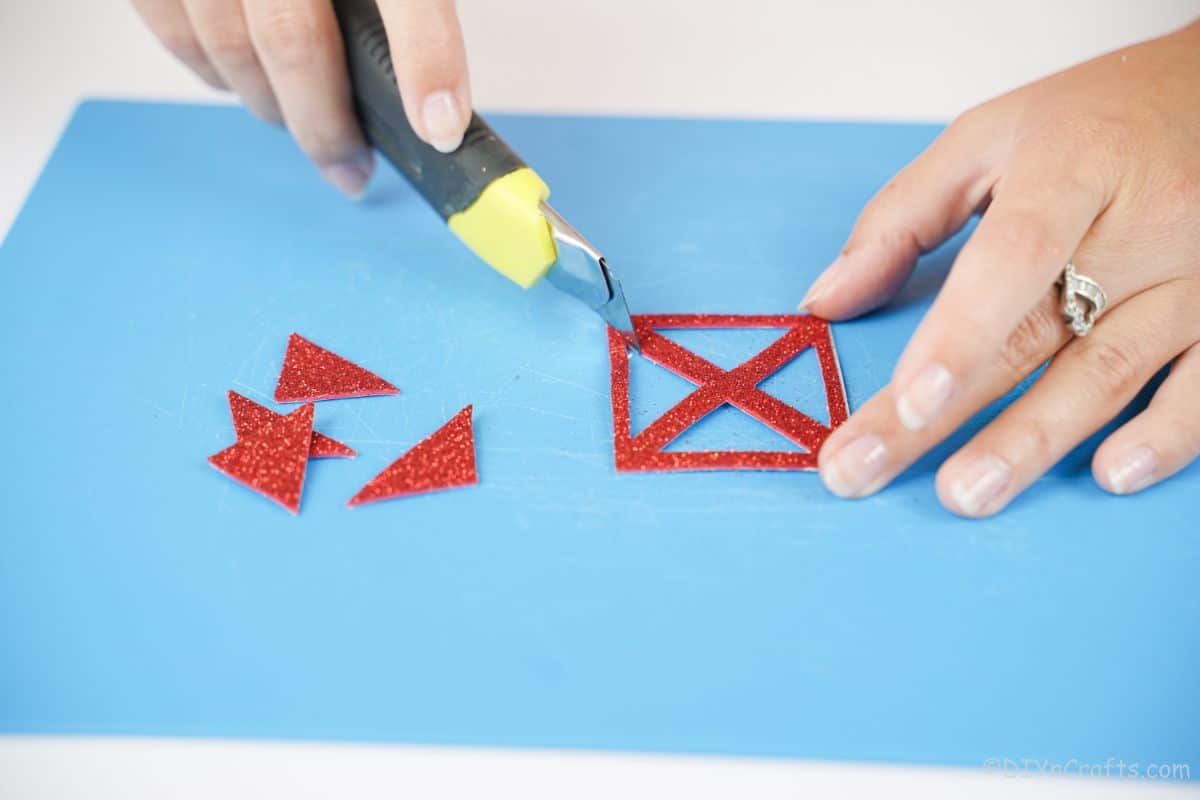
Then use the craft knife to cut out the smaller triangles and turn them over to the front of the foam paper. This will give you a "windowpane" look.
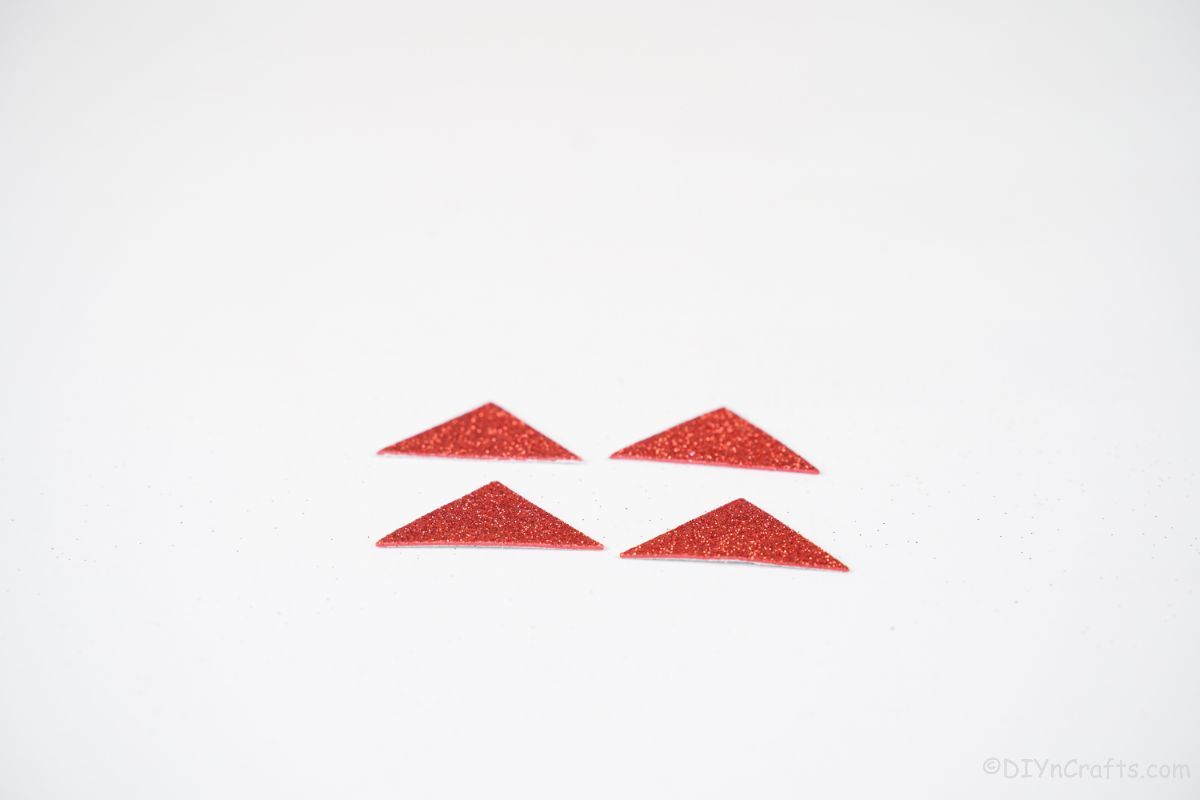
Measure and cut out 4 triangles that are 2" wide to match the top of the windows.
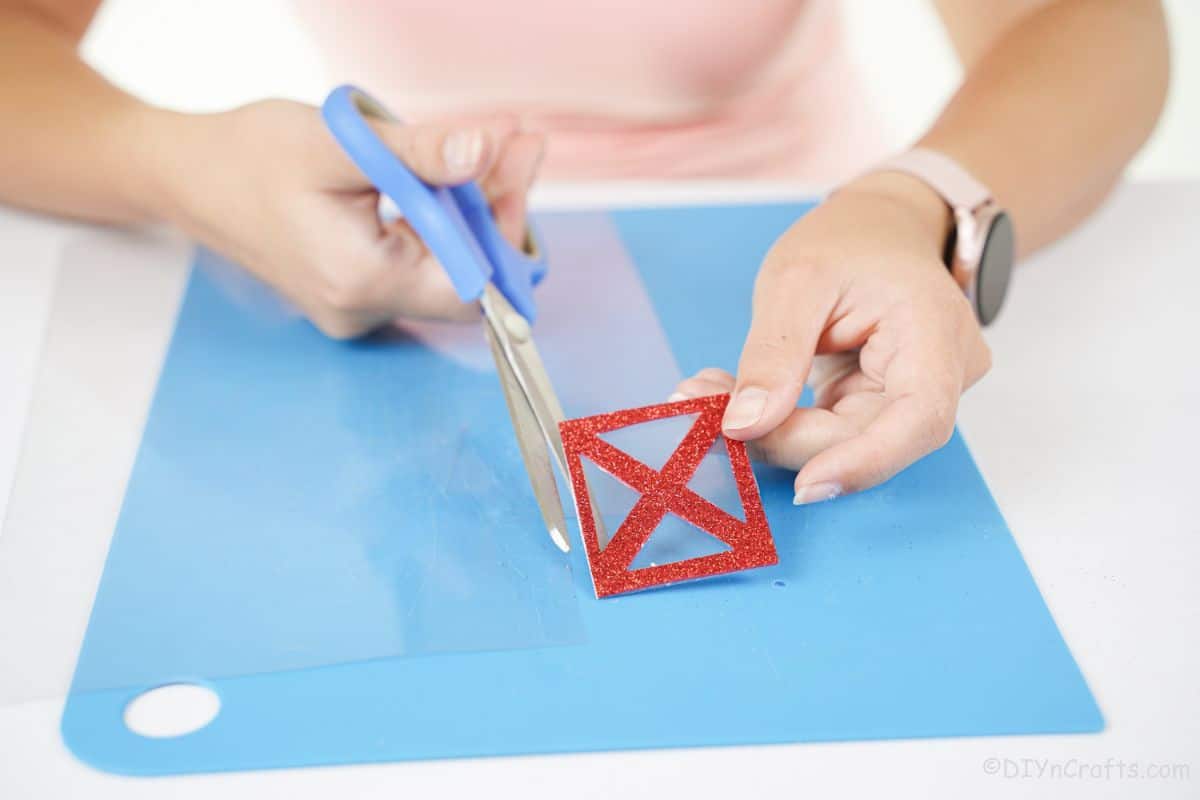
On a piece of plastic or wax paper, place the four windowpanes and glue them in place. Then cut them out so they have a clear window.
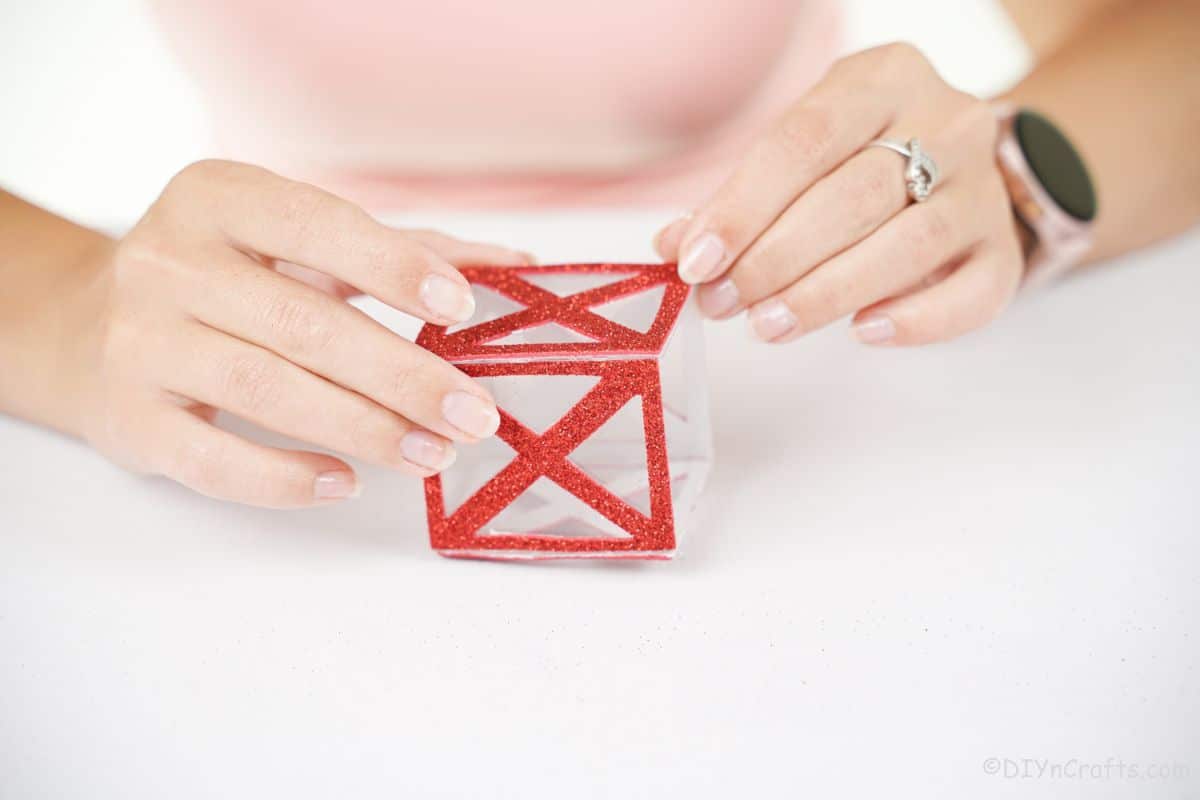
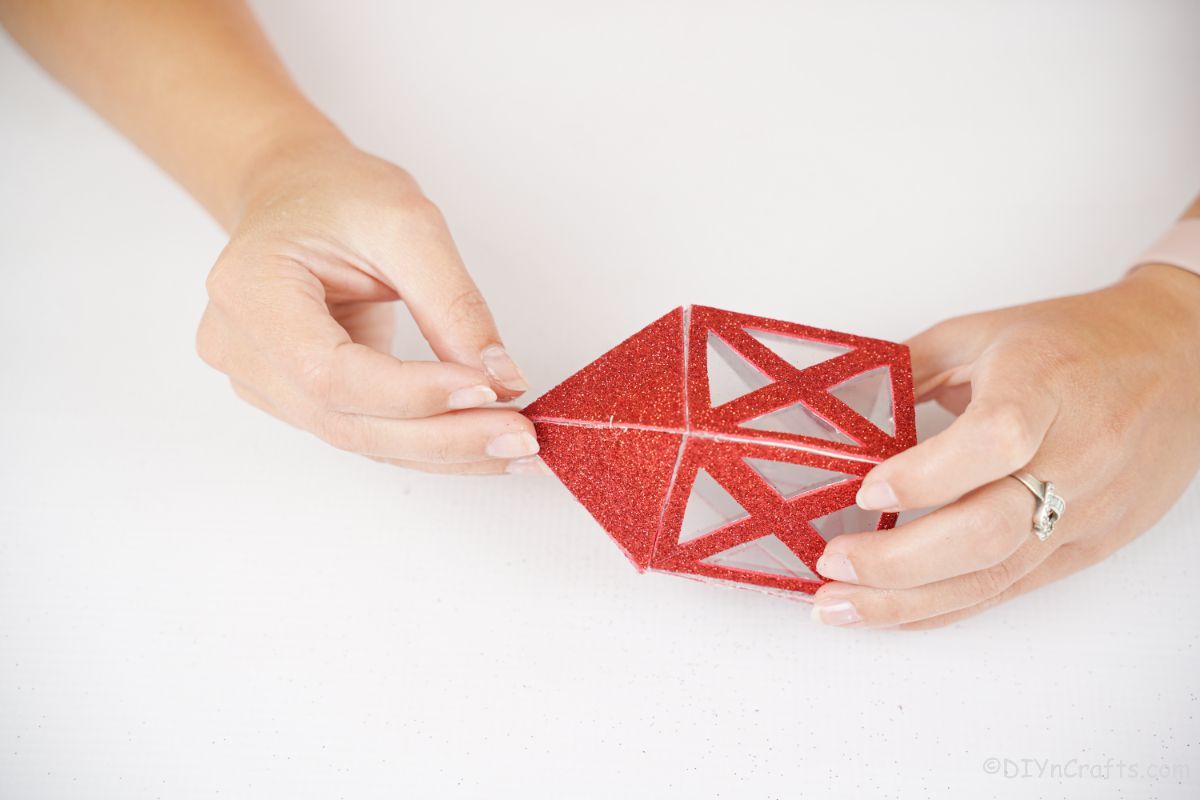
Now, glue each of these together to form a box that is open on both ends with windows on all four sides.
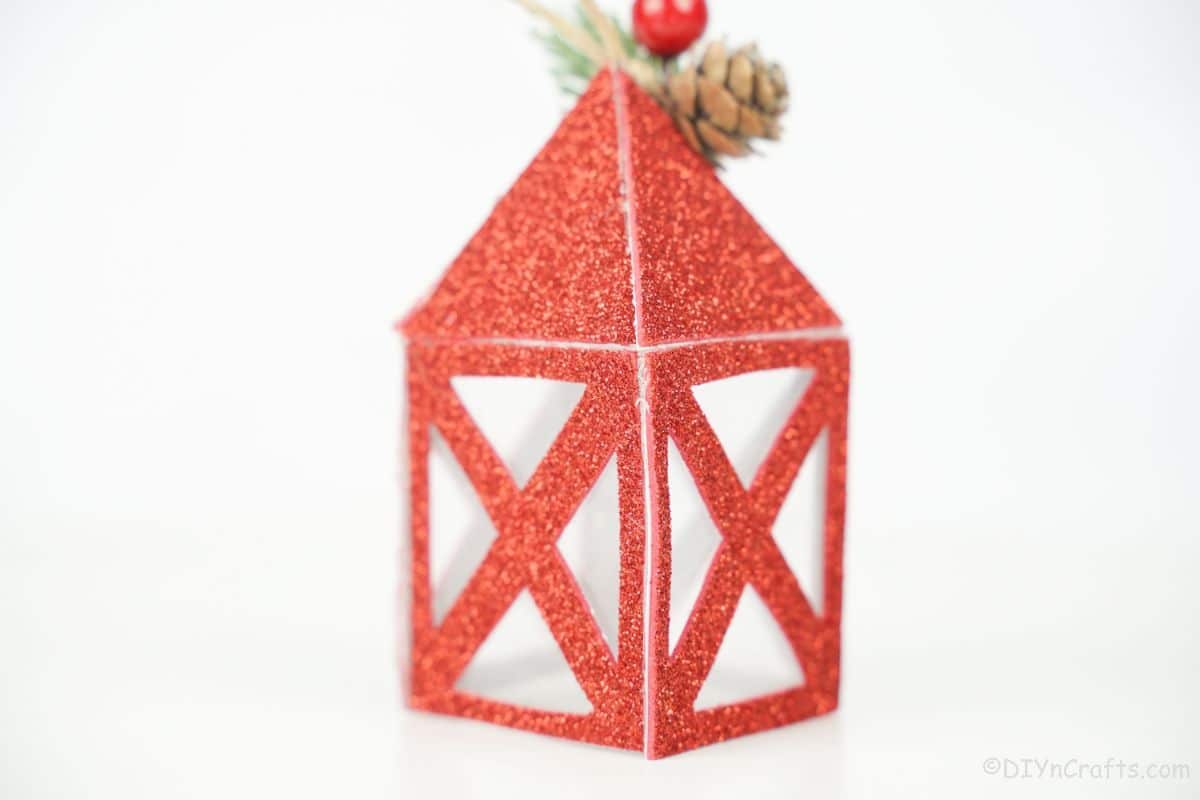
Glue the triangles to the top of the box, angling toward each other to form a pointed roof.
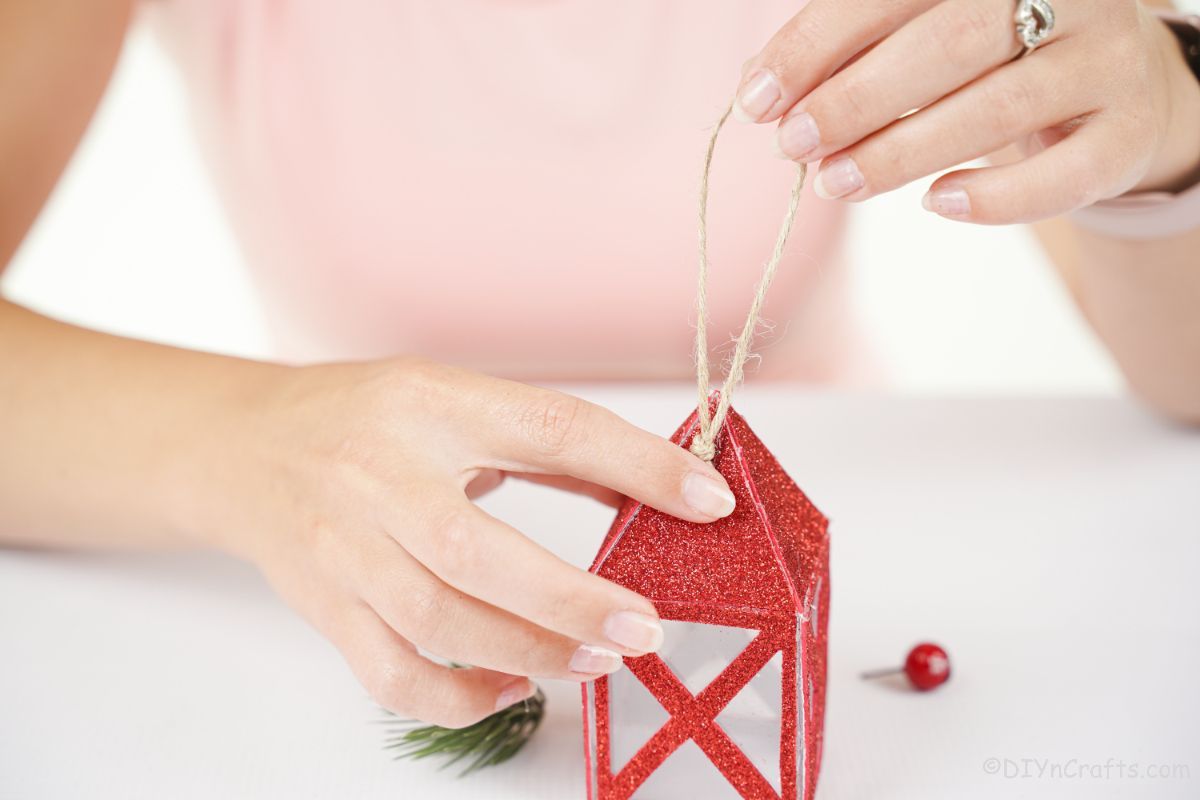
Cut and make a loop of twine then glue it on the top of the lantern.
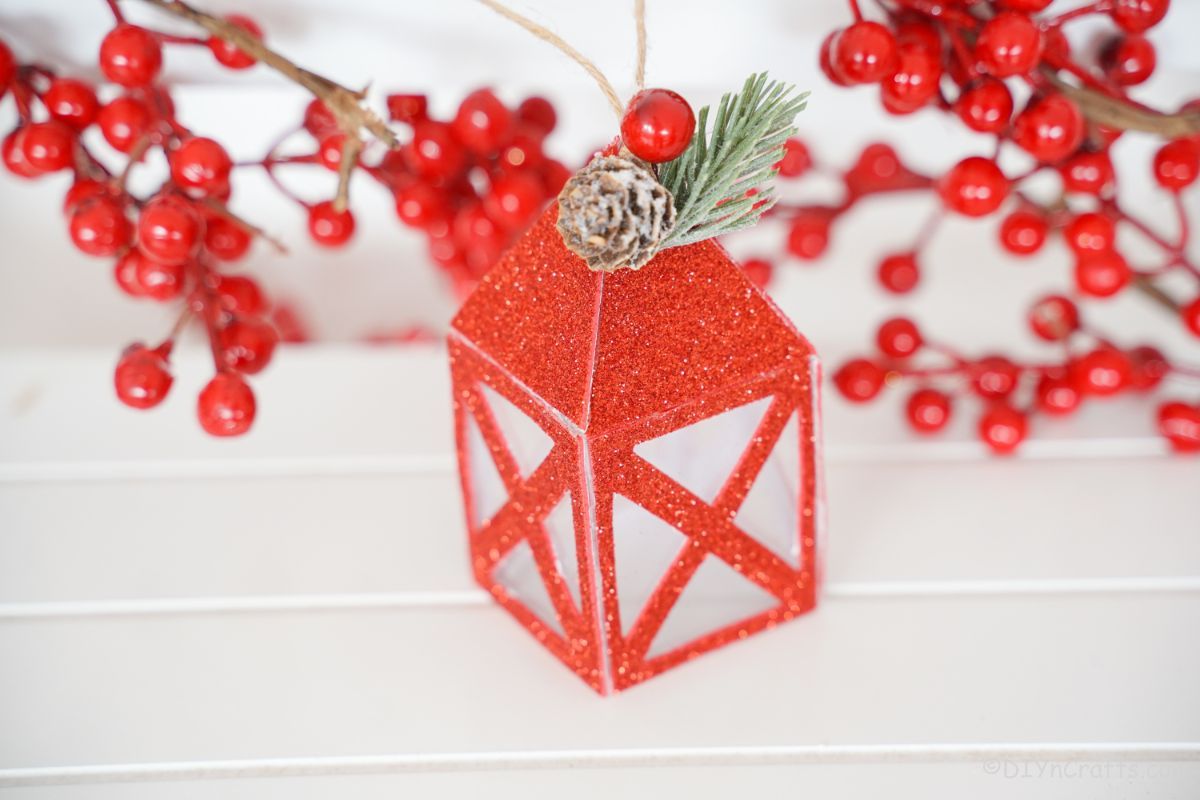
Glue small pieces of holiday greenery or berries around the roof of the lantern.
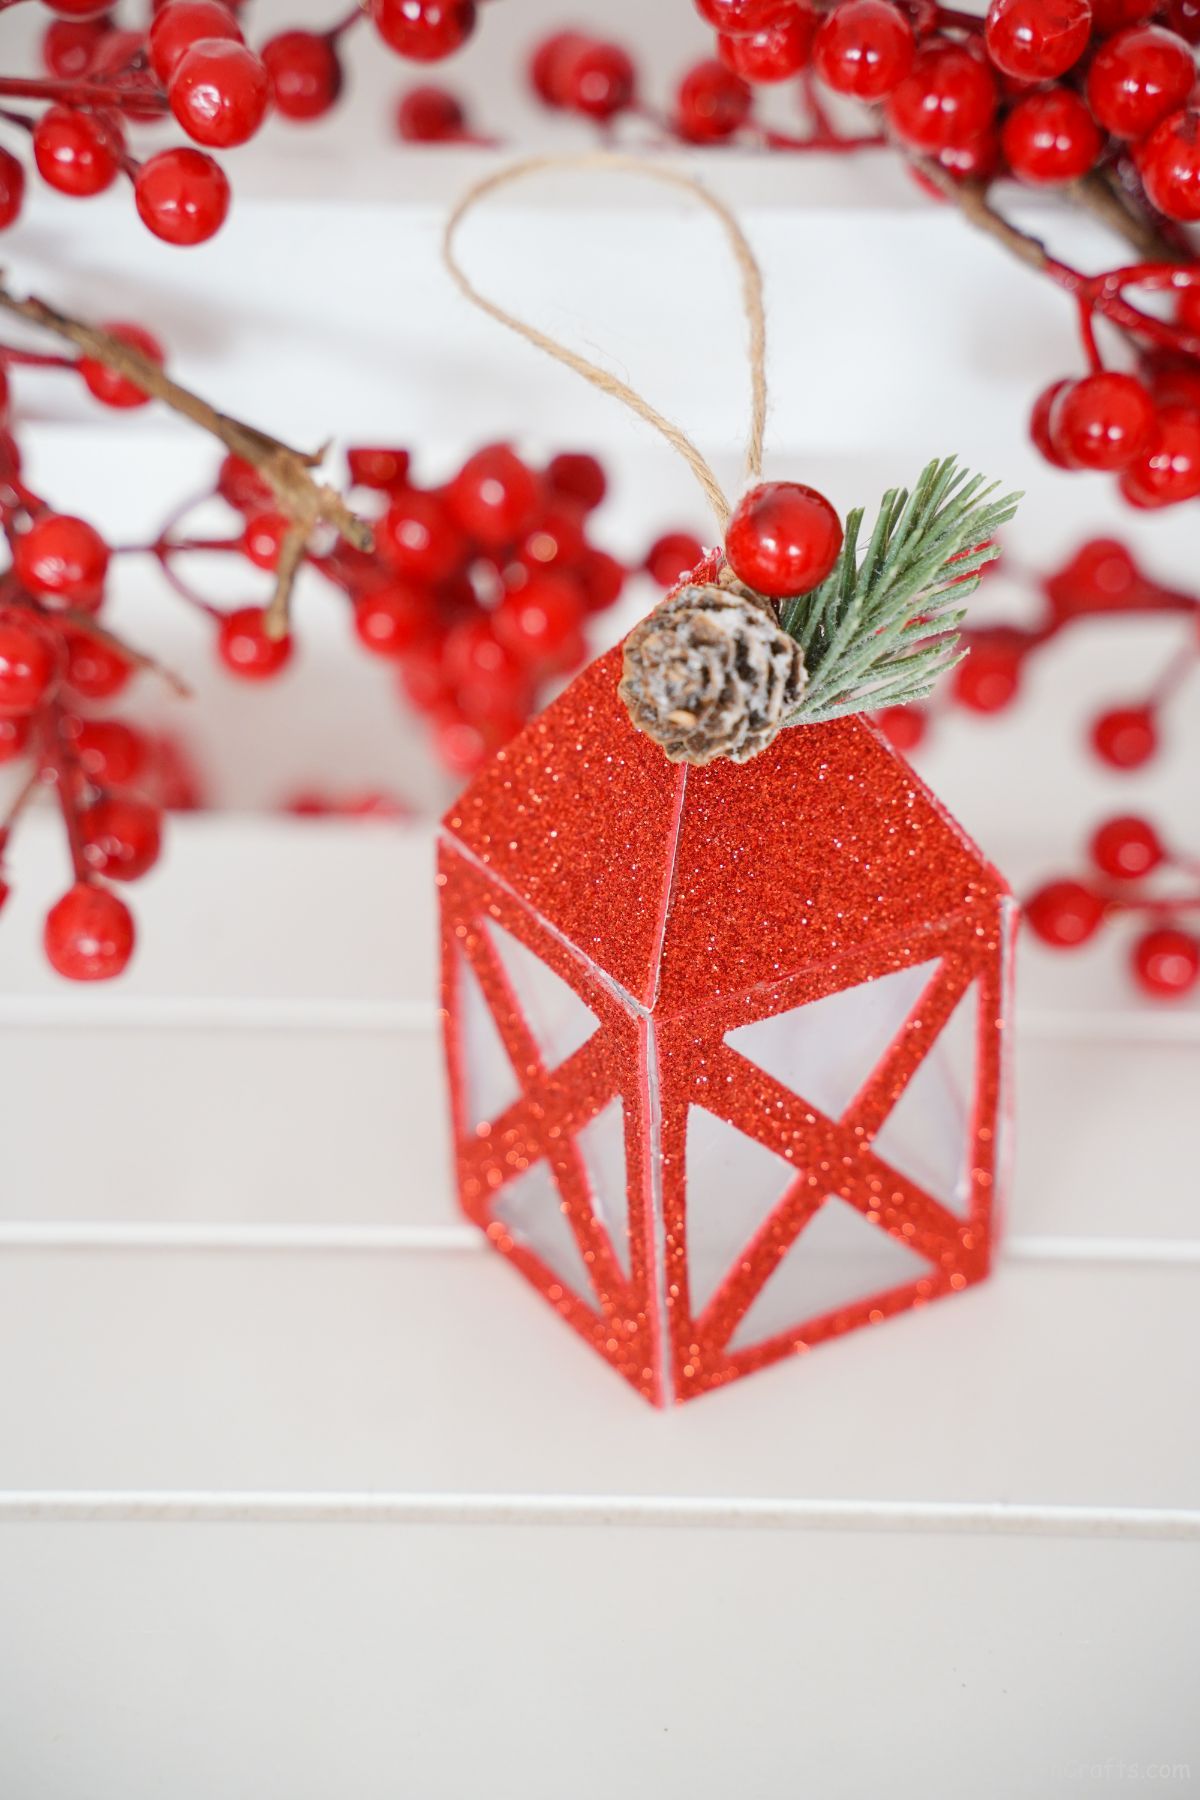
Now you can hang this on your holiday tree!
More Holiday Decor Ideas
If you are looking for even more holiday decorating ideas, look no further than the list below. Christmas is our favorite time of year and making something fun and unique to hang on the tree or decorate the mantle with is a must. Make sure that you bookmark these ideas, pin them to your holiday Pinterest board, or print out the tutorials to use soon.
- Rustic Yarn Star Christmas Tree Ornament
- Craft Stick Gingerbread House Christmas Ornament
- DIY Flower Pot Snowman Christmas Porch Decoration
- Gold Ring Ornament Miniature Christmas Tree
- 15 Creative Christmas Trees That Aren't Actually Trees
DIY Paper Christmas Lantern Tutorial
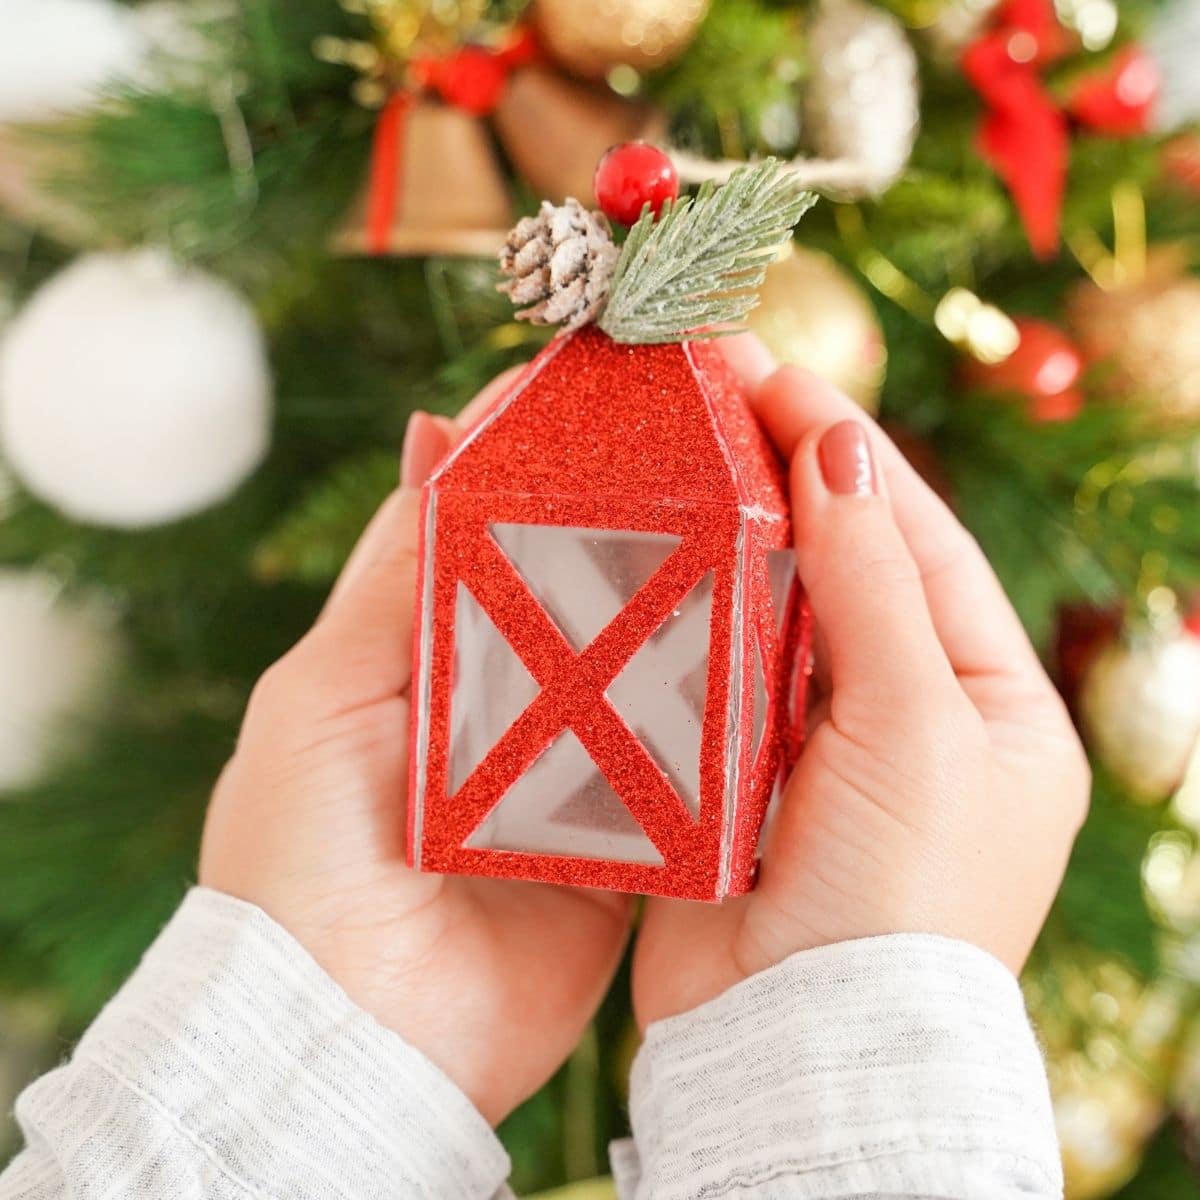
Make a classic paper Christmas lantern with just a few supplies to use as an ornament or simply place on the mantle as part of the holiday decor!
Instructions
- On the back of the red foam paper, measure out 5 blocks that are 3" by 2". Cut these out and set them aside.
- On 4 of the blocks, use a ruler to draw a line diagonally across the back, both ways, to divide it into 4 triangle spaces.
- In each of the triangles on the back of these pieces, draw a slightly smaller triangle.
- Then use the craft knife to cut out the smaller triangles and turn them over to the front of the foam paper. This will give you a "windowpane" look.
- Measure and cut out 4 triangles that are 2" wide to match the top of the windows.
- On a piece of plastic or wax paper, place the four windowpanes and glue them in place. Then cut them out so they have a clear window.
- Now, glue each of these together to form a box that is open on both ends with windows on all four sides.
- Glue the triangles to the top of the box, angling toward each other to form a pointed roof.
- Cut and make a loop of twine then glue it on the top of the lantern.
- Glue small pieces of holiday greenery or berries around the roof of the lantern.
- Now you can hang this on your holiday tree!
Notes
Make a larger version of this to sit on the mantle as a light on dark winter evenings.
Recommended Products
As an Amazon Associate and member of other affiliate programs, I earn from qualifying purchases.
-
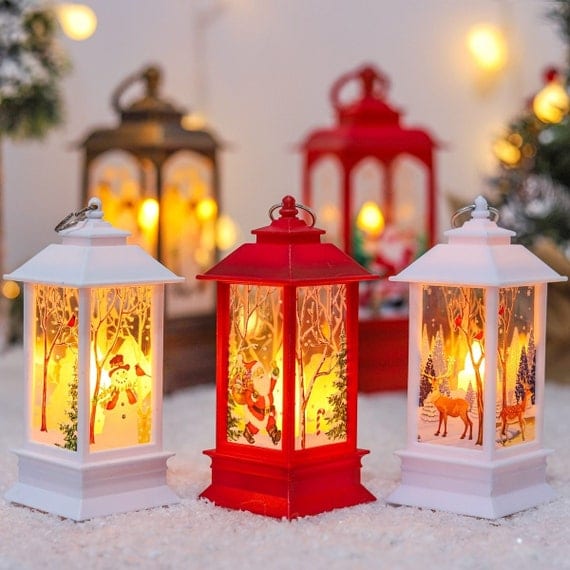 Christmas Lantern Light | Etsy
 -
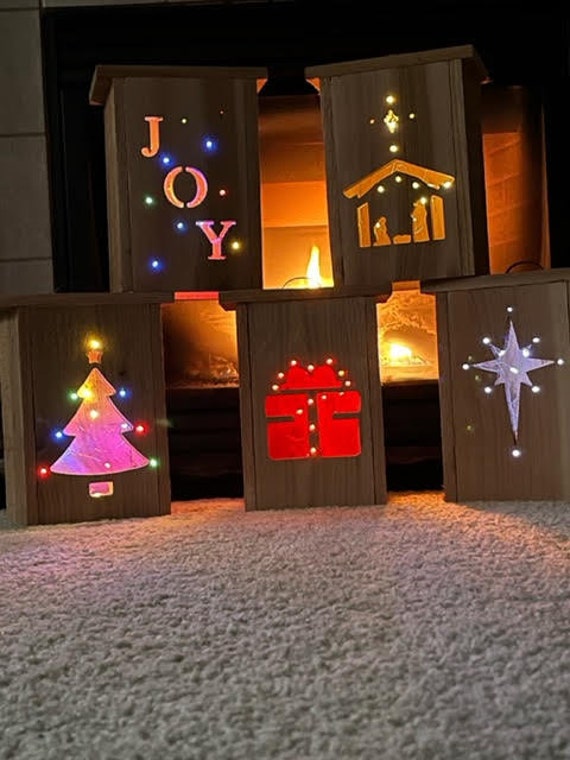 String Light Christmas Lanterns | Etsy
 -
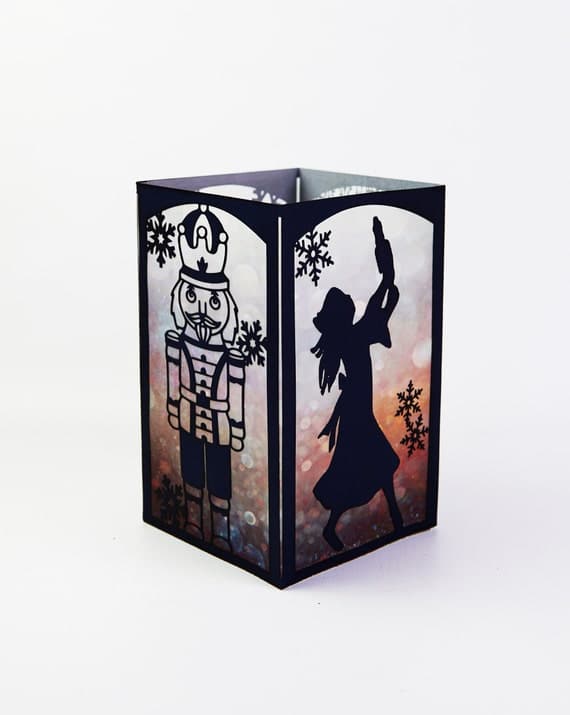 Nutcracker Gifts Nutcracker Ballet Centerpiece Mantel | Etsy
 -
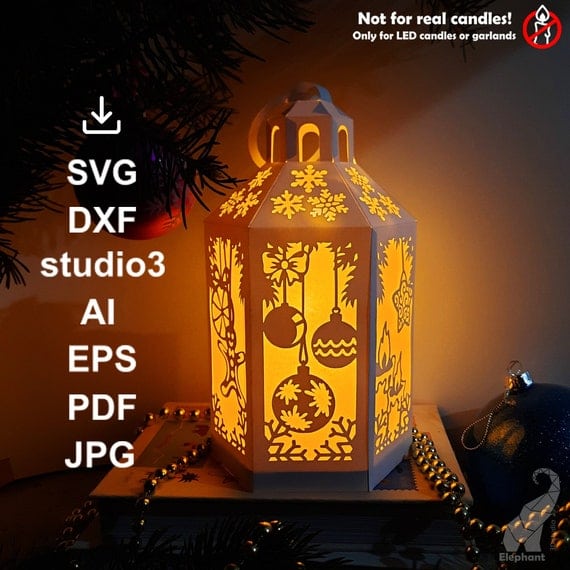 Lantern SVG DXF Studio3 EPS Cut Files for Cricut Silhouette | Etsy
 -
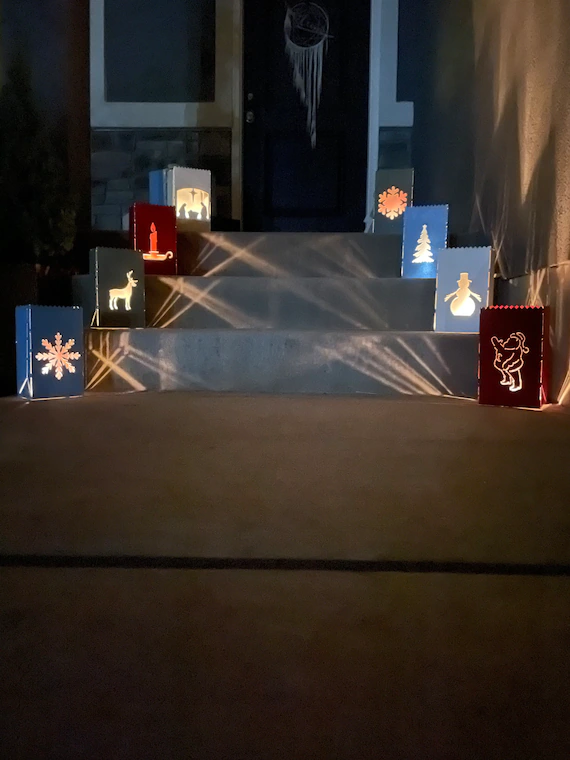 Christmas Metal paper-bag Lanterns | Etsy
 -
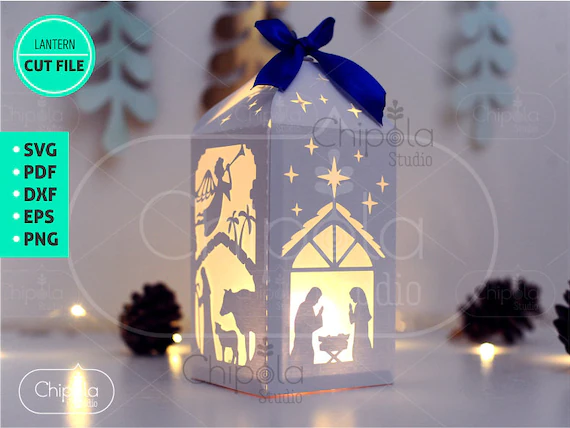 Christmas Lantern Decoration SVG Nativity Lantern Luminary | Etsy
Finished Project Gallery
Add a colorful holiday ribbon on top for hanging instead of twine.
I love the idea of spraying fake snow around the base of the lantern for a more rustic look.









Leave a Reply