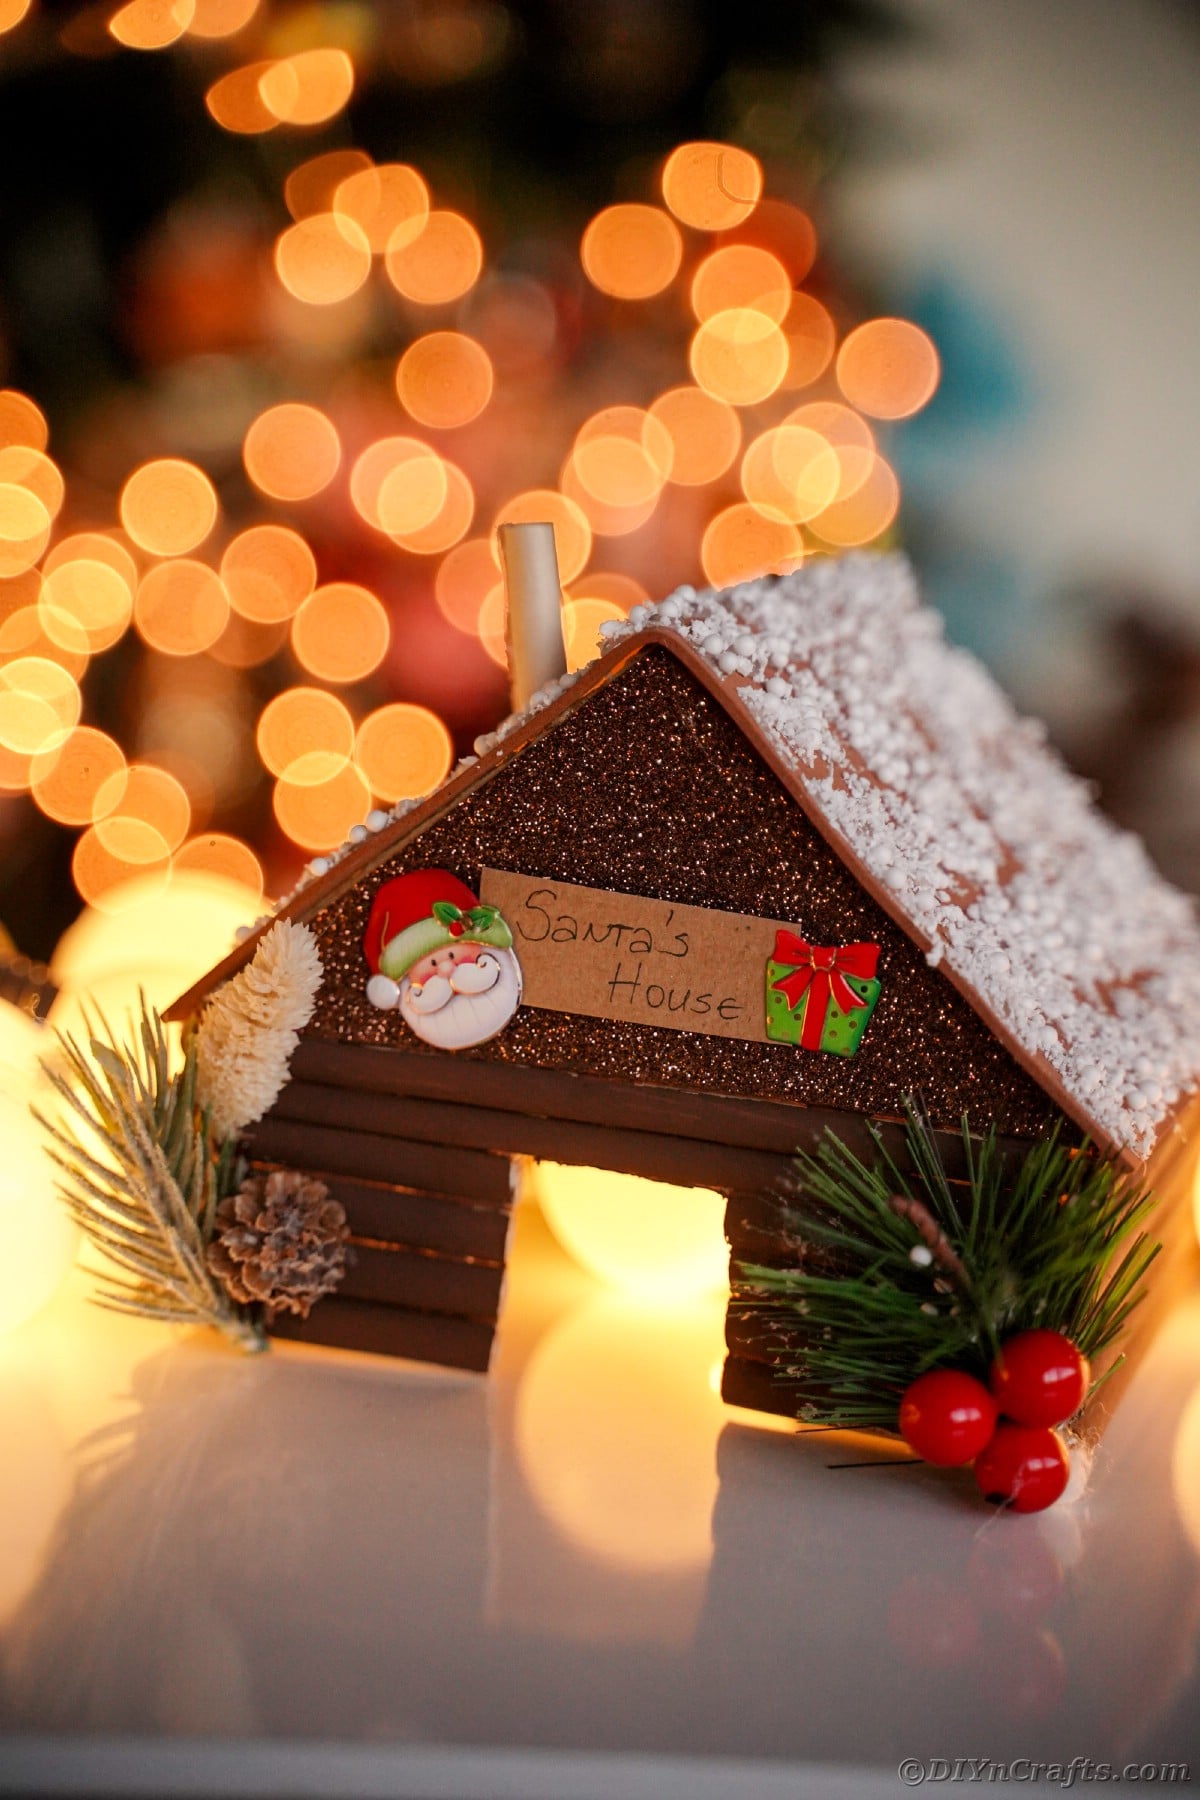
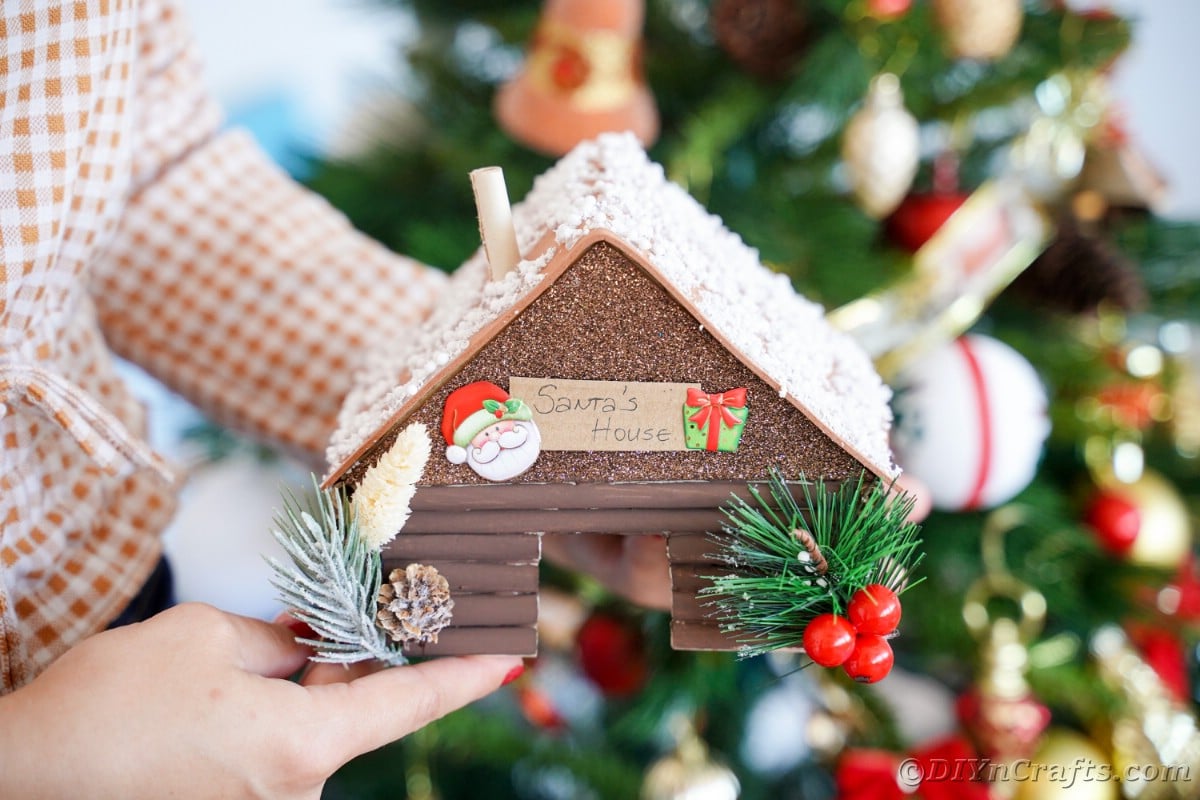
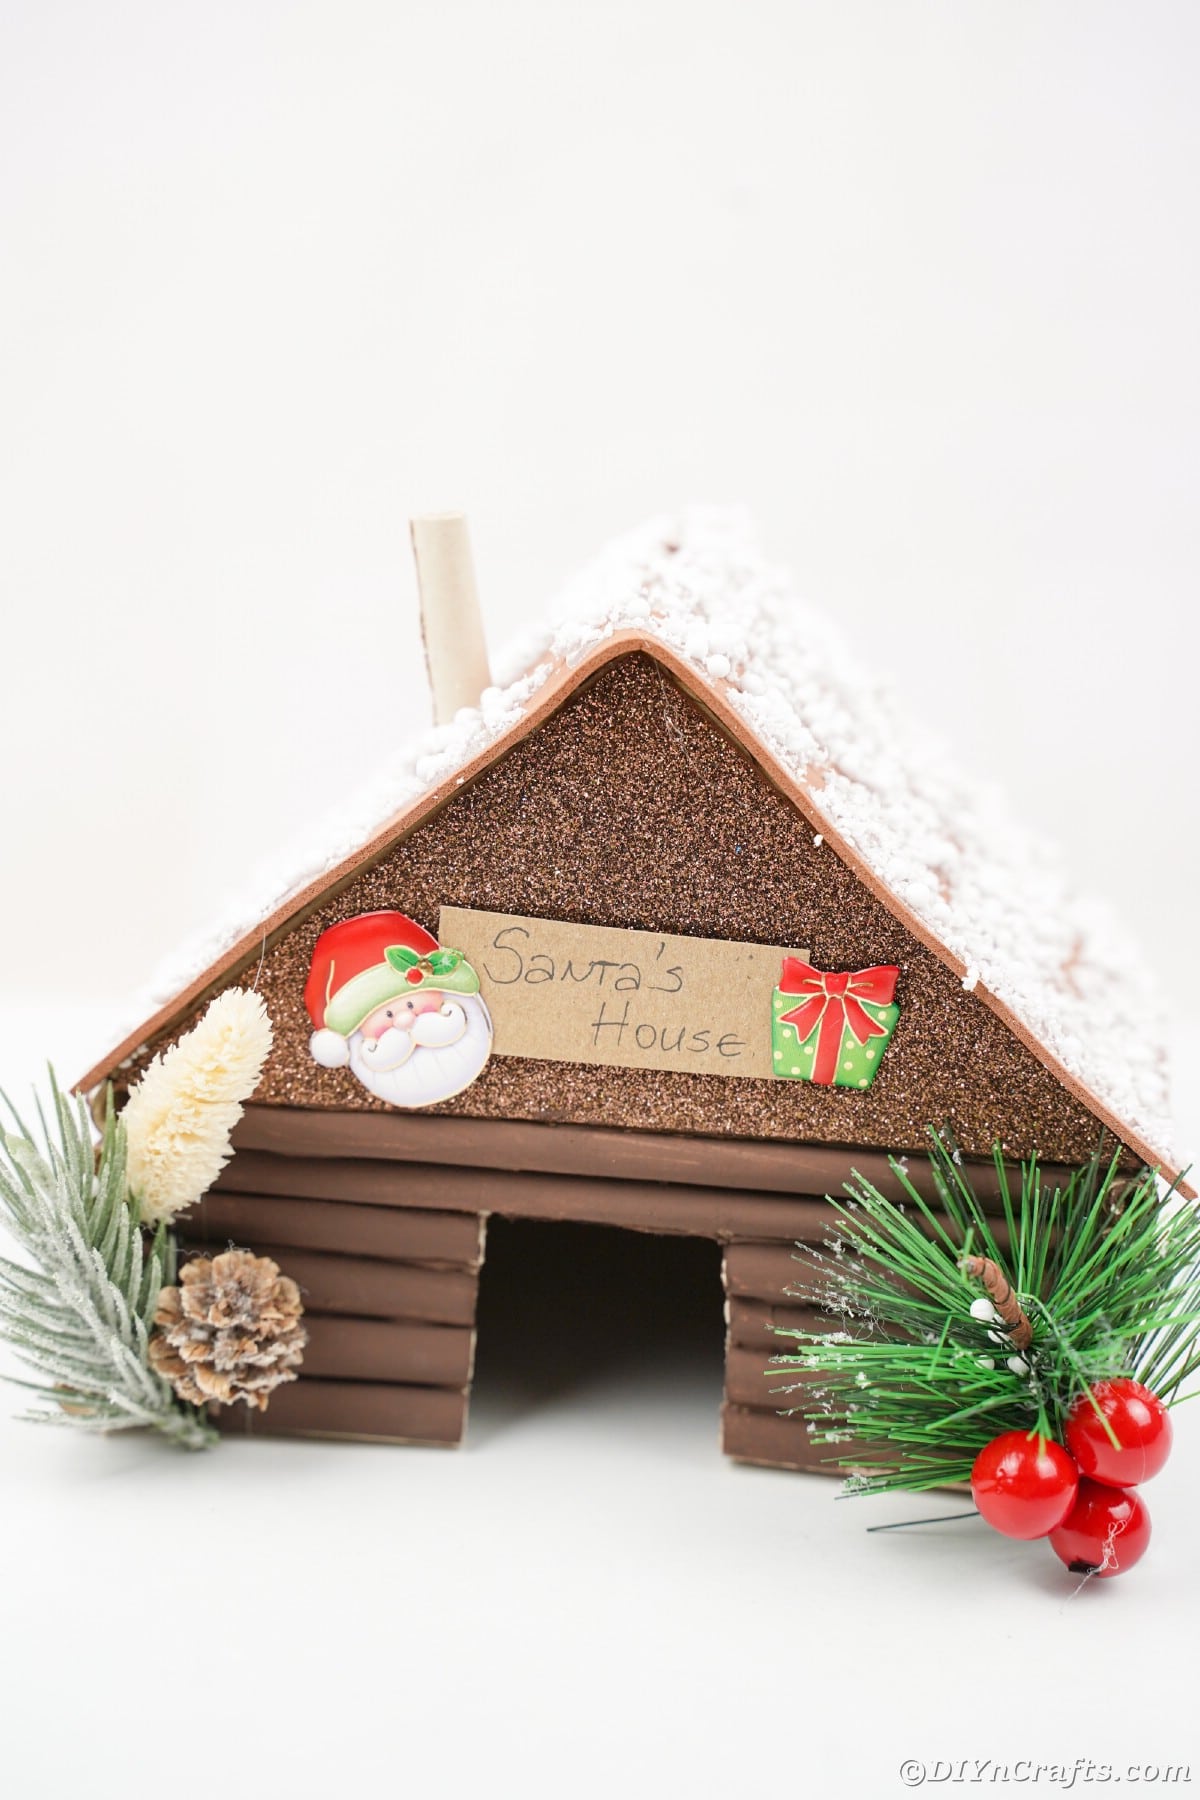
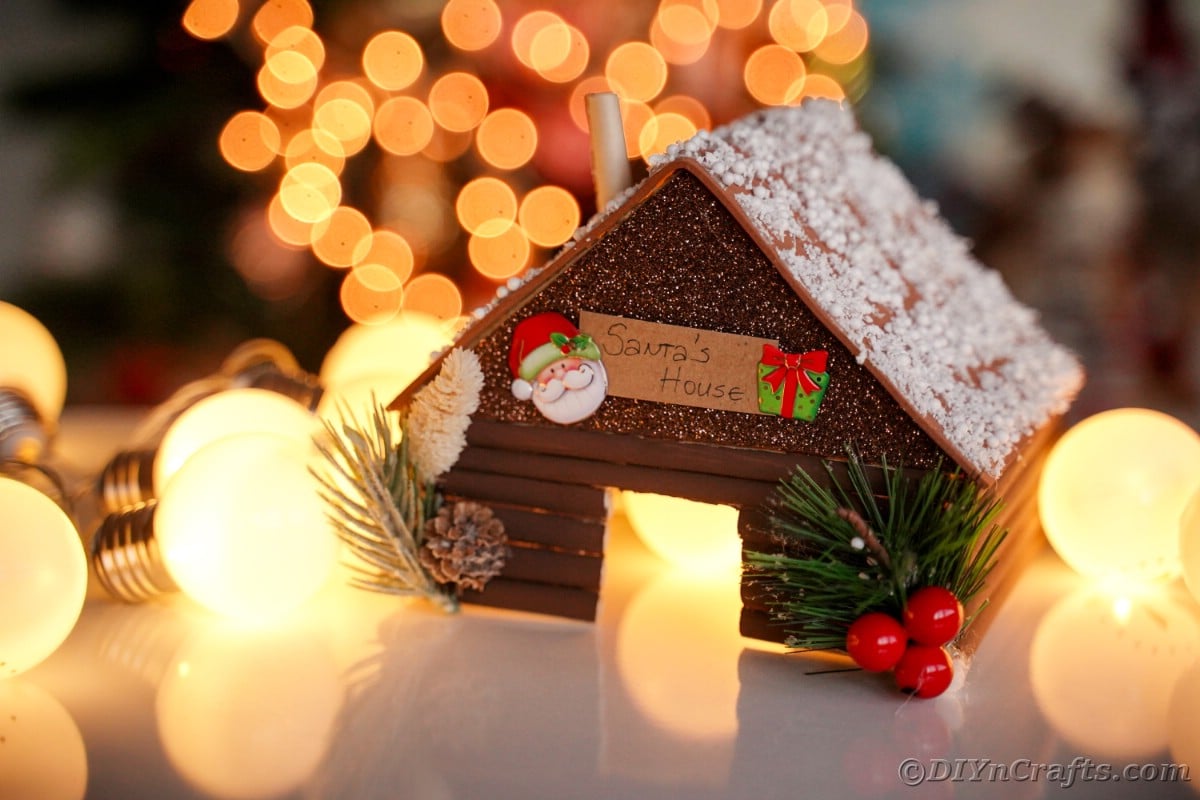
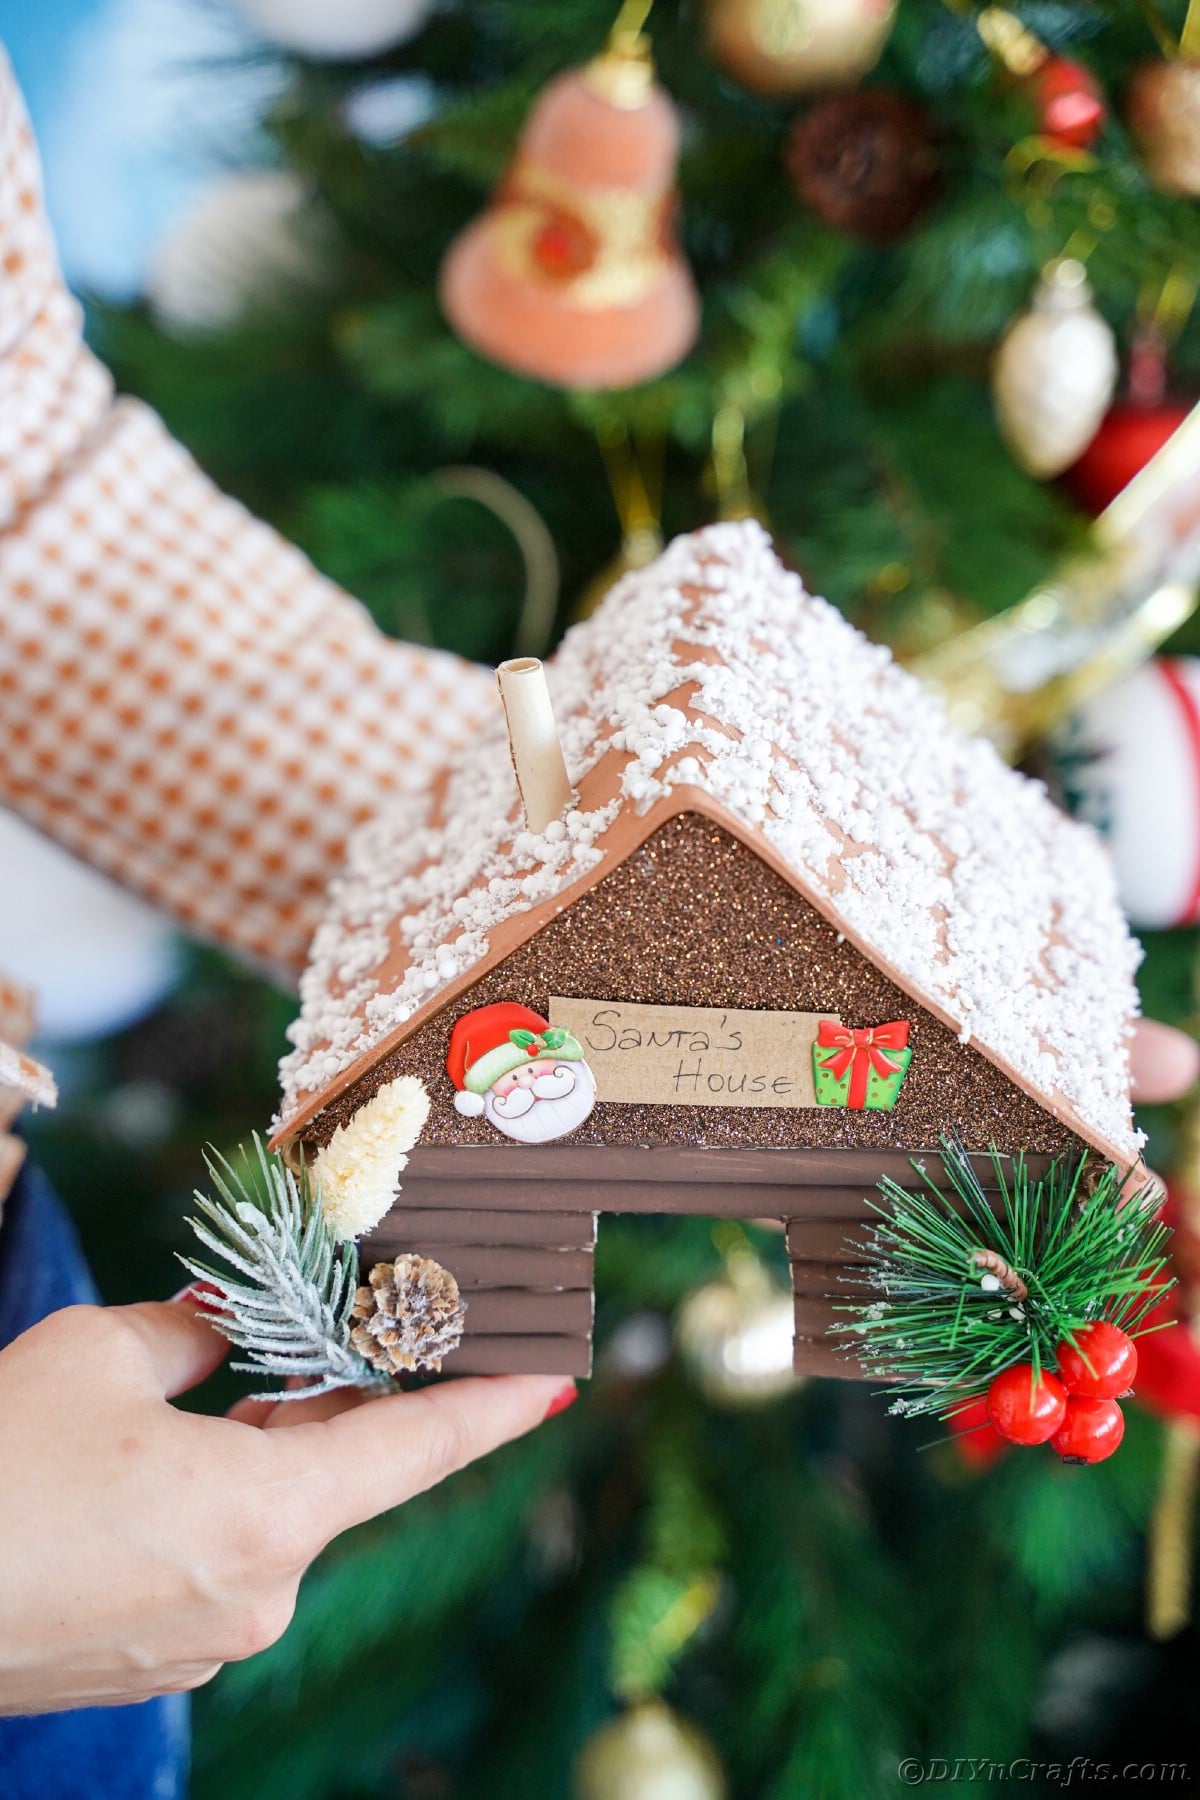
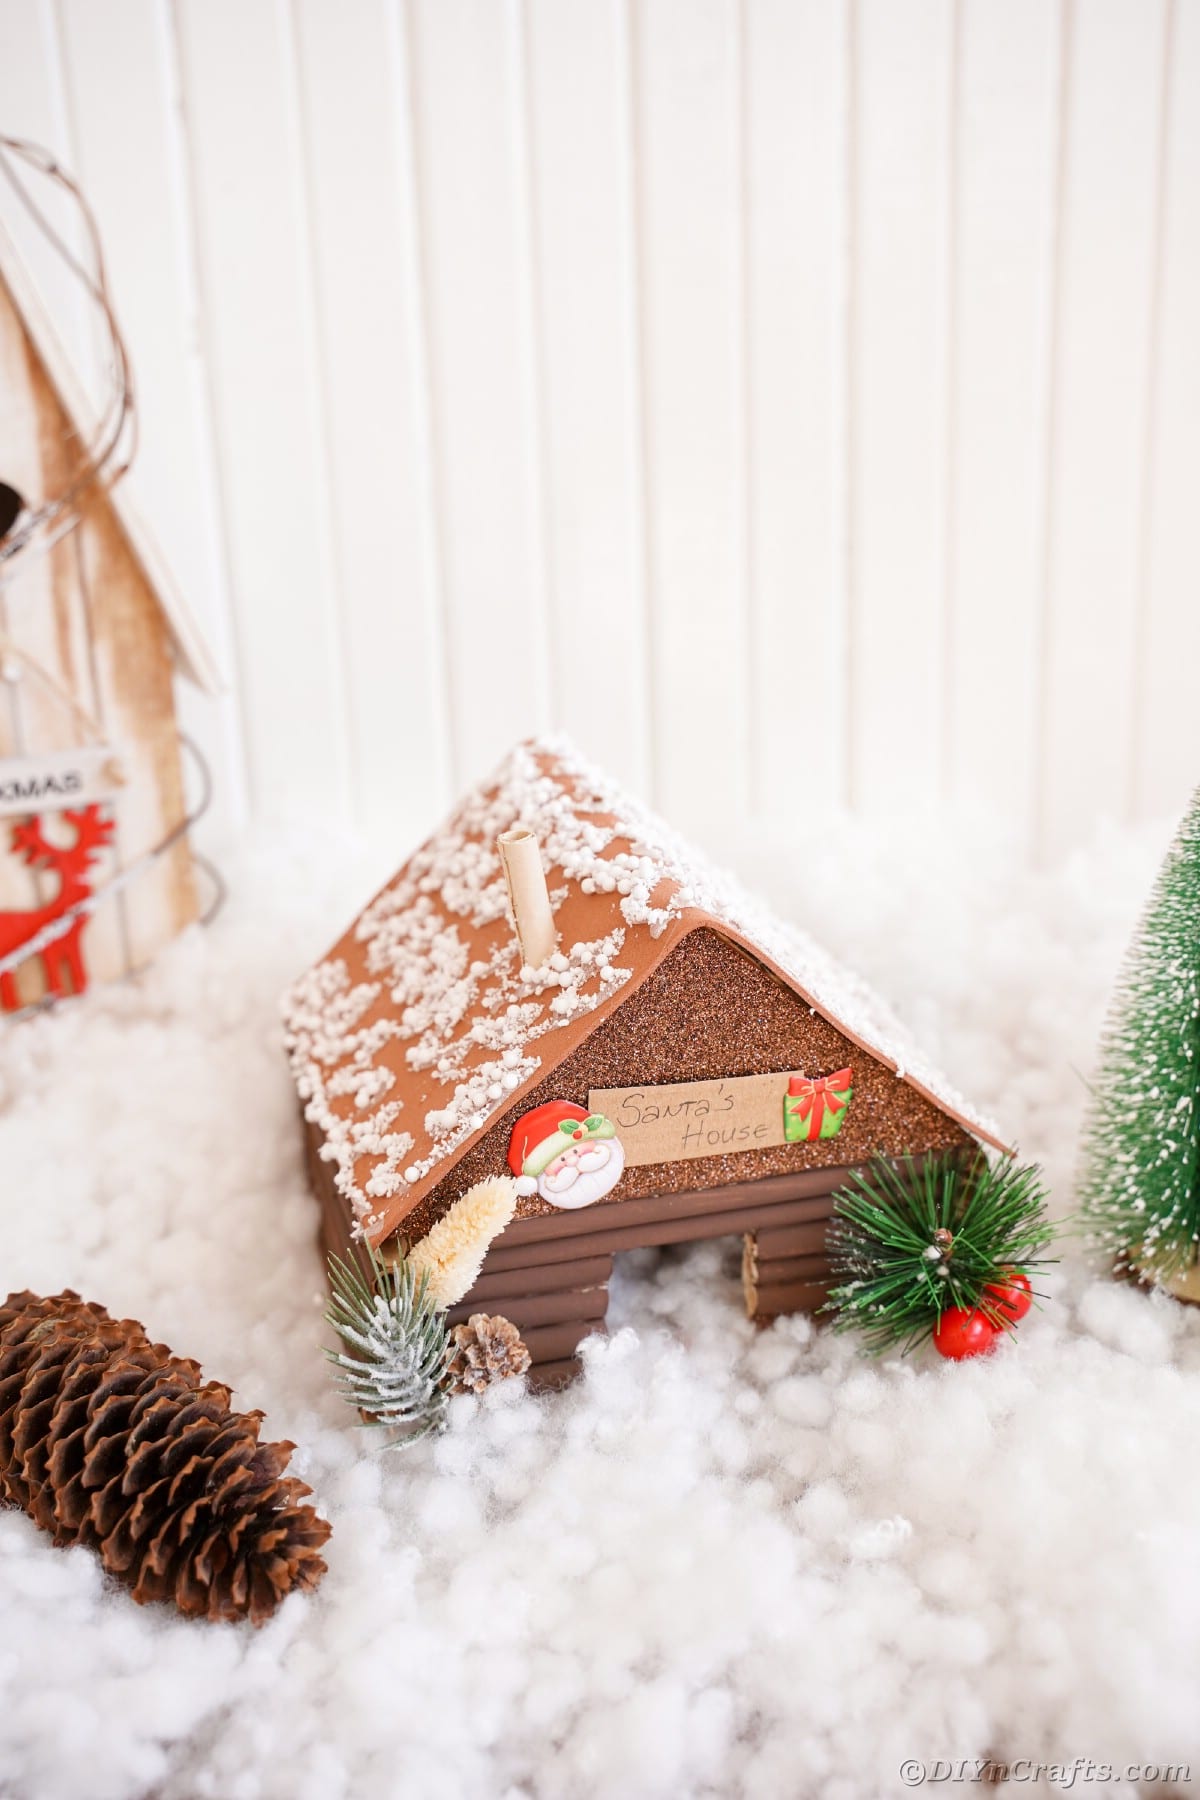
Looking for a fun craft to do with the kids this holiday season? This adorable little log cabin Santa’s workshop craft is perfect! It takes less than an hour to make and it’s so much fun. Use this adorable log cabin as part of your decorations or let the kids have fun with it. It looks adorable on the mantle or as part of a winter village scene!
Log Cabin Santa’s Workshop
No matter why you make this log cabin, Santa's workshop is going to be a hit. It is surprisingly easy to make and it will be a cherished decoration for years to come. There is just something special about making a unique and truly one-of-a-kind decoration that you can hand down to your kids for generations in the future.
You can even let the kids get in on the fun. Then, the best part about this project is that when you get done, your kids will have their own little cabin where they can play or store things inside. They’ll be able to decorate their cabin however they want to – maybe even put up some Christmas lights. It would be adorable with these little toilet paper roll Christmas characters that the kids can make! Of course, a bit more upscale look would be this Christmas light bulb penguin decoration.
What Should I Use for the Logs?
There are tons of options for creating logs for your cabin/workshop. I actually used an old book that was damaged and rolled the pages into logs to then paint. Other options include using dowel rods, paper rolls, or even actual twigs and sticks that you have cleaned and glued together.
Get creative and use what you have on hand or even look into purchasing a small log cabin kit in the miniatures section of your hobby store to paint and customize for this project.
Should I Paint the Logs?
Whether to paint the logs of Santa's Workshop is completely a personal preference. Depending upon what you actually use to create your logs, you may or may not want to paint them.
You can leave the logs as is or you can add some color. It may even be better to stain them instead of painting them if you are using actual wood.
Another option is if you want to use paint but don't want the complete coverage that paints offer and you don't want to mess with stain, you can make an alternate version. Choose the paint color you like and then you can add water. Start with a few drops at a time. This will thin the paint and make it more like a stain. Once the paint has become the transparency that you like, you can paint over the logs.
Variations for Decorating Santa’s Workshop
There are so many ways that you can decorate Santa's Workshop. When you are thinking about what the workshop would look like, you get to be creative. Below are a few ideas that sound neat to me and could easily work well for your workshop depending upon your decor theme or winter scene theme.
- Add twinkle lights around the edge of the roofline to look like a traditional house.
- Spray snow onto the roof and around the edges of each log.
- Add figurines like penguins, reindeer, and elves to go alongside the building.
- Include shutters on windows, a working cardboard door, curtains on windows, or even attach a small cardboard walkway you have painted with a brick look.
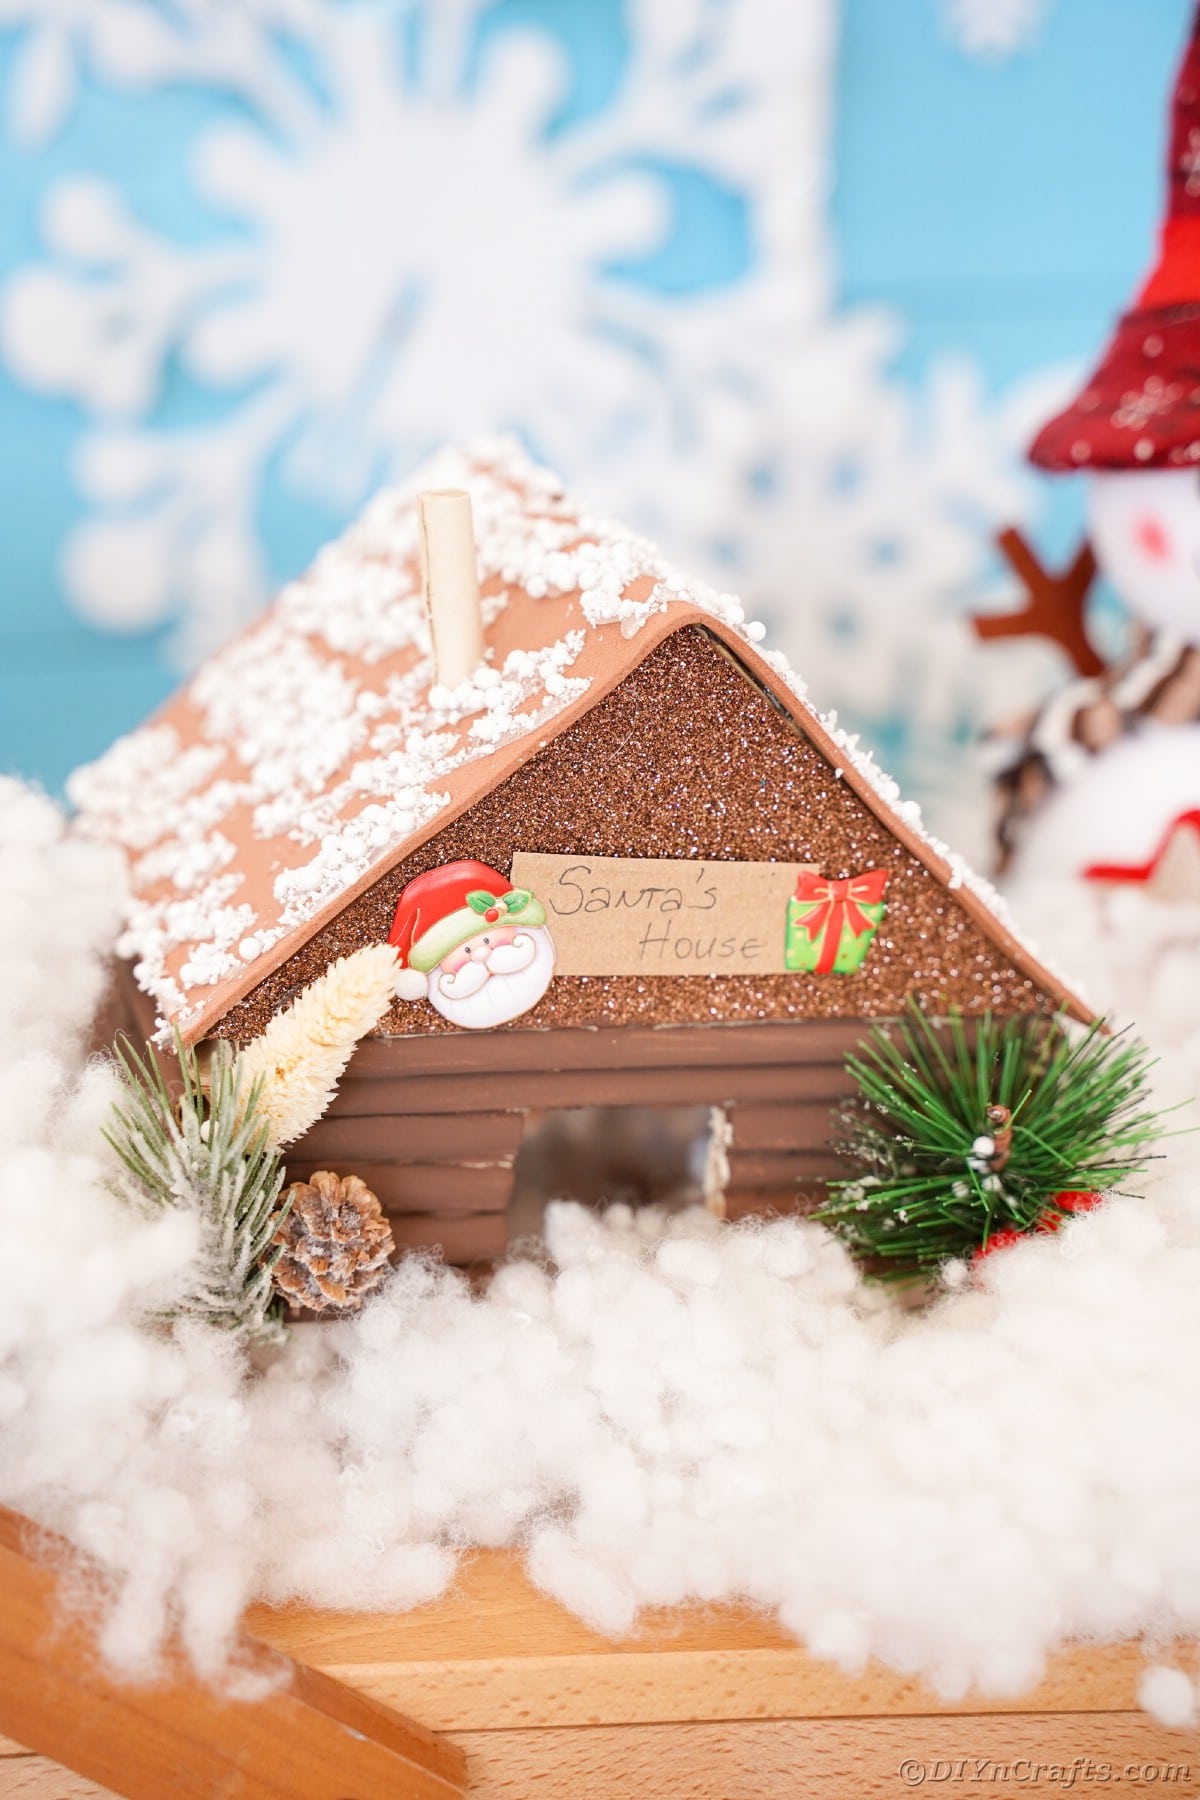
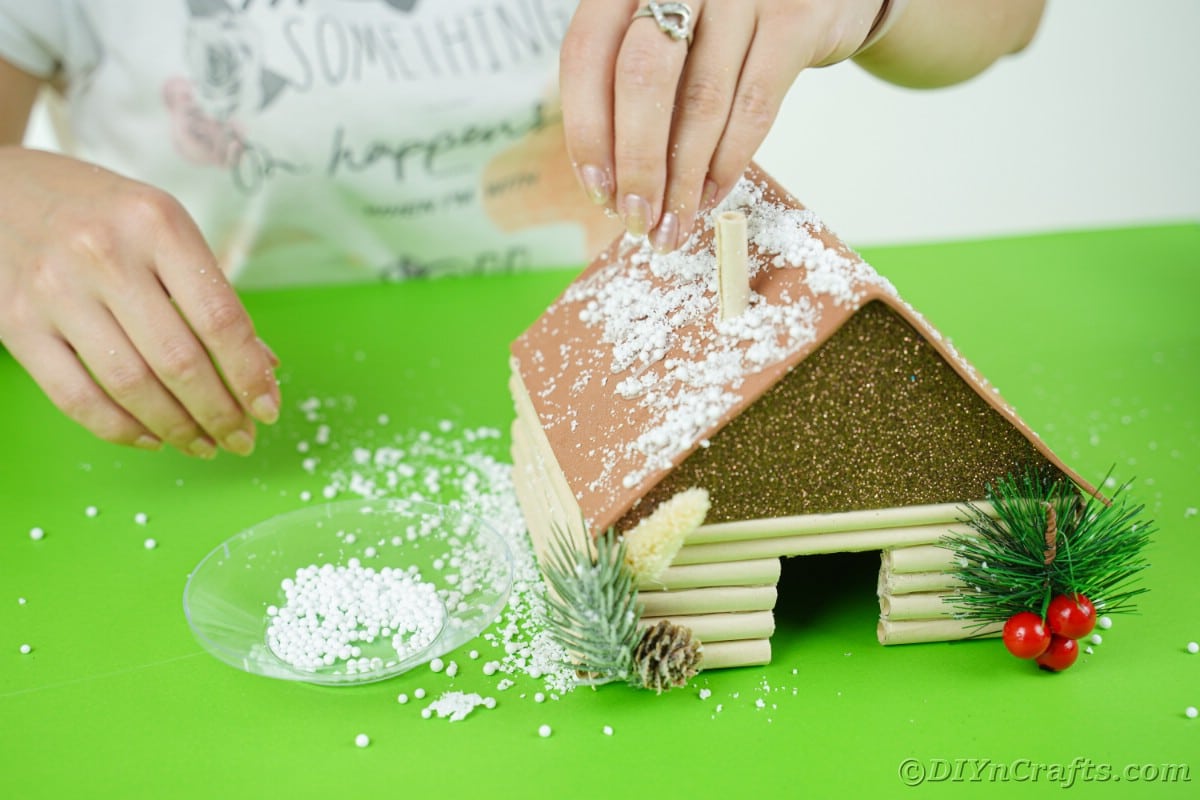
I used textured snow on top of the log cabin but you can use fake snow or even stuffing to make the snow on the roof. You can also add fake snow or stuffing along the base of the cabin.
Where Should I Display This Log Cabin Craft?
This log cabin craft is perfect for decorating around the house. You can use it on shelves or on the mantle. It can be part of a centerpiece for the table too. Santa's workshop can be added to your holiday village or around a train track. It can be used as part of any winter village and it will fit right in.
You can also let kids play with this log cabin. They can place small toys inside and use it while they are playing pretend. Kids will love to bring Santa's Workshop into their creative playtime. What a fun way to celebrate over the holidays.
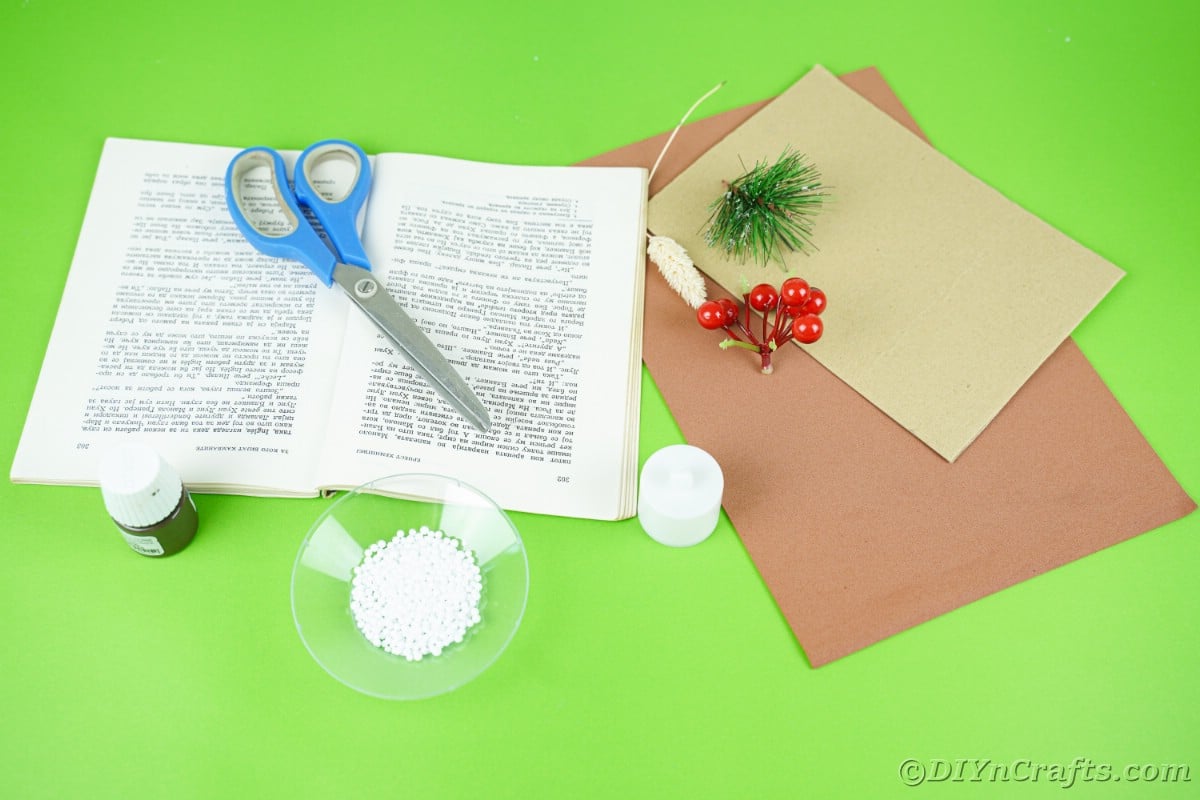
Supplies Needed
- Logs made from paper, wood, or twigs
- Cardboard
- Brown foam paper
- Glitter brown foam paper
- Fake snow
- Brown paint
- Fake greenery and berries
- Santa's workshop sign
- Paintbrush
- Scissors
- Hot glue gun
- Hot glue stick
How to Make Santa’s Workshop Log Cabin
If using paper logs, tear pages out of a book or cut pages to the same size.
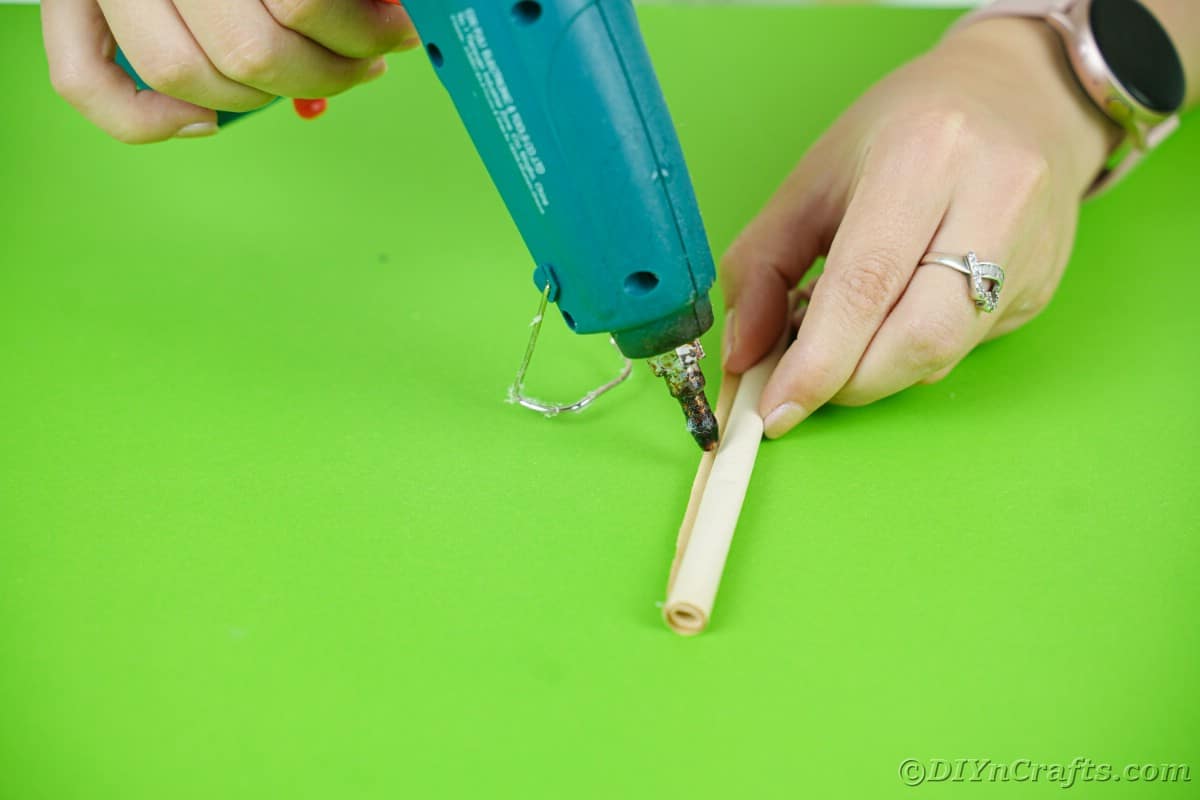
Then roll them into logs and glue the edges to secure them.
Make between 20 to 30 logs depending upon the size of your house. If you are using wooden logs, take the time to cut them all to the same length.
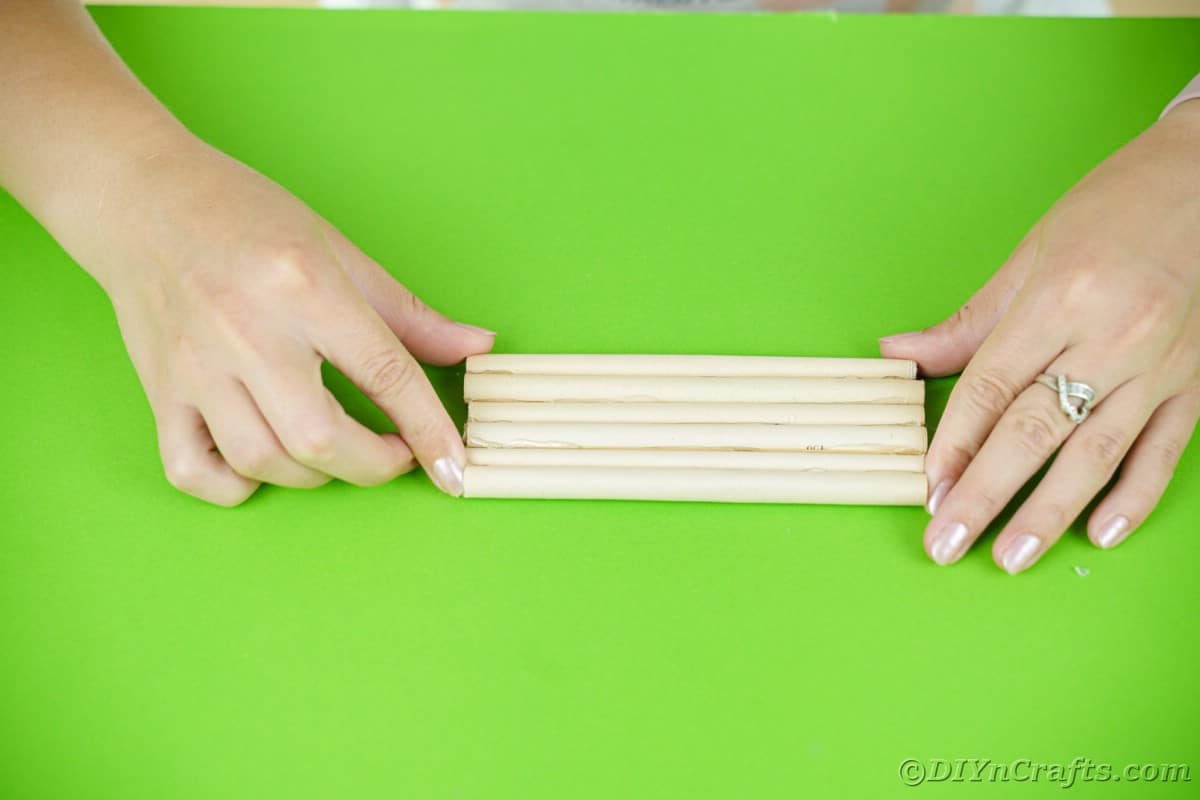
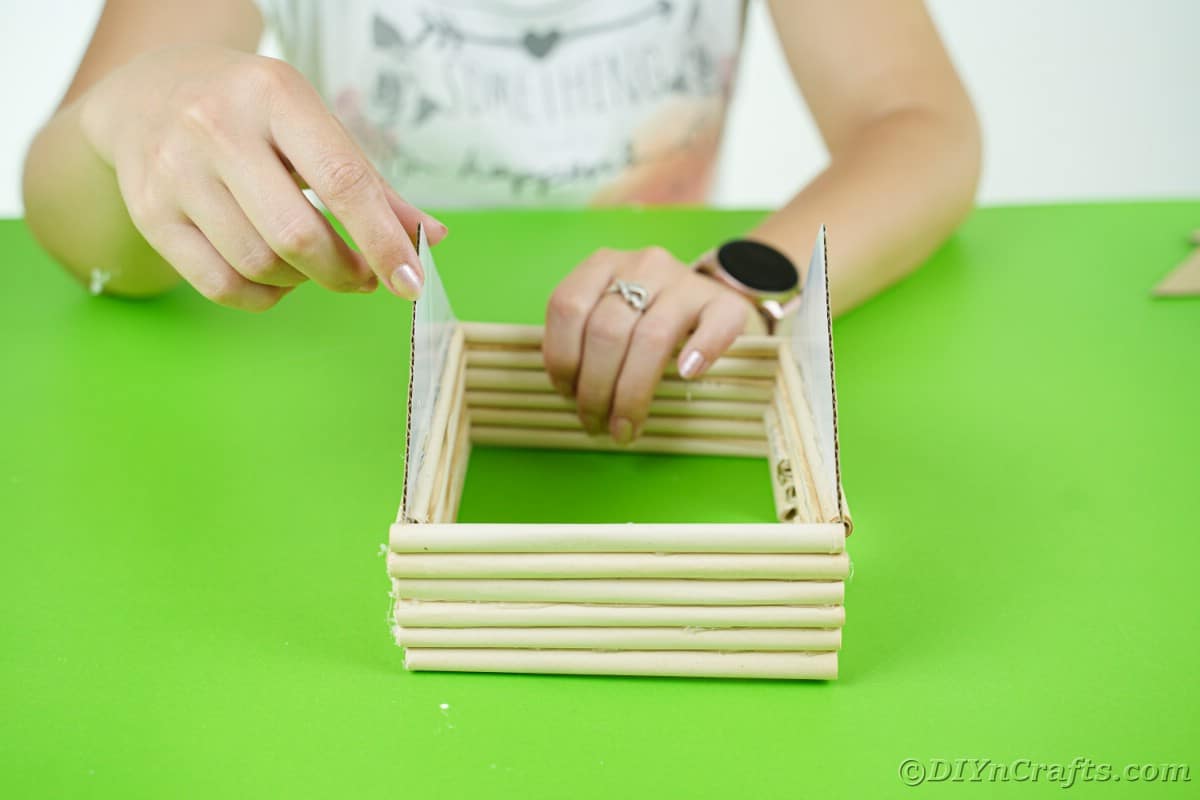
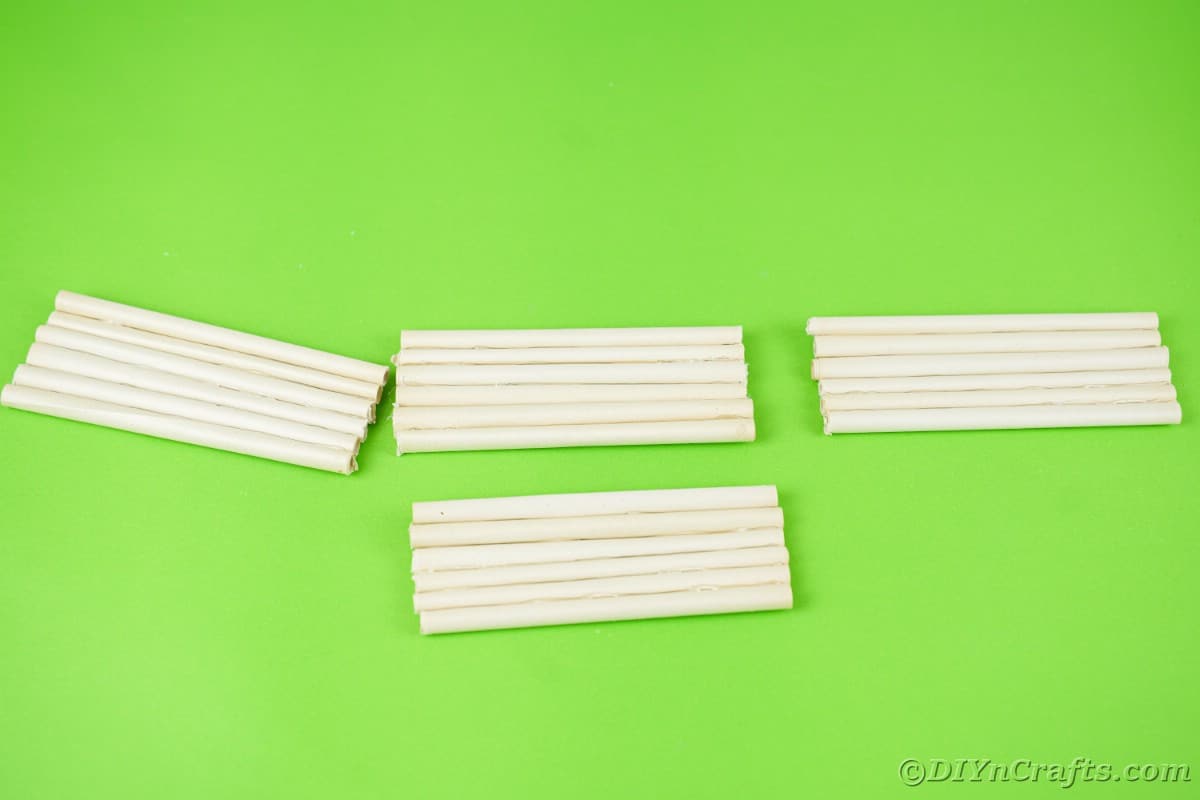
Glue the logs together stacking on top of each other to create walls. I glued 5 logs together and did this 4 times to start.
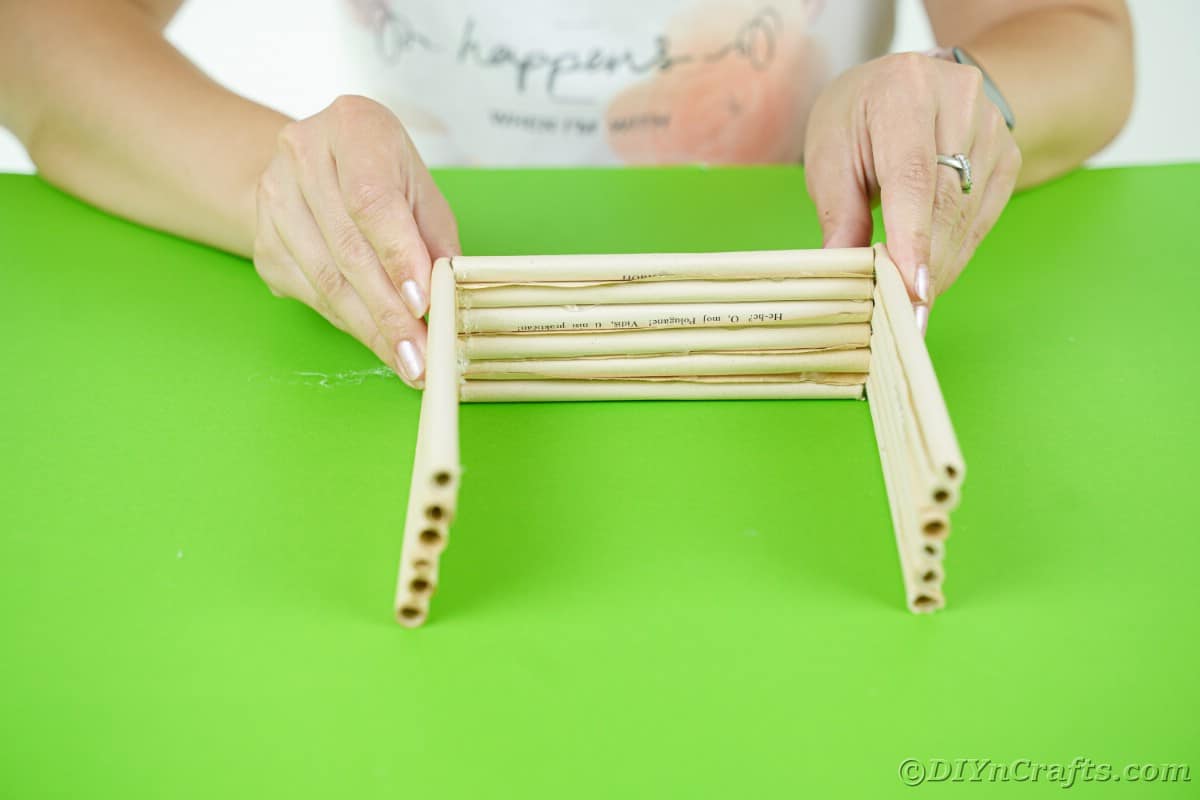
Then, glue 3 of the walls together so that there is a back wall and two side walls.
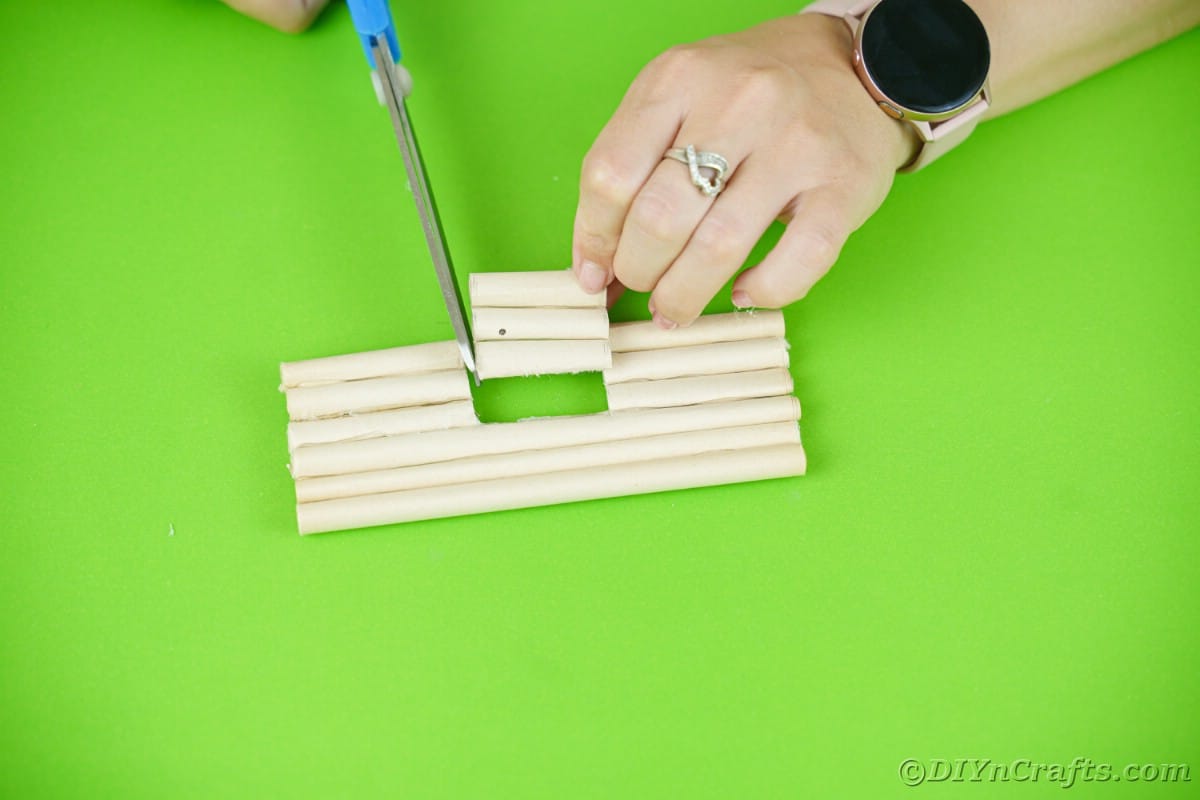
On the 4th wall, trace a door in the middle and then cut it out.
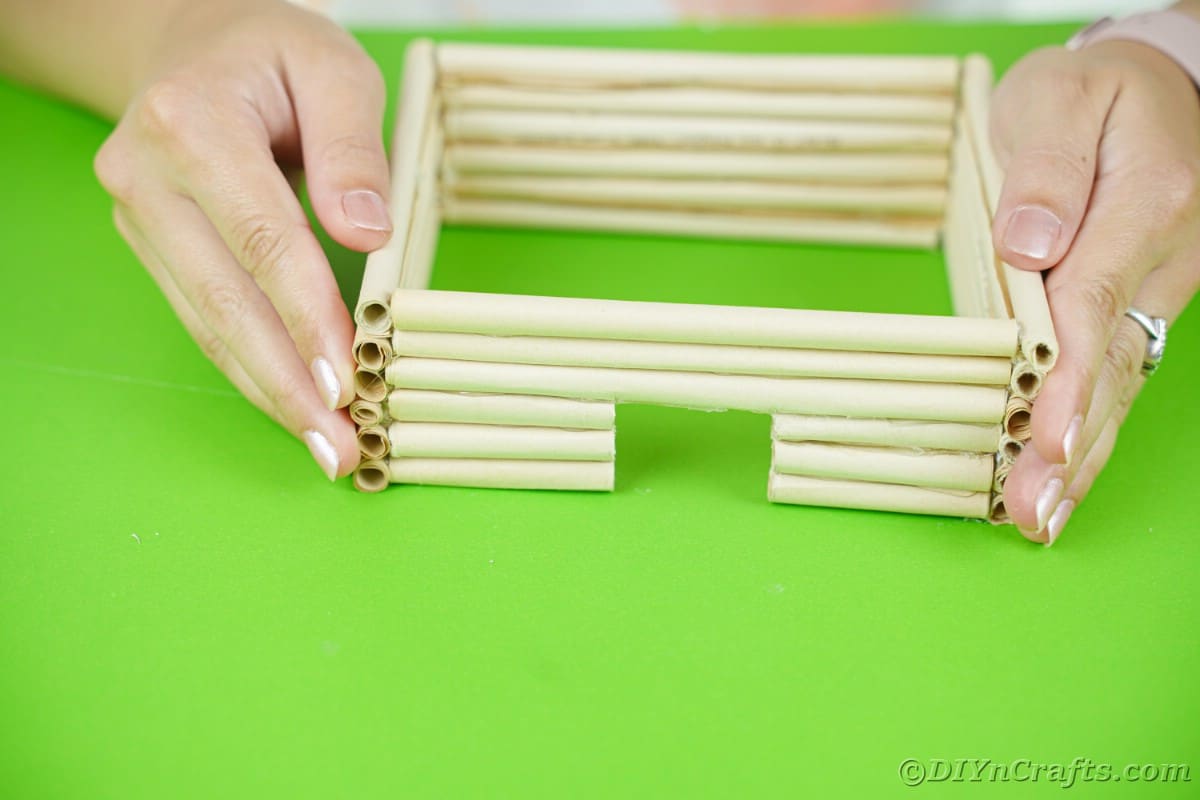
Attach to the other 3 walls making it a house base.
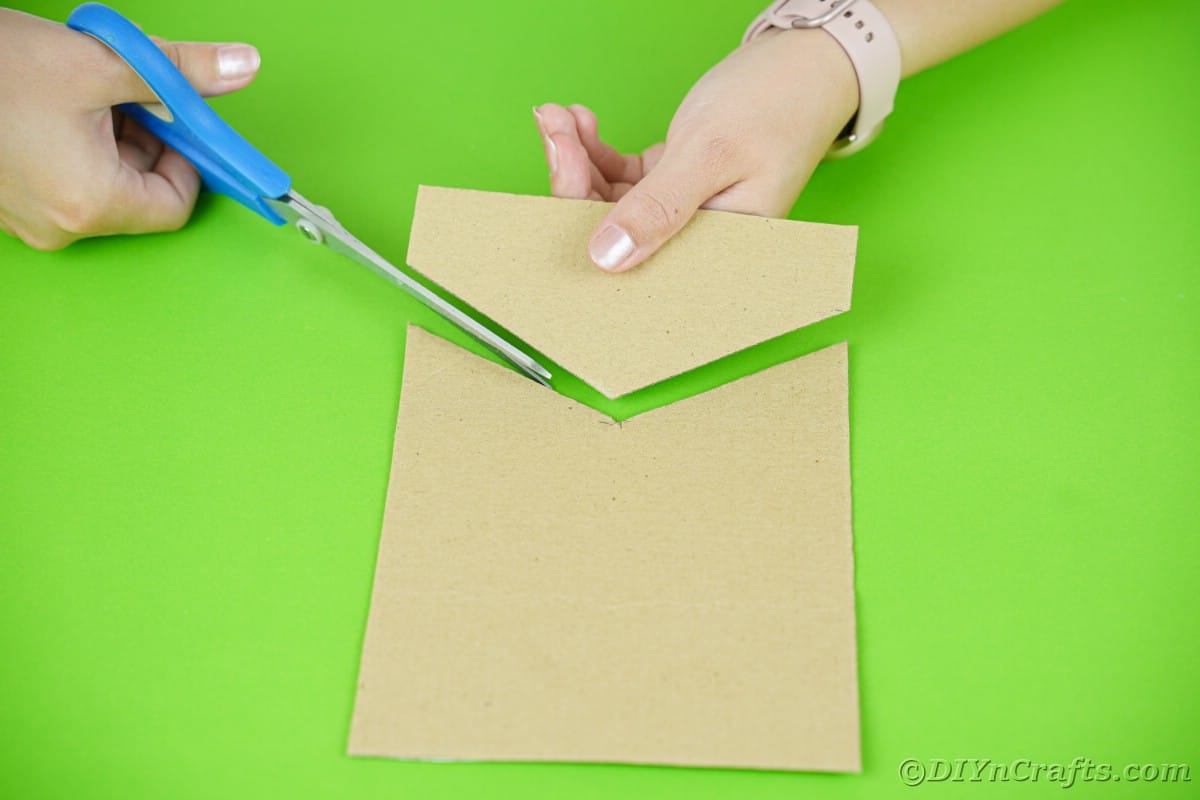
Measure the width of the house onto a piece of cardboard, then use a ruler to measure and cut the cardboard into a triangle shape for the end of the home. Use this to trace a second triangle to create the front and back "roof" top of the home.
Glue these cardboard triangles onto the top of the house base on the front above the open door wall and on the back wall.
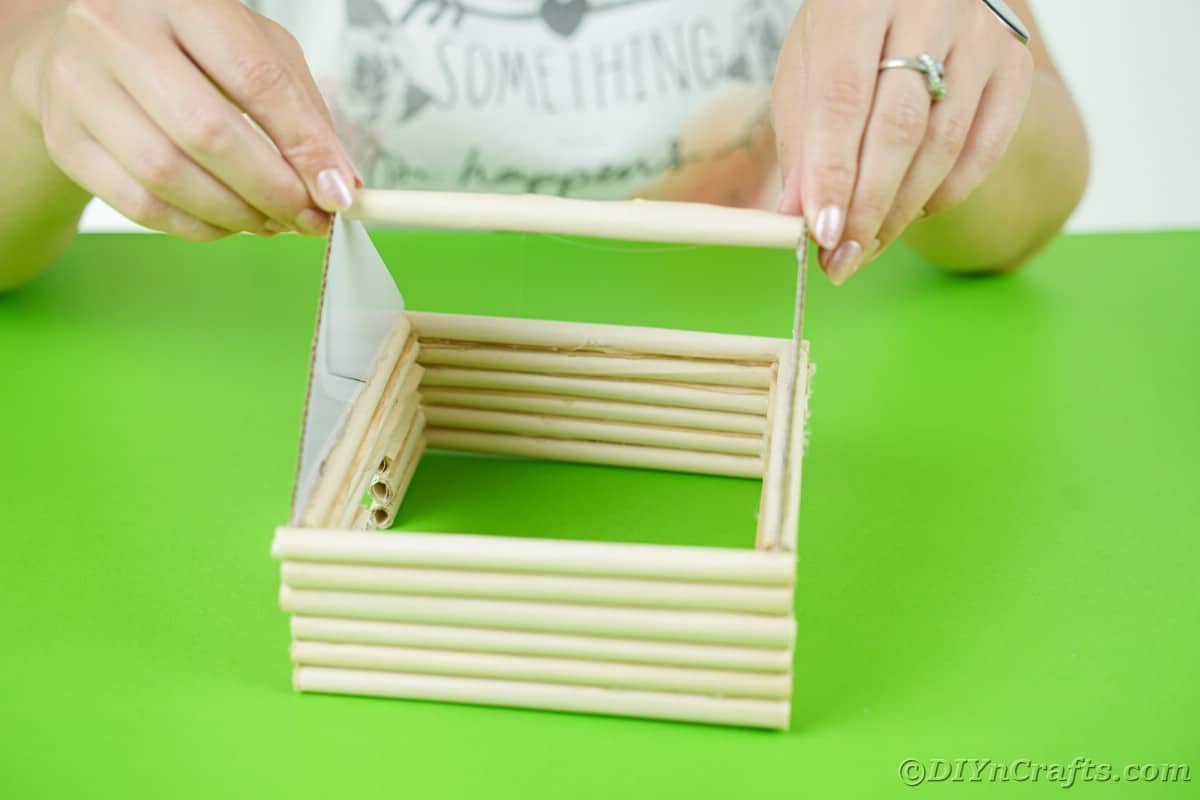
Next, glue a single log on the center between the two sides to secure that front and back in place even better.
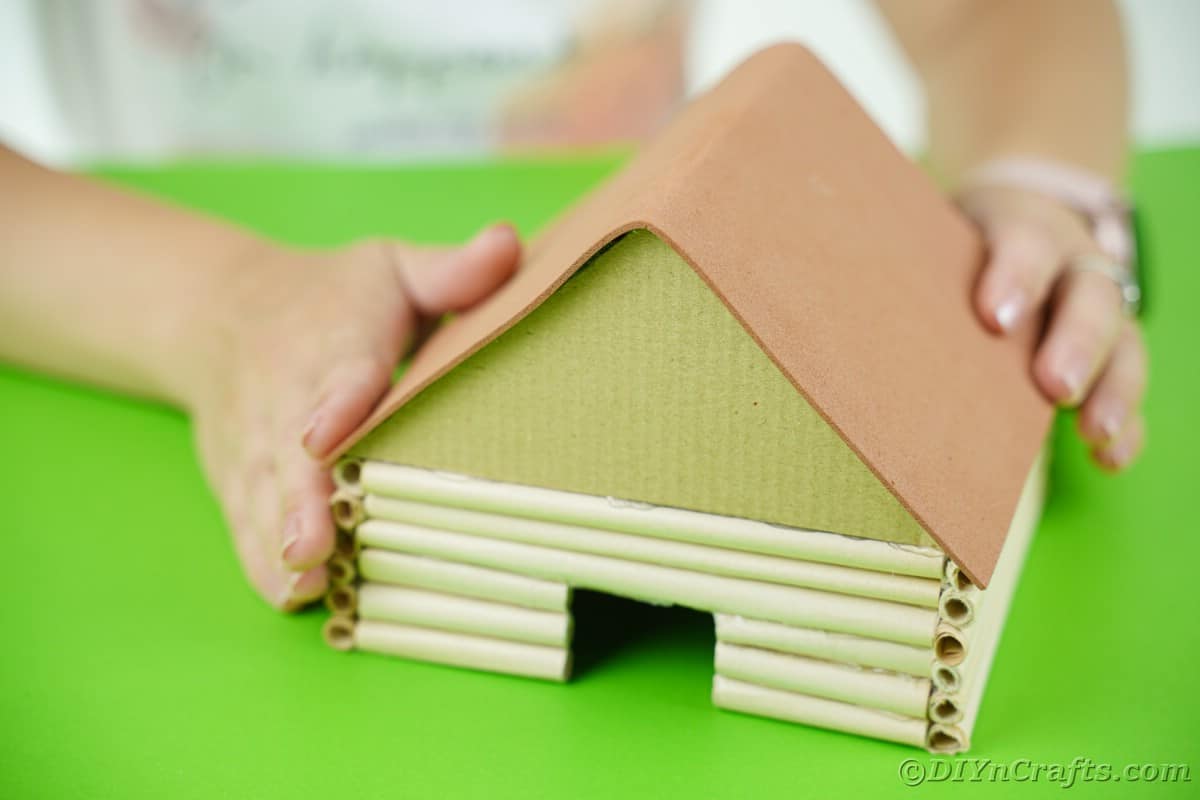
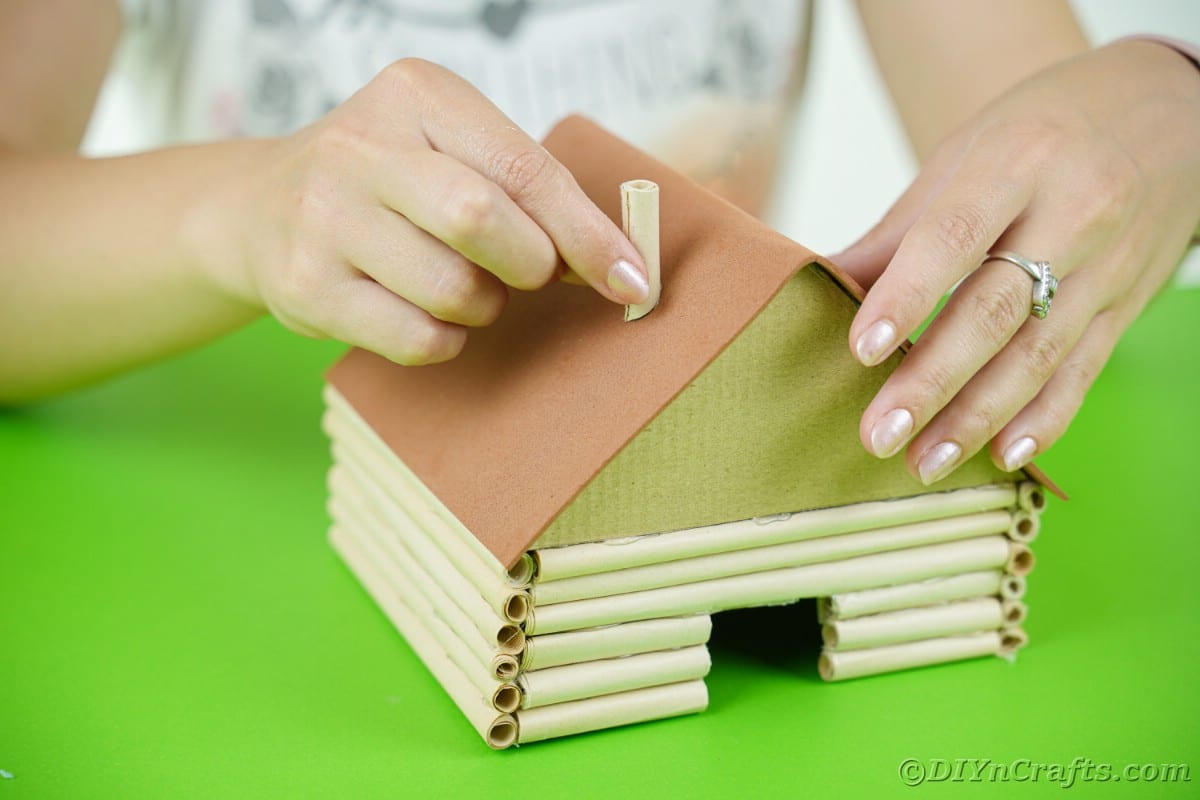
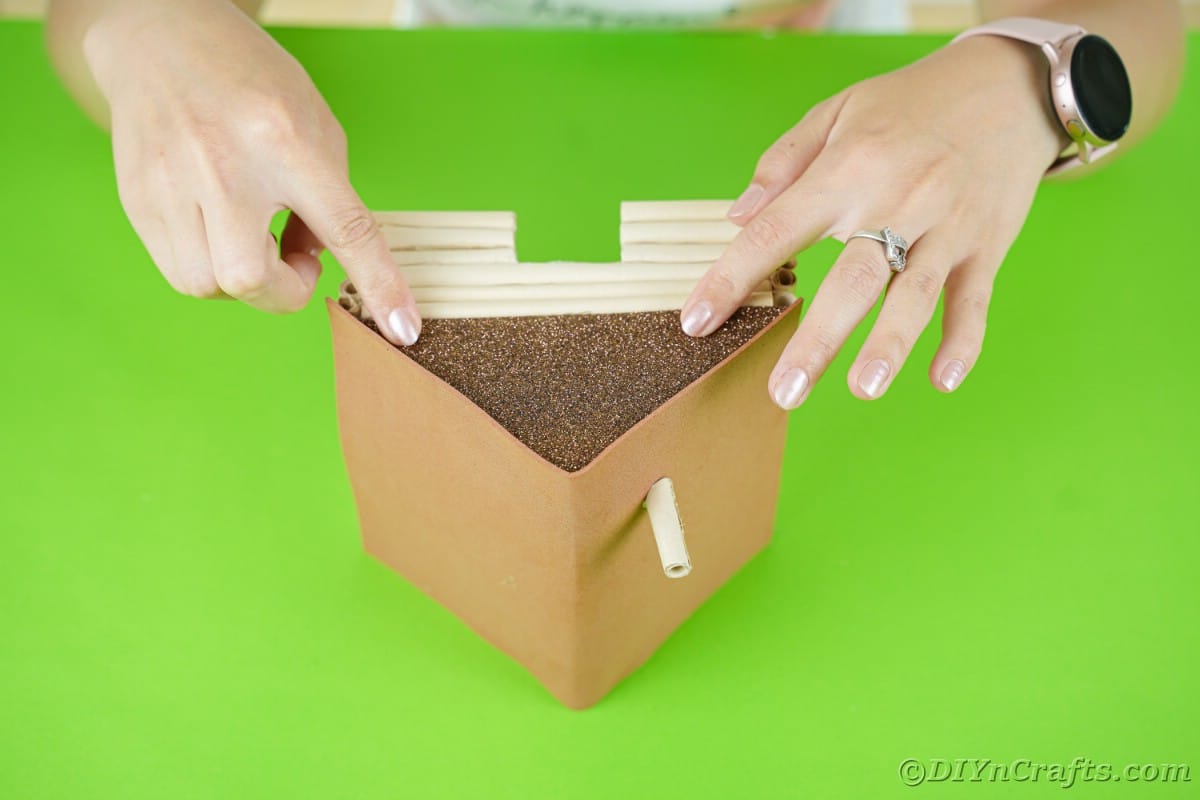
Measure and cut a piece of cardboard, cardstock, or foam paper to lay over the top to create a roof. Bend in the middle to create that roofline you expect.
Glue into place along the edges of the two ends of the home and the top logs on each side.
Cut a small piece of a "log" at an angle and glue it in place on top of the roof to look like a chimney.
Measure and cut two triangles of glitter foam paper to fit over each end of the house. Peel off the backing or glue into place on each end.
Add squiggles of glue along the roof and attach snow using beads, fake snow table scatter, or cotton balls.
Now, if painting your cabin, you do so using a traditional paintbrush and craft paint, then set aside to dry.
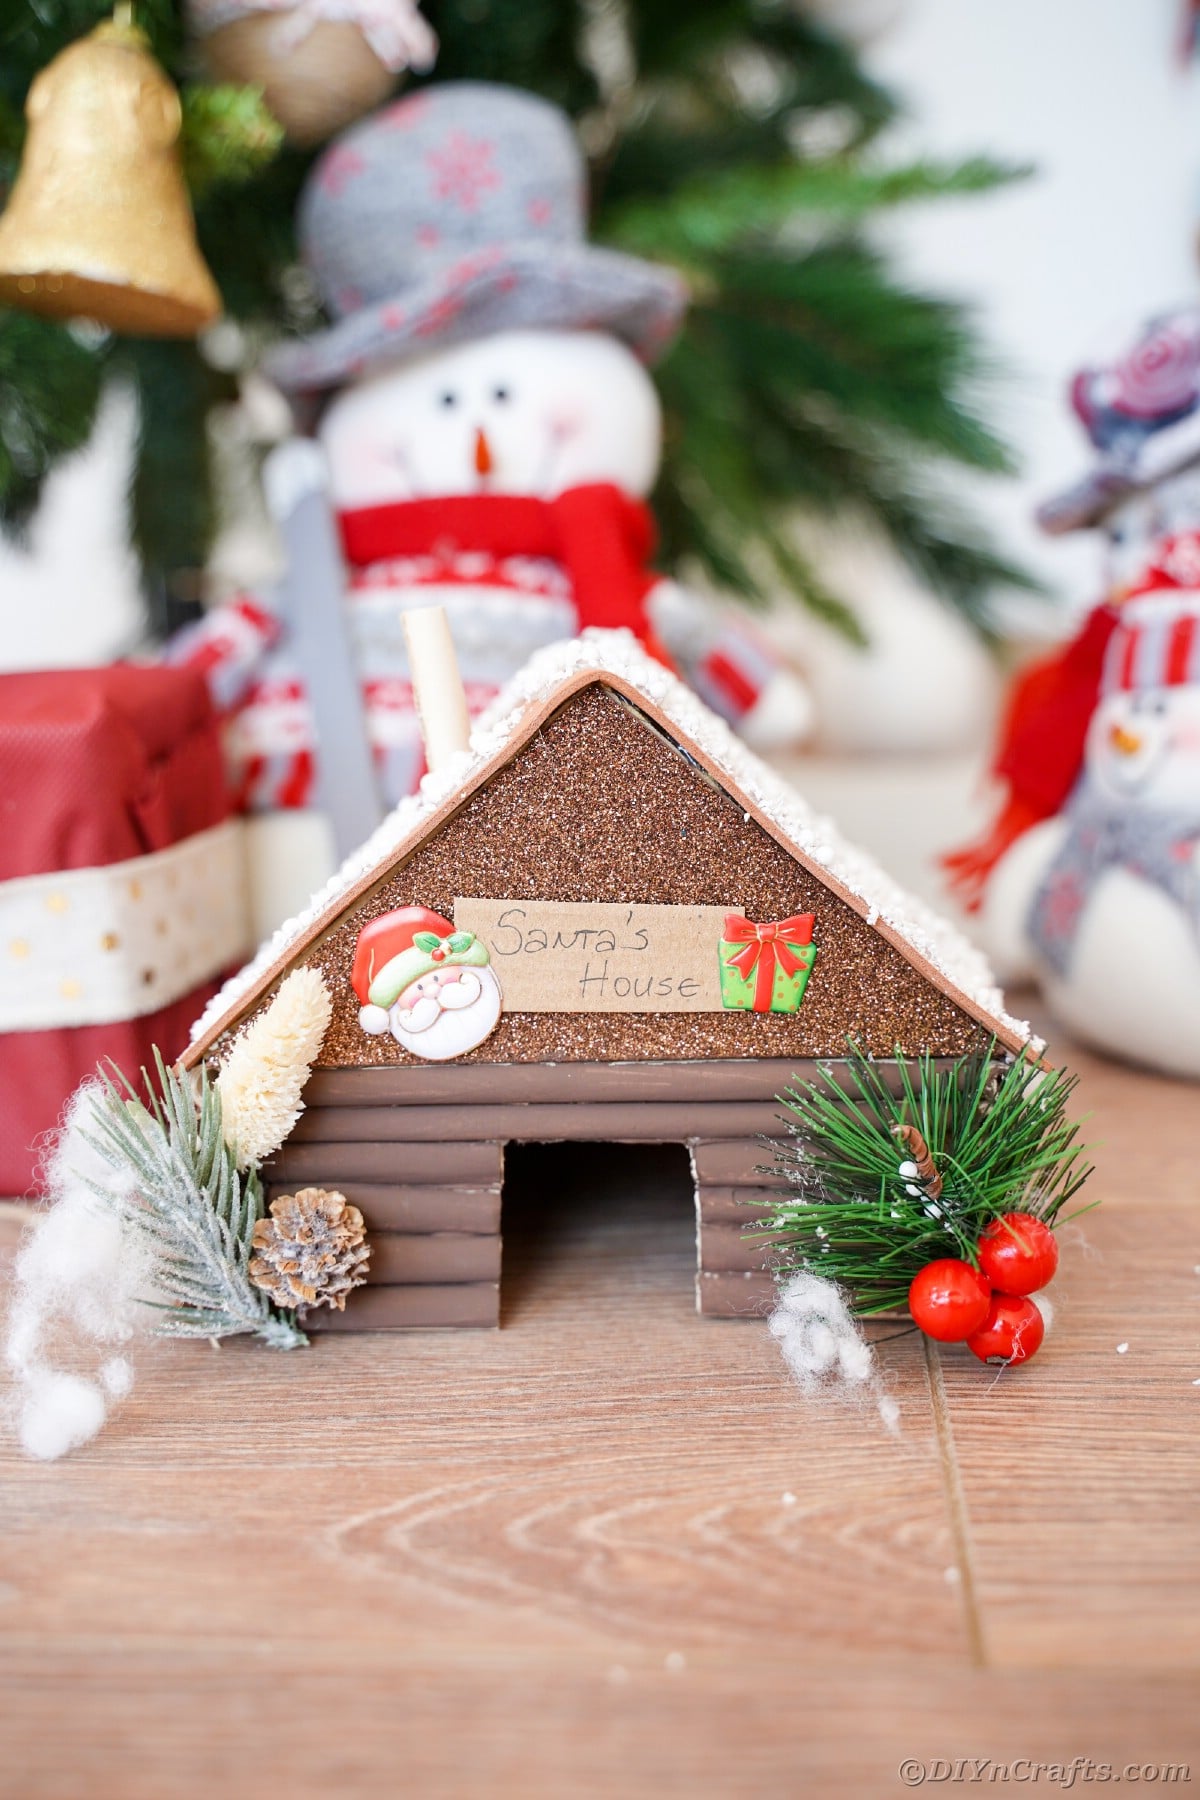
Once the cabin has dried, add a sign that says "Santa's workshop" onto the front of the house.
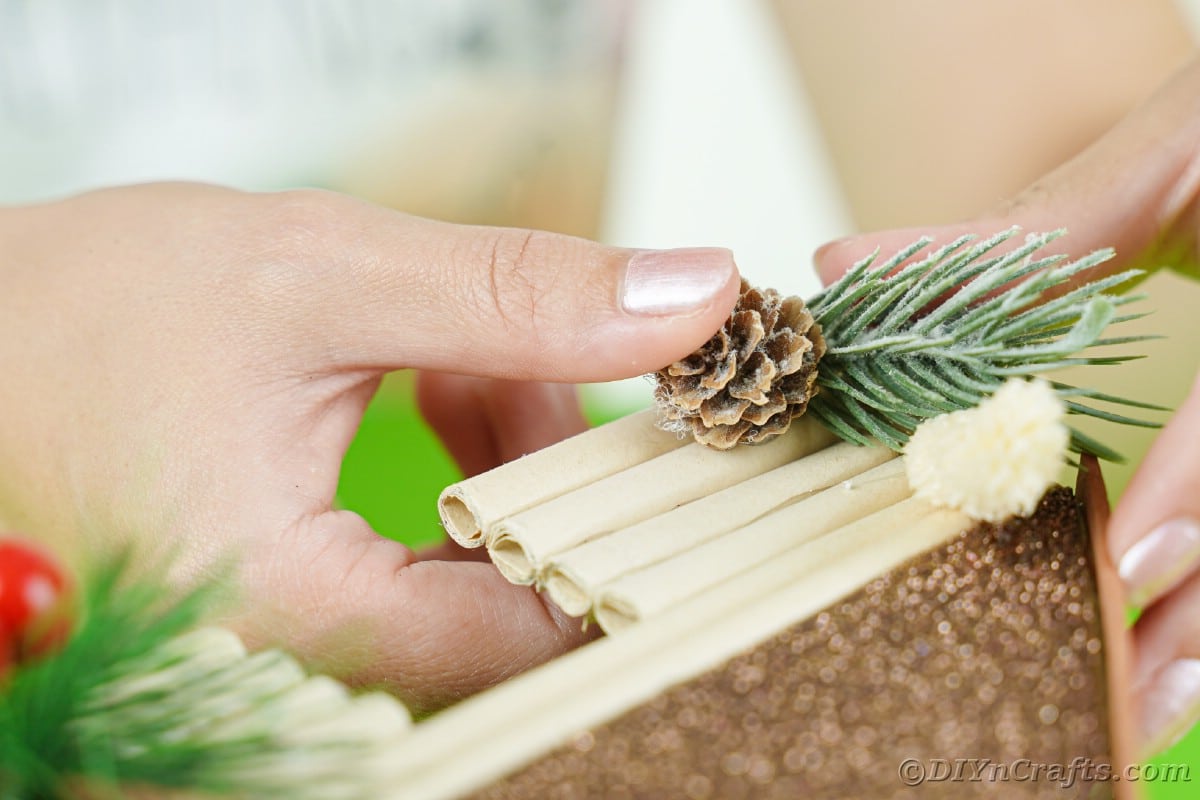
Decorate with additional holiday stickers, figurines, and greenery before displaying.
Display on your table, mantle, or with your winter village scene.
More Santa Claus Crafts
If you want or need more ideas to add Santa to your holiday season, below are a few of my favorites. We love the fun tradition of Santa Claus, and below are some cute crafts that bring that right to your door. Print these tutorials, bookmark them for later, or pin them to Pinterest!
- Rustic Old Book Page Santa Claus Decoration
- Festive Santa's Belt Christmas Door Wreath
- Upcycled Plastic Bottle Santa Boot Decoration
- Rustic Paintbrush Santa Claus Decorations
Rustic Cardboard Log Cabin Santa's House Craft
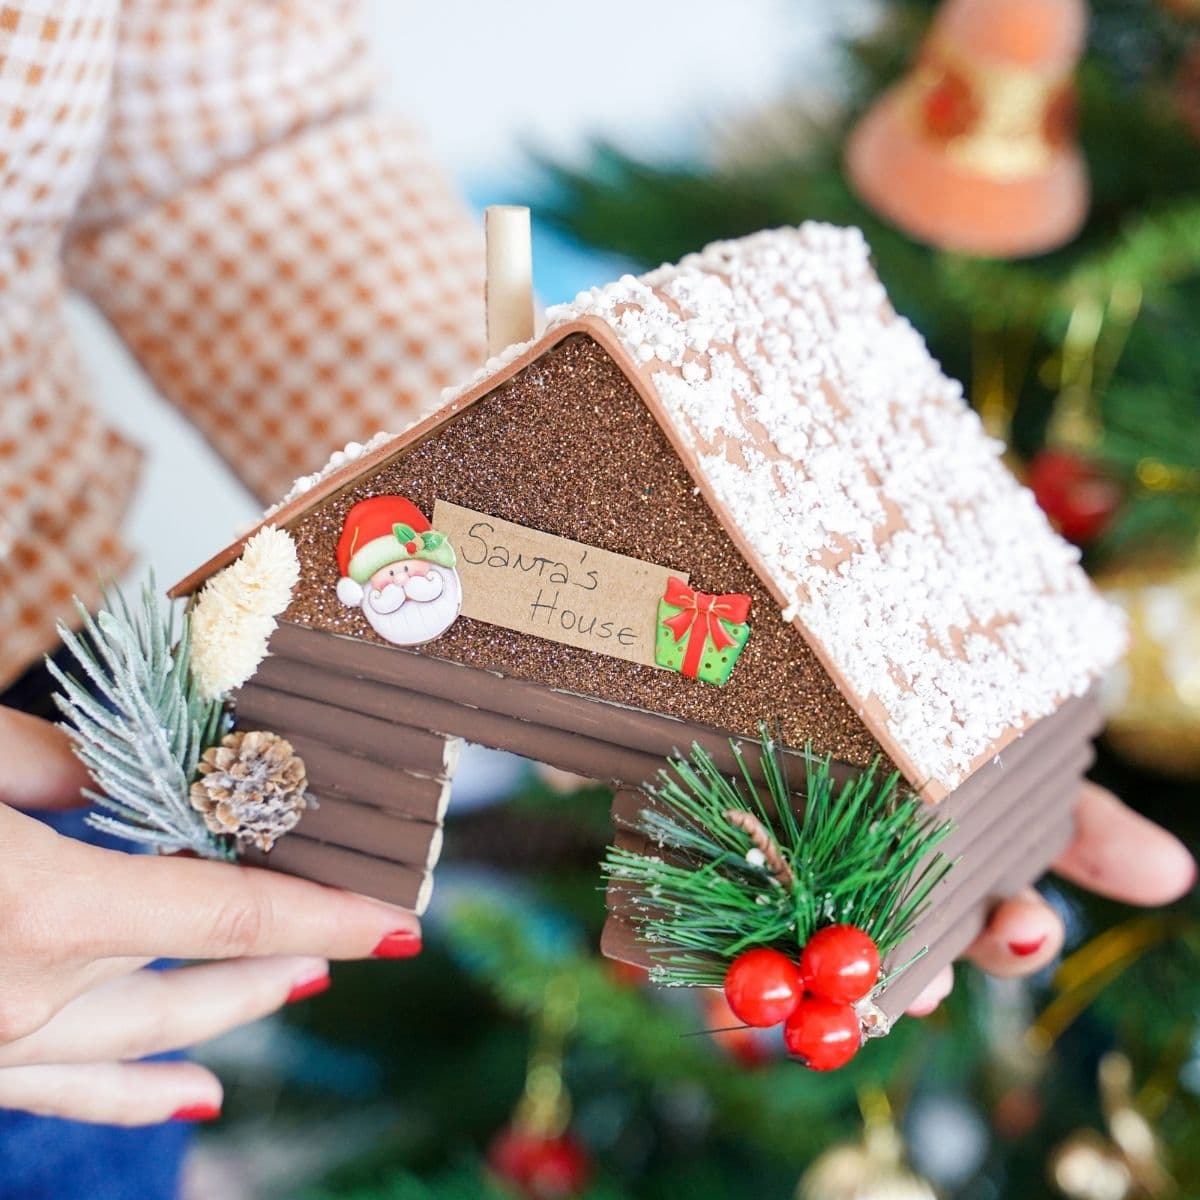
Build your own adorable little rustic log cabin Santa's workshop for your holiday winter scene this year! A great craft for kids to help you make!
Materials
Instructions
- If using paper logs, tear pages out of a book or cut pages to the same size, then roll them into logs and glue the edges to secure. Make between 20 to 30 logs depending upon the size of your house. If you are using wooden logs, take the time to cut them all to the same length.
- Glue the logs together stacking on top of each other to create walls. I glued 5 logs together and did this 4 times to start.
- Then, glue 3 of the walls together so that there is a back wall and two side walls. On the 4th wall, trace a door in the middle and thence ut it out. Attach to the other 3 walls making it a house base.
- Measure the width of the house onto a piece of cardboard, then use a ruler to measure and cut the cardboard into a triangle shape for the end of the home. Use this to trace a second triangle to create the front and back "roof" top of the home.
- Glue these cardboard triangles onto the top of the house base on the front above the open door wall and on the back wall.
- Next, glue a single log on the center between the two sides to secure that front and back in place even better.
- Measure and cut a piece of cardboard, cardstock, or foam paper to lay over the top to create a roof. Bend in the middle to create that roofline you expect.
- Glue into place along the edges of the two ends of the home and the top logs on each side.
- Cut a small piece of a "log" at an angle and glue it in place on top of the roof to look like a chimney.
- Measure and cut two triangles of glitter foam paper to fit over each end of the house. Peel off the backing or glue into place on each end.
- Add squiggles of glue along the roof and attach snow using beads, fake snow table scatter, or cotton balls.
- Now, if painting your cabin, you do so using a traditional paintbrush and craft paint, then set aside to dry.
- Once the cabin has dried, add a sign that says "Santa's workshop" onto the front of the house.
- Decorate with additional holiday stickers, figurines, and greenery before displaying.
- Display on your table, mantle, or with your winter village scene.
Notes
This can be made with toy or plastic logs too!
Recommended Products
As an Amazon Associate and member of other affiliate programs, I earn from qualifying purchases.
-
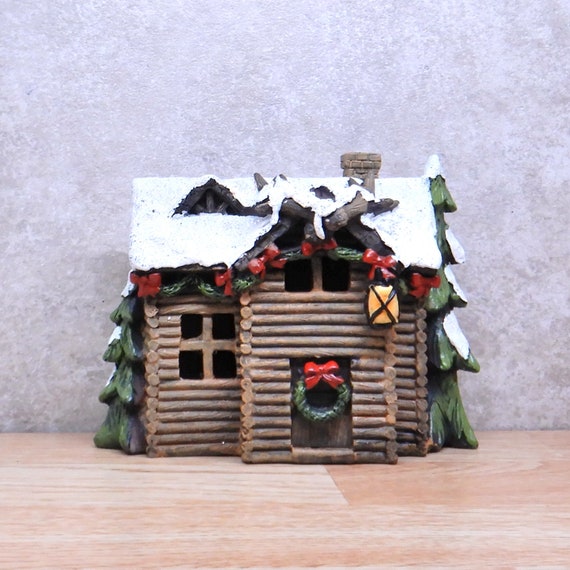 LED Mini Winter Cabin Fairy Garden Miniatures Snow Cabin | Etsy
 -
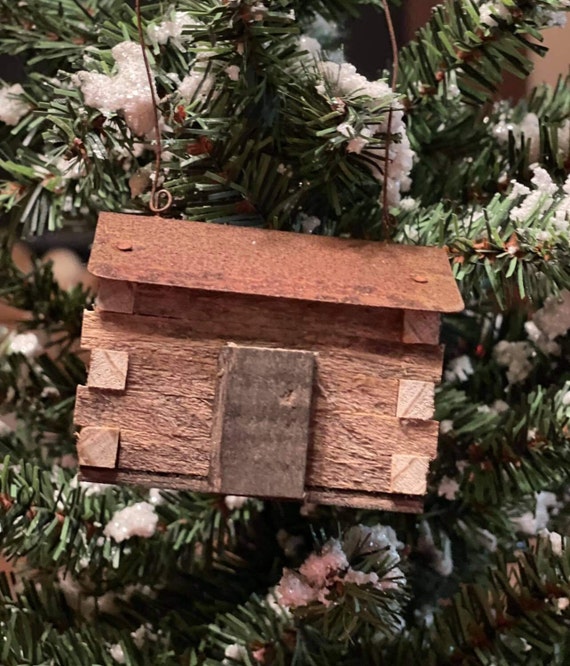 Cabin Ornament/ Each Sold Separately/ Limited Edition/ | Etsy
 -
 LED Log Cabin Fairy House Fairy House Fairy Cottage | Etsy
 -
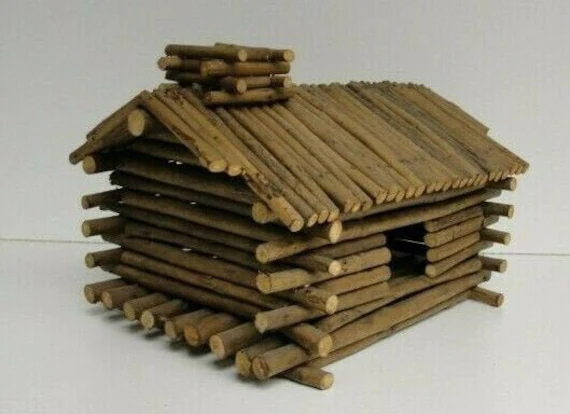 Log Cabin Model Hinged Roof Decor Box Birdhouse Dollhouse | Etsy
 -
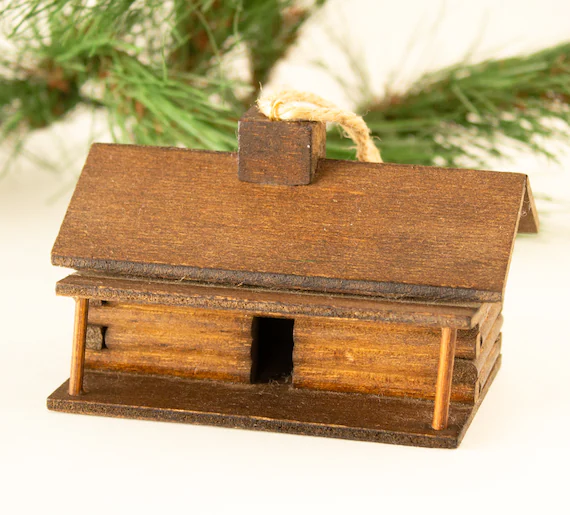 Vintage Christmas Ornament Log Cabin Wood Holiday Ornament | Etsy
 -
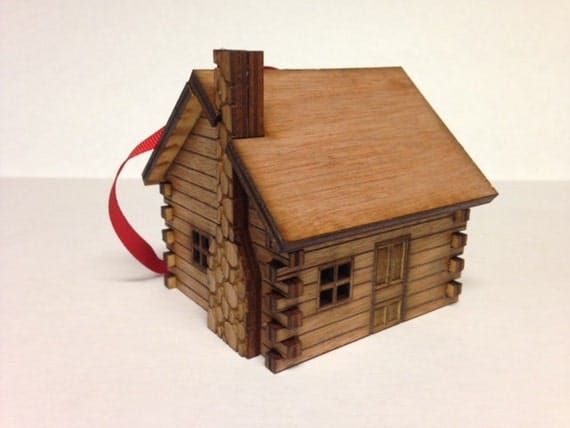 Log Cabin /chimney Personalized | Etsy
Finished Project Gallery
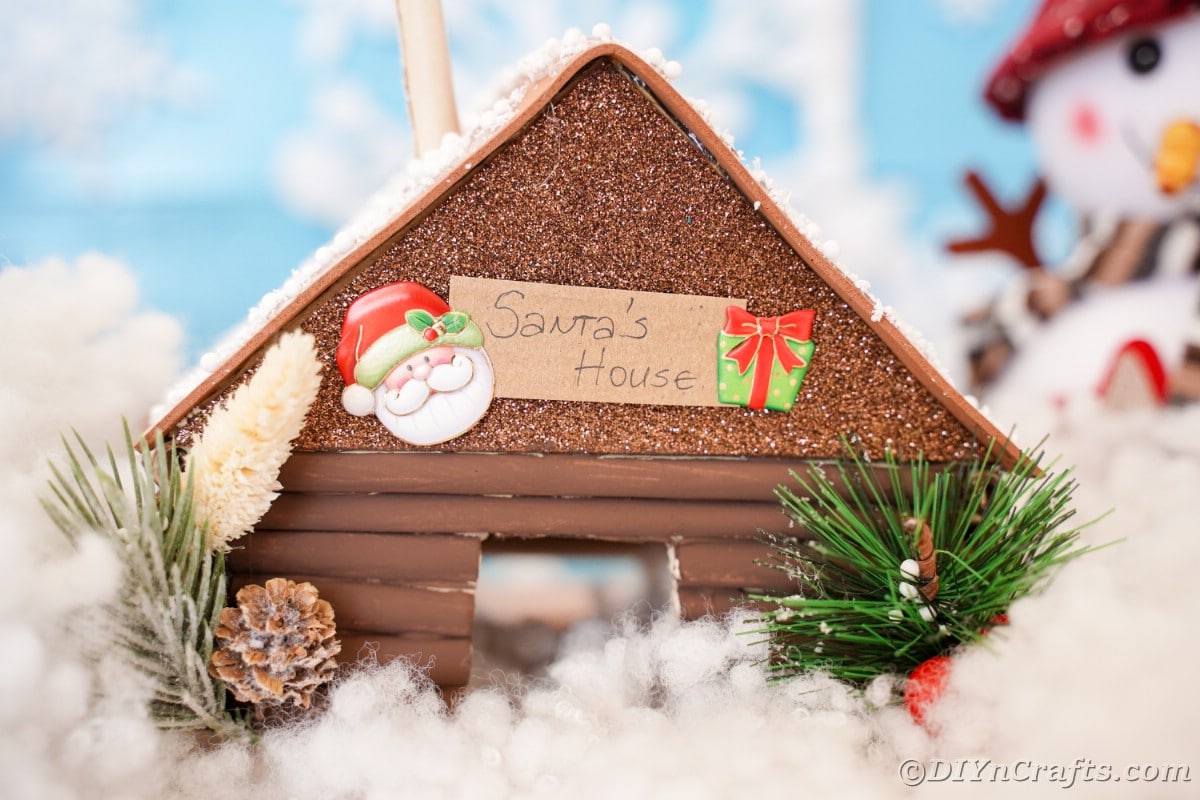
Decorate your workshop with fake snow, trees, signs, or even some fake holiday lights!












Leave a Reply