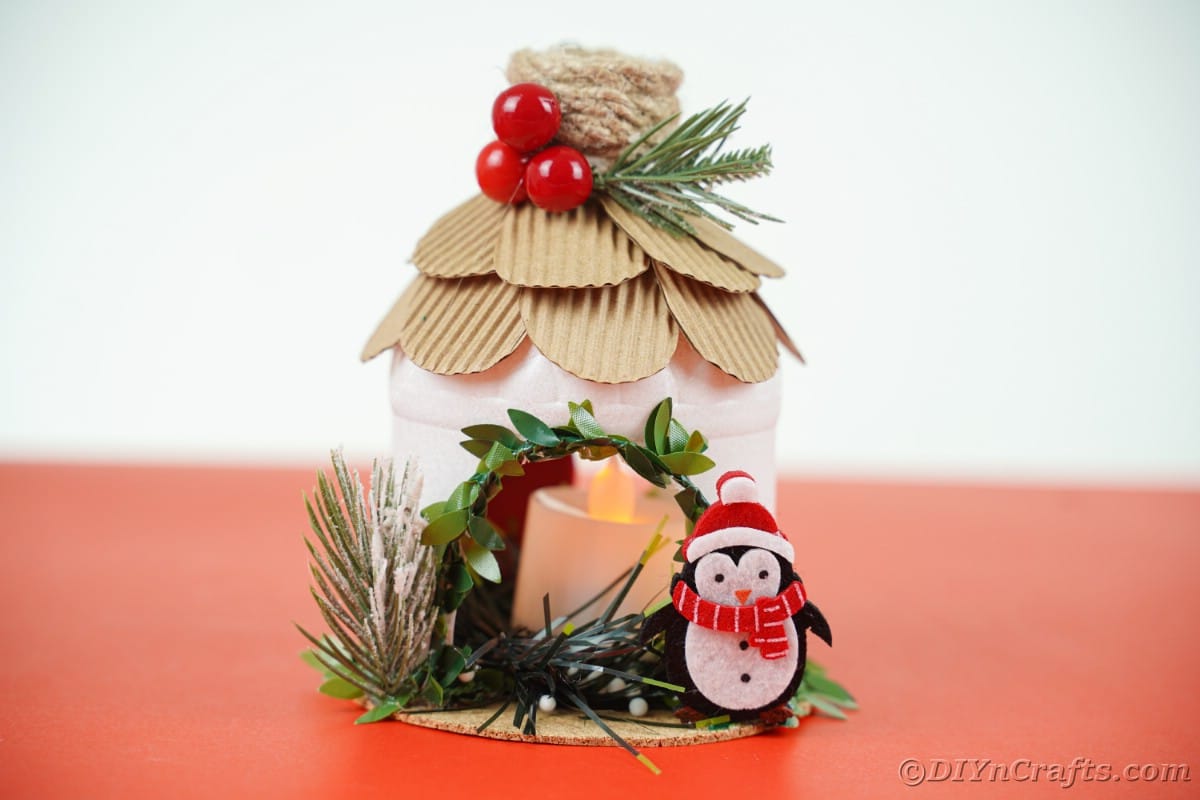
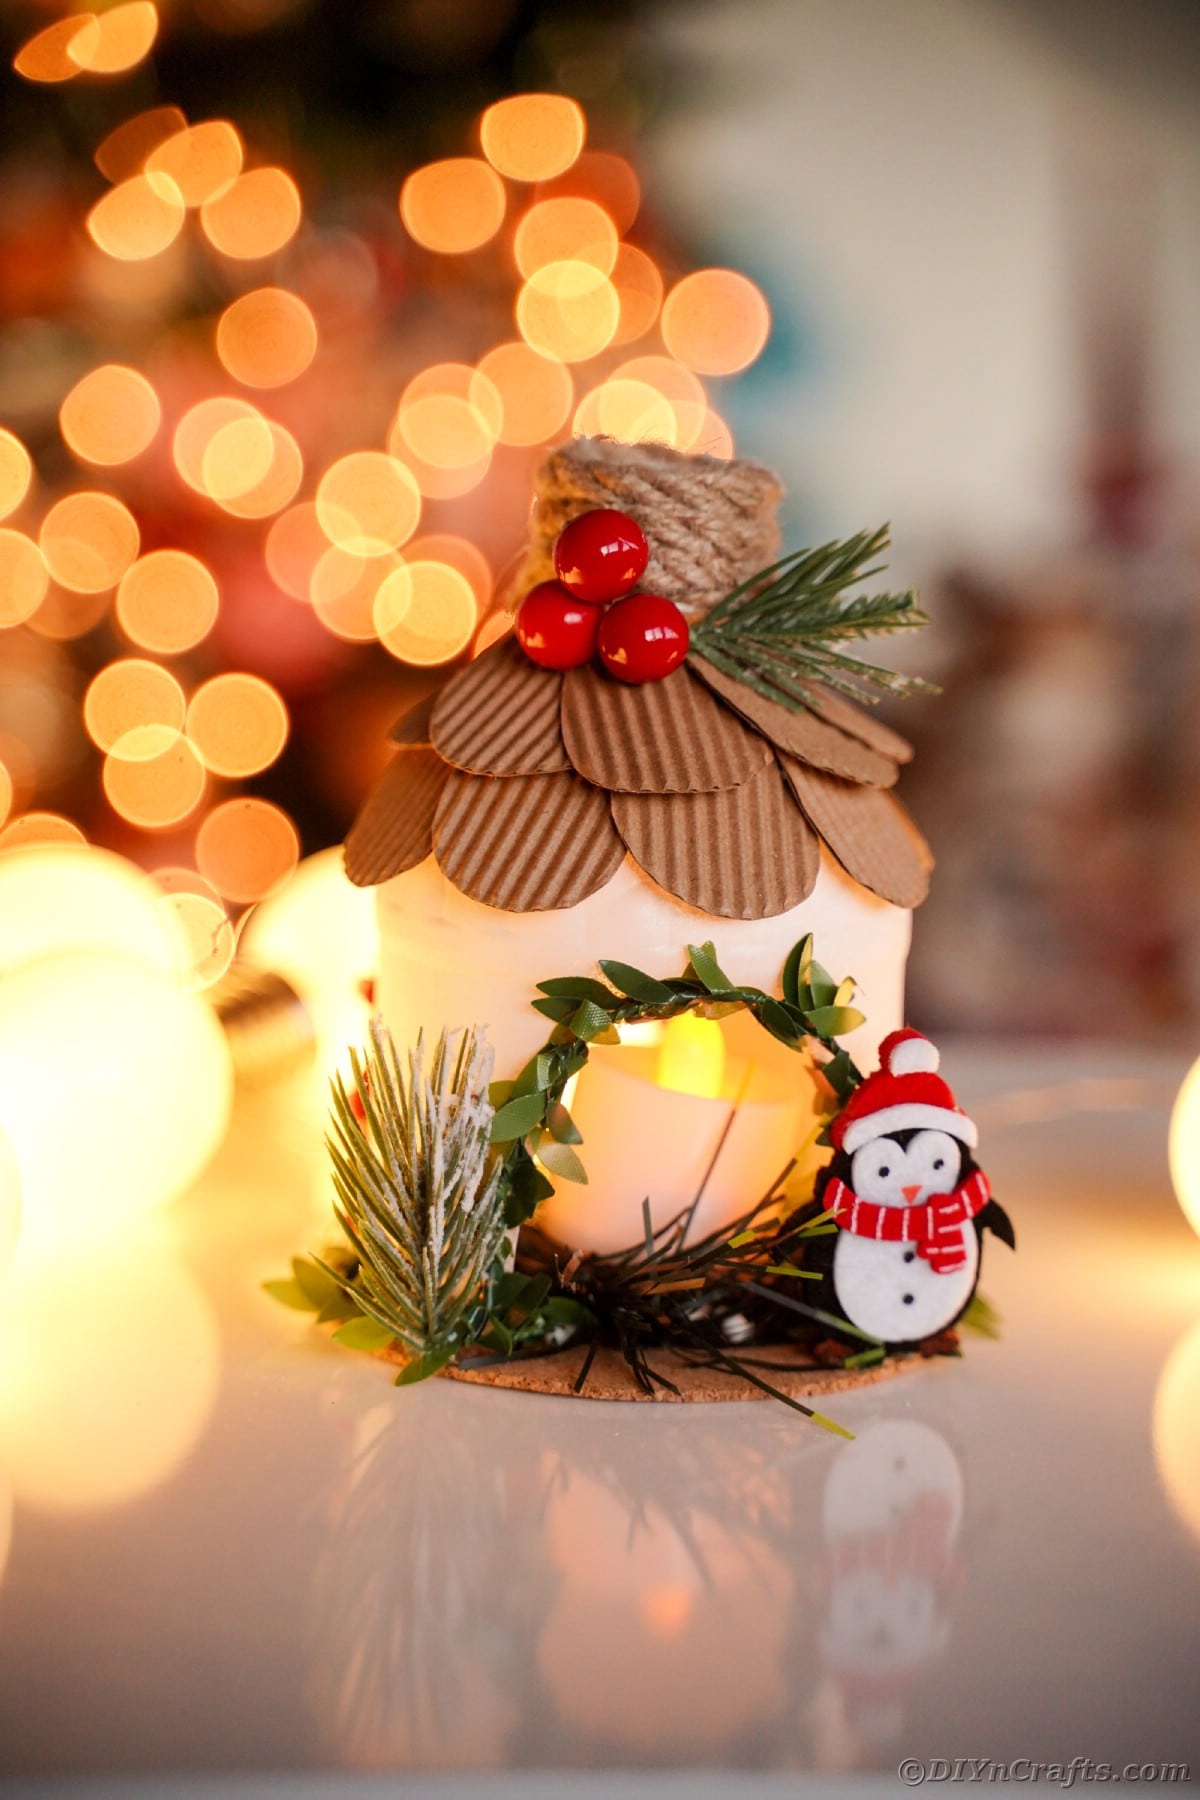
Do you want to know how to make a North Pole House? This is the perfect DIY project for the holidays! You can use any type of craft supplies and decorations that you have on hand. The best part about this house is that it's so easy to make, and it doesn't take much time at all. Make several to decorate the house, or give as gifts. Get the kids involved in this easy holiday craft.
DIY North Pole House
When it comes to crafting cute holiday decorations, it doesn't have to cost a fortune. This DIY North Pole House is a great upcycled craft that uses materials you already have around the house. It is inexpensive and the kids will have a blast. This is one of those crafts that their creativity can shine.
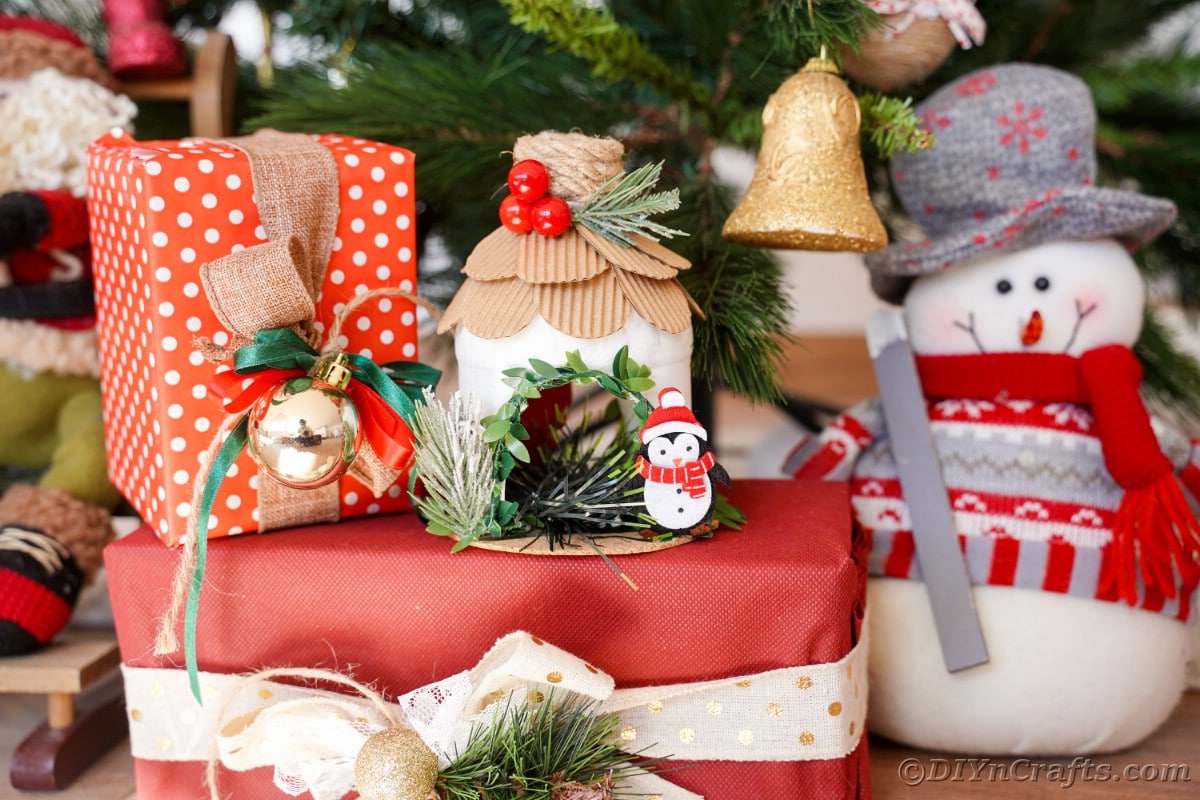
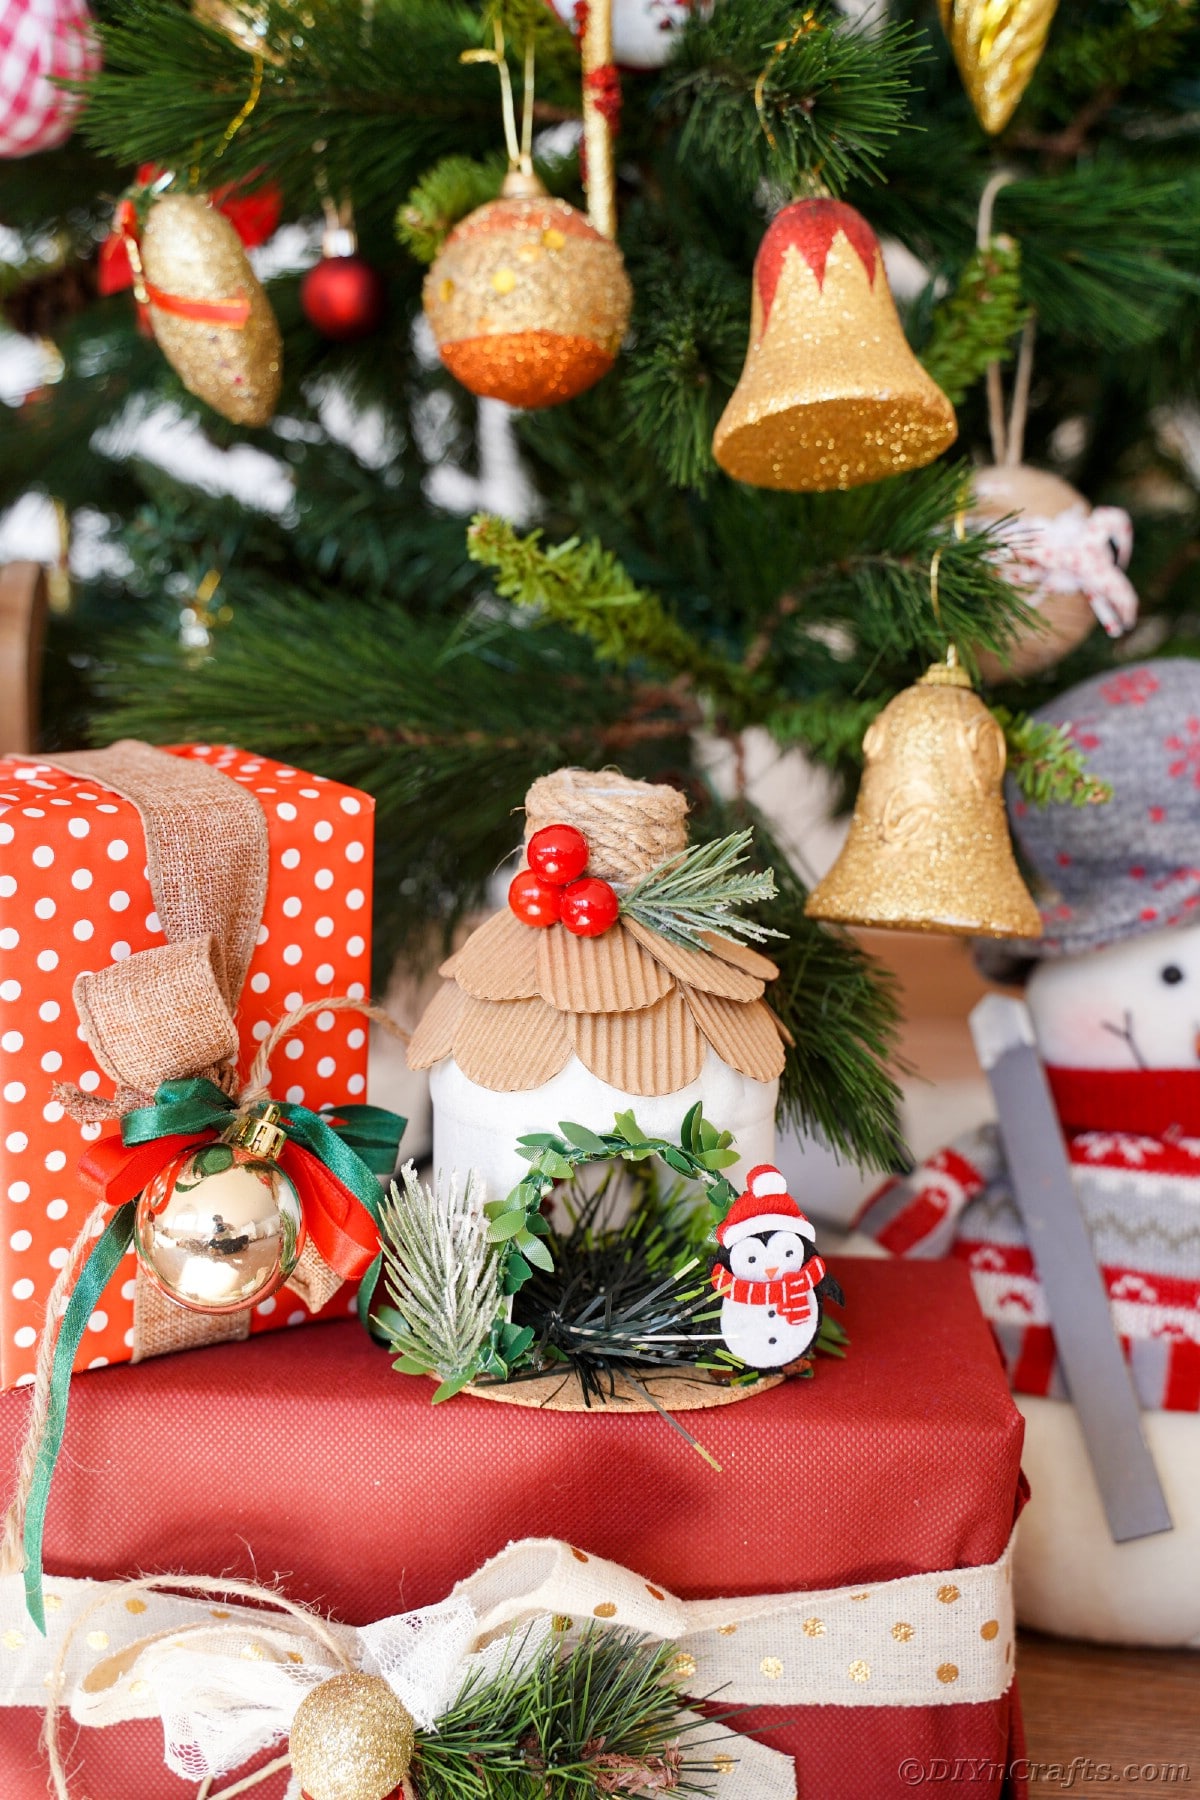
Once you have made your adorable house, you can use it to decorate. Start by posing it next to our little North Pole street sign for a cool theme. Then you can add it to the mantle, or you can use it near your Christmas village. It will also look perfect as a stop for your Christmas train. It would even look adorable if you placed it under the Christmas tree. There are no limits to what you can do with your cute upcycled North Pole House.
What Can I Use as My House Base?
Anything you have on hand is good for this house. You can use a 2-liter bottle that you cut down in half. Personal size soda bottles will work for smaller houses. Of course, if you want something bigger, milk cartons will also work well for this DIY North Pole house.
As with most of our crafts, this is just an idea that you can update to make your own. Use whatever materials you have on hand to not only decorate the house but also to create the house itself. You could even use a laundry detergent bottle similar to how we made this fairy house from a detergent bottle in the past!
What Paint is Best on Plastic Bottles?
You want to use paint that will stick well to the plastic. Spray paint and acrylics work best. Spray paint is good for painting the plastic bottle overall, but when you want to add painted-on details, I recommend using acrylics and a paintbrush.
If you plan to make a few of these, it's best to spray paint them all ahead of time and let them dry before getting started on the decorations. Especially, if you happen to be making this with your kids.
Is It Safe To Burn a Candle Inside This?
No, you do not want to use a real candle inside this house. Because the base is plastic and it may also include cardboard or something similar, you want to make sure you are not using anything that can melt it. You want to use a battery-operated candle like the inexpensive ones from the local dollar store. I find them at Dollar Tree in packs of 4 for $1 frequently.
If you can not find tealight LED candles, you can also use a strand of lights. Wrap the lights on the inside of the house. It creates a sparkle effect that will look just as pretty in this North Pole House. You can get this kind of light at almost any store as well. They come in battery-operated ones as well as traditional electric ones that need to be plugged in. Just be careful to not leave the lights on when you aren't around as they too can melt plastic if they get too warm.
What Other Ways Can I Decorate This House?
When it comes to decorating the house, the possibilities are endless. You can use things like glitter and beads. Of course, you can add things like pom poms or sequins. Another idea is to add colorful felt or other fabric to the house. You can also add different holiday signs and picks.
If you are feeling really inspired, you can go in and add details to your house. I am just painting the house white and calling it done, but you can go in with a paintbrush and add details. Paint little windows, or if the house is more of an igloo, you can add a brick-like design to the outside.
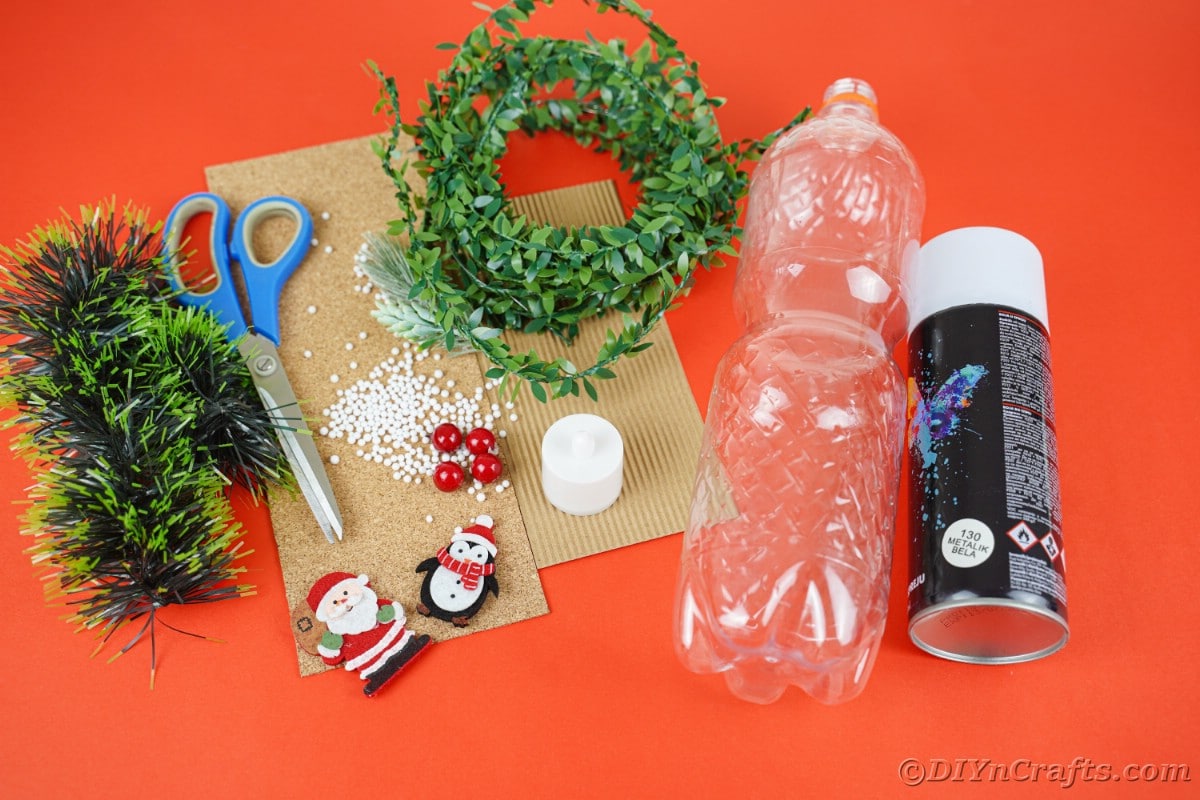
Supplies Needed
- Plastic bottle
- White spray paint
- Cardboard
- Fake greenery and berries
- Twine
- Beads or buttons
- Fake snow
- Holiday embellishments or figures
- LED tealight candle
- Craft knife
- Scissors
- Hot glue gun
- Hot glue sticks
How to Make a North Pole House out of an Empty Bottle
Begin by removing any labels from your bottle and washing it out then letting it air dry completely.
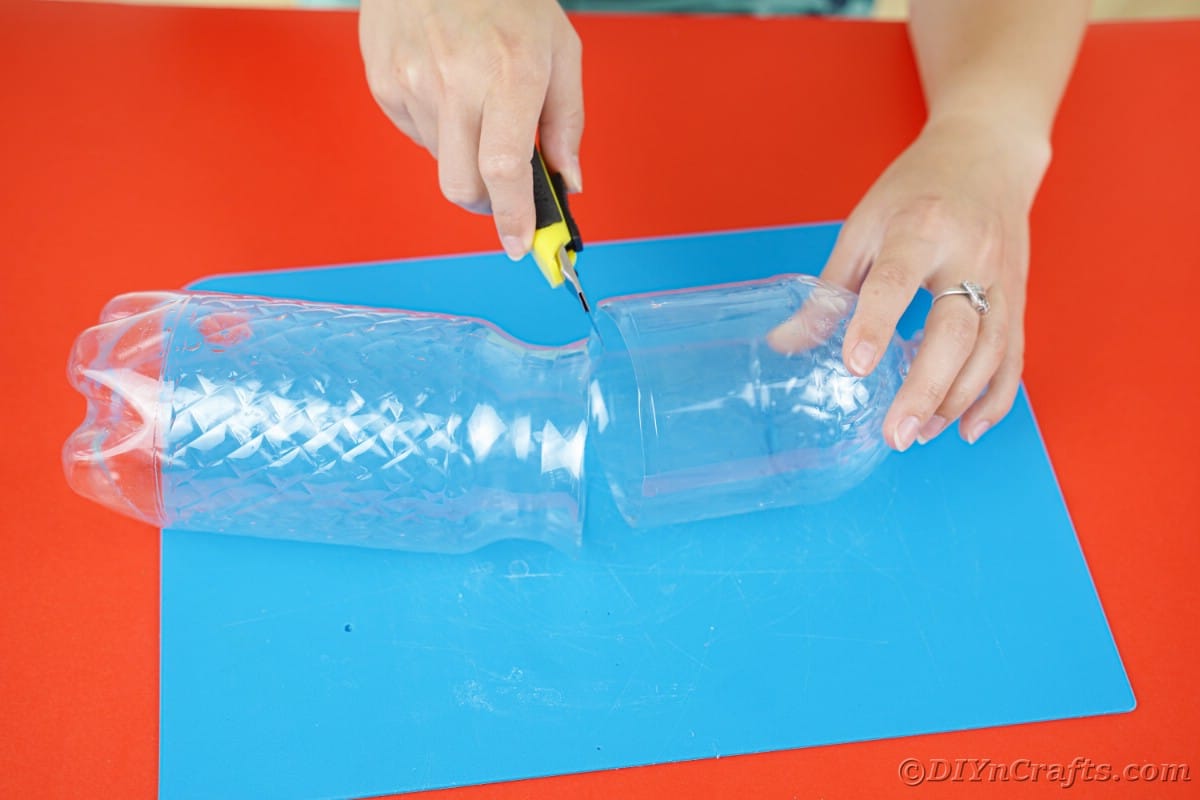
Cut the bottle in half discarding the bottom half and using the top part with the opening facing upwards.
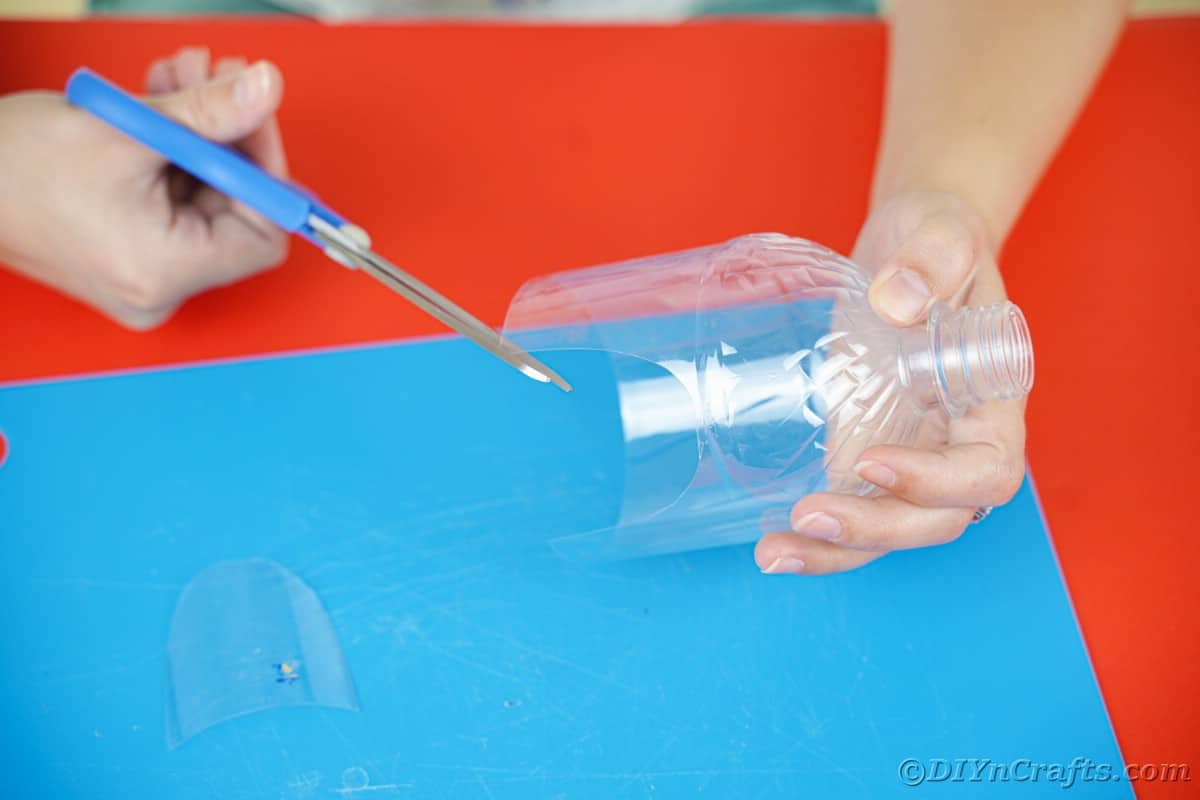
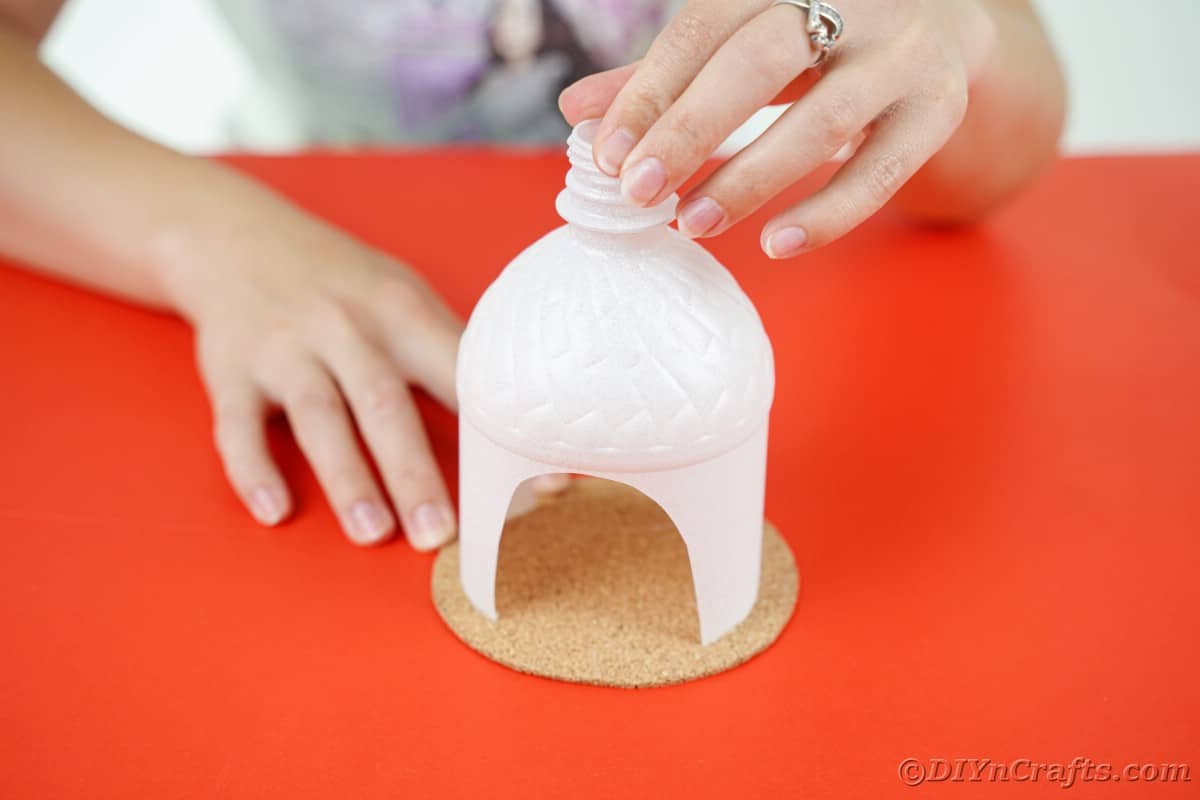
Trim the bottom edge so it sits flat, and then cut out a small "door" or opening on both sides of the bottom. Make it large enough to easily put a tealight candle inside when ready.
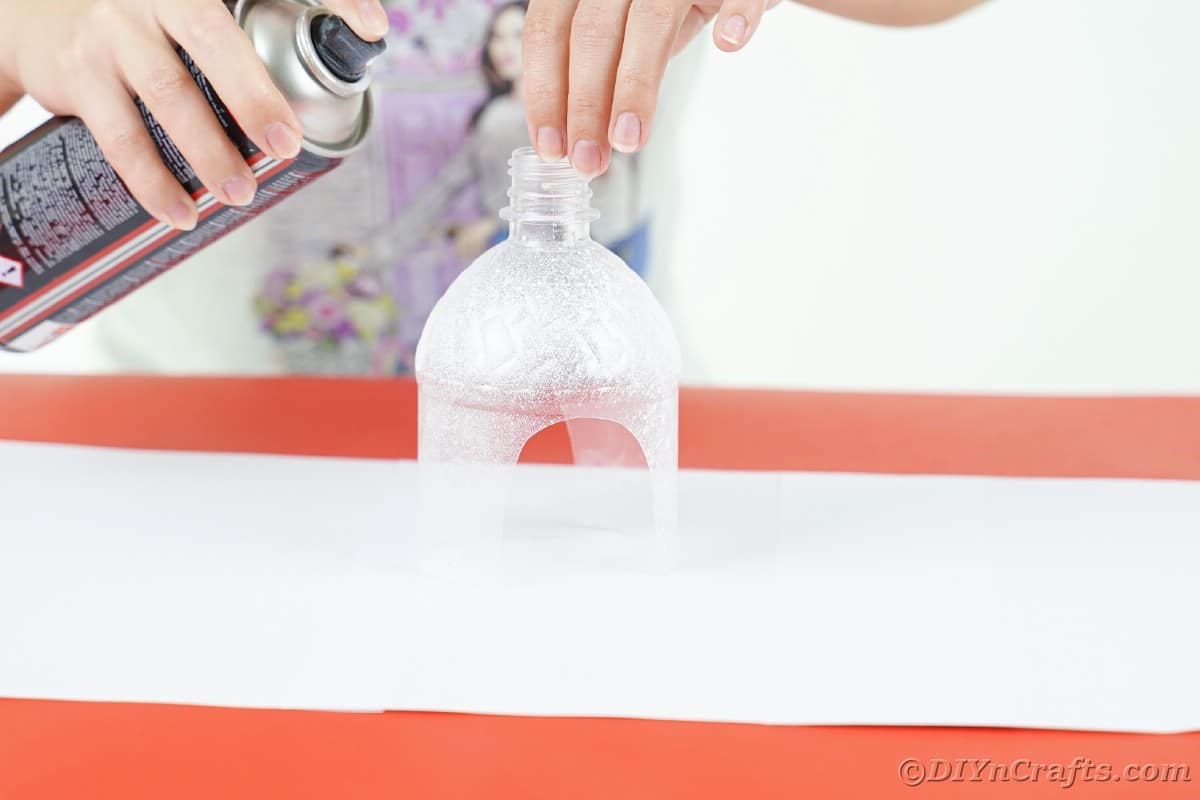
Paint the bottle white with the spray paint (in a well-ventilated area), then set it aside to dry completely.
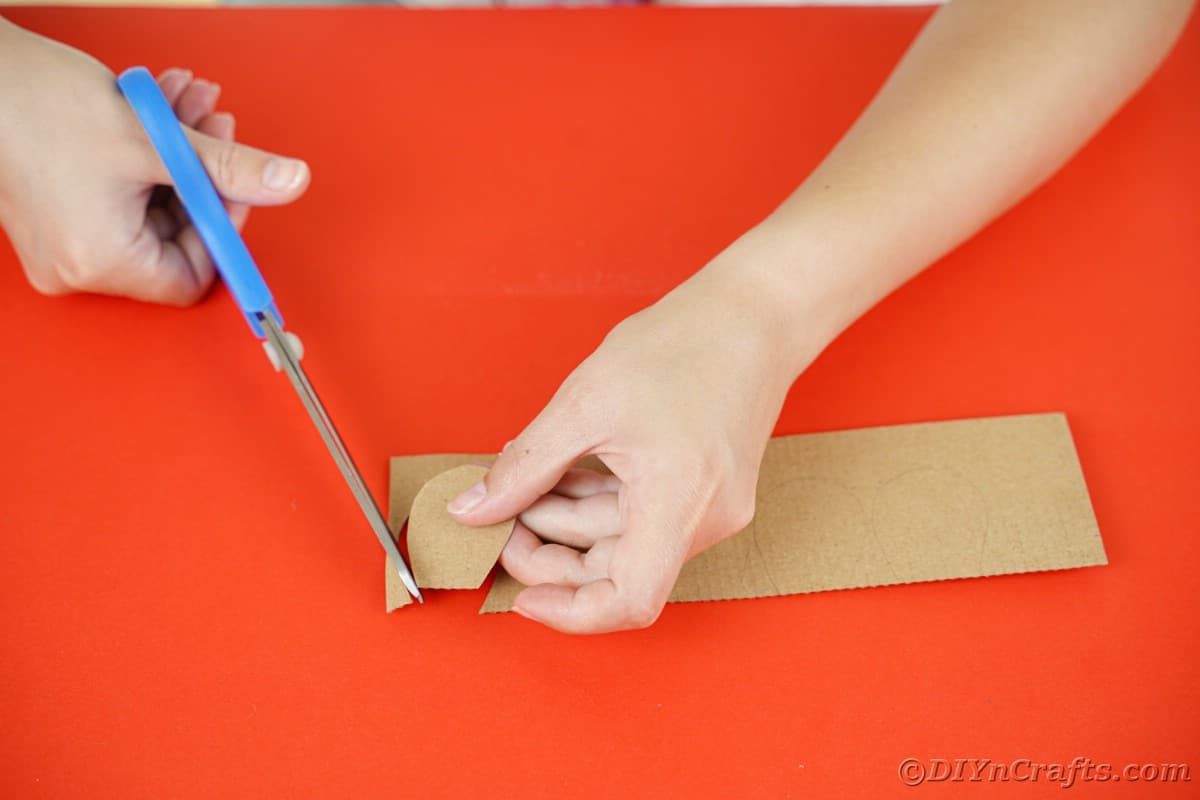
While the paint is drying, trace a rounded "shingle" shape onto a piece of cardboard.
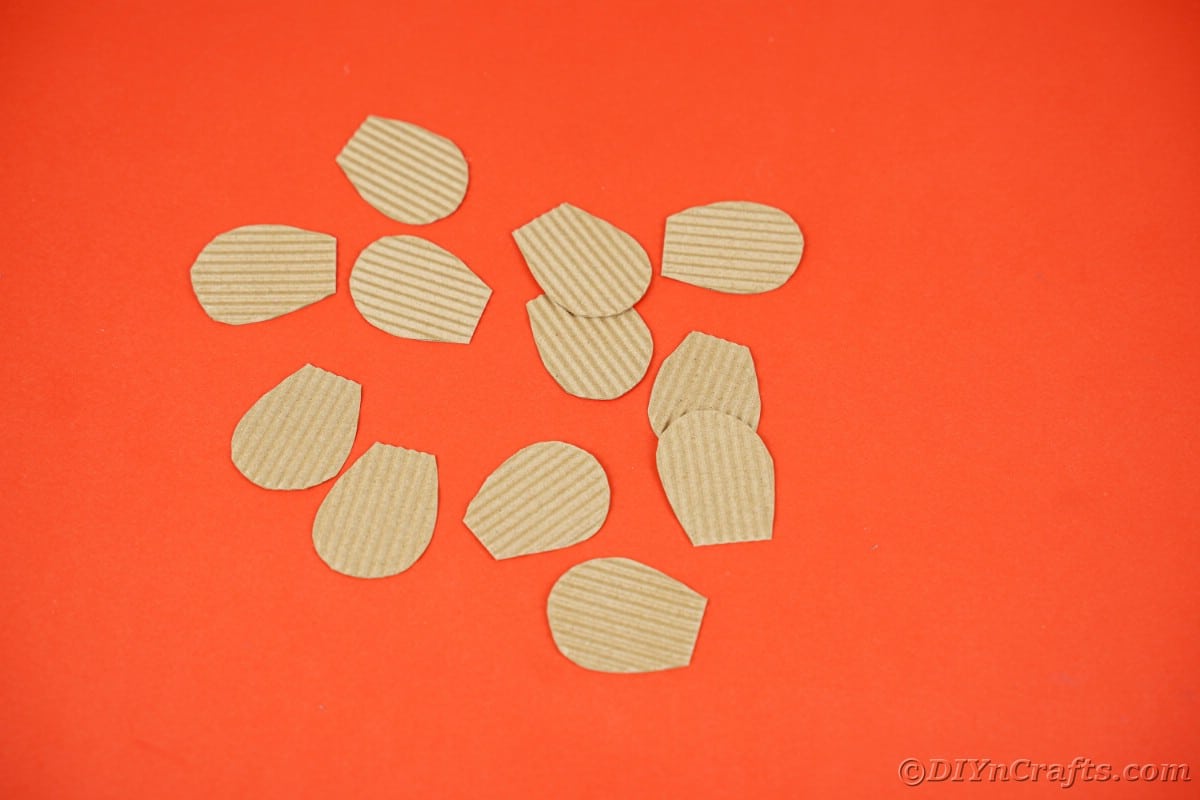
Cut this out and use it as a template to create 10-20 shingles depending on the size you make and the size of your bottle. Set these aside.
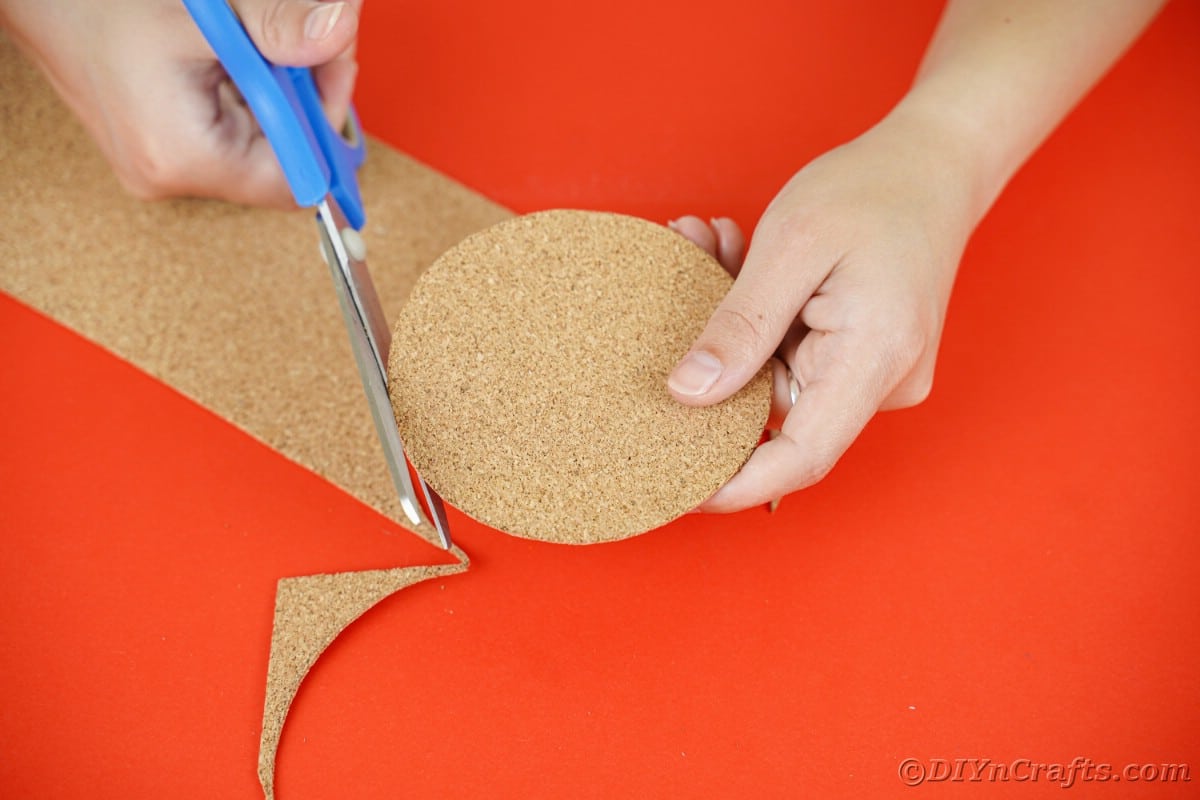
Measure a circle onto a piece of cork, cardboard, plastic, or light wood base for your house. Then cut it out.
Add hot glue around the base of the bottle and attach it to the circle base.
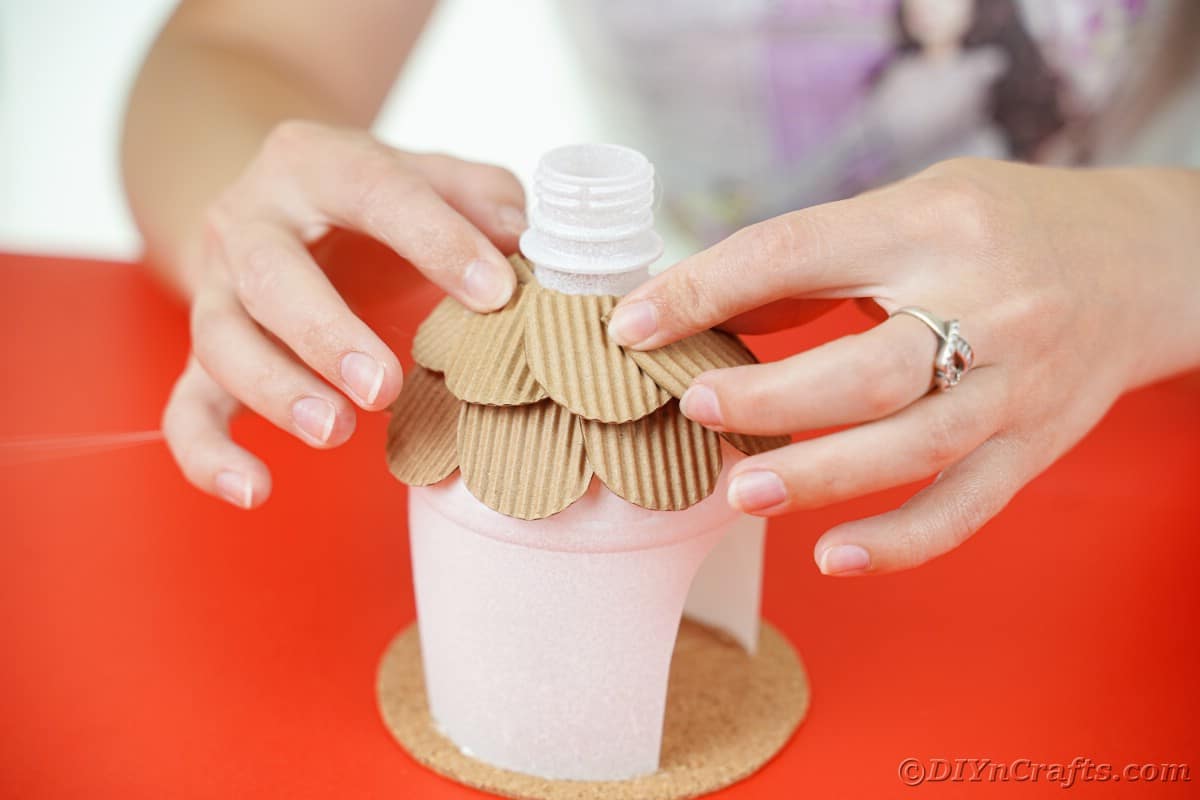
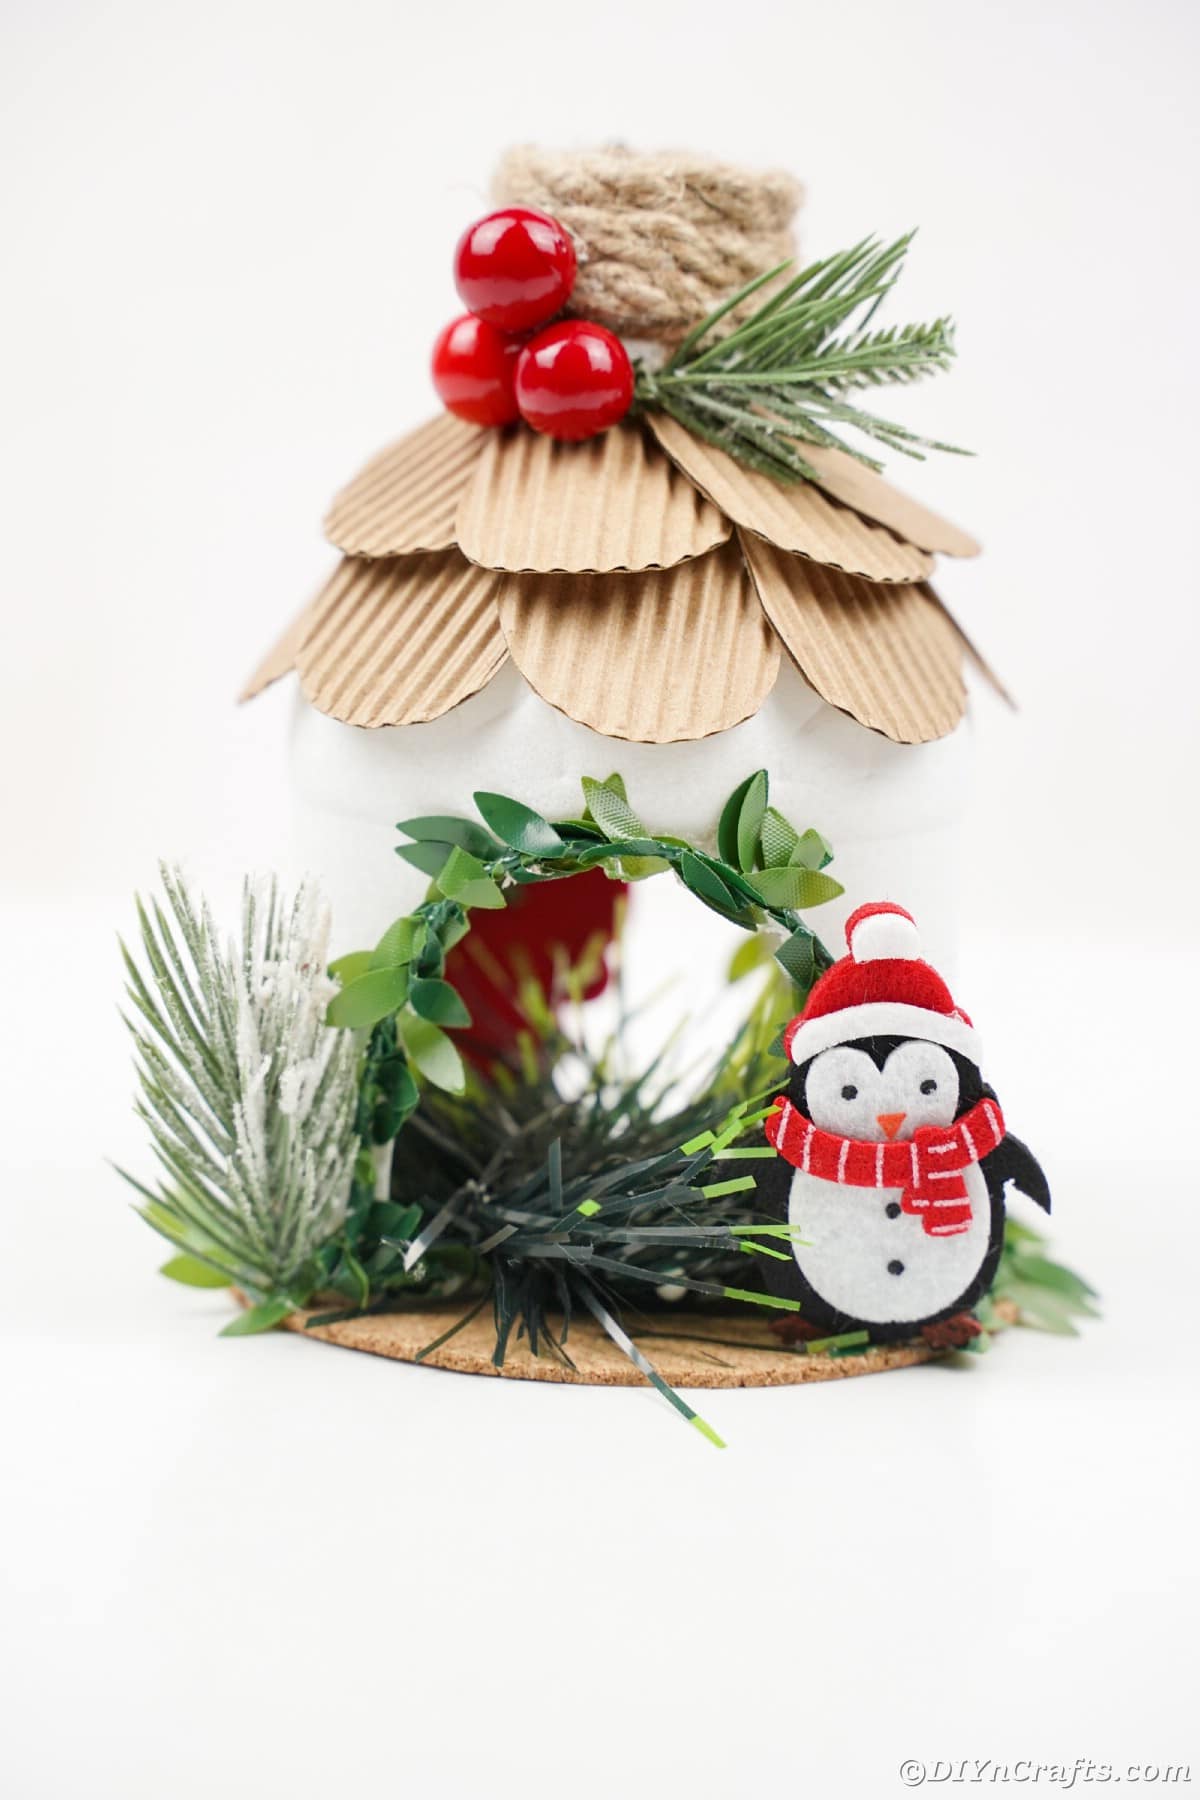
Begin gluing the "shingles" you cut out earlier around the top rounded part of the house. I started around the space where it went from curved to straight and worked my way upward to the base of the open portion of the bottle that is meant to be a chimney.
On the chimney, if desired, add glue and some glitter to fill in gaps where you will wrap it later.
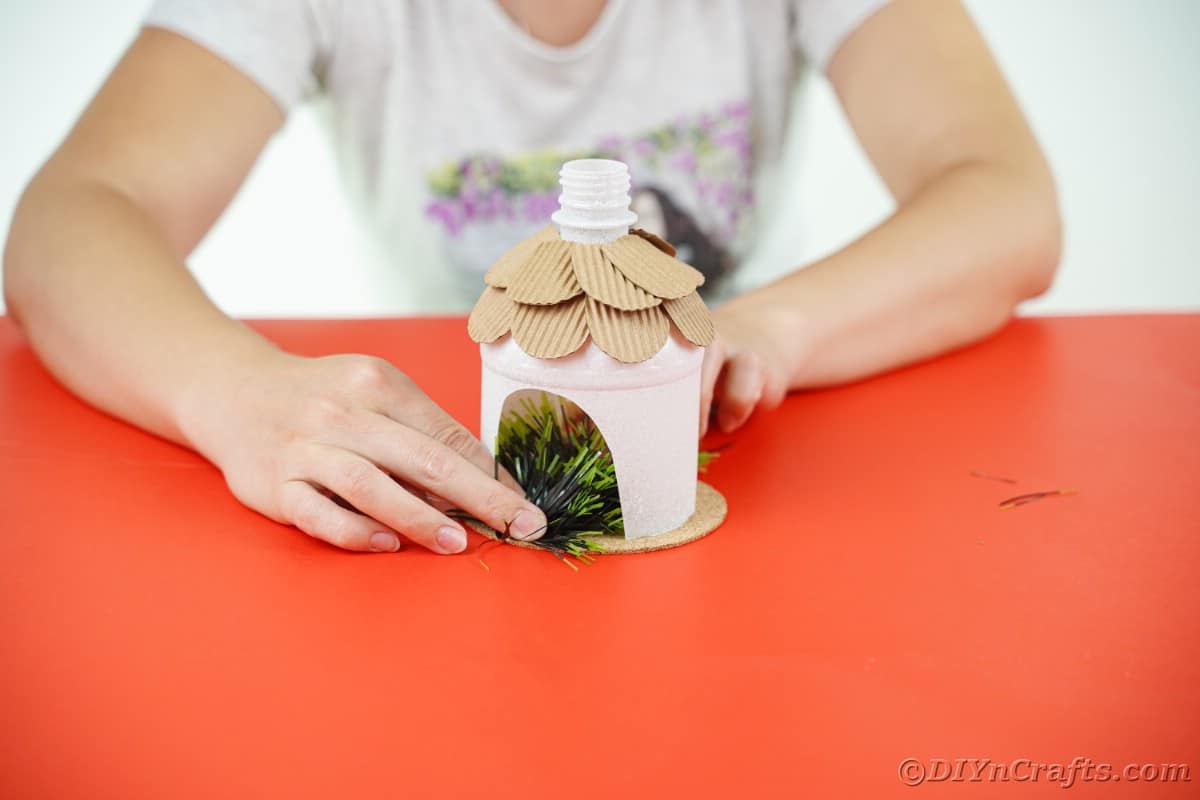
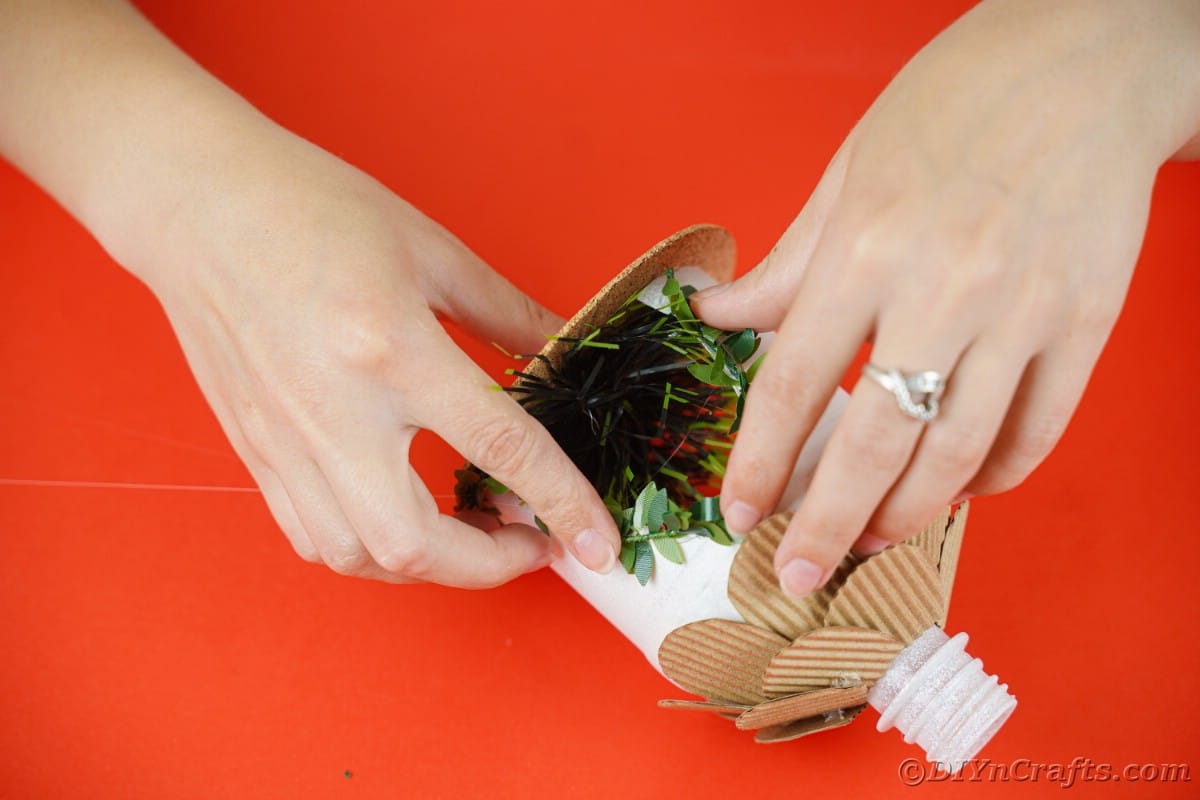
Cut bits of greenery and glue to the inside of the house.
Then, cut and add a bit of greenery around the base of the house and then around the door openings.
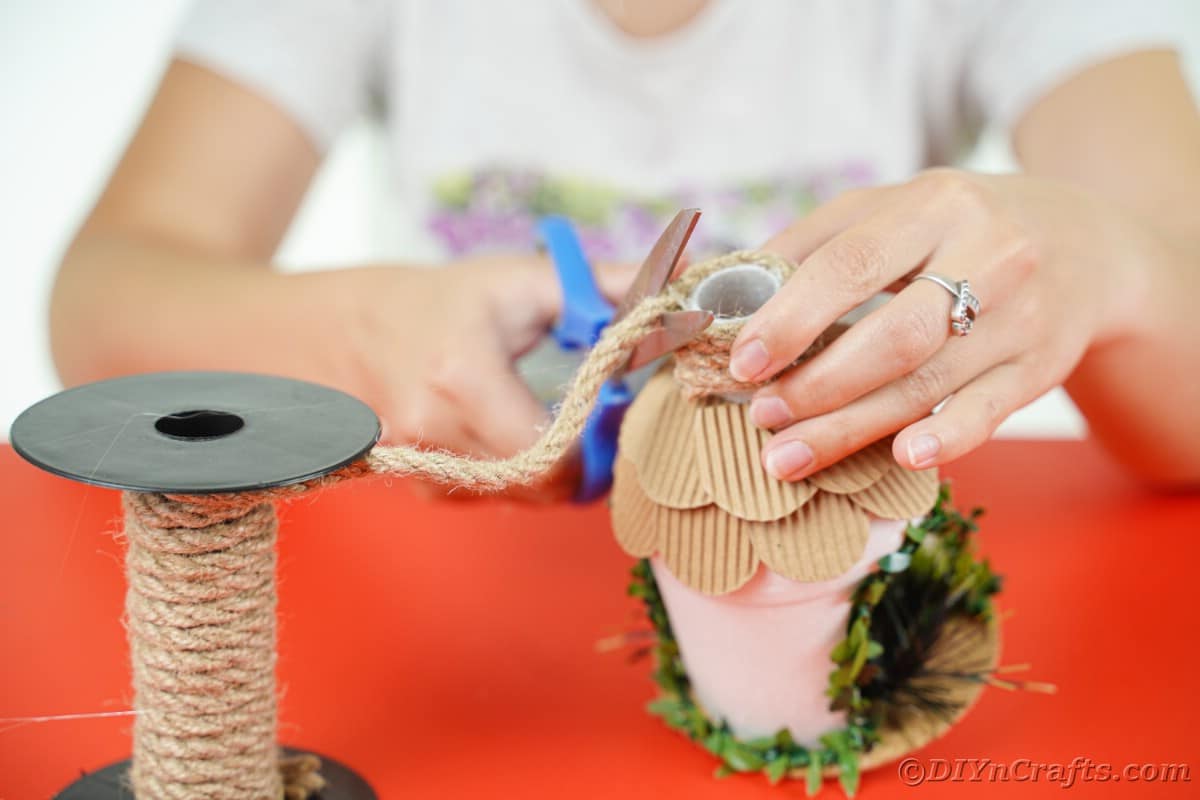
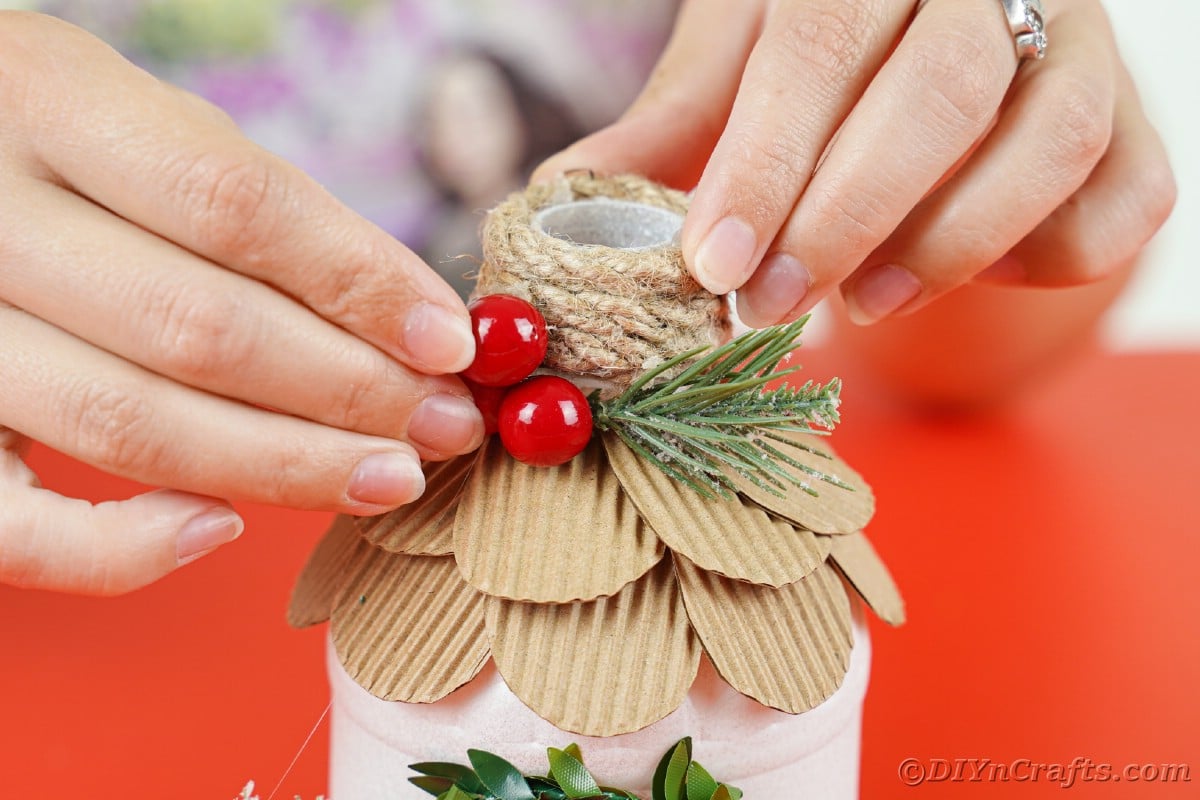
Next, wrap and glue twine around the chimney if desired. You can also paint these different colors, or cut smaller shingles and glue them into place if you prefer.
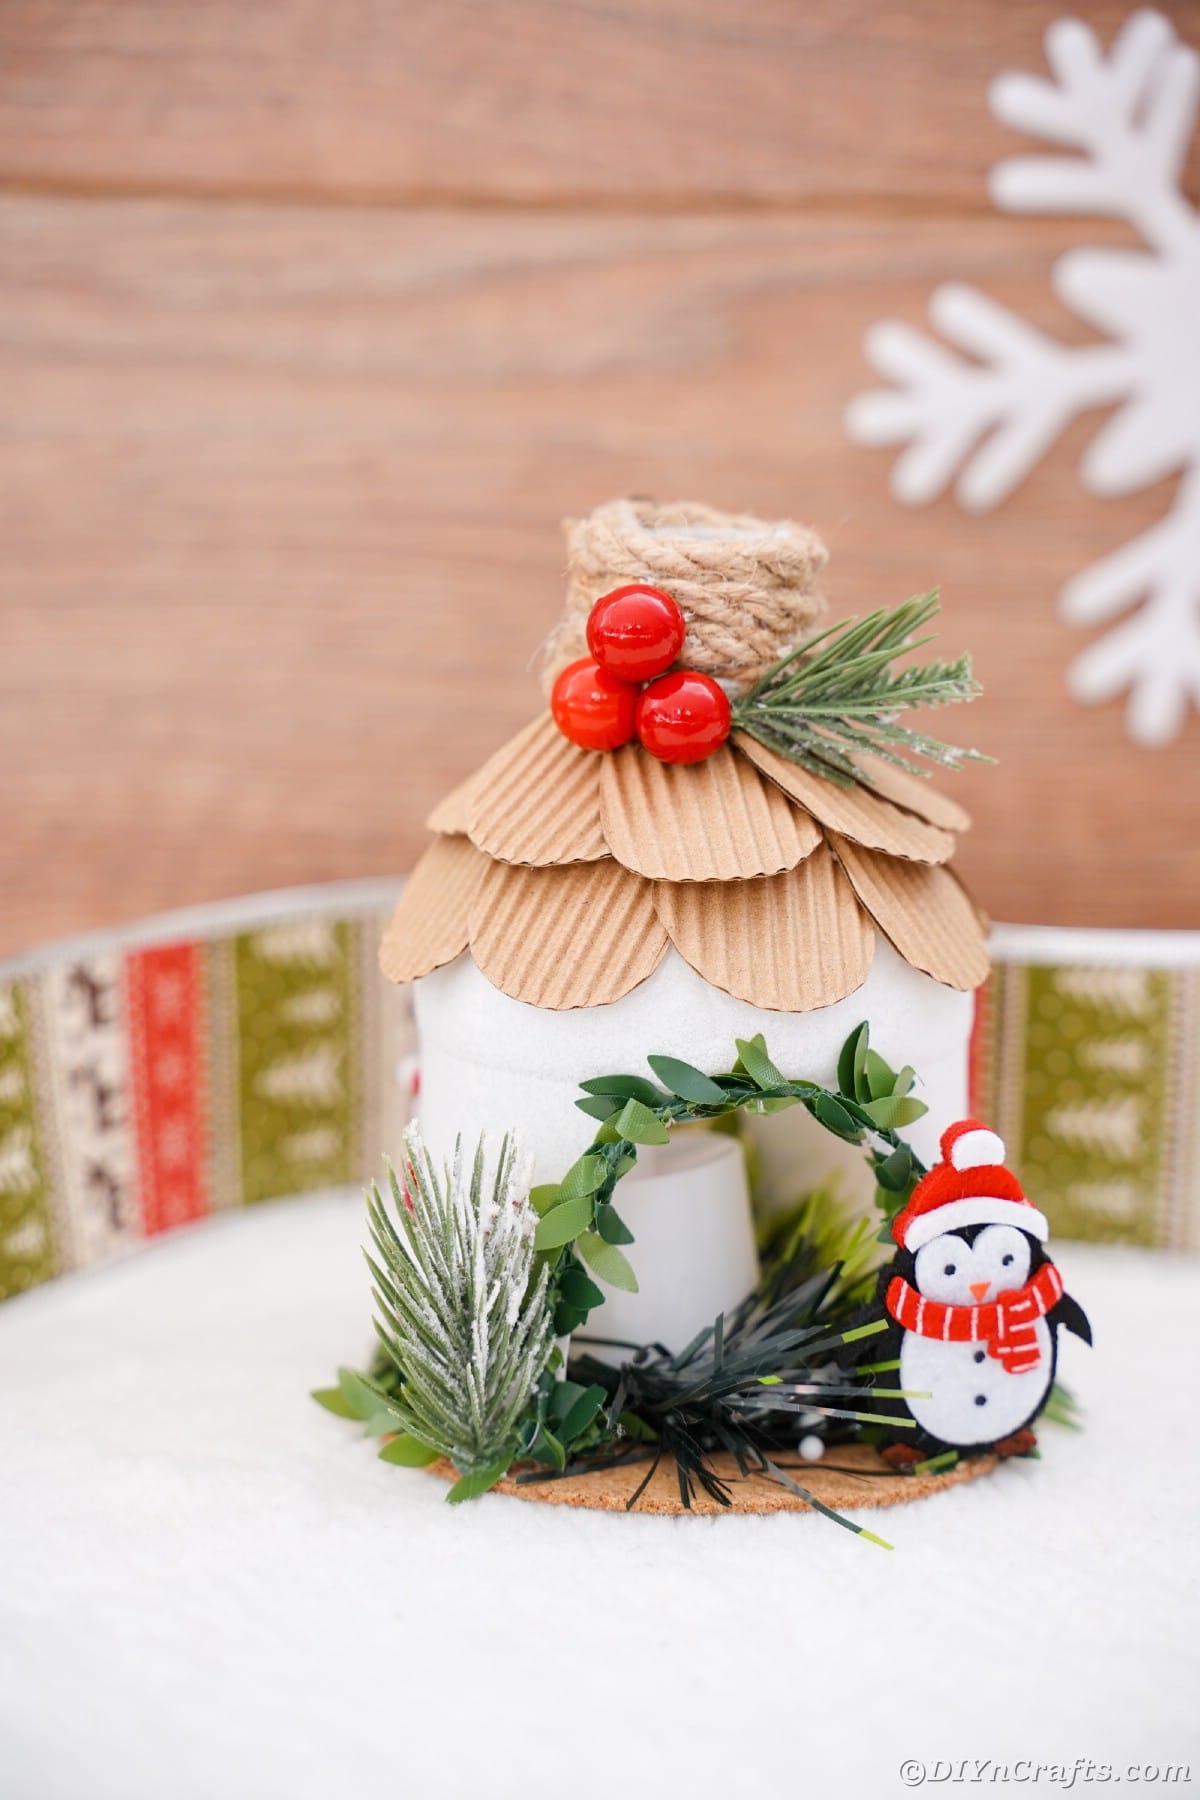
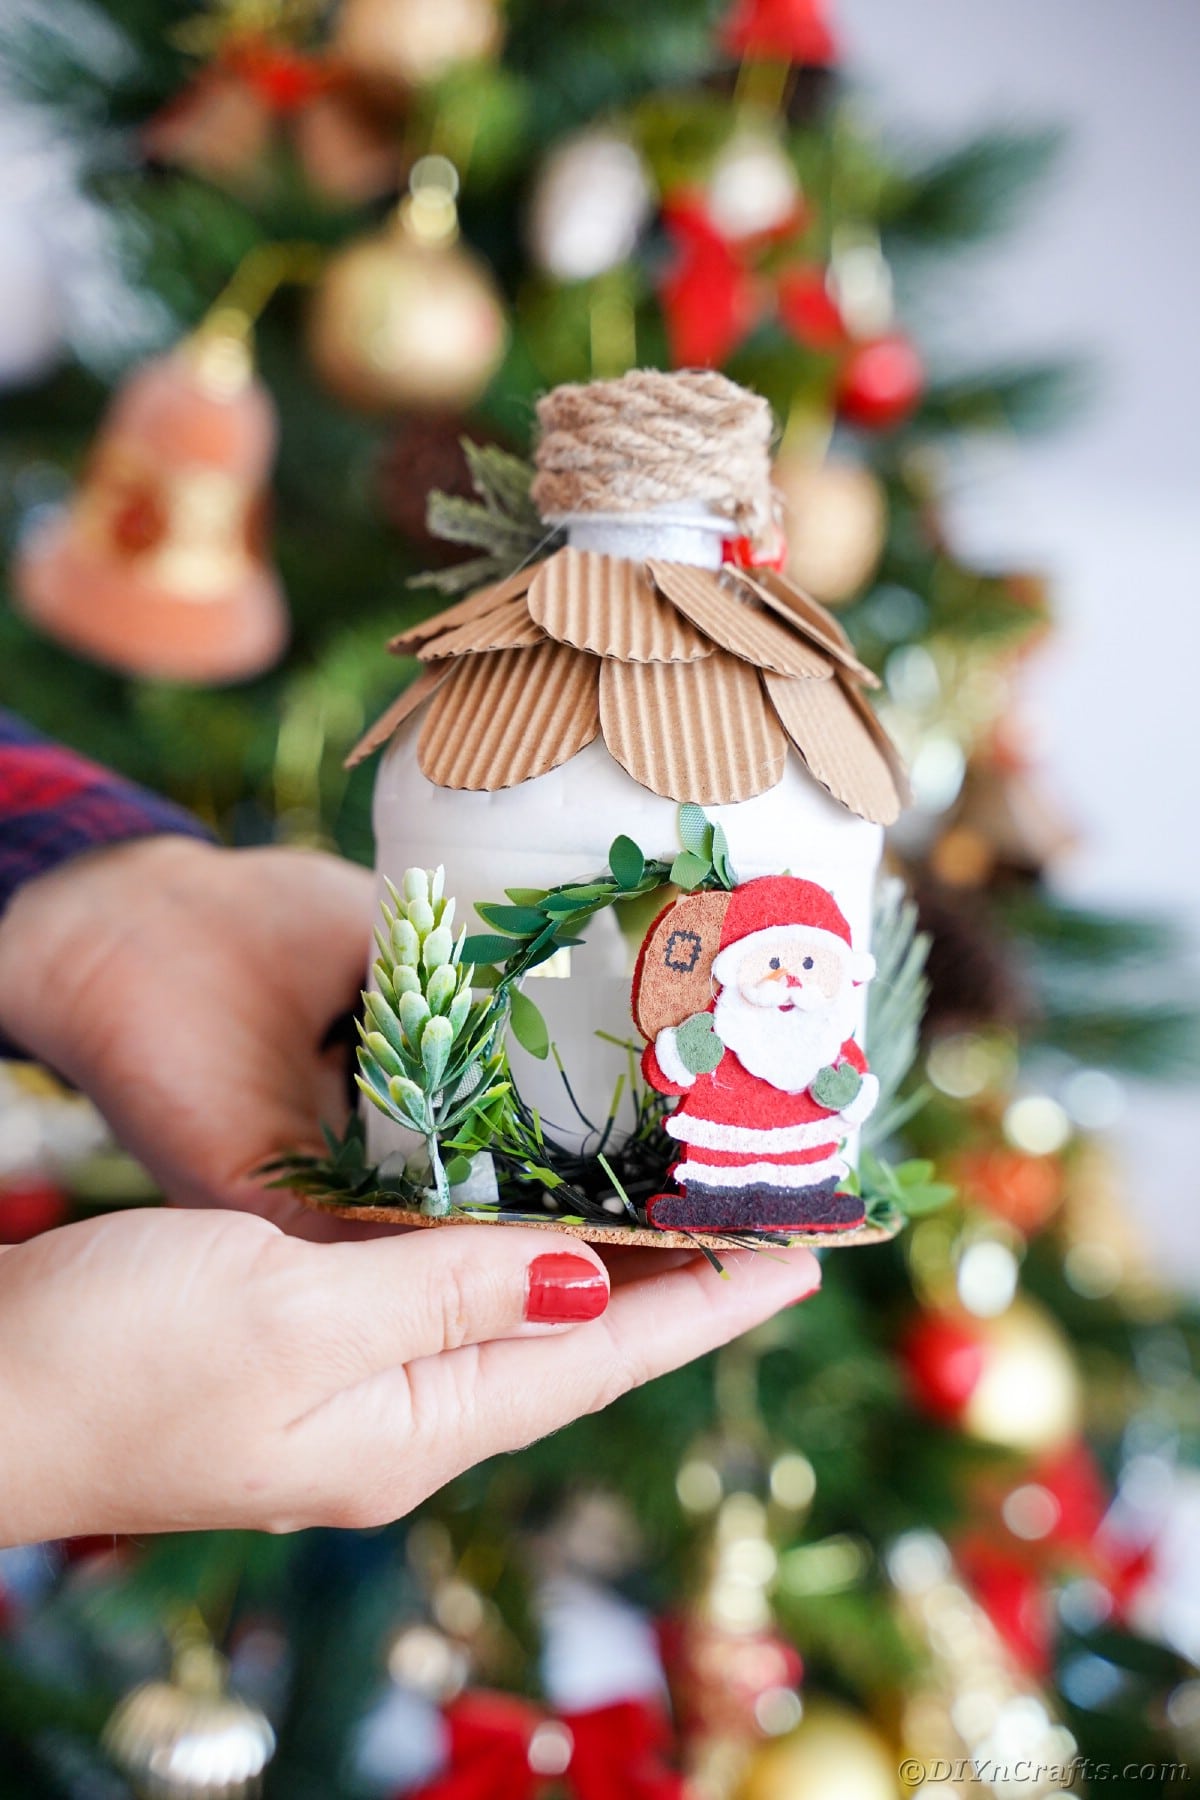
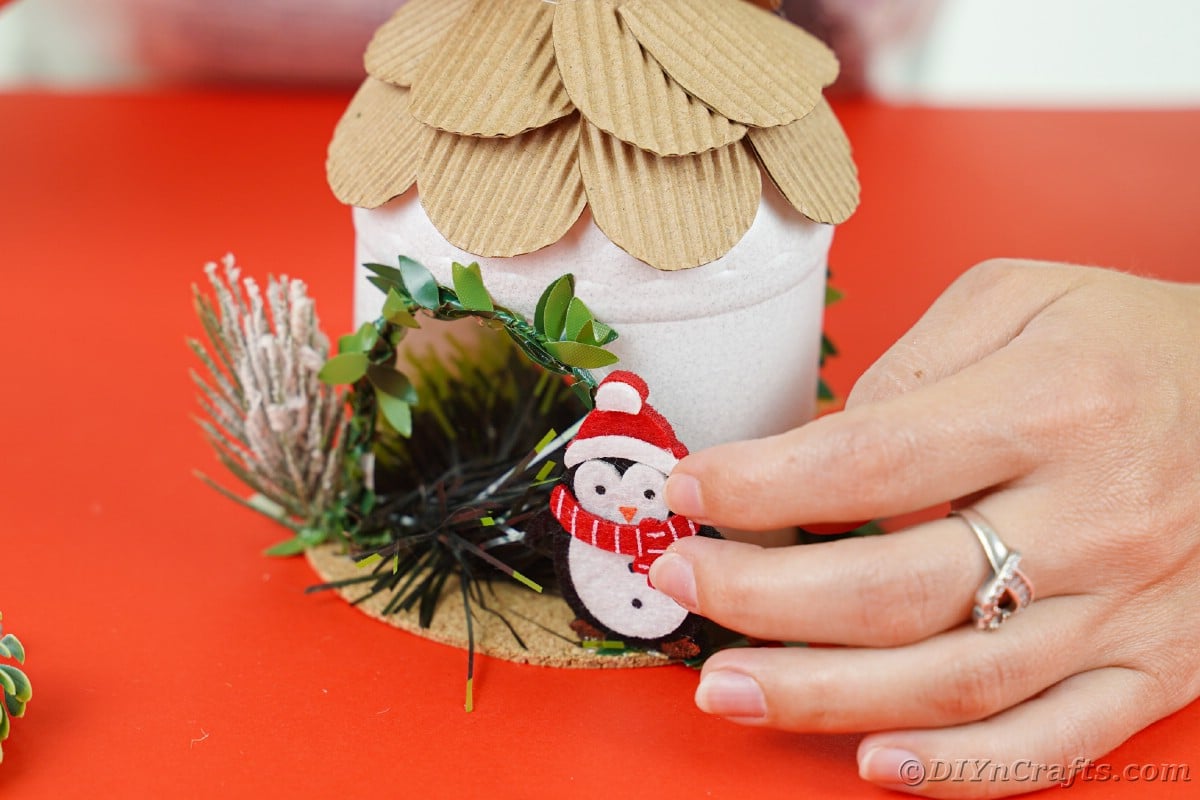
Finish decorating by adding a few small holiday-themed figurines, some fake snow, or even little pieces of the greenery cut to look like trees.
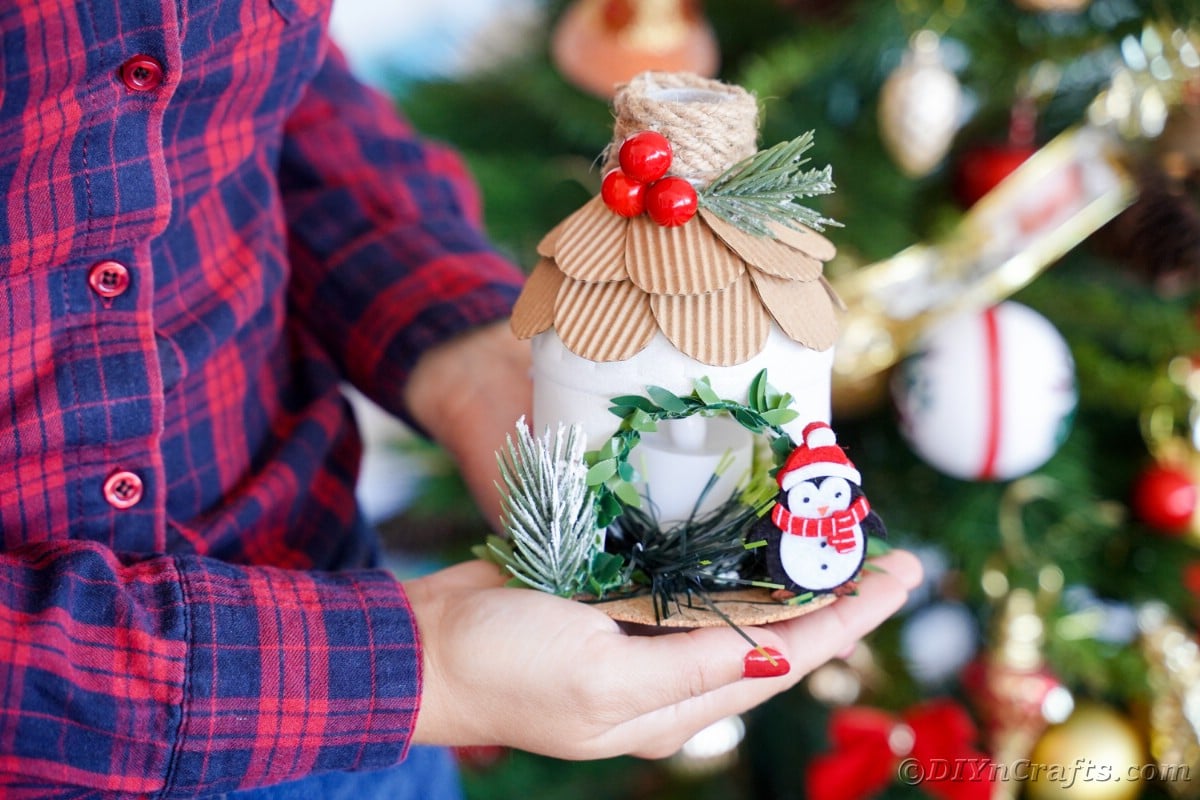
Once finished decorating your North Pole house, display as desired on your mantle or with your Christmas village.
More Holiday Decoration Ideas
If you need more fun ideas to add to your holiday decorations, below are a few more of our favorites. I love the idea of making things the very North Pole and Satna Claus themed, and below are some of my favorites that fit that theme. Print out these tutorials, bookmark them for later, or pin to Pinterest for easy access!
- Plastic Bottle Santa Boot Christmas Decoration
- Rustic Old Book Santa Claus Decoration
- Christmas Pom Pom Gnome Ornament Decoration
- Adorable Pom Pom Penguin Winter Decoration
- Cute Flower Pot Gingerbread House Decoration
Upcycled Plastic Bottle North Pole House
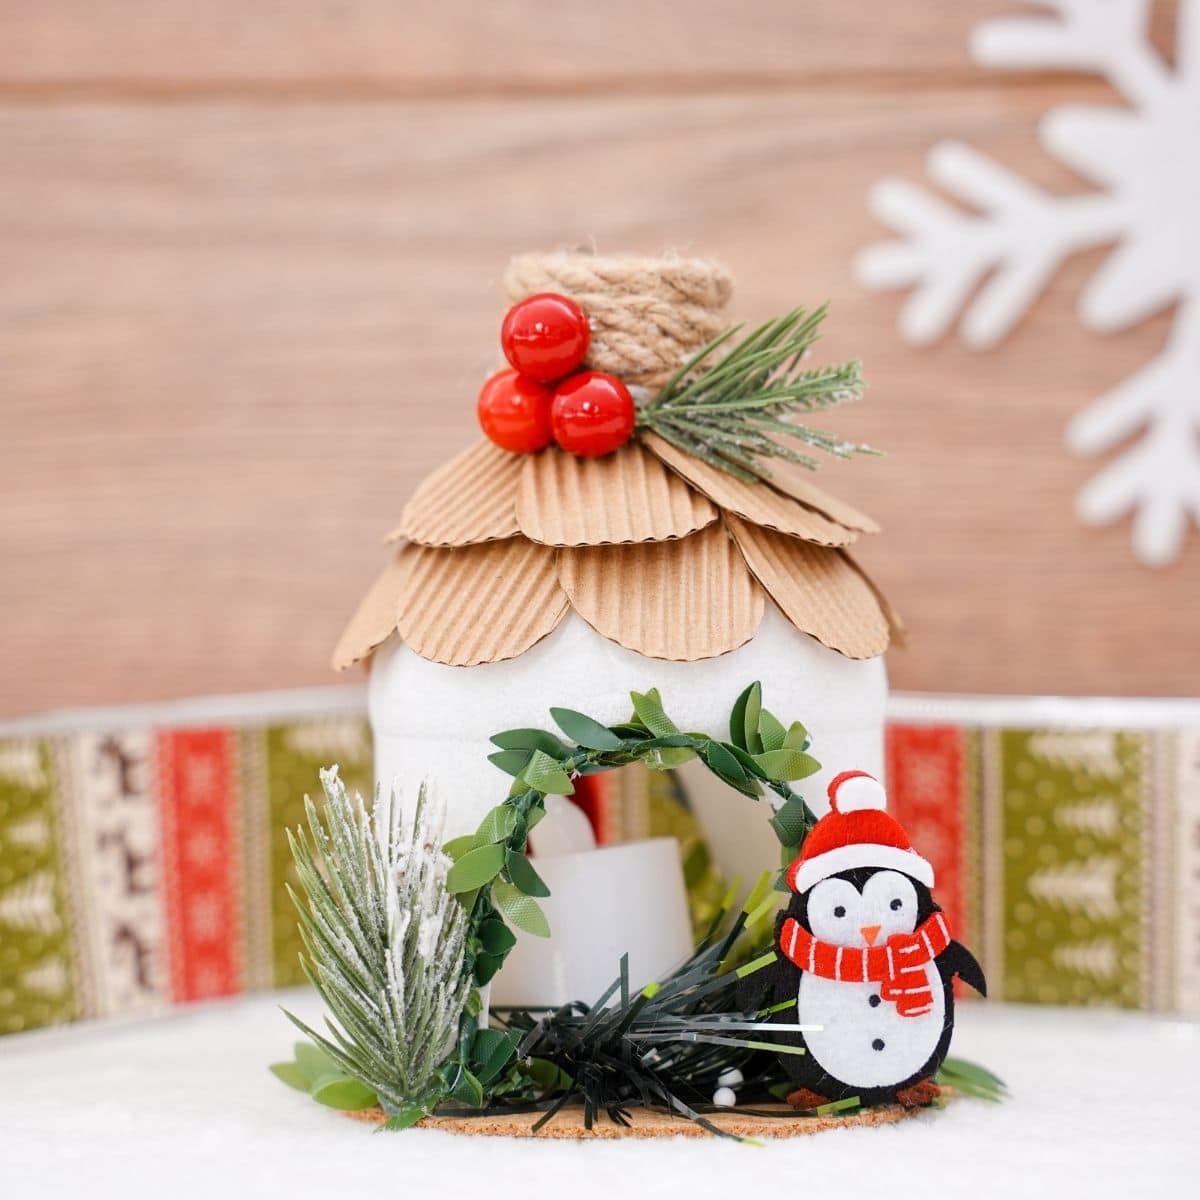
This upcycled plastic bottle North Pole house is a perfect addition to your winter decor! Add elves, reindeer, or Santa to customize for your theme!
Materials
- Plastic bottle
- White spray paint
- Cardboard
- Fake greenery and berries
- Twine
- Beads or buttons
- Fake snow
- Holiday embellishments or figures
- LED tealight candle
Instructions
- Begin by removing any labels from your bottle and washing it out then letting it air dry completely.
- Cut the bottle in half discarding the bottom half and using the top part with the opening facing upwards.
- Trim the bottom edge so it sits flat, and then cut out a small "door" or opening on both sides of the bottom. Make it large enough to easily put a tealight candle inside when ready.
- Paint the bottle white with the spray paint (in a well-ventilated area), then set it aside to dry completely.
- While the paint is drying, trace a rounded "shingle" shape onto a piece of cardboard.
- Cut this out and use it as a template to create 10-20 shingles depending on the size you make and the size of your bottle. Set these aside.
- Measure a circle onto a piece of cork, cardboard, plastic, or light wood base for your house. Then cut it out.
- Add hot glue around the base of the bottle and attach it to the circle base.
- Begin gluing the "shingles" you cut out earlier around the top rounded part of the house. I started around the space where it went from curved to straight and worked my way upward to the base of the open portion of the bottle that is meant to be a chimney.
- On the chimney, if desired, add glue and some glitter to fill in gaps where you will wrap it later.
- Cut bits of greenery and glue to the inside of the house.
- Then, cut and add a bit of greenery around the base of the house and then around the door openings.
- Next, wrap and glue twine around the chimney if desired. You can also paint these different colors, or cut smaller shingles and glue them into place if you prefer.
- Finish decorating by adding a few small holiday-themed figurines, some fake snow, or even little pieces of the greenery cut to look like trees.
- Once finished decorating your North Pole house, display as desired on your mantle or with your Christmas village.
Notes
Use any plastic bottle or carton for this project.
Recommended Products
As an Amazon Associate and member of other affiliate programs, I earn from qualifying purchases.
-
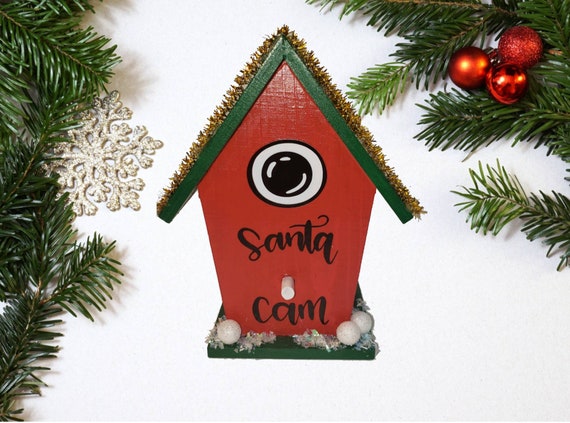 Santa Cam House Home Decor Christmas Ornament Christmas | Etsy
 -
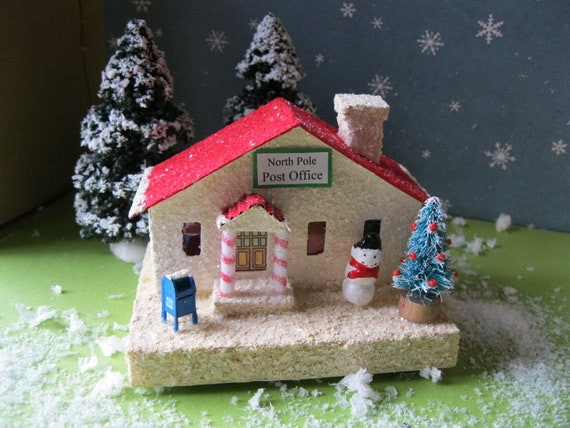 North Pole Post Office Christmas Village Putz Style House | Etsy
 -
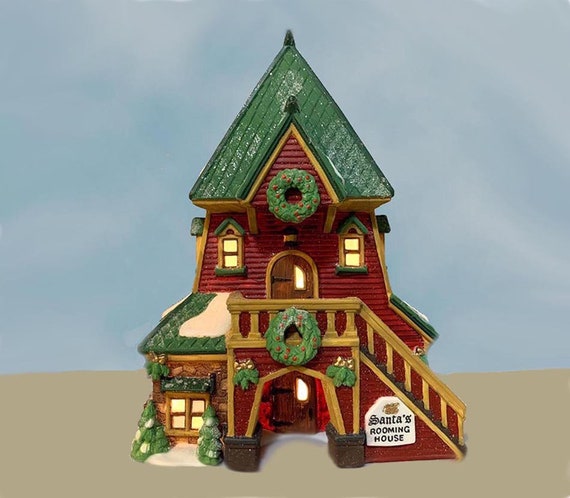 New North Pole SANTA'S ROOMING HOUSE Department 56 | Etsy
 -
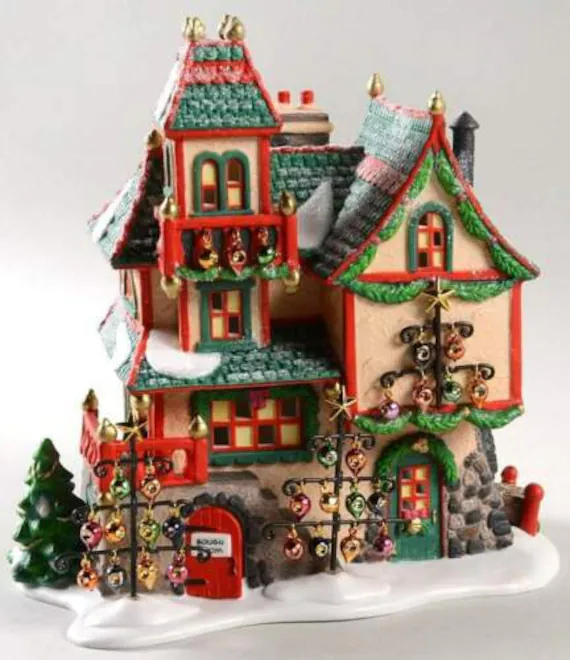 Dept. 56 North Pole Series glass ORNAMENT Works | Etsy
 -
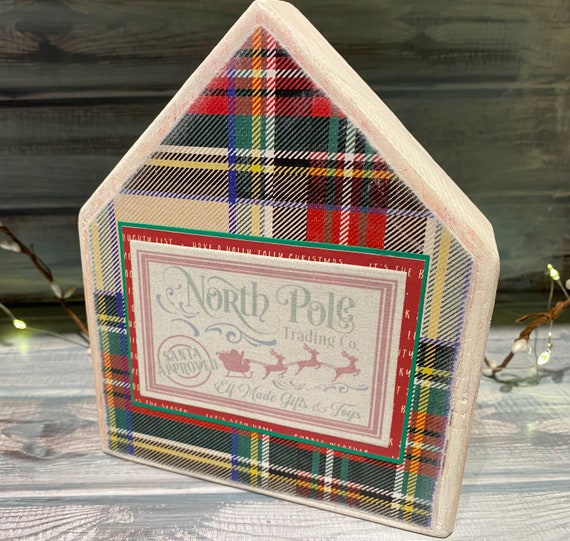 Tier Tray Wood House North Pole Trading Christmas | Etsy
 -
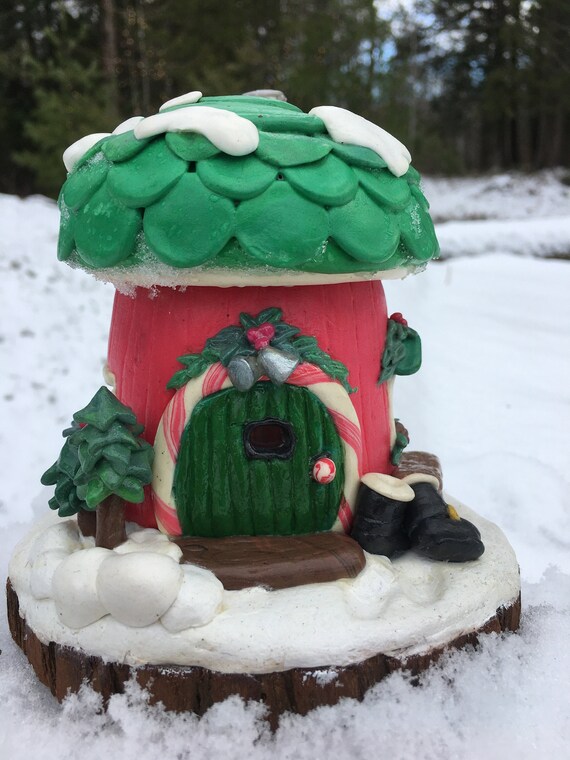 Santas North Pole Hideaway Christmas House Handmade OOAK | Etsy
Finished Project Gallery
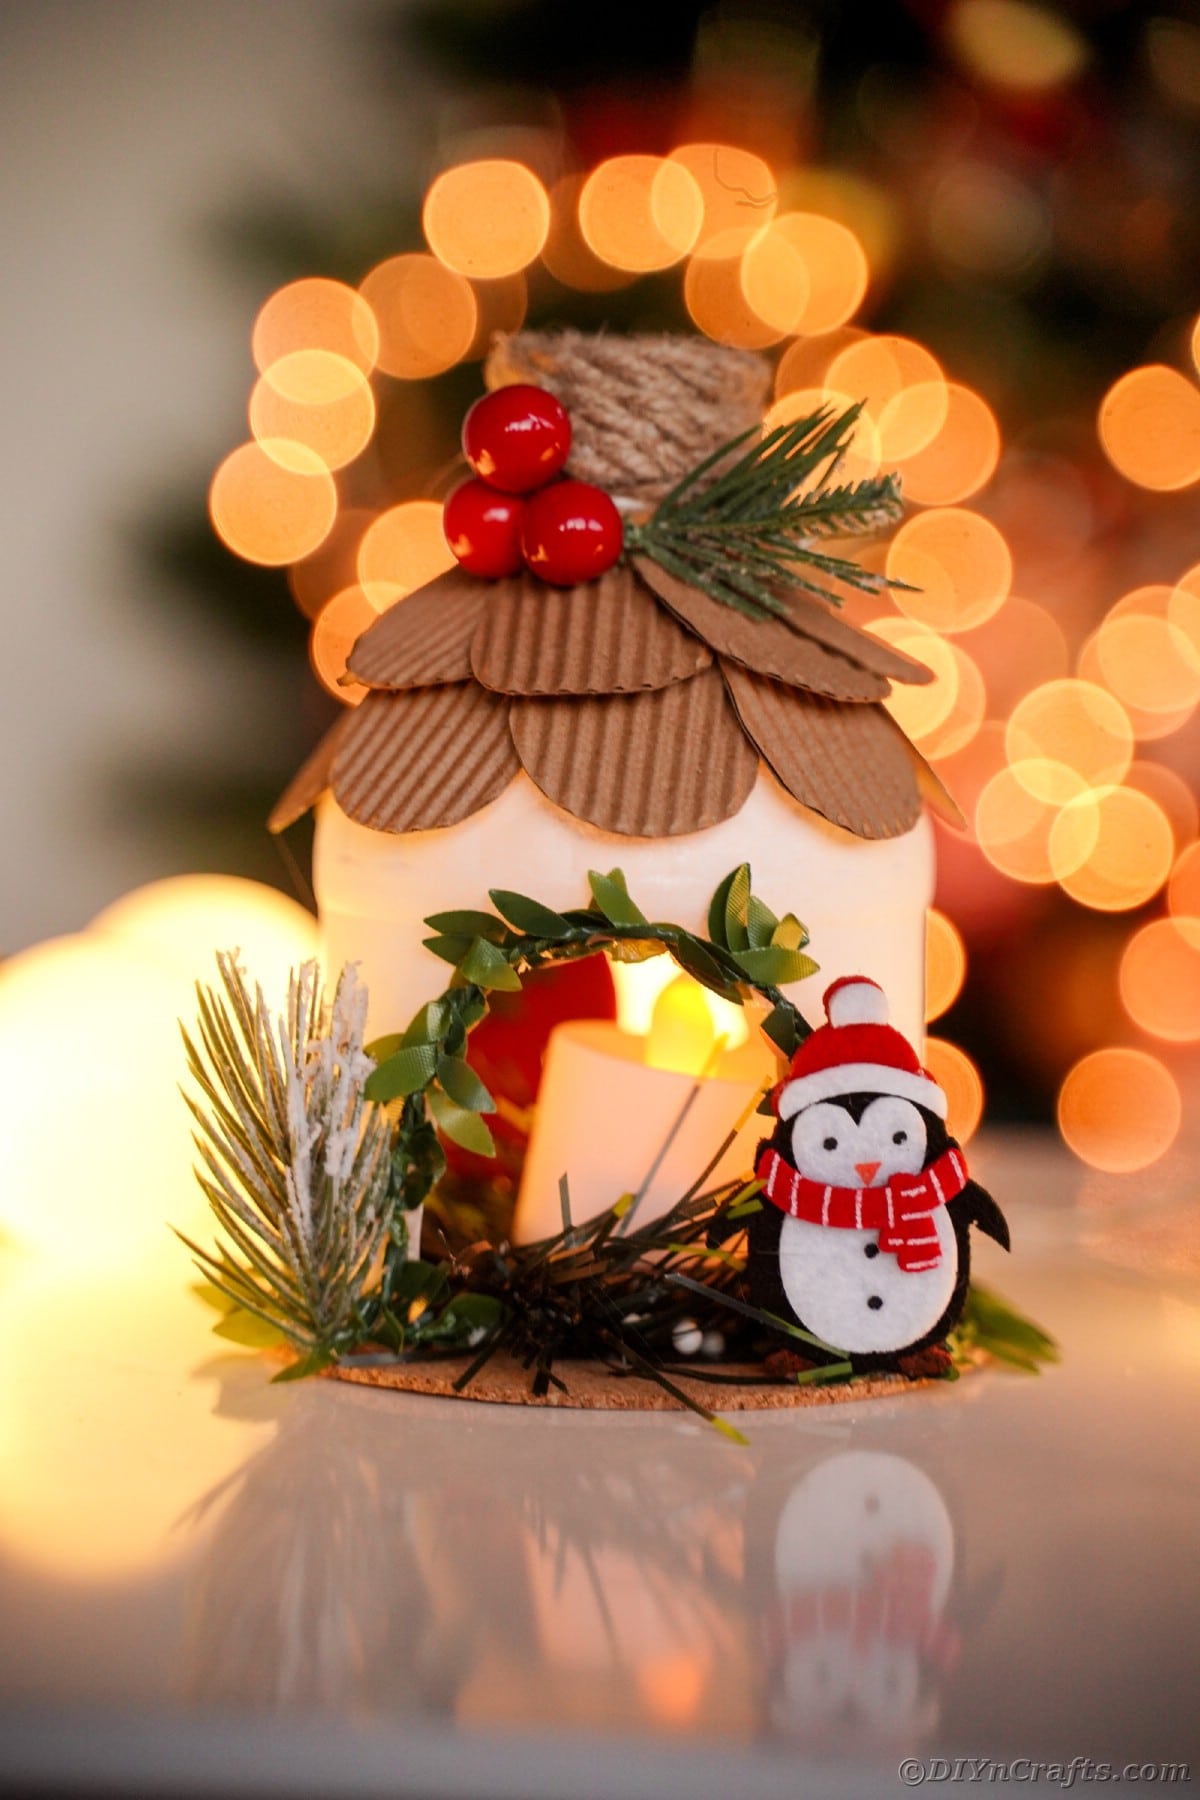
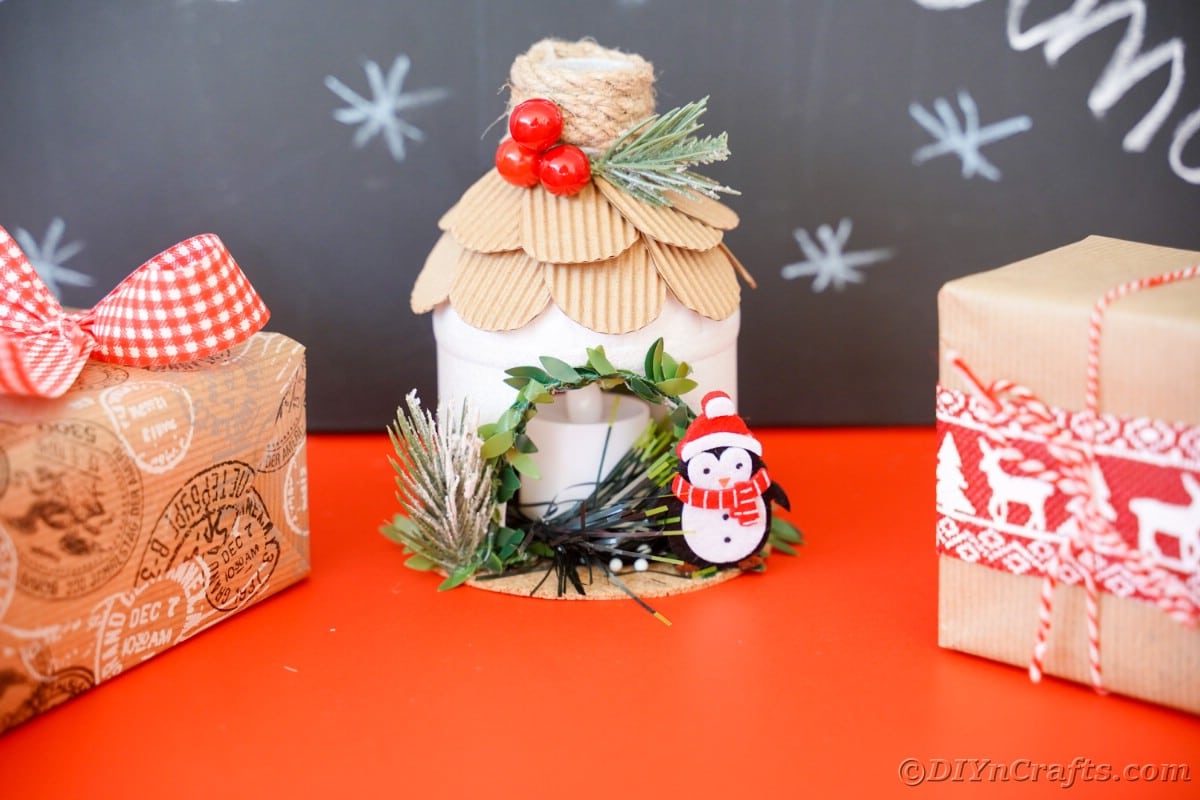
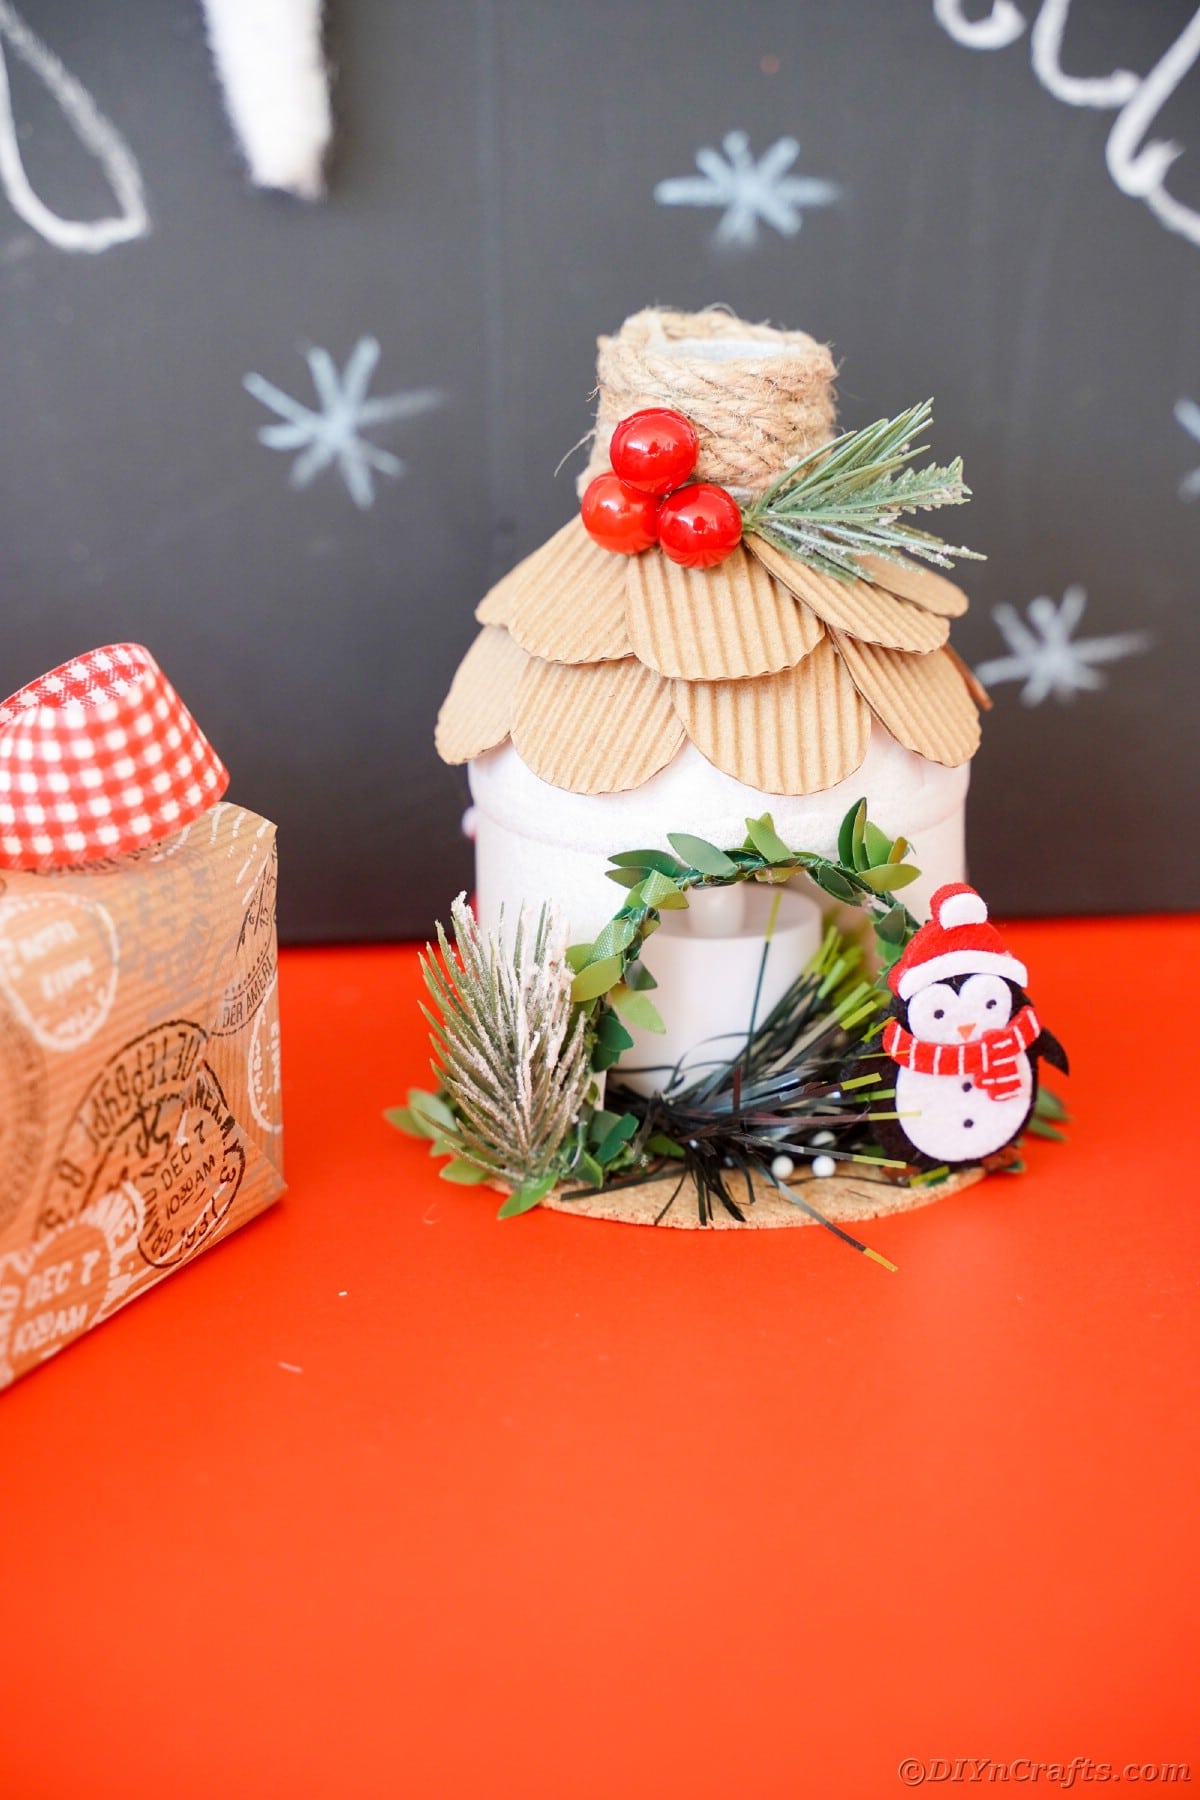
This is such a fun idea to make with the kids and customize for your winter village.
You can even add little miniature elf figurines to this setup!











Sarah
These are adorable! What a cute idea.
Rebecca Payne
SO CUTE AND CREATIVE.