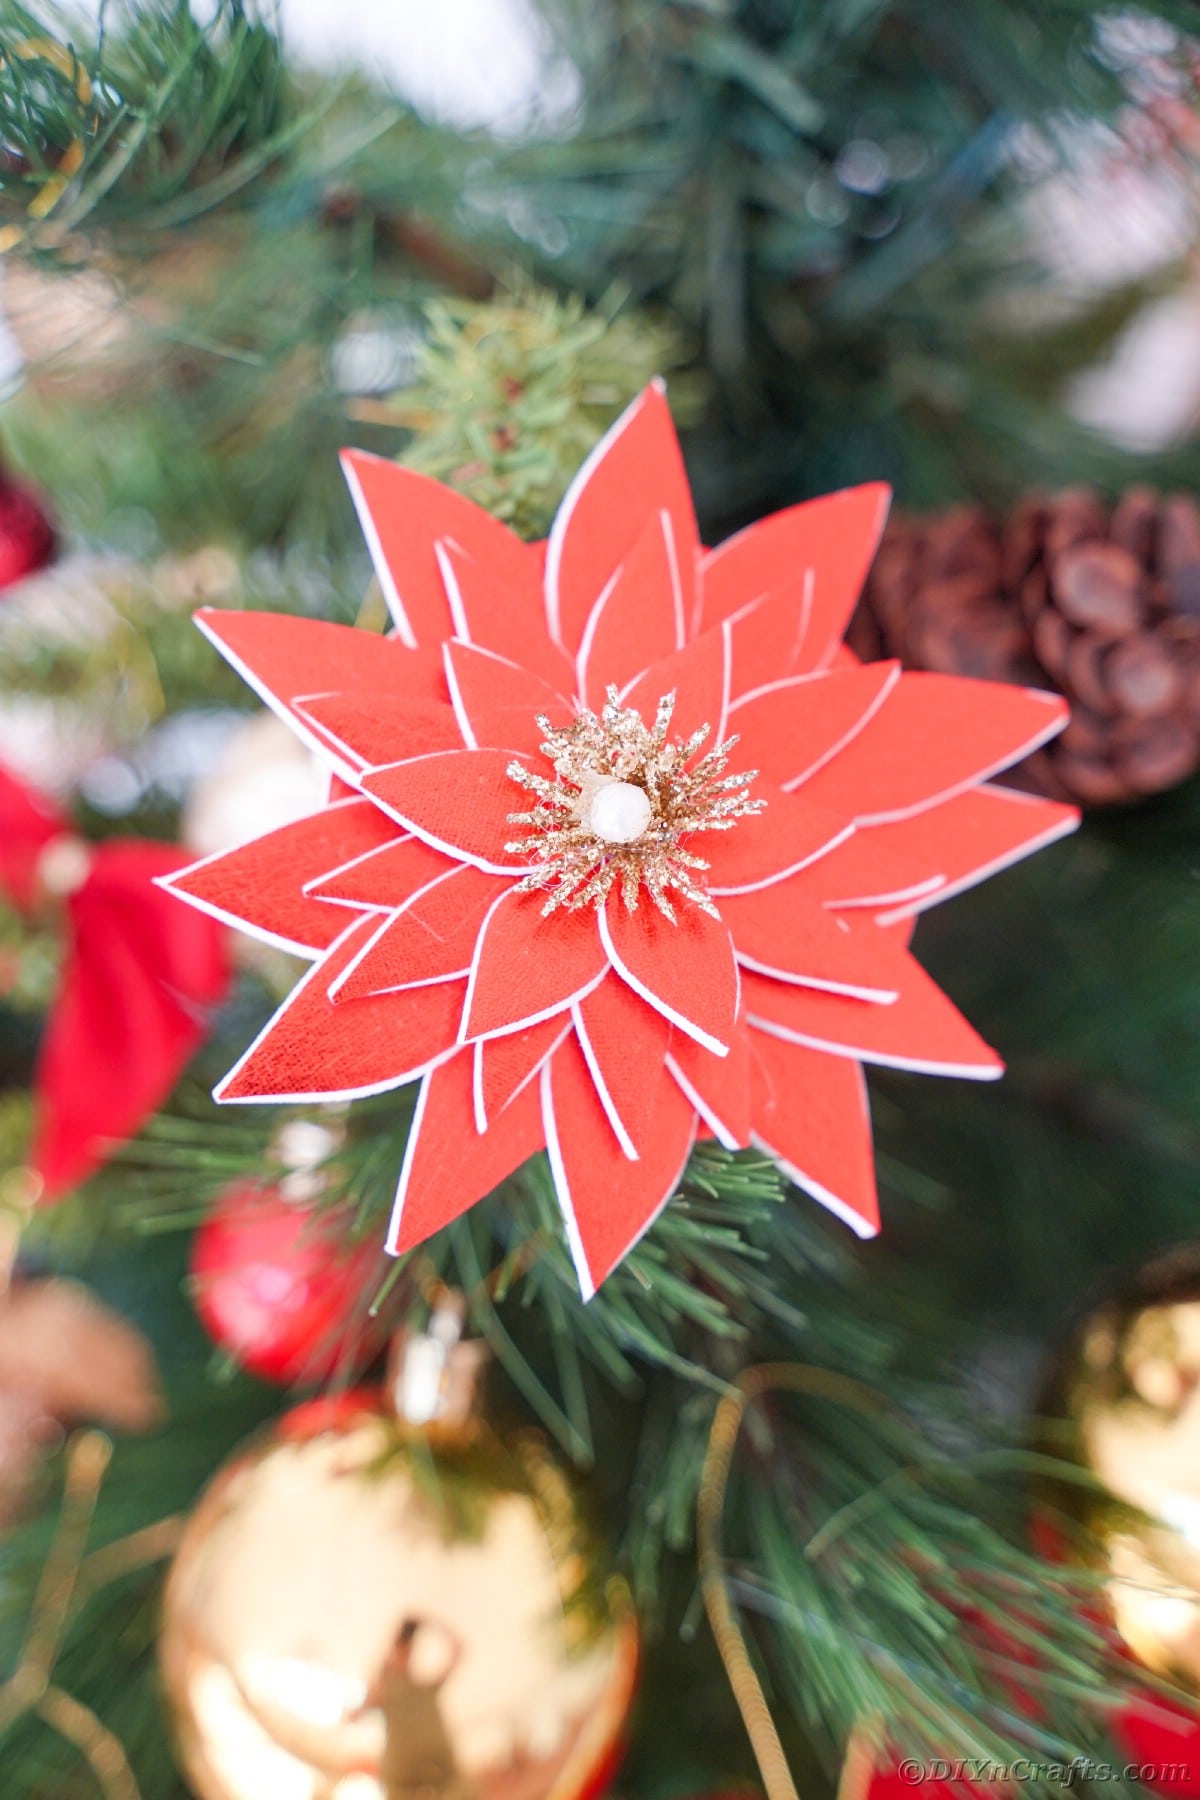
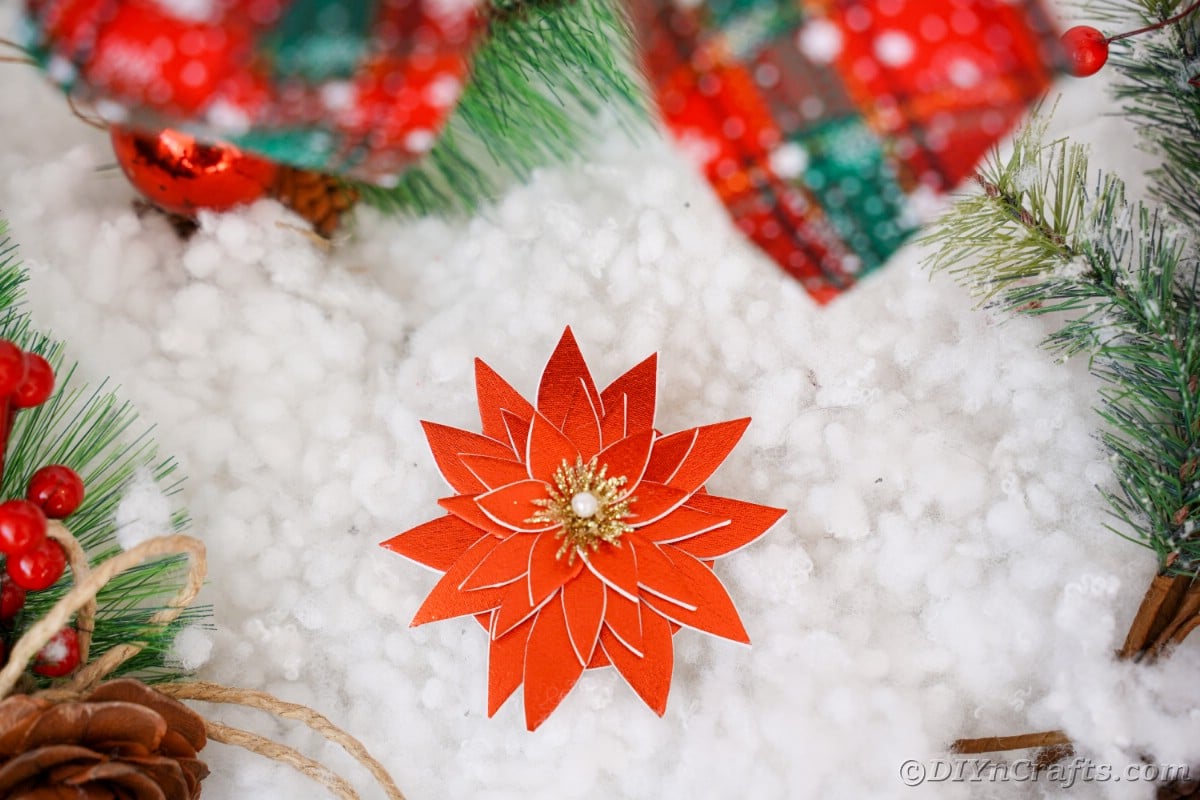
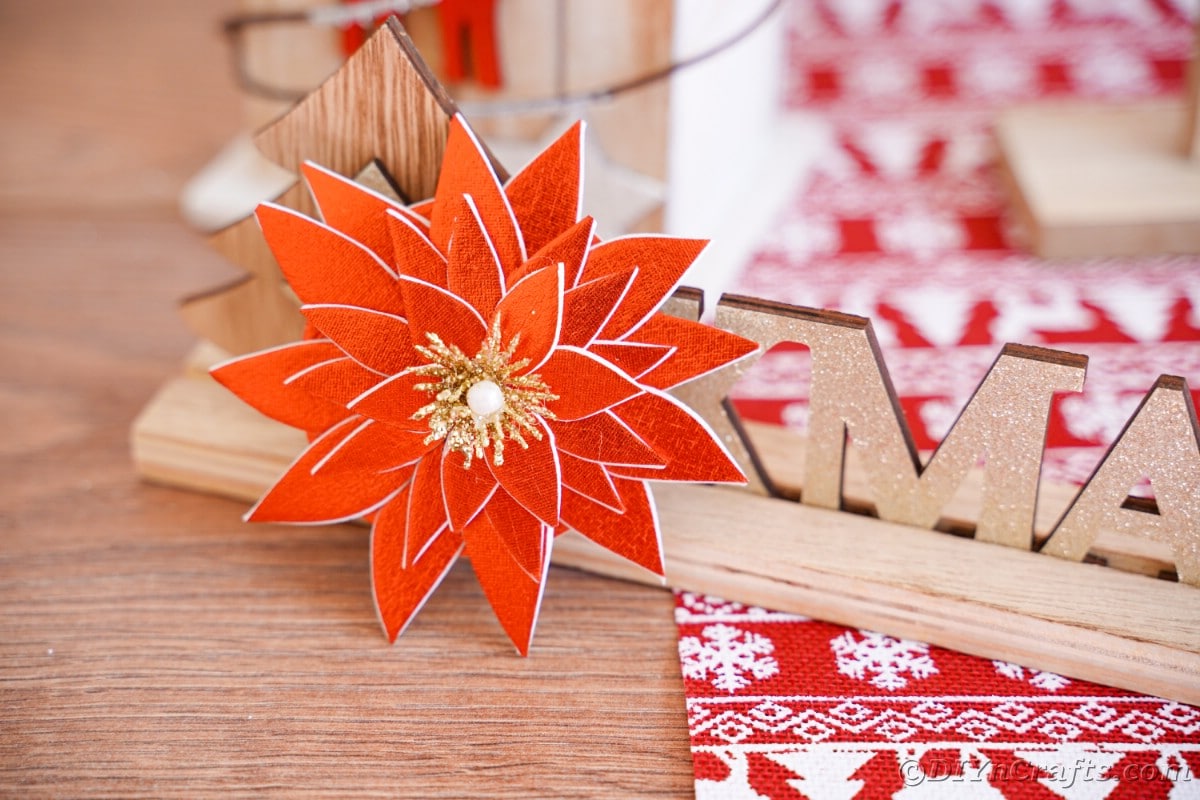
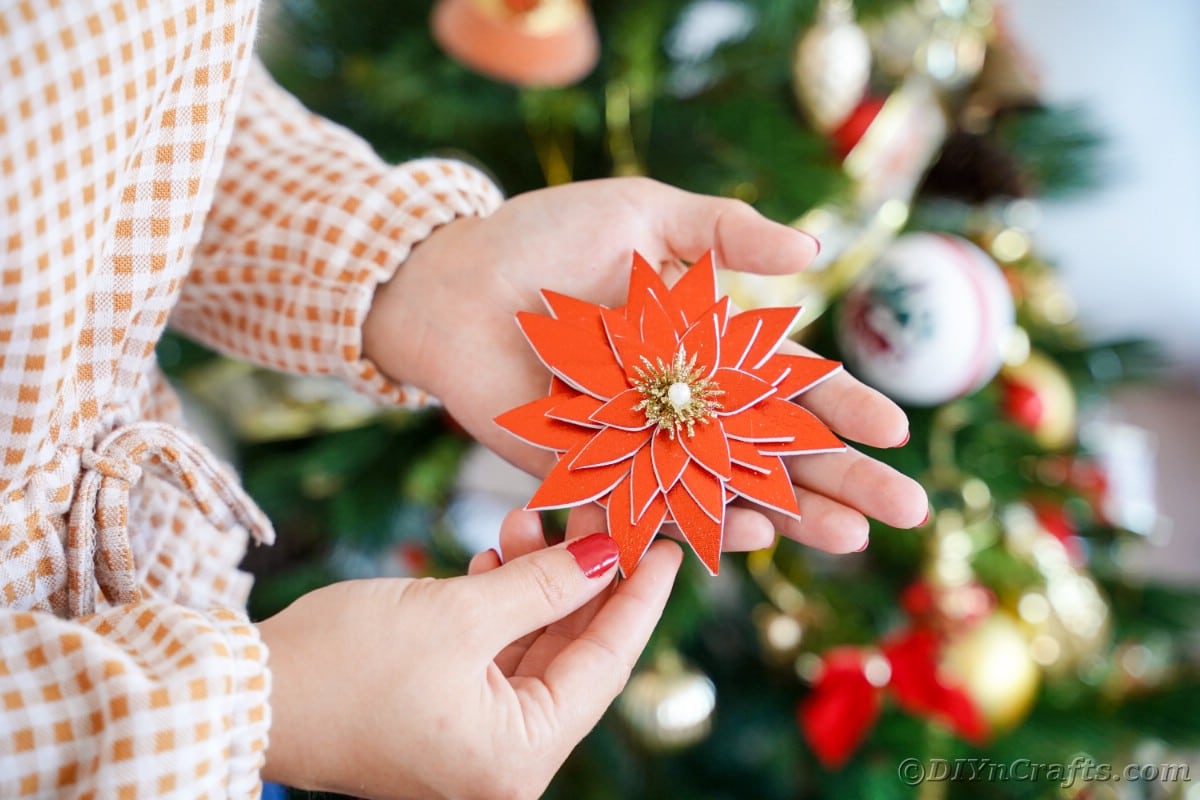
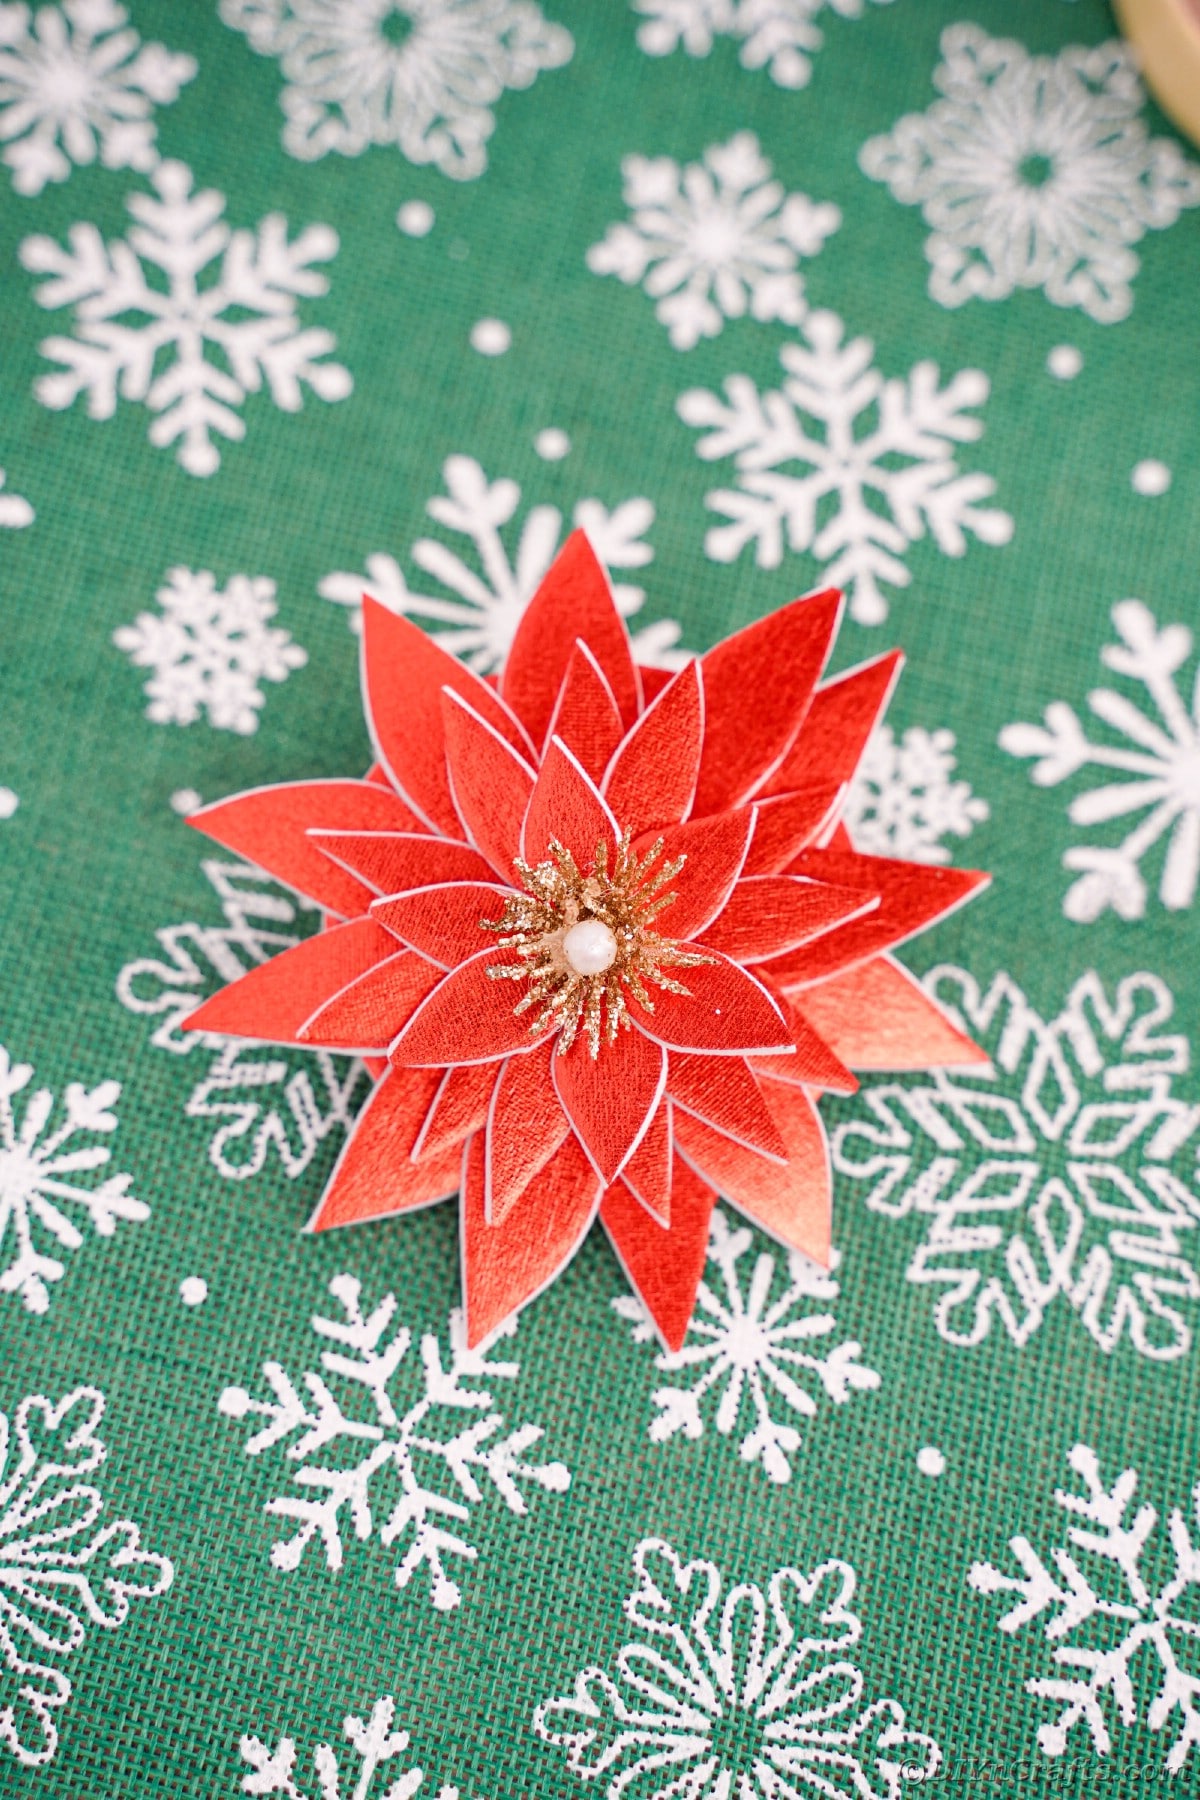
This DIY poinsettia flower craft is perfect for the holiday season! It’s inexpensive, easy to make and it looks great as a decoration, gift topper, or pinned on your sweater. Only a few supplies are needed and less than half an hour of your time to create this cute idea for a fake poinsettia this season!
DIY Poinsettia Flower
While it is great to have fresh poinsettia flowers around the house, sometimes it isn't practical. And sometimes you want to make this beautiful poinsettia flower decoration for gifts and ornaments. No matter why you want to make it, you are going to love how easy it is to make and how lovely it looks.
Want an alternative? Check out how to make a poinsettia from construction paper too! So cute and easy to make, even for the kids.
What Can I Use This Fake Poinsettia For?
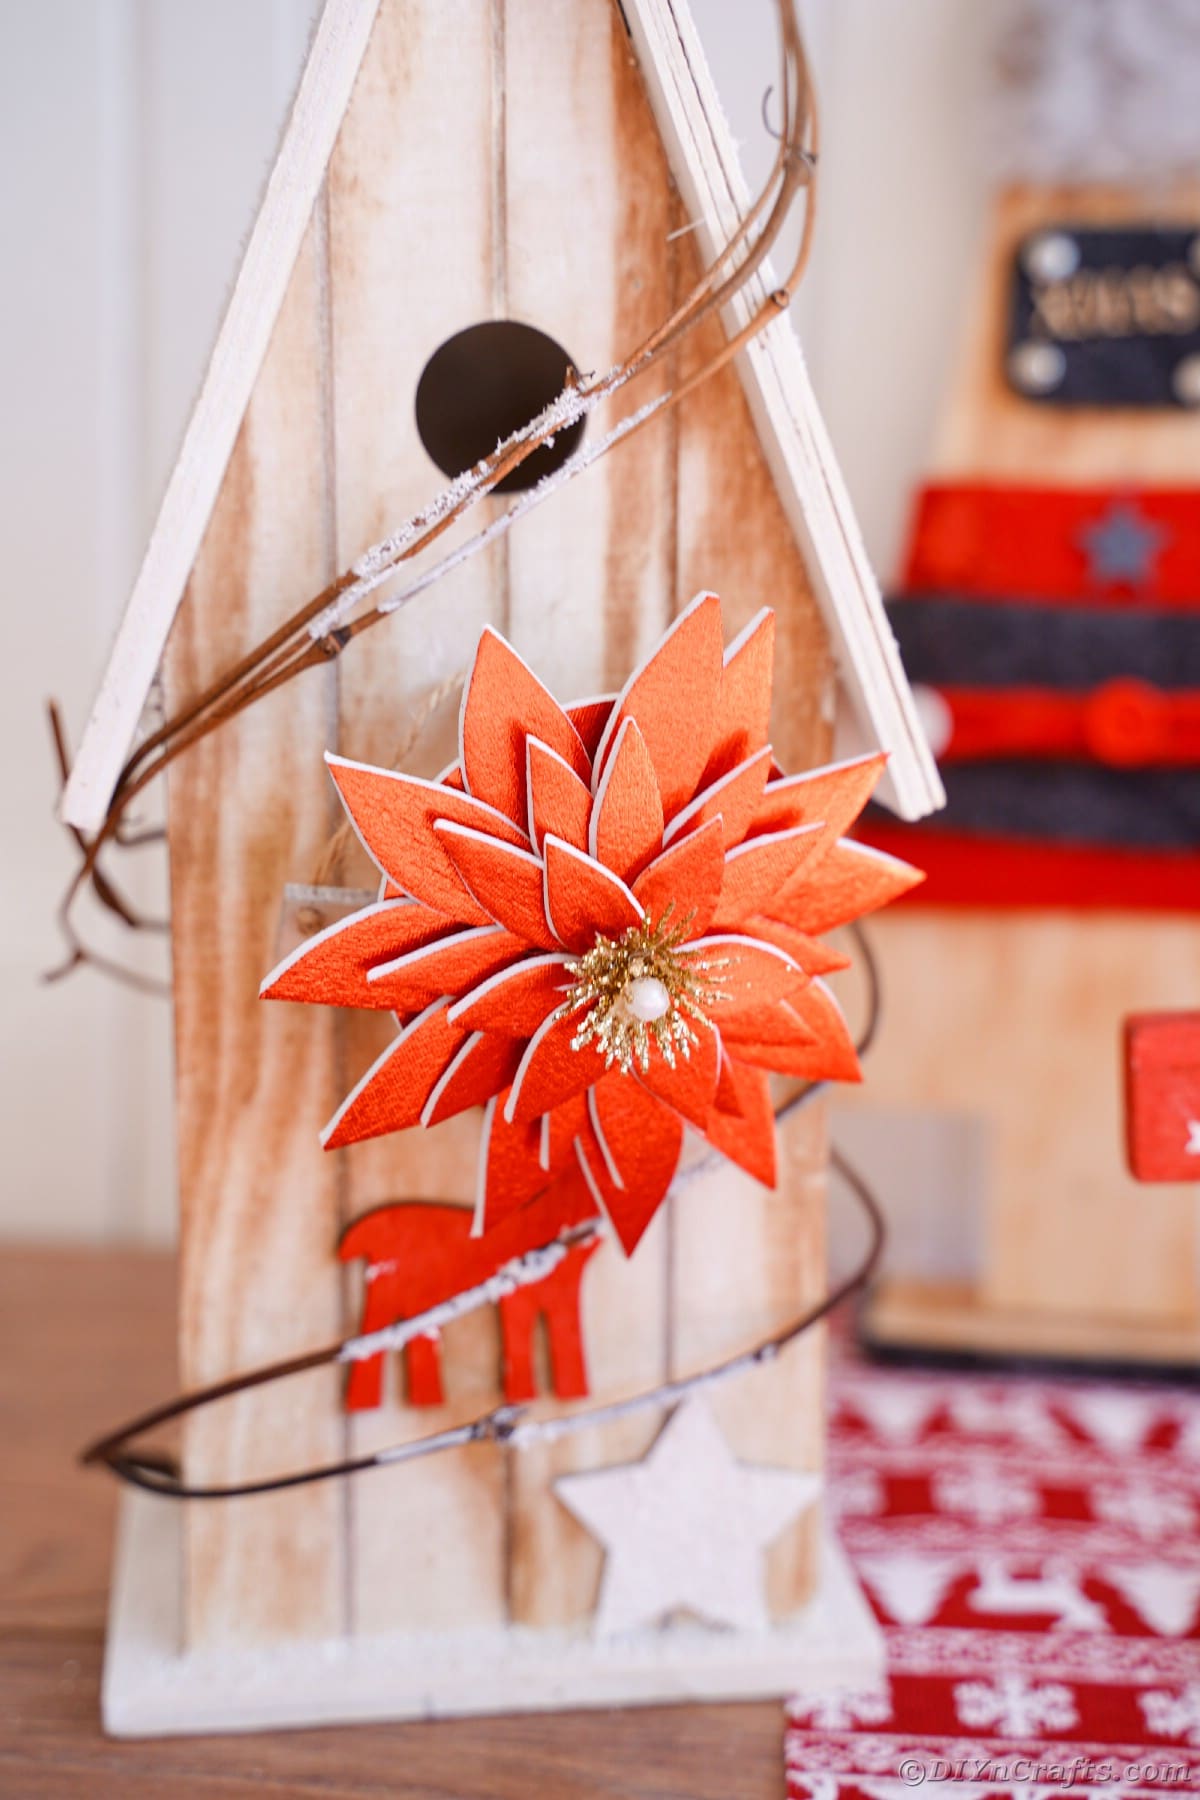
What I love most about this fake poinsettia flower craft is that it’s so versatile. You can use these flowers for so many different things. It's easy to use them for everything from a bouquet of flowers to creating a centerpiece with them. Below are a few more ideas that are perfect for this project!
- Add the pin on the back as shown and wear it on a sweater or jacket throughout the holiday season.
- Attach a hook or piece of ribbon and hang it on the tree as an ornament.
- Create a bouquet using floral wire glued to the back of the flowers.
- Attach to a piece of ribbon or twine and create a garland for your mantle.
- Add to the top of gifts in place of a holiday bow.
You can even use this as a part of other projects we have here like on this festive holiday wreath or even as part of something like this rustic candle holder in place of the star.
What Can I Make This With?
I am making my fake poinsettia flowers with crafting foam. This is one of my favorite to use because it has the thickness and it is already colored. There are a lot of options, but this one is a favorite because it holds the shape and is so affordable.
Other ideas include using things like cardboard since it's almost always something people have on hand. Cardstock, construction paper, felt, or even plastic from things like binders or similar that were to be upcycled.
You can also use scrapbook paper or wrapping paper, but do know there may be more work involved to make it work. Since scrapbook paper is still thin and won't hold the shape very well on its own, you will want to stiffen the paper with either mod podge or use spray starch to give it some structure.
Can I Make This Into a Bouquet?
These flowers would look lovely in a bouquet. If you decide to do this, you would want to make several of the poinsettias to make the bouquet. Start with 10 to 12 and add more if needed.
Once you have made the flowers, you will need to add stems to the poinsetta flowers. You can use jewelry wire or fake plant stems to the bottoms. I would use hot glue or tape to secure the wires to the bottom of the flowers. Once you have the stems on the flowers, you can bunch them together. Once you have the bouquet you can style them anyway you like.
They can go into a flower pot with foam and fake leaves to display like you would a real poinsettia, or wrapped in tissue paper like a flower bouquet.
Can Kids Make This?
This is a great craft to help kids work on their cutting and gluing skills. When you are securing the petals in place, you will want to have the kids skip the hot glue gun. This can give them burns easily. The petals can be secured using white school glue or crafting glue, and if using foam paper, most already have adhesive on the back and can just be used as a peel and stick item instead.
Remember that it takes longer for the glue to dry when you are using something other than hot glue. That means you may need to wait a bit longer to create a bouquet or attach it to something else for the glue to set properly.
Supplies Needed
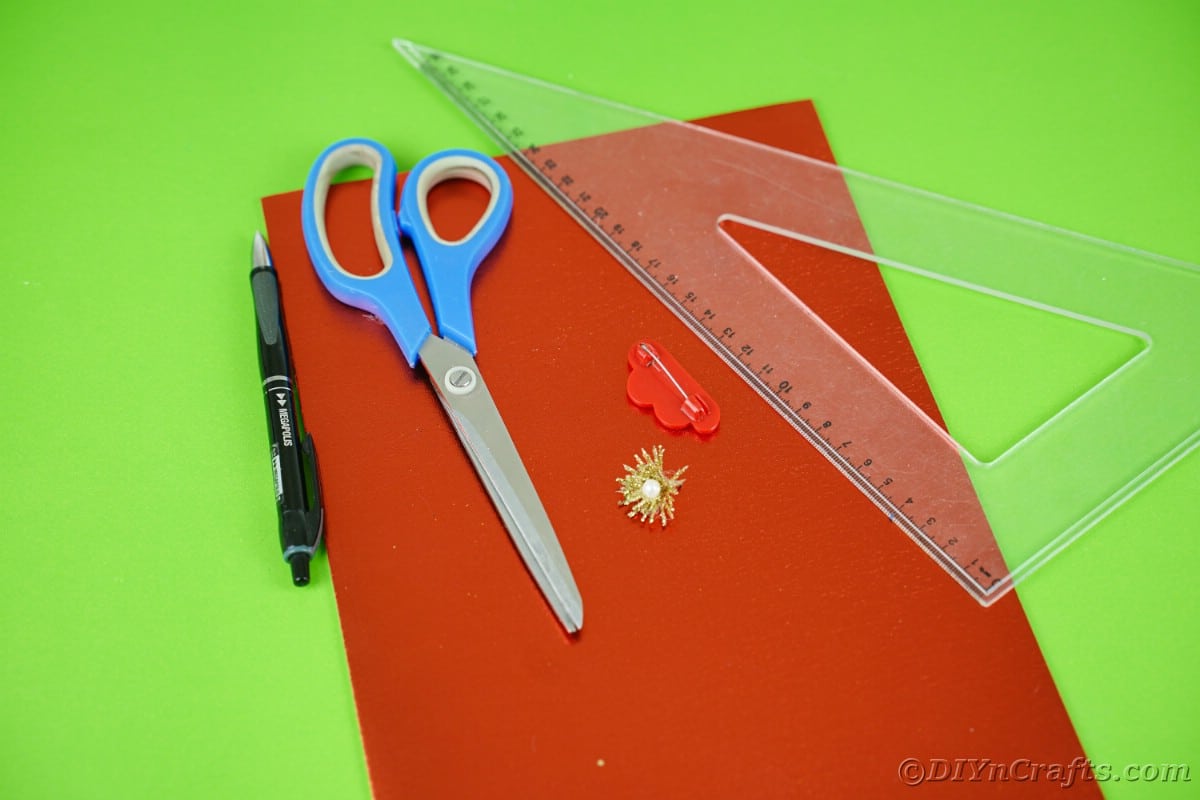
- Sparkling red foam paper
- Small gold flower center - can use a glittery pom pom or part from a fake flower
- Old pin or pin back
- Ruler
- Scissors
- Hot glue gun
- Hot glue stick
How to Make a DIY Poinsettia Flower
On the back of the red foam paper, trace a circle (3" wide) and then cut it out and set it aside.
Using the same foam paper, cut strips in three widths - 5 cm, 3.5 cm, and 2.5 cm.
Cut a petal shape (pointed at both ends) from each size strip, then use that as a template to continue cutting them out until you have 12 petals that are 5cm, 12 petals that are 3.5 cm, and 6 petals that are 2.5 cm.
Begin attaching the petals to the round base. Start with two that are centered with one side of the petal hanging over the edge. Use the largest petals and glue 6 of them around the base.
Next, glue the remaining 6 petals that are 5cm on top of the first layer, in between the first ones at an angle to create an offset angle.
Continue by gluing the 3.5cm petals the same way you did the 5cm, with two rows that are offset from each other.
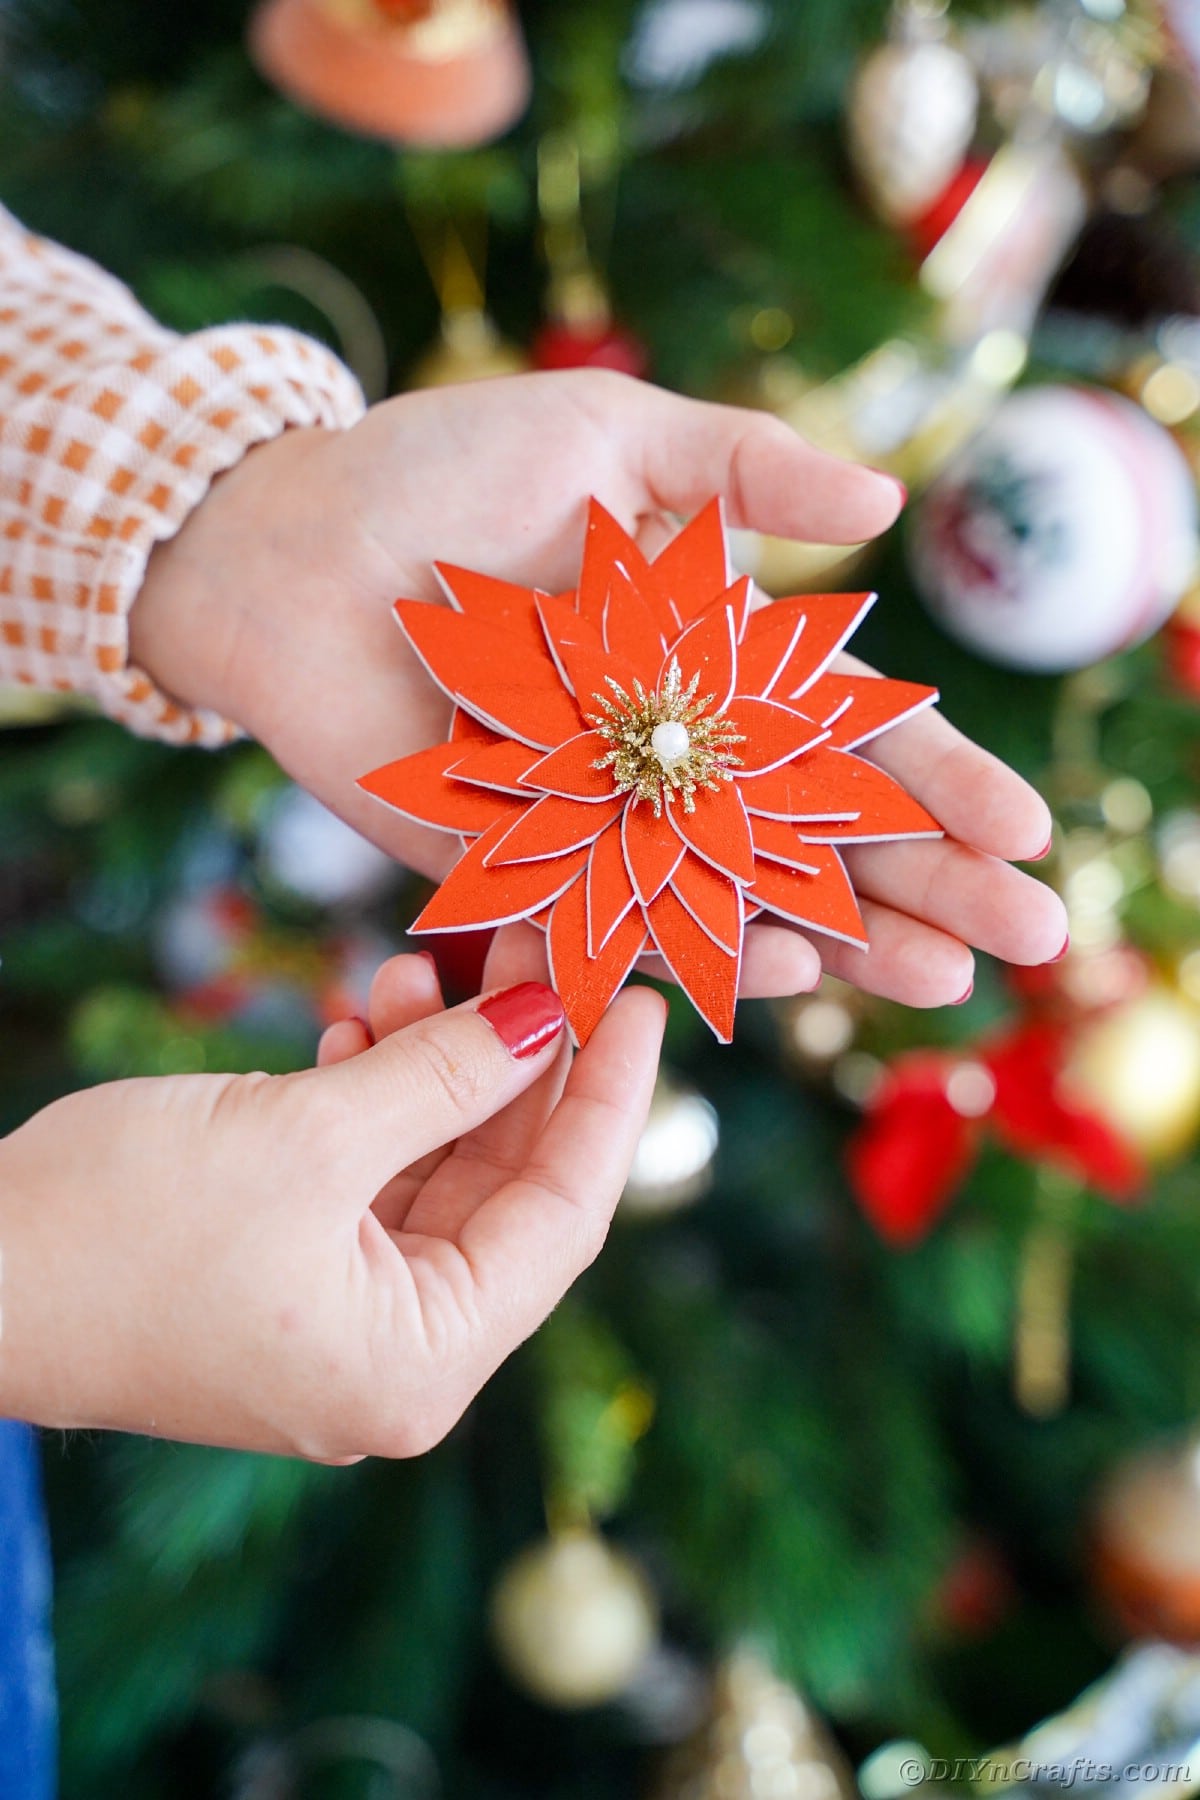
Finish by gluing the smallest, 2.5 cm, petals on the top of the other layers.
Add the gold ball or flower center in the middle of the flower.
Then, glue the pin backing on the back of the flower, if using as a pin.
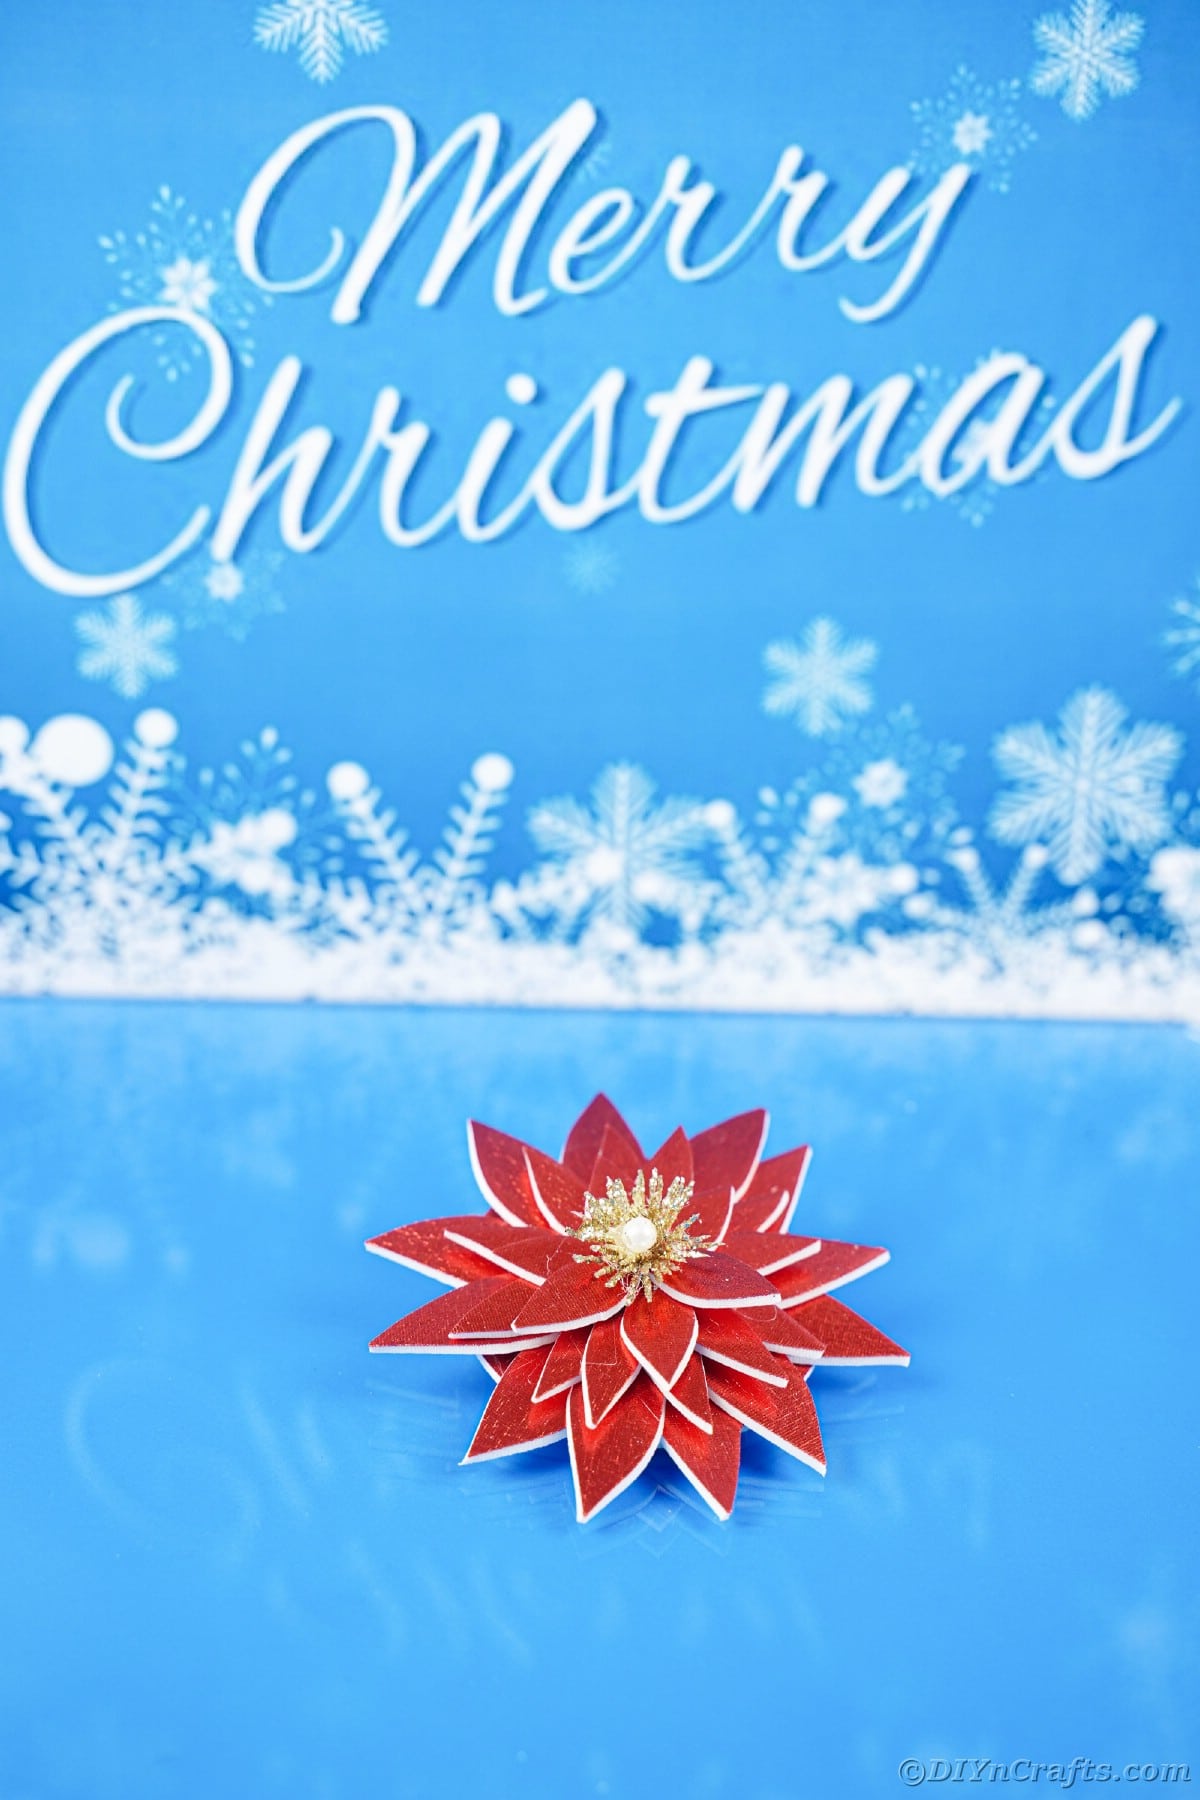
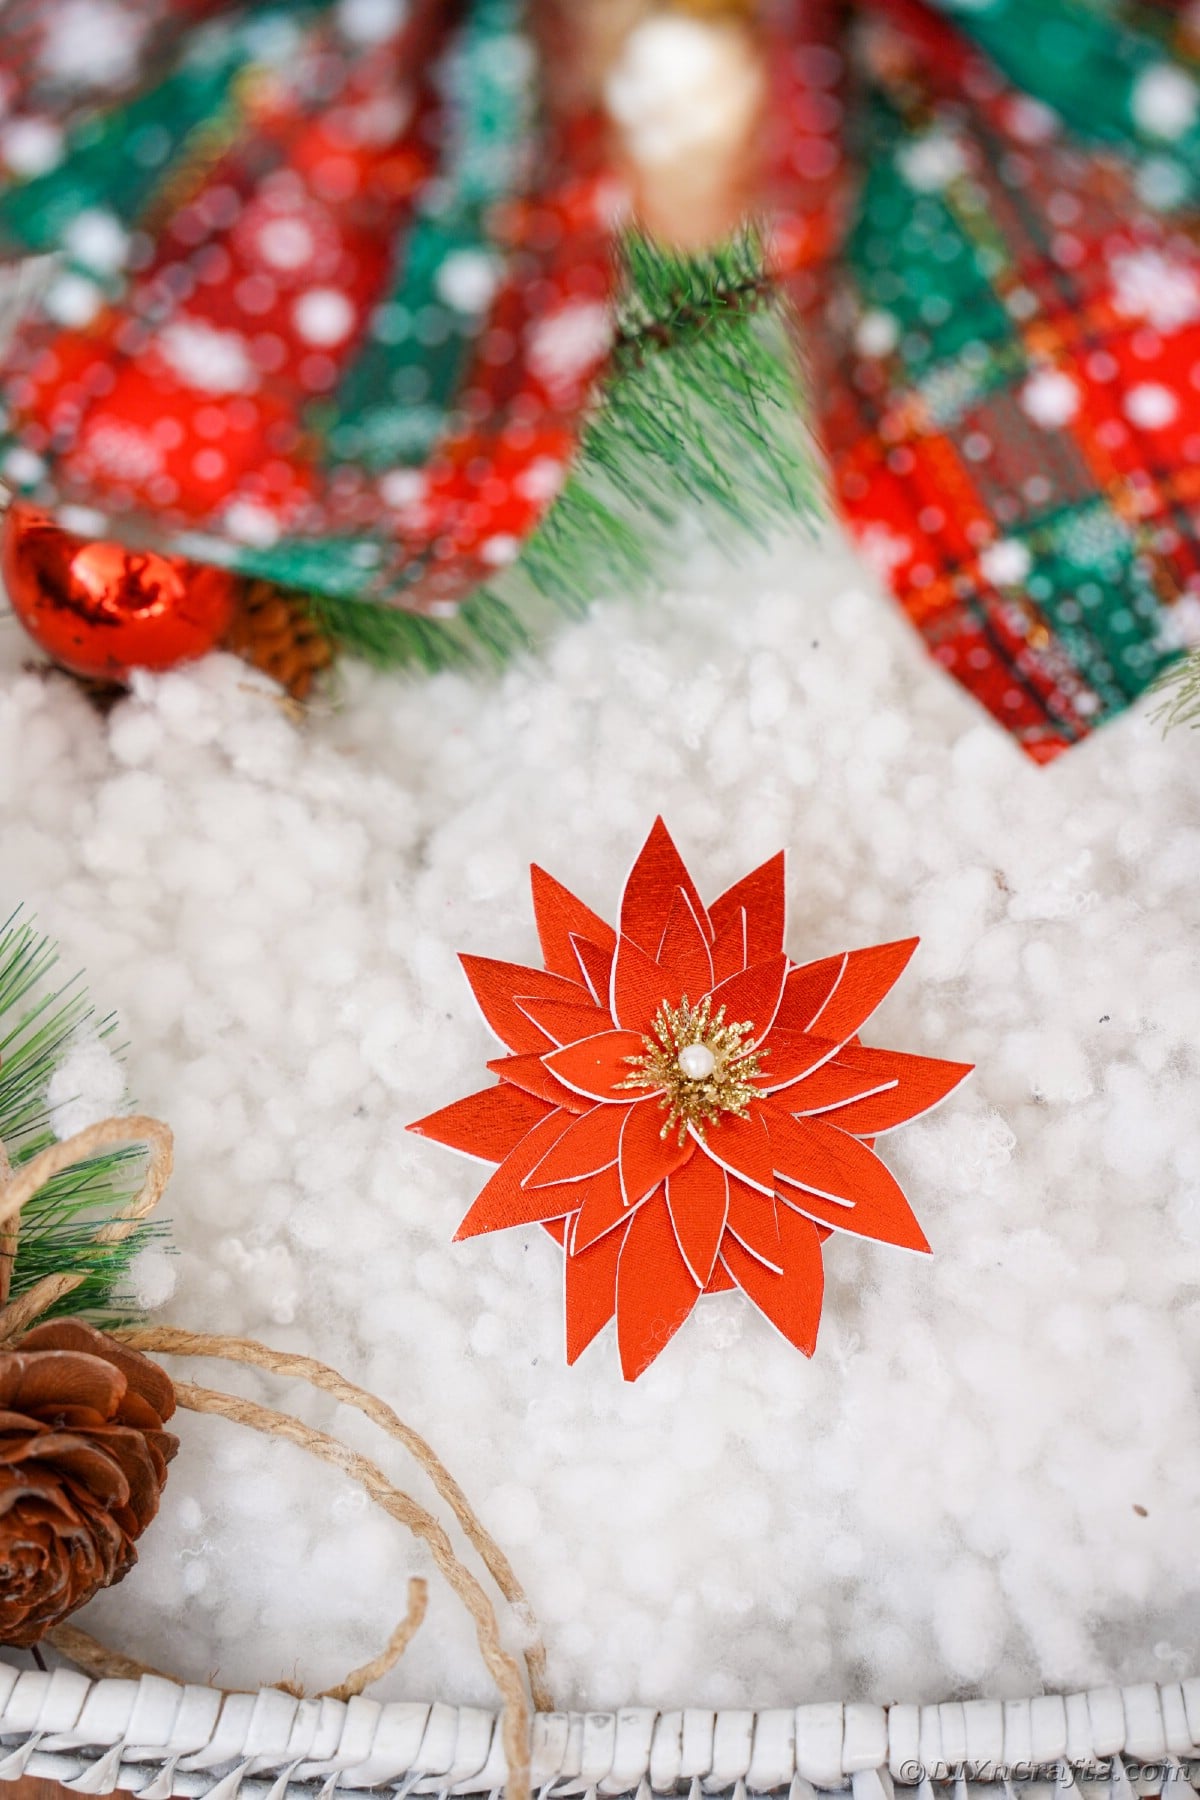
Display, wear, or create bouquets with these to decorate for Christmas.
More Holiday Craft Ideas
The holiday season is full of events, gatherings, parties, and just fun times with family. This year you can add some lovely decorations in the process. Below are a few more of my favorite ideas for the holiday season. Bookmark these tutorials, print them to have on hand, or pin to a holiday-themed Pinterest board so they are easy to find when you are ready to create!
- Cute Wooden Spoon Christmas Decorations
- DIY Giant Lollipops Christmas Decoration Idea
- Giant Holly Berry and Leaf Christmas Decoration
- Miniature North Pole Street Light Decoration
DIY Foam Poinsettia Flower Pin or Decoration
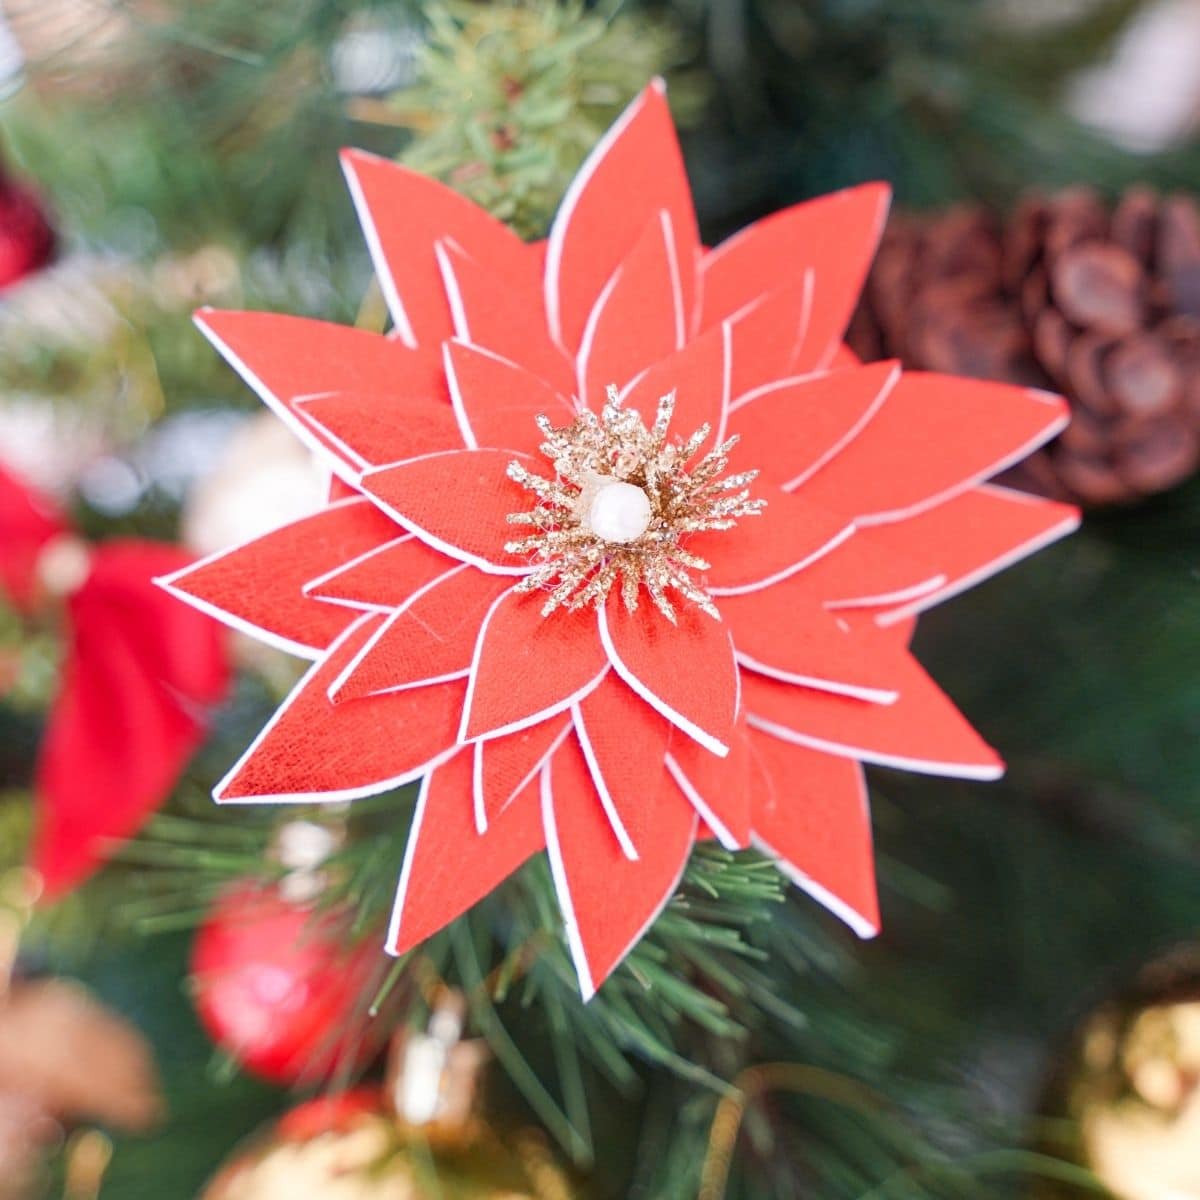
Make this adorable DIY foam poinsettia flower pin or use it as a decoration for your tree! An easily affordable decoration ready in minutes!
Materials
Instructions
- On the back of the red foam paper, trace a circle (3" wide) and then cut it out and set it aside.
- Using the same foam paper, cut strips in three widths - 5 cm, 3.5 cm, and 2.5 cm.
- Cut a petal shape (pointed at both ends) from each size strip, then use that as a template to continue cutting them out until you have 12 petals that are 5cm, 12 petals that are 3.5 cm, and 6 petals that are 2.5 cm.
- Begin attaching the petals to the round base. Start with two that are centered with one side of the petal hanging over the edge. Use the largest petals and glue 6 of them around the base.
- Next, glue the remaining 6 petals that are 5cm on top of the first layer, in between the first ones at an angle to create an offset angle.
- Continue by gluing the 3.5cm petals the same way you did the 5cm, with two rows that are offset from each other.
- Finish by gluing the smallest, 2.5 cm, petals on the top of the other layers.
- Add the gold ball or flower center in the middle of the flower.
- Then, glue the pin backing on the back of the flower, if using as a pin.
- Display, wear or create bouquets with these to decorate for Christmas.
Notes
These can be made with cardstock or felt if you prefer!
Recommended Products
As an Amazon Associate and member of other affiliate programs, I earn from qualifying purchases.
-
 Christmas Crochet Red Poinsettia Brooch / Clip / Pin / Pascuas | Etsy
 -
 CHRISTMAS POINSETTIA BROOCH Beautiful Enameled Floral Motif | Etsy
 -
 Red Felt Poinsettia Brooch/ Christmas Flower/ Holiday Brooch/ | Etsy
 -
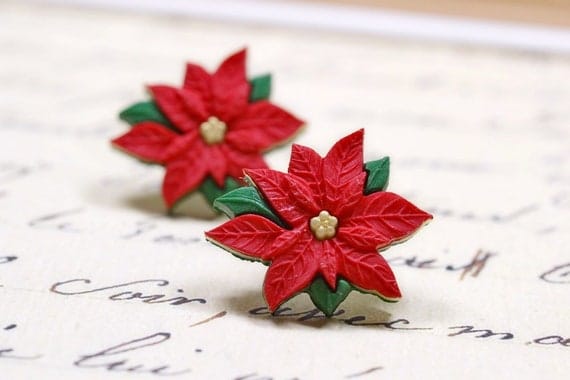 Large Red Poinsettia Earrings Christmas Jewelry Holiday | Etsy
 -
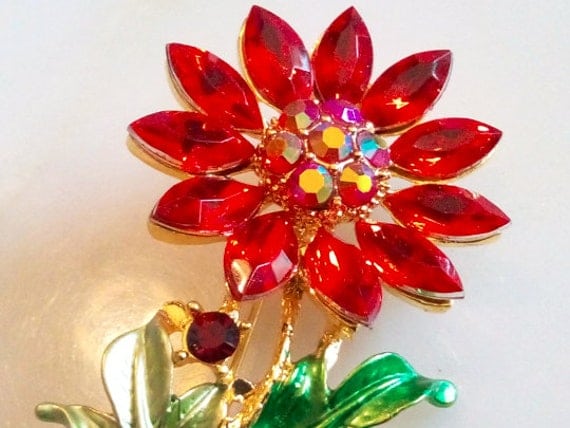 1950'S CHRISTMAS POINSETTIA BROOCH Beautiful Enameled | Etsy
 -
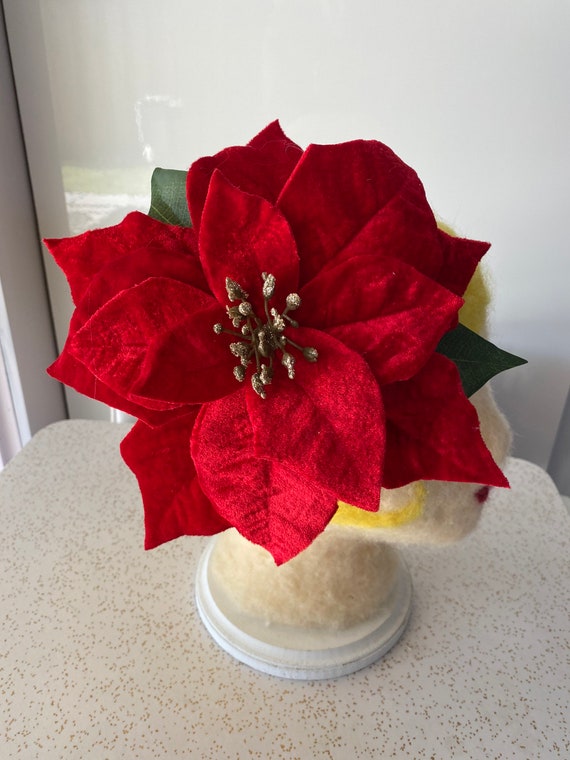 Oversized Poinsettia Fascinator Hair Clip | Etsy
Finished Project Gallery
I love the idea of using these as table scatter on a holiday table!
Kids will love making these and putting on packages in place of bows.






Leave a Reply