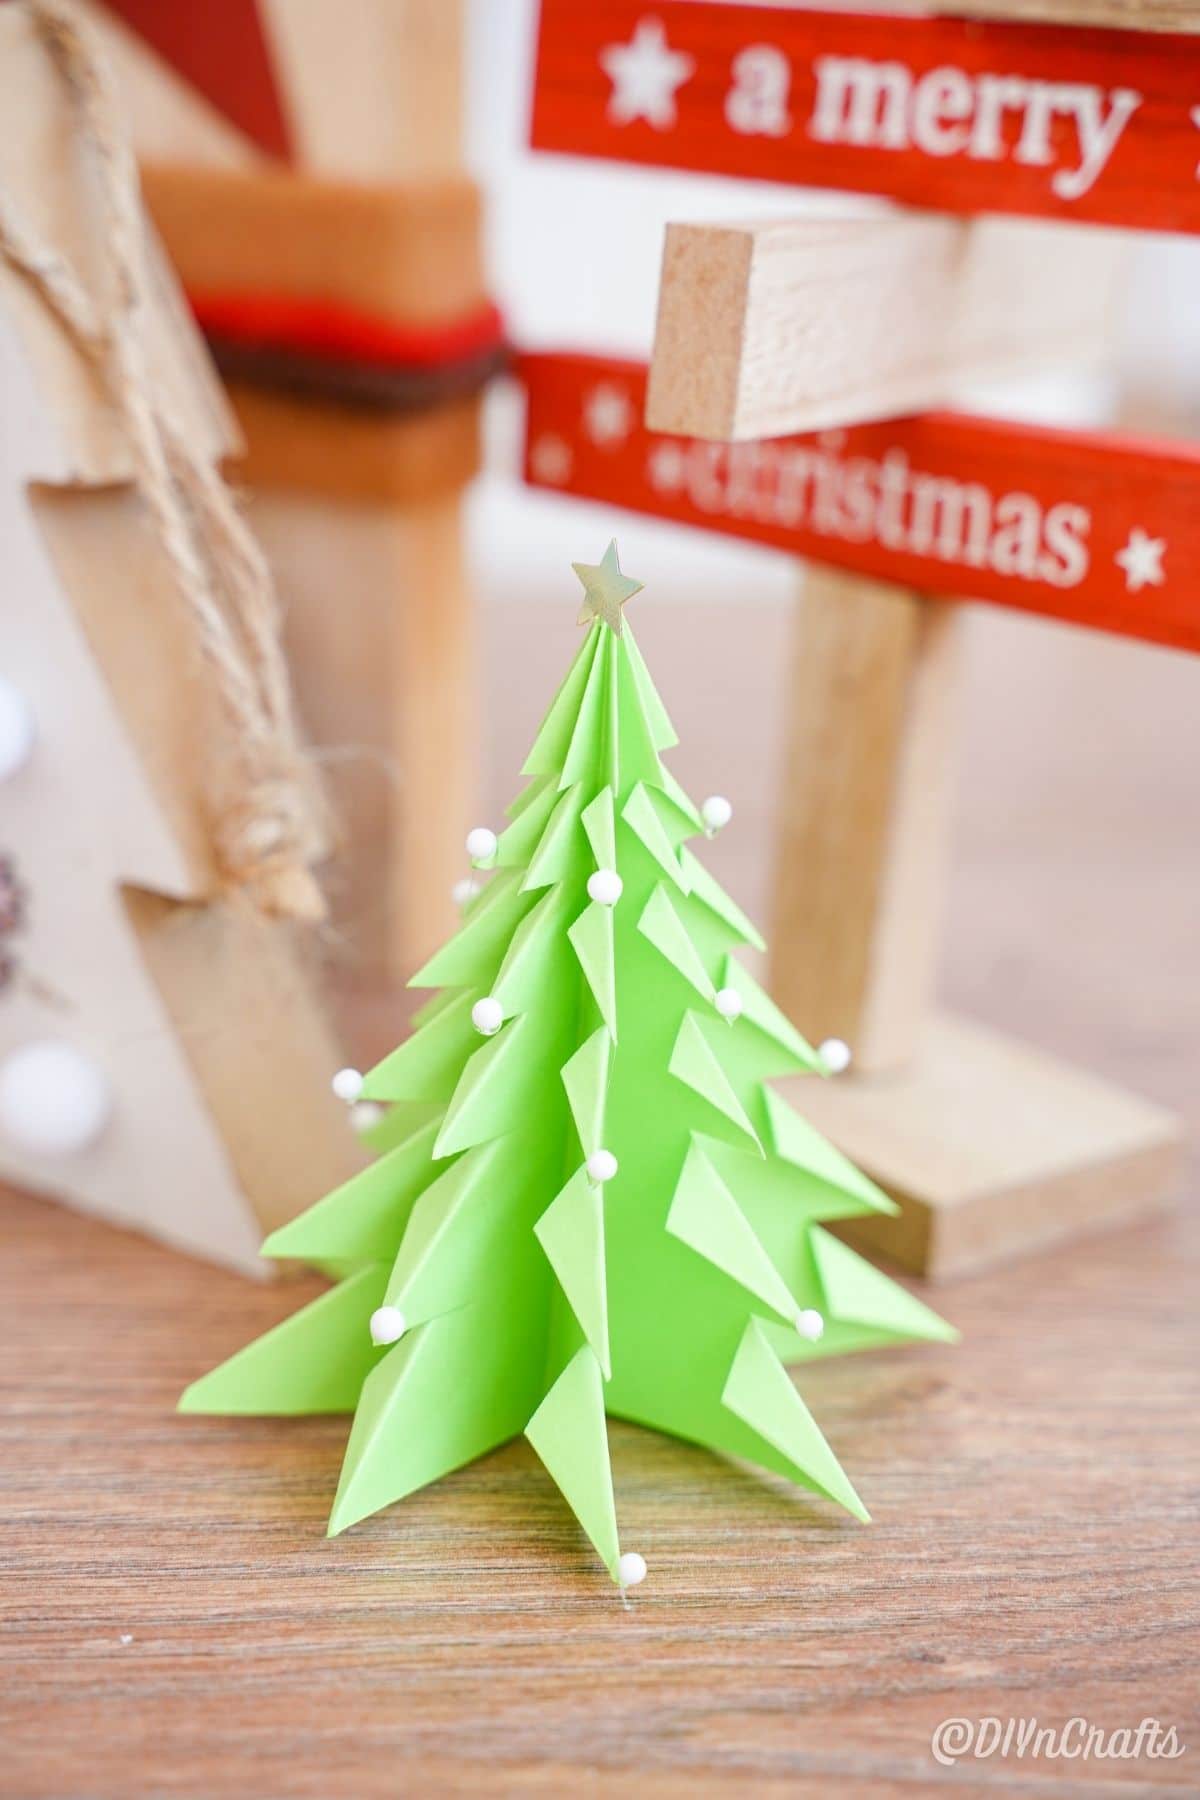
I just adore miniature anything, especially when it comes to the holidays. So of course, this cute little 3D paper Christmas tree is going to be a fun twist on a classic decoration. All you need is a bit of paper, scissors, glue, and your time to create something that is fun, pretty, and easy to customize. Also makes a great kids' craft for the holidays!
3D Paper Christmas Tree
This paper Christmas tree is a fun and simple holiday craft and decoration. This decoration can be used to hand on the tree or to hang around the house. This is a perfect little project for kids to make, or for you to add something inexpensive and fun to your holiday decor. I love papercrafts, and this one is definitely a great addition to my Christmas routine.
Another fun Christmas tree idea using paper is this little music sheet mini paper Christmas tree. Of course, I love the paper strip mini Christmas tree because it is a bit more 3D and festive, but you can even make your own 3D Christmas tree cards to send to friends and family! So many cute ideas and options on this list of mini Christmas tree ideas!
What Paper Should I Use for My Tree?
The good thing about this project is you can truly use any paper you have on hand. Of course, a stiffer option like a heavier-weight paper or construction paper works better to hold its shape, but since you are folding so much, it may be better to use a thinner option.
I like basic copy paper, colored paper, cardstock, scrapbook paper, and construction paper best for projects like this one and this one in particular.
How Can I Decorate the Tree?
It is simple to decorate this paper Christmas tree. Just think about what you would use on a traditional Christmas tree and find something miniature that will work on this version. It's easy to make this customized for your own personality and decor style. Below are a few ideas that I love!
- Glitter is one of the easiest ways to decorate a tree.
- You can also use small pieces of confetti to decorate the tree.
- Paint is another simple option and works great for younger crafters. Toddlers can use finger paint while older children and adults can use paint markers or acrylic paint to decorate.
- Beads are excellent as mini ornaments.
- Sequins can also be sued for sparkly ornament options.
- Silver, gold, or glittery pipe cleaners can be added as "tinsel" on the tree.
- Spray the tree with white spray paint or foam to create snow.
You can even go so far as to shop the miniature hobby section of your craft store for things like mini holiday lights, angels, or ornaments to attach to this if you want to get extra special with how you decorate the tree!
How Can I Use This to Decorate?
It may seem to be a simple craft, but it can also be used to decorate around Christmas. I love the idea of making this and creating different sizes to add my own little custom tree farm along the mantle. You can add this to a winter scene if you have collectibles, or simply a great way to keep kids busy if you are a teacher or have little ones who are always wanting to make something fun and new.
Can I Add Mod Podge to Keep This Clean?
Paper attracts dust and little paper projects like this can be a huge culprit. One of my favorite things to do is to spray with a clear sealant or even brush with Mod Podge after the project is done. That will give it an easy to clean surface, and in many cases make it last for many years instead of just being something you throw away after one season.
Supplies Needed
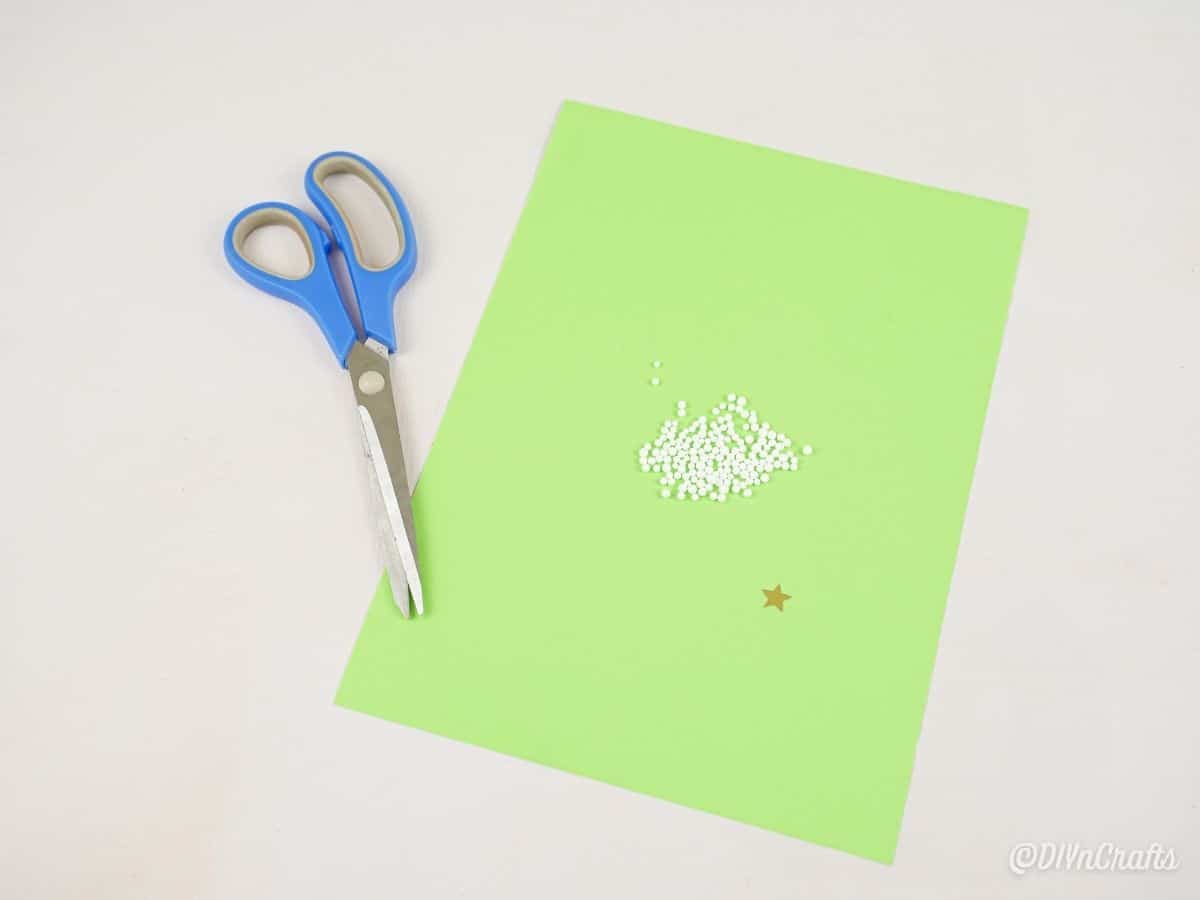
- Green craft paper
- Scissors
- Paper folder tool
- Hot glue gun
- Hot glue sticks
- Miniature beads, stickers, etc.
How to Make a 3D Paper Christmas Tree
NOTE: This paper folding project is a bit complicated and harder to explain with steps than it is to watch and follow the tutorial. If you are struggling with the following step by step instructions, check the video and watch it for a better idea of how to properly fold and create your paper tree.
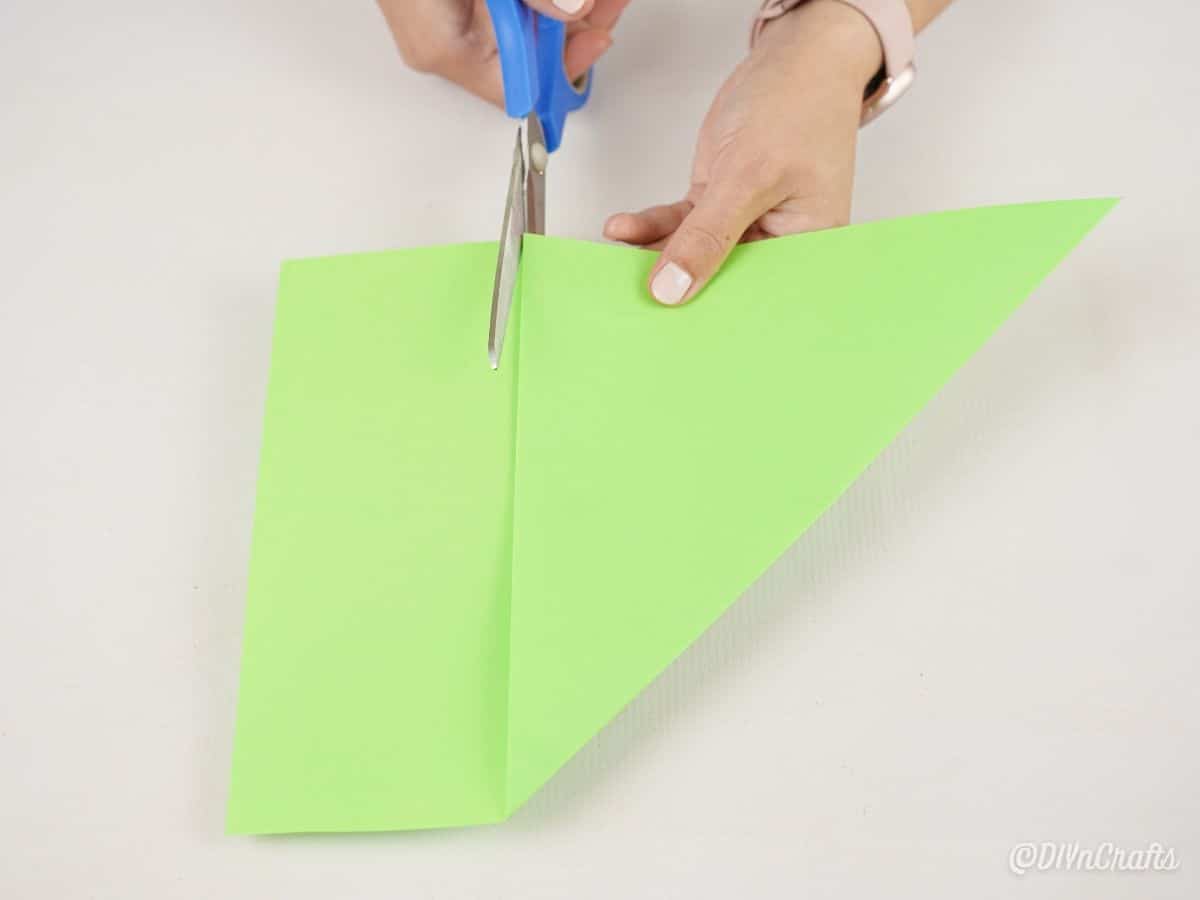
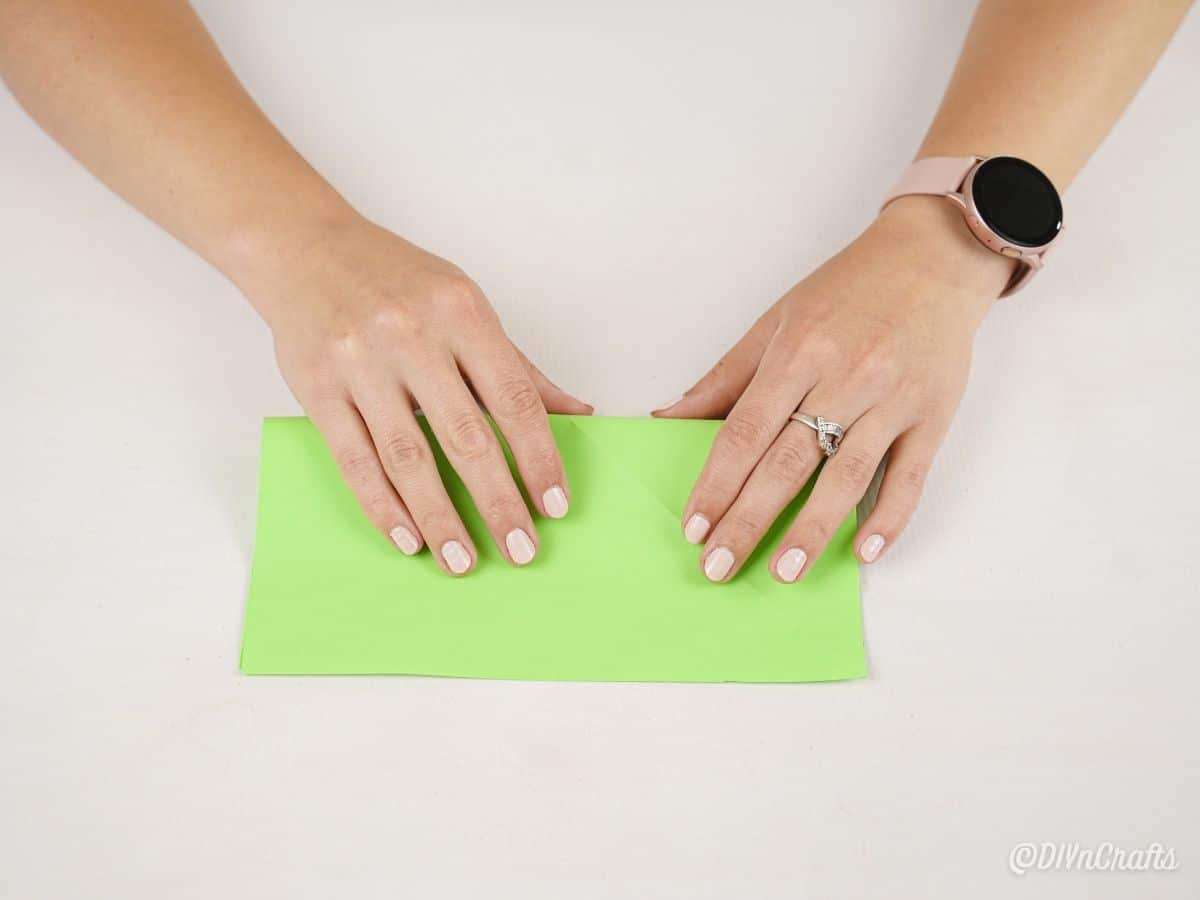
Fold a piece of craft paper over to form a triangle then cut along the bottom creating a square. Unfold the square of paper.
Fold the square in half horizontally.
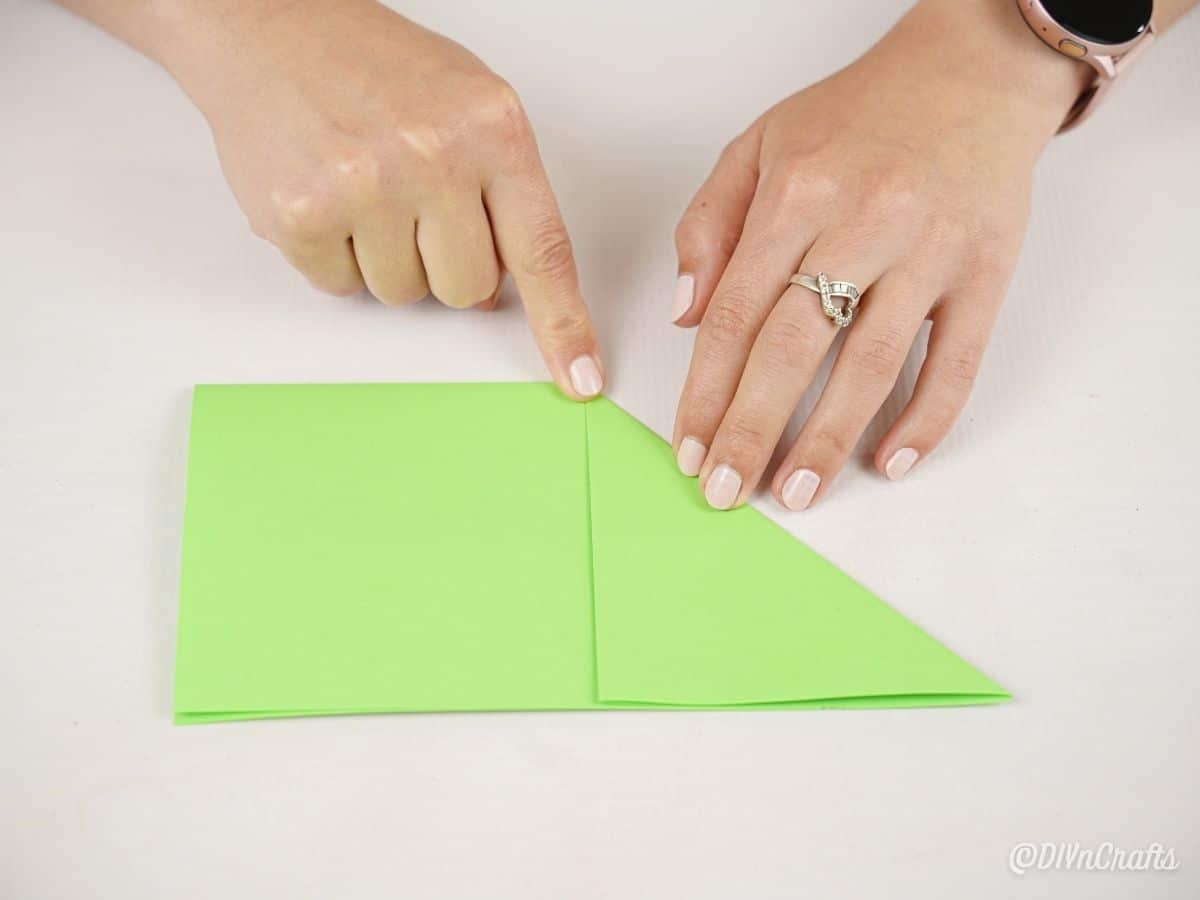
From the folded edge, fold the paper down from the center to create a triangle that meats in the center. Repeat on both sides to create a triangle shape.
Hold the sides together then open the bottom middle to fold back over like a triangle shape on the opposite sides to give it folds all around.
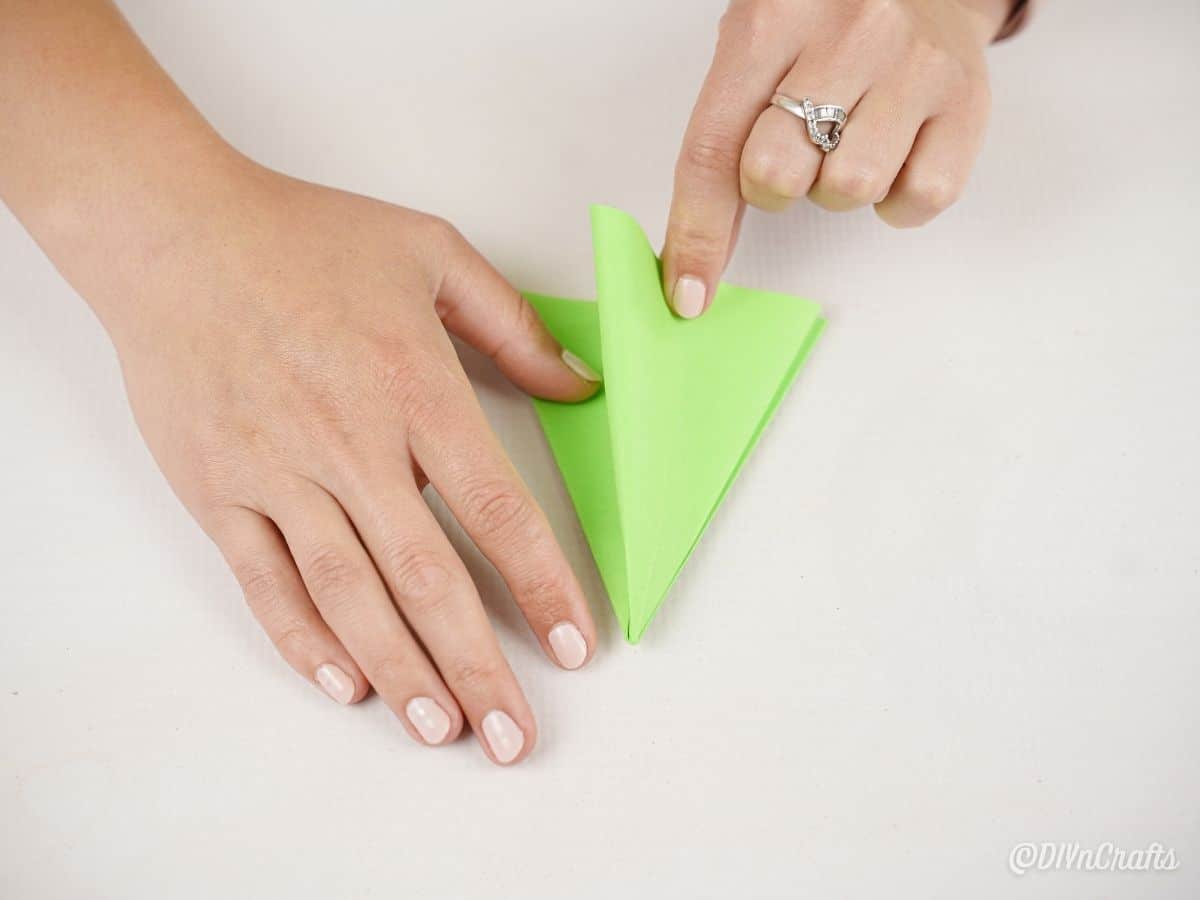
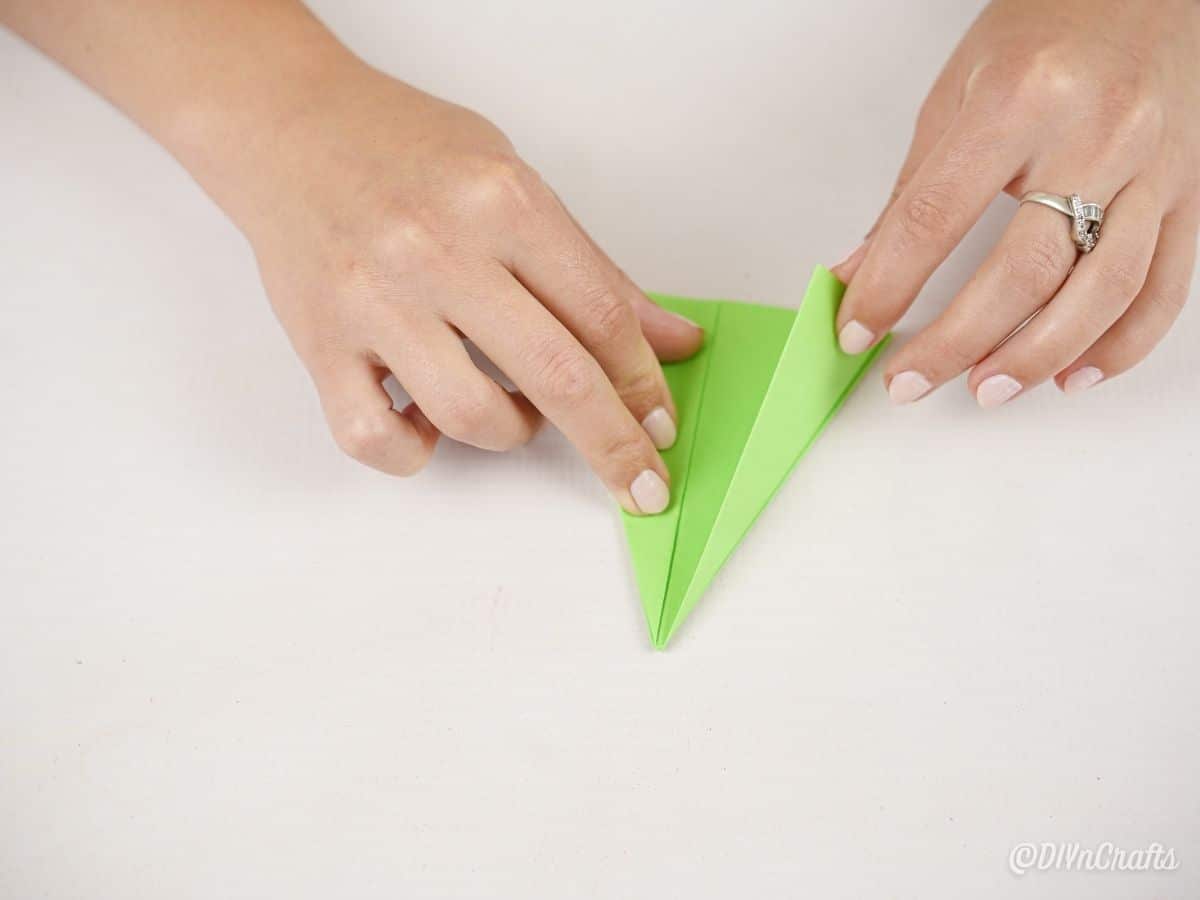
Now, begin folding each triangle down toward the center creating even smaller triangle shapes on each side.
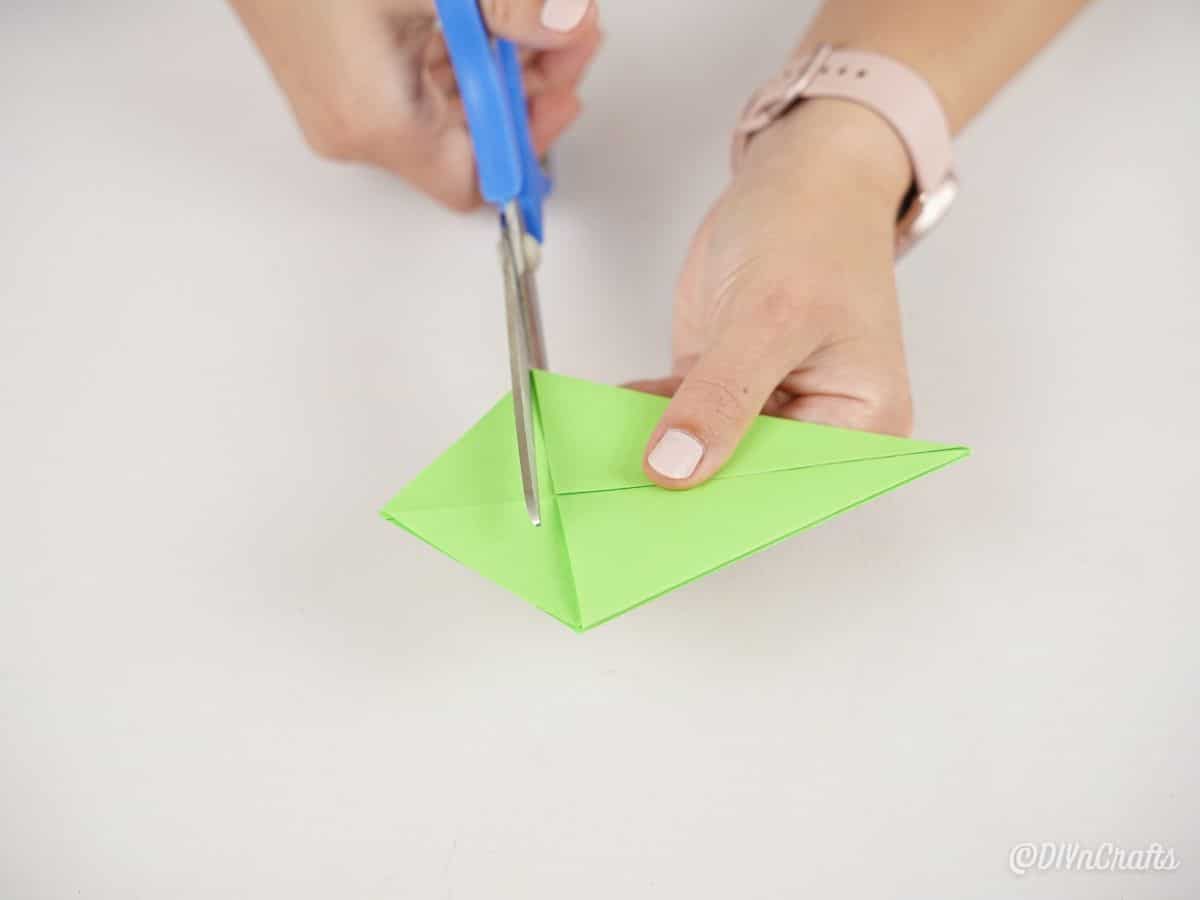
Once you have four of these, trim off the bottom open end of the paper to create a flat edge.
Now, unfold and refold the sides so you have a 3D tree shape that is accordion style back and forth.
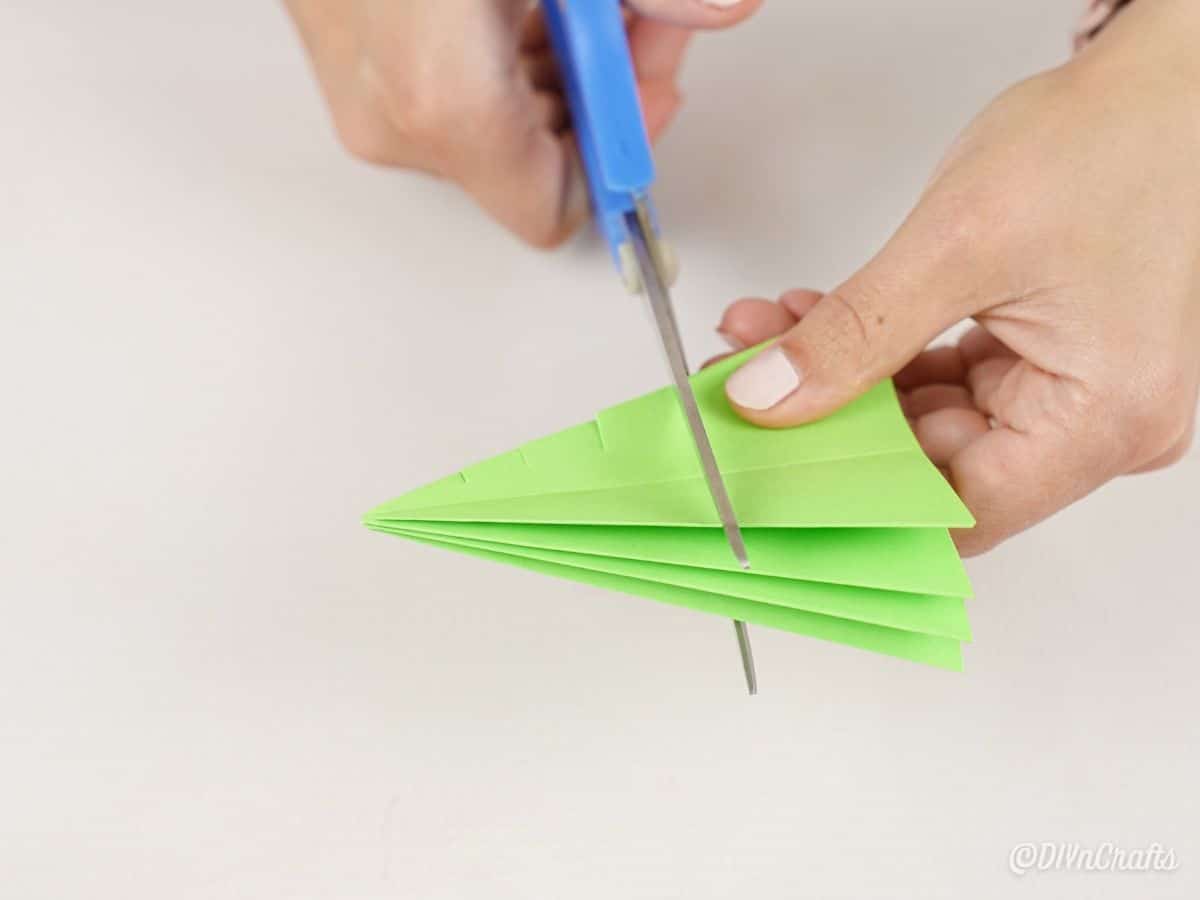
Along each side, cut 4 to 6 slices just to the center but not all the way through.
Along each of these cuts, fold just a bit down on each layer of the paper that has been folded.
Now, separate each section and stand up to create the tree shape.
Using glue, add small beads to a few of the points on the edge of each side of the tree and a star on top.
Continue decorating until happy with the appearance then display as desired!
More Easy Christmas Craft Ideas
If you want more fun and easy options for the kids to make this holiday season we have some great options that are sure to bring smiles to their faces. I love all things Christmas and have created a nice-sized list of fun ways you can keep kids busy while also making some pretty decor! Make sure that you bookmark, pin, or print your favorites from the list below!
- Classic Toilet Paper Roll Santa Snowman, and Elf Kids Craft
- 35+ Adorable Christmas Craft Stick Projects for Kids
- 40 Fun Christmas Kid's Crafts perfect for Winter Break
- Easy Pom Pom Ball Christmas Ornament Kids Craft
Easy 3D Paper Mini Christmas Tree Decoration

Turn ordinary craft paper into a cute 3D paper Christmas tree in just a few minutes! The perfect way to keep kids busy making a fun holiday craft!
Instructions
- Fold a piece of craft paper over to form a triangle then cut along the bottom creating a square. Unfold the square of paper.
- Fold the square in half horizontally.
- From the folded edge, fold the paper down from the center to create a triangle that meats in the center. Repeat on both sides to create a triangle shape.
- Hold the sides together then open the bottom middle to fold back over like a triangle shape on the opposite sides to give it folds all around.
- Now, begin folding each triangle down toward the center creating even smaller triangle shapes on each side.
- Once you have four of these, trim off the bottom open end of the paper to create a flat edge.
- Now, unfold and refold the sides so you have a 3D tree shape that is accordion style back and forth.
- Along each side, cut 4 to 6 slices just to the center but not all the way through.
- Along each of these cuts, fold just a bit down on each layer of the paper that has been folded.
- Now, separate each section and stand up to create the tree shape.
- Using glue, add small beads to a few of the points on the edge of each side of the tree and a star on top.
Notes
Make these in various sizes to create a winder wonderland scene for just a few dollars.
Recommended Products
As an Amazon Associate and member of other affiliate programs, I earn from qualifying purchases.
-
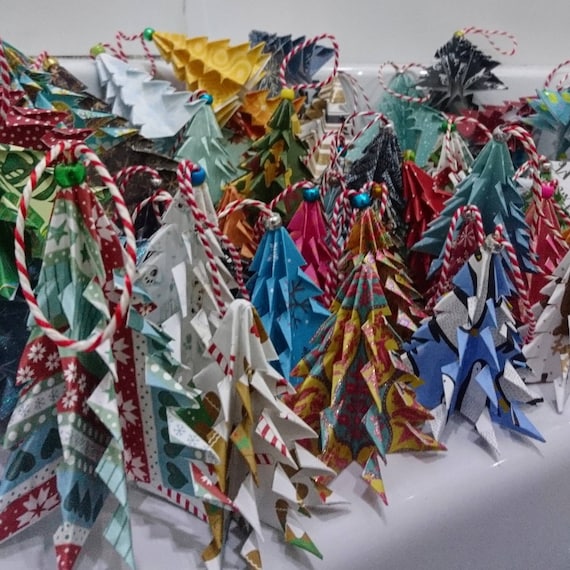 Paper Christmas Tree Decorations | Etsy
 -
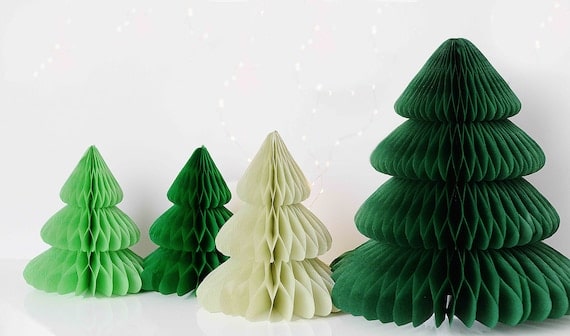 Christmas Tree Paper Honeycomb Decoration Winter Wedding | Etsy
 -
 Christmas Tree Paper Honeycomb Decoration Winter Wedding | Etsy
 -
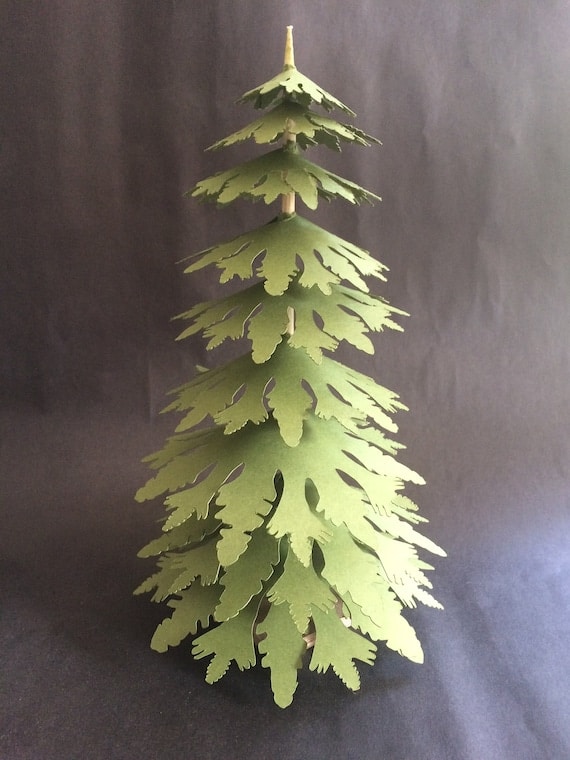 Paper Tree Kit | Etsy
 -
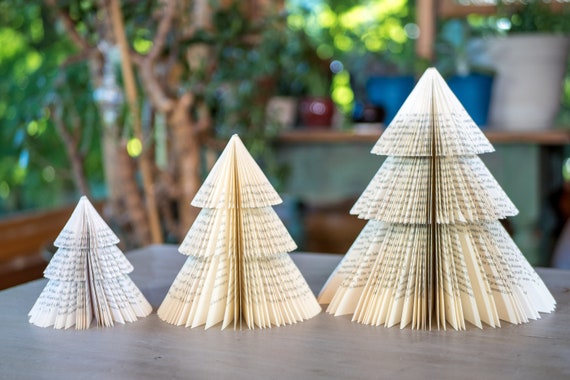 Book Page Trees-winter Wedding Decor-mantel | Etsy
 -
 Christmas Ornaments Patterns Paper Quilling Art Patterns | Etsy
Finished Project Gallery
I love the idea of spraying the whole tree with glitter spray so it sparkles!
You can do the same thing using cardstock or even a poster board for a larger tree.
Add a tree "farm" to your winter decor with this easy craft!





















Leave a Reply