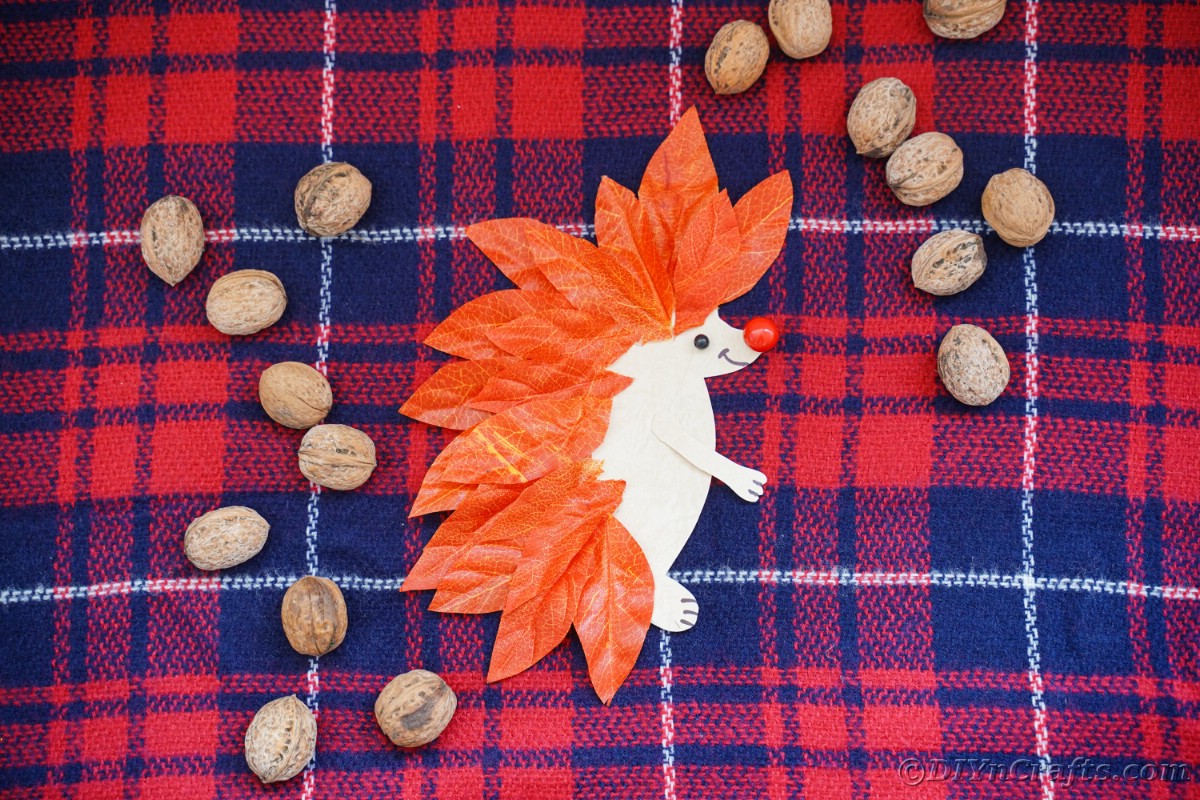
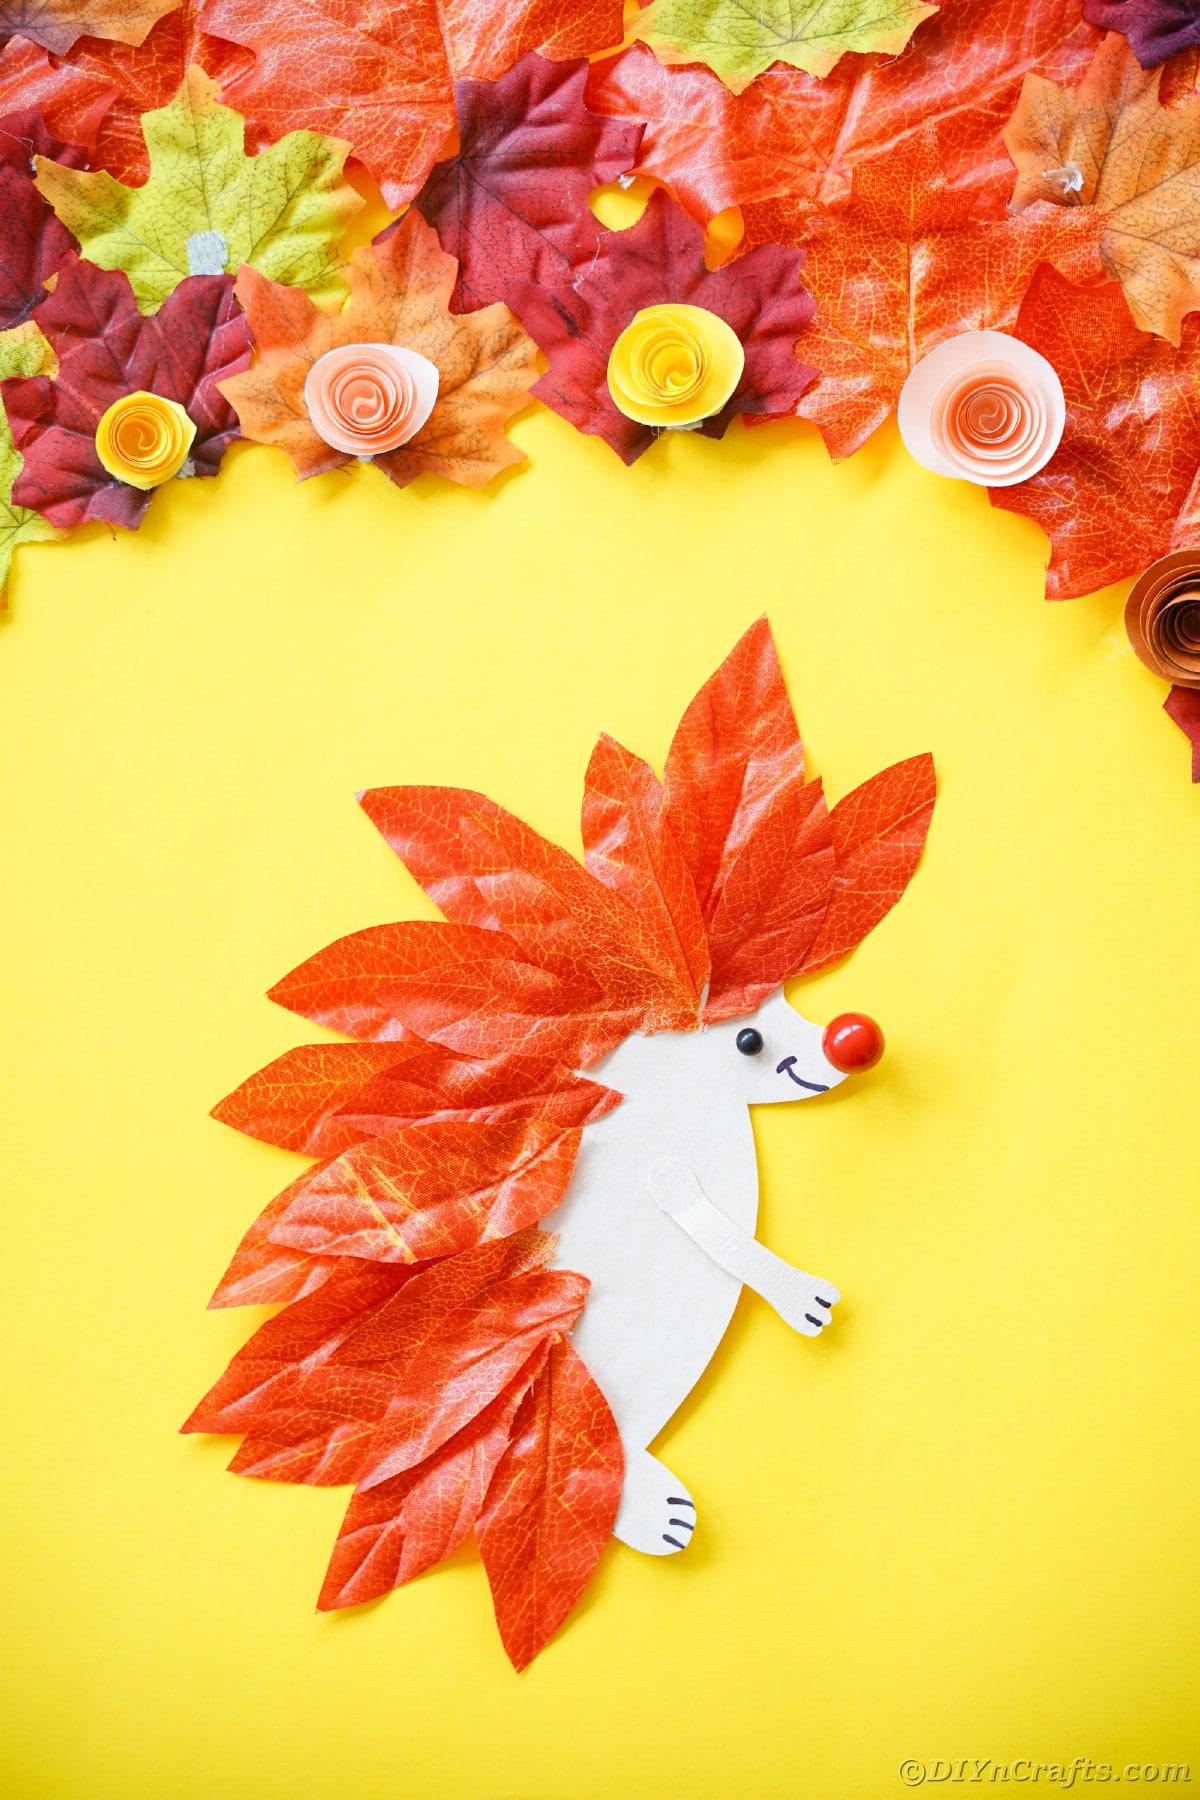
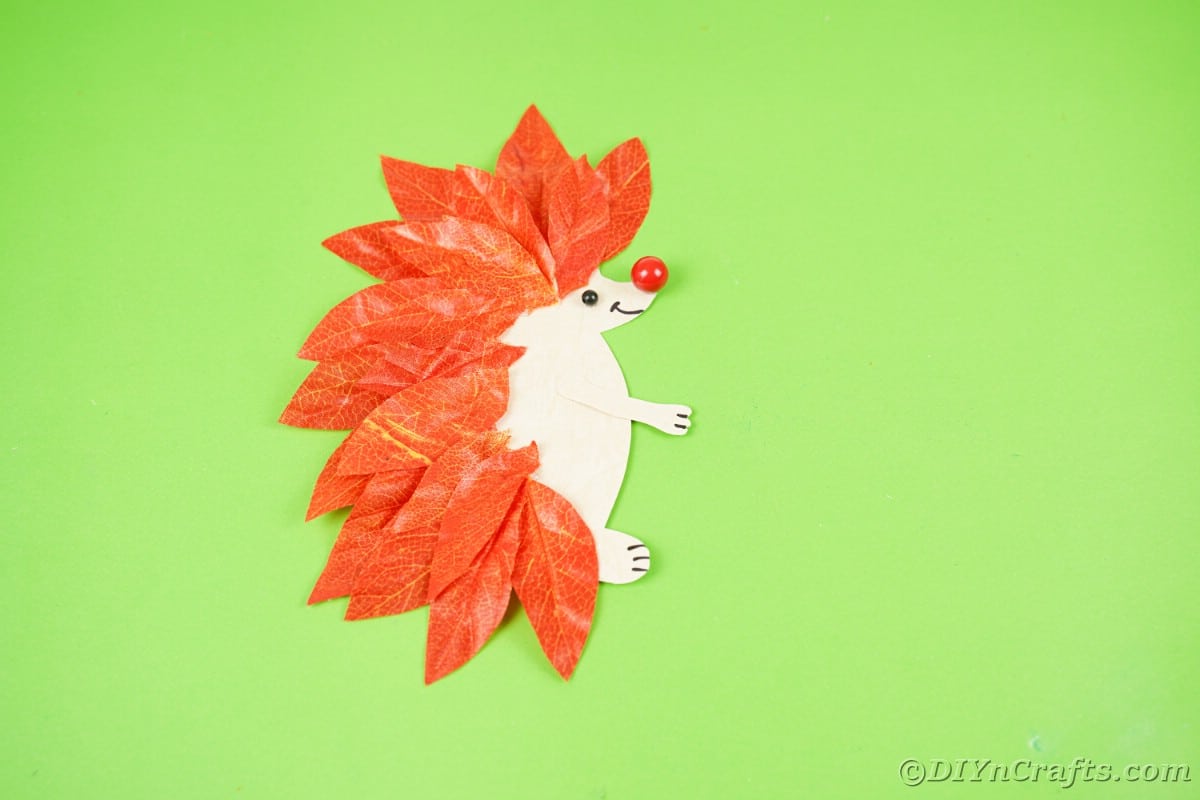
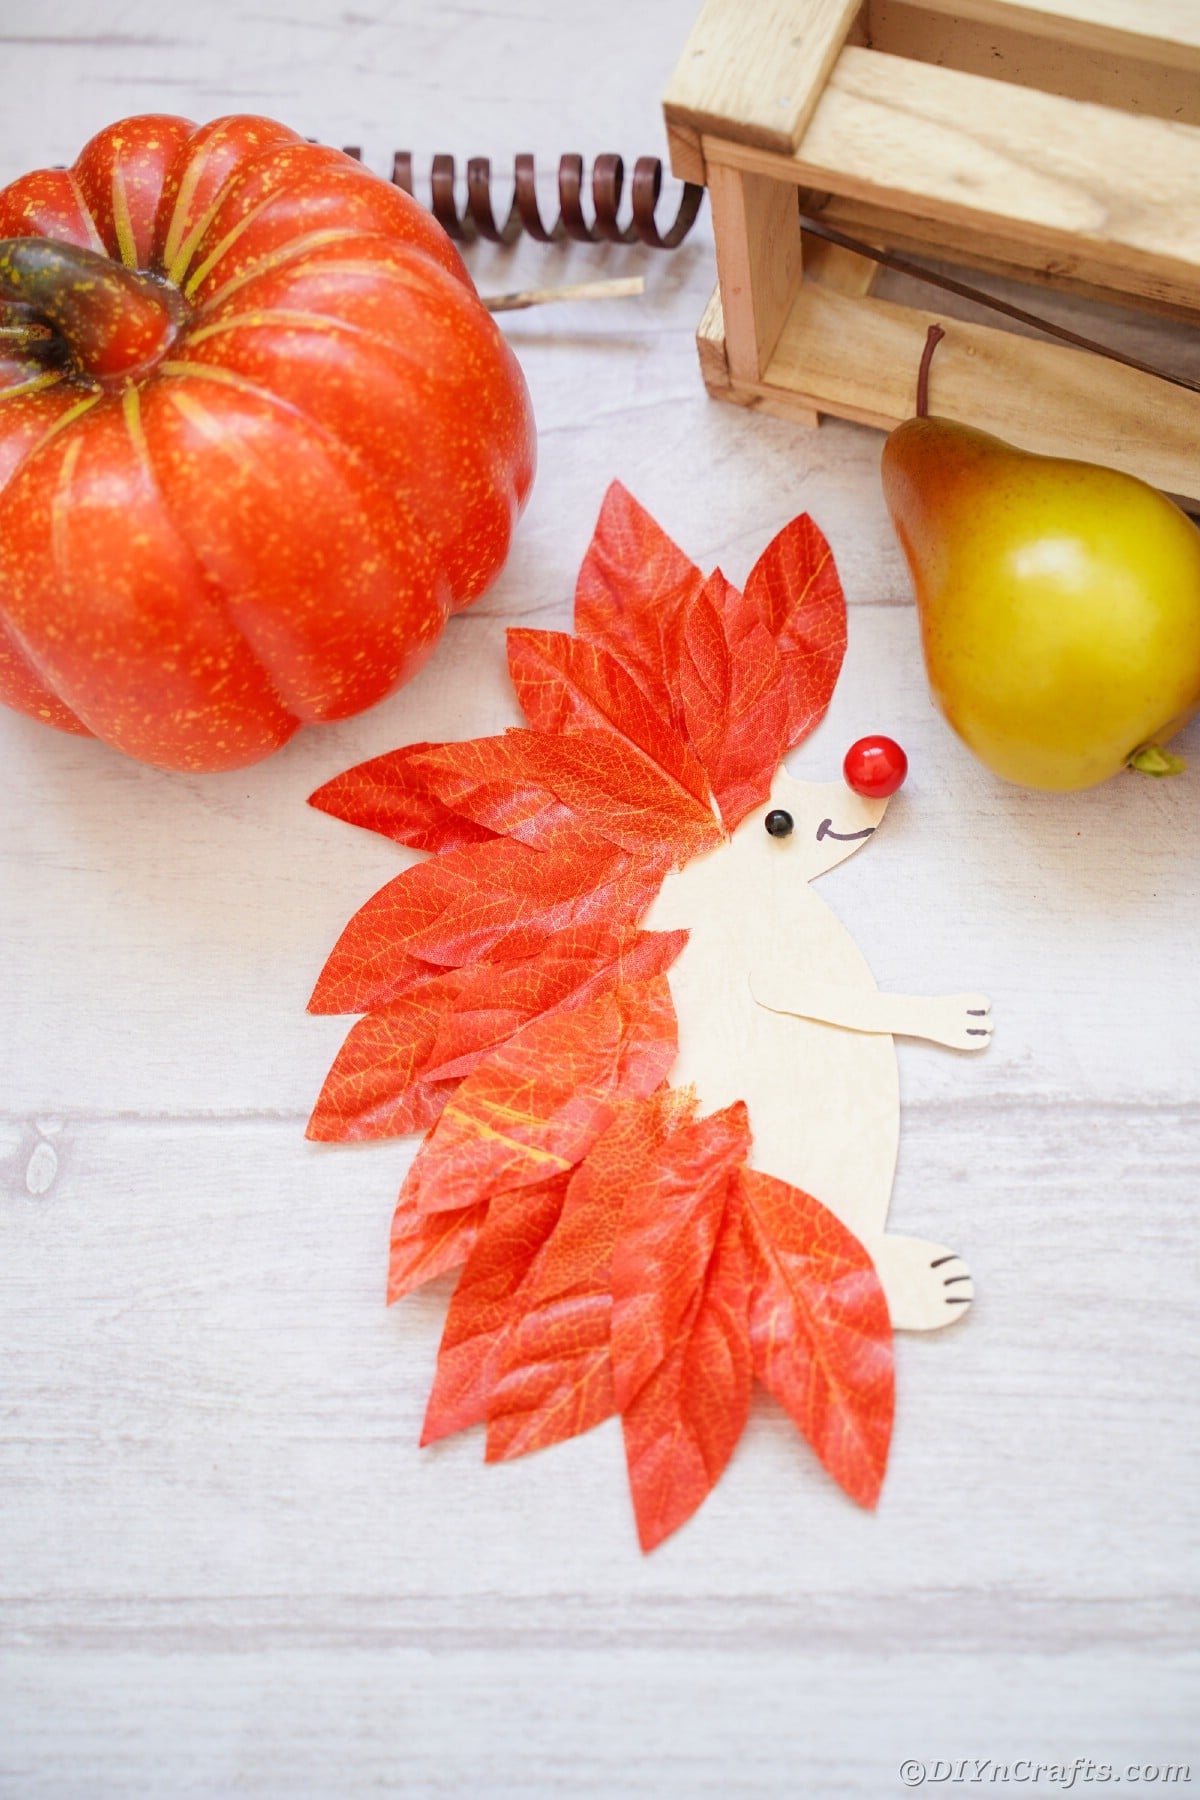
I am all about using what I have on hand when crafting, and this little hedgehog was born out of a need to use up some scrap supplies. A simple paper hedgehog with fake leaf quills is the perfect choice for using extra artificial leaves, and of course, is super fun to create. I like the idea of customizing it to fit a personality, but you can make it simple like shown and have fun displaying this!
Paper Hedgehog Kids Craft
Gather up the fragments of your craft box and get started using what you have on hand to make a cute little woodland creature. This project is one of those that really costs $1 or less if you can use what you have on hand. So, it easily fits into that cheap crafting list as well. While I like it as a fun idea to make with kids, it can be used for decor, put inside a shadowbox, or just hang at a baby shower.
If you have even more extra fall leaves lying around, you might like this fall leaf windcatcher or even this fall leaf smiling hedgehog face. Last year I even made a cute little fall leaf placemat that is great for Thanksgiving dinner tables.
What Should I Use for My Hedgehog Body?
I used some basic craft paper, but you can use anything you have on hand. If you want this to be stiff and stand up or feel sturdy, then cardstock, cardboard, or craft paper is best. You could use foam paper, felt, fabric, or construction paper for a hedgehog that doesn't have to remain stiff.
If you want this to stand up on a counter or mantle, you can even add an extra piece of cardboard, cardstock, or a craft stick on the back to create a brace for it to stand up. Make something similar to what you would find on the back of a picture frame so it has a brace to lean on and hold it upright.
What Glue Should I use to Attach the Leaves?
If making this as an adult or with teens, you can use a glue gun as I did. However, when working with children, it is best to go with a non-toxic safe glue. I like basic craft glue for this, but you could potentially attach using school glue. Just know that those may not hold the leaves in place as long as the hot glue.
You can use hot glue with this while working with young ones, but just make sure you are the one who is doing the gluing while they manage things like cutting and drawing the face onto the hedgehog.
What Can I Use for the Hedgehog Face?
Making faces for these kinds of crafts is so much fun! You can really get creative with it using what you have on hand and your imagination. Below are a few things that work well for making faces with eyes, nose, mouth, or even ears!
- Yarn, ribbon, twine, paint, or marker for the mouth.
- Buttons, beads, sequins, bottle caps, or pom-poms for the nose.
- Googly eyes, buttons, beads, sequins, or markers for the eyes.
You can add bits of glitter, add sequins, colorful paper, use scrapbook paper in fall colors or patterns, and so much more! While the example here is basic, that doesn't mean you can't get "extra" and make your little hedgehog have tons of personality.
How Can I Display This Kids Craft?
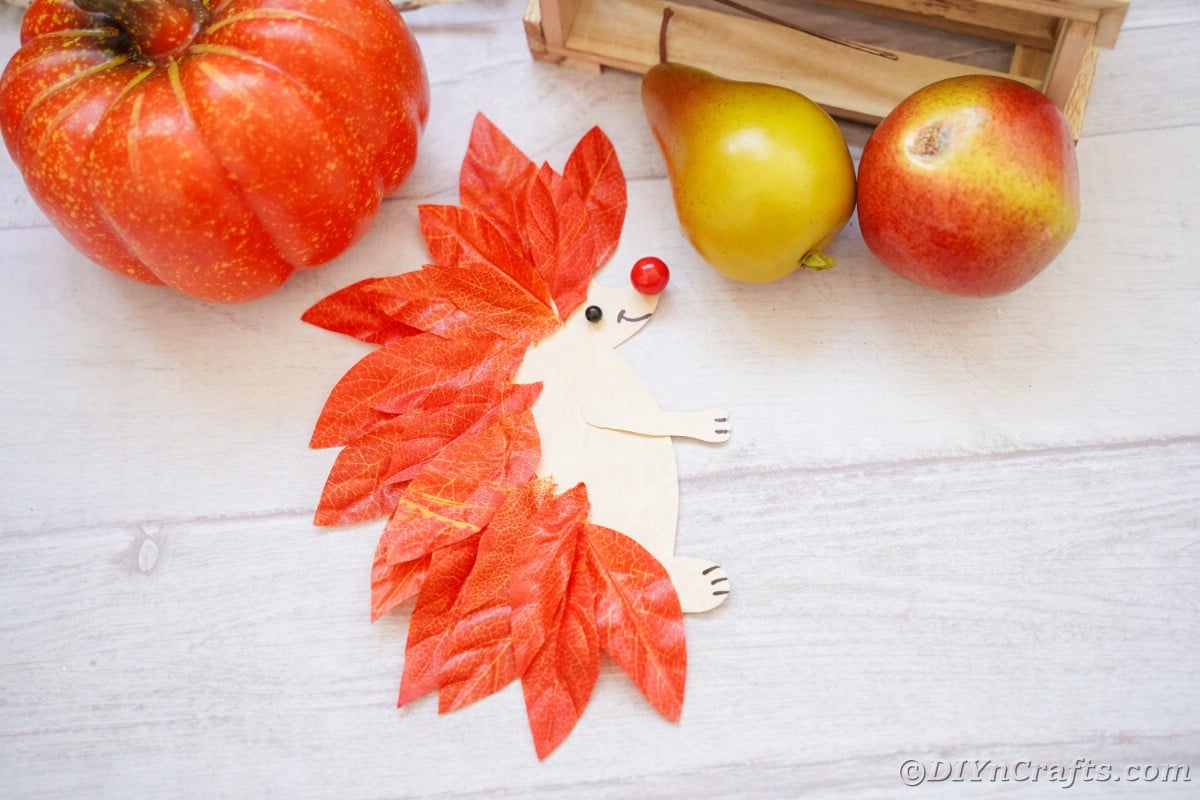
I love how this looks good enough to display in your home. Of course, kids may want to just put this on the refrigerator with a magnet, or send it to a grandparent. That's always a good idea. But, if possible, you might want to display it differently.
If using for a baby shower or party, you can use a fishing line attached through the top or back of the hedgehog and hang from the ceiling with a push pin. It can also be used as decor to tape onto a fake tree, add to a garland with other paper woodland creatures, or attach to a banner.
There are even more fun ideas to use as decor in a nursery or as part of your fall home decor. The garland on a mantle is a great way to use this around Thanksgiving. You can also put it inside a picture frame or a shadowbox and hang place onto a shelf or mantle.
Of course, one of my favorite things is to put craft sticks on the back and turn these into puppets for kids to play with! How much fun would that be to have pretended play for the kids on Thanksgiving while they wait for dinner?!
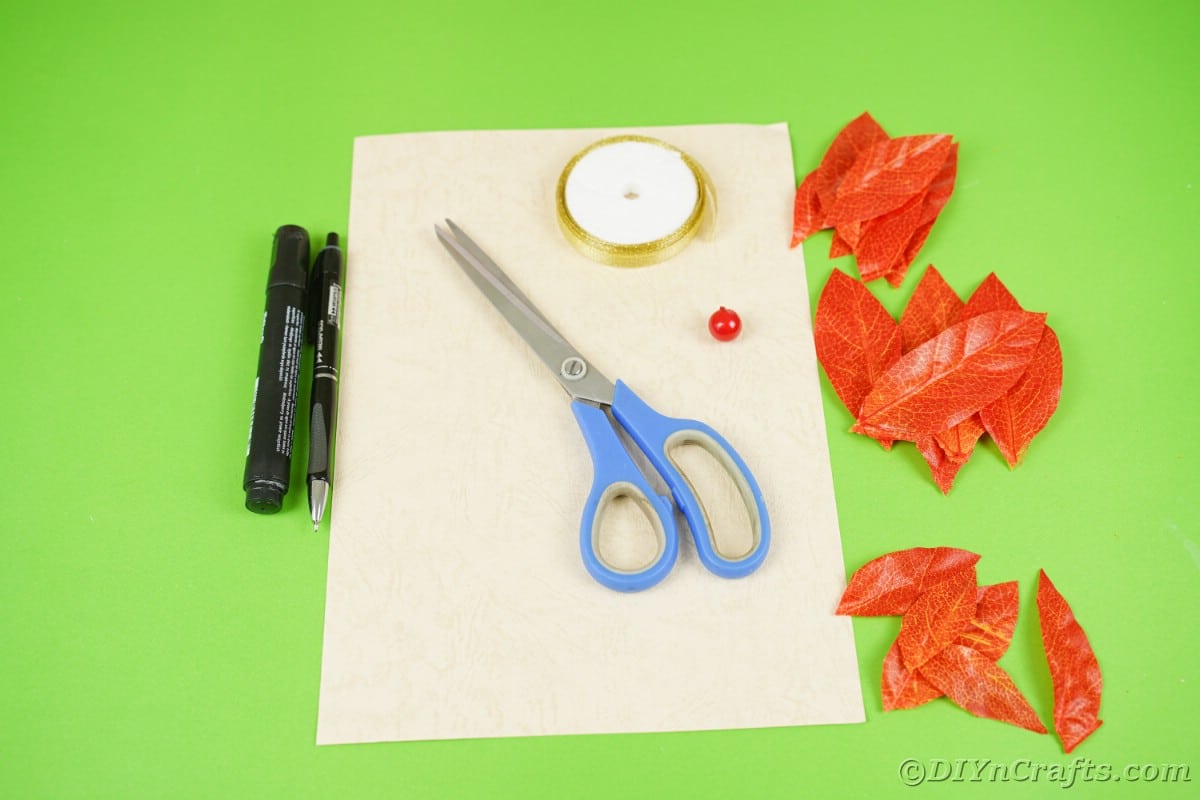
Supplies Needed:
- Paper Leaf Hedgehog Template
- Light-colored craft paper
- Artificial leaves
- Small black bead
- Large red bead
- Ribbon for hanging (optional)
- Pen
- Scissors
- Hot glue gun
- Hot glue stick
How to Make a Paper Hedgehog with Leaf Quills
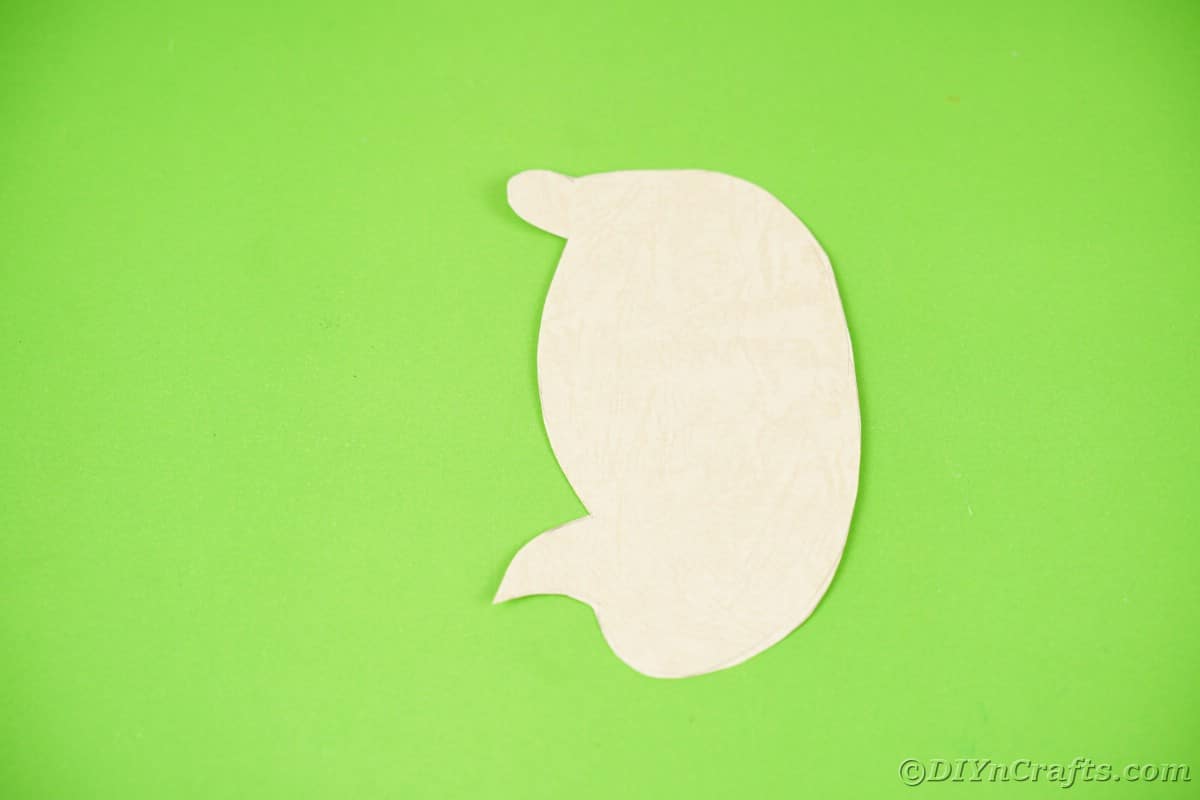
Trace a hedgehog body shape onto craft paper or print and use the template linked above and cut out then set aside.
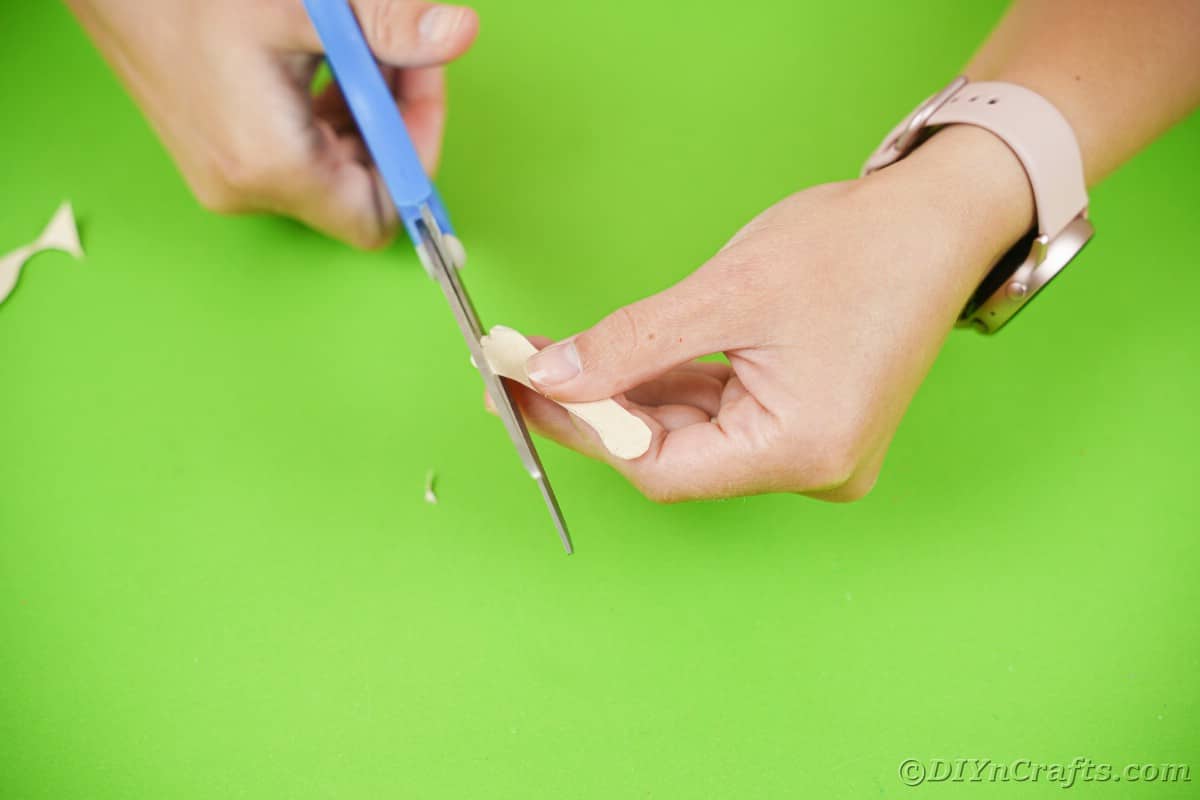
On the same paper, trace a small arm shape and cut this out.
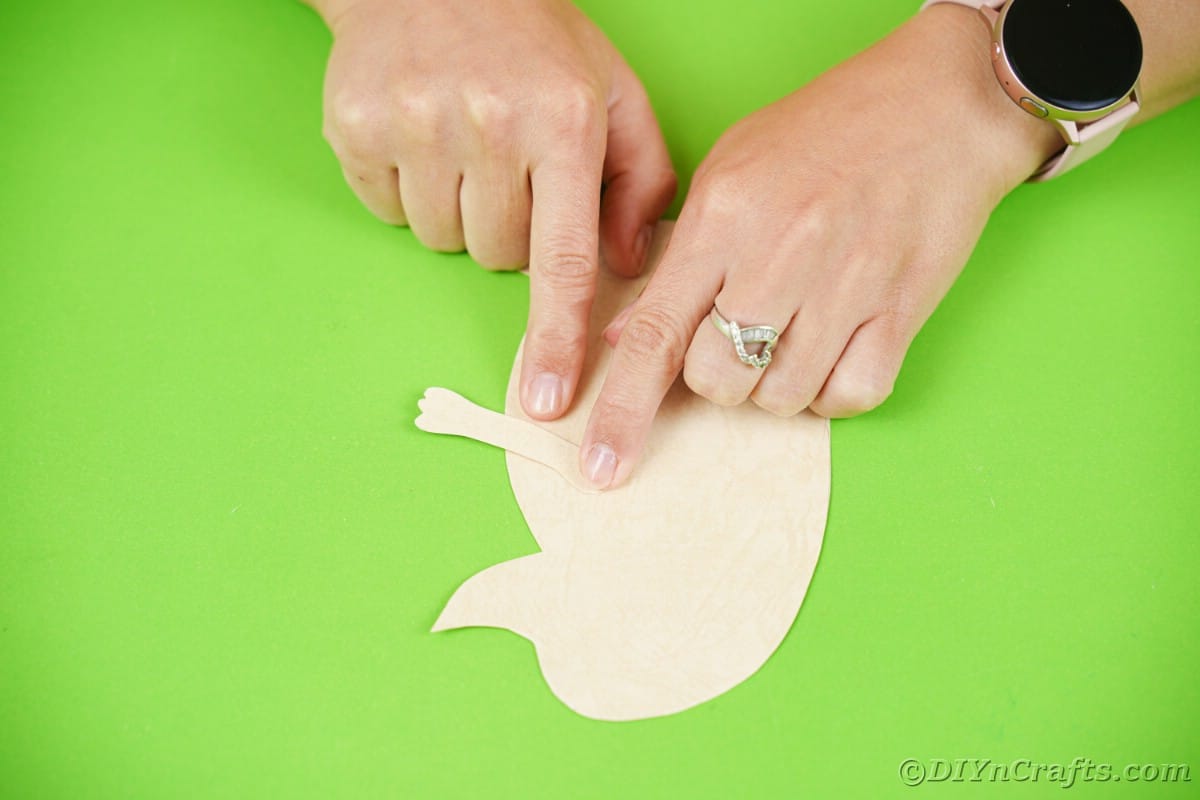
Attach the arm to the middle of the hedgehog body between the feet and nose.
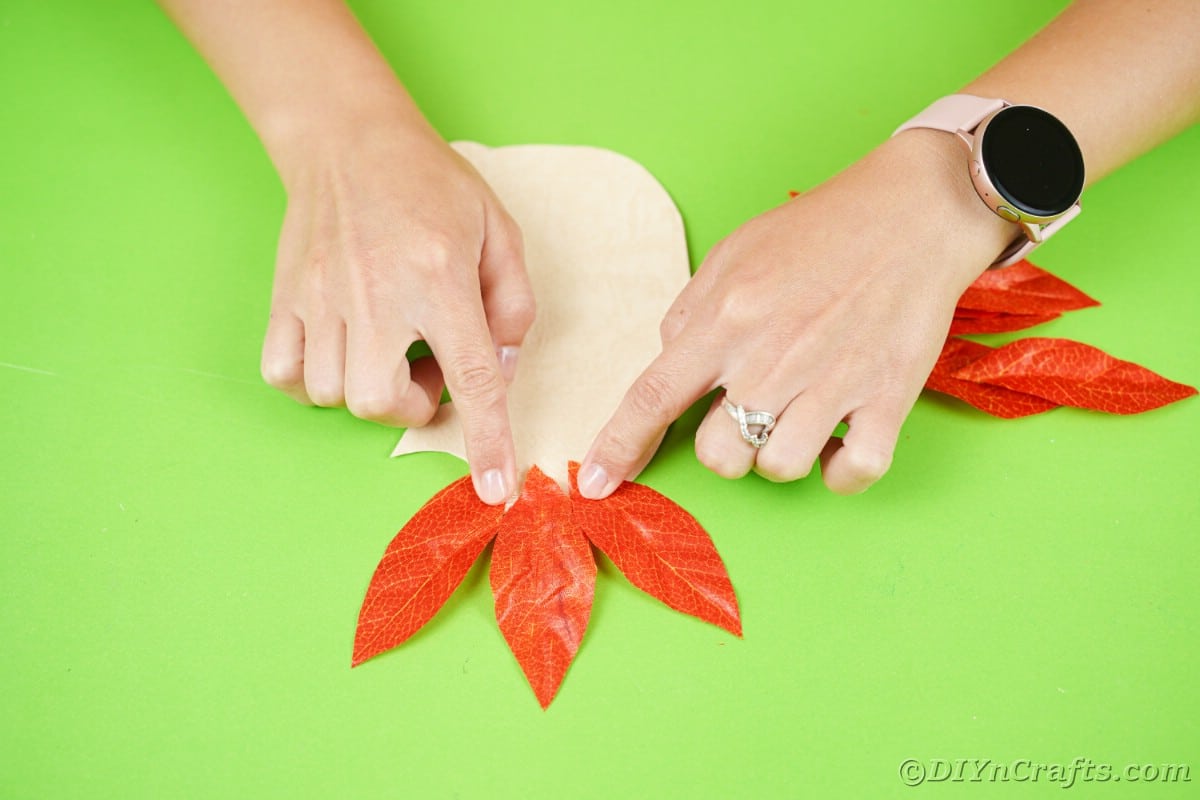
Begin gluing the fake leaves onto the body, starting just above the nose and working your way around the outer edge of the body so the leaves pointed edge is facing outward.
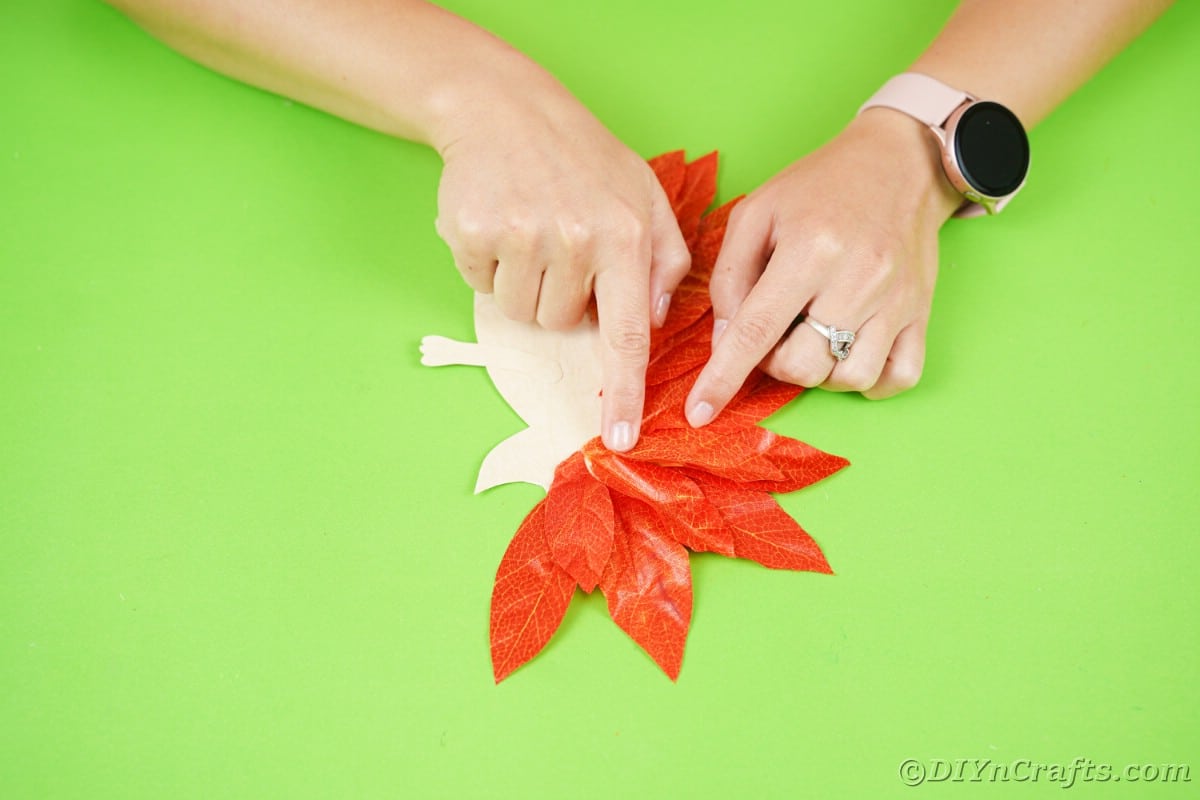
Go back around the edge and fill in gaps with a second layer of leaves.
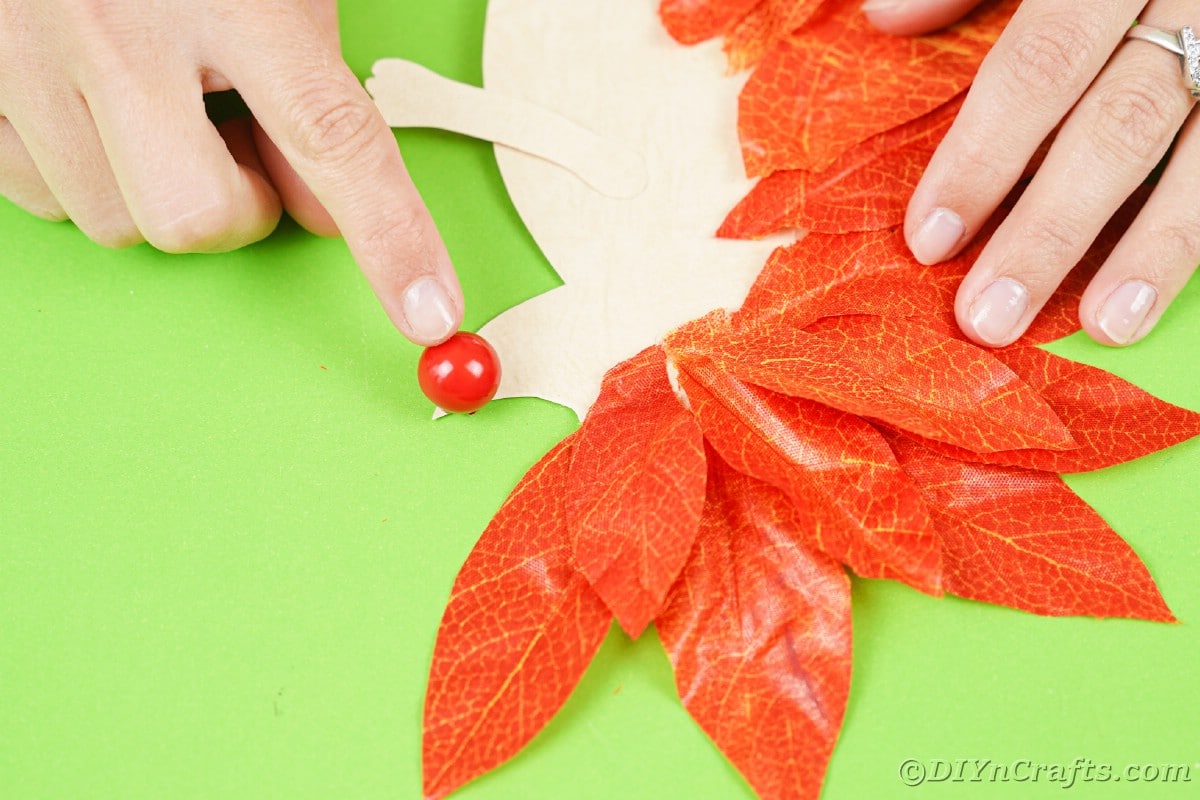
Glue a large red bead to the tip of the nose.
Attach a black bead for the eye.
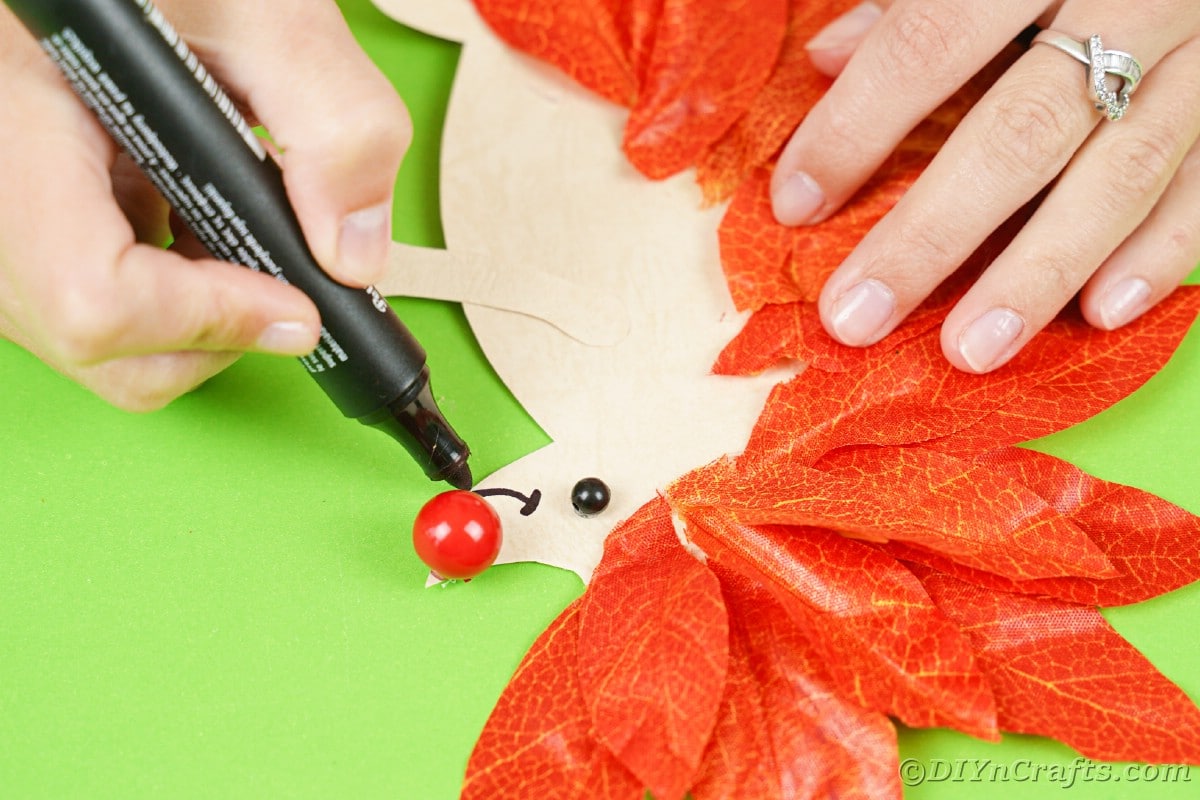
Use a black marker to draw a smile below the nose and three lines on the arm and foot.
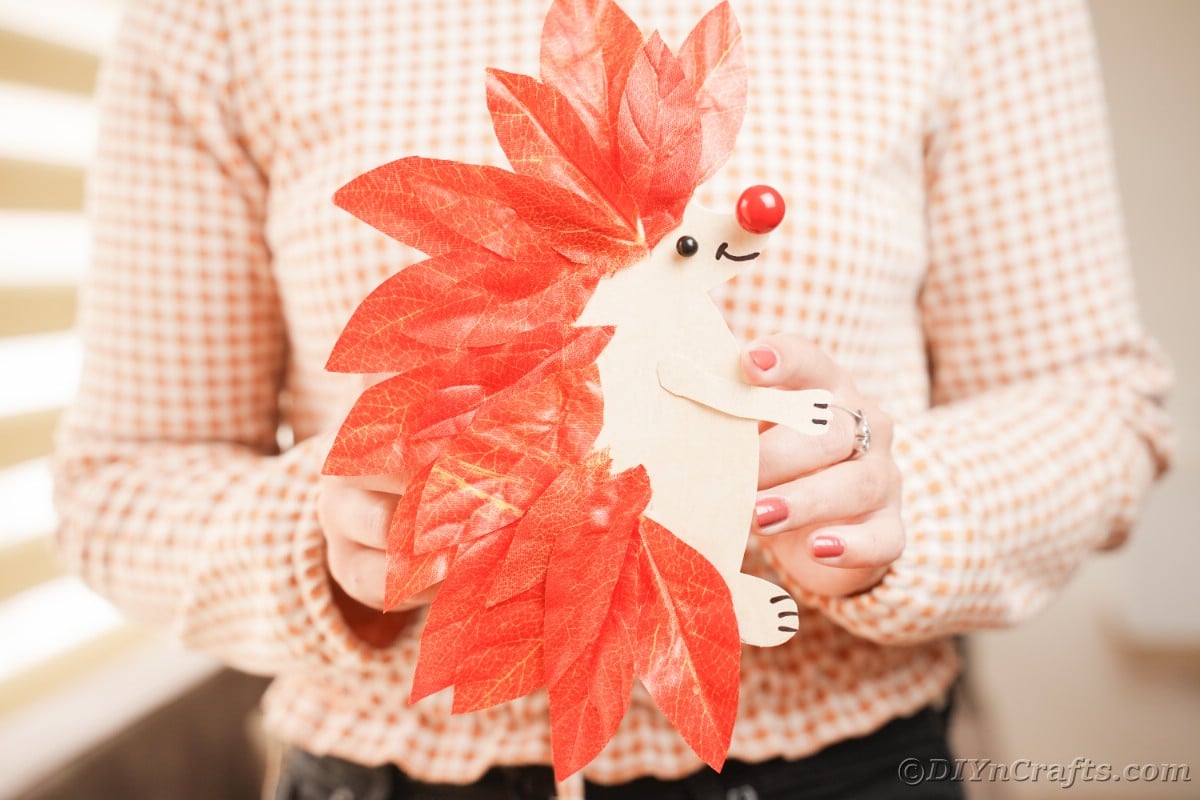
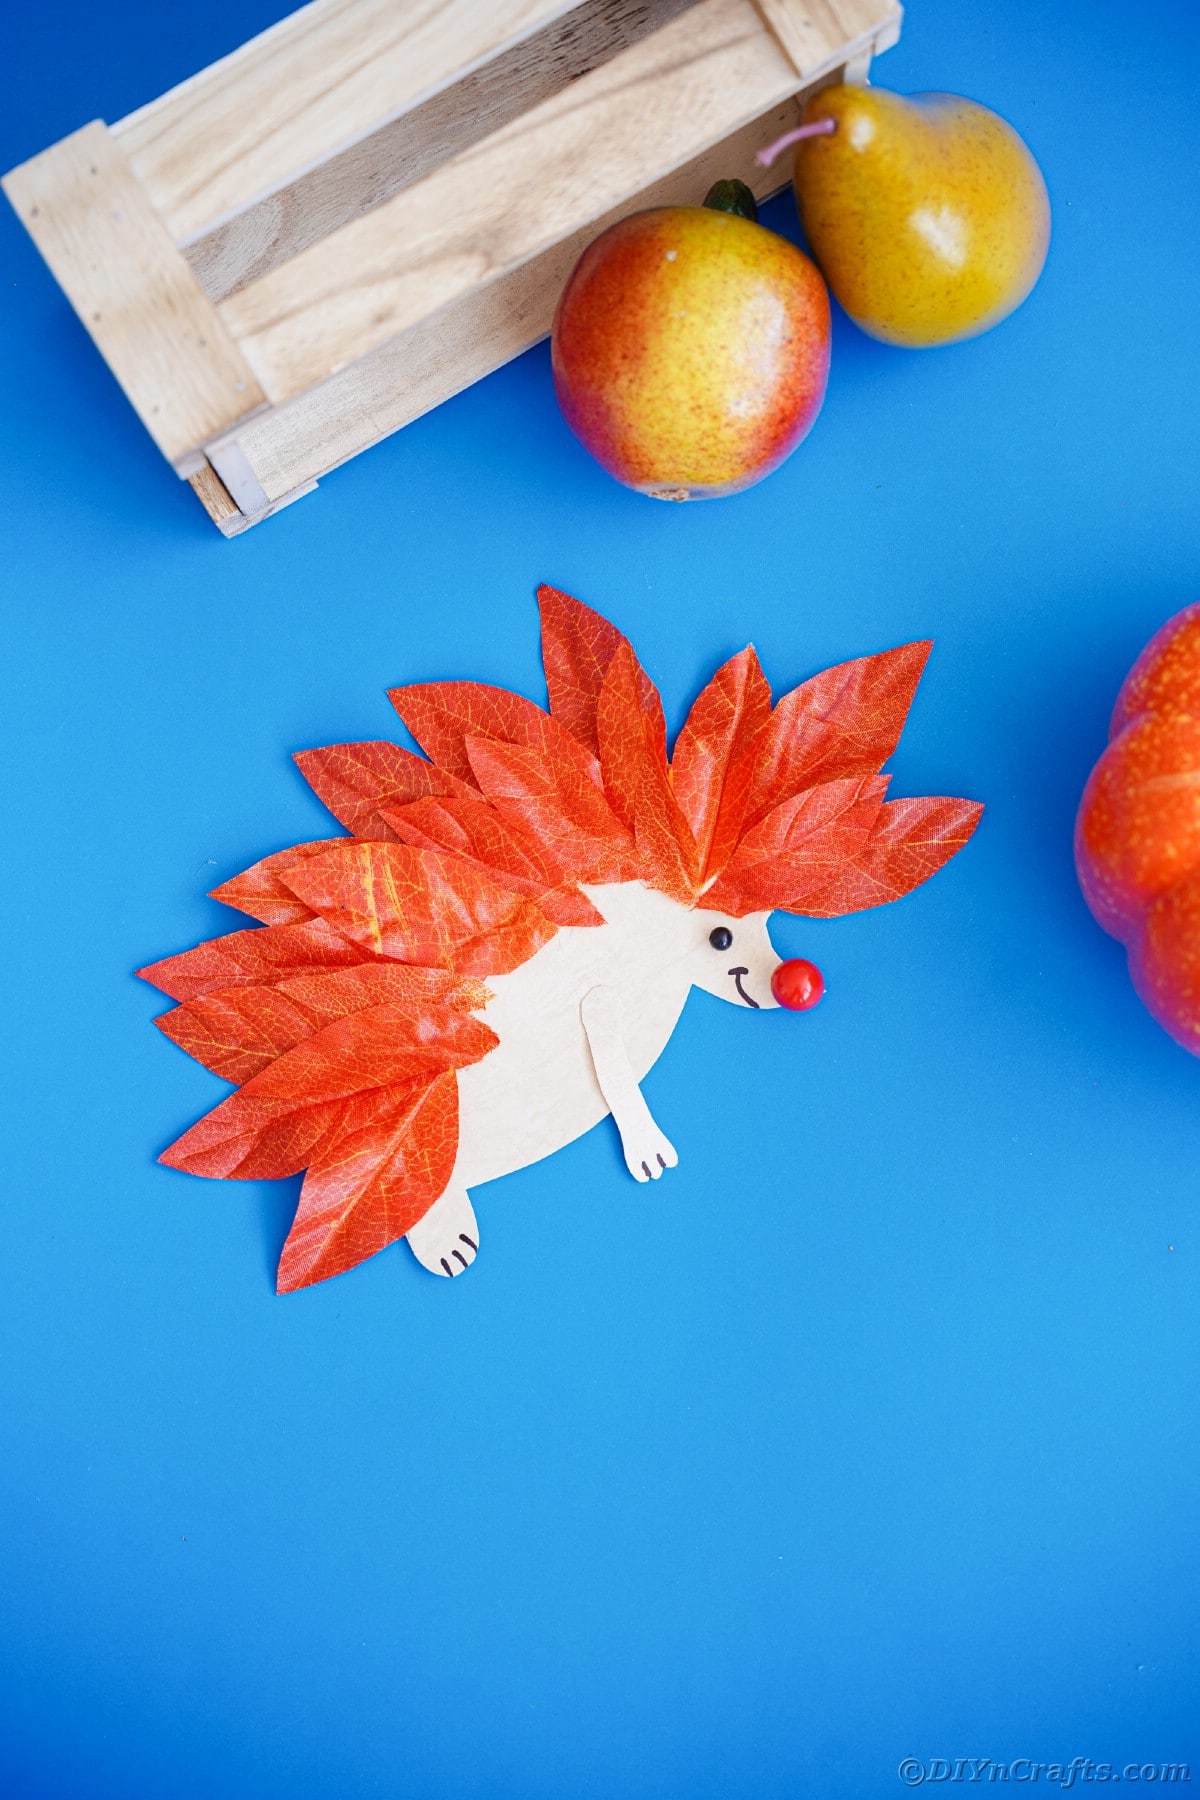
Now you can display your paper hedgehog!
More Hedgehog Craft Ideas
Are you looking for more fun crafts to make? If you love hedgehogs as much as I do, then the crafts below are sure to please. Make sure you bookmark, pin, or print these to use soon! So many great ideas for kids and adults to make!
- Adorable Paper Fan Hedgehog Kids Craft
- Cut Fall Hedgehog Craft with 3 Styles and Template
- Easy No-Sew Fabric Hedgehog Craft
- Adorable Toilet Paper Roll Hedgehog Fall Kids Craft
- Upcycled Plastic Bottle Pinecone Hedgehog Craft
Cute Paper Hedgehog with Leaf Quills {Free Printable}
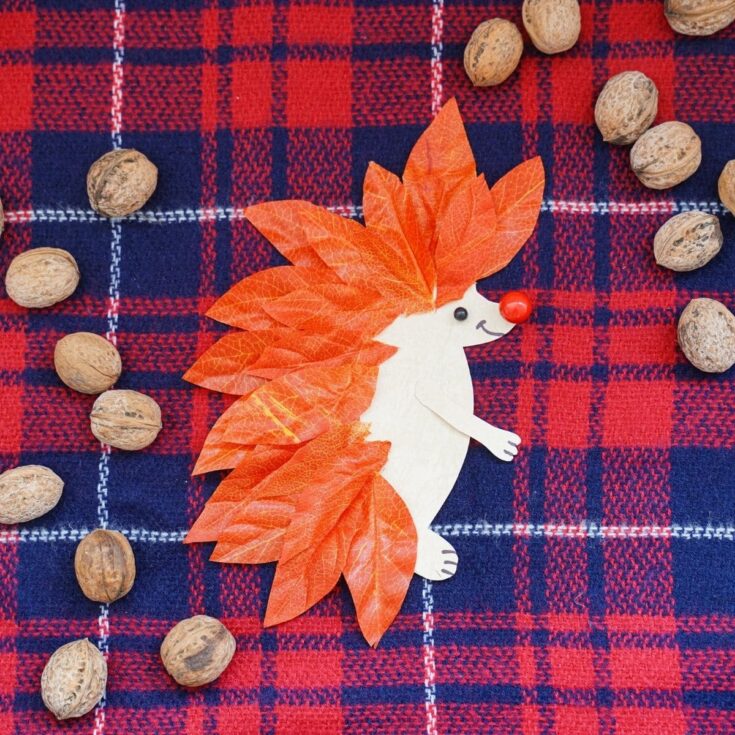
What a fun little paper hedgehog with fake leaf quills! A perfect fall woodland creature craft for kids!
Materials
Instructions
- Trace a hedgehog body shape onto craft paper and cut out then set aside.
- On the same paper, trace a small arm shape and cut this out.
- Attach the arm to the middle of the hedgehog body between the feet and nose.
- Begin gluing the fake leaves onto the body, starting just above the nose and working your way around the outer edge of the body so the leaves pointed edge is facing outward.
- Go back around the edge and fill in gaps with a second layer of leaves.
- Glue a large red bead to the tip of the nose.
- Attach a black bead for the eye.
- Use a black marker to draw a smile below the nose and three lines on the arm and foot.
- Now you can display your paper hedgehog!
Notes
Add fishing line to the back to hang this from the ceiling easily.
Finished Project Gallery
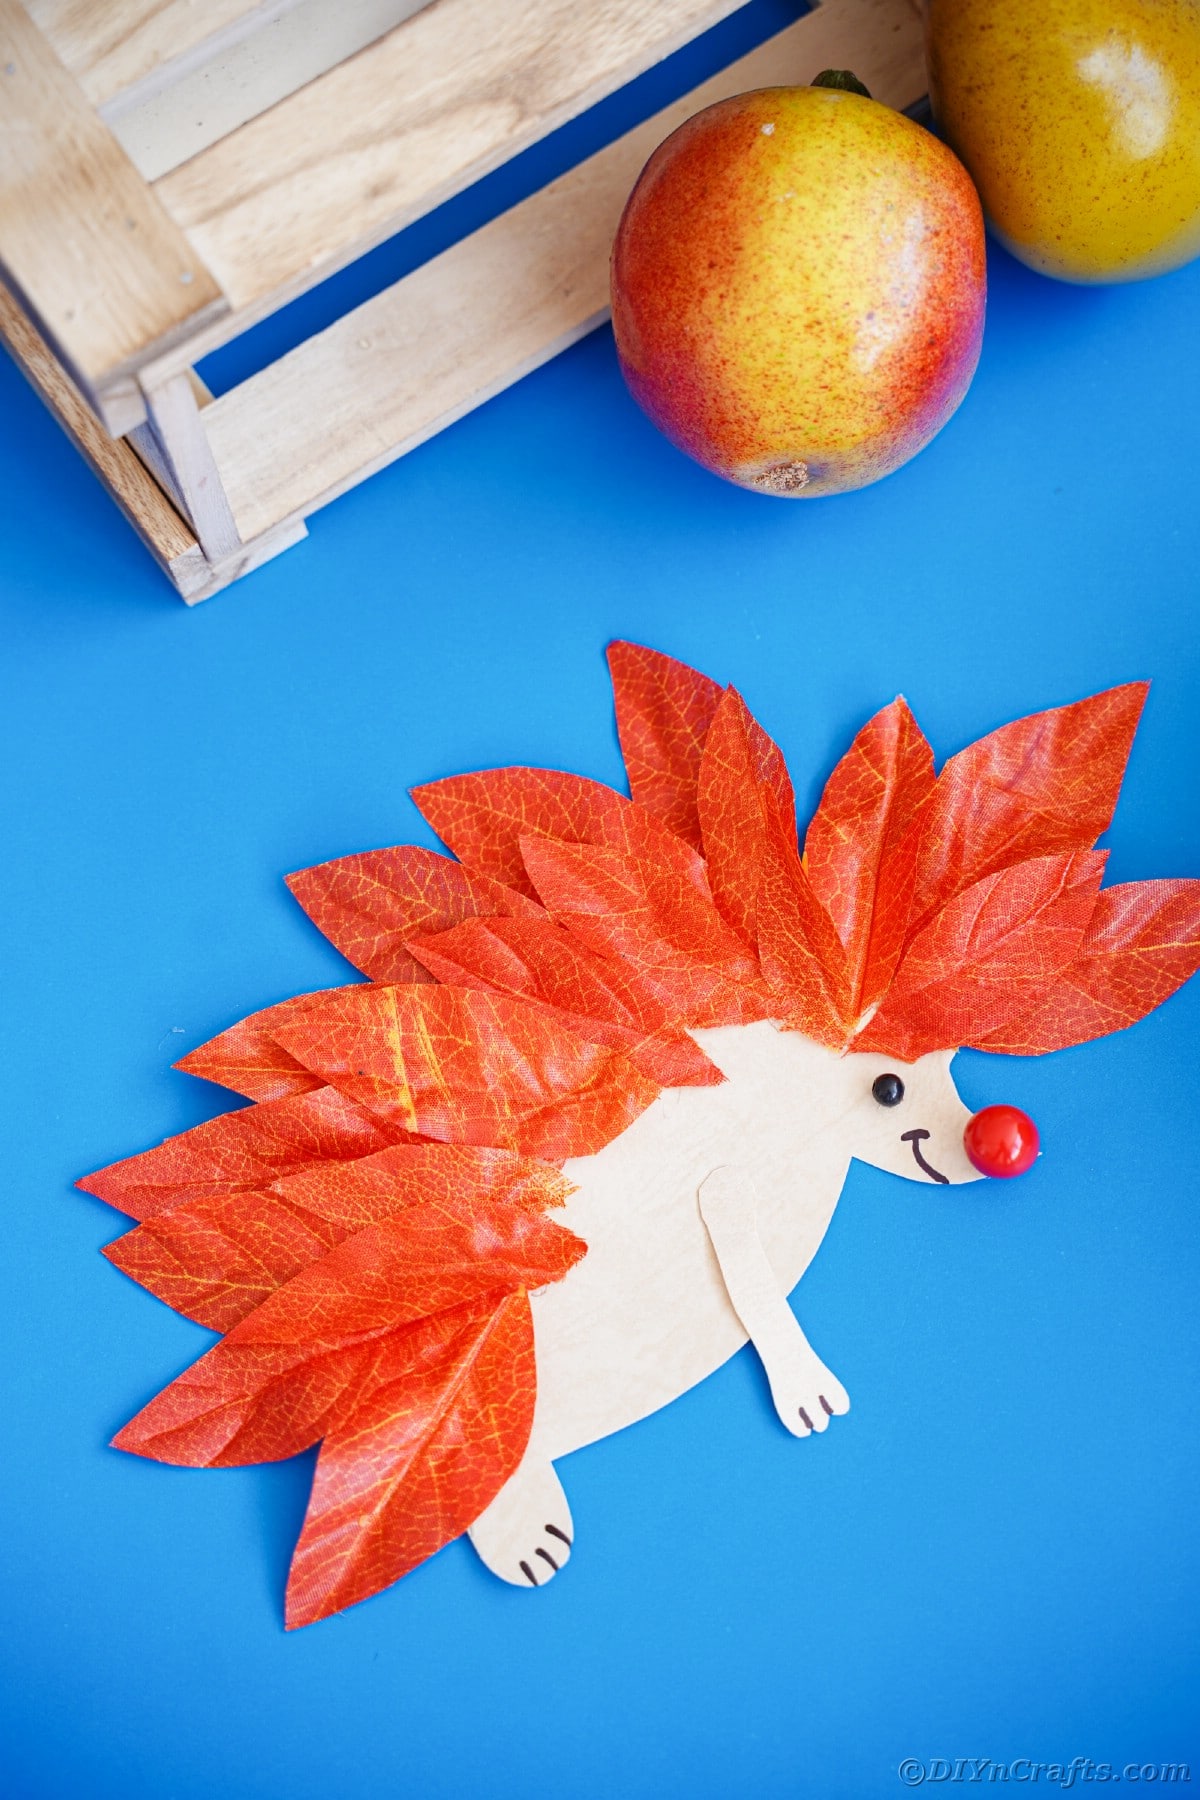
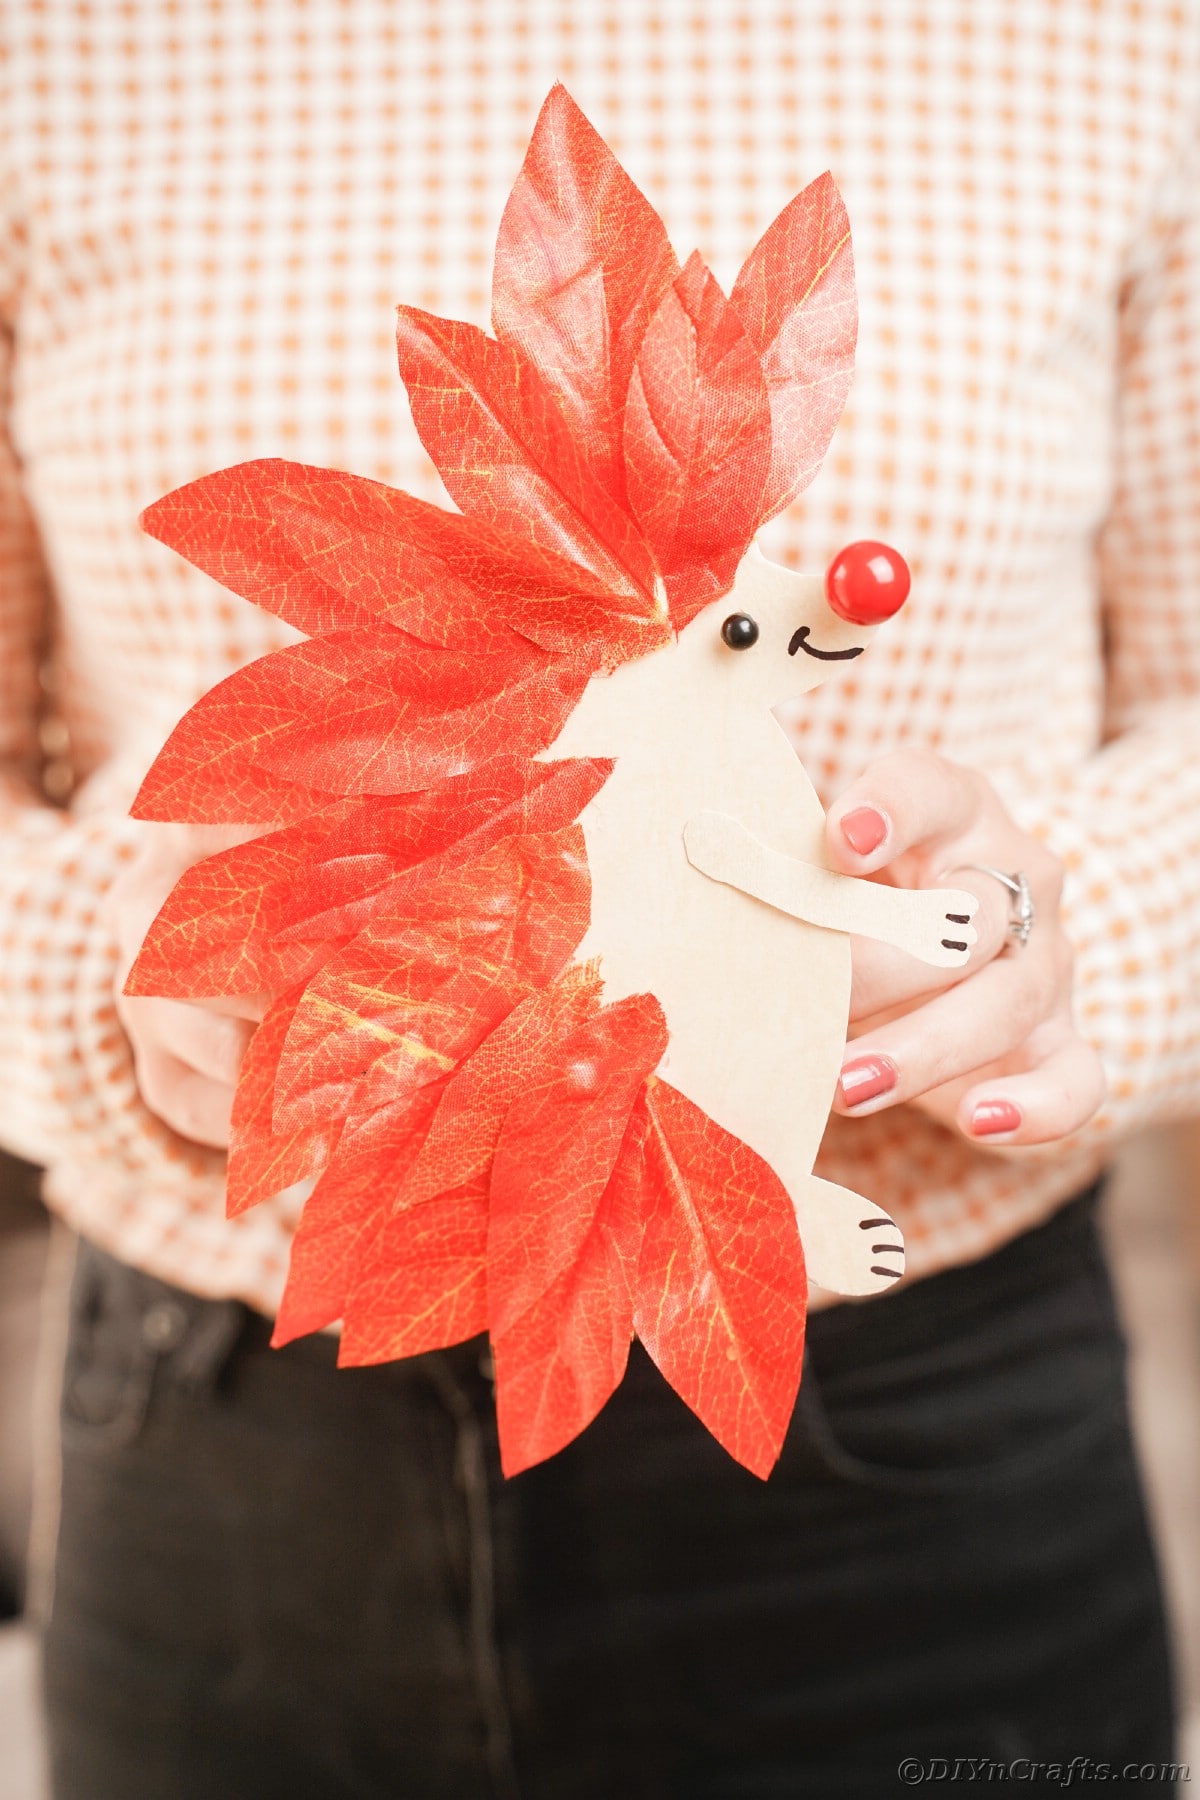
I love this idea for a fun project with kids.
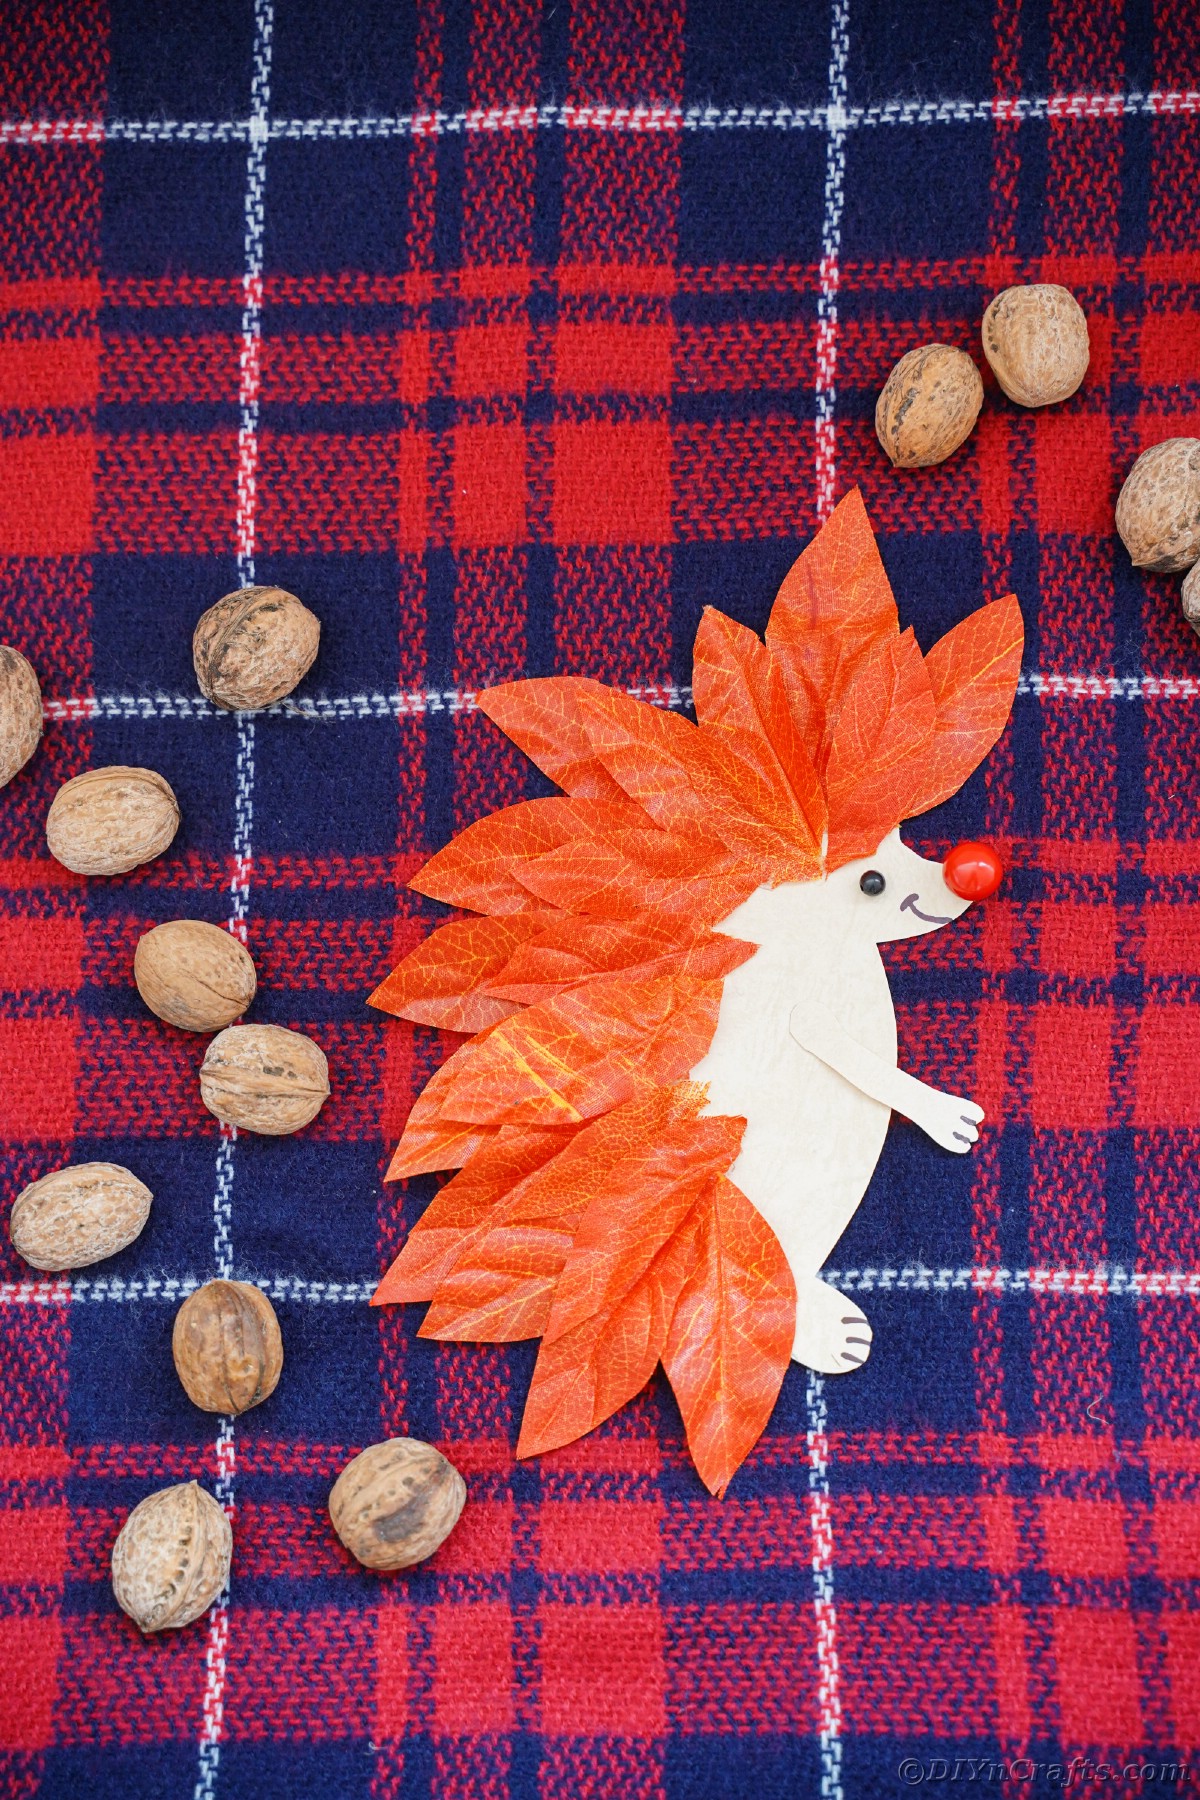
You can customize your hedgehog with different colored bodies, noses, or even different colors of leaves!







Agustaj
cute🦔