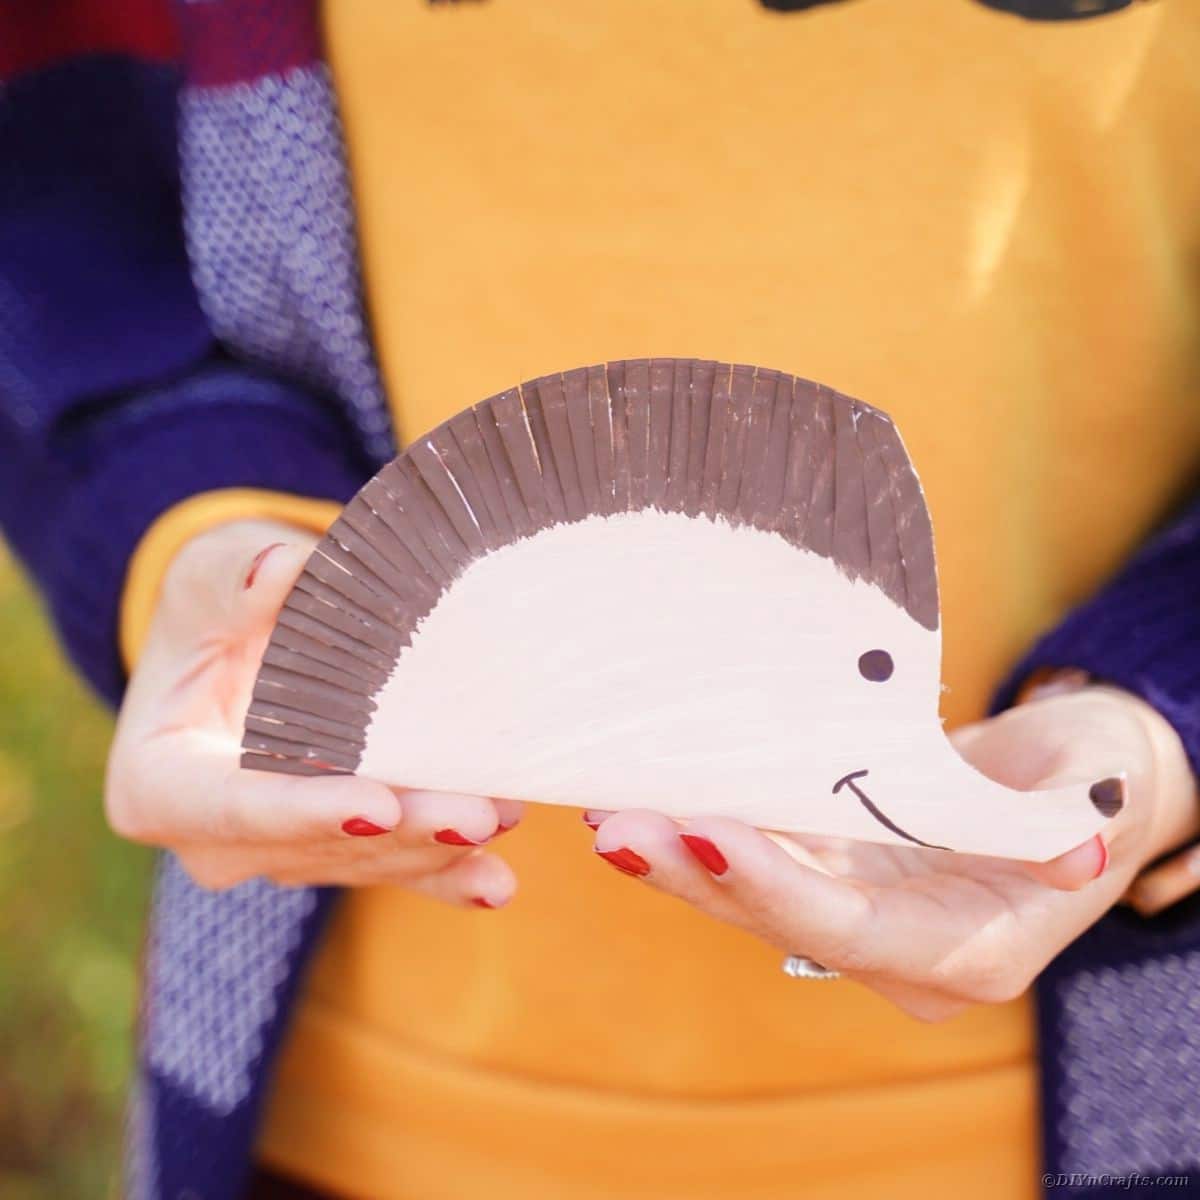
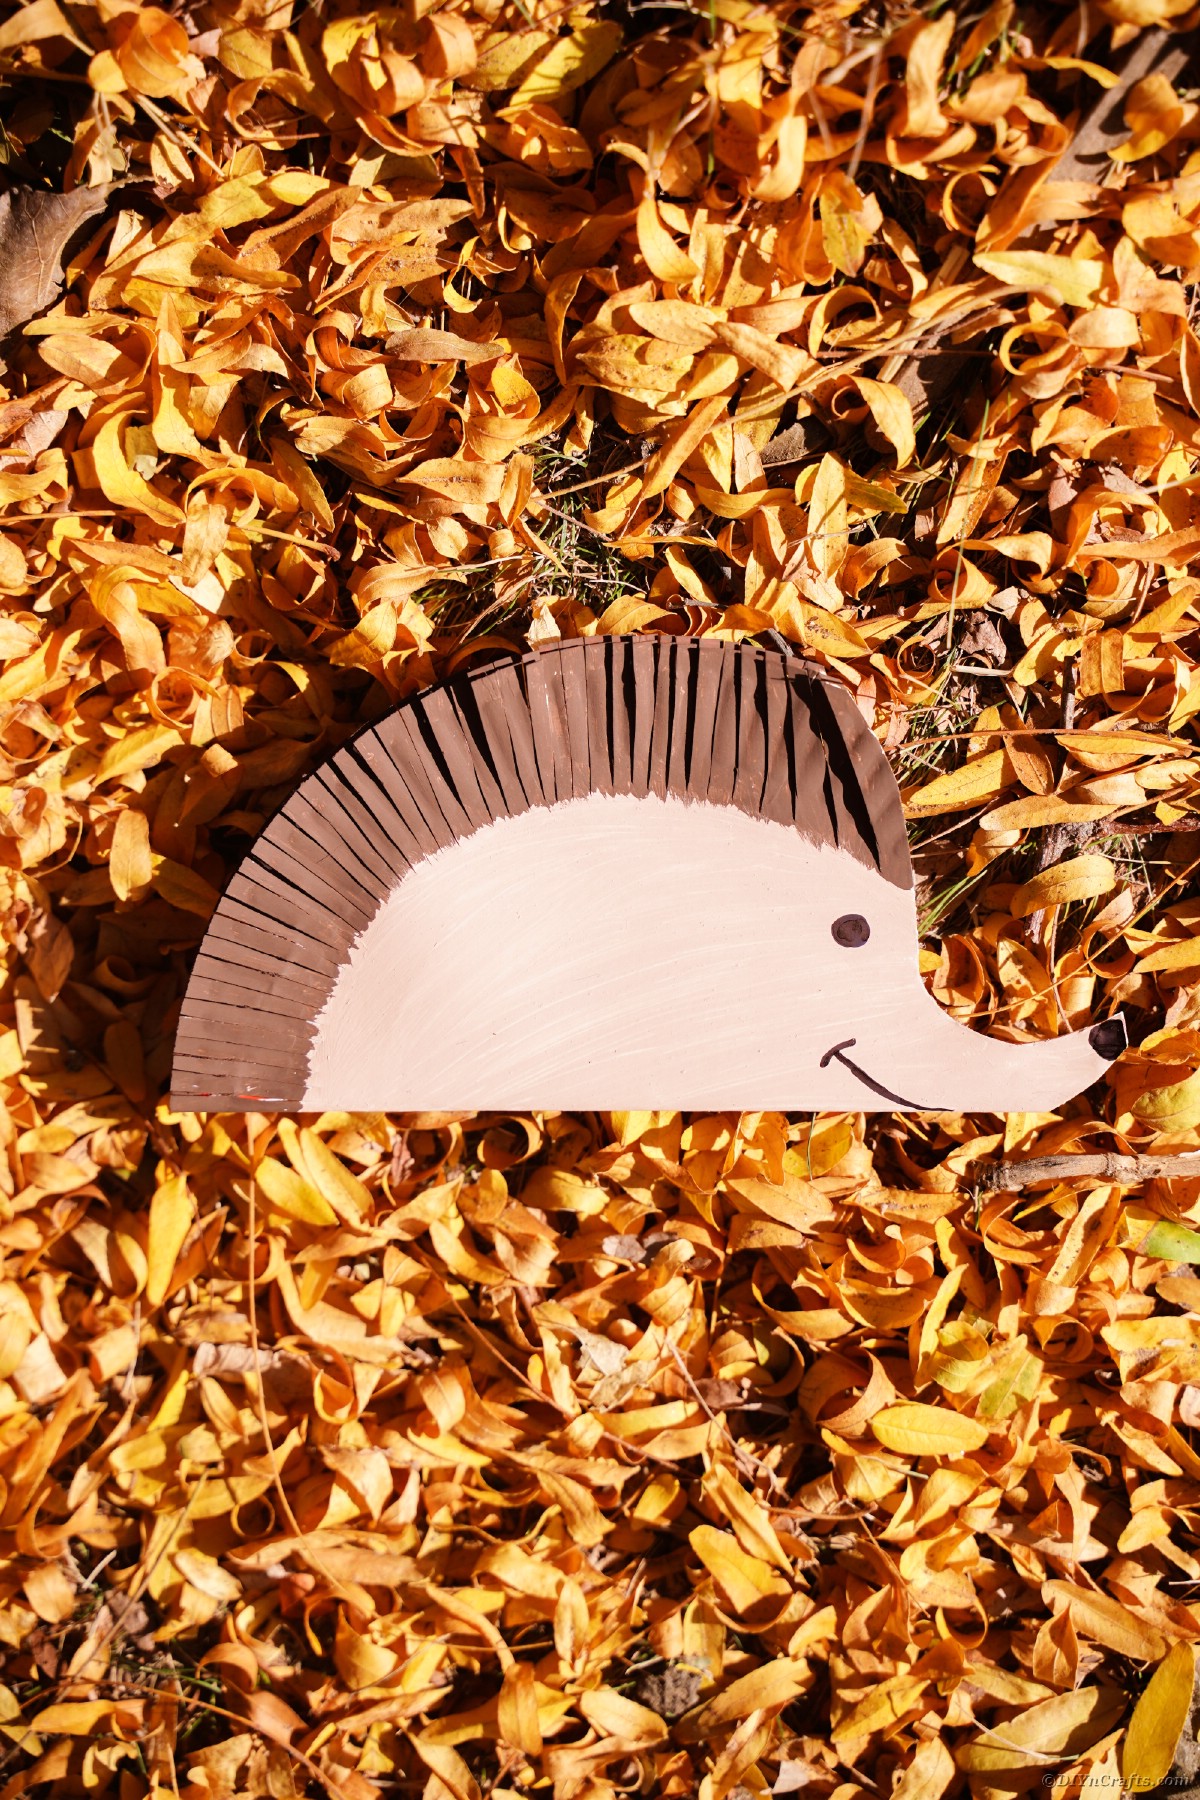
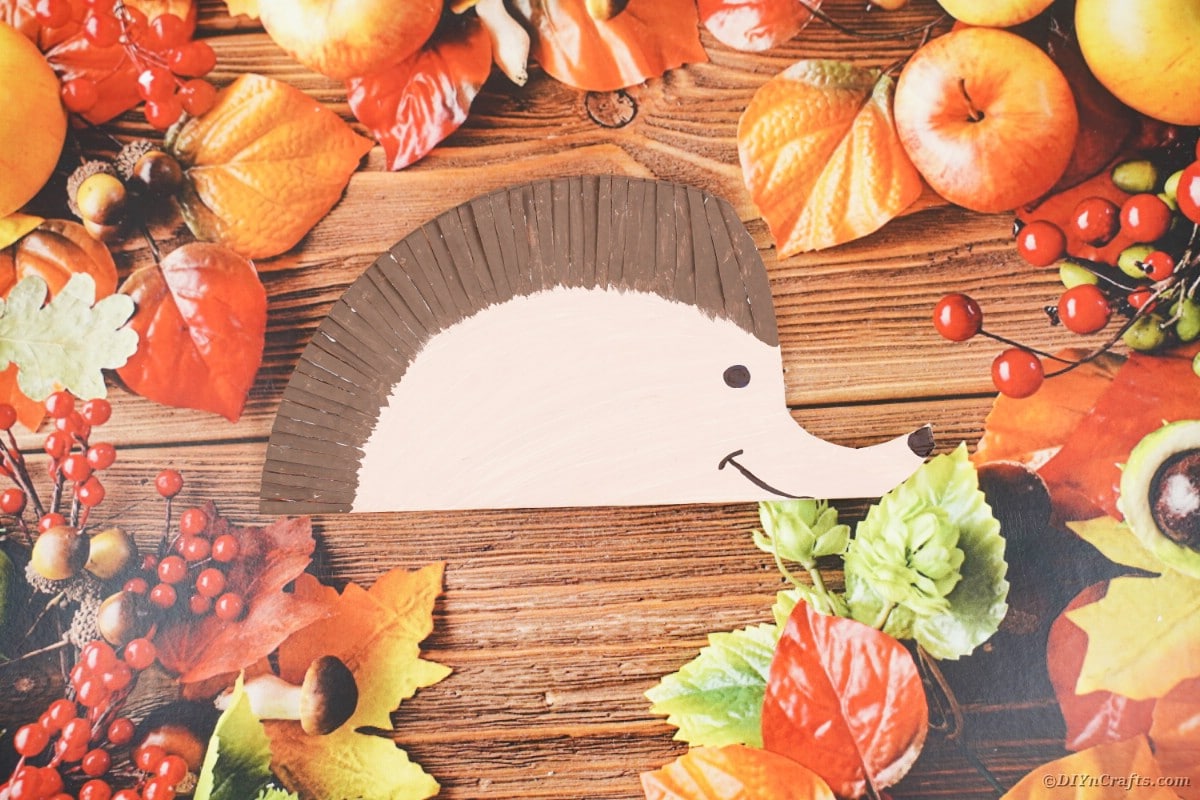
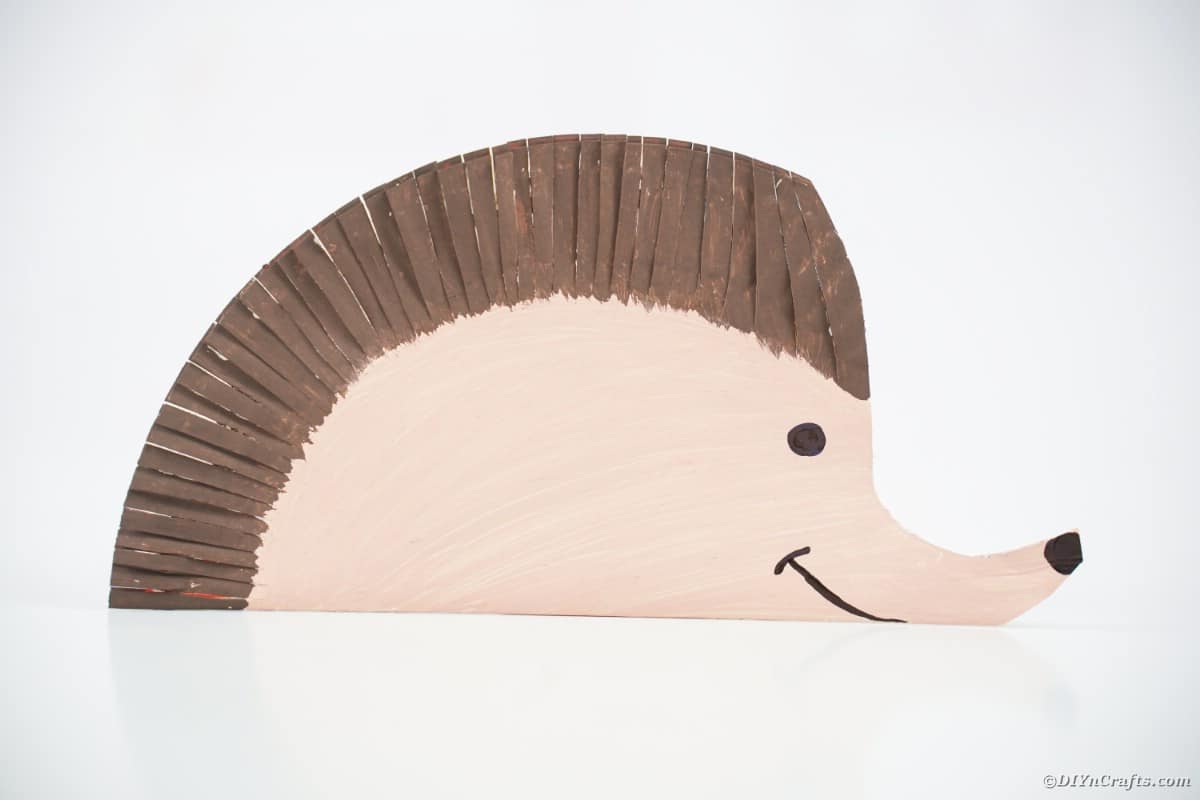
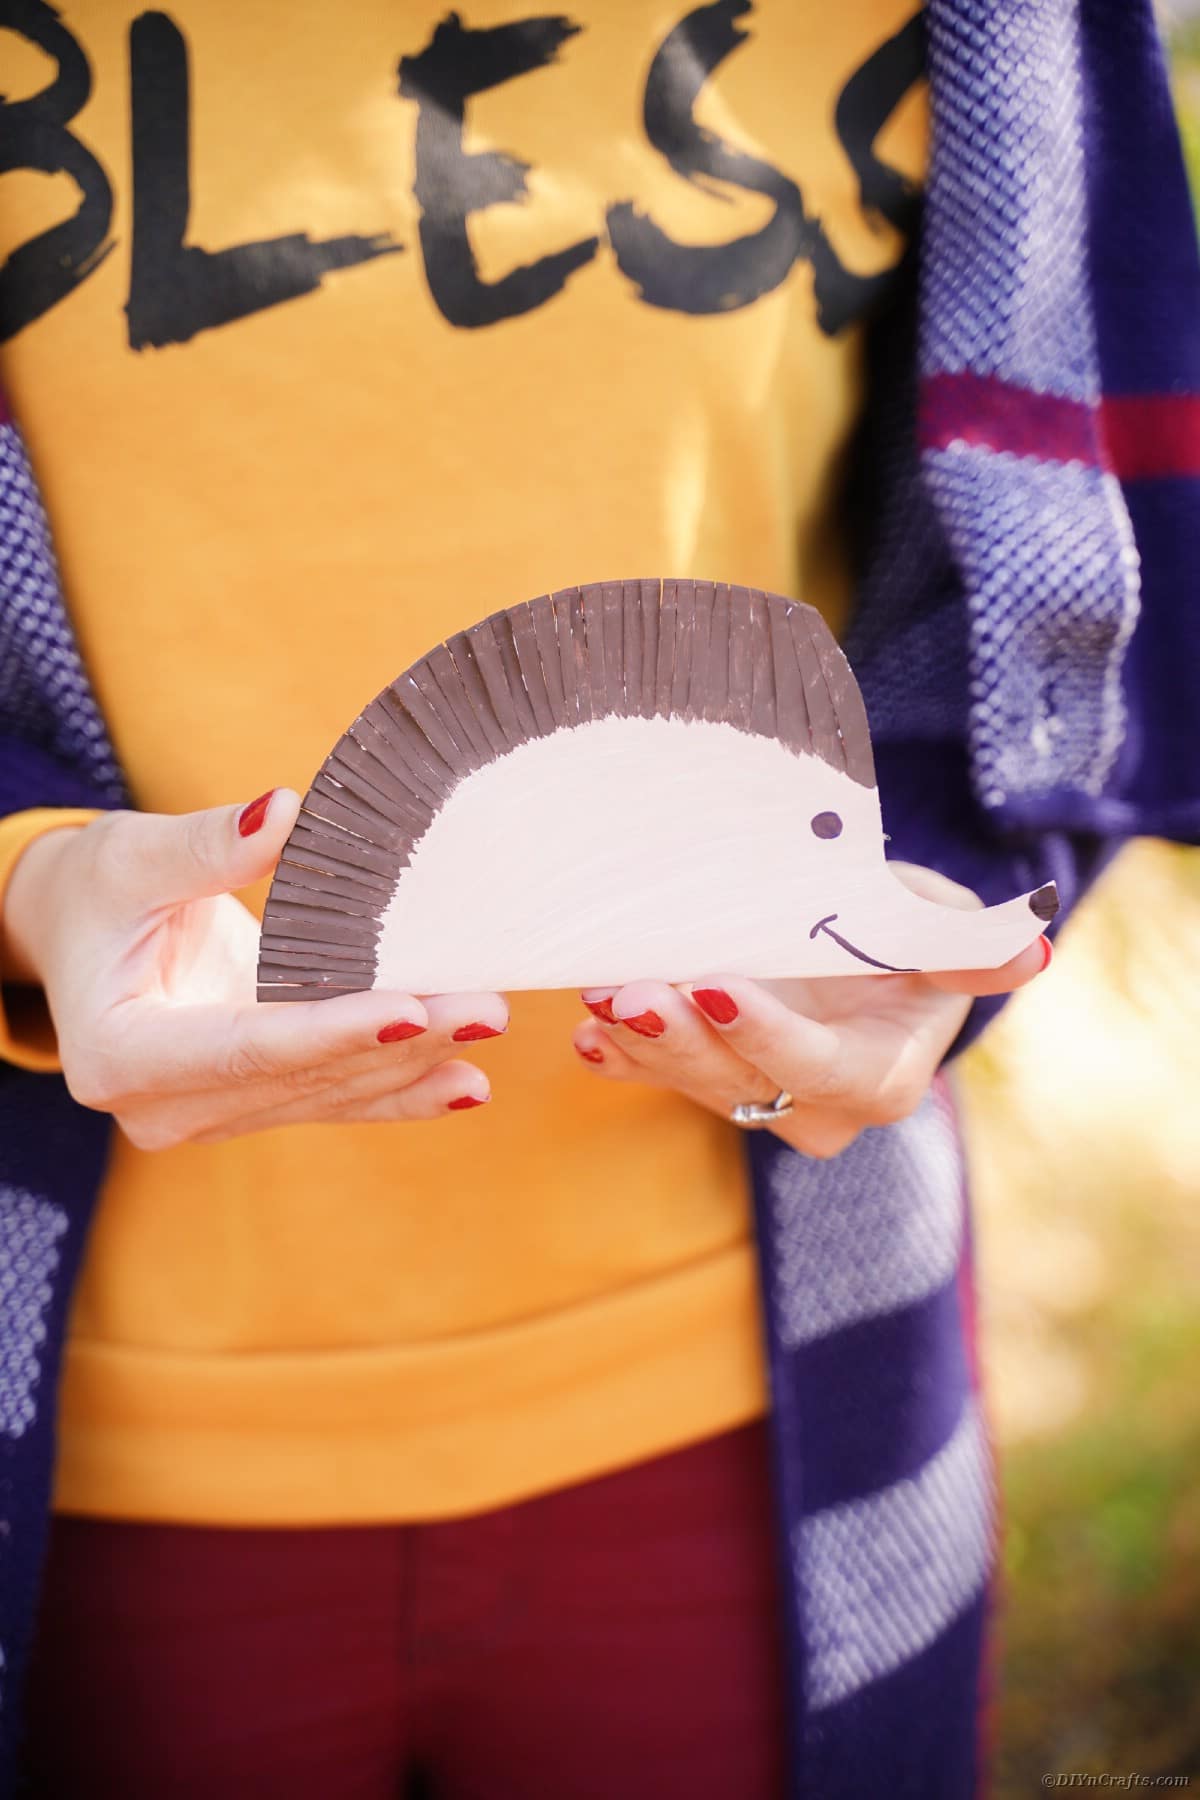
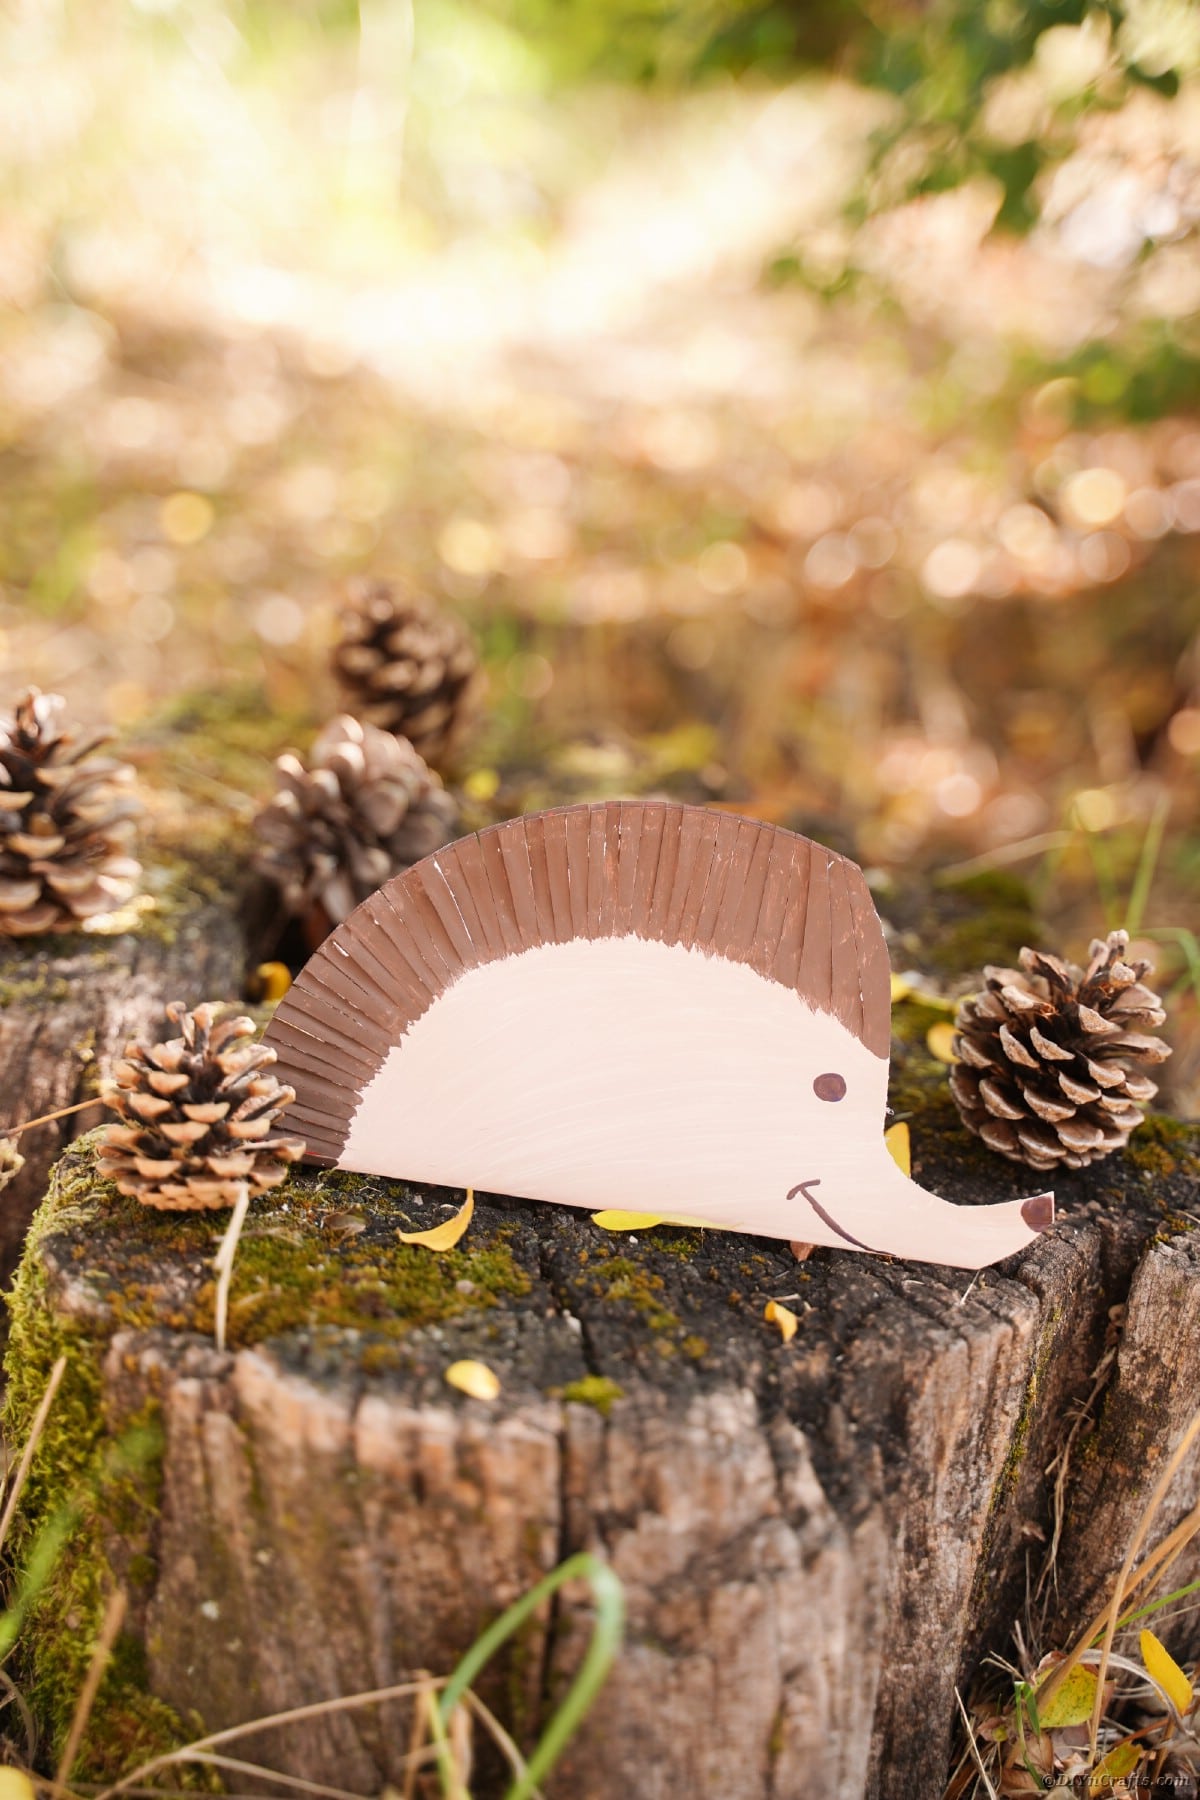
Kids love making and playing with paper plate hedgehogs! These are such fun crafts that kids and adults alike can enjoy. Super cute, these are perfect for playing pretend or using as decoration. Using simple household supplies, this is an easy craft that is budget-friendly and perfect for keeping kids busy!
Paper Plate Hedgehog Kid Craft
When it comes to a craft that kids will love, this paper plate hedgehog kids' craft is it! With only a few supplies, like a paper plate, paint and glue, this craft will come together in a few minutes. It is so adorable the kids will be very excited when it is time to start crafting.
If you love crafting with kids, but want something that is easy to make and not expensive, this is a perfect choice. Oftentimes, people stray away from kids' crafts because the items that they need are too much or they think what am I going to do with this when we are done. Well, this craft is on point when it comes to being budget-friendly, and there are many things that you can do with the hedgehog when you are done. This is an ideal craft for crafting with kids.
And, if you have leftover paper plates and want more ideas, you can make a cute little smiling paper plate pumpkin lantern, a paper plate pumpkin decoration, a paper plate witch, a paper plate bat, or a paper plate bloodshot eyeball! There is even a cute little Easter bunny from a paper plate or a paper plate sheep for springtime!
What Paint is Best for Paper Plates?
You can use whatever kind of paint you like to make this paper plate craft, however, the best kind of paint to use is watercolor or acrylic. Finger paints for children, which is usually a water-based type paint can also be used, but the color tends to not stay as well.
Watercolor paint might be best for young children because it is easier to work with and comes out of clothing and off hands easier. Acrylic paint does not come out of clothes and can take a day to get off skin.
You want to stay away from other types of paints. This is because the paints are not ideal for using paper plates and can either be too heavy or won't stay on the plate.
Can I Use Colored Plates Instead of Painting?
If you have colored plates on hand and that is what you want to use for this craft, it will work. If you can find brown or tan plates, then you won't need to do much painting, however, with other colors, you will still need to paint the plates. Using the paint will give your paper plate hedgehog depth and look more lifelike.
What Can I Use for the Hedgehog Face?
The best part of this hedgehog craft is that you can use whatever you have on hand. This one just used a little black marker, but you can add different items to make it more fun for kids. Gluing and cutting items is great for younger kids, so why not give them more chances with this? Below are some ideas that work great.
- For the eyes of the hedgehog, you can use googly eyes or buttons. You can also make the eyes with construction paper.
- The nose can be made with buttons or paper as well.
- You can use yarn, ribbon, or string in order to make the mouth and details.
- Stickers are also a great choice if you can find ones with different shaped eyes and mouths.
What Can Kids Do With These Once the Paint Dries?
These paper plate hedgehogs are great for many things. This is one of those crafts that offers many different options. Hedgehogs are perfect for pretend play. Kids can use the hedgehogs as puppets. They can pretend that they are the hedgehog and the paper plate is their face. They can pretend that the hedgehog is playing with them. Maybe they are playing in the yard or running through the forest. The possibilities of pretending are only limited to the child's imagination.
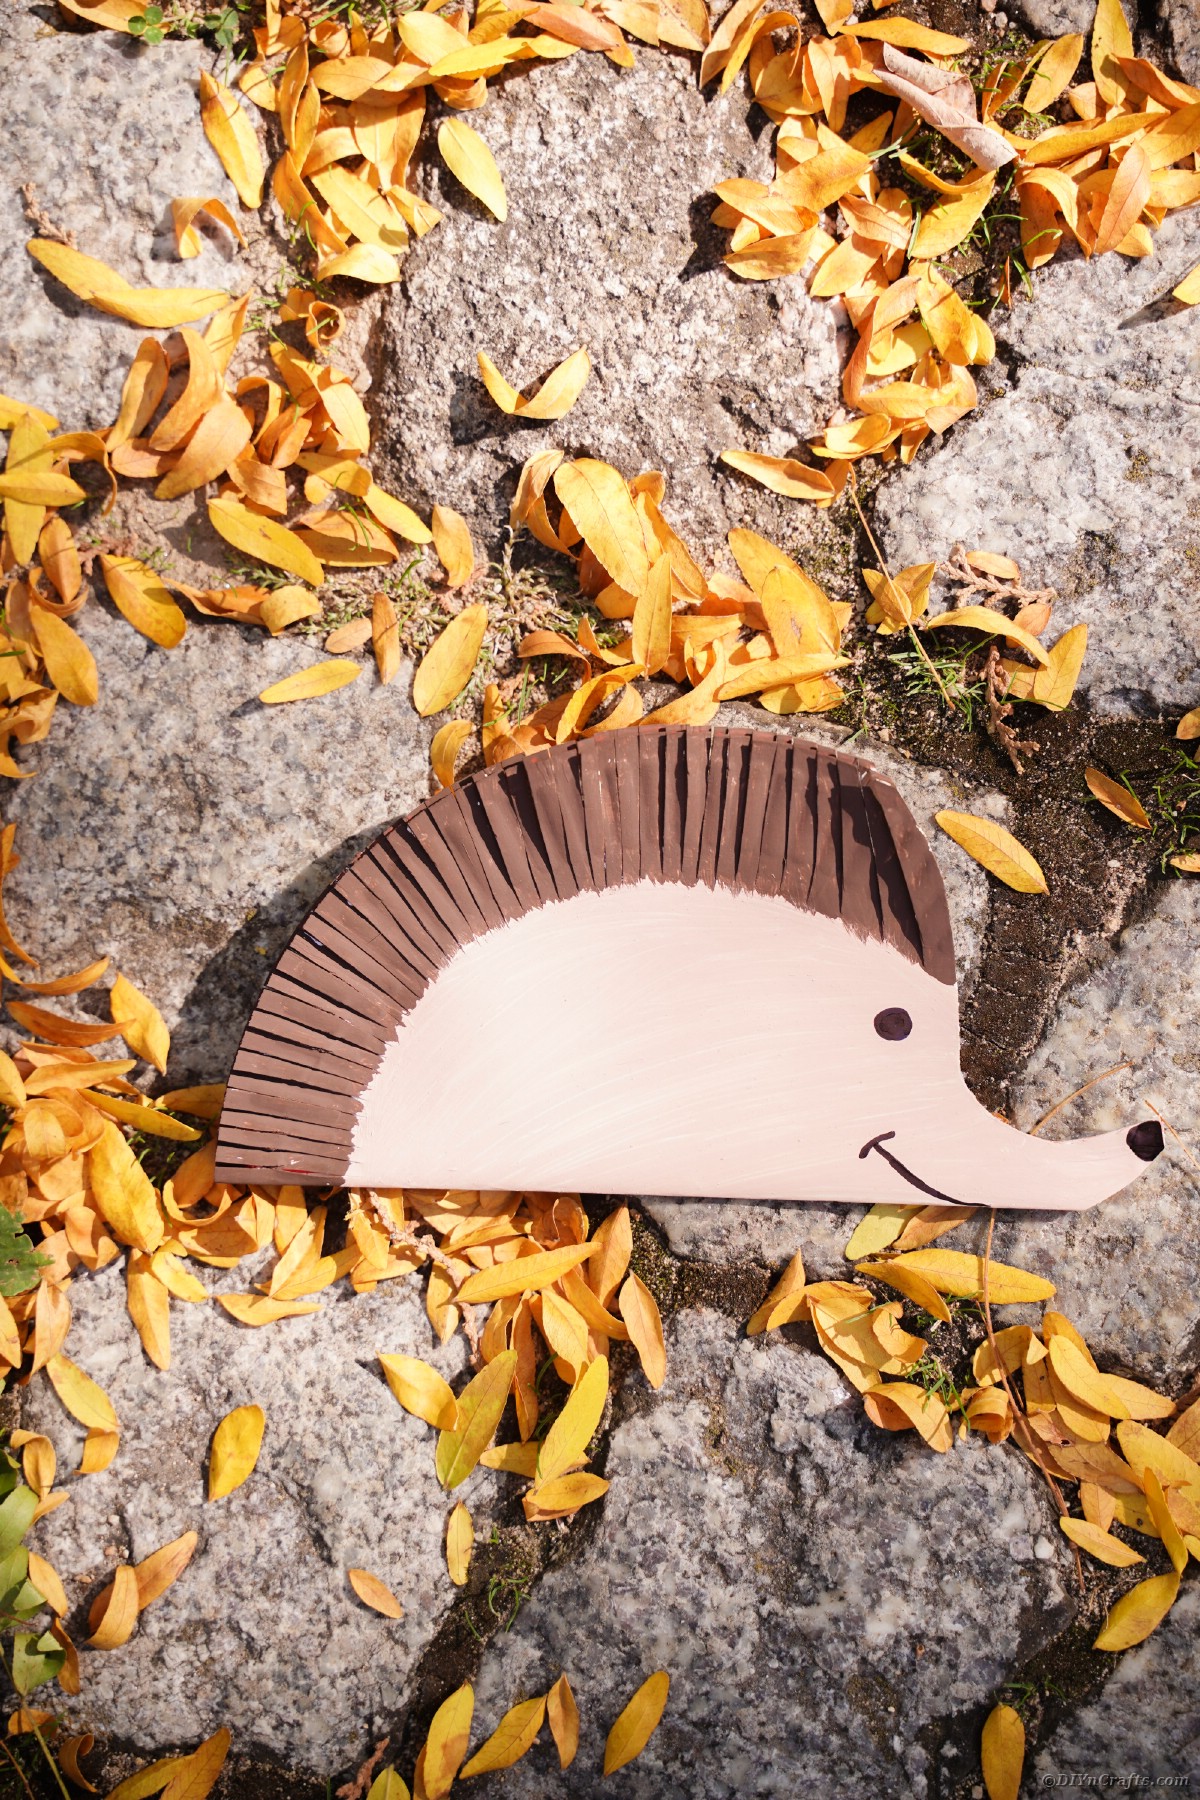
Another idea is to use the hedgehog craft as part of the child's room decorations. It can be hung on the wall or placed in a frame. It is a fun way to bring a simple craft into the room where the child can look at it and show off their work. Or maybe there is an animal theme in the room, which makes this hedgehog the perfect addition.
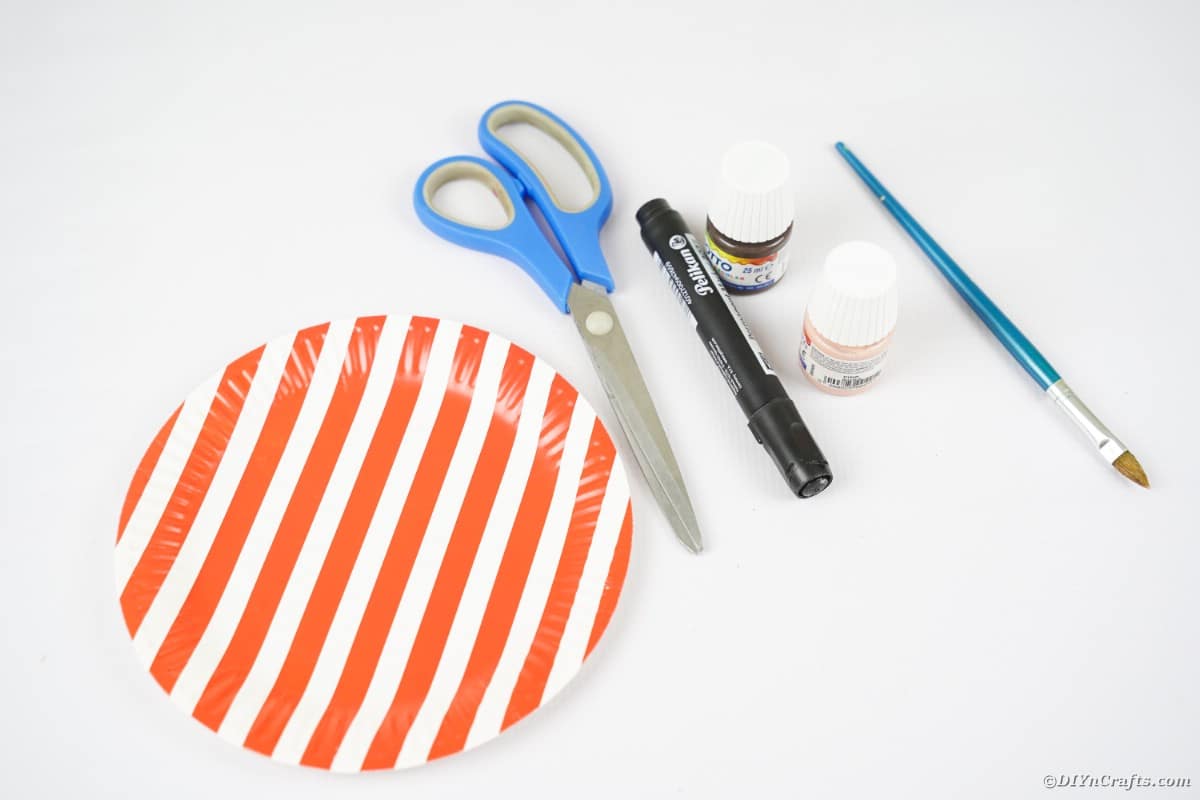
Supplies Needed
- Paper plate
- Brown craft paint
- Tan craft paint
- Black marker
- Scissors
- Paintbrush
- Hot glue gun
- Hot glue sticks
How to Make a Monster Pencil Holder
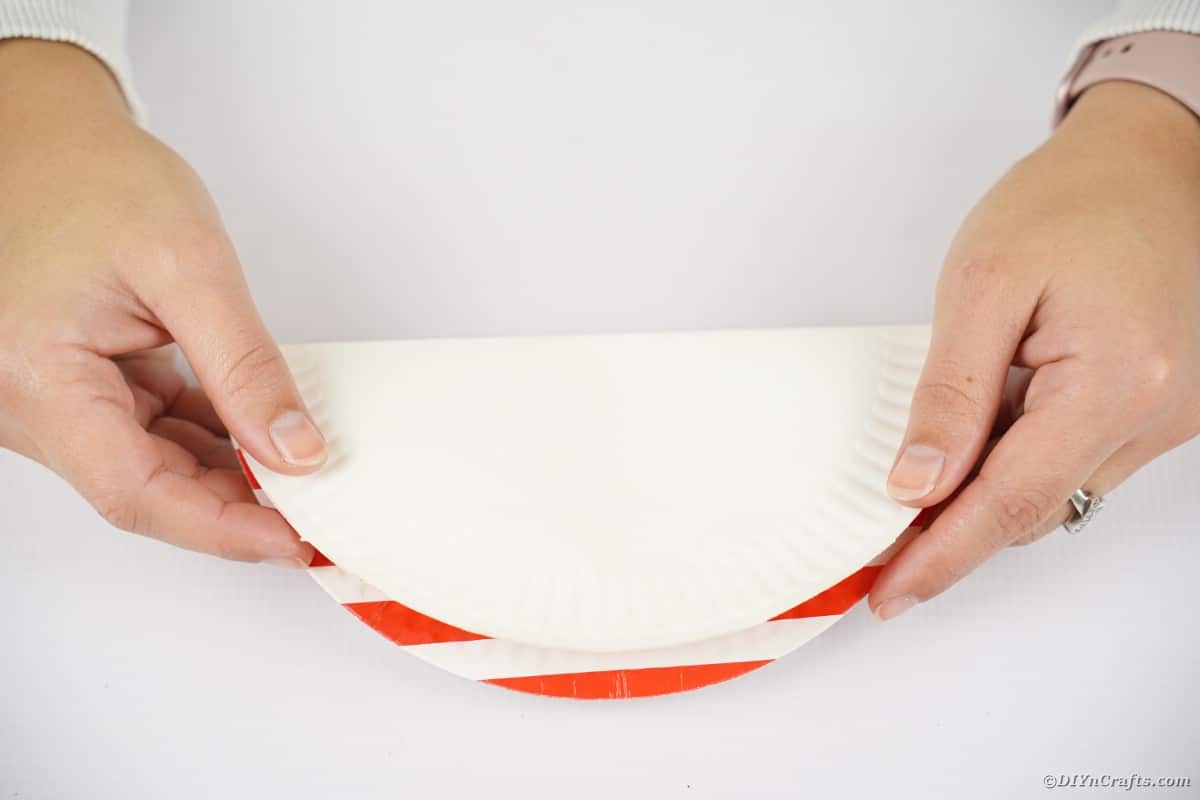
Fold a paper plate in half.
Glue the two halves together and hold to seal.
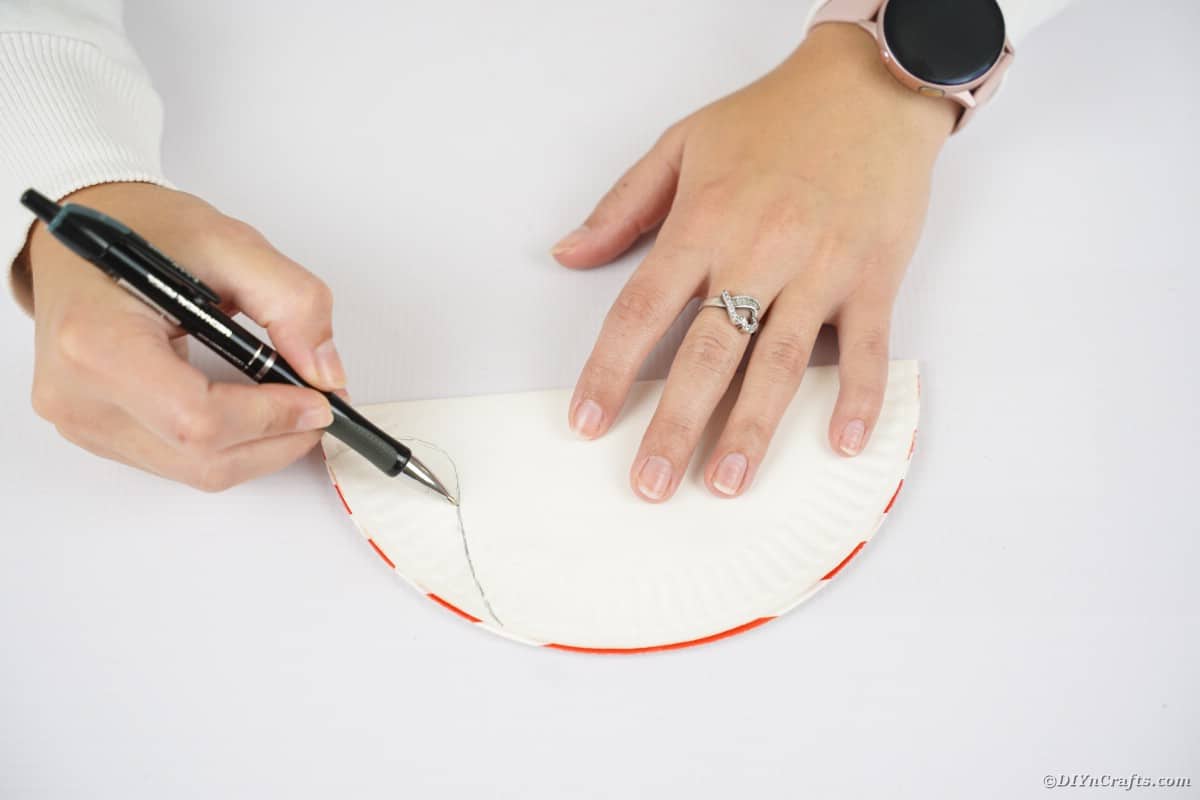
On one side of the paper plate, trace a curve from the top down to about 2" from the bottom, then a cure from the bottom up around 1" connecting the two in a point at the edge of the plate.
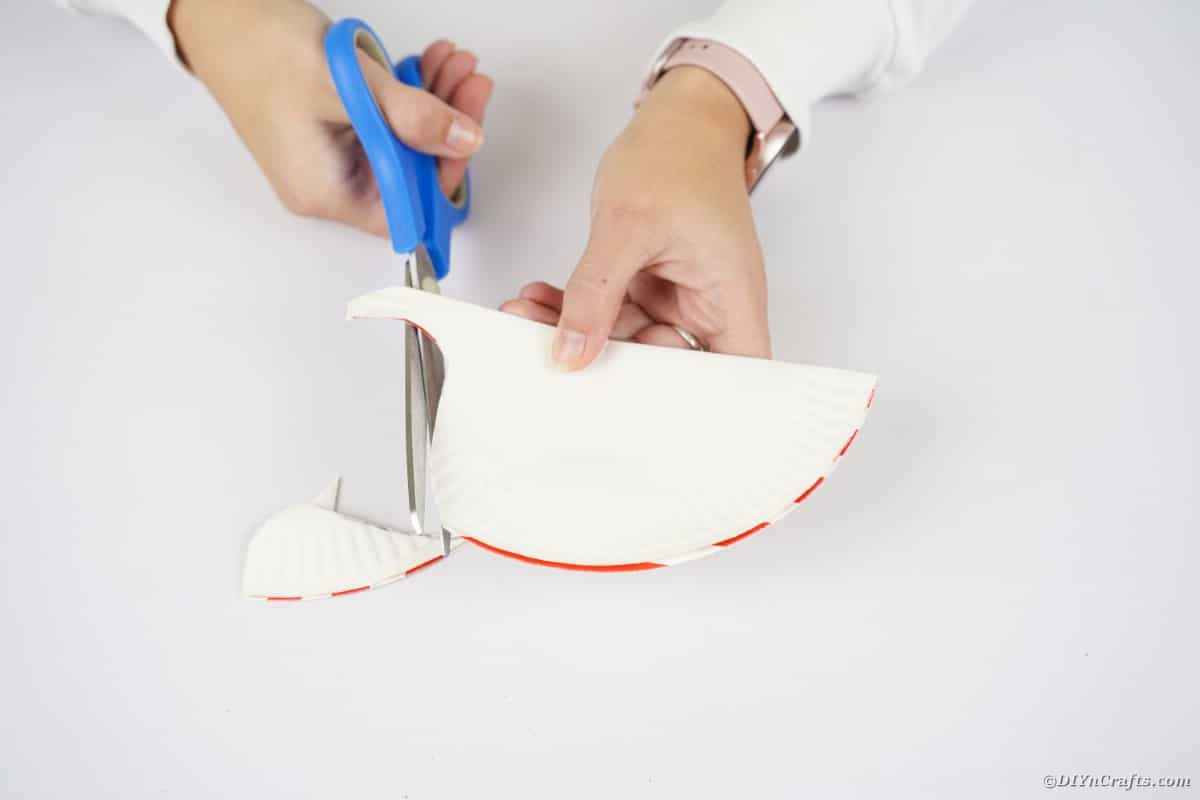
Cut along the lines to create the hedgehog head.
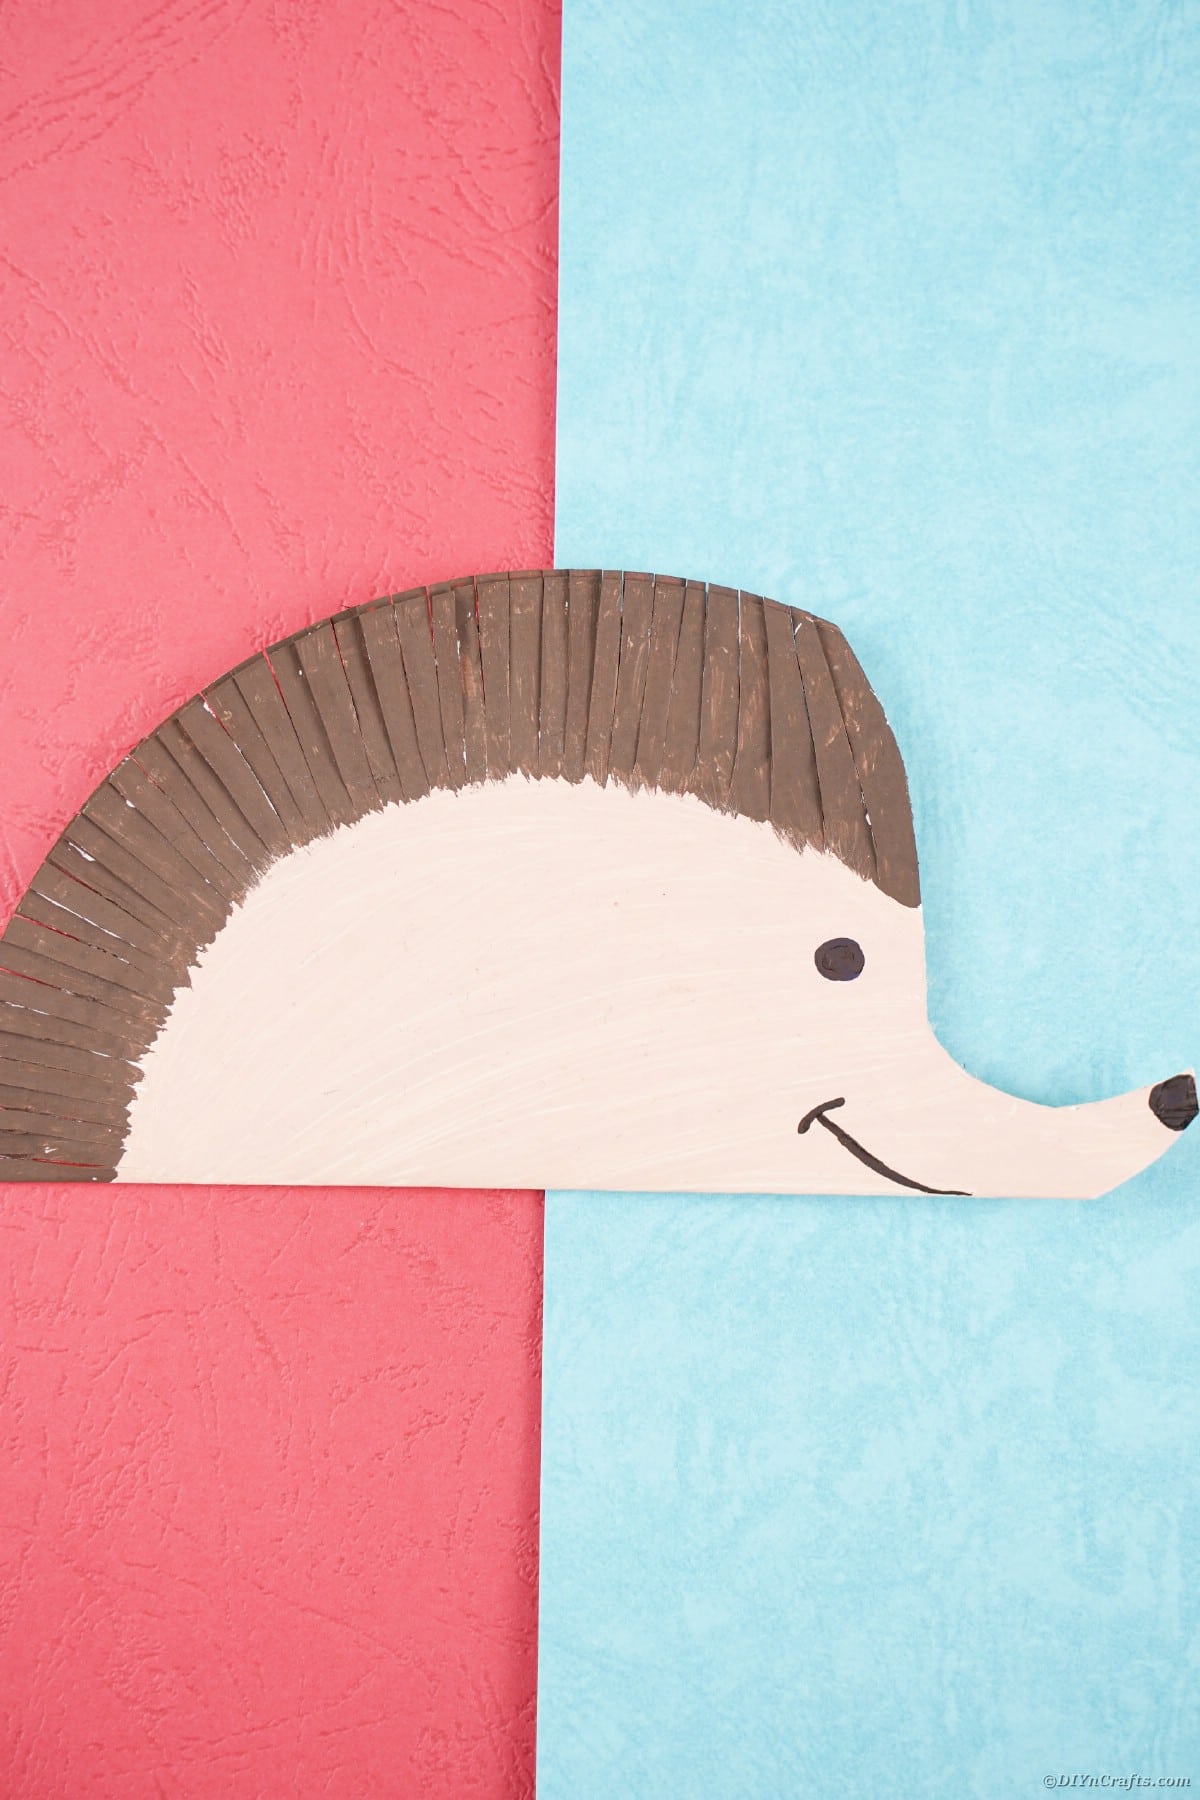
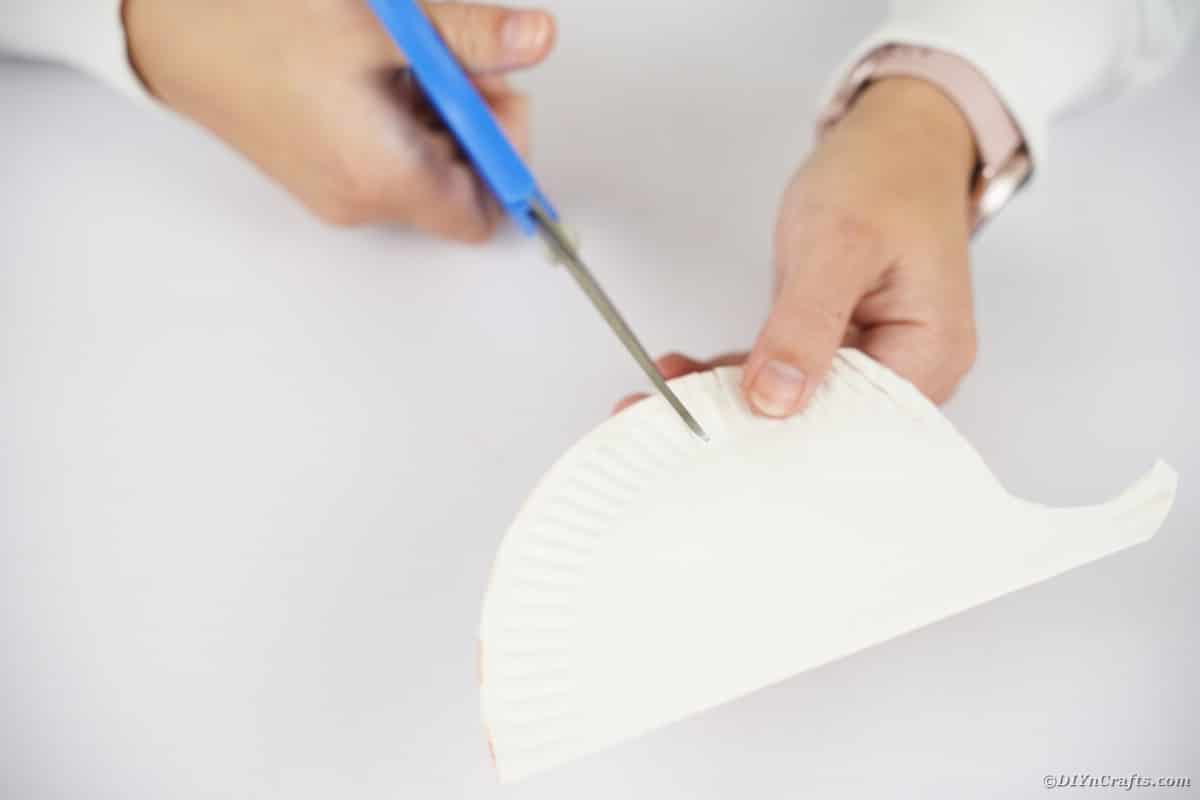
Along the top half of the folded plate, begin cutting 2" down the plate every ½" to create a "fringe" of spikes. Continue to all the way around the plate leaving the head intact.
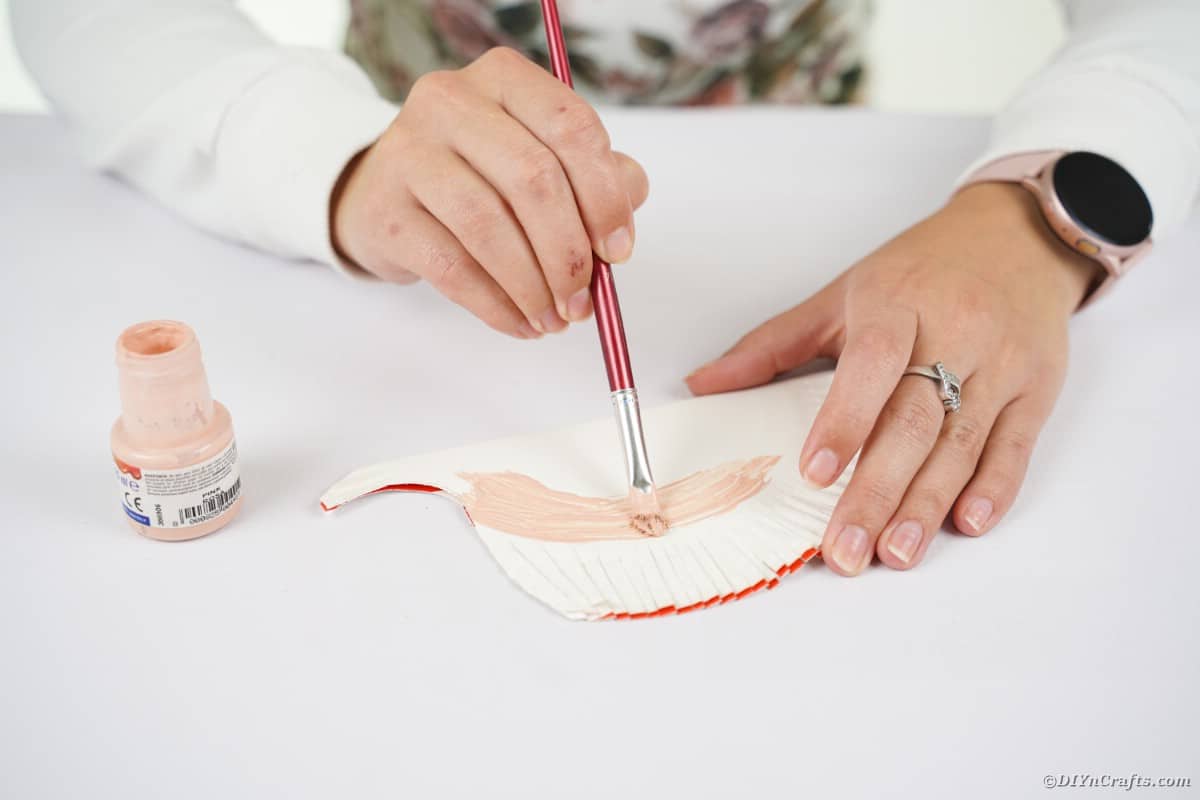
Paint the plate light brown or tan from just below the cuts of the spikes down to the bottom, coloring in the body.
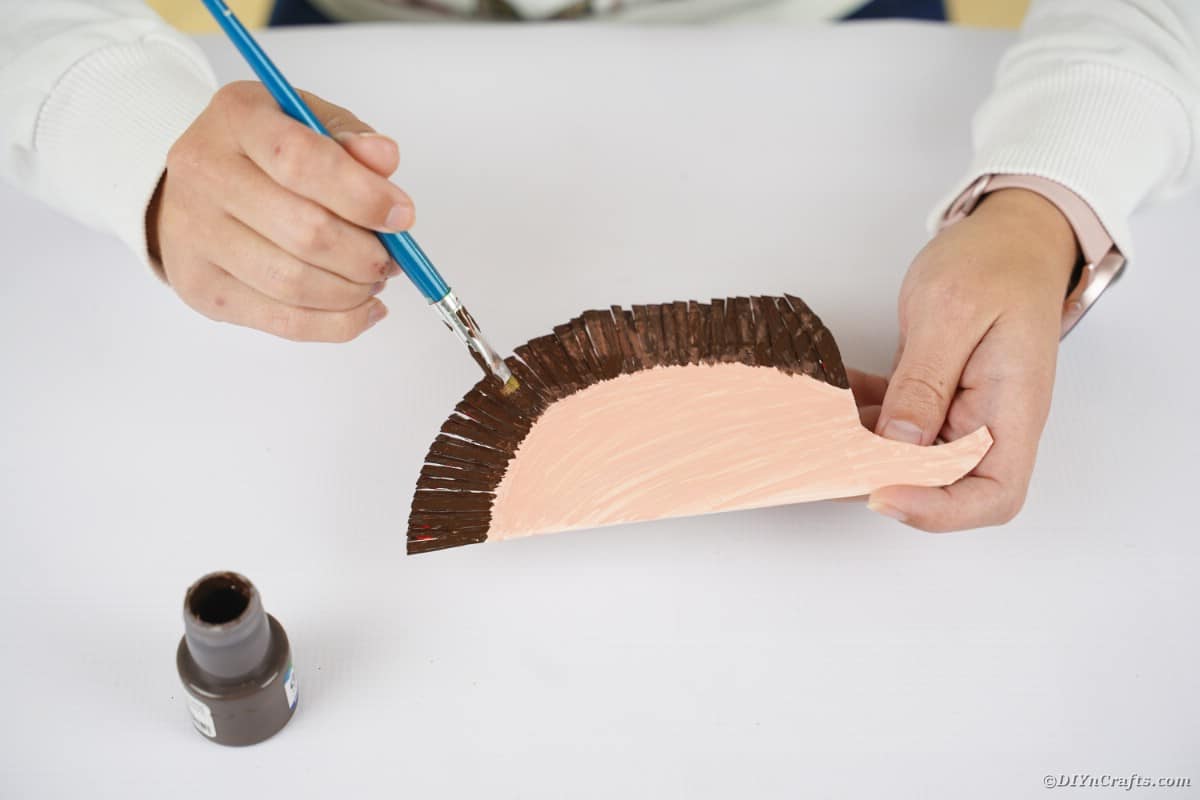
Once the body is painted, begin painting the fringe of spikes a dark brown.
If painting both sides of the plate, let the first side dry completely, then flip and do the same. Then, set aside to dry completely.
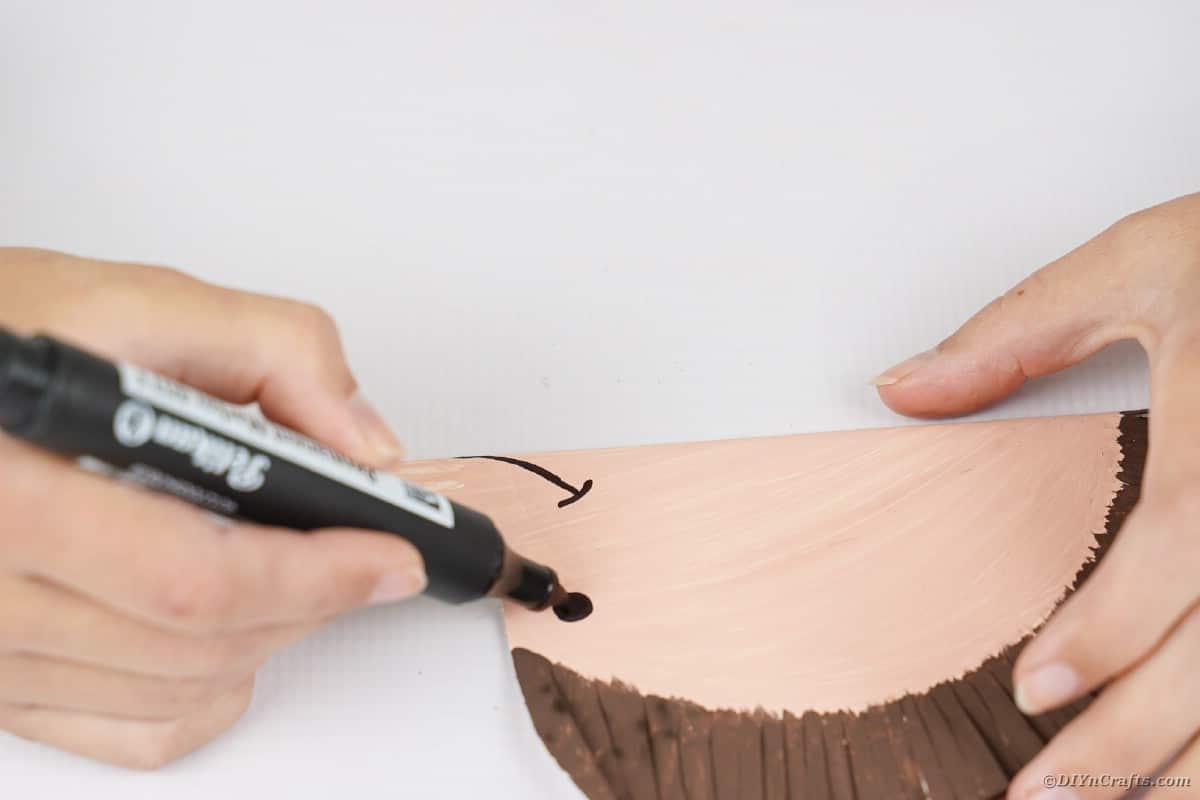
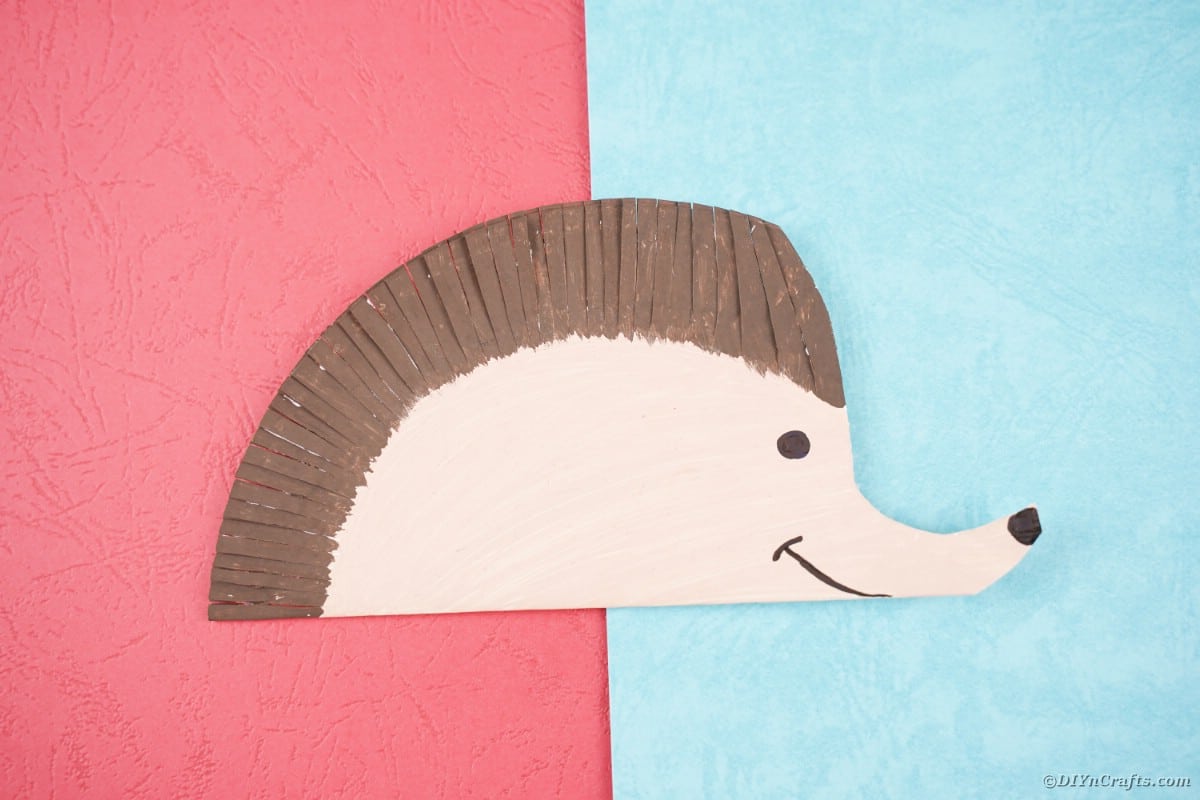
Once the paint has dried, use a black marker to draw on the nose, mouth, and eye on one side. If both sides are painted, you can add the nose, eye, and mouth to both sides.
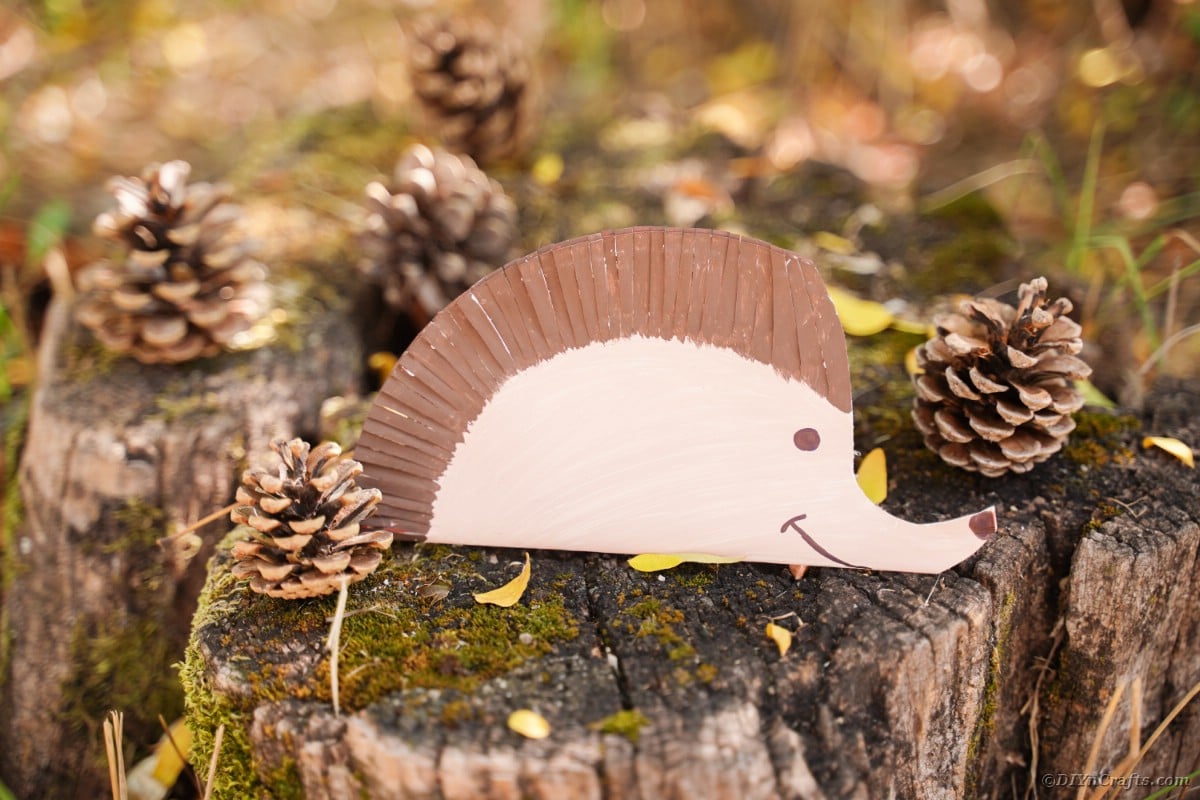
Display or hang your hedgehog.
More Hedgehog Crafts
Do you love hedgehogs? Below are a few more adorable ideas that you can make with your kids to decorate your home with these cute little creatures!
- Adorable Burlap Hedgehog Decoration DIY Tutorial
- Upcycled Plastic Bottle Pinecone Hedgehog Decor
- Adorable Old Book Paper Hedgehog Craft
- Cute Fall Hedgehog Kids' Craft with 3 Styles {Free Printable}
Adorable Paper Plate Hedgehog Kids Craft
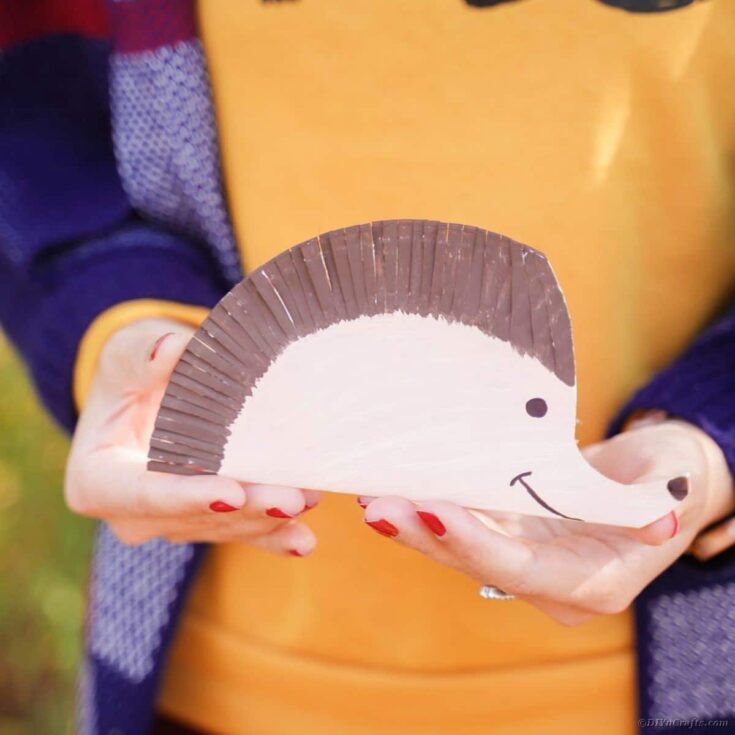
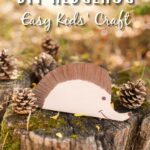
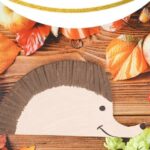
Grab that paper plate from the pantry and some paints to create a super cute and easy paper plate hedgehog! A perfect fall kids craft idea!
Instructions
- Fold a paper plate in half.
- Glue the two halves together and hold to seal.
- On one side of the paper plate, trace a curve from the top down to about 2" from the bottom, then a cure from the bottom up around 1" connecting the two in a point at the edge of the plate.
- Cut along the lines to create the hedgehog head.
- Along the top half of the folded plate, begin cutting 2" down the plate every ½" to create a "fringe" of spikes. Continue to all the way around the plate leaving the head intact.
- Paint the plate light brown or tan from just below the cuts of the spikes down to the bottom, coloring in the body.
- Once the body is painted, begin painting the fringe of spikes a dark brown.
- If painting both sides of the plate, let the first side dry completely, then flip and do the same. Then, set aside to dry completely.
- Once the paint has dried, use a black marker to draw on the nose, mouth, and eye on one side. If both sides are painted, you can add the nose, eye, and mouth to both sides.
- Display or hang your hedgehog.
Notes
Put into a shadowbox for a cute hedgehog decoration for a child's room!
Recommended Products
As an Amazon Associate and member of other affiliate programs, I earn from qualifying purchases.
-
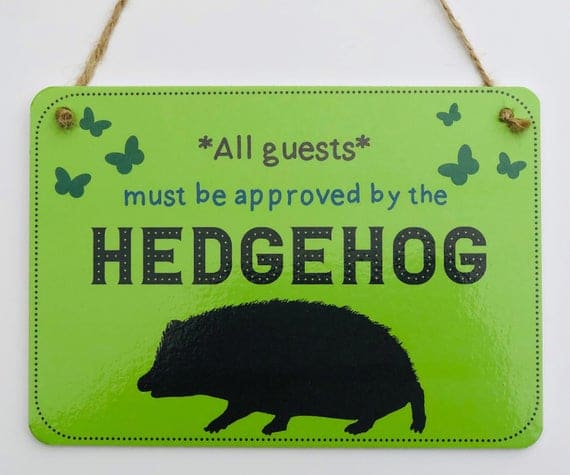 All Guests Must Be Approved By the Hedgehog sign | Etsy
 -
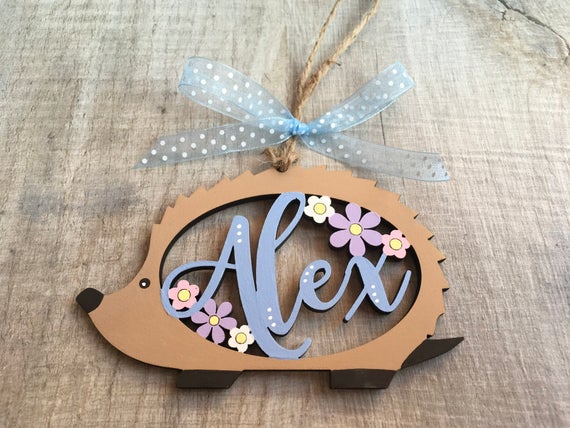 Hedgehog tag hedgehog gift present tag hanging decoration | Etsy
 -
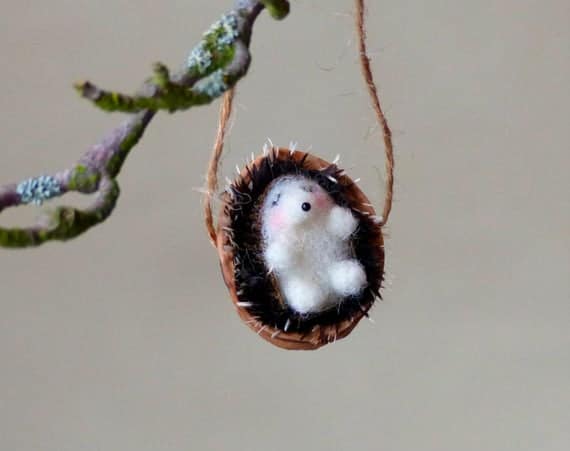 Sleeping hedgehog in a walnut shell Needle felted hedgehog | Etsy
 -
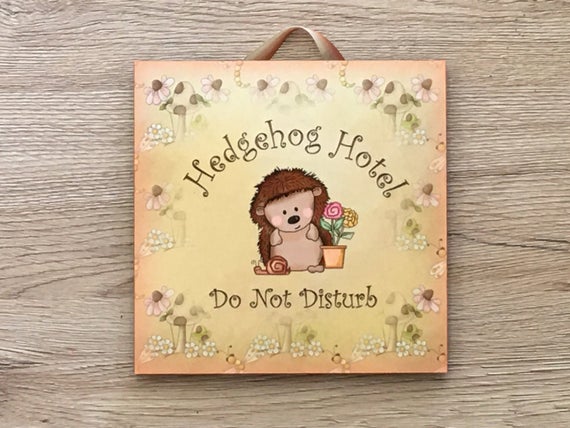 HEDGEHOG HOTEL Do Not Disturb Wood or Metal Sign with Add Your | Etsy
 -
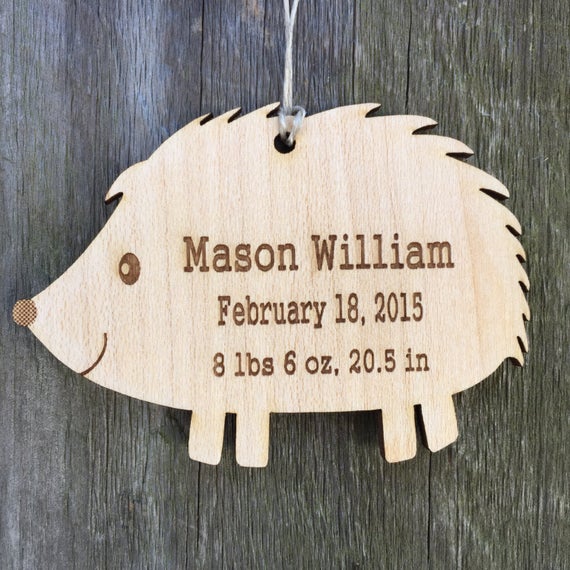 Personalized Woodland Hedgehog Ornament: Baby's First | Etsy
 -
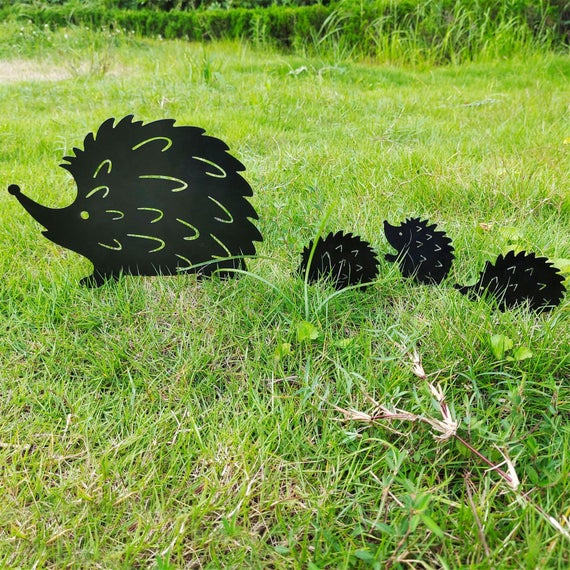 Garden wrought iron decoration creative garden landscape | Etsy
Add a few different sizes to create a hedgehog family!





Leave a Reply