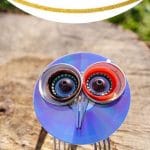
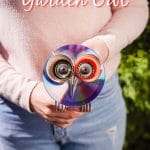
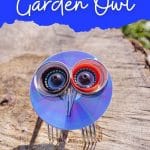
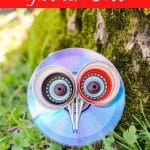
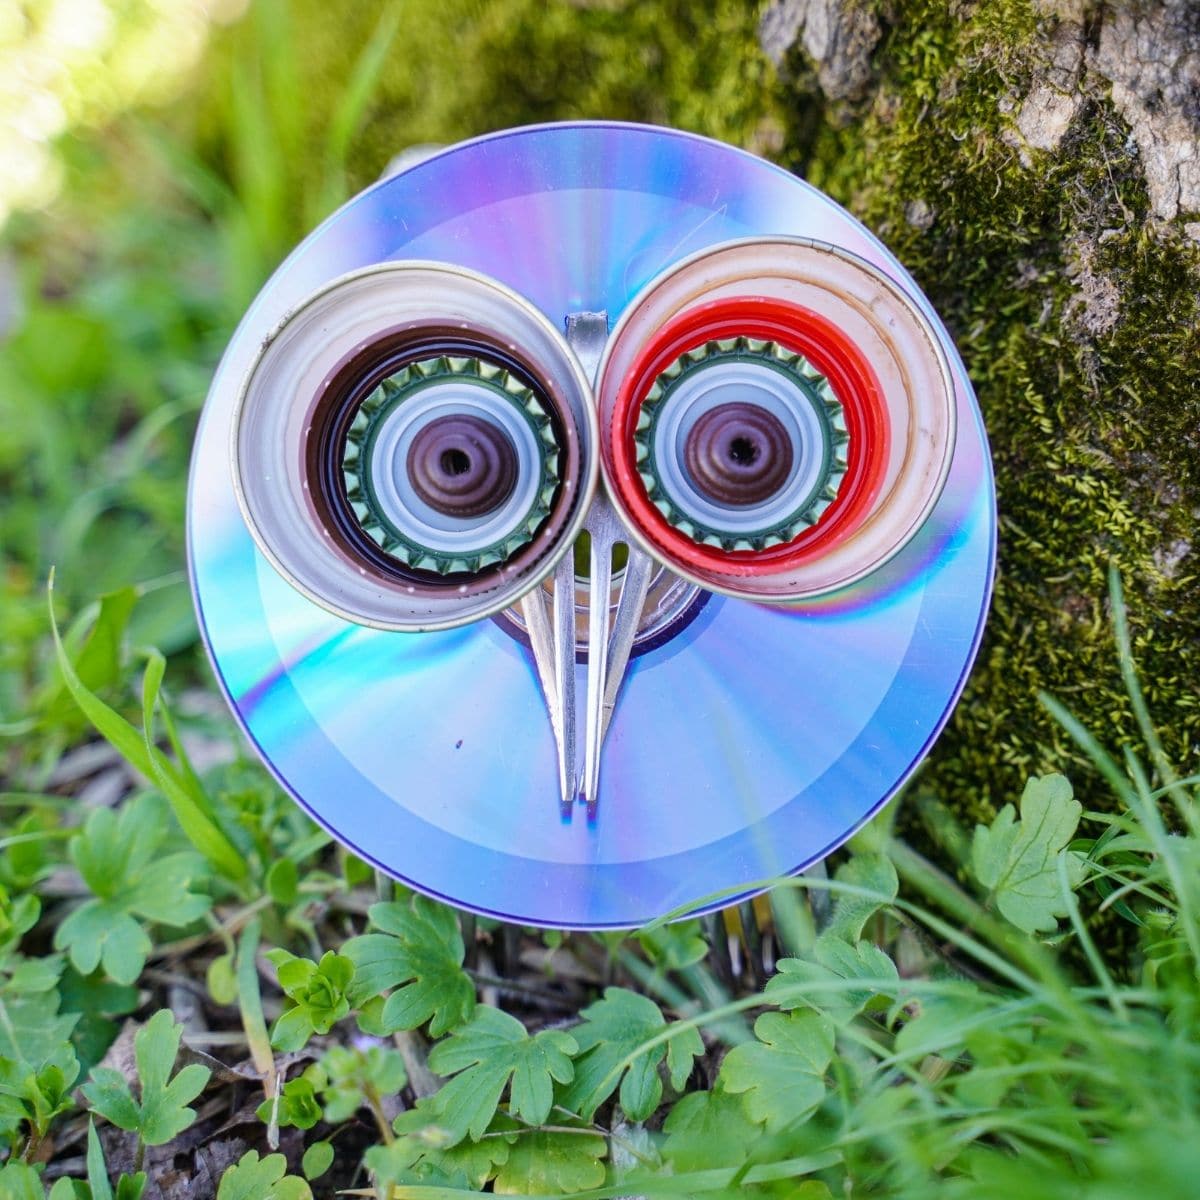
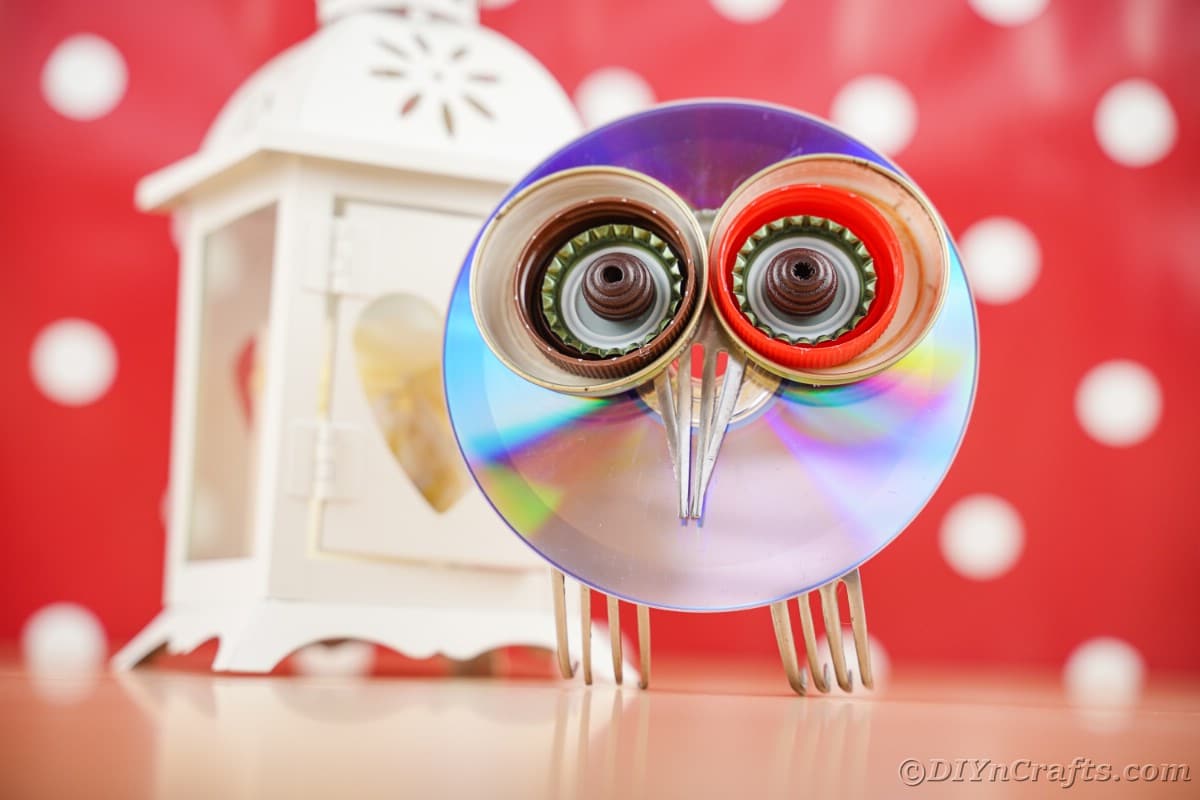
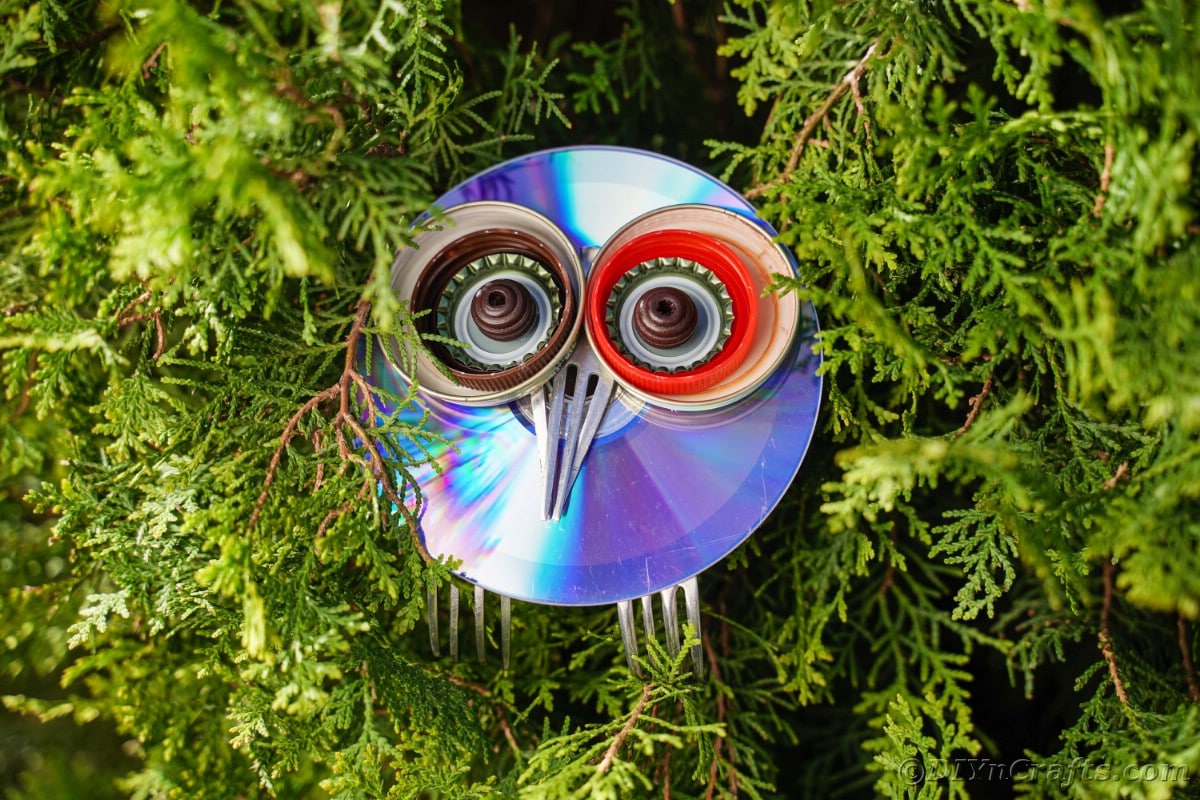
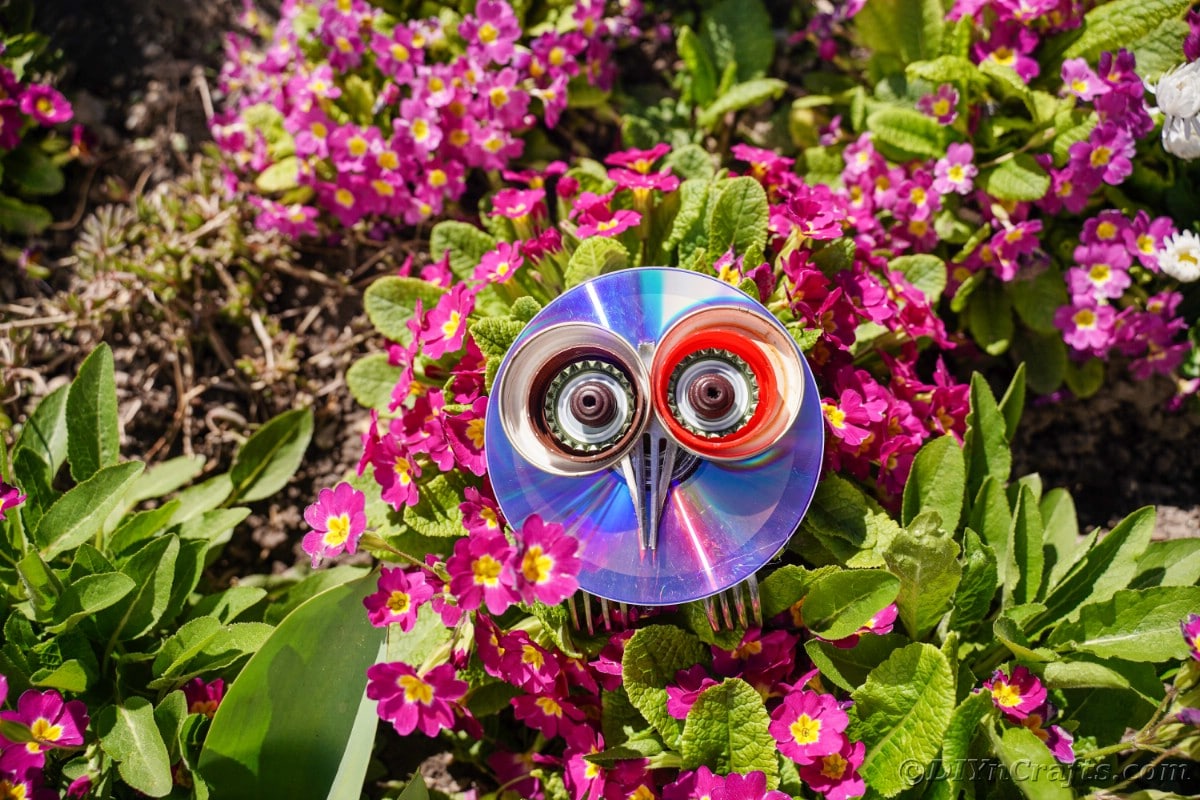
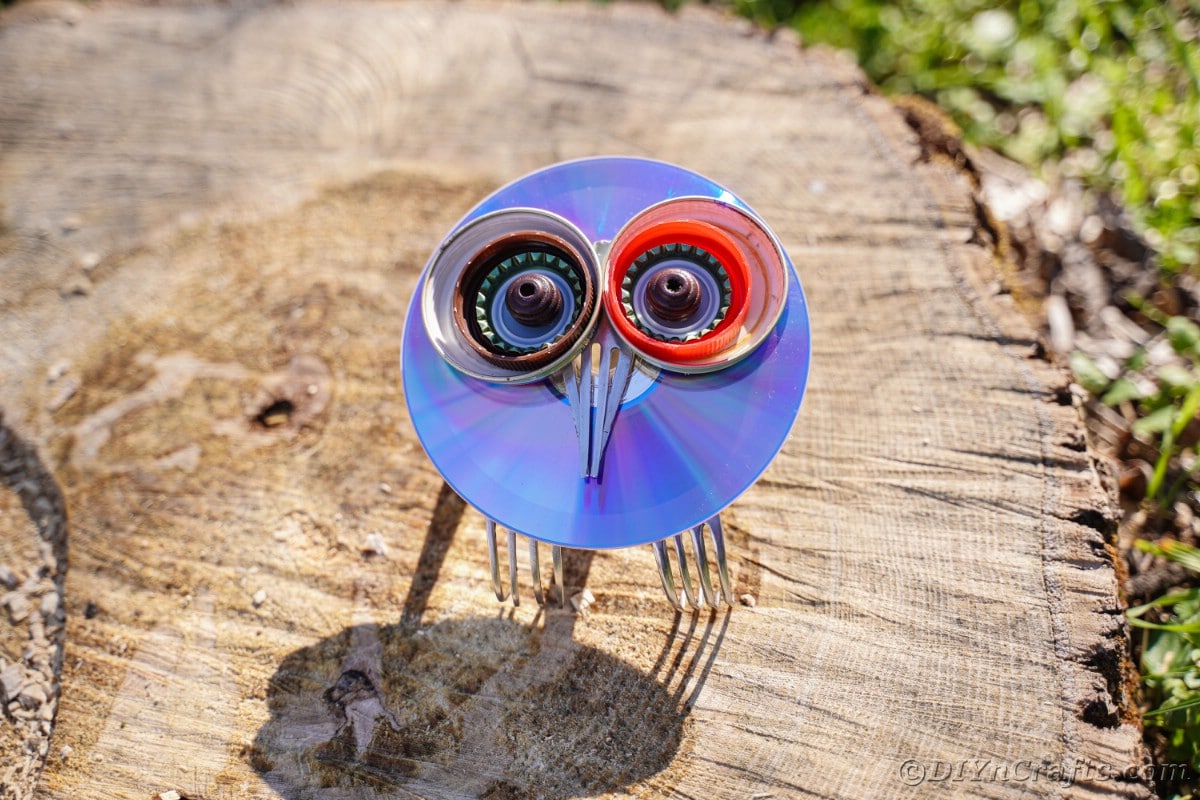
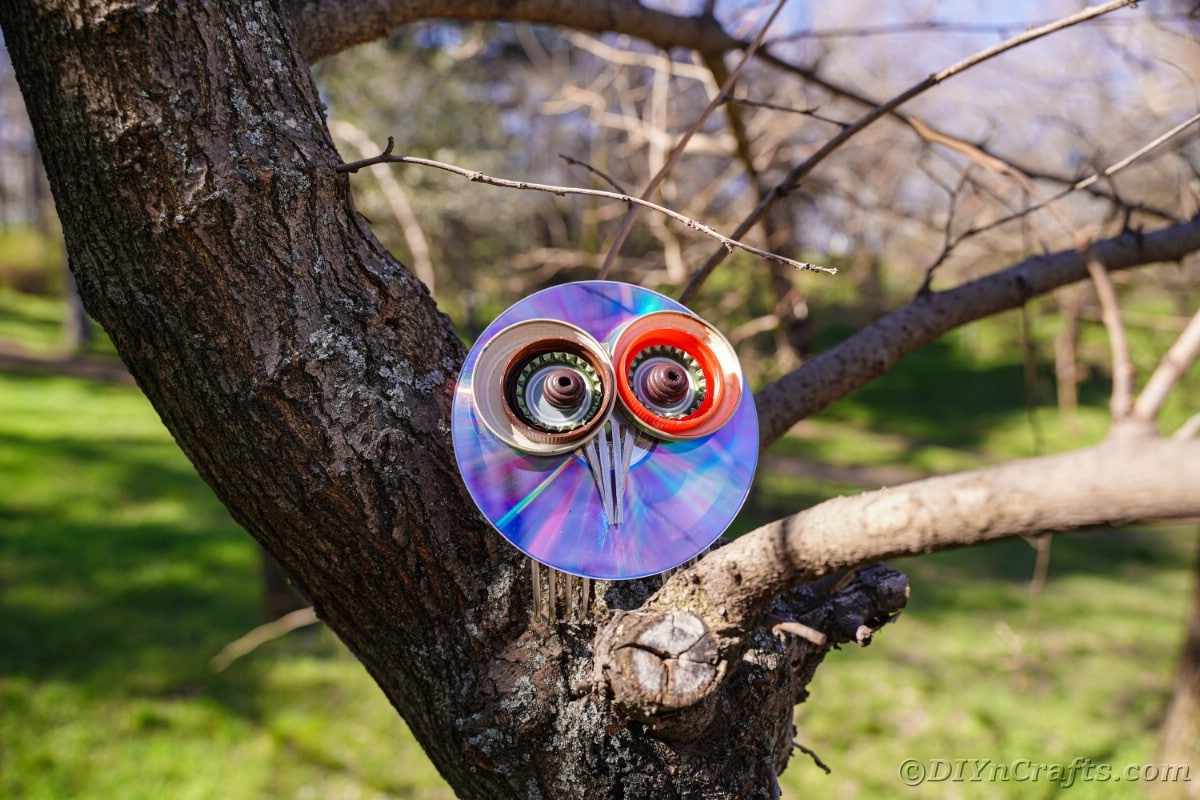
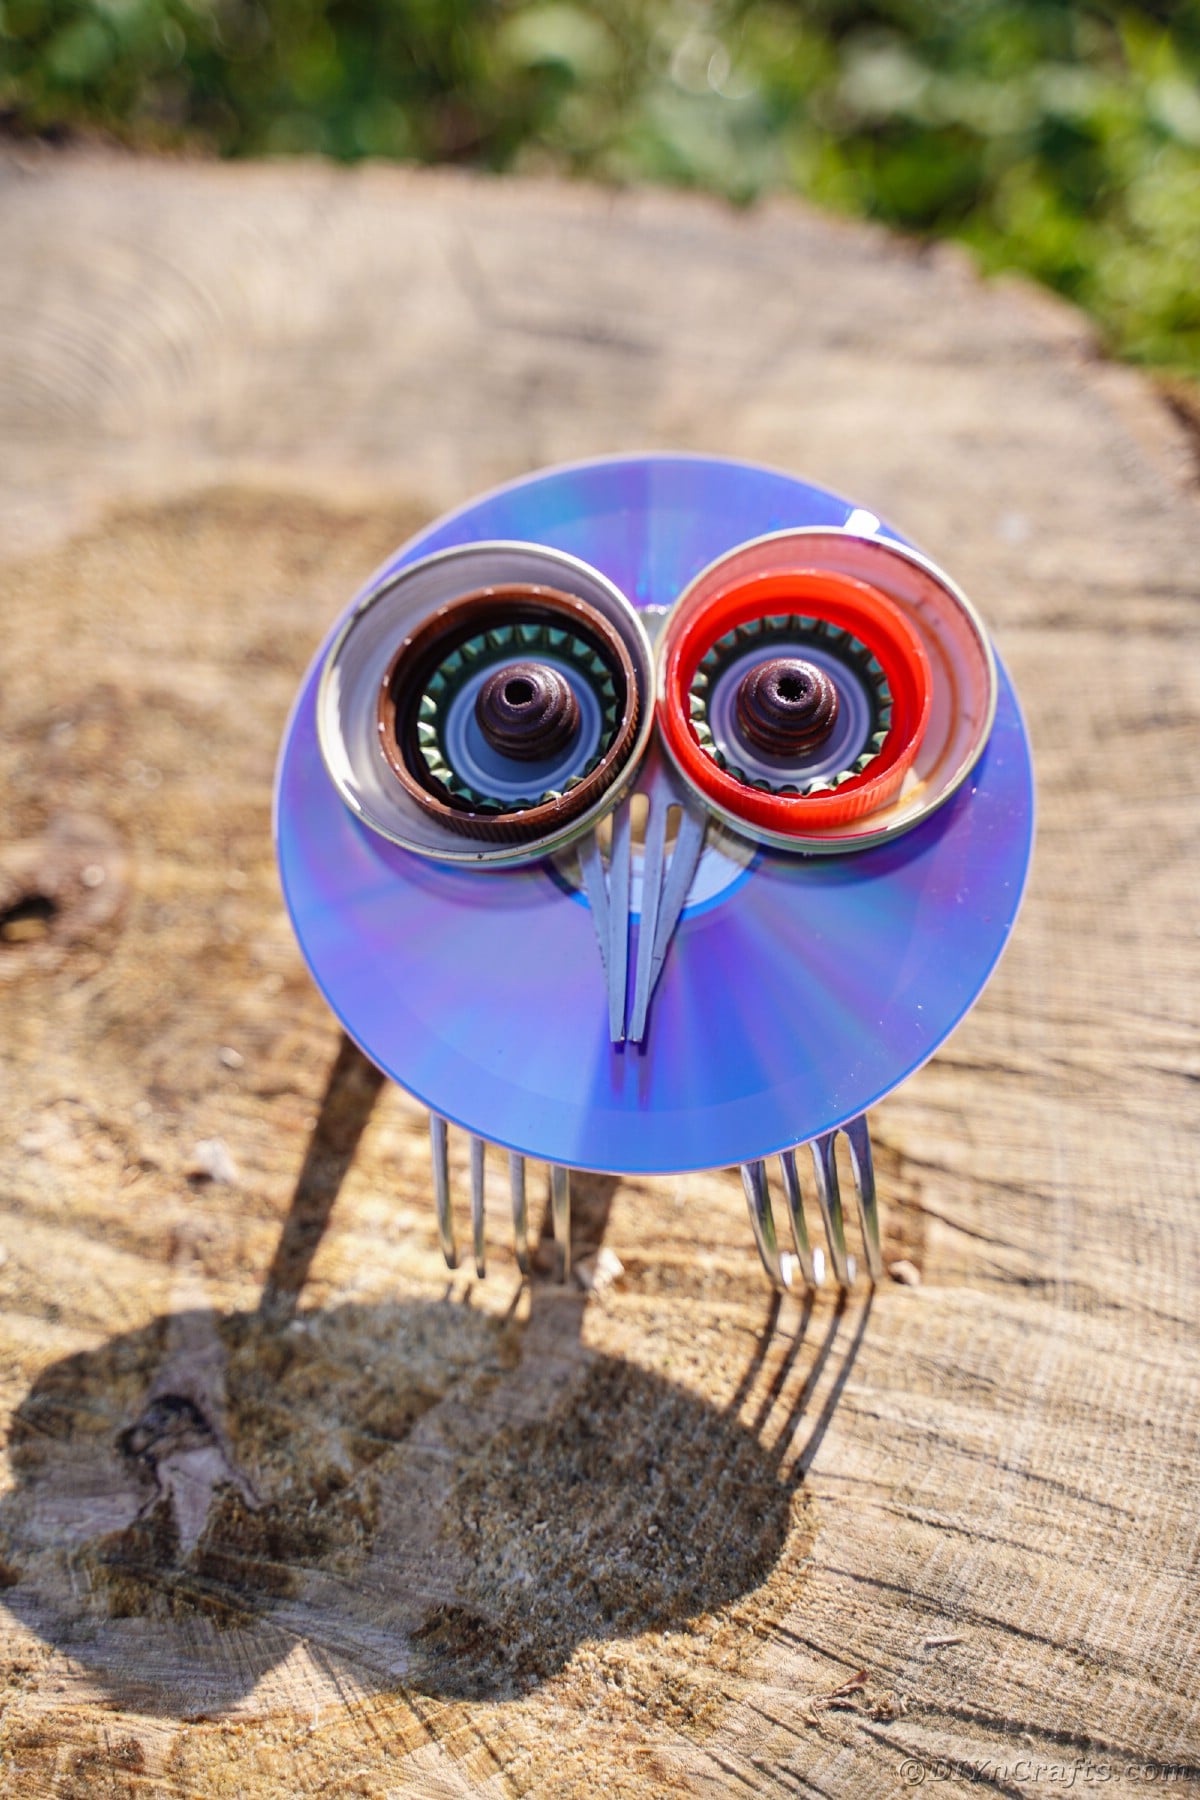
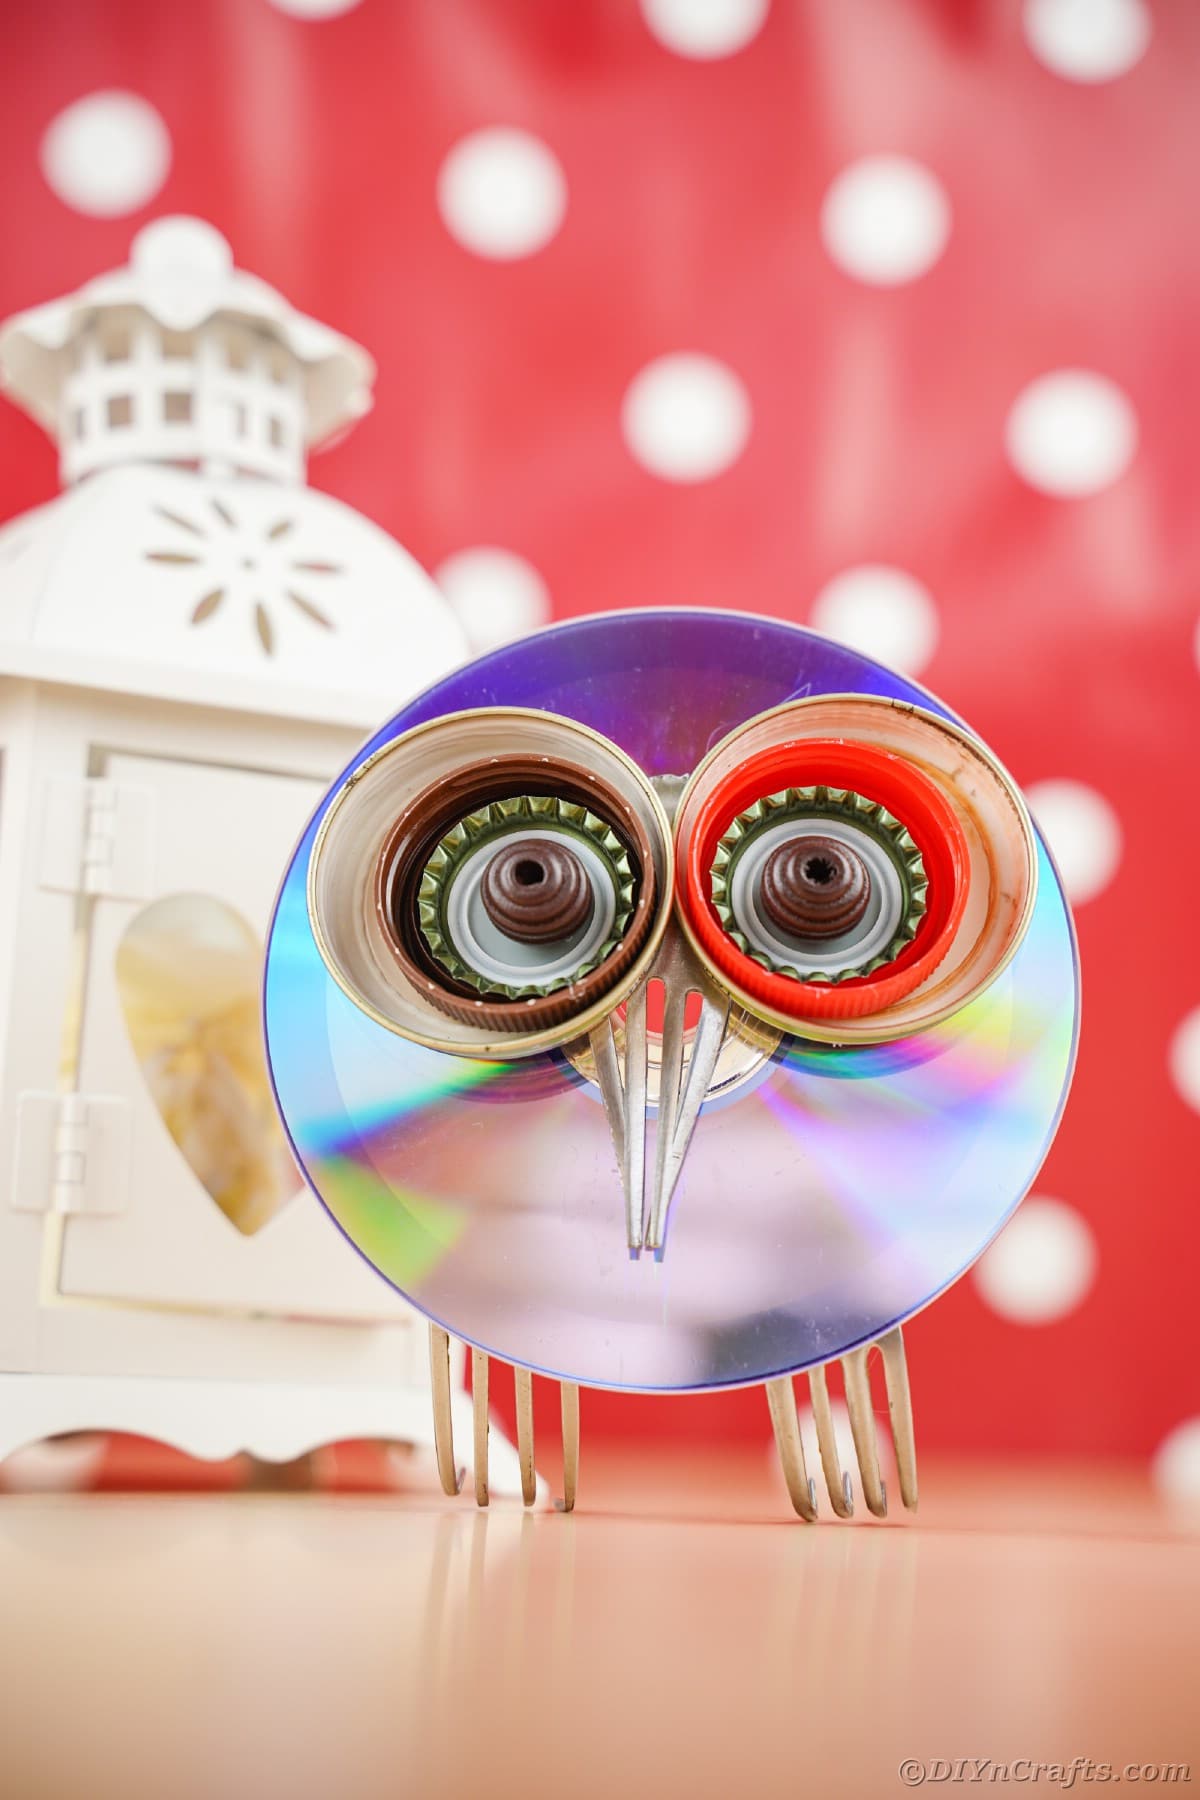
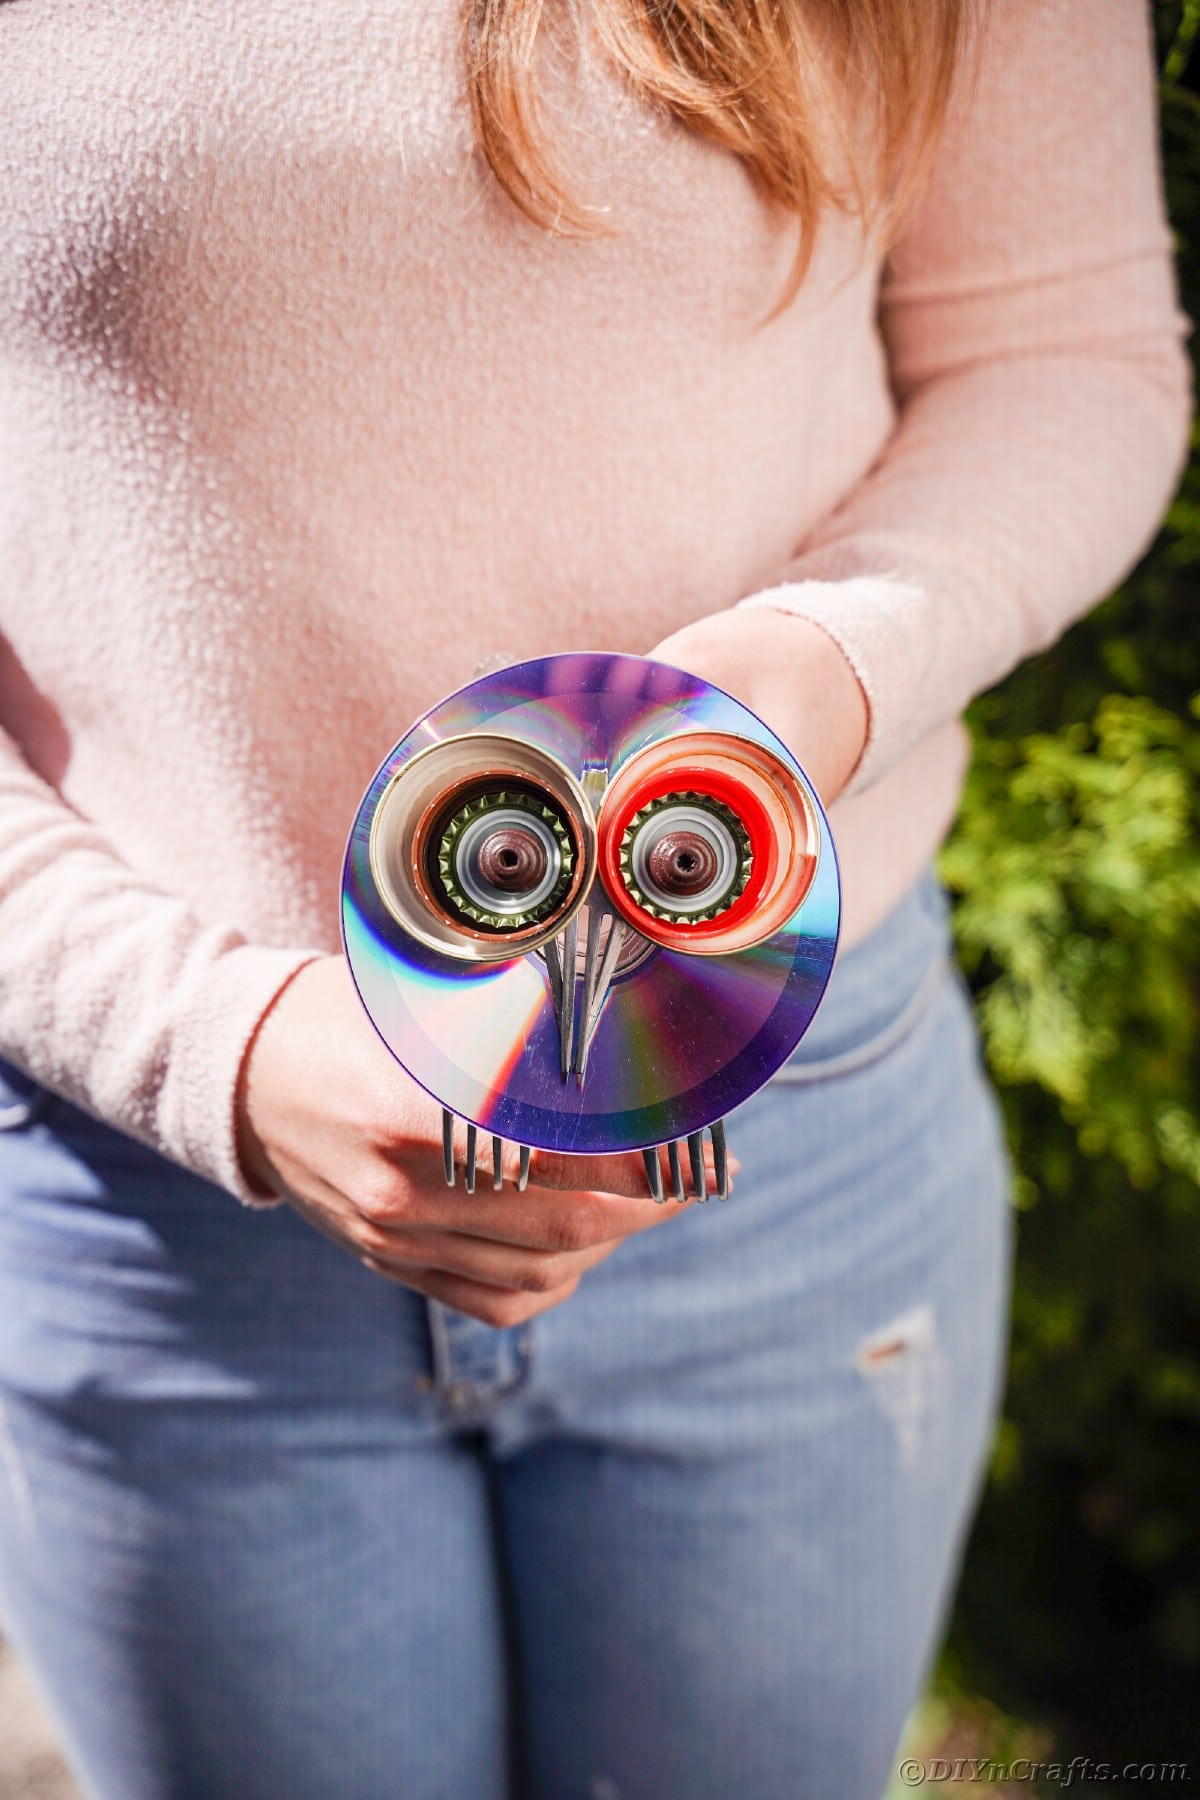
How absolutely adorable is this little whimsical owl garden decoration?! Entirely made of upcycled items, it is the epitome of trash to treasure. I love upcycling, and this uses an old CD, old forks, lids, buttons, and a bit of glue to create a lovely shimmery garden decoration. Make this to prop in your garden or sit on your front porch as a cute critter to greet friends and family who come to visit!
Owl Garden Decoration
If you love those expensive garden decorations but run from the price, you are going to love this decoration. Made with things from around the house, you can make this adorable decoration and use it to make the cutest relaxation area ever.
I may be mildly obsessed with owls, and that's okay because I know I am in good company. When I was trying to come up with something to do with these old CDs, I knew whatever was needed to go in the garden. This was the result, and I absolutely love it! If you like owls too, then you will love my little upcycled CD owl wall messenger craft. Super cute and easy to make!
What Can I Make Eyes From on my Owl
For this version, I used old lids and bottle caps. I liked the layered look because it somehow gives it depth and personality. You can use a lot of different other items for eyes, but I feel like the base should be the bottle lid. The ones used are about the size of the lid off a refrigerated frappuccino bottle.
- Bottle caps or jar lids.
- Toilet paper or paper towel rolls cut into rings.
- Buttons or snaps.
- Cardboard painted or with stickers on them.
- Cricut vinyl eyes cut and placed onto plastic or cardboard.
- Ribbon braided and wrapped into a circular shape.
- Old coasters or discarded cork pieces cut into rounds.
- Washers and bolts of various sizes.
When you are making the eyes of the owl, layer colors and textures to give the piece depth. Get creative and make it really shine through with your style and colors to match your garden. This is a great way to recycle these items that would otherwise end up in the trash.
I like the ideas above and of course, you can always go with things like googly eyes or even painted balls or foam just like I used with these decorative owls made from upcycled wood pieces.
How Can I Easily Bend the Forks?
When you are bending the forks, cheap forks work best. I found that the cheap forks from the dollar store worked great when making a lot of these. Otherwise, grab some from a local thrift shop or second-hand store. Their home goods areas almost always have boxes of utensils that are 4 for $1 or even cheaper.
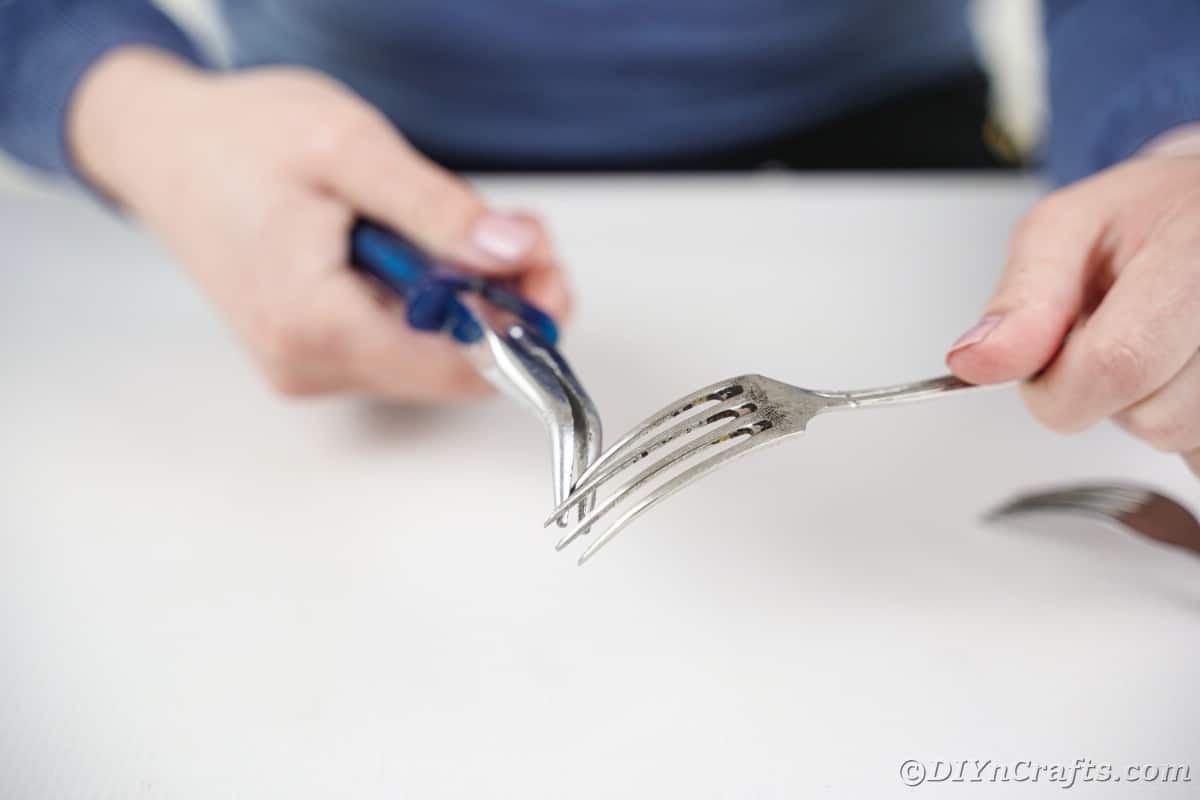
The two best ways to bend the forks are to bend against something or use pliers. You can use a large curved item like a canister or pitcher to hold and mold the rounded shape against, but the tines may need more force. That's where a pair of pliers is best to get solid grip and leverage. Just take your time to bend them slowly and be careful to not injure yourself.
What Glue is Best for Attaching Metal to Old CDs?
You can use hot glue, Gorilla Glue or super glue, or even E6000 to attach the metal to the old CDs. Do not use glue that comes off with water, like craft glue or white school glue. This is not strong enough. You definitely need something that will bind to the metal and hold it in place.
You could solder them onto the CD, but that is a bit "extra" and not at all necessary for them to stick in place. Hot glue tends to be my go-to, but you could use other options mentioned above with good success.
Where Should I Display This?
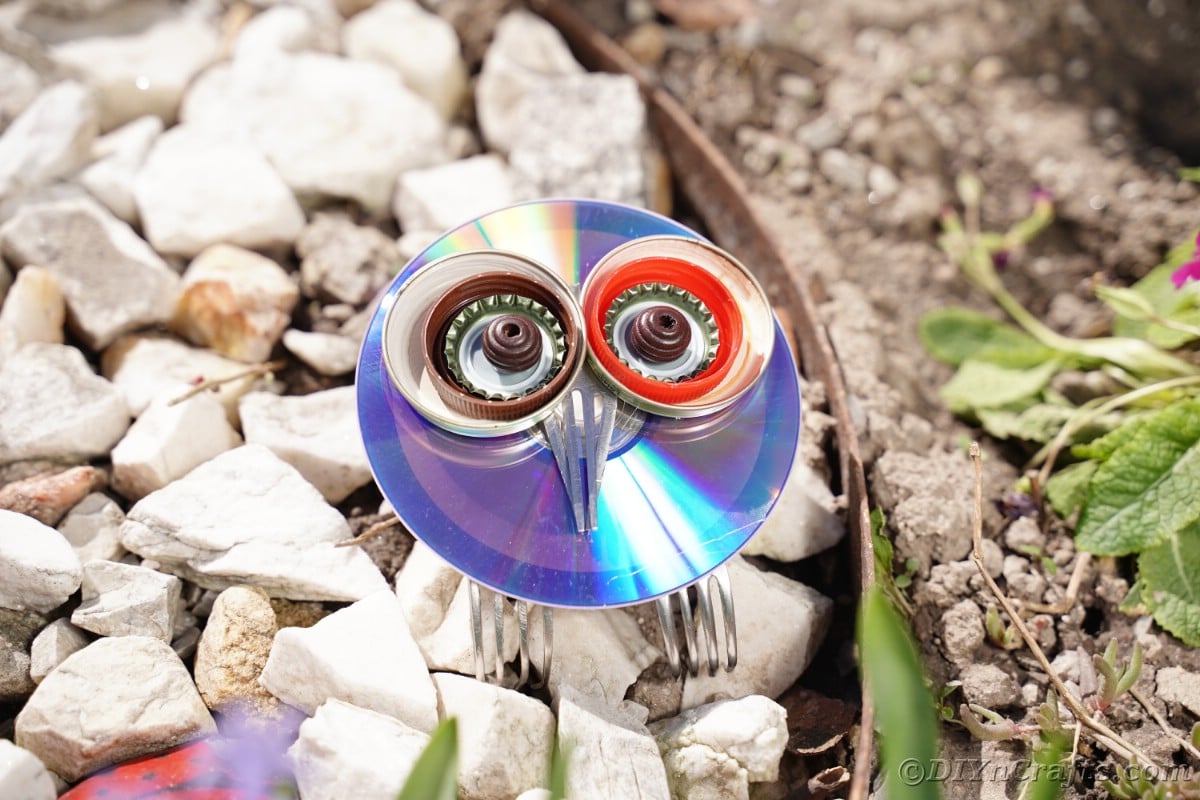
It's designed to sit outside in your garden, but you can put this anywhere. Prop it on your porch railing, sit on your back deck, place it on a bookshelf in your home or hang it on the wall as decor. What you do with your owl is up to you, but they are perfect for adding to your flower or vegetable garden.
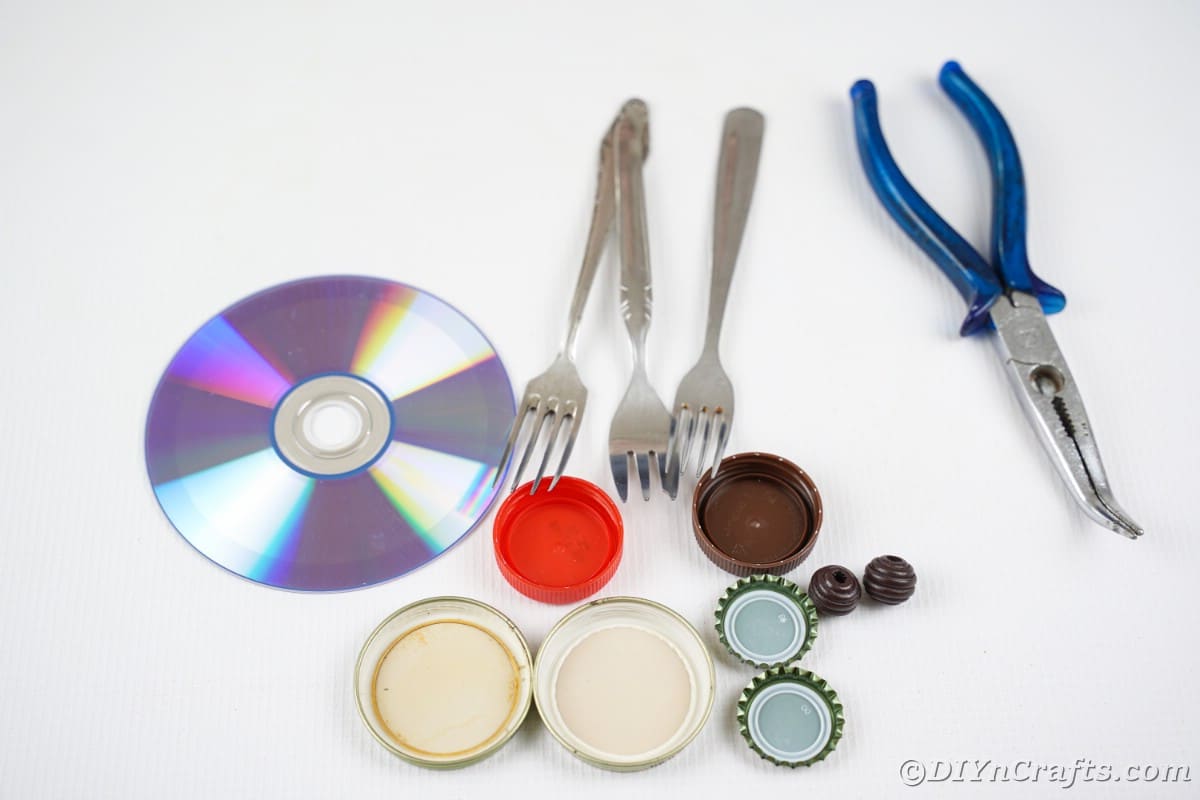
Supplies Needed
- Old CDs or DVDs
- Forks
- Large, medium, and small bottle caps or lids
- Spout from a bottle or stacked buttons
- Pliers
- Hot glue gun
- Hot glue stick or hot glue rope
How to Make an Owl Garden Decoration from an Old CD
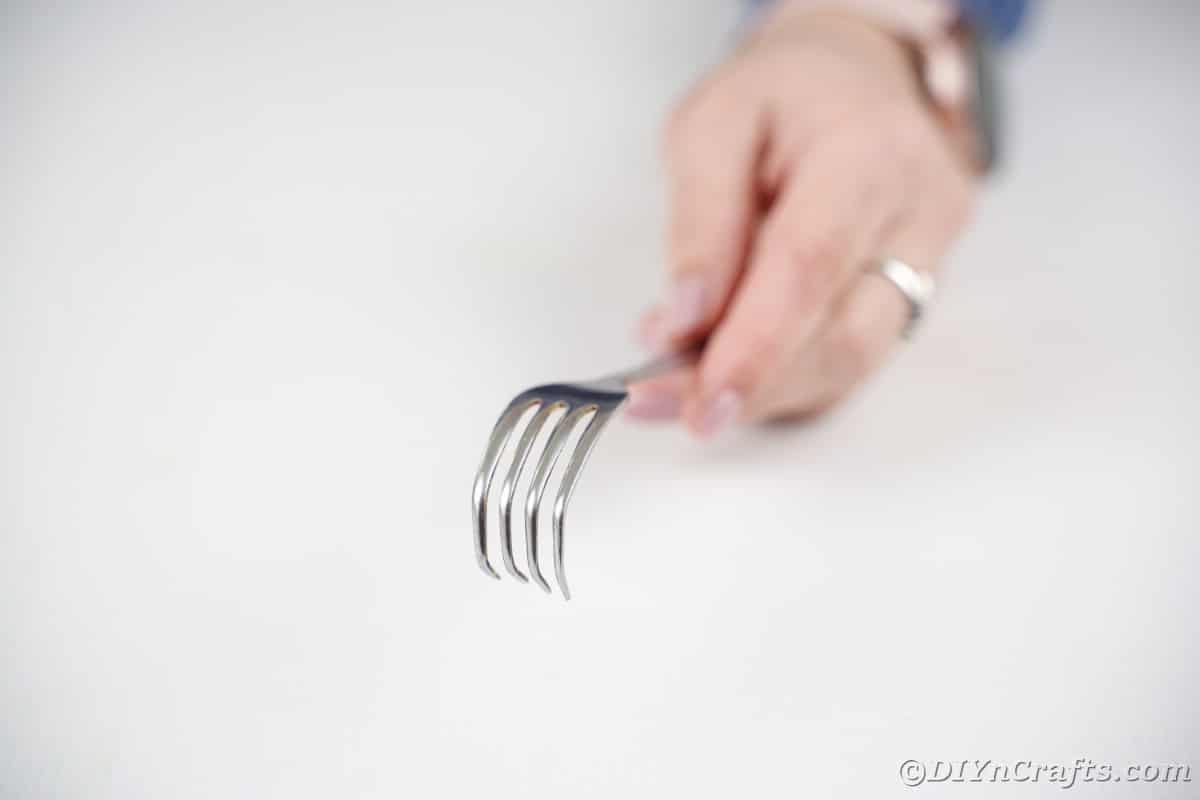
Using pliers, carefully bend the tines of two of the forks until they are curved downward.
Once slightly bent, you can grab all of the tines together with pliers and curve them into the same position so they are in the same direction.
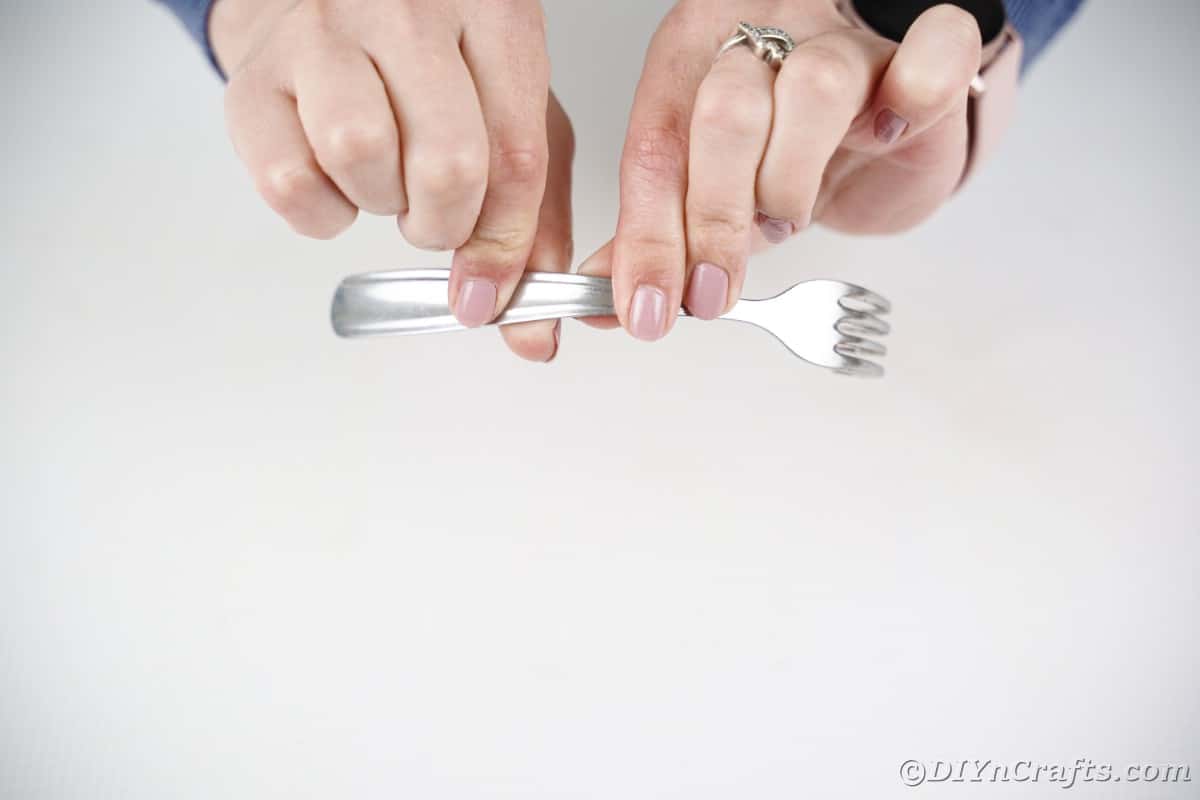
Bend the fork handle into a curve and set those aside.
Cut off all but the head of the third fork, and use pliers to pull the tines together to form a smaller pointed tip.
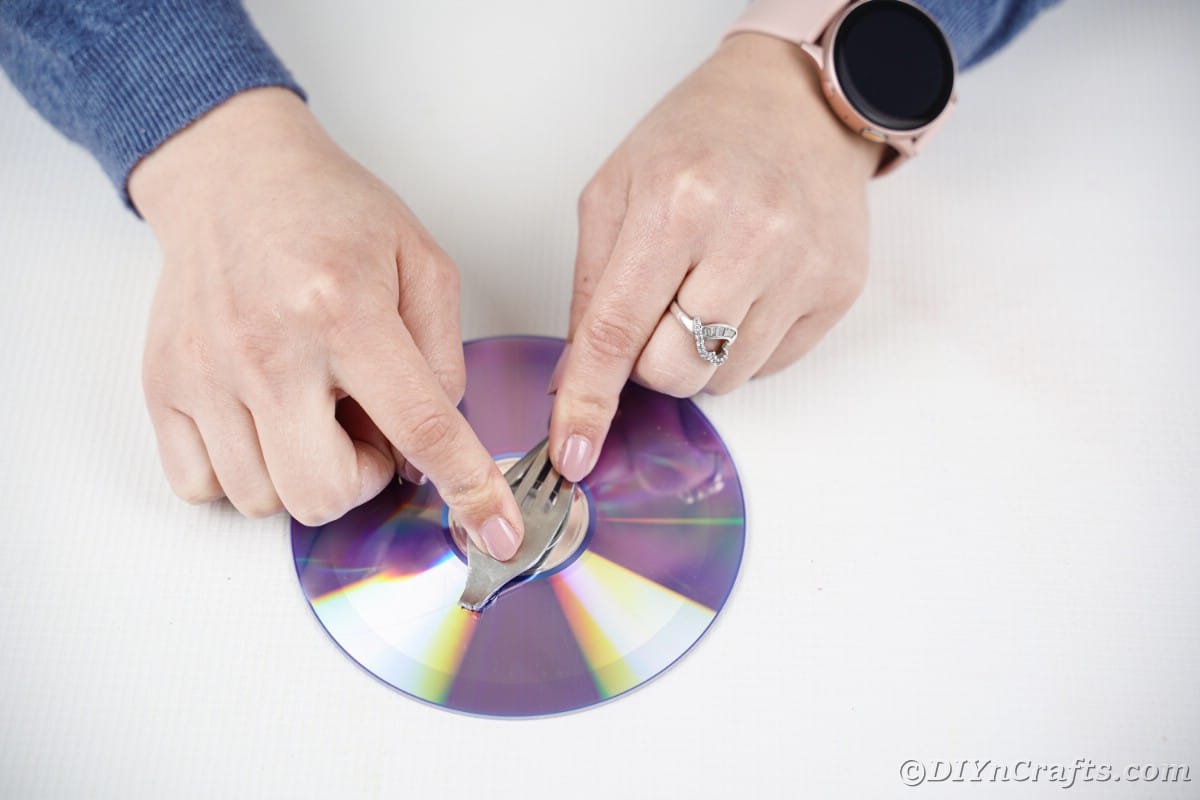
Using hot glue, attach the forkhead to the center of the CD.
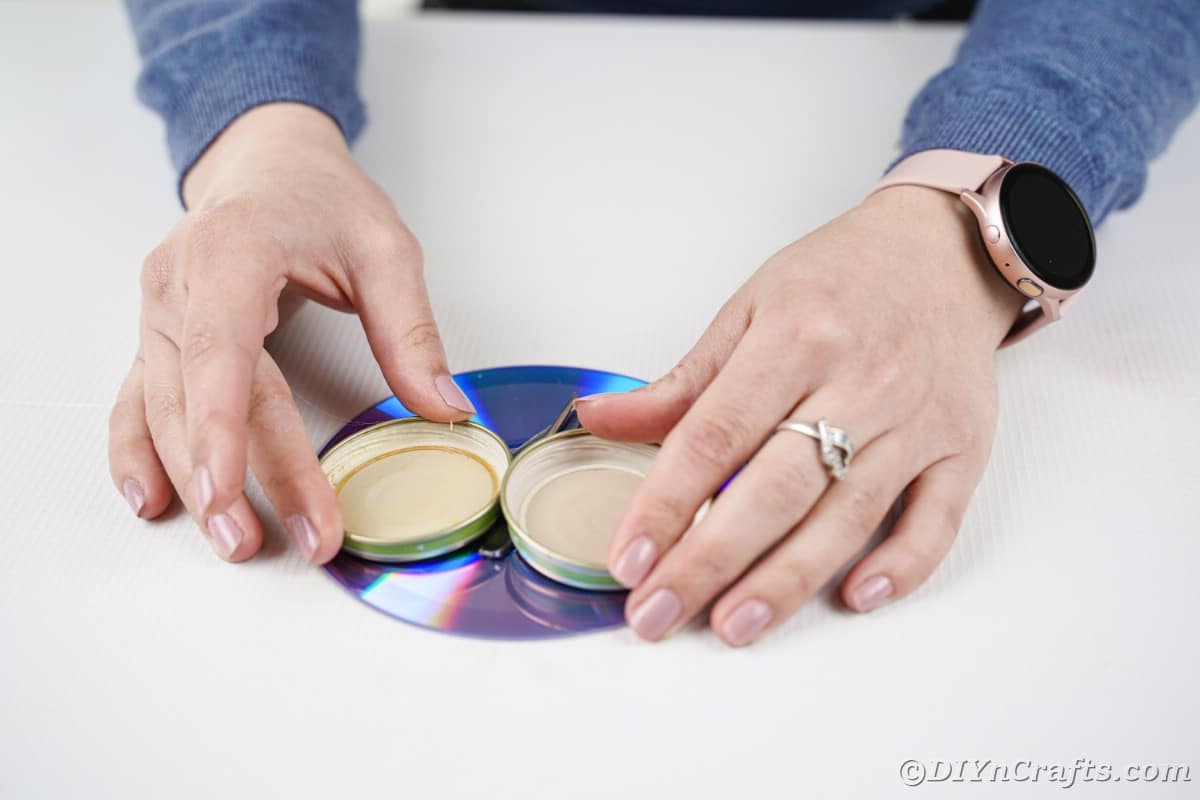
Add glue to the bottom (former top), of the two largest lids.
Glue the lids onto the CD so they cover the end of the fork but leave the tines showing.
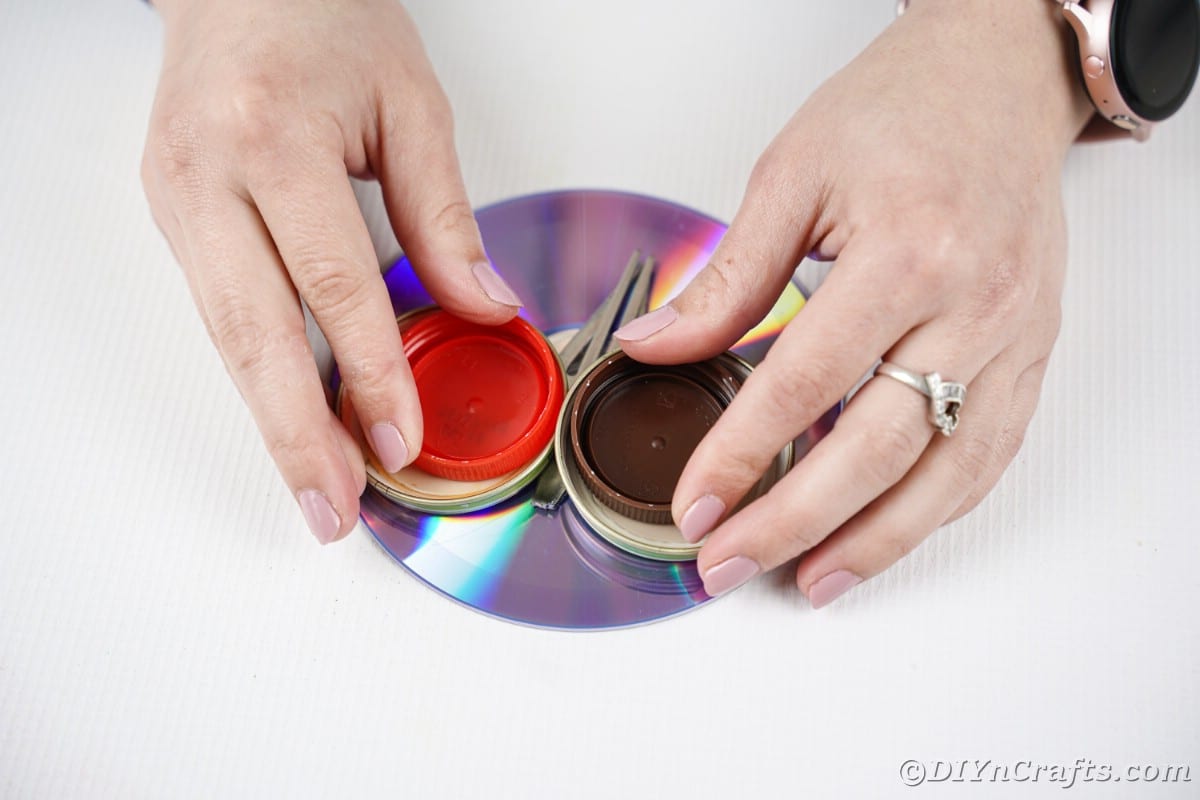
Attach the two medium lids inside the large.
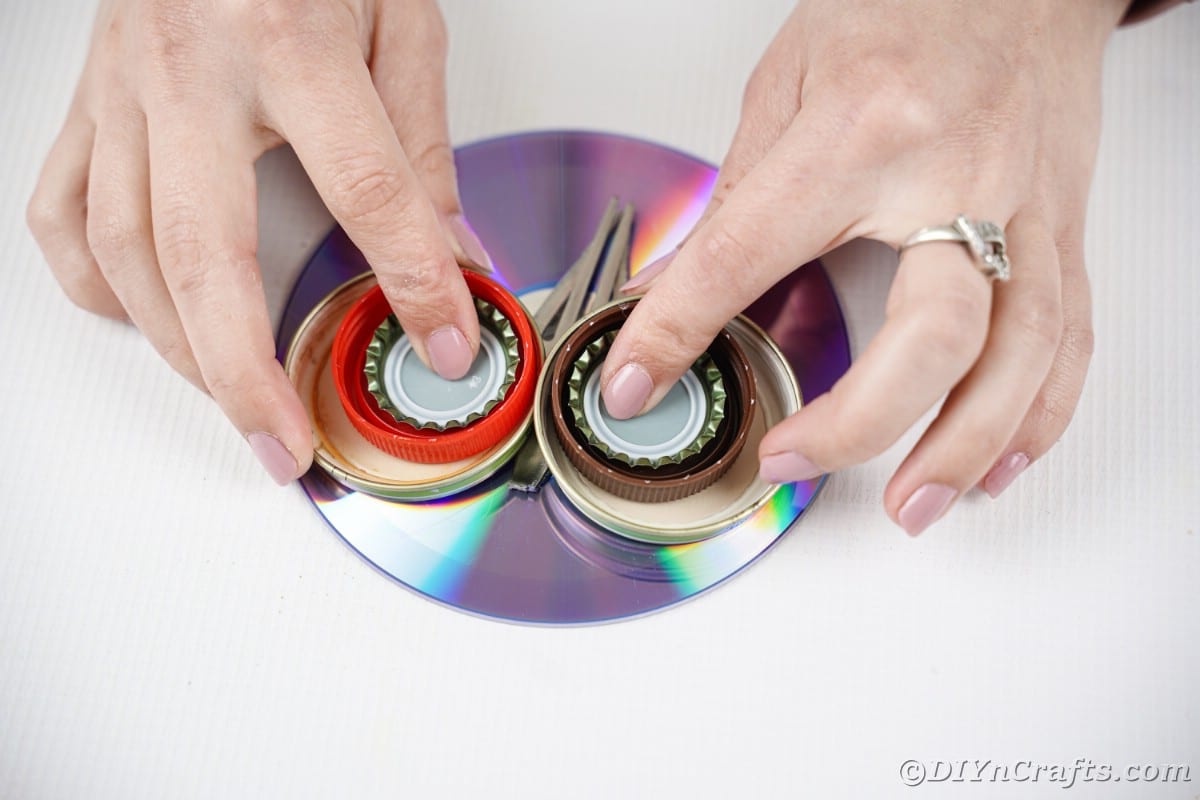
Then bottle caps into the medium lids.
Finally, glue on the spouts or stack of buttons in the center of the bottle cap.
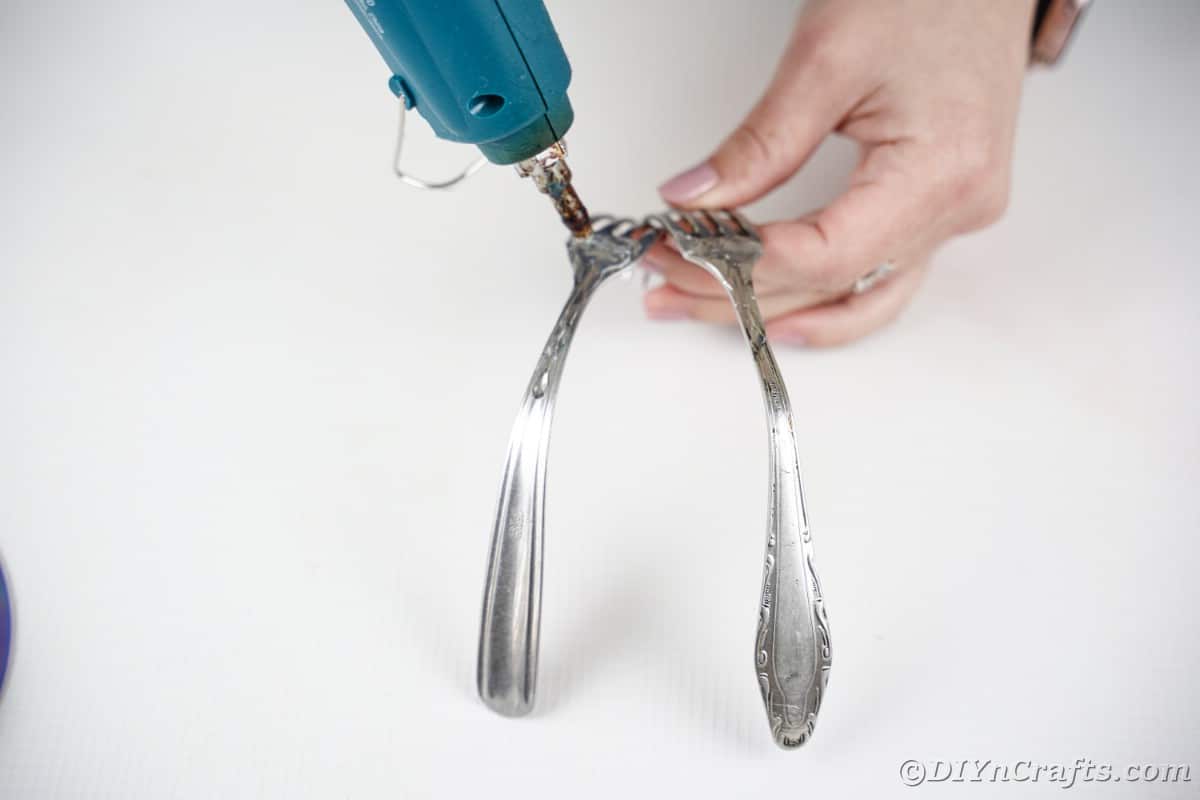
Glue the two curved forks onto the back of the CD so that the tines are facing downward below the face and will hold up the owl.
Now you can add this to your garden or porch as a fun little decoration!
More Upcycled CD Crafts
If you have a bin or bag of old CDs or DVDs with scratches on them that you just planned to throw away - don't! Instead, grab them and get started making fun crafts instead! Below are some of my favorite projects that feature these old discs at the base. They are so handy and totally free if already on hand!
- Upcycled CD Coffee Bean Coaster
- Old CD Pincushion Basket
- Decorative Upcycled Old CD or DVD Curtain Holder
- Upcycled Old CD or DVD Pocket Wall Organizer
- DIY Old CD/DVD Moon and Sun Baby Room Decoration
- Upcycled CD and Tin Can Wind Chime
Whimsical Upcycled CD Owl Garden Decoration
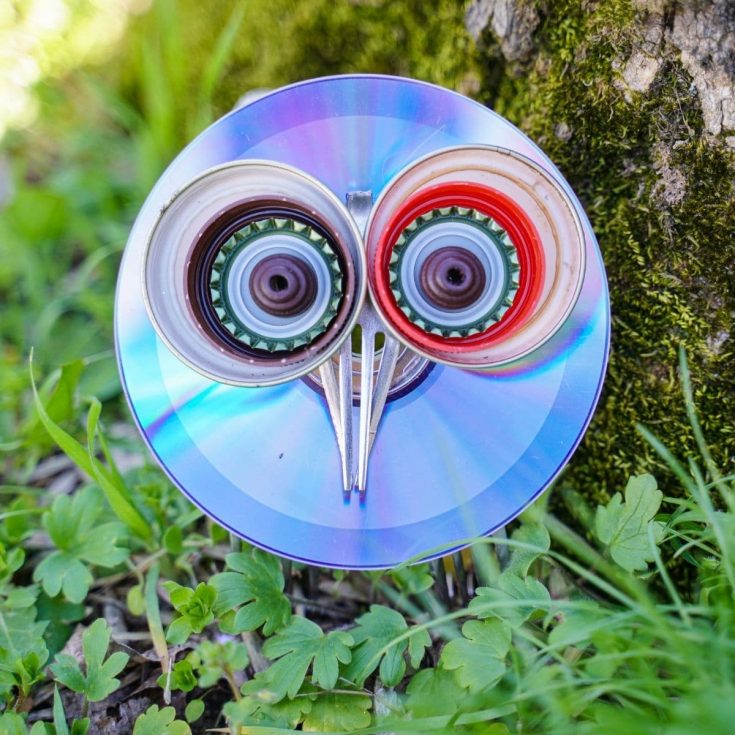
Grab an old CD and some bottle lids and make this adorable little owl garden decoration! A perfect addition to any flower bed or to your back deck!
Instructions
- Using pliers, carefully bend the tines of two of the forks until they are curved downward.
- Bend the fork handle into a curve and set those aside.
- Cut off all but the head of the third fork, and use pliers to pull the tines together to form a smaller pointed tip.
- Using hot glue, attach the forkhead to the center of the CD.
- Add glue to the bottom (former top), of the two largest lids.
- Glue the lids onto the CD so they cover the end of the fork but leave the tines showing.
- Attach the two medium lids inside the large.
- Then bottle caps into the medium lids.
- Finally, glue on the spouts or stack of buttons in the center of the bottle cap.
- Glue the two curved forks onto the back of the CD so that the tines are facing downward below the face and will hold up the owl.
- Now you can add this to your garden or porch as a fun little decoration!
Notes
Attach these to a garden steak so they hover over your flower beds for a different look.
Recommended Products
As an Amazon Associate and member of other affiliate programs, I earn from qualifying purchases.
-
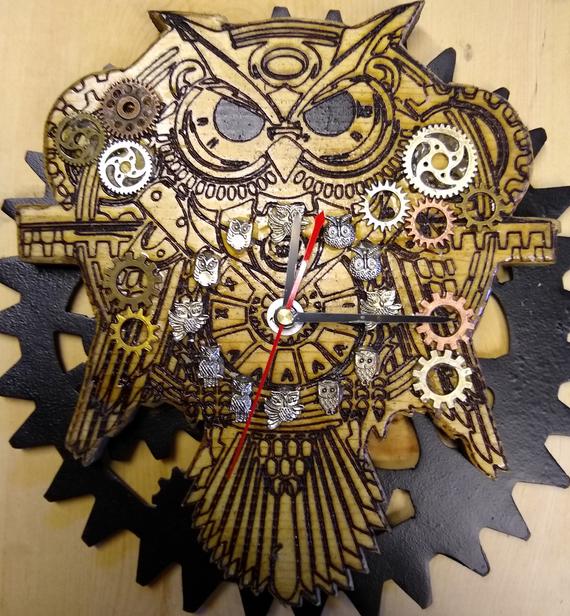 Owl Steampunk Clock | Etsy
 -
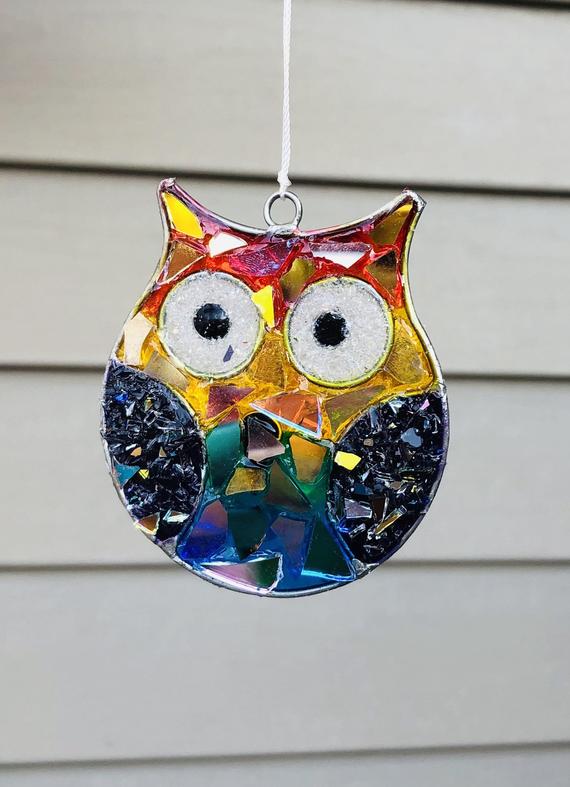 Owl.. owl SunCatcher.. blingthingzbylori.. garden art .. | Etsy
 -
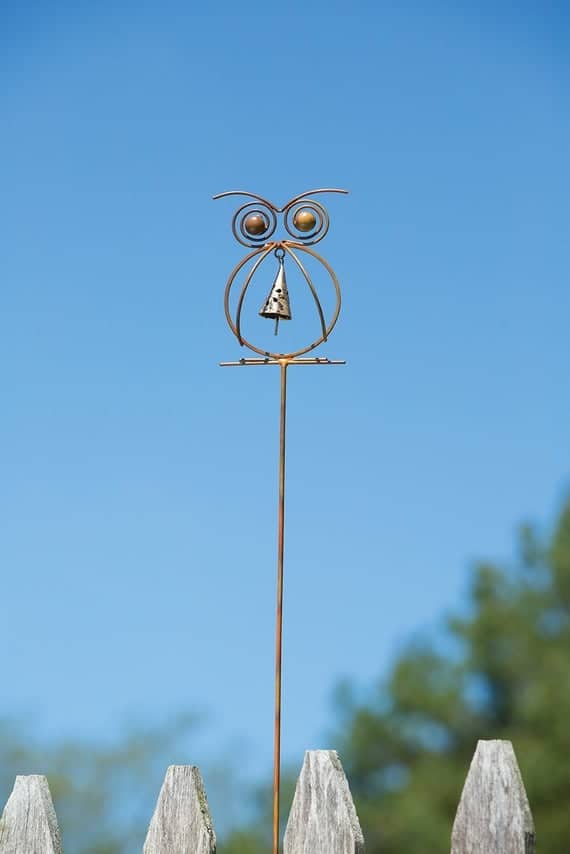 Owl with Bell Garden Stake Owl Lover Gift Garden Decoration | Etsy
 -
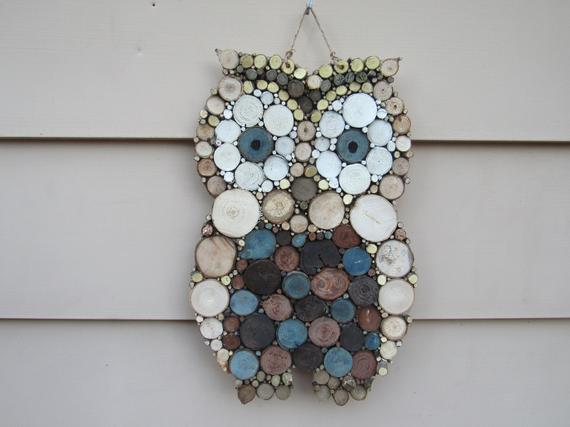 Outdoor Safe Large Handmade Wooden Mosaic Owl Wall Art with a | Etsy
 -
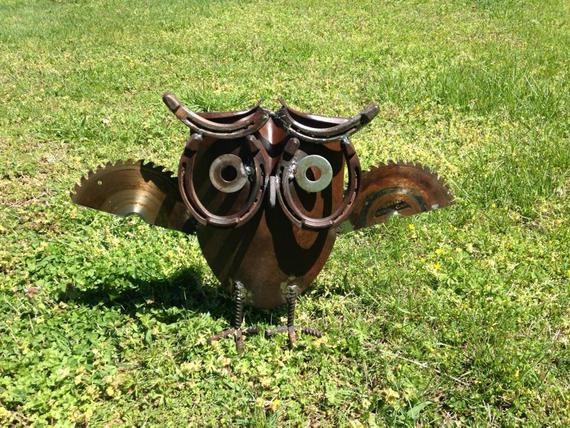 LARGER VERSION: Reduced Shipping Rustic Metal Owl Garden | Etsy
 -
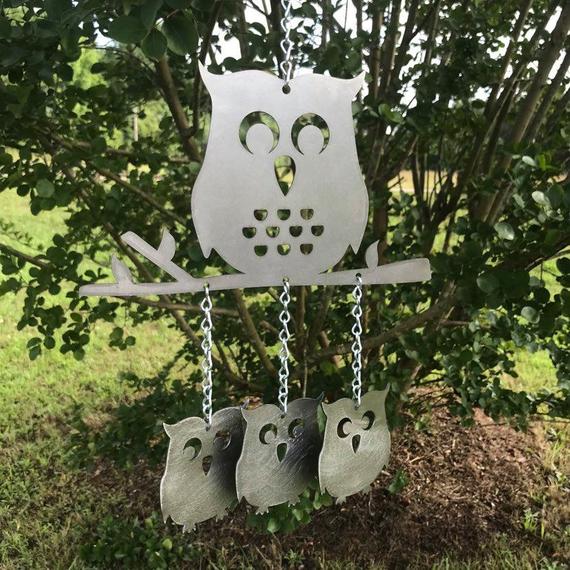 Owl Wind Chime Metal Owl Decor Metal Owl chime | Etsy
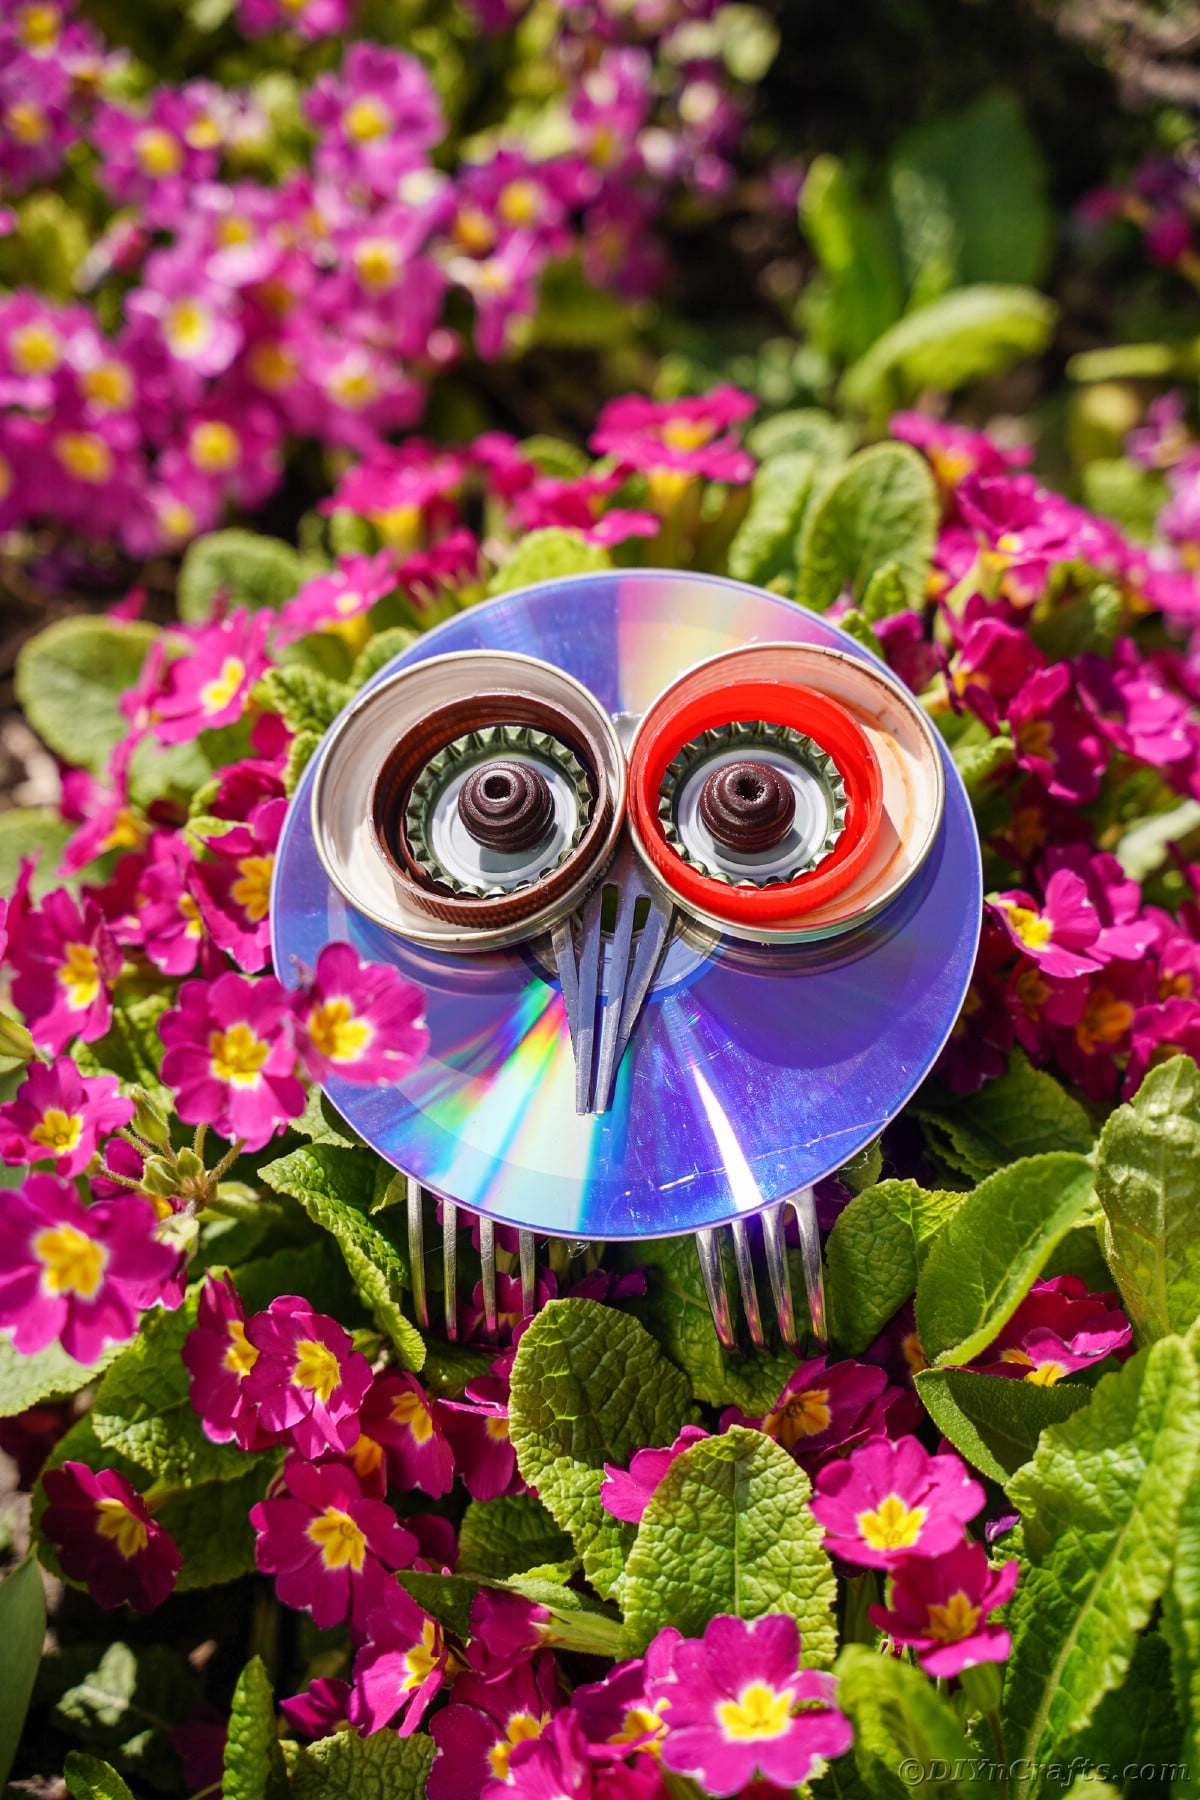
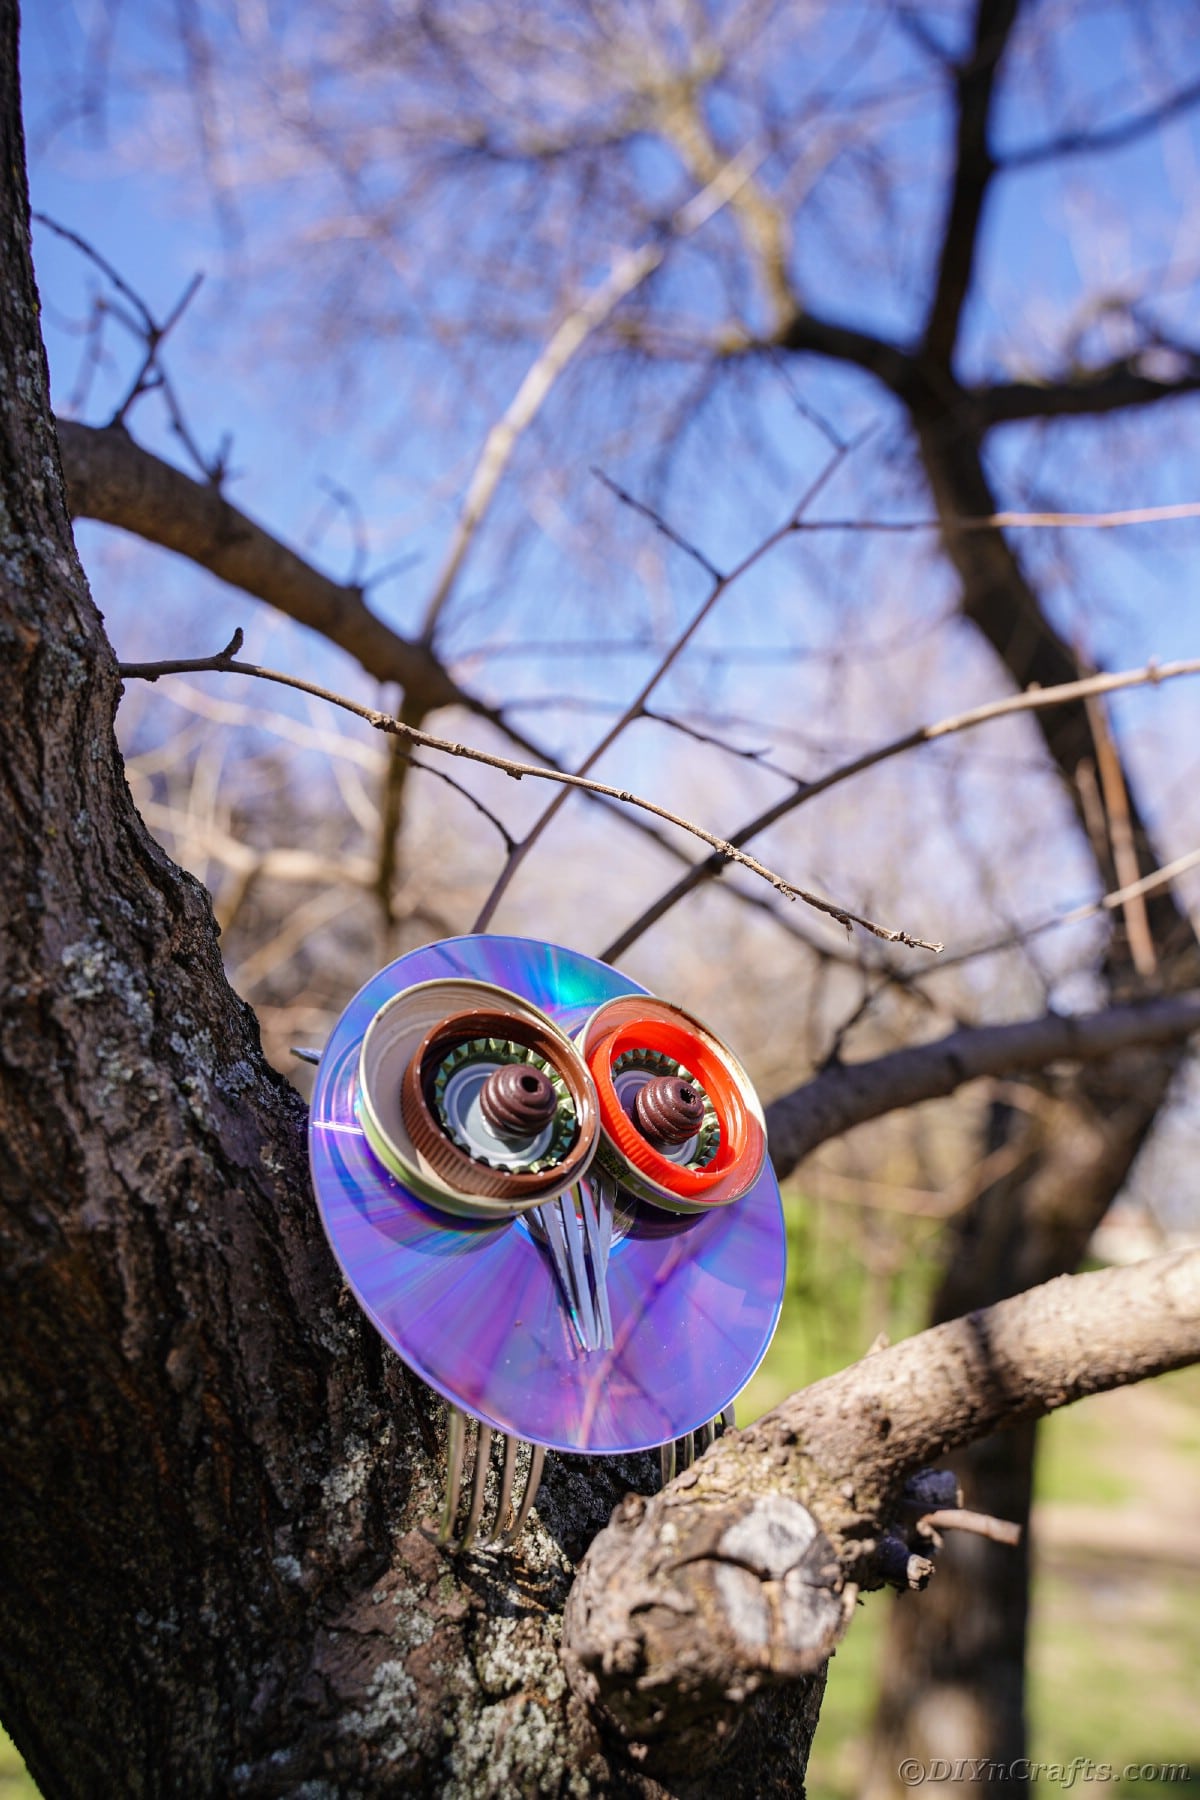
You can also place this in your garden around flower beds.
Or prop it up on the deck or in a tree.
It is a beautiful decoration that is easy to make and looks awesome in your garden or as part of your home decor.




Leave a Reply