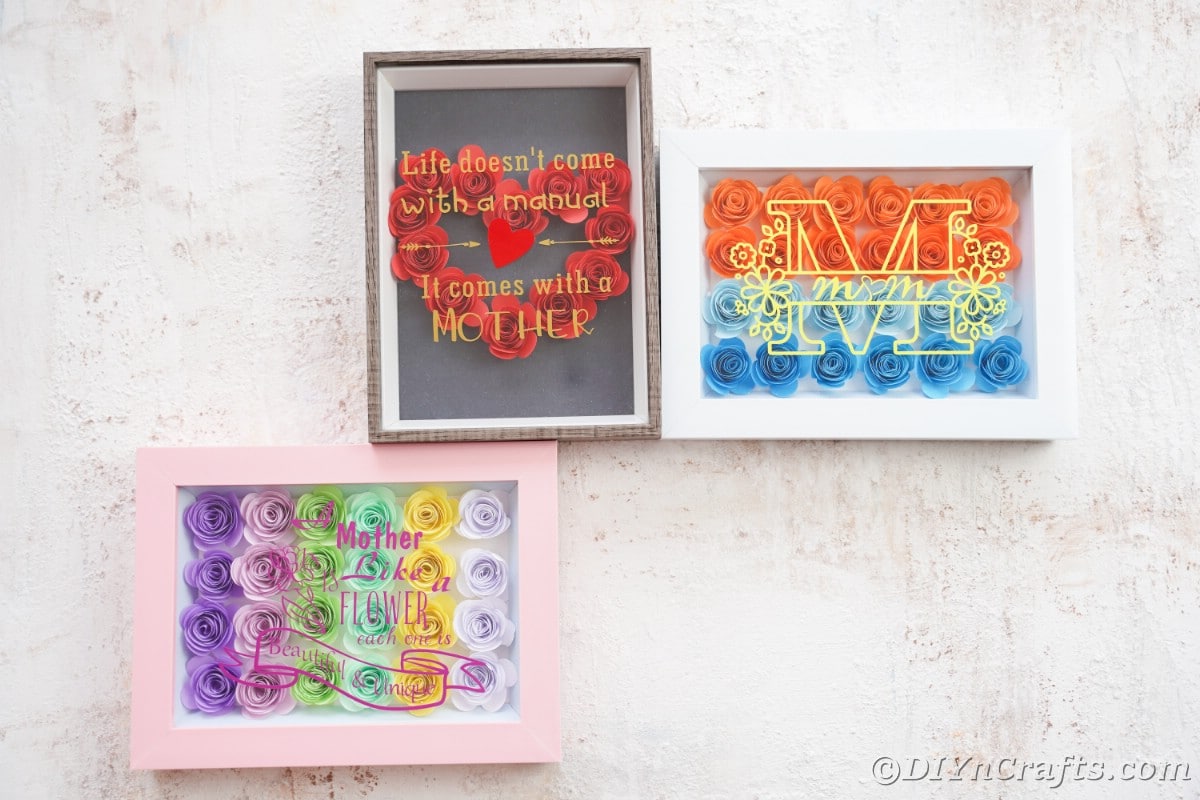
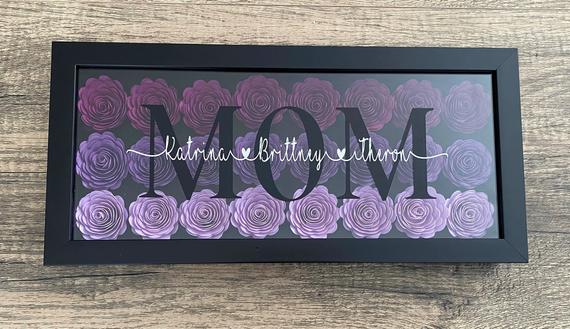
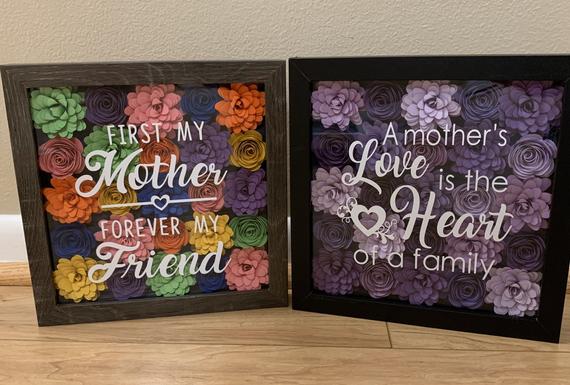
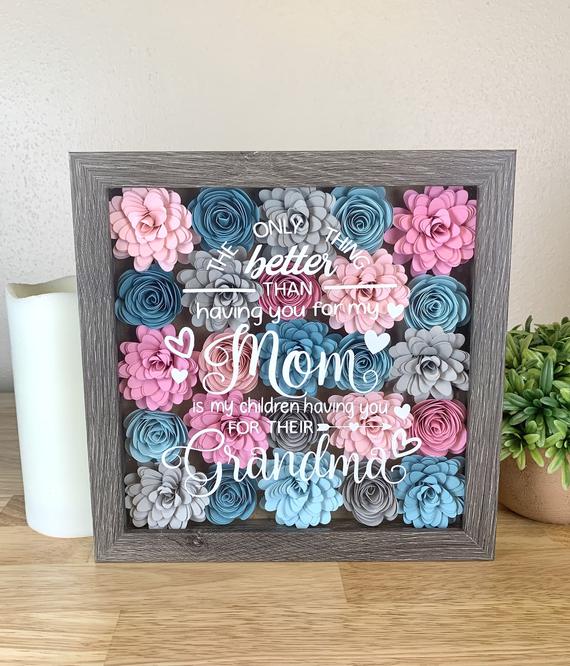
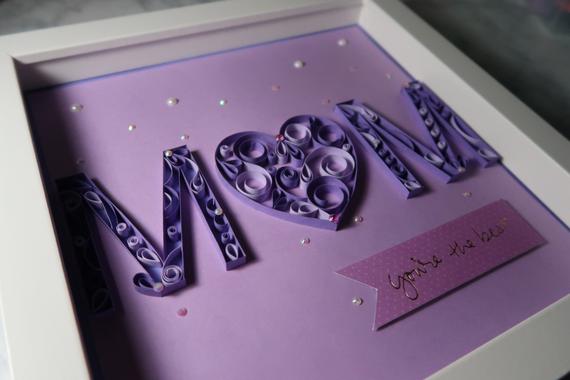
This year, celebrate your mom with a lovely gift she can display year-round. This set of Cricut Mother's Day floral shadowbox ideas is a perfect place to start! With three unique designs and sayings to choose from, you will be able to customize a shadowbox that your mother will absolutely love receiving.
Cricut Mother's Day Floral Shadowbox
Mother's Day is a different day every year, and even different times of the year in different countries, but typically, it is in springtime and is a wonderful way to show mom you love her. Making something like this little Cricut message shadowbox gives a gift that looks expensive but is actually totally handmade and affordable.
If you have a little one underfoot that wants to help you with this, you can set them up to create this beautiful flower photo card instead. It's such a fun idea that kids can make it on their own and moms will love getting it. You can even have them help you make one of these yummy desserts for Mother's Day.
How Much Will This Flower Shadowbox Cost?
The best thing about this is that you probably have the bulk of the supplies already on hand. If you already own a Cricut, you are halfway there. Most shadowboxes are $10 to $15 for this size. The vinyl will vary depending upon what you have on hand, and copy paper or cardstock is super affordable.
This Mother's Day gift could easily be made for under $15, but definitely less than $20. A perfect affordable option that any mother would absolutely love receiving.
Can These Be Hung on the Wall?
This depends upon the type of shadowbox you choose. Most come with hangers already installed to make it easy, but if yours doesn't, you can easily pick some up. Most hardware sections in department stores and craft stores have frame hooks that can be tacked in place with little nails.
They also typically come with a stand that pops out so they can sit on flat surfaces easily. This makes it a much more versatile option for your mom to choose how and where she will display her shadowbox.
Can I Make These with Different Colors of Vinyl and Paper?
Of course! The versions shown of each of these designs used colors for the particular receiver. I like these combinations, but you can customize them with any color of vinyl or cardstock for the flowers. You could even make your own shadowbox in a different color or paint to match a theme.
This is simply an example and guide and doesn't mean you have to do it exactly as shown for it to be amazing. Follow the tips and designs and you can create a gorgeous little Mother's Day gift that you can be proud to gift.
What is the Best Cricut to Buy or Use?
The model shown in this tutorial is the Cricut Maker. However, you can easily make this using the Cricut Explore Air 2 or the Cricut Joy. Some older versions may also work with the Cricut Design Space and be able to utilize these designs.
The choice of Cricut you buy depends upon your needs. If you plan to make larger projects or cut through thicker items like leather or even wood, then you will definitely want to invest in the Cricut Maker. For those who are only going to do smaller projects and won't need the full mat to cut items, a Cricut Joy may be a better option. The Cricut Explore Air 2 is between the two and is ideal for the everyday user.
Supplies Needed
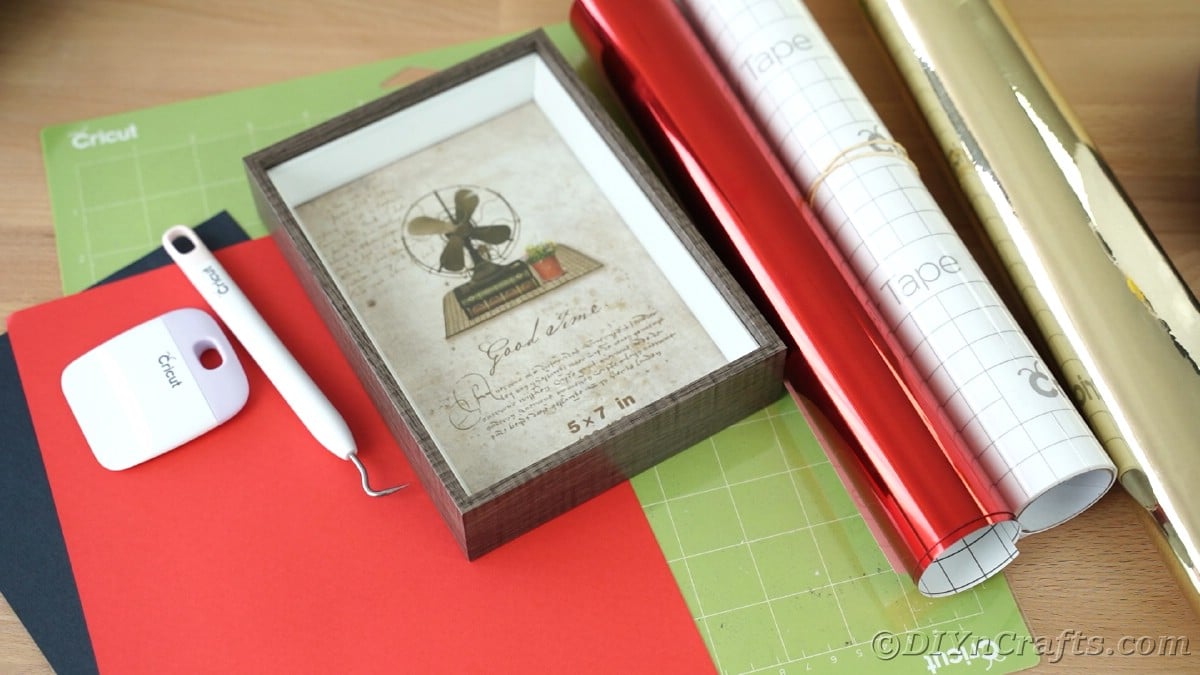
- Cricut Explore Air 2, Cricut Maker, or Cricut Joy
- Light mat or standard grip mat
- Transfer tape
- Deep tip blade and housing
- Weeding tool
- Scraper tool
For Design #1
For Design #2
- White shadowbox
- Orange cardstock or paper
- Medium blue cardstock or paper
- Light blue cardstock or paper
- Yellow vinyl
- Cricut Design Space SVG designs
For Design #3
- Pink shadowbox
- Medium purple cardstock or paper
- Light purple cardstock or paper
- Pastel purple cardstock or paper
- Light green cardstock or paper
- Mint green cardstock or paper
- Yellow cardstock or paper
- Purple vinyl
- Cricut Design Space SVG designs
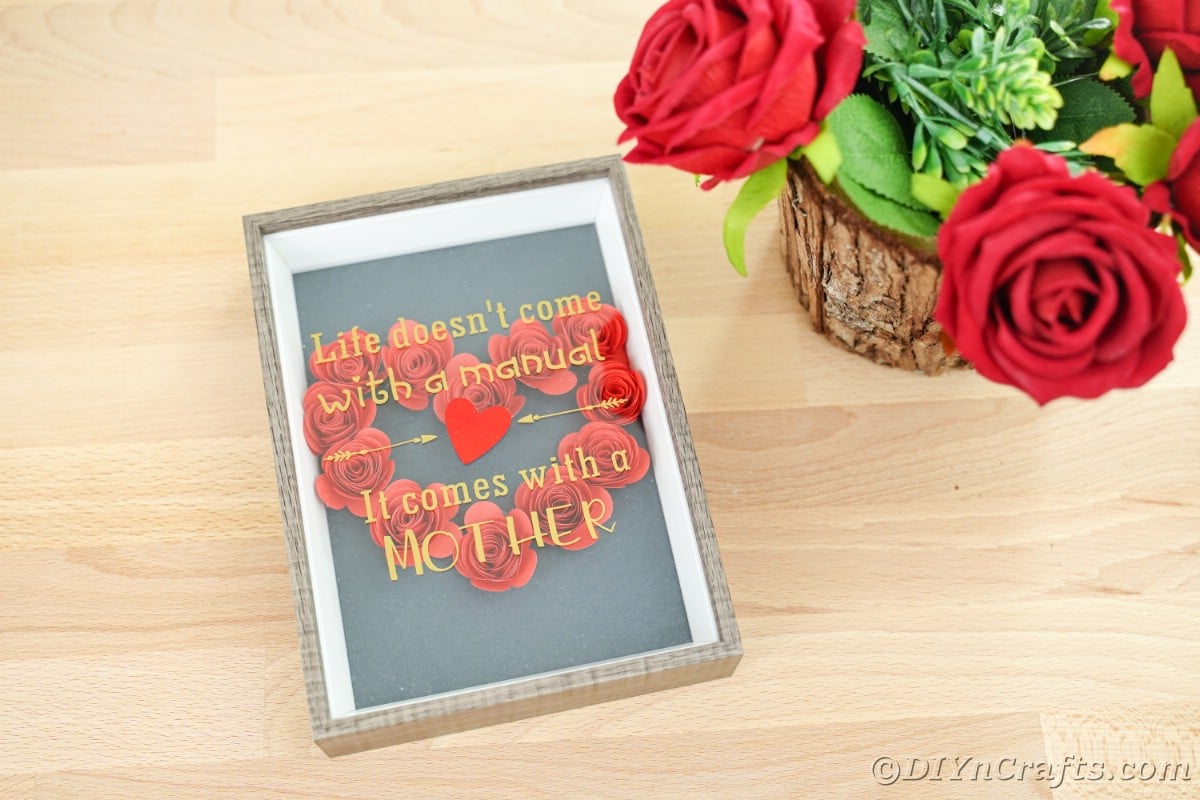
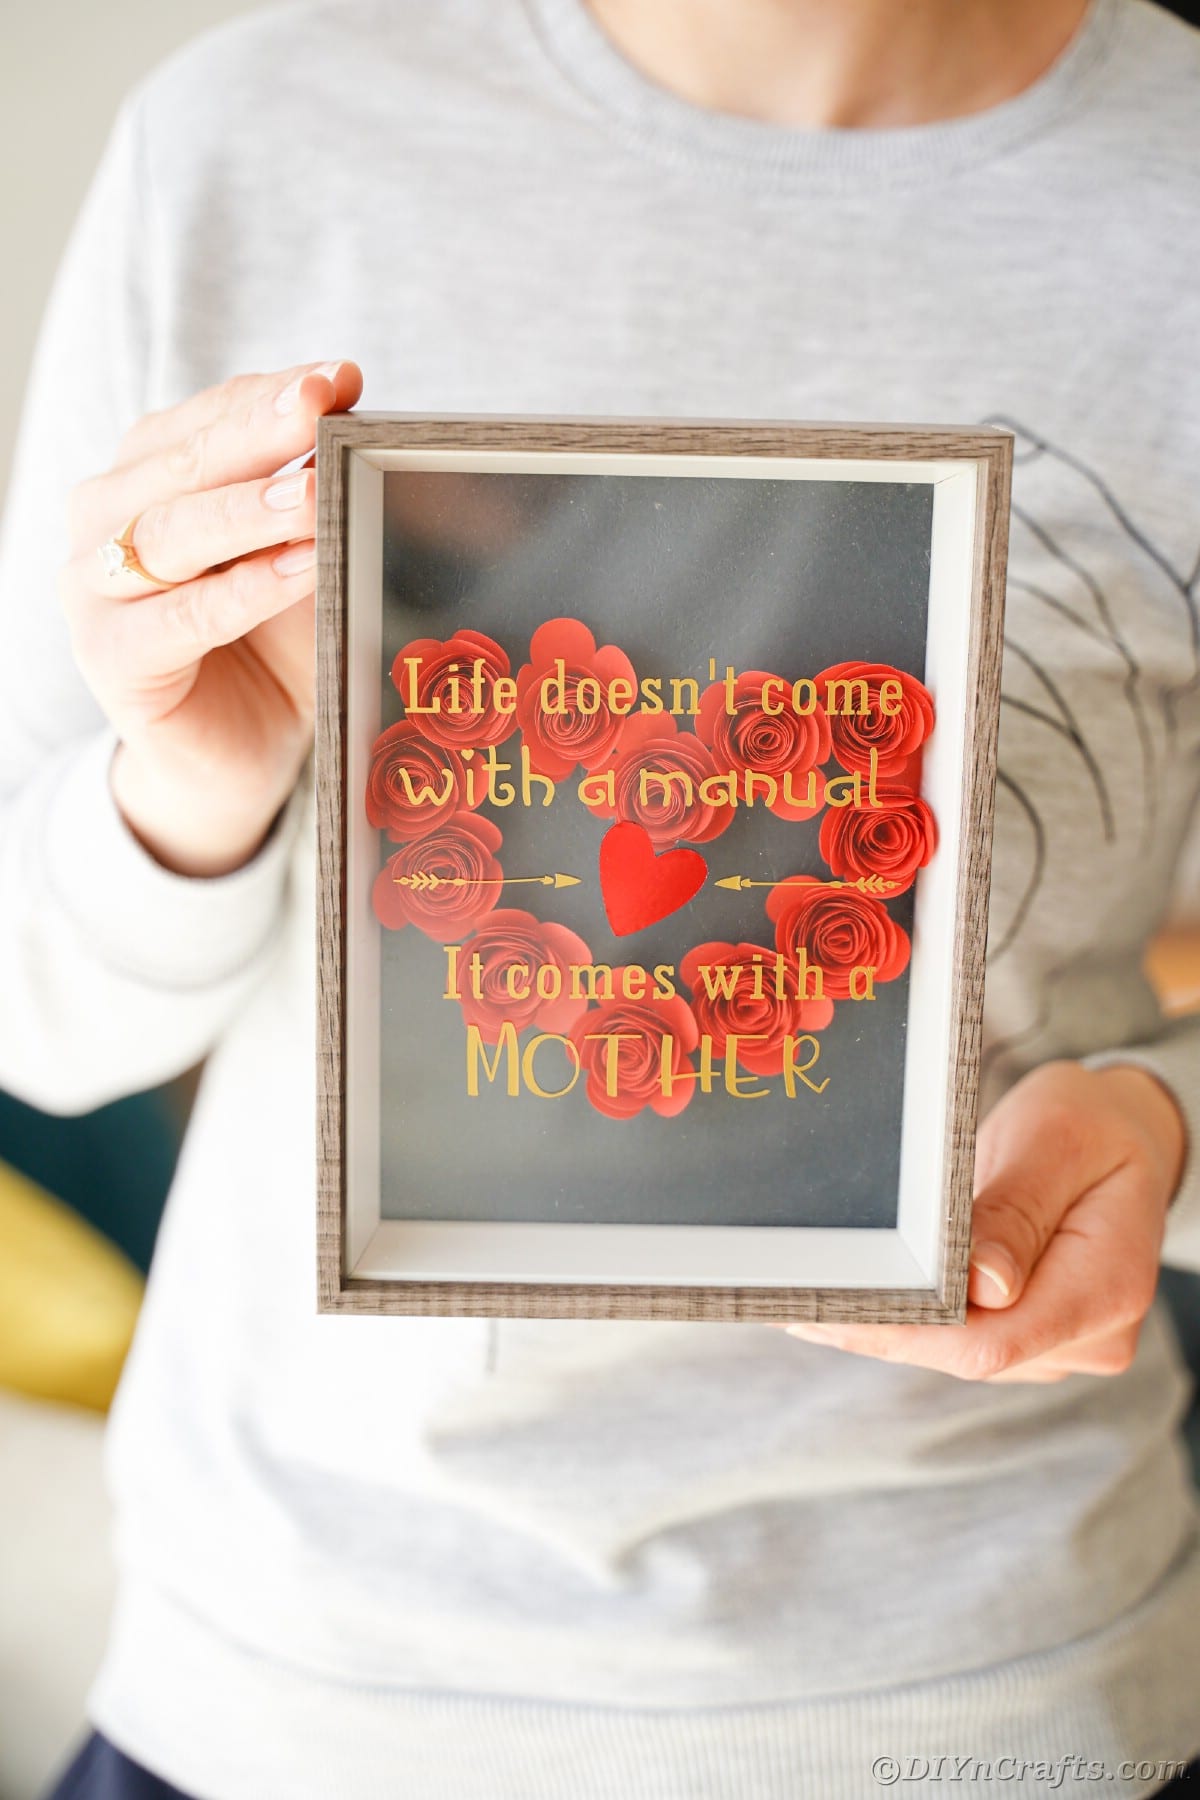
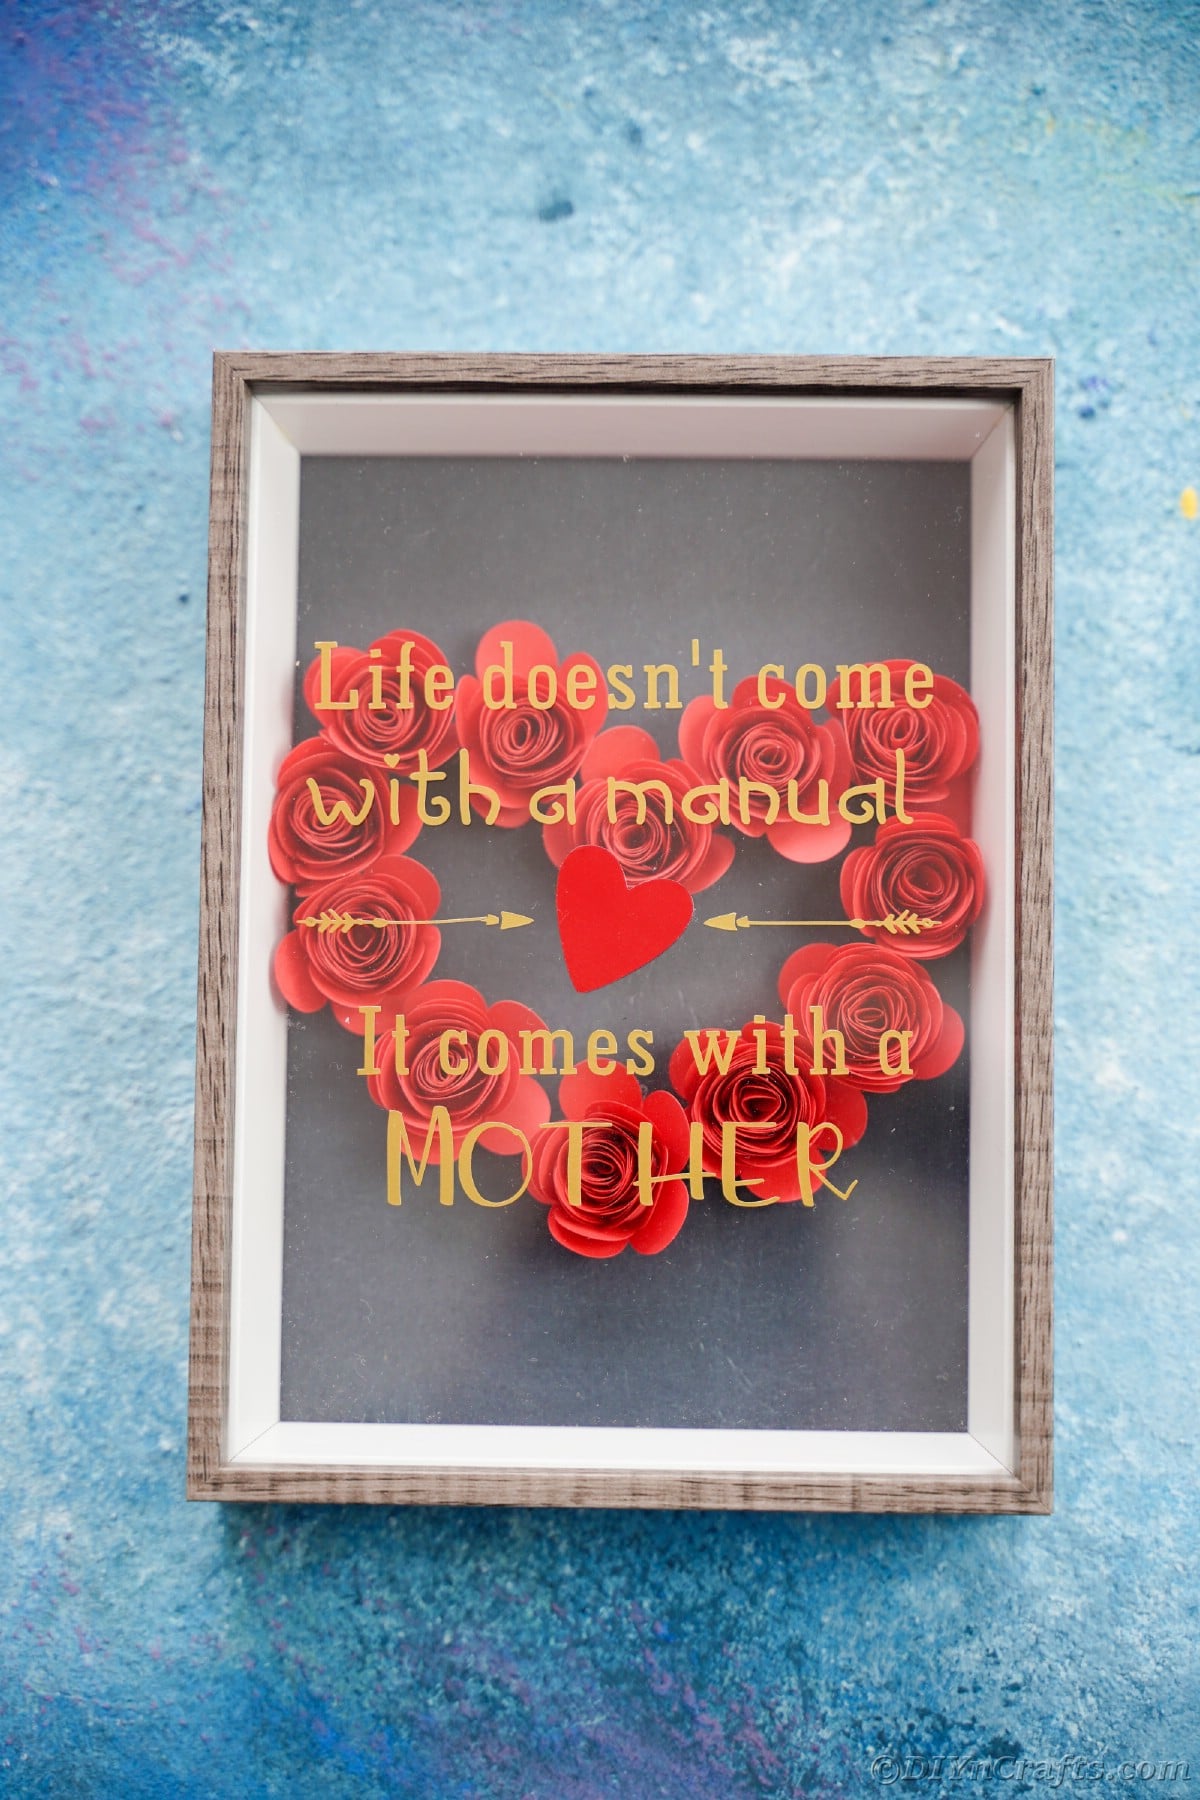
How to Make "Life Doesn't Come with a Manual" Shadowbox
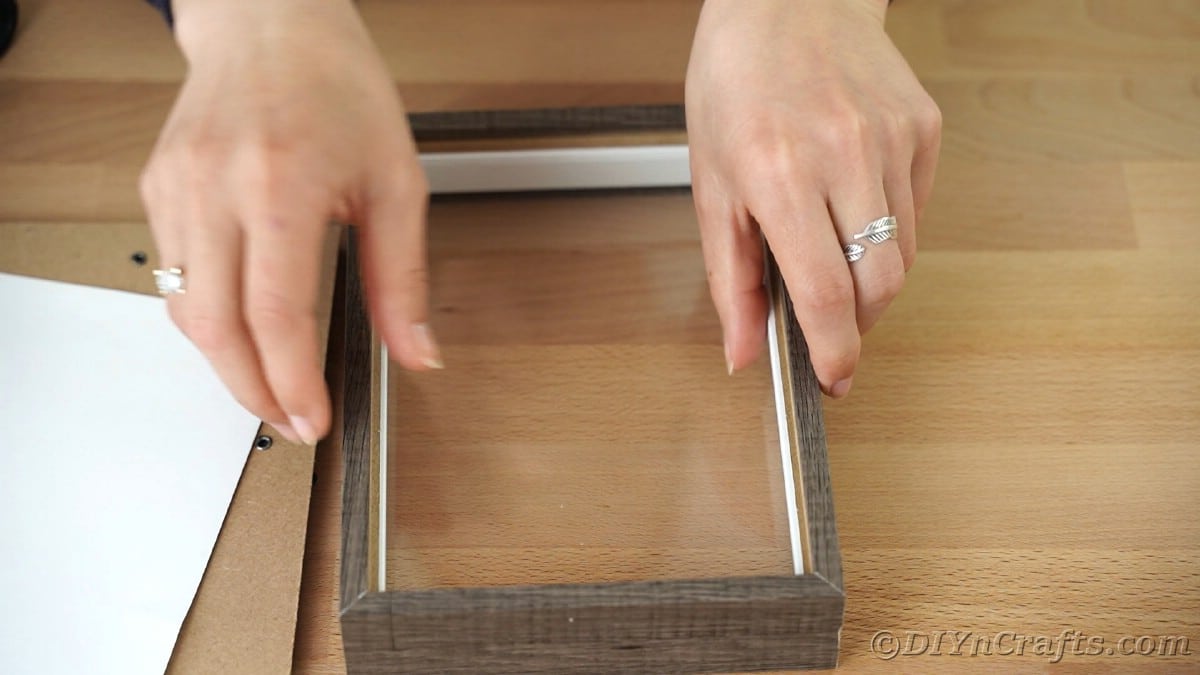
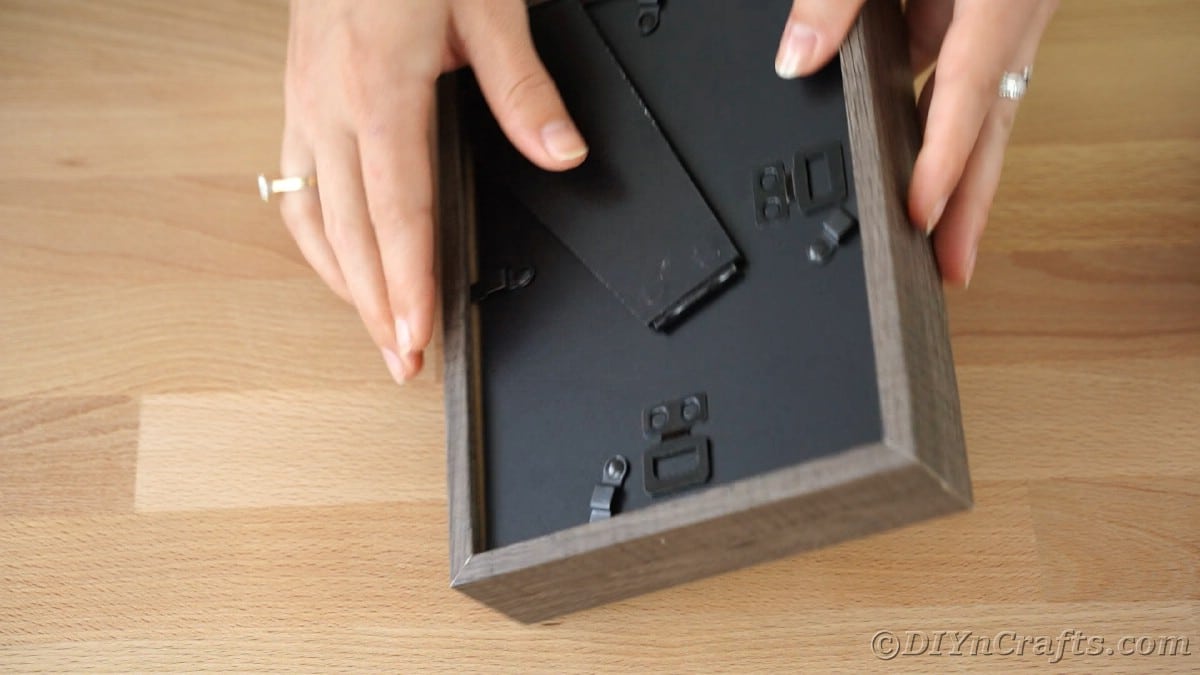
Remove the back from the shadowbox along with any images or paper inside. Place the cardboard backing on the workspace.
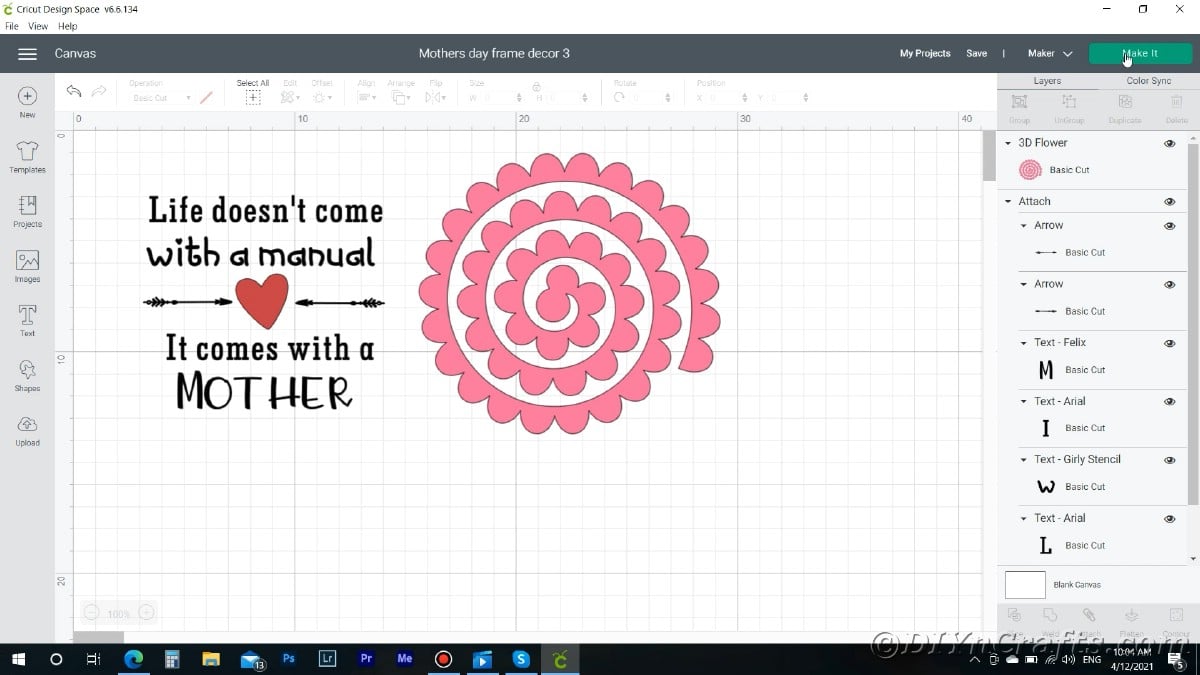
Load designs into Create Space as shown and choose to create.
Place the blade in its housing into the open space on the Cricut as the manufacturer directs.
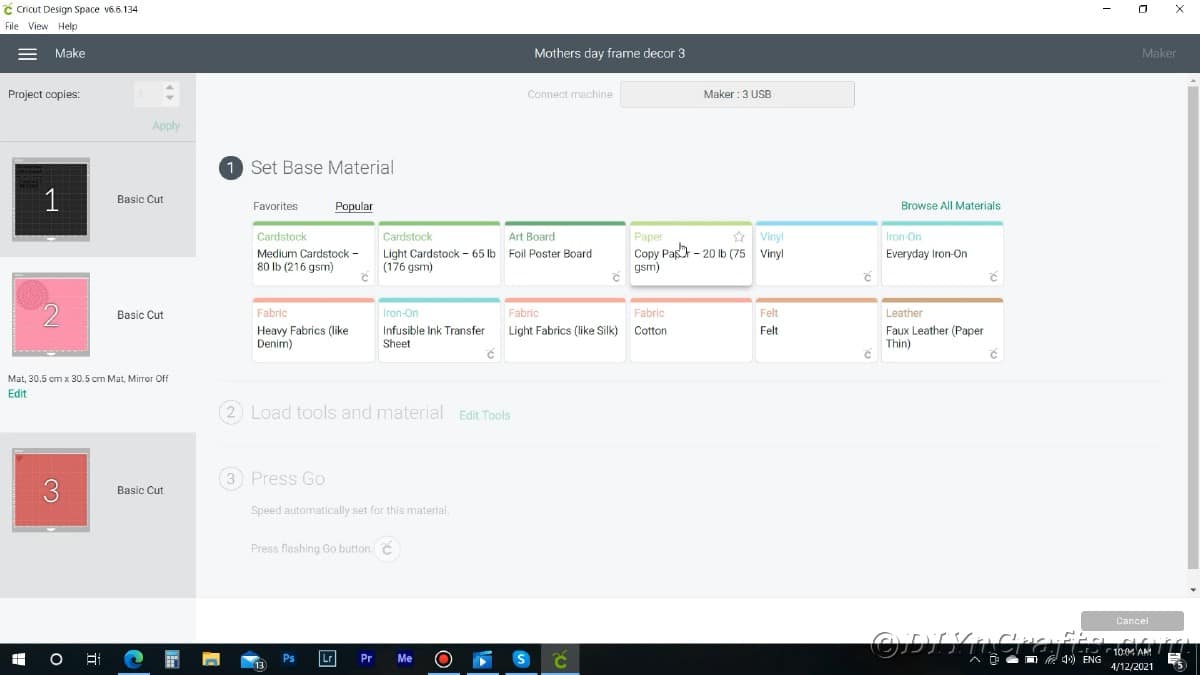
Follow the directions on the screen to choose the type of paper or vinyl that you are using so the blade cuts the material correctly.
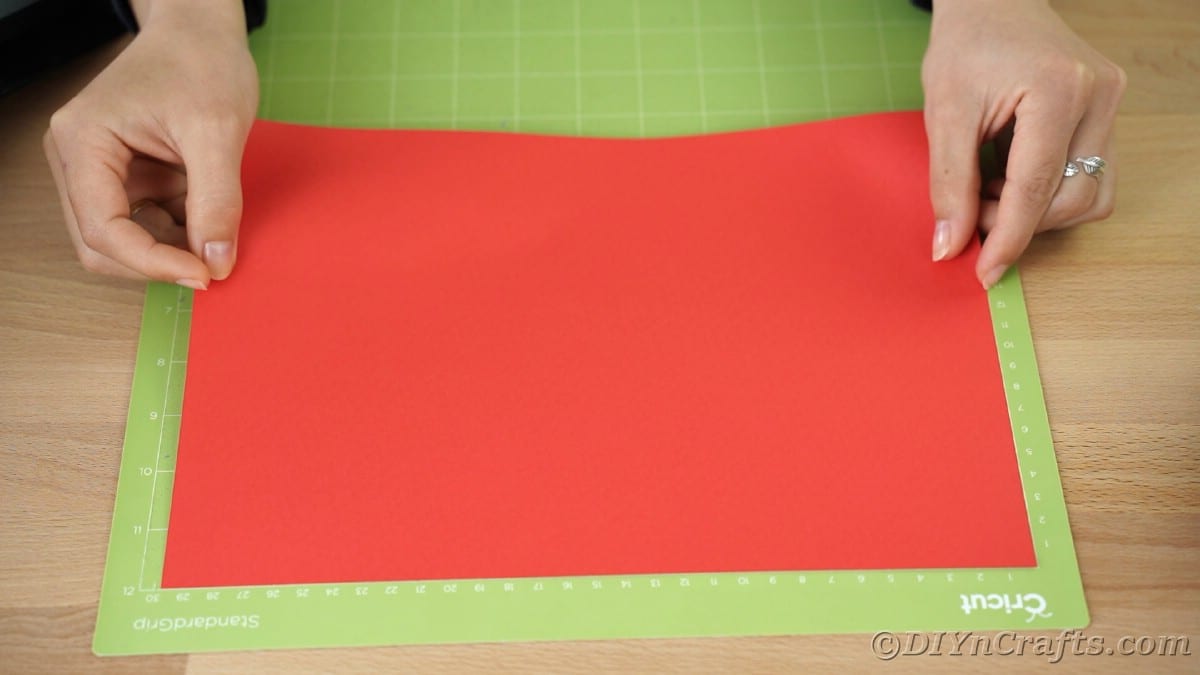
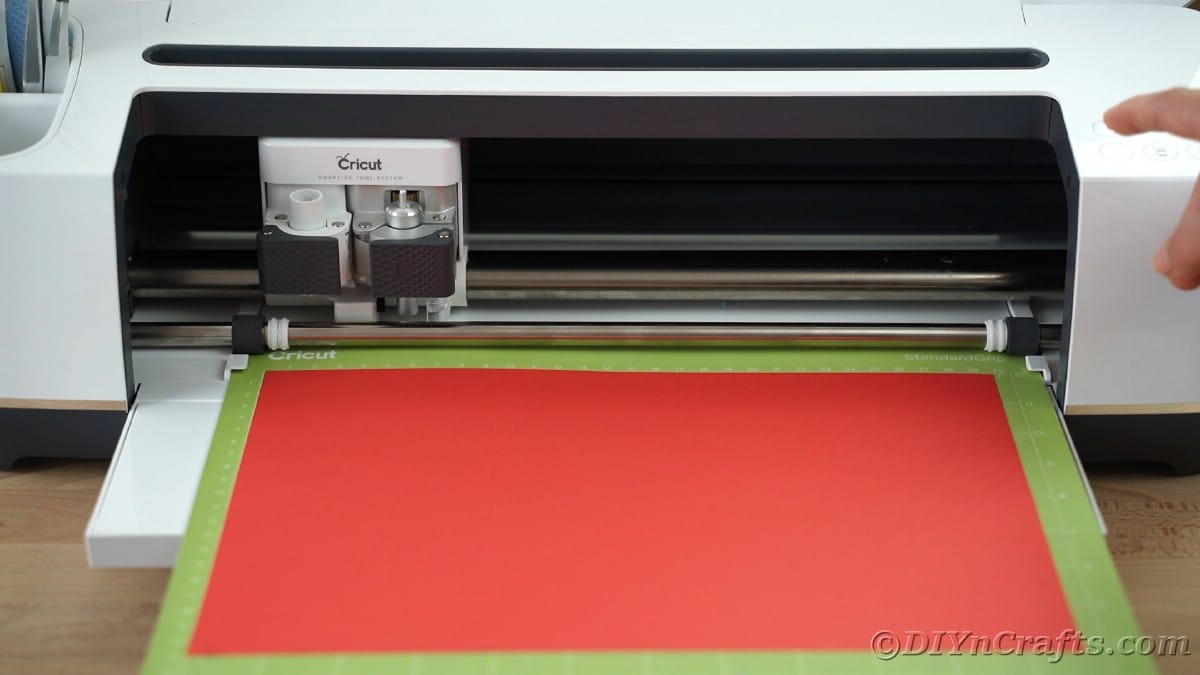
Place the red paper onto the light or standard grip mat and smooth.
Then place it under the blade and follow directions to hit the button for the mat to be pulled under the roller.
Press create and wait for the flower to be printed. Repeat this process if needed to make 11 flowers.
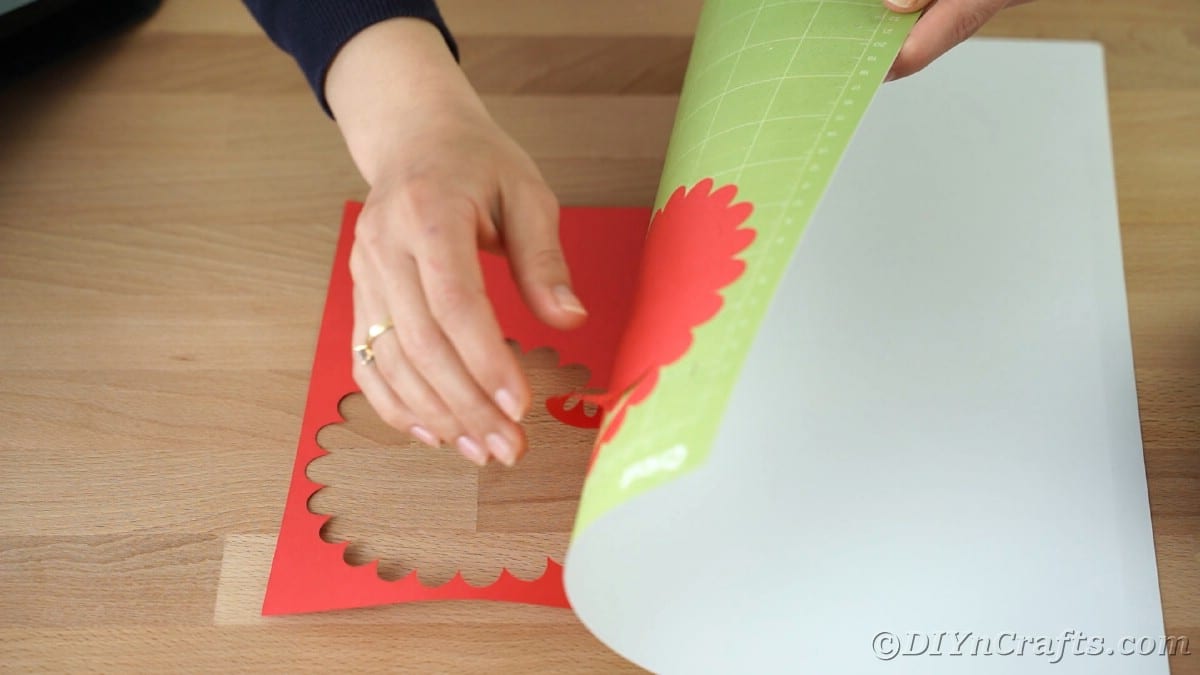
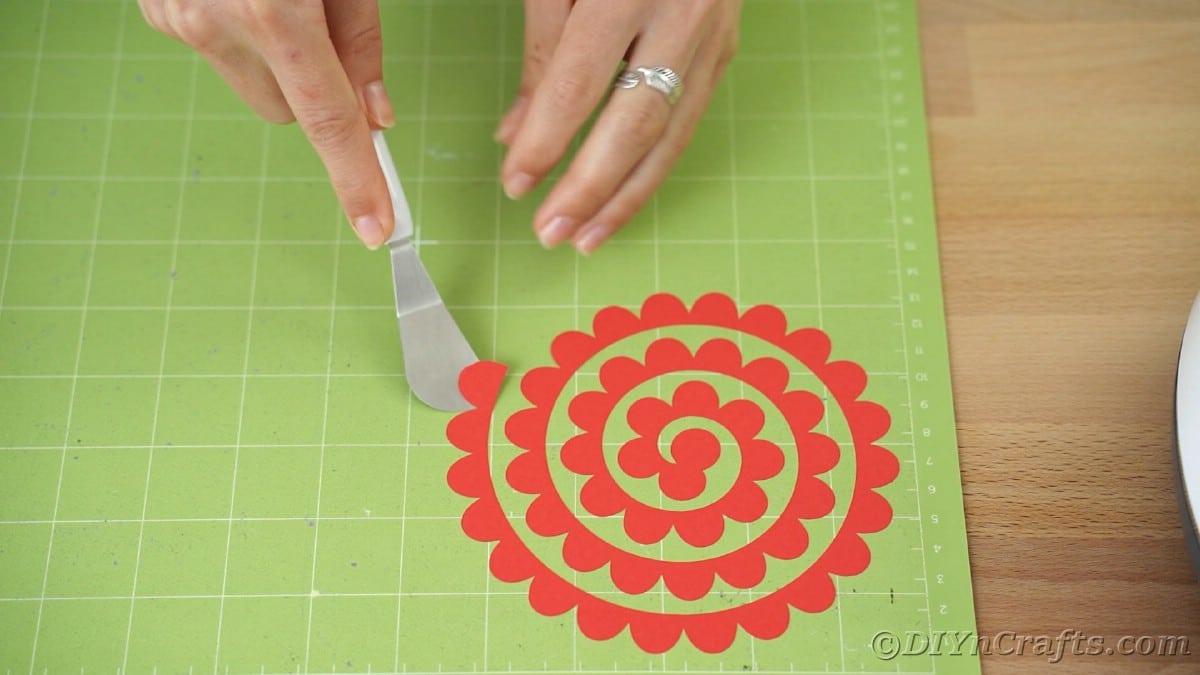
Carefully peel the excess paper off the cut flower.
Then peel the flower off the mat.
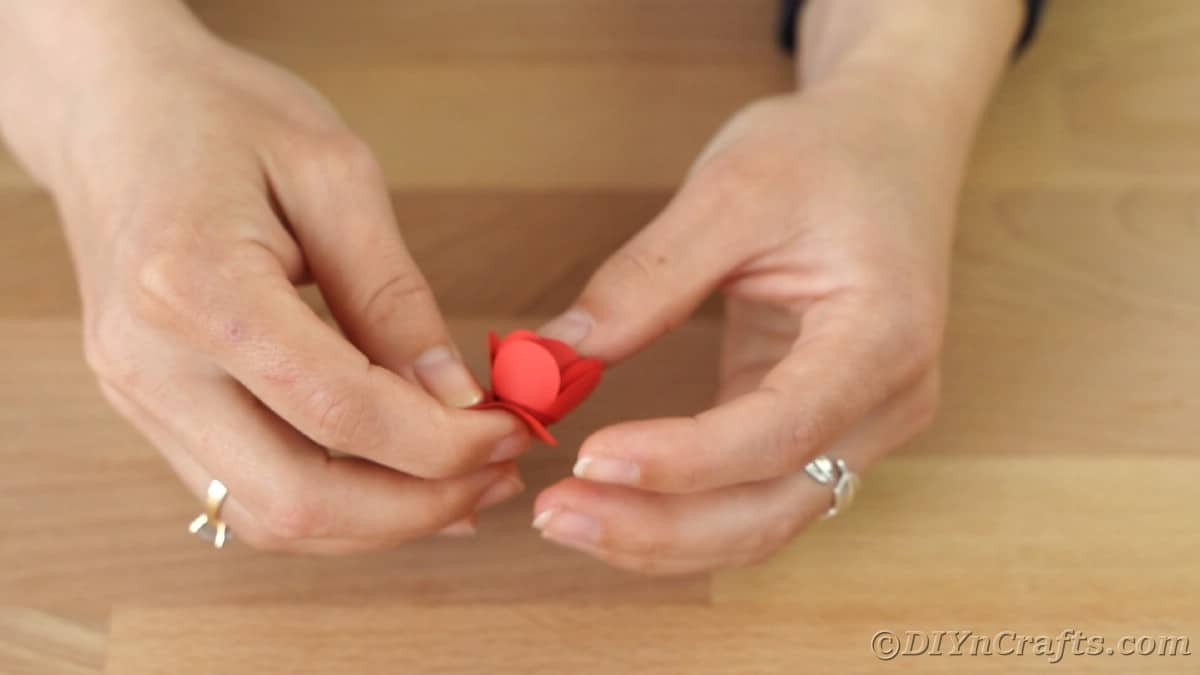
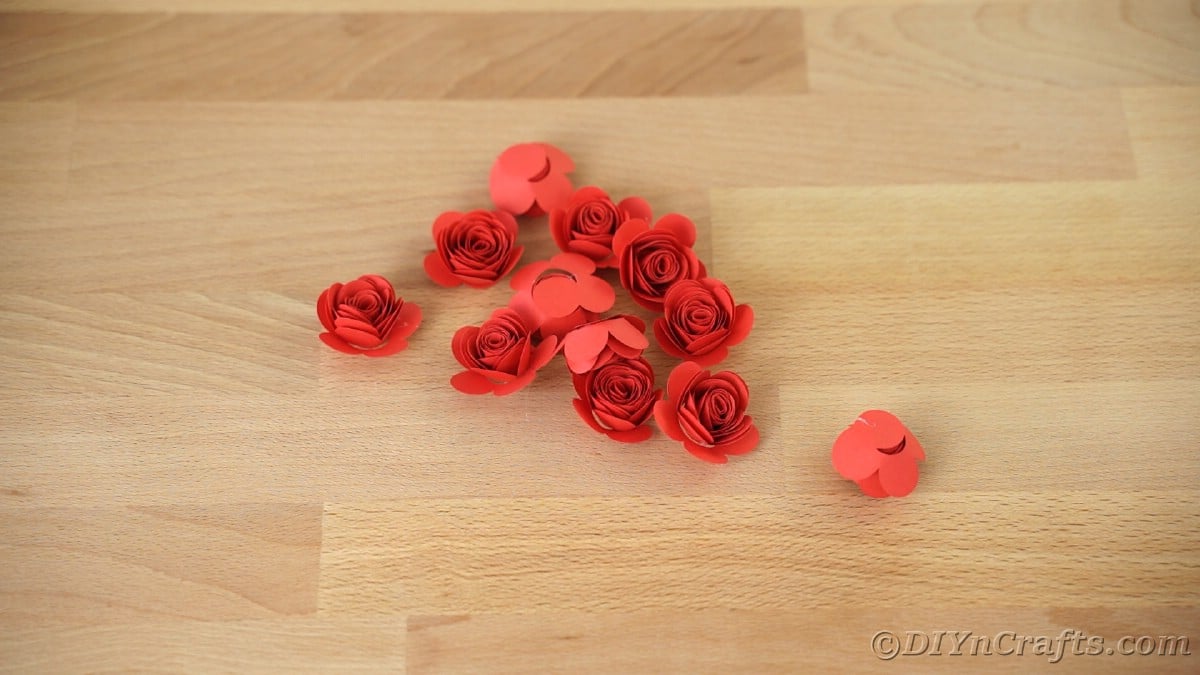
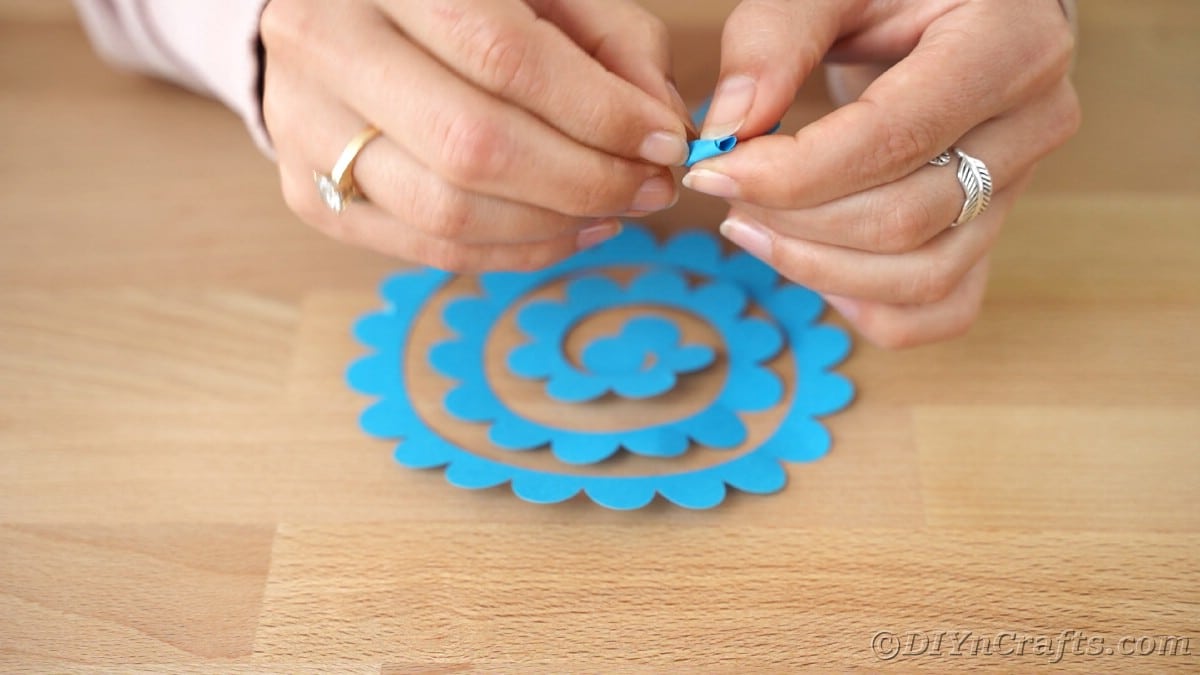
Roll the flowers and secure them with glue.
If you are making multiple designs, I recommend doing all of the rolling at one time so everything is ready to assemble later.
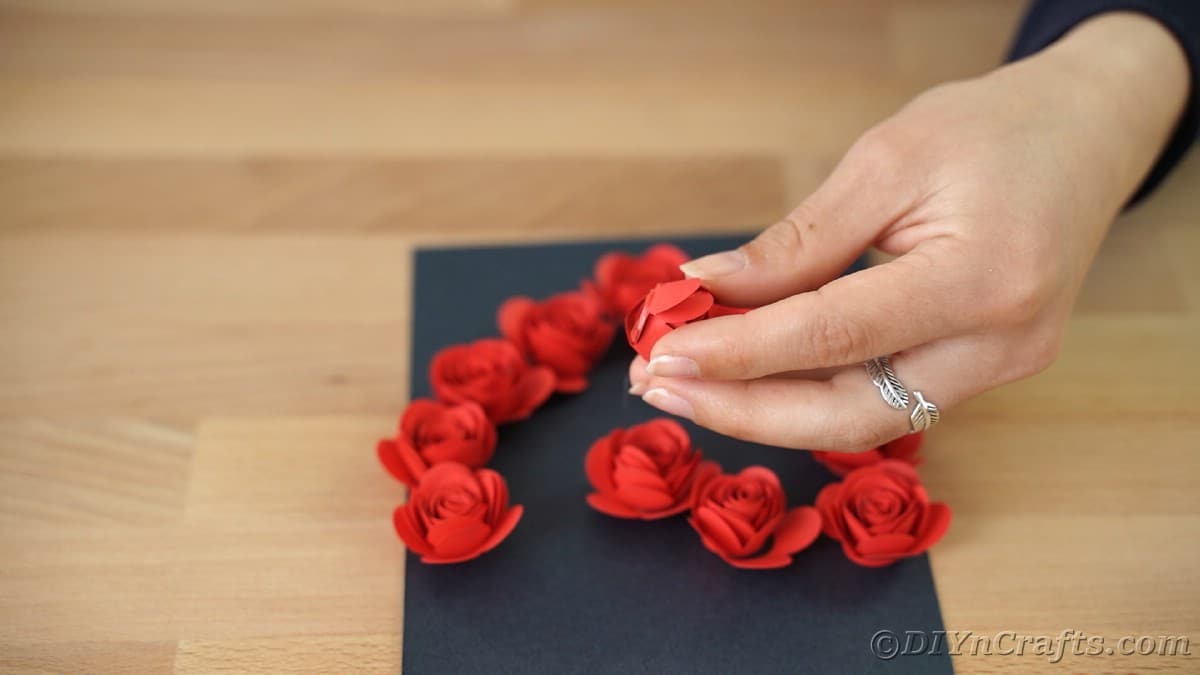
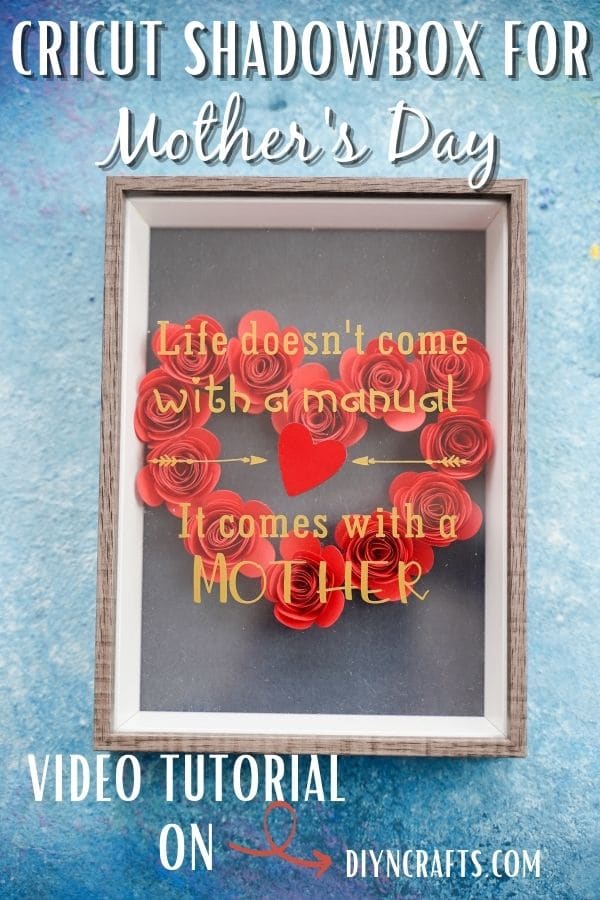
Arrange the flowers onto the black backing of the shadowbox into the shape of a heart, then secure them in place with hot glue.
Place the shadowbox frame back into place on the backing then set it aside.
Load the gold vinyl onto the mat and place it under the roller then follow the instructions for it to cut.
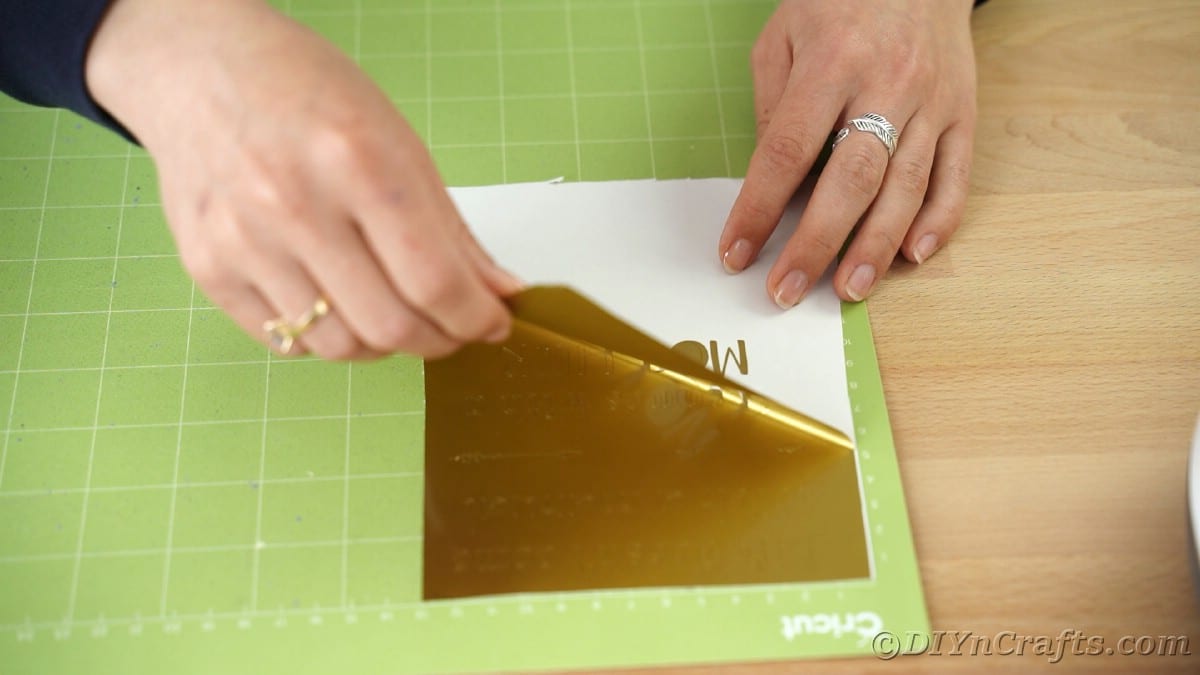
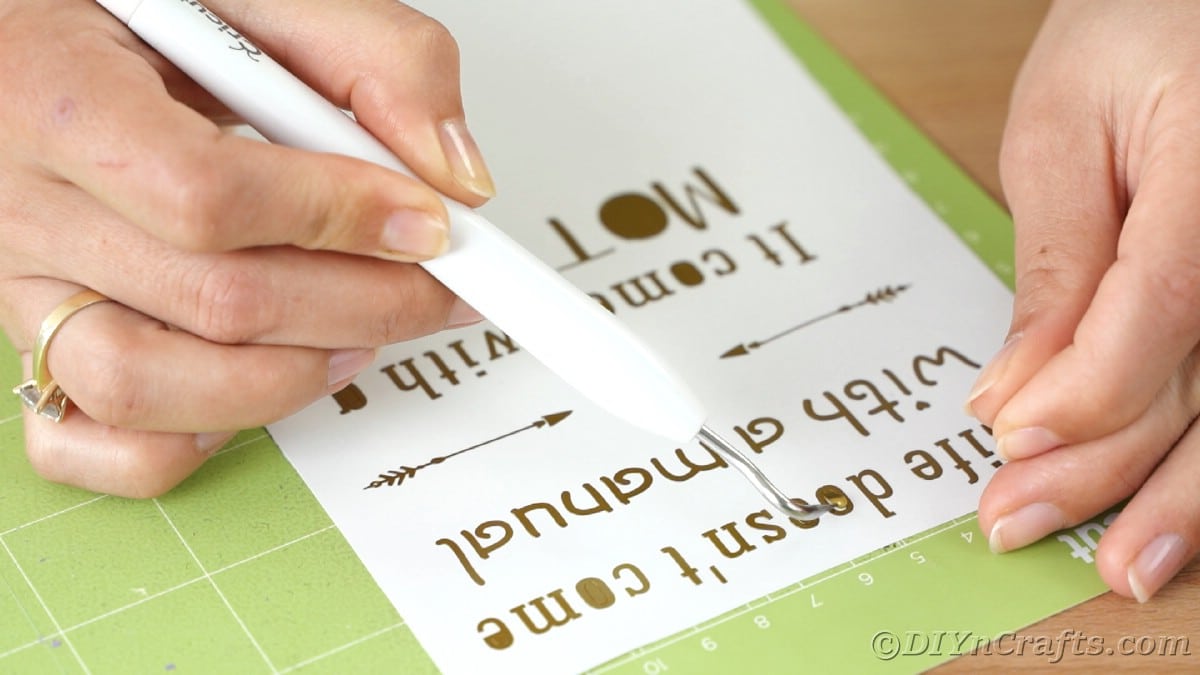
Once it has cut, slowly and carefully remove the excess vinyl.
Use the weeding tool to pull out small pieces.
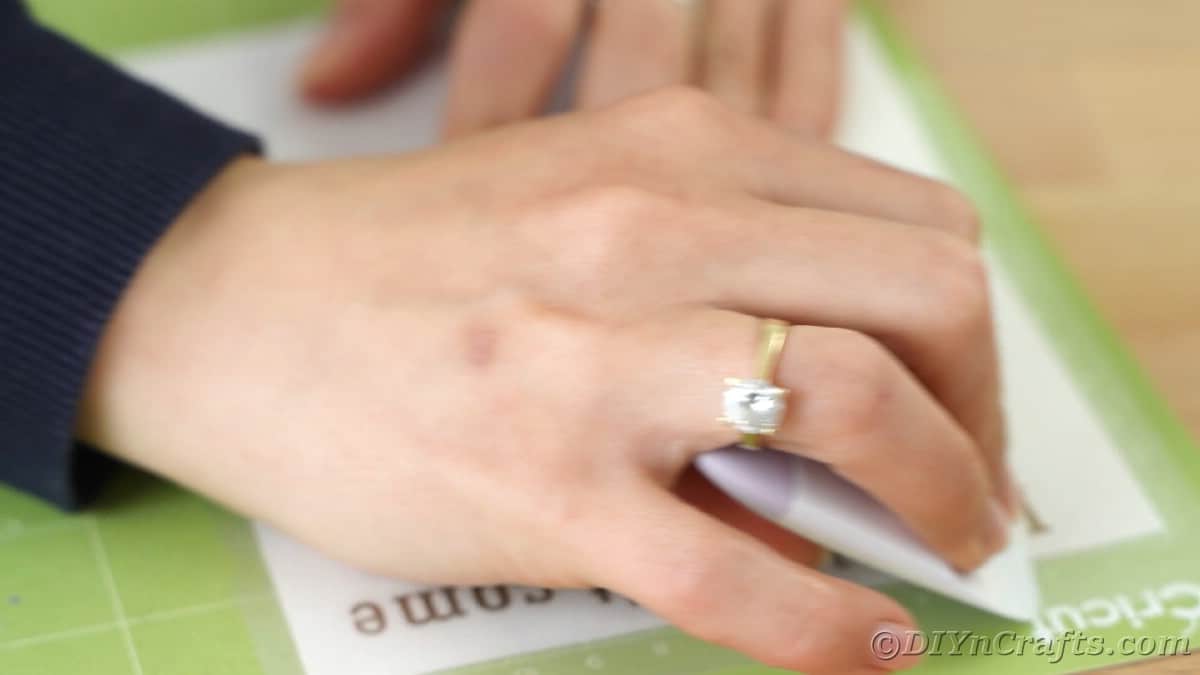
When the message is ready, place a piece of transfer paper over the top and use the scraper to smooth it into place. Then carefully pull the transfer paper off bringing the gold message with it.
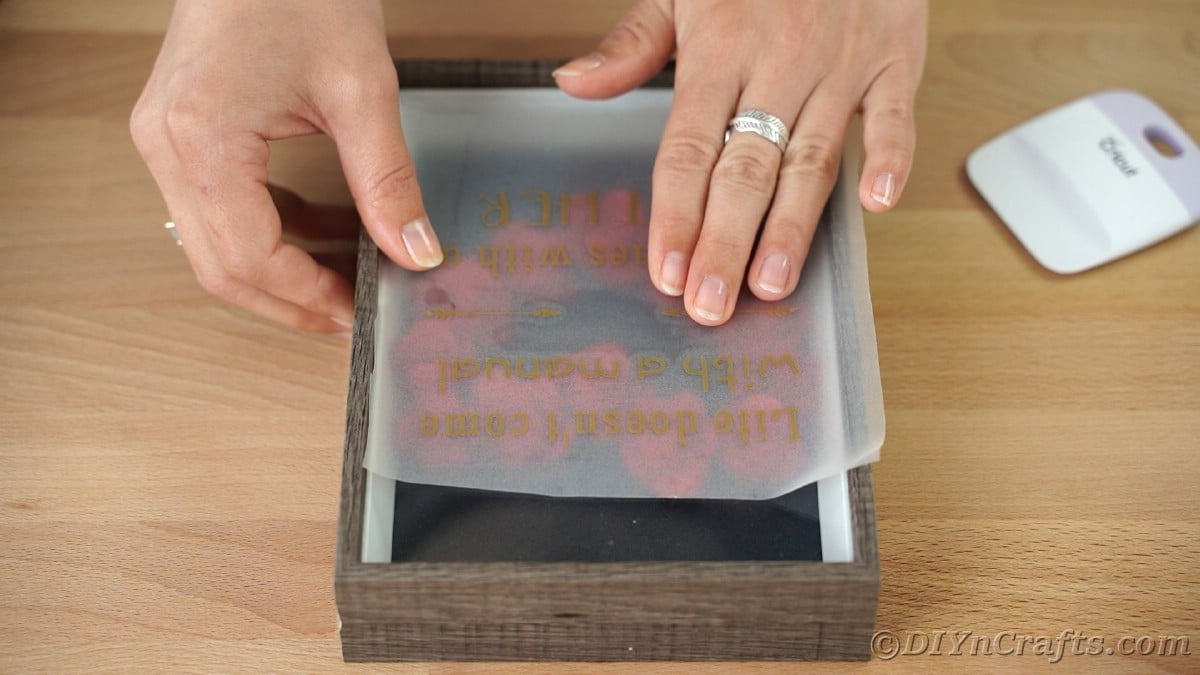
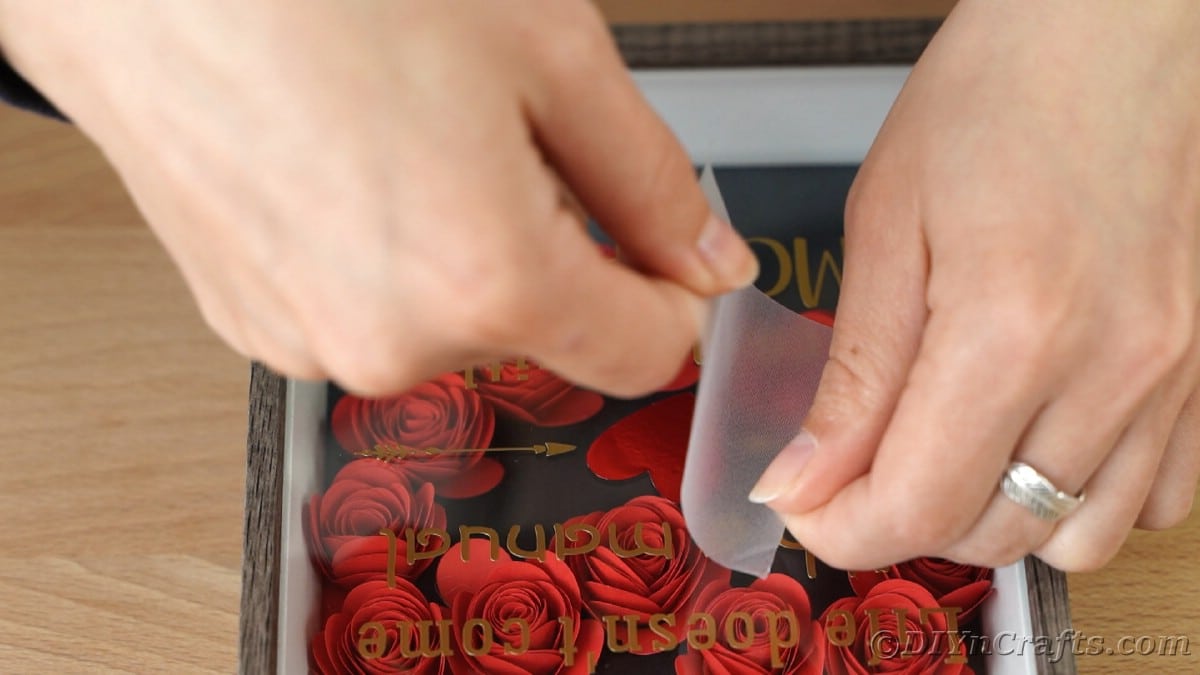
Place the transfer paper with the vinyl message over the top of the glass on the shadowbox and adjust to where you want it to sit.
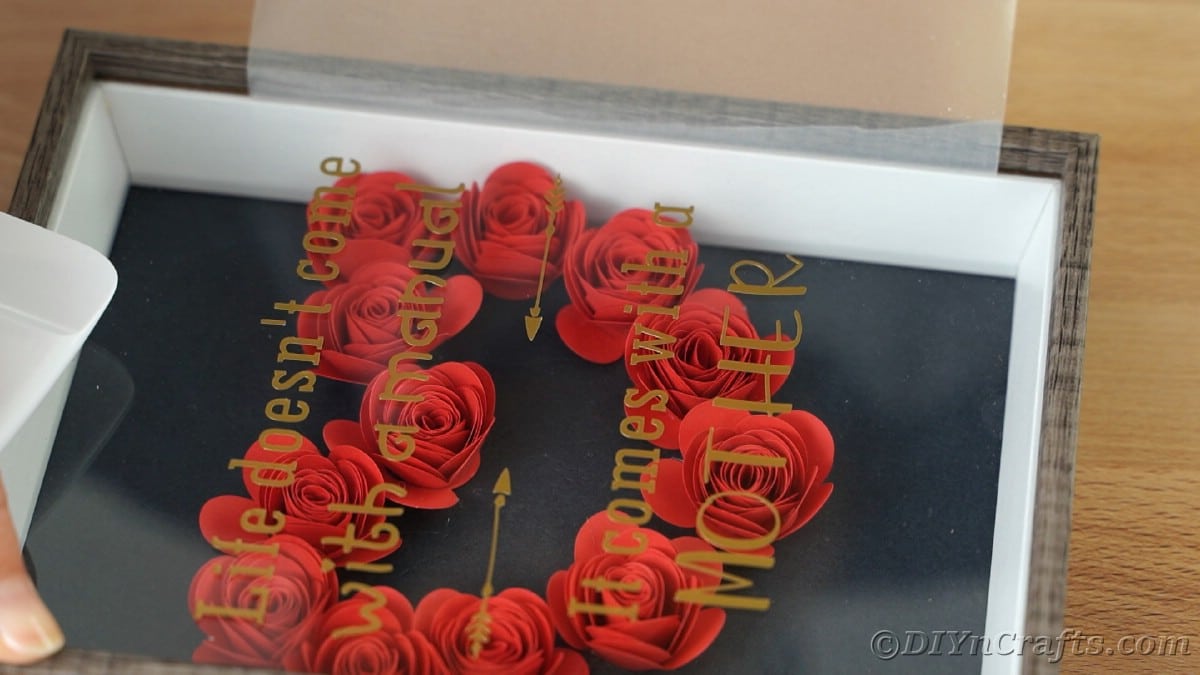
Carefully press the transfer paper and message onto the glass, then use the scraper tool to press it down removing any air bubbles. Gently pull up the edge of the transfer paper leaving the vinyl message on the glass. Carefully do this using the scraper as needed to press it down.
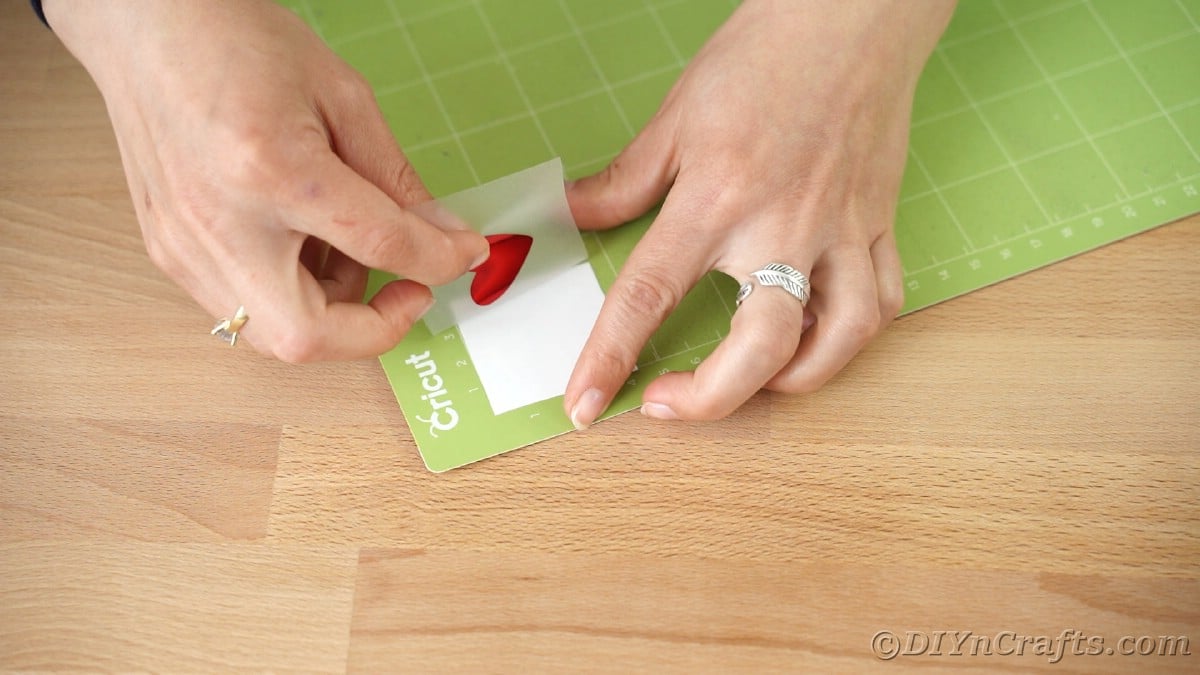
Load the mat with a small square of red vinyl and cut as directed.
Peel off any excess vinyl then use the transfer paper again to move the heart from the mat to the shadowbox.
Place between the arrows on the front of the message.
Remove the transfer tape carefully, then display.
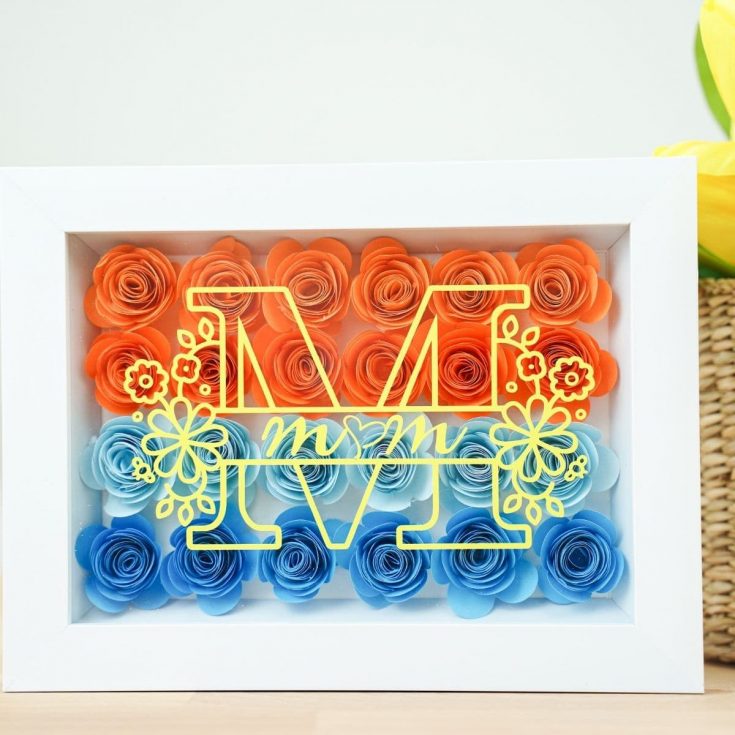
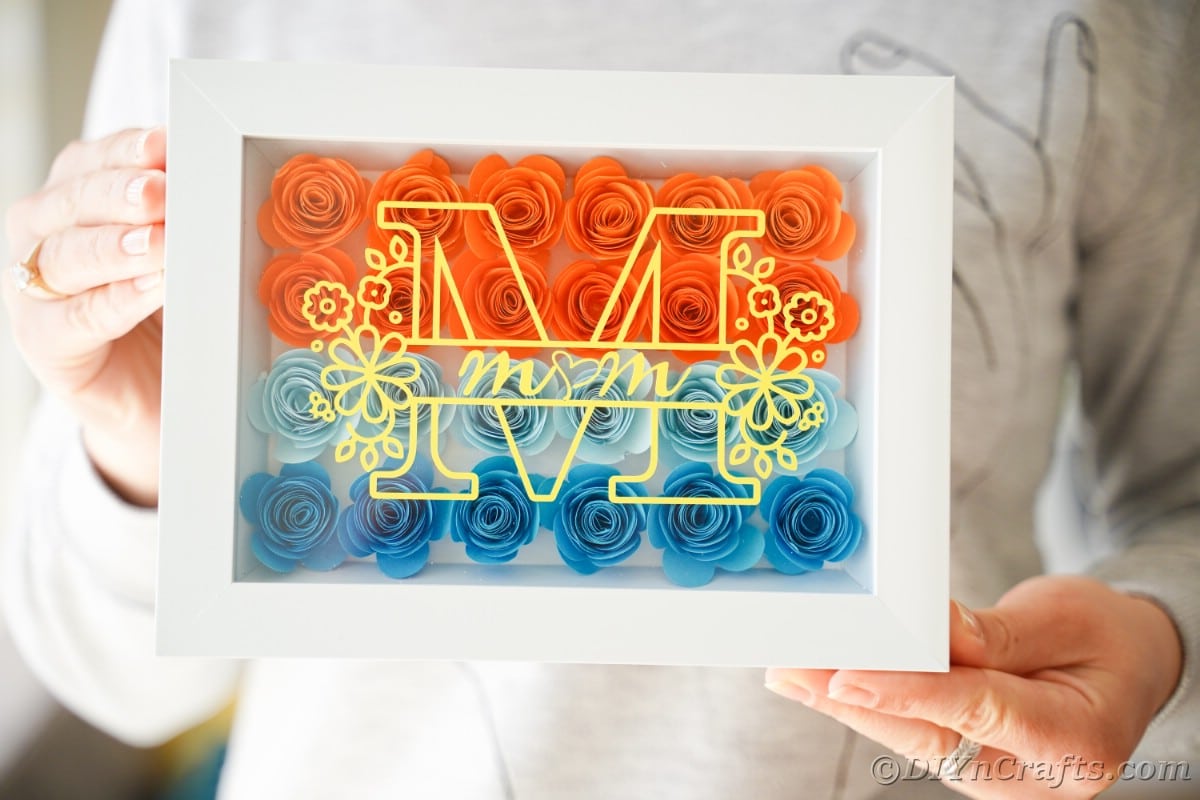
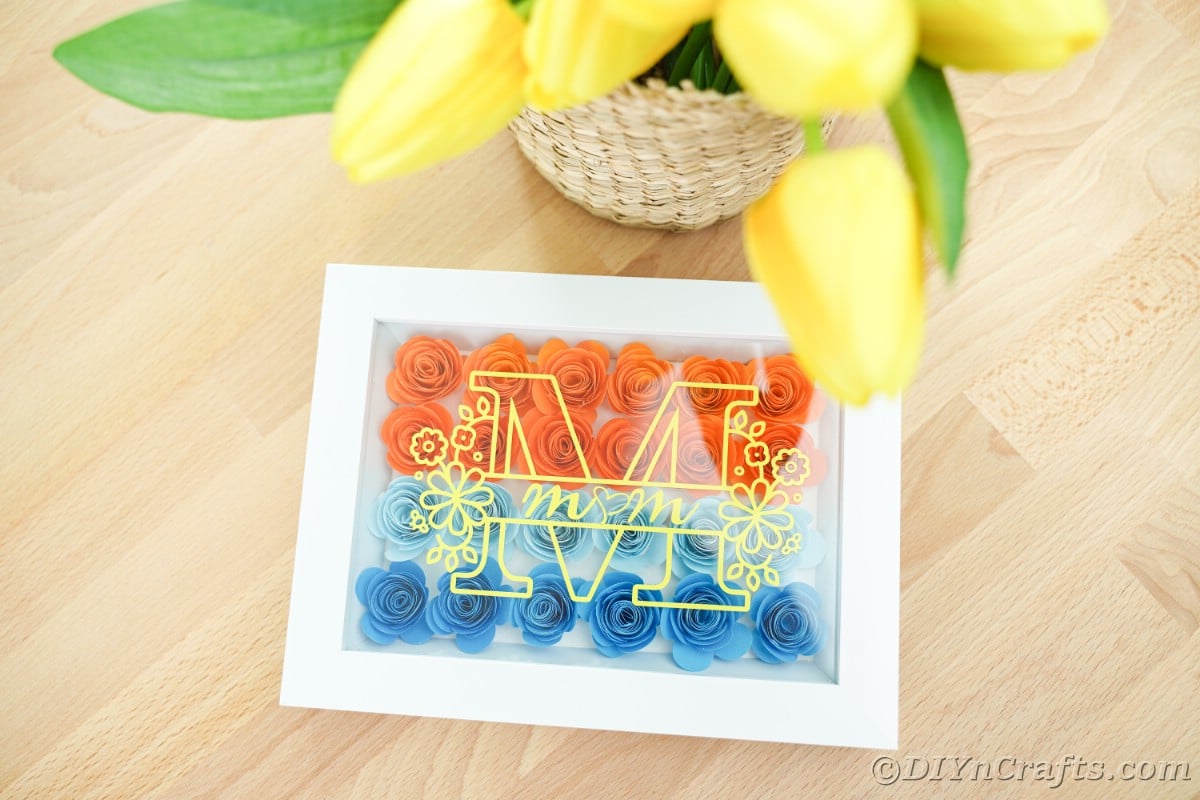
How to Make Decorative "Mom" Shadowbox
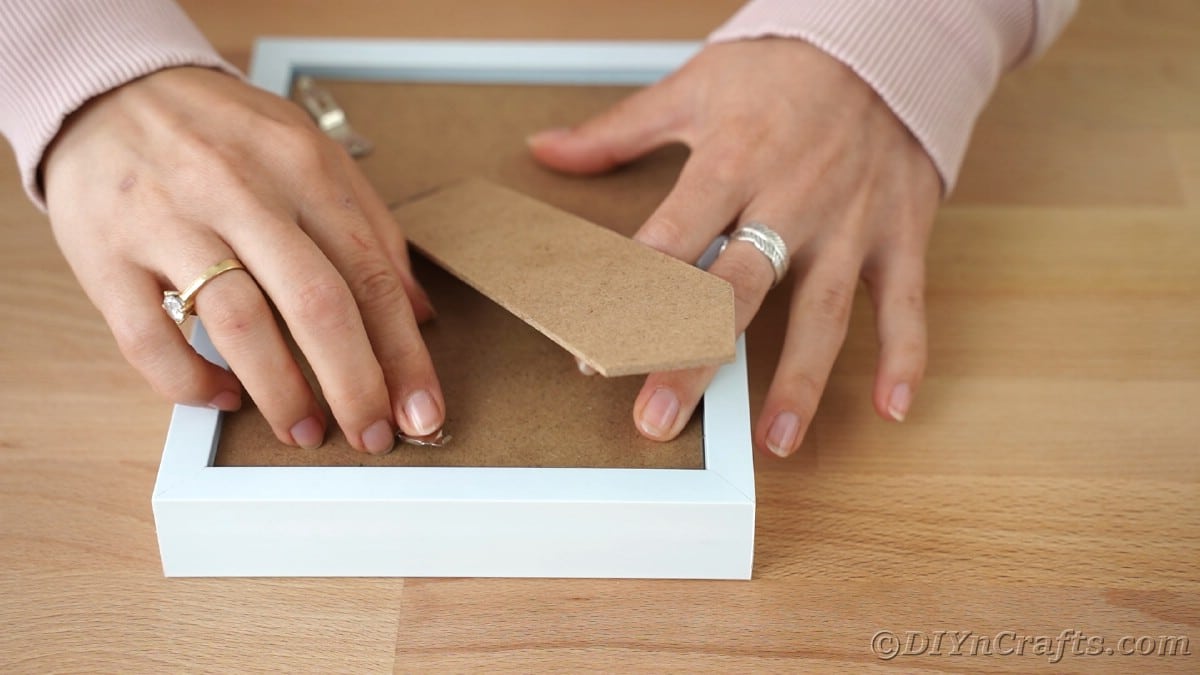
Remove the back from the shadowbox along with any images or paper inside. Place the cardboard backing on the workspace.
Load designs into Create Space as shown and choose to create.
Place the blade in its housing into the open space on the Cricut as the manufacturer directs.
Follow the directions on the screen to choose the type of paper or vinyl that you are using so the blade cuts the material correctly.
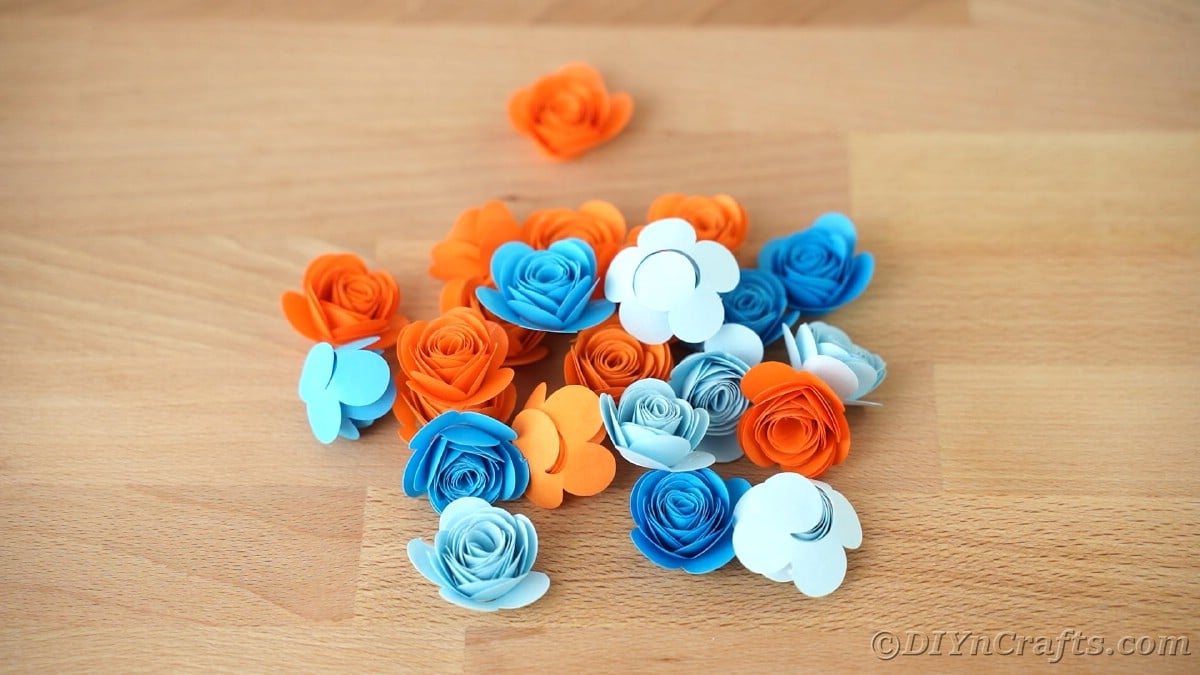
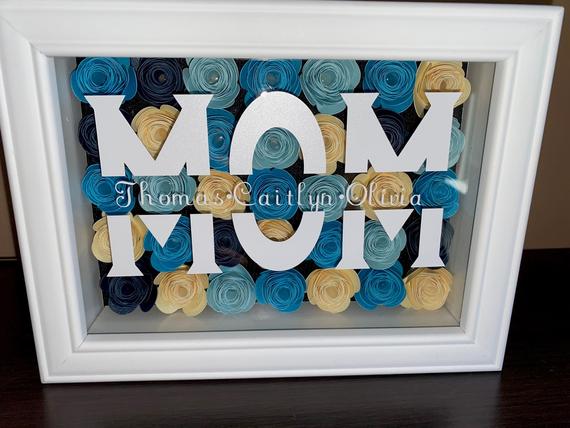
Load the orange paper onto the mat and follow the directions to cut the flower shapes.
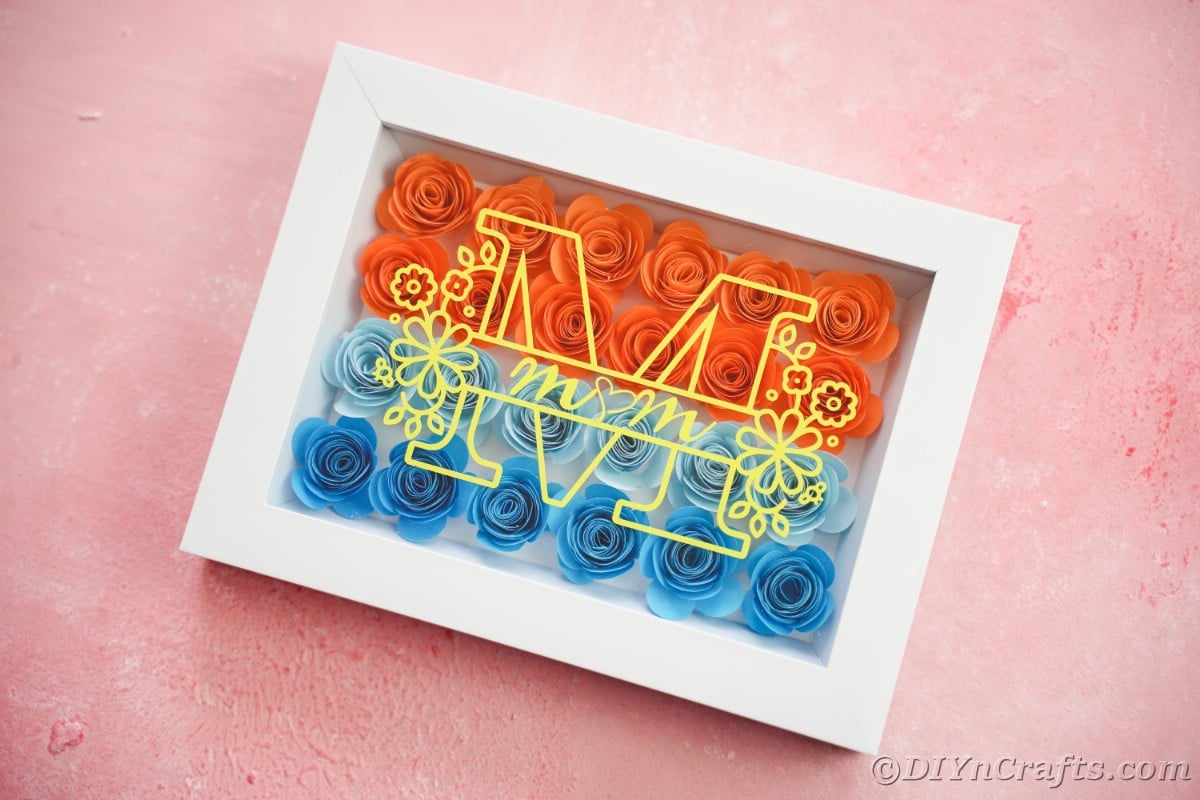
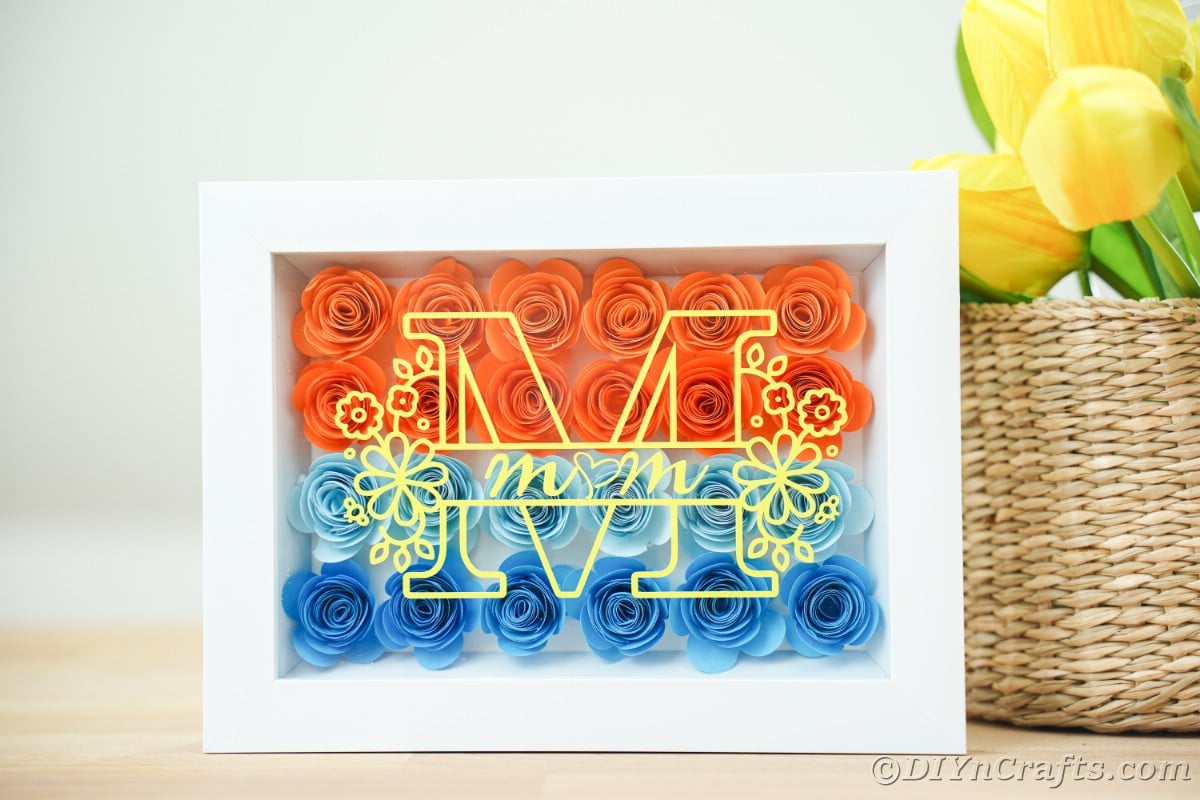
Repeat this process until you have 12 orange, 6 medium blue, and 6 light blue flowers.
Roll the flowers and secure the ends with glue.
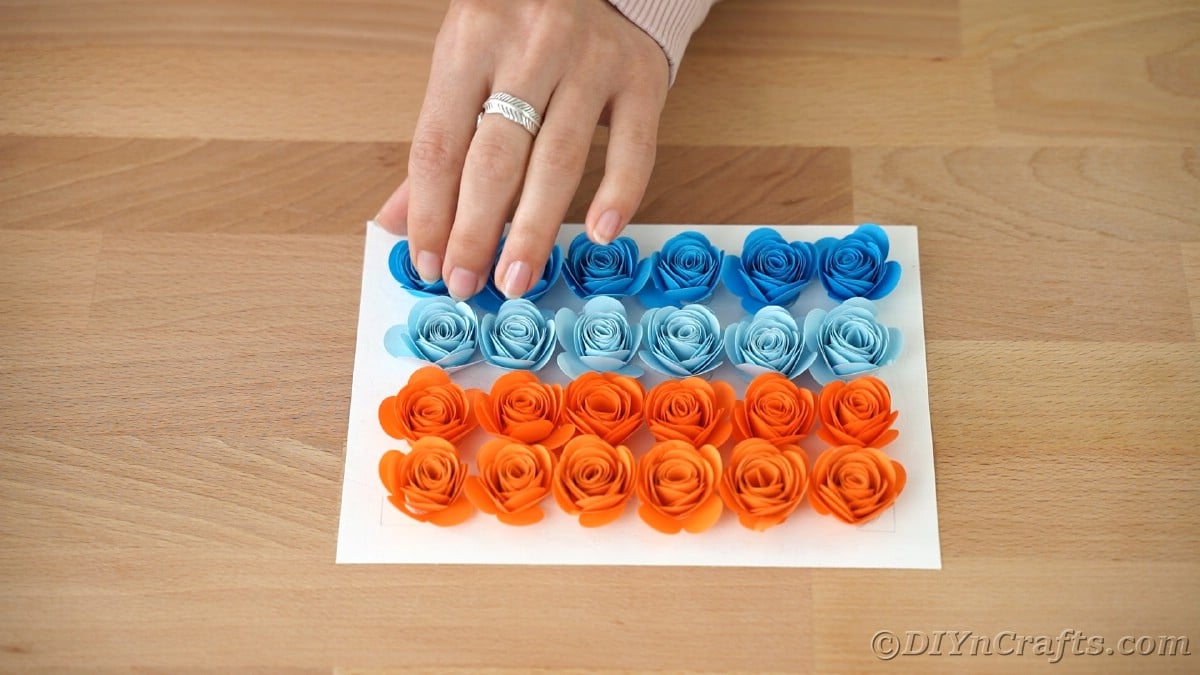
Use the shadowbox frame to mark the edges on the cardboard backing so you don't glue your flowers outside the area they will show. Then use hot glue to make two rows of orange, one of medium blue, and one of light blue.
Place the backing back into the shadowbox and set it aside.
Load the yellow vinyl onto the mat and follow the directions on the screen to print.
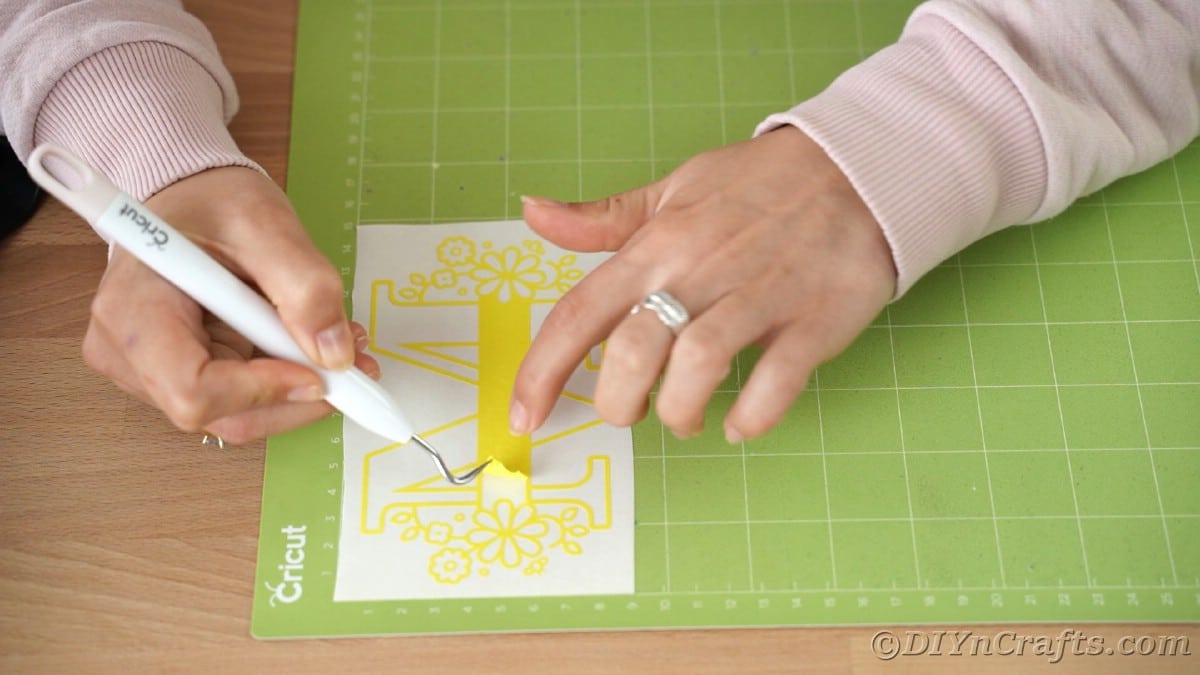
Once the message is printed, remove the excess vinyl using the weeding tool to carefully get the smaller pieces until it is ready to transfer.
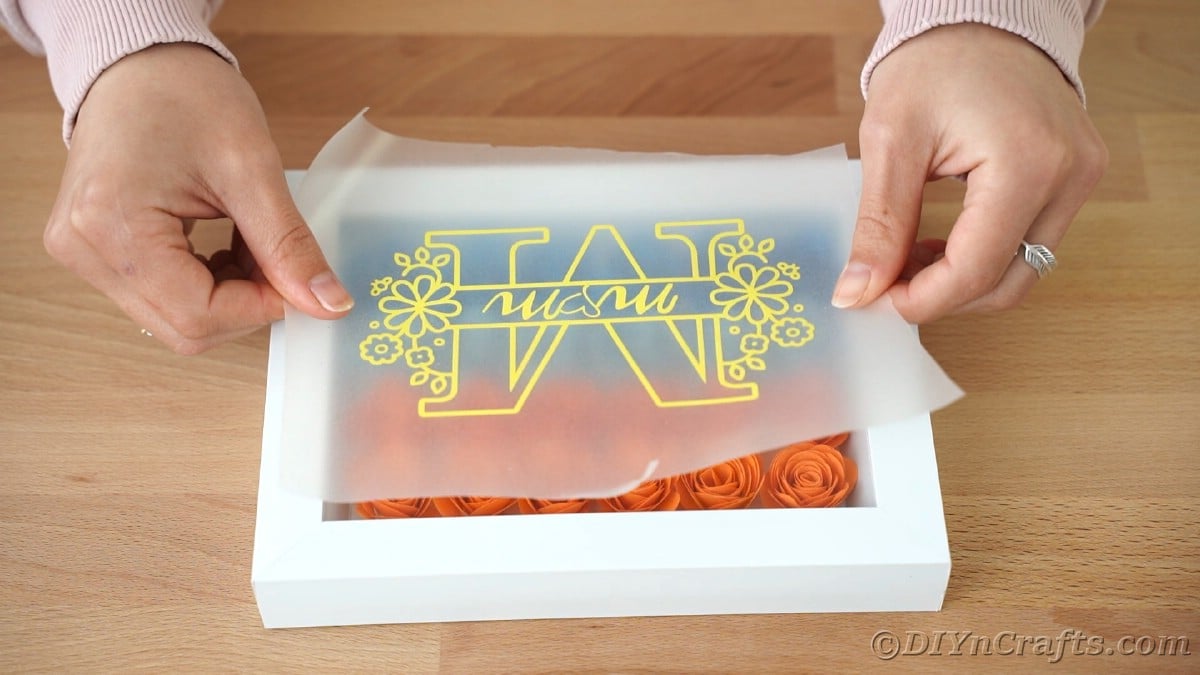
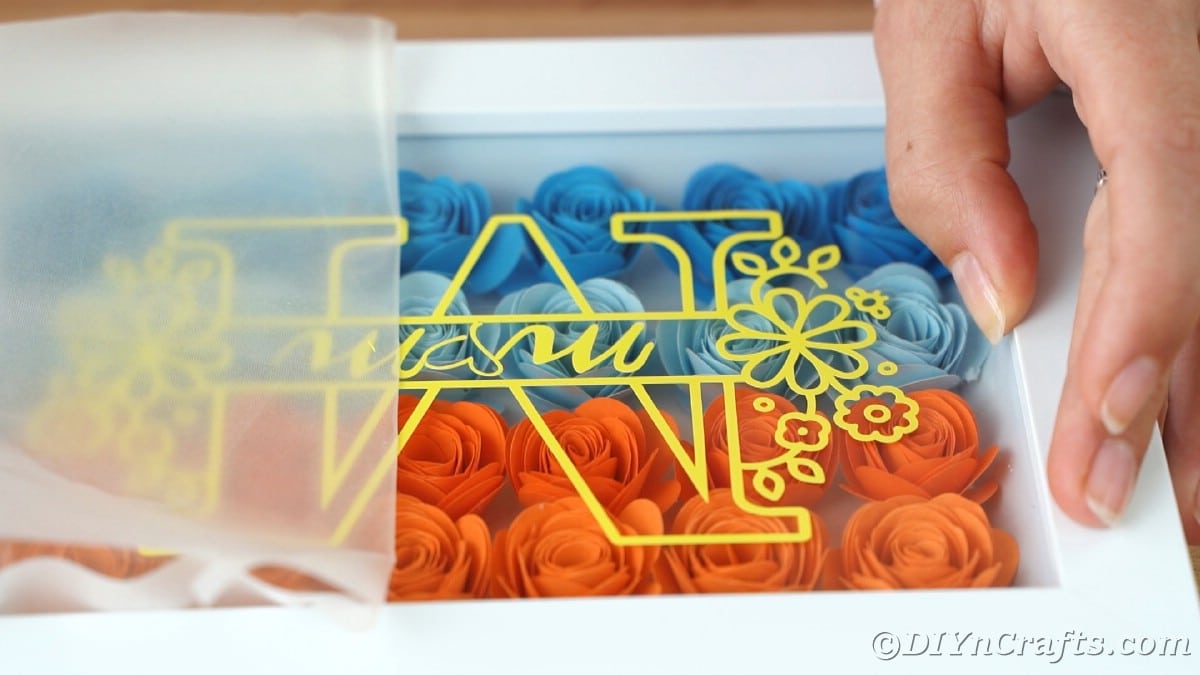
Place transfer paper over the top of the yellow mom message, and then press with the scraper to secure well. Peel it off of the mat slowly and carefully, then transfer it to the shadowbox.
Center it over the shadowbox carefully then press down and use the scraper tool to help keep it in place as you remove the transfer paper.
Display or warp to gift.
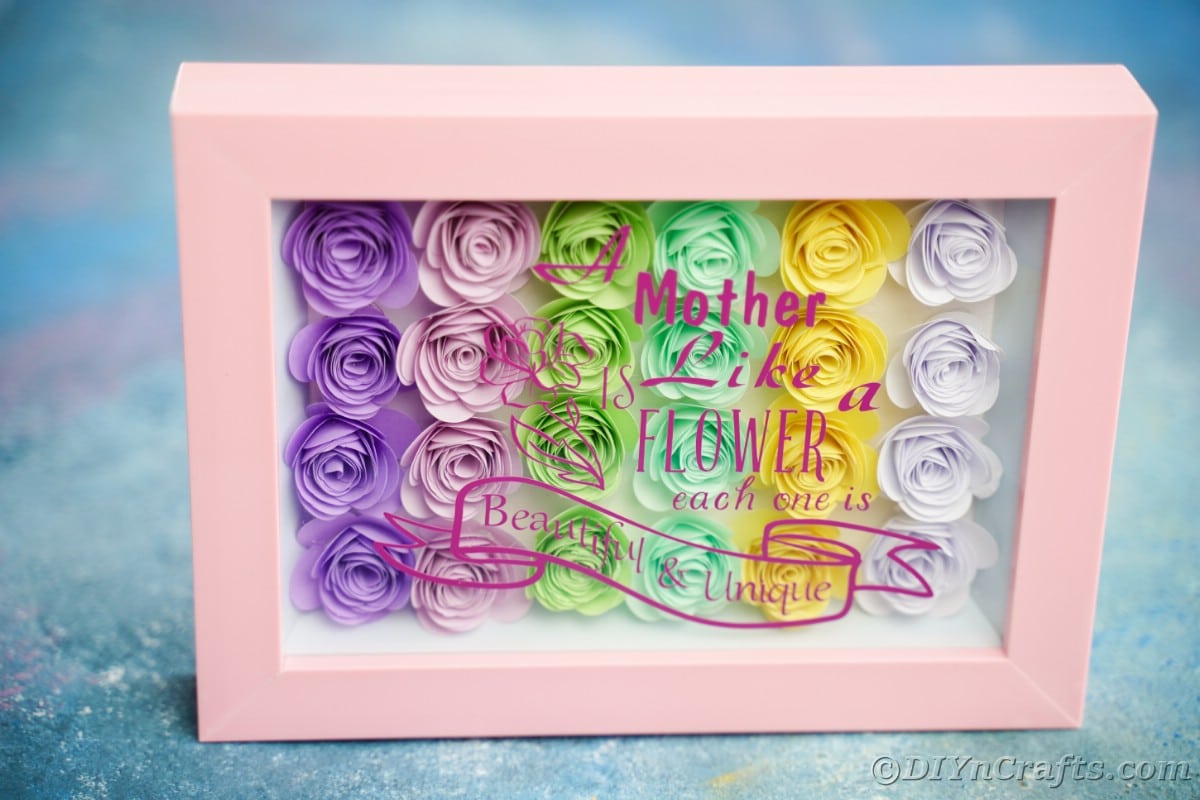
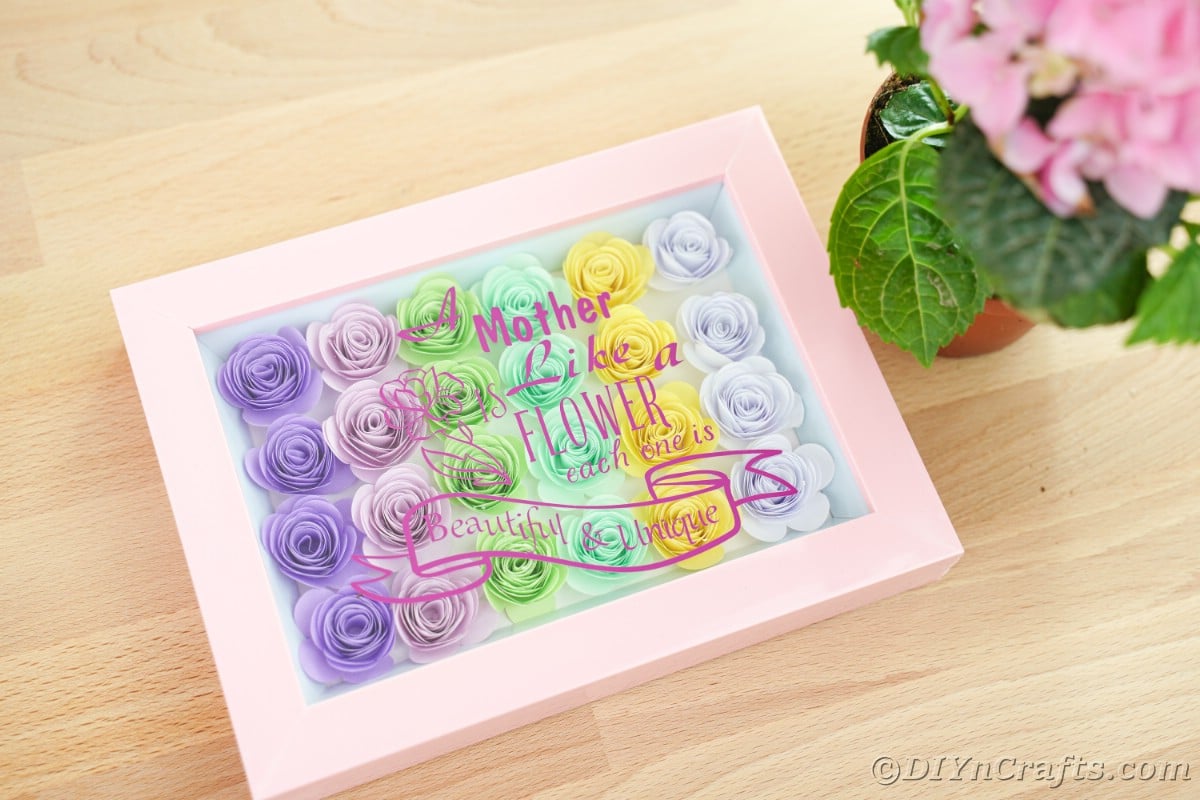
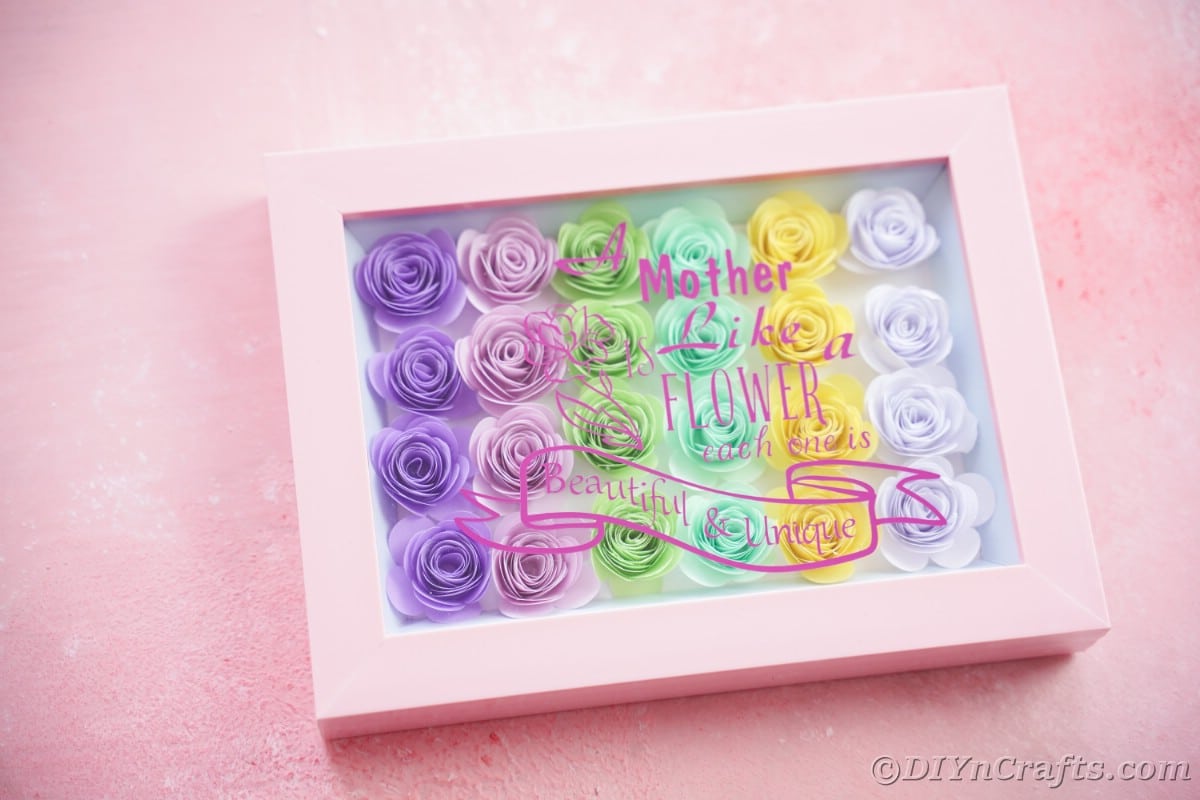
How to Make A "Mother is Like a Flower" Shadowbox
Remove the back from the shadowbox along with any images or paper inside. Place the cardboard backing on the workspace.
Load designs into Create Space as shown and choose to create.
Place the blade in its housing into the open space on the Cricut as the manufacturer directs.
Follow the directions on the screen to choose the type of paper or vinyl that you are using so the blade cuts the material correctly.
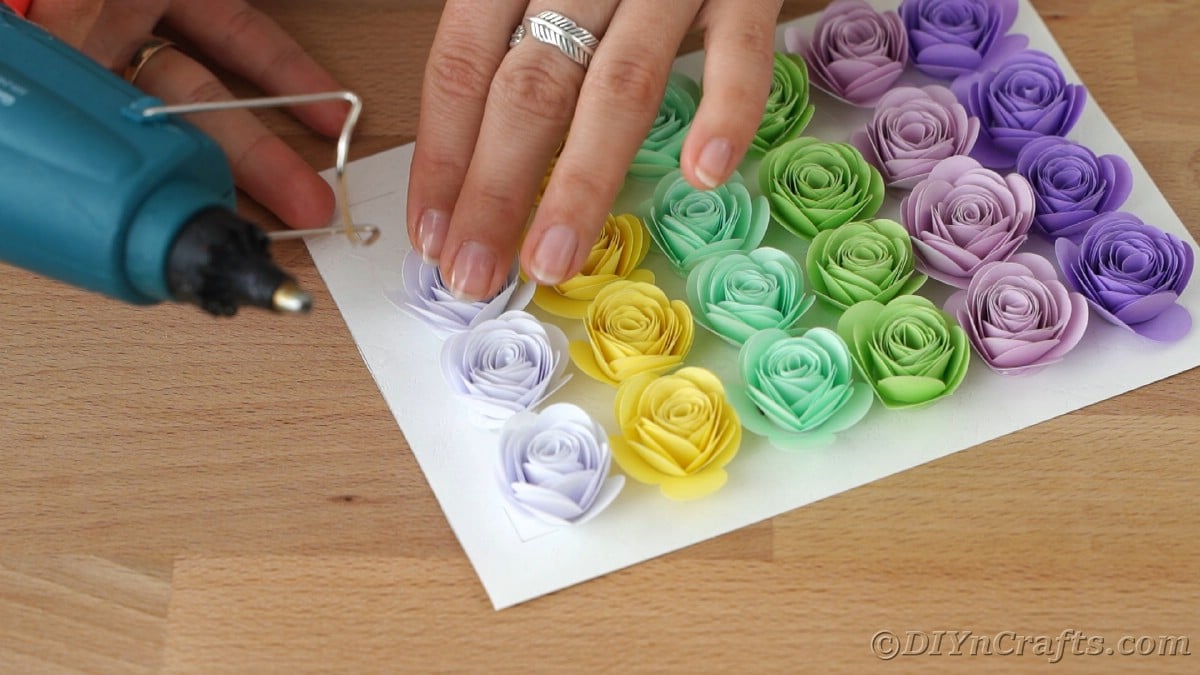
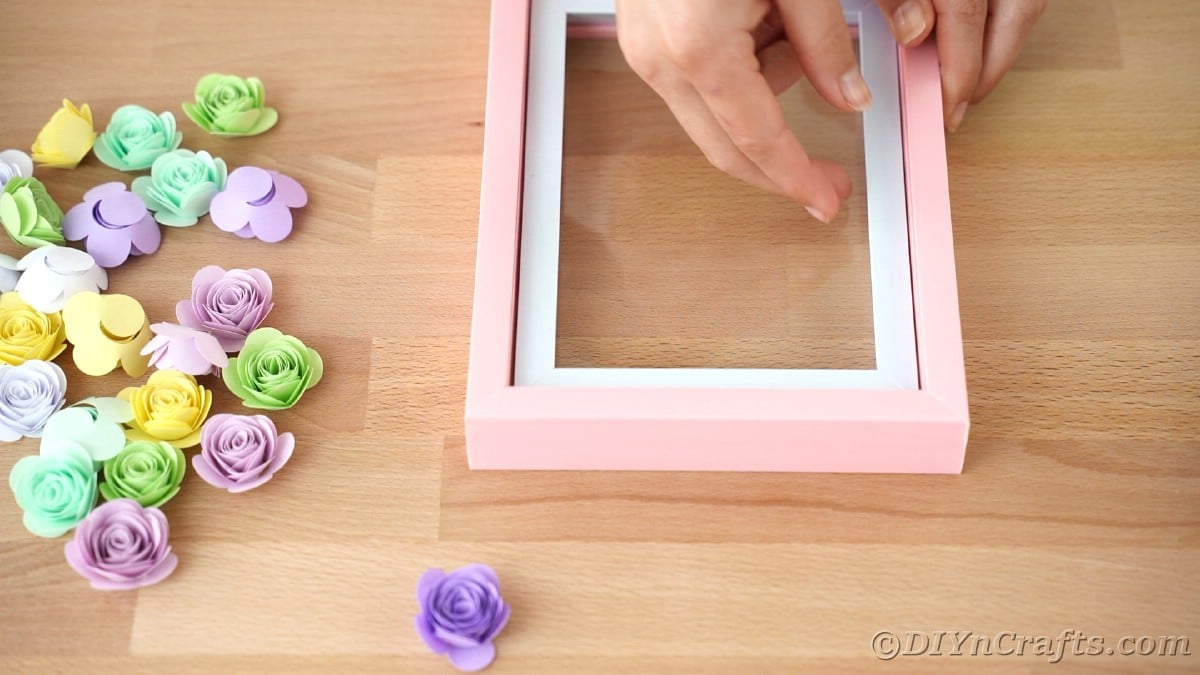
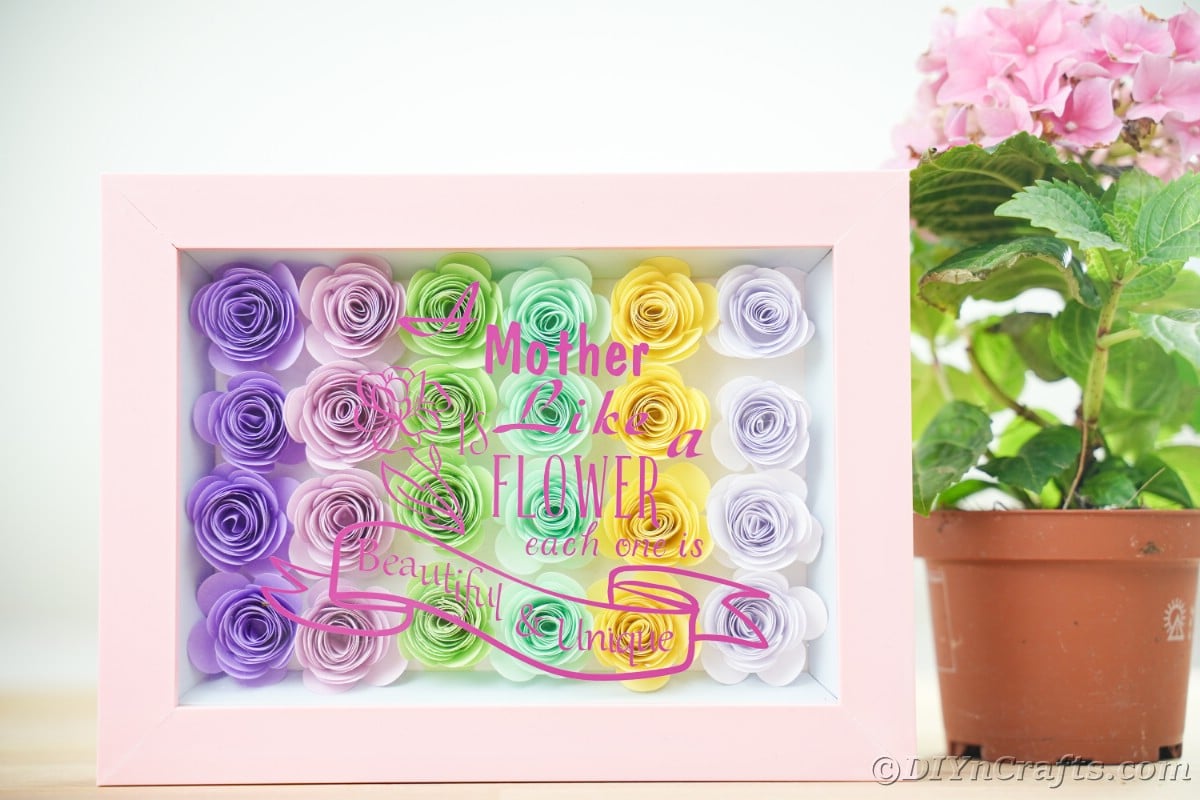
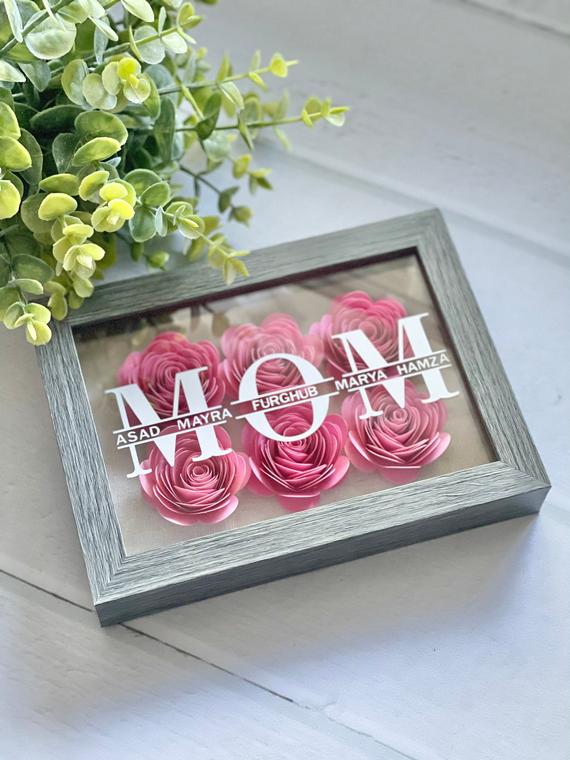
Load the mat with the correct colors of paper and repeat the cutting process until you have 4 flowers each in medium purple, light purple, pastel purple, light green, mint green, and yellow.
Roll the flowers and secure the ends with glue.
Secure the flowers to the shadowbox backing with hot glue as shown, making a row of 4 flowers of each color.
Once done, place the shadowbox together again and set it aside.
Load the mat with the purple vinyl and follow the directions to cut the message.
Once the message is done cutting, carefully remove all excess vinyl and weed any small bits as needed.
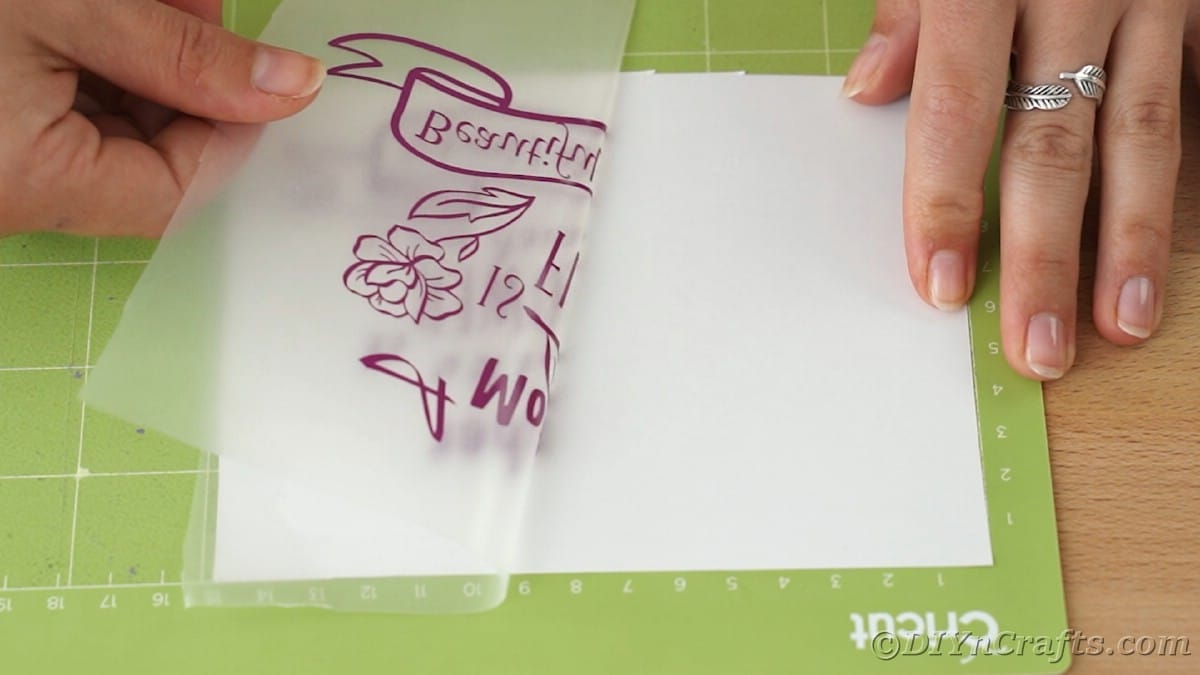
Place transfer paper over the message, and use the scraper tool to press down and remove any air bubbles.
Gently remove the transfer paper leaving the vinyl attached to the transfer paper.
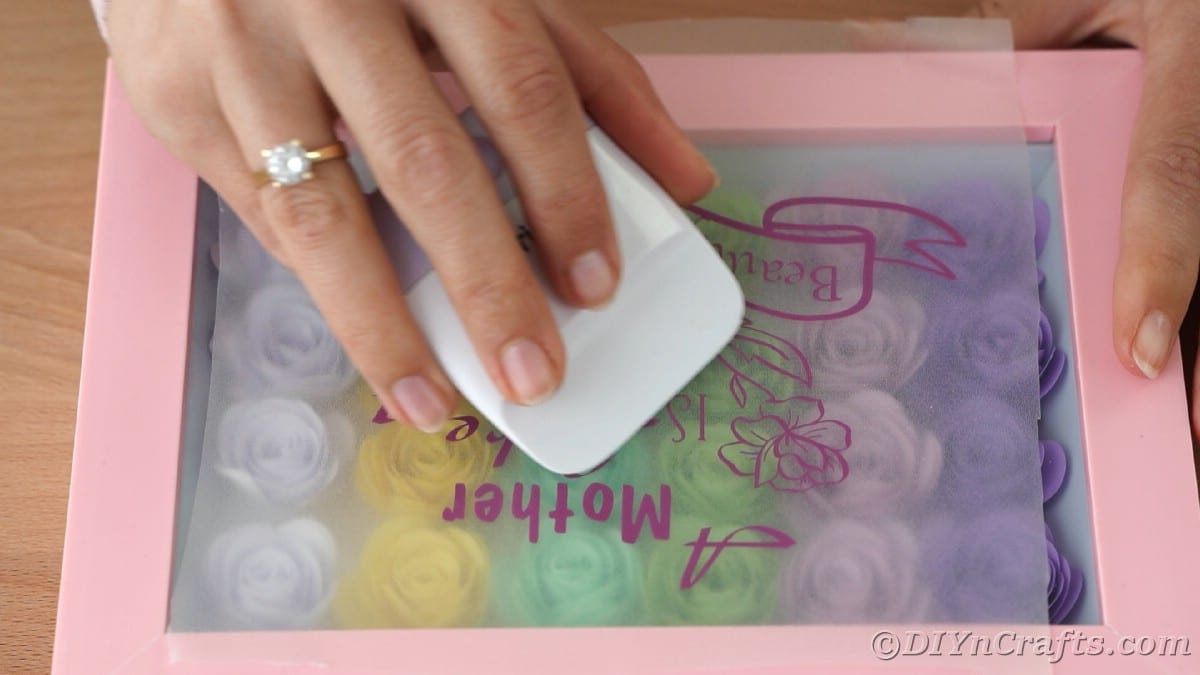
Carefully arrange the vinyl message onto the glass of the shadowbox and press with a scraper tool to secure.
Remove the transfer tape carefully.
Display or gift to your mother.
More Mother's Day Ideas
If you need a few more ideas to add to your list for your mom or other moms in your life, then check out some of the other ideas below that we love. It's super easy to make mother's day a wonderful time to celebrate these special women in your life.
- 25 Adorable Mother's Day Cards That Kids Can Make
- 35 Super Easy DIY Mother's Day Gifts for Kids and Toddlers
- 50 Fabulous Mother's Day Gifts You Can Make For Under $20
DIY Cricut Mother's Day Floral Shadowbox with 3 Designs
Choose one of three amazing designs to create your own gorgeous Cricut Mother's Day floral shadowbox!
Materials
For Design #1
For Design #2
- White shadowbox
- Orange cardstock or paper
- Medium blue cardstock or paper
- Light blue cardstock or paper
- Yellow vinyl
- SVG files
For Design #3
Tools
Instructions
How to Make "Life Doesn't Come with a Manual" Shadowbox
- Remove the back from the shadowbox along with any images or paper inside. Place the cardboard backing on the workspace.
- Load designs into Create Space as shown and choose to create.
- Place the blade in its housing into the open space on the Cricut as the manufacturer directs.
- Follow the directions on the screen to choose the type of paper or vinyl that you are using so the blade cuts the material correctly.
- Place the red paper onto the light or standard grip mat and smooth then place it under the blade and follow directions to hit the button for the mat to be pulled under the roller.
- Press create and wait for the flower to be printed. Repeat this process if needed to make 11 flowers.
- Roll the flowers and secure them with glue.
- Arrange the flowers onto the black backing of the shadowbox into the shape of a heart, then secure them in place with hot glue.
- Place the shadowbox frame back into place on the backing then set it aside.
- Load the gold vinyl onto the mat and place it under the roller then follow the instructions for it to cut.
- Once it has cut, slowly and carefully remove the excess vinyl. Use the weeding tool to pull out small pieces.
- When the message is ready, place a piece of transfer paper over the top and use the scraper to smooth it into place. Then carefully pull the transfer paper off bringing the gold message with it.
- Place the transfer paper with the vinyl message over the top of the glass on the shadowbox and adjust to where you want it to sit.
- Carefully press the transfer paper and message onto the glass, then use the scraper tool to press it down removing any air bubbles. Gently pull up the edge of the transfer paper leaving the vinyl message on the glass. Carefully do this using the scraper as needed to press it down.
- Load the mat with a small square of red vinyl and cut as directed.
- Peel off any excess vinyl then use the transfer paper again to move the heart from the mat to the shadowbox. Place between the arrows on the front of the message. Remove the transfer tape carefully, then display.
How to Make Decorative "Mom" Shadowbox
- Remove the back from the shadowbox along with any images or paper inside. Place the cardboard backing on the workspace.
- Load designs into Create Space as shown and choose to create.
- Place the blade in its housing into the open space on the Cricut as the manufacturer directs.
- Follow the directions on the screen to choose the type of paper or vinyl that you are using so the blade cuts the material correctly.
- Load the orange paper onto the mat and follow the directions to cut the flower shapes. Repeat this process until you have 12 orange, 6 medium blue, and 6 light blue flowers.
- Roll the flowers and secure the ends with glue.
- Use the shadowbox frame to mark the edges on the cardboard backing so you don't glue your flowers outside the area they will show. Then use hot glue to make two rows of orange, one of medium blue, and one of light blue.
- Place the backing back into the shadowbox and set it aside.
- Load the yellow vinyl onto the mat and follow the directions on the screen to print.
- Once the message is printed, remove the excess vinyl using the weeding tool to carefully get the smaller pieces until it is ready to transfer.
- Place transfer paper over the top of the yellow mom message, and then press with the scraper to secure well. Peel it off of the mat slowly and carefully, then transfer it to the shadowbox.
- Center it over the shadowbox carefully then press down and use the scraper tool to help keep it in place as you remove the transfer paper.
- Display or warp to gift.
How to Make A "Mother is Like a Flower" Shadowbox
- Remove the back from the shadowbox along with any images or paper inside. Place the cardboard backing on the workspace.
- Load designs into Create Space as shown and choose to create.
- Place the blade in its housing into the open space on the Cricut as the manufacturer directs.
- Follow the directions on the screen to choose the type of paper or vinyl that you are using so the blade cuts the material correctly.
- Load the mat with the correct colors of paper and repeat the cutting process until you have 4 flowers each in medium purple, light purple, pastel purple, light green, mint green, and yellow.
- Roll the flowers and secure the ends with glue.
- Secure the flowers to the shadowbox backing with hot glue as shown, making a row of 4 flowers of each color.
- Once done, place the shadowbox together again and set it aside.
- Load the mat with the purple vinyl and follow the directions to cut the message.
- Once the message is done cutting, carefully remove all excess vinyl and weed any small bits as needed.
- Place transfer paper over the message, and use the scraper tool to press down and remove any air bubbles.
- Gently remove the transfer paper leaving the vinyl attached to the transfer paper.
- Carefully arrange the vinyl message onto the glass of the shadowbox and press with a scraper tool to secure. Remove the transfer tape carefully.
- Display or gift to your mother.
Notes
Use any color paper or vinyl you prefer to make these so they match your own decor themes.
Recommended Products
As an Amazon Associate and member of other affiliate programs, I earn from qualifying purchases.






Leave a Reply