Gardening is a hobby that seems like it should be easy, but ultimately, there’s a lot that you need to keep track of.
For the average gardener, the long list of chores can be downright overwhelming.You need to weed, water, fertilize, and harvest - and let’s not forget all the chores that come along with seeding and transplanting!
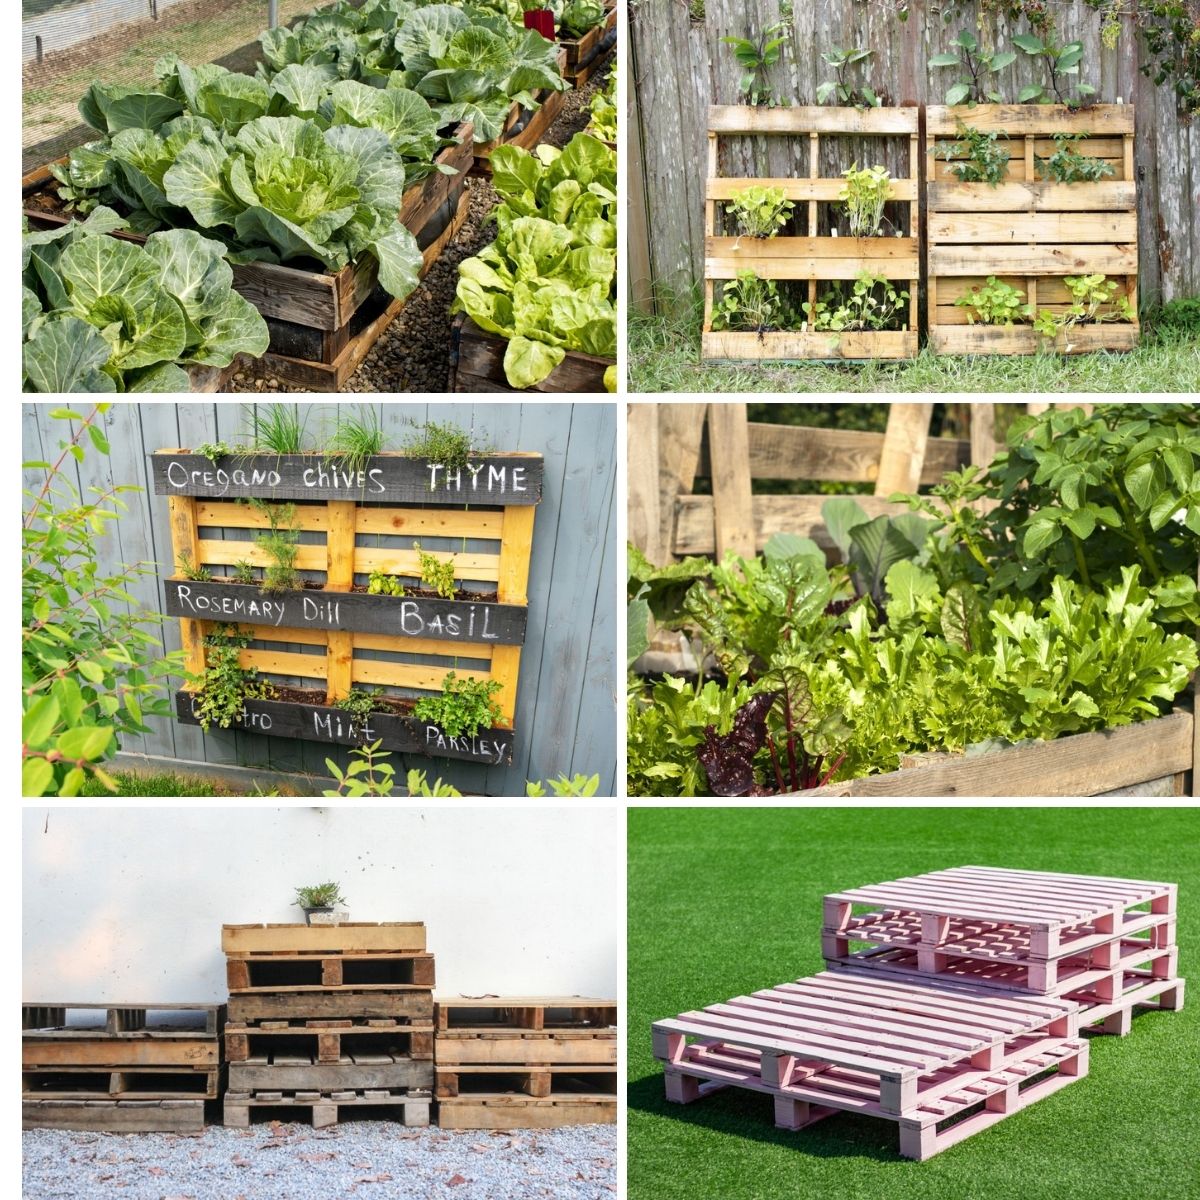
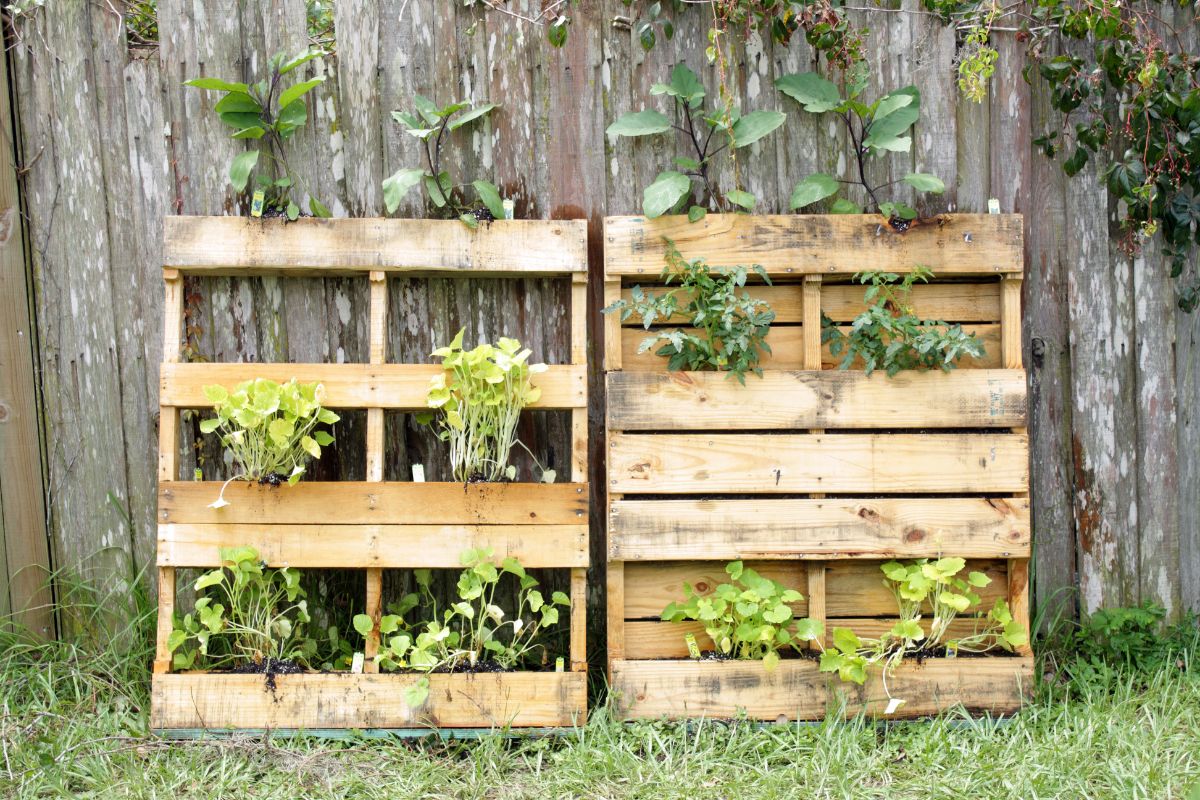
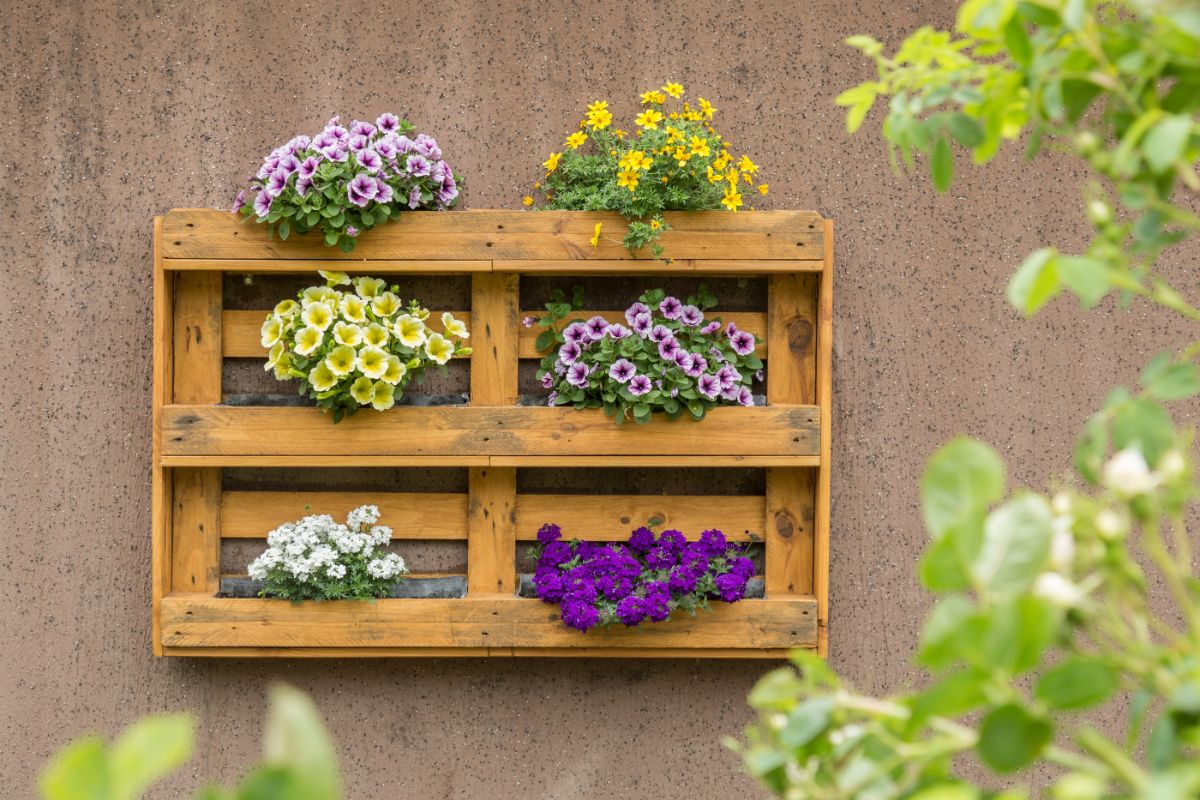
Growing in a pallet is an easy way to make quick work of your gardening chores. Pallets have certainly received their fair share of press from homesteaders, crafters, and DIY-ers alike in the last few years. From making your own end tables to cute farm fences, is there anything that an upcycled pallet can’t do?
If you’re looking for an easy way to approach your garden next growing season, consider these tips on how to make and grow in a pallet garden.
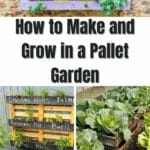
How to Make and Grow in a Pallet Garden
There are tons of ways to grow a garden from using raised bed gardens to the brilliant self-watering containers gardens. A pallet is a wonderful option for those who like the rustic style or have a lot of pallets for free that can be put to use. There are tons of tips and tricks to share and below are the best to help make your pallet garden a success!
Why You Should Grow in a Pallet Garden
If you spend any time on Pinterest or Facebook, you’ve probably already noticed the rapidly expanding pallet gardening trend. But what’s so great about it?
Wood pallets are not only easy to come by, but they’re usually free, too. You can make your own pallet garden for less than $25 at home and it will create a colorful, beautiful, and unique addition to your garden.
Not only that but growing in a pallet garden is a good choice if you have limited space. You can grow more plants in a limited area, even if you need to grow vertically due to your containers. Growing in a pallet often reduces your chores related to weeding and pest control, too, since it’s more difficult for both of these to get to your plants.
How To Make a Pallet Garden
It starts with a few supplies and easily turns into the garden of your dreams. Below you will find the best method of preparing your own pallet garden for success.
Get the Pallet and Other Building Materials
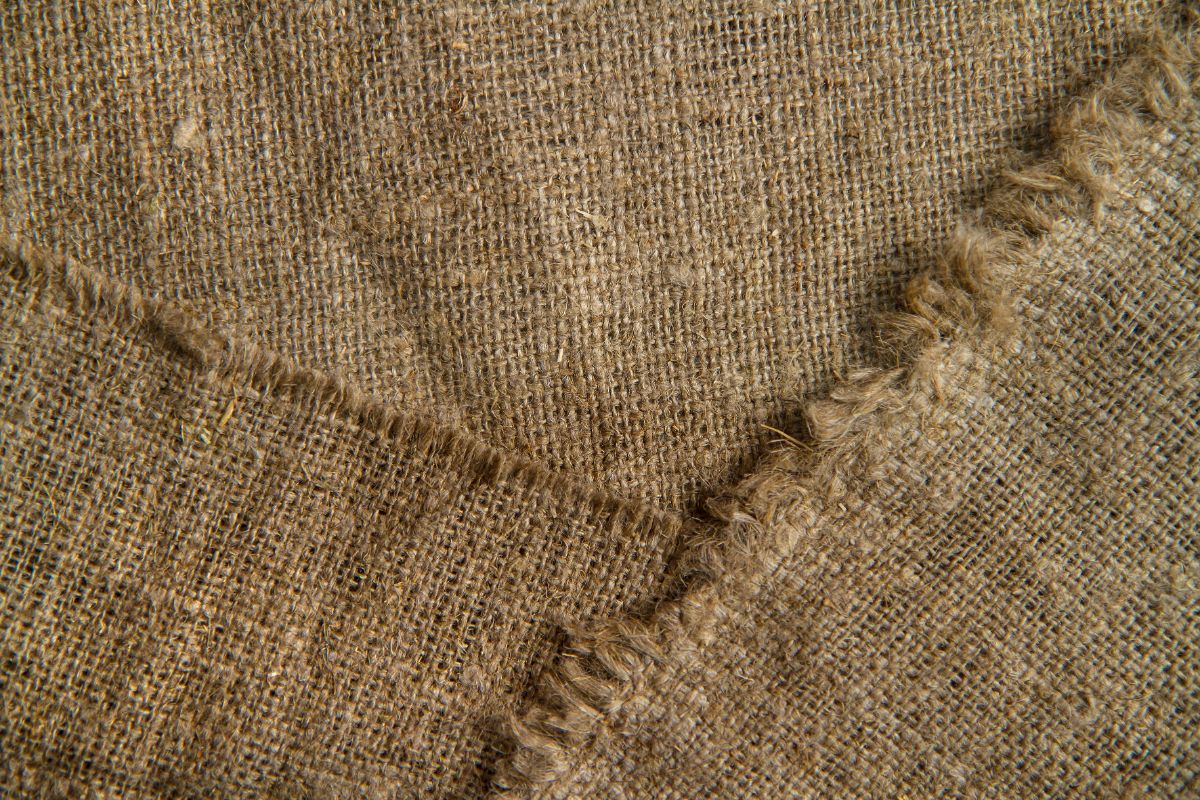
This project has a pretty simple shopping list - all you need is a pallet, a bit of burlap sheeting, some paint (optional), and your soil and plants.
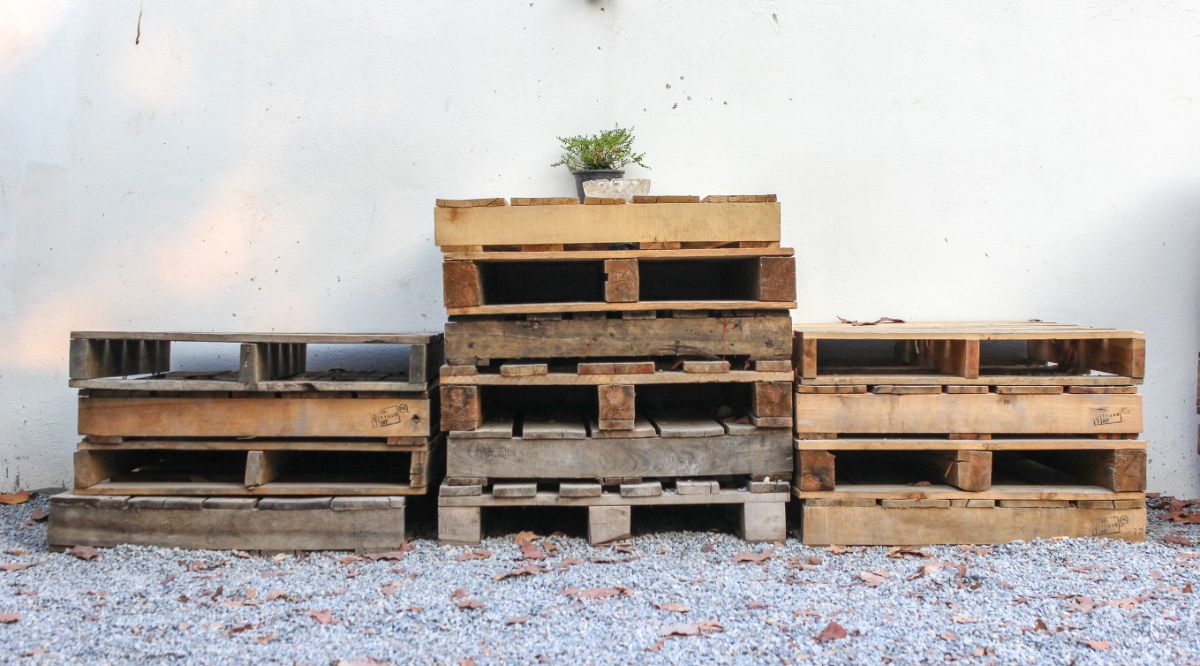
The hardest part will likely be finding the pallet - and even that shouldn’t be too much of a challenge. Pallets are everywhere! Look on Craigslist or Facebook Marketplace and you’ll likely find hundreds of people giving them away for free in your local area.
Try to find out that is not made out of pressure-treated wood and clean it off before you use it. Inspect it carefully for stray nails or bits of splintered wood. You might want to sand it down before you start working with it, too.
Paint the Pallet
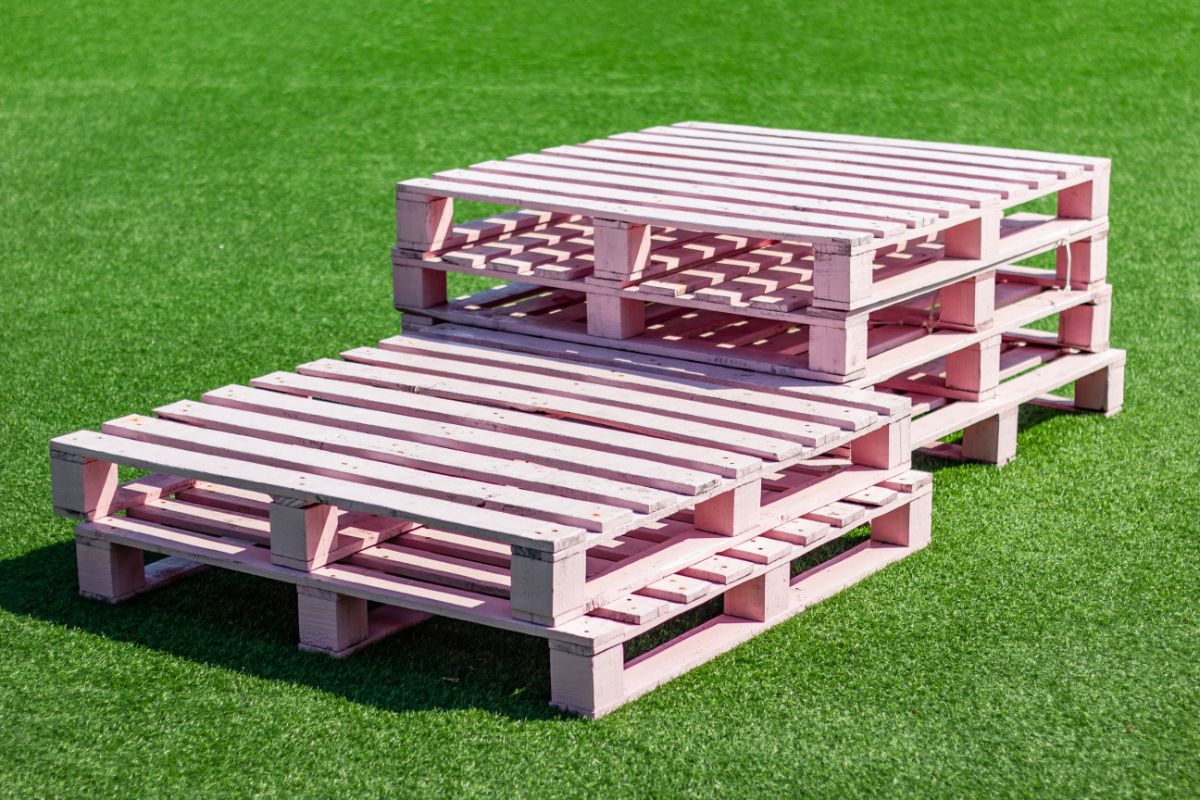
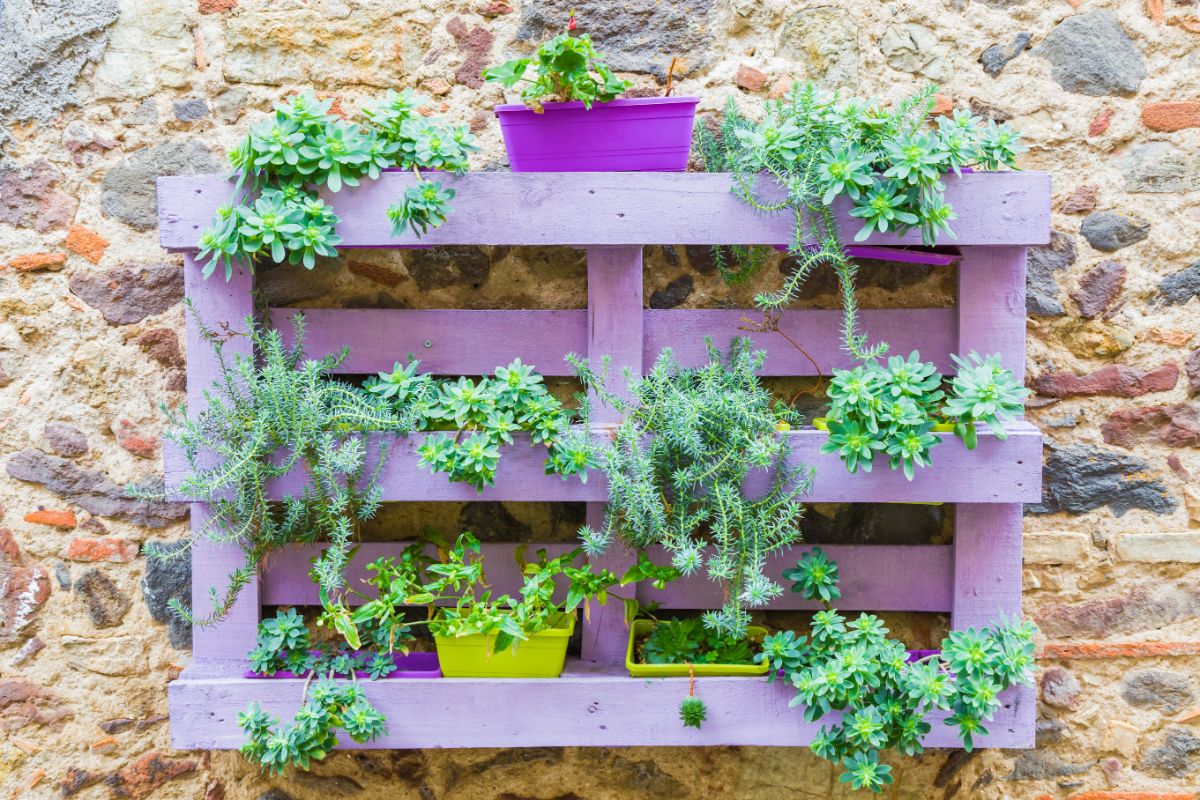
Painting your pallet is a good idea for two reasons - one, it will help you add some serious style to your new planter! Two, it can help seal the pallet against the elements, making it last a bit longer if you plan on keeping it outdoors in all kinds of weather.
You may want to brush the pallet off with a wire brush before painting to give you a nice, even surface to work with. Give it a few good coats and allow it to sit for an hour or two to dry. You may want to paint on a drop cloth or on the grass so you don’t end up with a very colorful new back deck!
Position Your Pallet
After the paint dries, if you choose to paint your pallet, go ahead and get it into position. You will want to prop it against the wall where you intend to mount it. Use a level to make sure it is aligned, then install it to the wall with a few L brackets (if you intend to hang it - if not, you can skip this step).
When you have the location picked out, go ahead and remove the pallet so you can finish preparing it for planting.
Add Some Burlap Sheeting
Next, you need to add some burlap to the back of your pallet. It’s important that you follow this step carefully and don’t skip it. The point of the burlap is to hold the soil in place and provide your plants’ roots with room to grow. The burlap needs to be well-secured so that you don’t have soil leaking out or suffer a rip, both of which can completely ruin your new pallet garden.
Staple liberally, leaving about four inches or less between the staples. The entire pallet needs to be stapled except for one side - that side will be where you pour water and soil in to feed and support your plants.
Have leftover burlap? Get crafty with these fun burlap projects around the house!
Prepare Your Soil
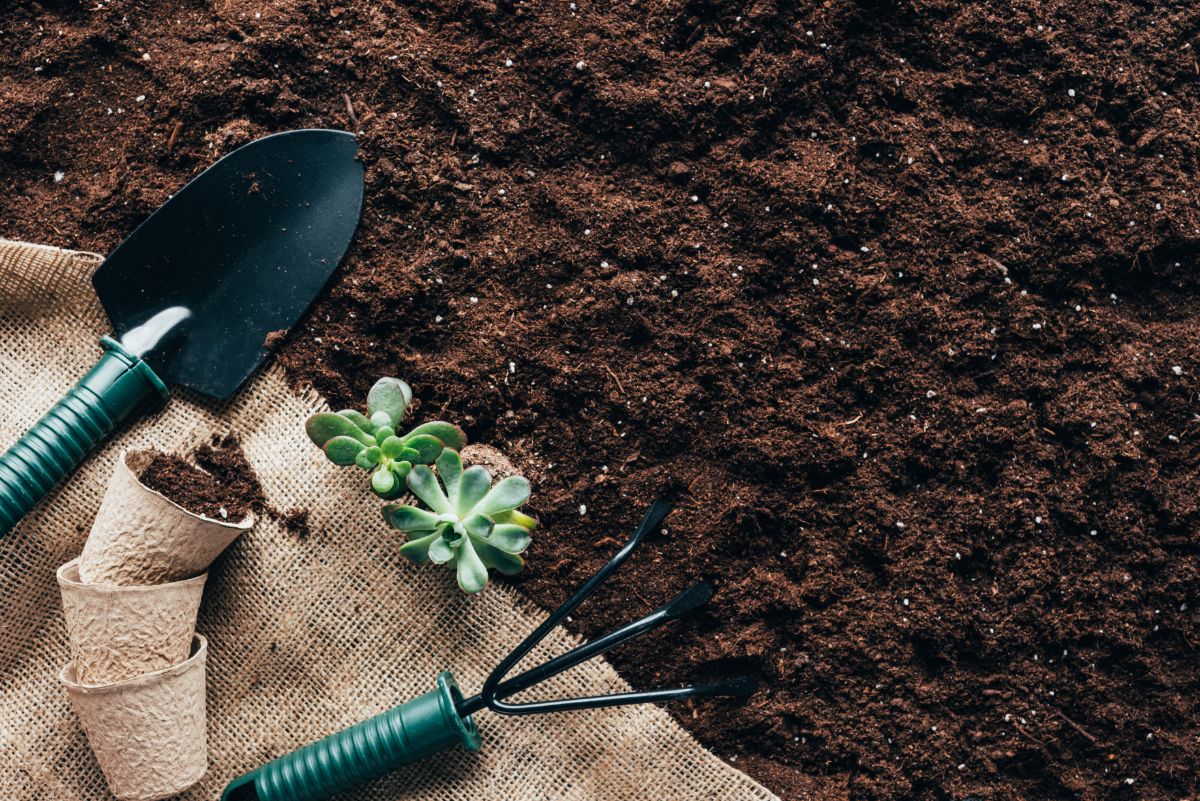
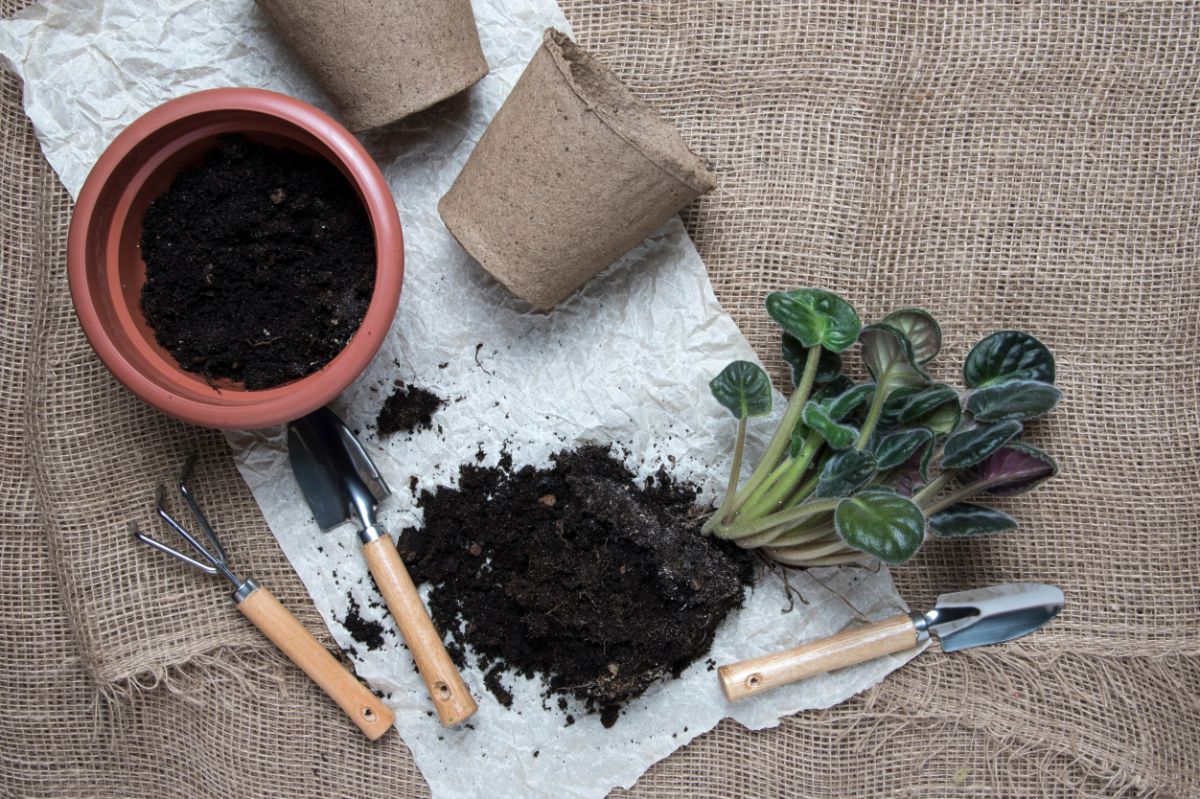
Now it’s time to add some soil. Any kind of soil will do, but the best will be organic potting soil or seed-starting mixture that is meant specifically for the application at hand. Try not to use soil directly from the garden, as this could harbor insect pests and pathogens that might harm your developing plants.
You’ll want to lay your pallet horizontally on the ground to do this - the burlap will hold it in place for now. Pack the soil into the slats. Once you plant, the roots will take hold, spread, and create more structure in the soil - this will prevent all the dirt from falling out of your pallet.
Plant Your Seeds or Seedlings
Next, keeping the pallet horizontal, you can plant your seeds or seedlings. As soon as they’ve taken root (in about a week or two), you can return the pallet to its upright position and attach it to the wall or other structure, if so desired. You can also leave it positioned vertically - something you’ll learn about more later on in this article.
If you choose to hang your pallet garden, use strong L-shaped brackets, as mentioned, or concrete screws. The garden will get quite heavy over time!
Maintain Your Pallet Garden
Once your seedlings have emerged and rooted into your pallet garden (and you’ve hung it on the wall!) it likely looks pretty fantastic. However, there are still a few more steps you need to take in order to care for your plants.
For the most part, these are the same steps you would take if you were growing a garden anywhere else. You need to make sure you water, weed, and fertilize your plants just as you normally would - but fortunately, your wedding chores will be virtually nonexistent since it’s so difficult for weed seeds to penetrate your “pallet fortress.”
At the end of the growing season, you can lift it from the ground and simply transport it to your storage spot or move it to next year’s location. It’s as easy as that!
One Other Option: A Horizontal Pallet Garden
If you’re reading this article, chances are, you want to grow a vertical pallet garden the likes of which you’ve seen on social media. However, did you know that you can also grow in a pallet horizontally?
This won’t provide the same space-saving benefits but it’s still a good alternative to growing straight in the ground. All you have to do is lay the pallet flat on the ground wherever it is you would like to plant. Of course, you'll want to follow the same steps as listed above for choosing and preparing your pallet (and you can always paint it, too, if you’d like).
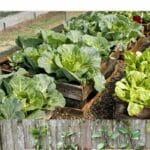
The benefit of growing in this manner is that the slats of the wood offer free weed control. It’s a great planting method for smaller, more compact plants like leafy greens and green beans. You don’t have to worry about weeds popping up between the rows of plants, and the plants’ roots will still be able to access water as you’ll be planting in the spaces beneath the slats.
Genius!
Tips for Growing in a Pallet Garden
Growing in a pallet garden is a great idea for so many of the reasons we’ve already outlined above. However, there are a few things you should know before you start to plant.
First, you need to use the right kind of pallet. Some industrial pallets contain chemicals that can leach into the food that you plan on eating later on down the road. Just how much and what kinds of chemicals are two topics that are still up for debate, but it’s probably not a good idea either way.
Therefore, you’ll want to pick the right kind of pallet. Avoid using pallets with oil marks or broken pieces. Choose one with fresh, clean wood that was treated with heat instead of chemicals. You’ll know that your pallet meets this mark if you see the stamp “HT” on it - which means heat treated.
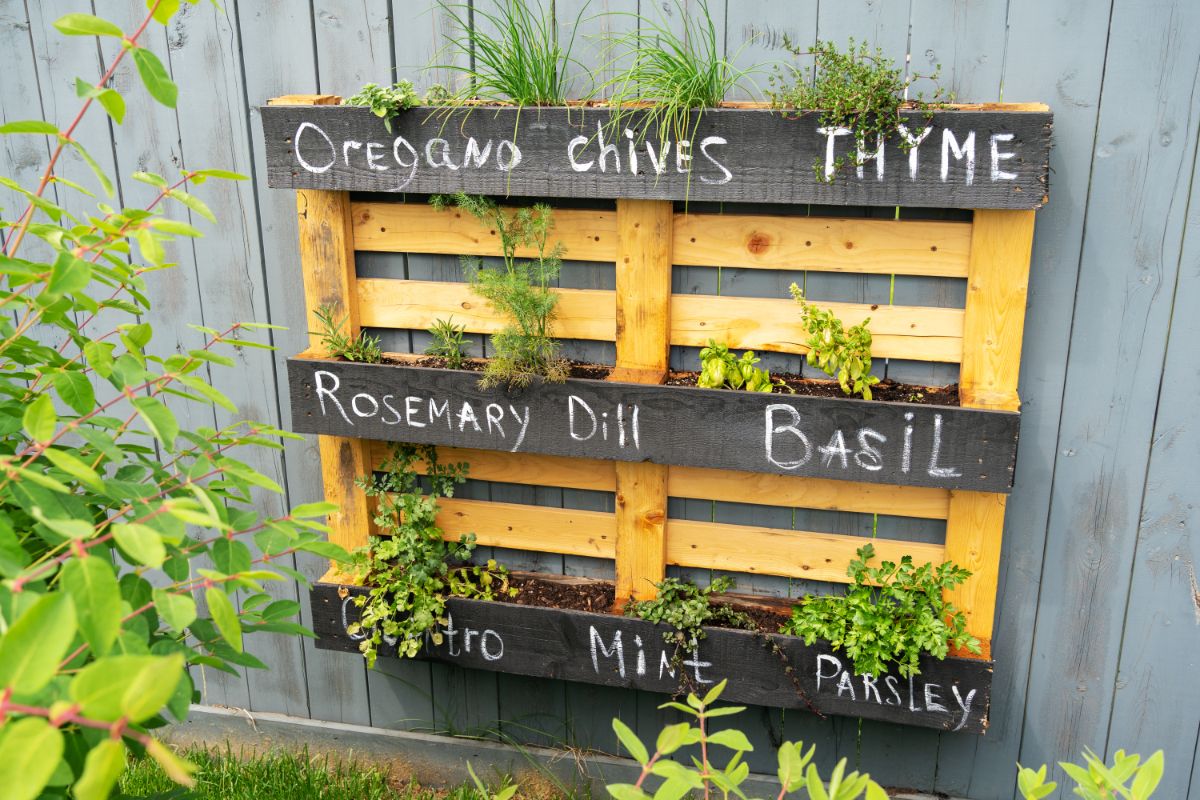
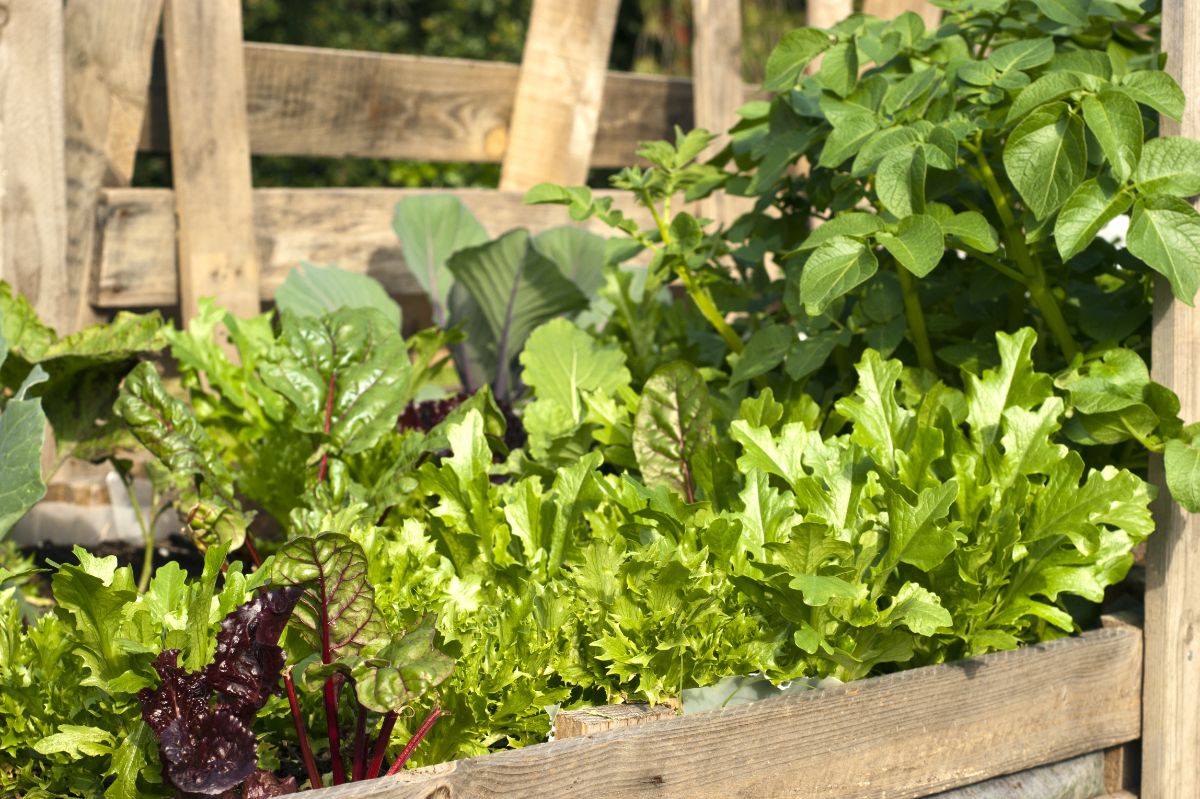
Choose plants that will grow well in your pallet garden. Usually, things like leafy greens and herbs are a good choice, but in general, anything compact will work. Water your pallet garden regularly, and feel free to get creative!
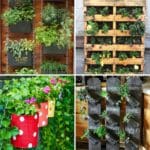
You can grow both a vertical or a horizontal pallet garden by growing directly inside the slats, or you can use the pallet garden as a backdrop upon which to nail hanging baskets or plants. The choice is yours!
However, you choose to grow in your pallet garden, feel free to get creative. There are plenty of ways you can make this fun project your own. If you have lots of pallets check out our pallet diy collection here with fantastic pallet furniture ideas.


Gerrie
Looks fantastic beautiful and easy to make. I live in Chicago when is a good time to start with plants.
Reggie
I love your creativity
Pixie Hillard
I'm very excited to get started on my garden.
Thank you so much