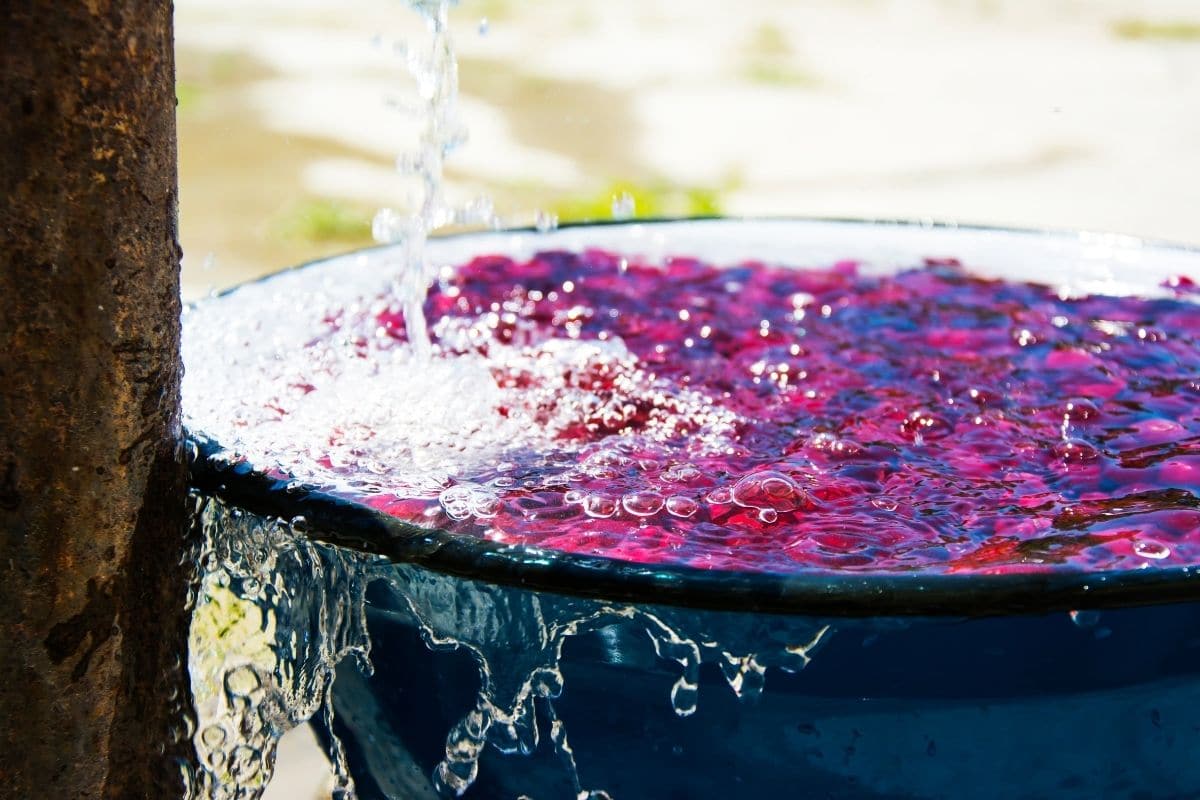
Rain barrels are tools you can use to collect the rainwater that falls from your roof—it’s free water! If you have a 1,000- square-foot roof, you have the potential to collect more than 600 gallons of water from a single one-inch rainfall. While you may not need to collect this much water every time it rains, collecting even a small portion can make a big difference in your water bill if your home is connected to a city water source.
Many worry about the cost of purchasing and installing a rain barrel system, and while some more complex systems can start to get expensive, there are also many inexpensive options. Perhaps the most cost-efficient way to obtain a rain barrel is to make one yourself! This can be both a fun and financially savvy activity for a family or individual.
How to Build a Rain Barrel
There are a number of different ways to build a rain barrel depending on how much water you want to collect, how much money you want to spend, and what materials you prefer working with. While not every homemade rain barrel is going to look the same, the same general guidelines should be followed in most cases.
While you may use some of these DIY irrigation systems or even a drip watering system in your garden, the rain barrel is a great way to save money to make those methods work.
1. Choose Your Barrel
When creating a rain barrel, the first step will generally be choosing and obtaining a large, clean barrel to act as your collection tank. A fairly common size for these barrels is 55 gallons, although any sized barrel has the potential to be used as a rain barrel.
Although you may not be collecting rainwater to drink or cook with, it is still recommended that you use a food-grade container to act as your rain barrel. These containers are built to hold liquid without deforming under the weight and won’t leach any chemicals into your freshwater.
Depending on your rain barrel setup, you may want to choose a barrel that has a lid, or a barrel for which a lid can be fitted. Lids are a good way to keep debris out of your water and are a convenient way to cap off your water when you are storing it for future use.
If you purchase a rain barrel ready to go you may like this 50-gallon rain barrel that is designed to be easy for anyone to use.
2. Create a Water Inlet
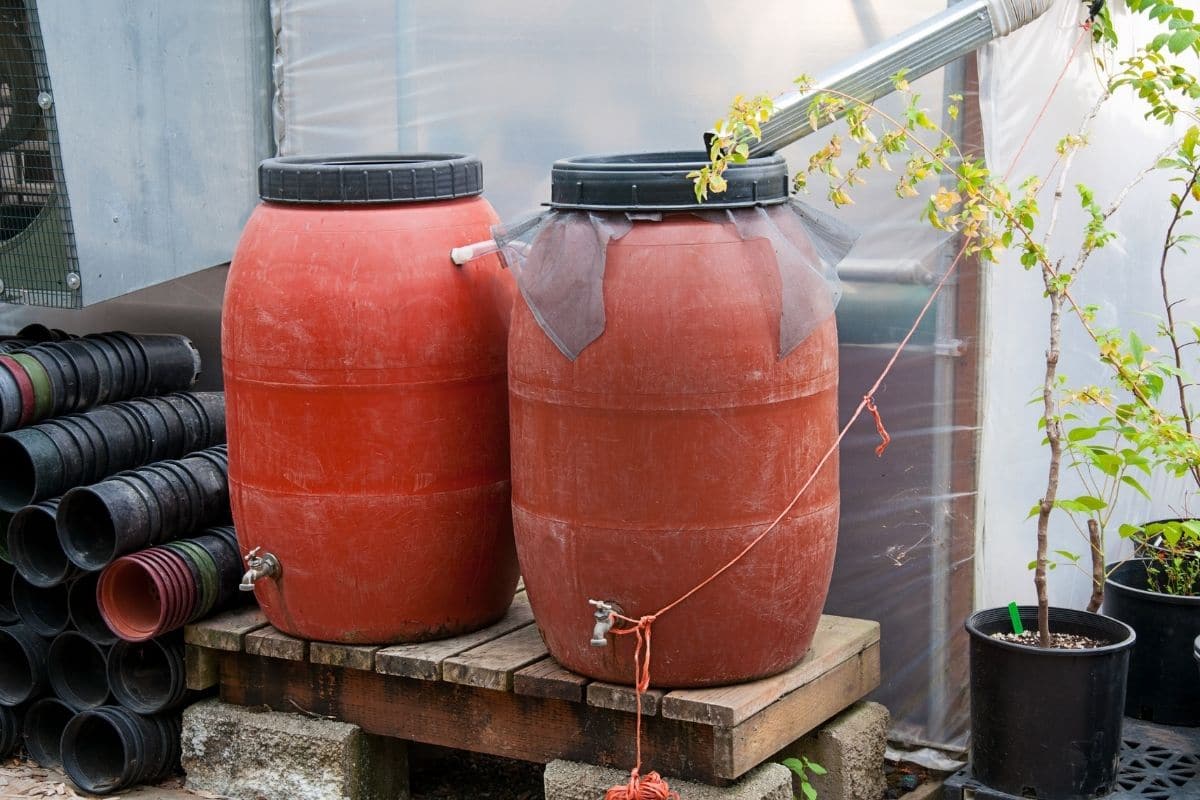
Once you’ve chosen a barrel for water collection, you will need to create an inlet for the water to enter the barrel. There are two main inlet options that you can choose based on whether your barrel as a lid or not. If you do keep a lid on your rain barrel, you will need to drill a hole in your lid and attach rubber tubing for the water to flow through on its way into the barrel. This tubing is usually attached to a roof gutter with a converter that funnels the gutter water into the mouth of the tubing.
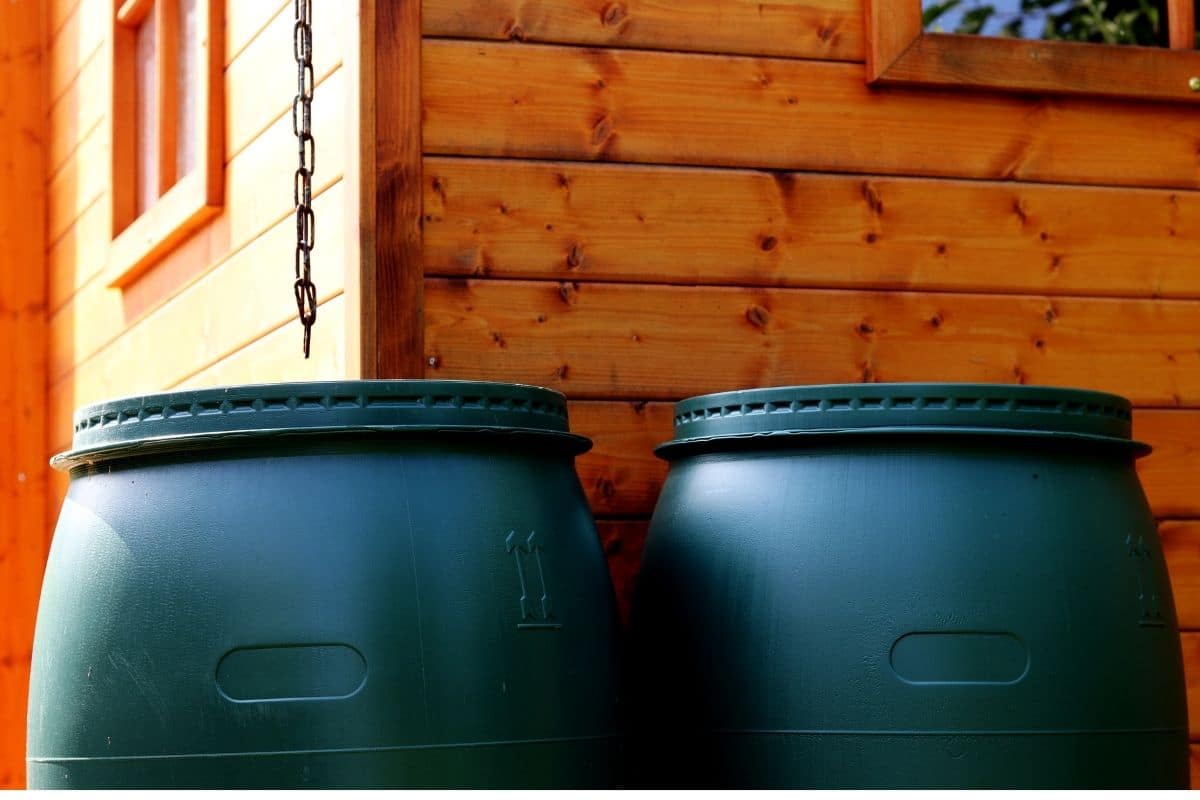
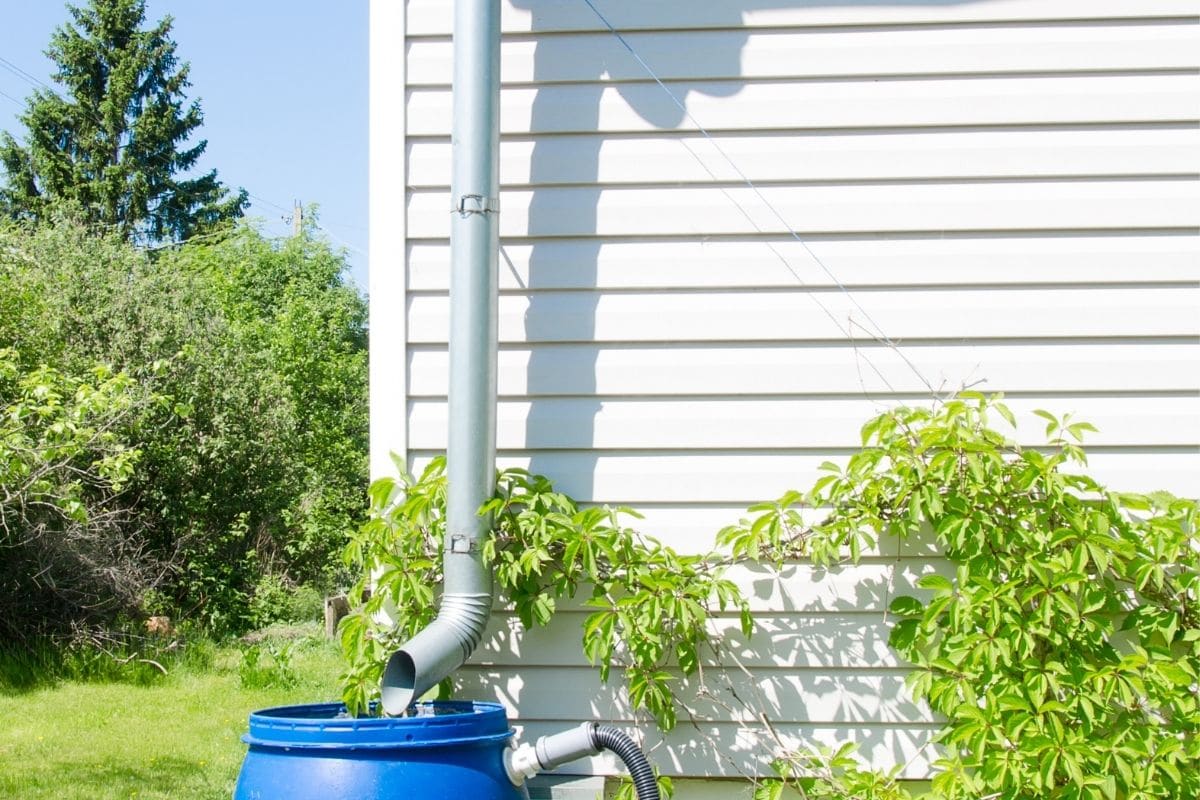
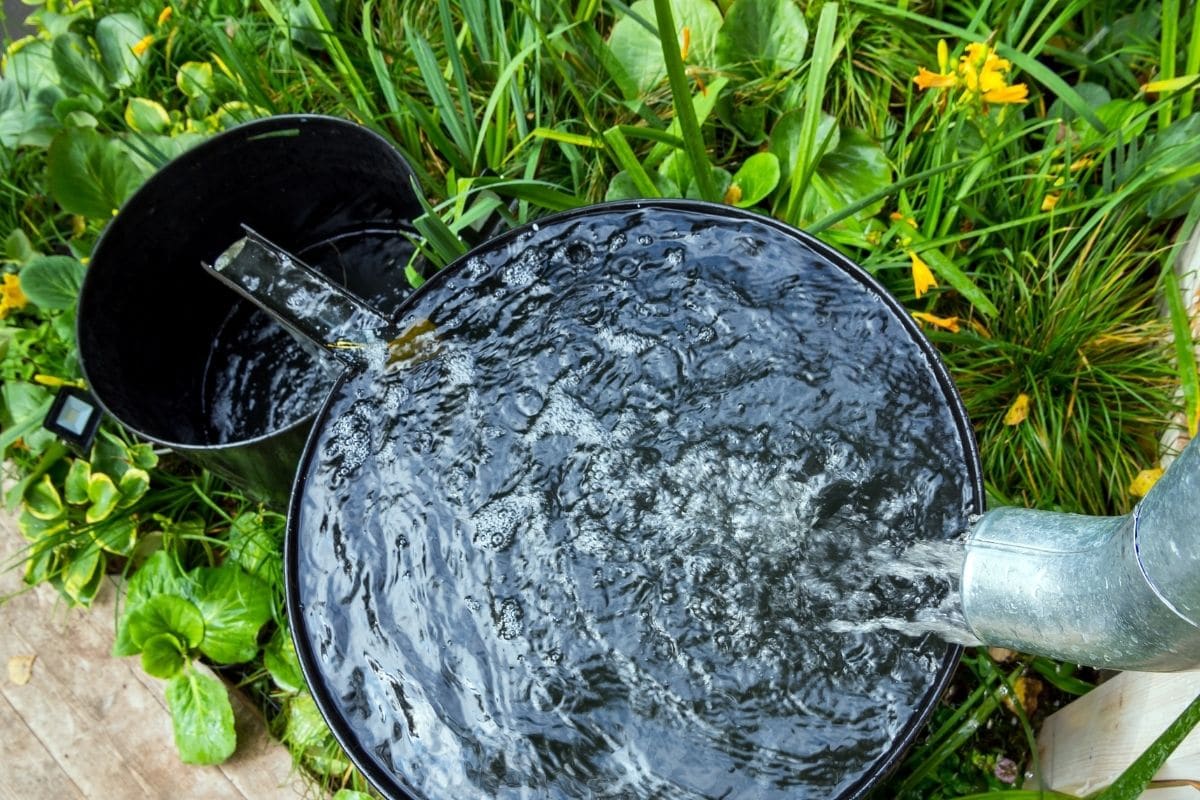
If your rain barrel does not have a lid, you won’t need to bother with the tubing mentioned previously. Many open-top barrels are fed directly from the gutter downspout which can be shortened or lengthened to lie directly at the mouth of the barrel. To avoid debris from entering your rain barrel, consider adding a net or grate which freely allows water to flow through while blocking any large, unwanted items.
3. Account for Overflow
While it may be counterintuitive to divert water away from your rain barrel, you will need to account for overflow. As mentioned previously, a single rainfall can produce hundreds of gallons on a single rooftop alone. With the average rain barrel only being able to hold 55 gallons at a time, you will be left with plenty of excess water that you don’t need to collect.
The reason why excess water diversion is important is that your rain barrel water collection system is designed to direct the water that falls onto your roof directly to the rain barrel. Once the barrel is full, all of that water will start to pool around the rain barrel, potentially leading to weakening foundations or even basement flooding.
There are two primary options for handling your water overflow. The first is by drilling a hole near the top of your rain barrel and attaching a hose away from your house—this is where the water will be directed.
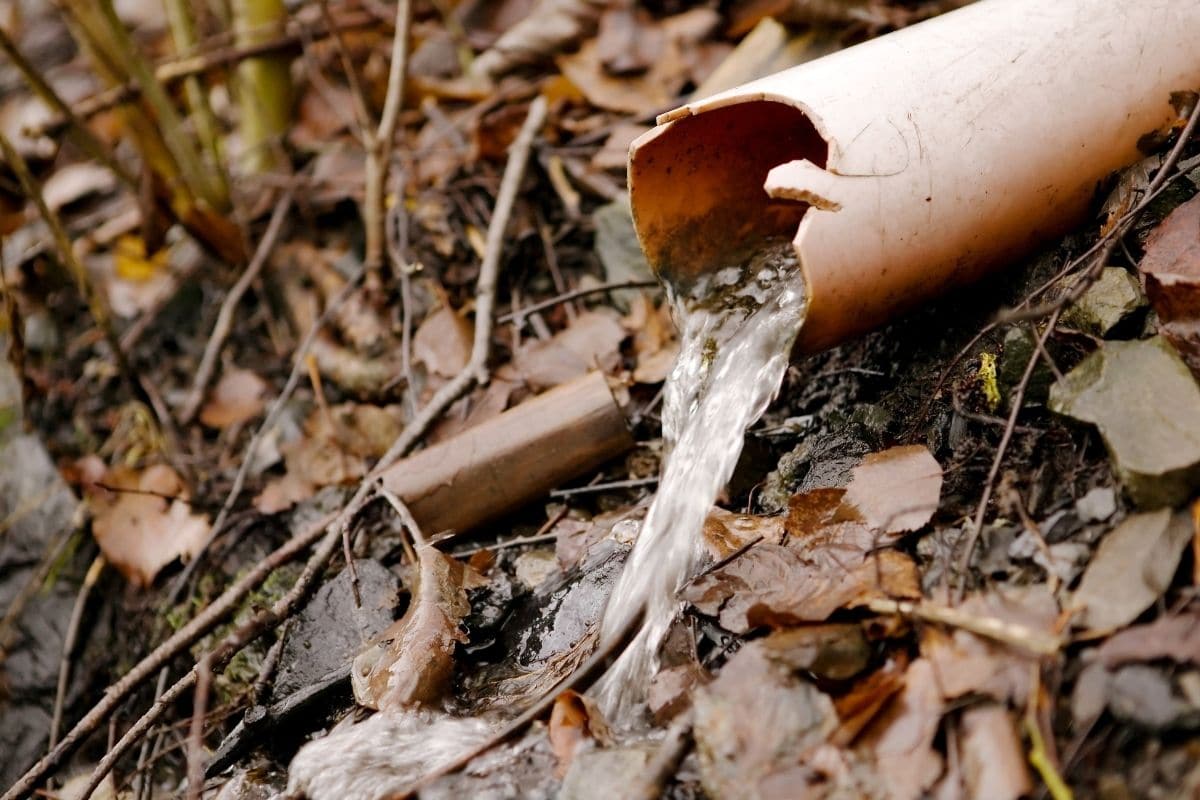
Once the water reaches the overflow hole, the water will start to run out through the attached hose and away from the home. Another option for overflow is to purchase a downspout diverter which automatically closes access to the rain barrel once it is full and diverts any remaining water through the downspout system and away from your home.
You can buy a rain water diverter kit that has most everything needed all in one kit together for this project. Sometimes, while it may be a bit more expensive, it is worth it to not have to run all over to find the needed items.
4. Outlet for Using Water
When using a rain barrel, water collection is only the first step. Once you’ve successfully collected rainwater, you need a way to access the water for use. While the simple option is to bail out water with a bucket, there is a better way—and it involves drilling another hole.
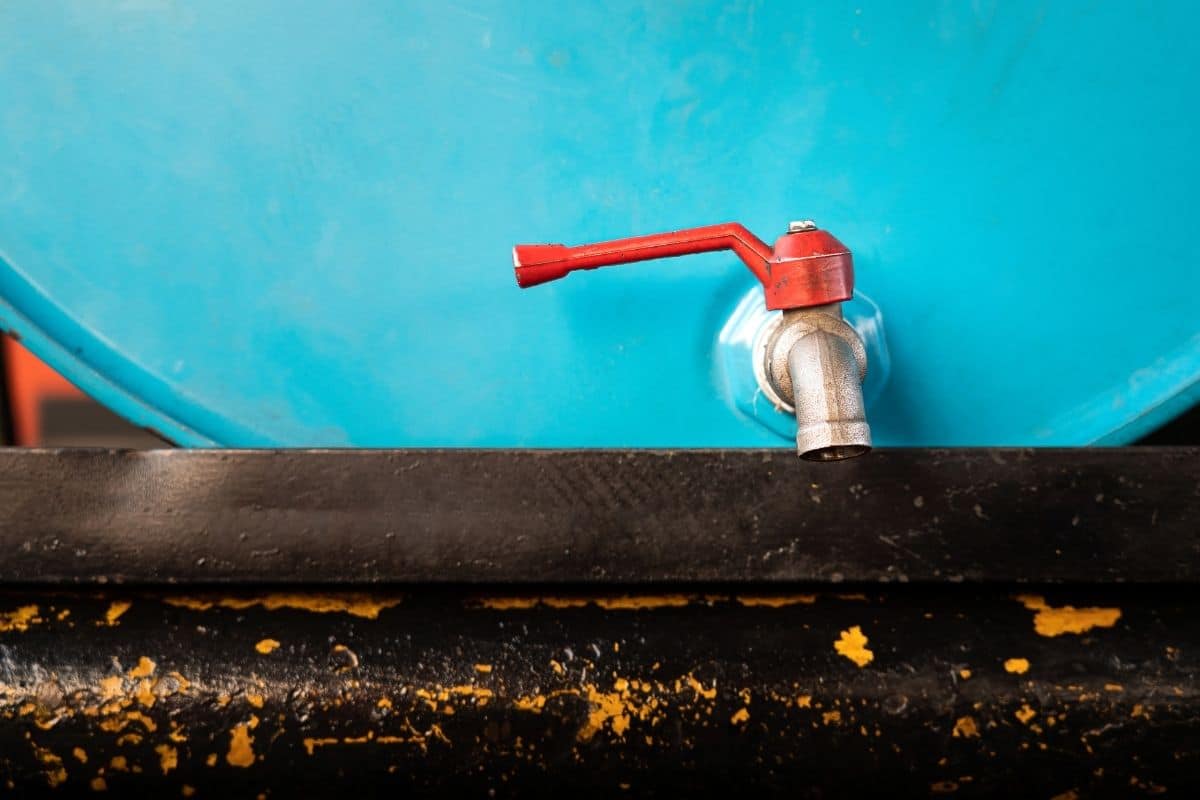
To create an outlet for water from your rain barrel, you will want to drill a hole towards the bottom of your barrel and attach a spigot. By adding a spigot to your rain barrel, you will be able to twist the knob like you would a spigot attached to your home and fill watering cans or even attach a hose for watering your garden.
This rainwater barrel has a spigot already built-in, and looks like a wooden barrel but is actually made of plastic. A very unique style that is affordable for some.
5. Linking Port
If you have plenty of uses for your collected rainfall, you may want to consider adding a second or even third rain barrel to your property. Instead of creating a whole new setup for each barrel, you can link the barrels together to avoid additional water diversion systems. There are two ways to link additional rain barrels together.
The first method of linking your rain barrels is very similar to how you would create an overflow drain as mentioned previously. You would drill a hole near the top of your primary rain barrel and attach a hose, but instead of directing the hose away from your home, you will attach the other end to a hole cut in the same location on your next barrel. This method will completely fill the first barrel before starting to fill the second barrel—and so on and so forth for any additional barrels.
If you would rather fill your barrels at the same rate, the second method is to drill holes and attach the hoses toward the bottom of your rain barrels. Each method is executed the same way, but in a different location on your rain barrels. Which method you go with will most likely be up to personal preference, as both are equally effective.
6. Decoration
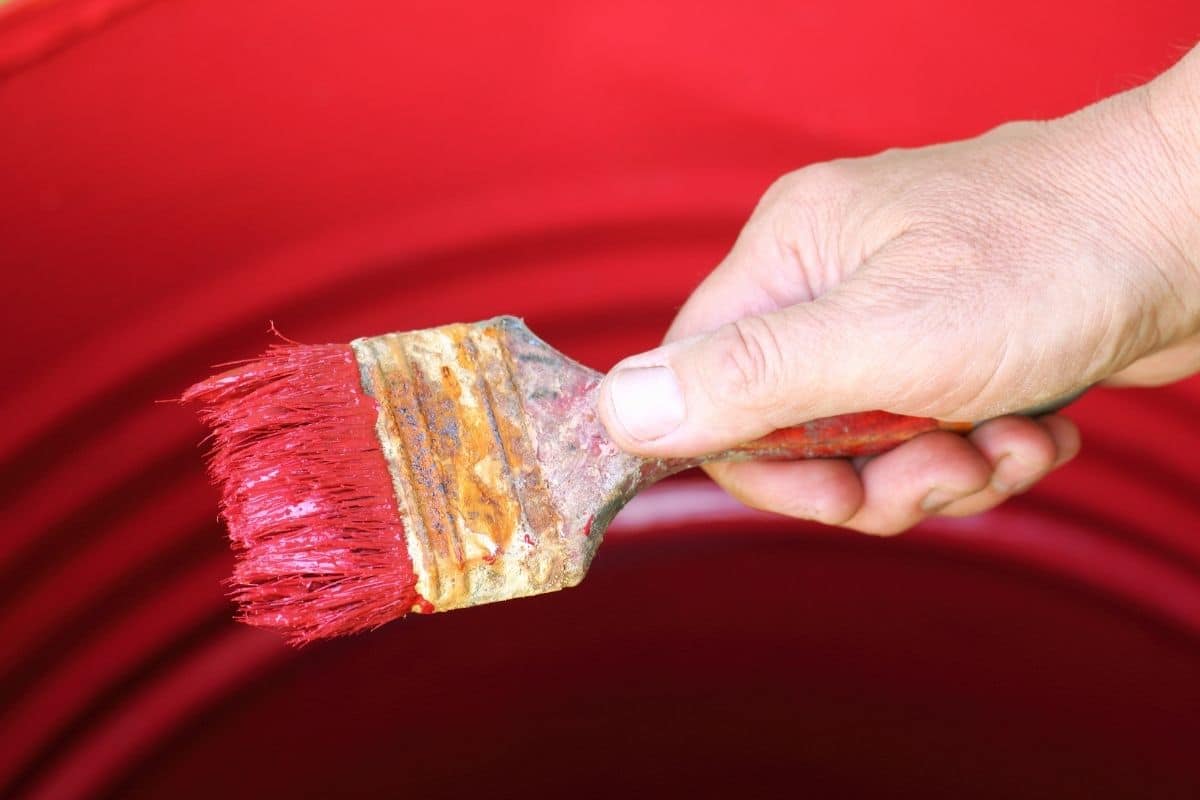
Arguably the best step in building a rain barrel is decorating it to your personal preference. While this step isn’t necessarily crucial, an undecorated rain barrel may add an industrial look to your home if not hidden well. Decoration may be as simple as painting your barrel to match the siding of your home, but you can also get creative and paint designs or let the kids decorate it for you—if you’re brave enough.
You can even use the rain barrel to fill things like these cute little water garden ideas that fit into your backyard and garden beautifully.
Why You Need a Rain Barrel
Rain barrels are more than just a trendy addition to your home—they serve multiple purposes. The benefits of a rain barrel are not only limited to the owner, but they can help the environment as well.
1. Save Money
Perhaps one of the most intriguing reasons for a homeowner to use a rain barrel is to save money on their water bill—if the home is hooked up to the city water system. While rainwater should not be used for consumption unless it’s run through a water filtration system, it is a great source for watering your plants.
Instead of using expensive city water to water your plants, why not use the free water that falls from the sky? In addition, since rainfall can be unpredictable, you can water your garden more reliably when you fill your rain barrel and save the collected rainwater for dry spells.
If budget is a consideration, you might also benefit from checking out these items you can upcycle in your garden. You may also need these helpful tips for filling raised garden beds on the cheap.
2. Conserve Drinking Water
If your home is hooked up to a city water source, the water that you use in your home has already been processed and is safe to drink. This processed water is not an unlimited source, and processing facilities put a lot of time and money into making the water safe. Instead of using this processed water for your plants, you can help conserve drinking water for drinking, and use rainfall for watering.
3. Better for Plants
Not only does water from a rain barrel save you money and conserve drinking water, but it is actually better for your plants—a win-win-win situation if you’re keeping track! City water often contains a trace amount of chlorine, which is added to kill bacteria that is harmful to people. While the levels of chlorine are not high enough to harm humans, they can be potentially harmful to young plants.
4. Reduces Runoff Pollution
Runoff pollution occurs when rainfall runs through the soil, fertilizers, pesticides, trash, animal waste, road salt, chemicals, and more, and deposits them into the waterways. This pollution can be harmful to human health and the health of aquatic life. While this cannot be completely avoided, any rain captured in a rain barrel will not contribute to runoff pollution, reducing the overall levels.
5. Reduces Erosion and Flooding
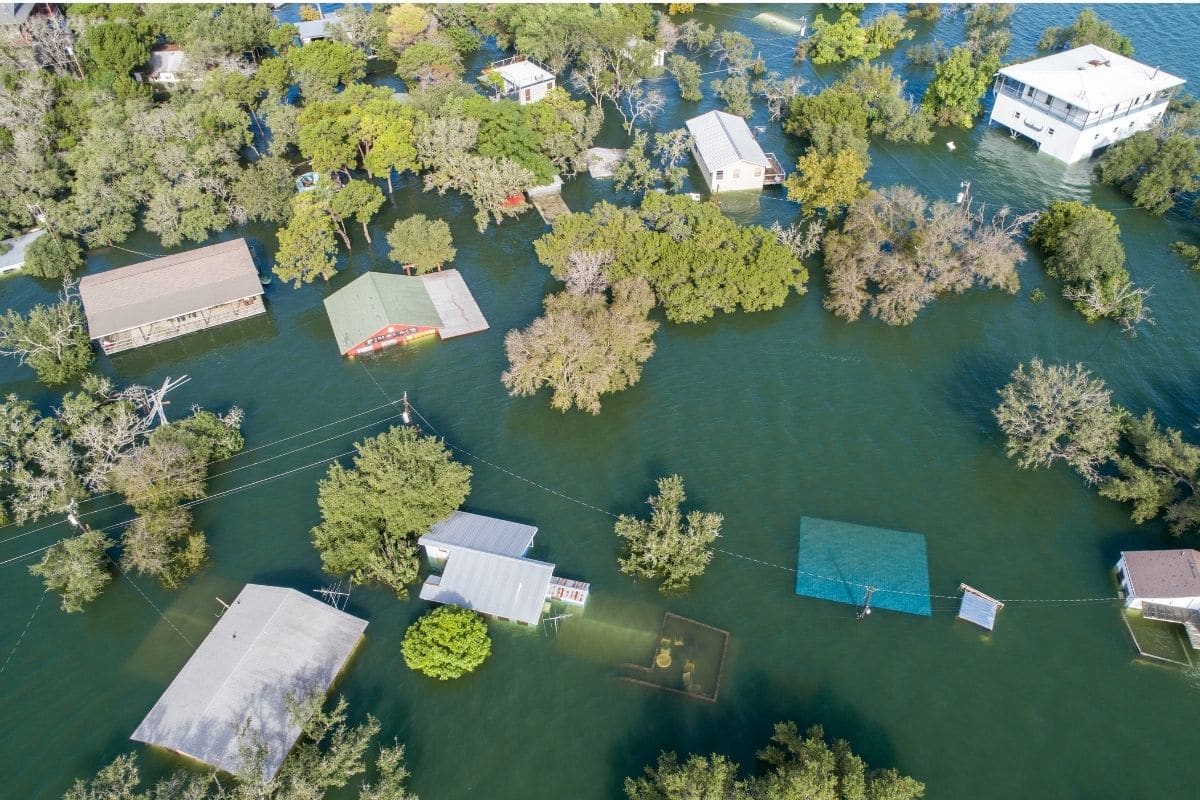
Stormwater runoff can be a culprit for both land erosion and flooding. If not properly diverted, land erosion can cause issues for the landowner by damaging structural foundations, altering farmland, and more. Flooding is also an issue that can cause damage to buildings on the land and crops growing nearby.
The use of the rain barrel system not only helps reduce erosion and flooding by reducing the overall amount of water getting to the ground, but it also helps to divert the overflow water to safer areas of land that are less likely to be harmed by erosion or flooding.
Check Local Laws On Rainwater Collection
Before starting your rain barrel project, it is important to check for any state laws that may be in place that restrict the collection of rainwater. While it seems unlikely that state governments would want to restrict you from collecting the rainwater as it falls from the sky, there are some states that still have laws in place.
Although some states do have restrictive laws, these laws have eased up considerably in recent years as scientists have found that the effects of diverting rainfall has little to no effect on our environment.
The state that is most notorious for rainwater collection restrictions is Colorado. While a law was passed in 2016 to ease restrictions, the current restrictions still include a maximum of two rain barrels per property with a combined maximum of 110 gallons. In addition, any collected rainwater must be used on the property where it is collected, and the water may only be used for lawn irrigation and gardening.
Colorado is not the only state with restrictions on rainwater collection in place, so check your state laws before investing in a system. On the other end of the spectrum, there are many states that strongly encourage the use of rain barrels, with some states even offering incentive programs for their residents.



Leave a Reply