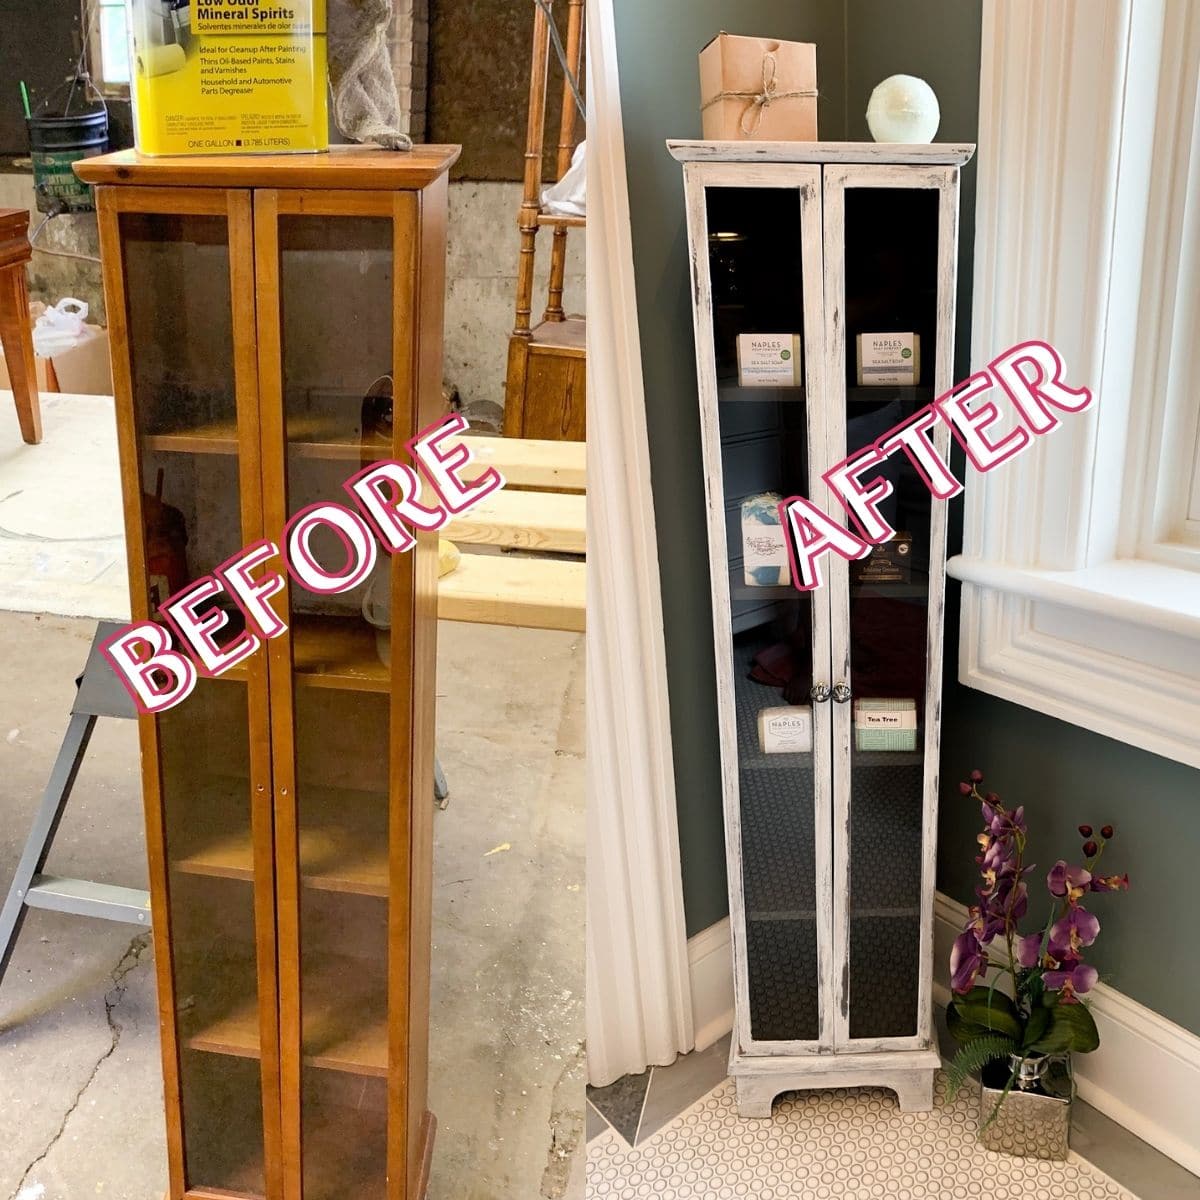
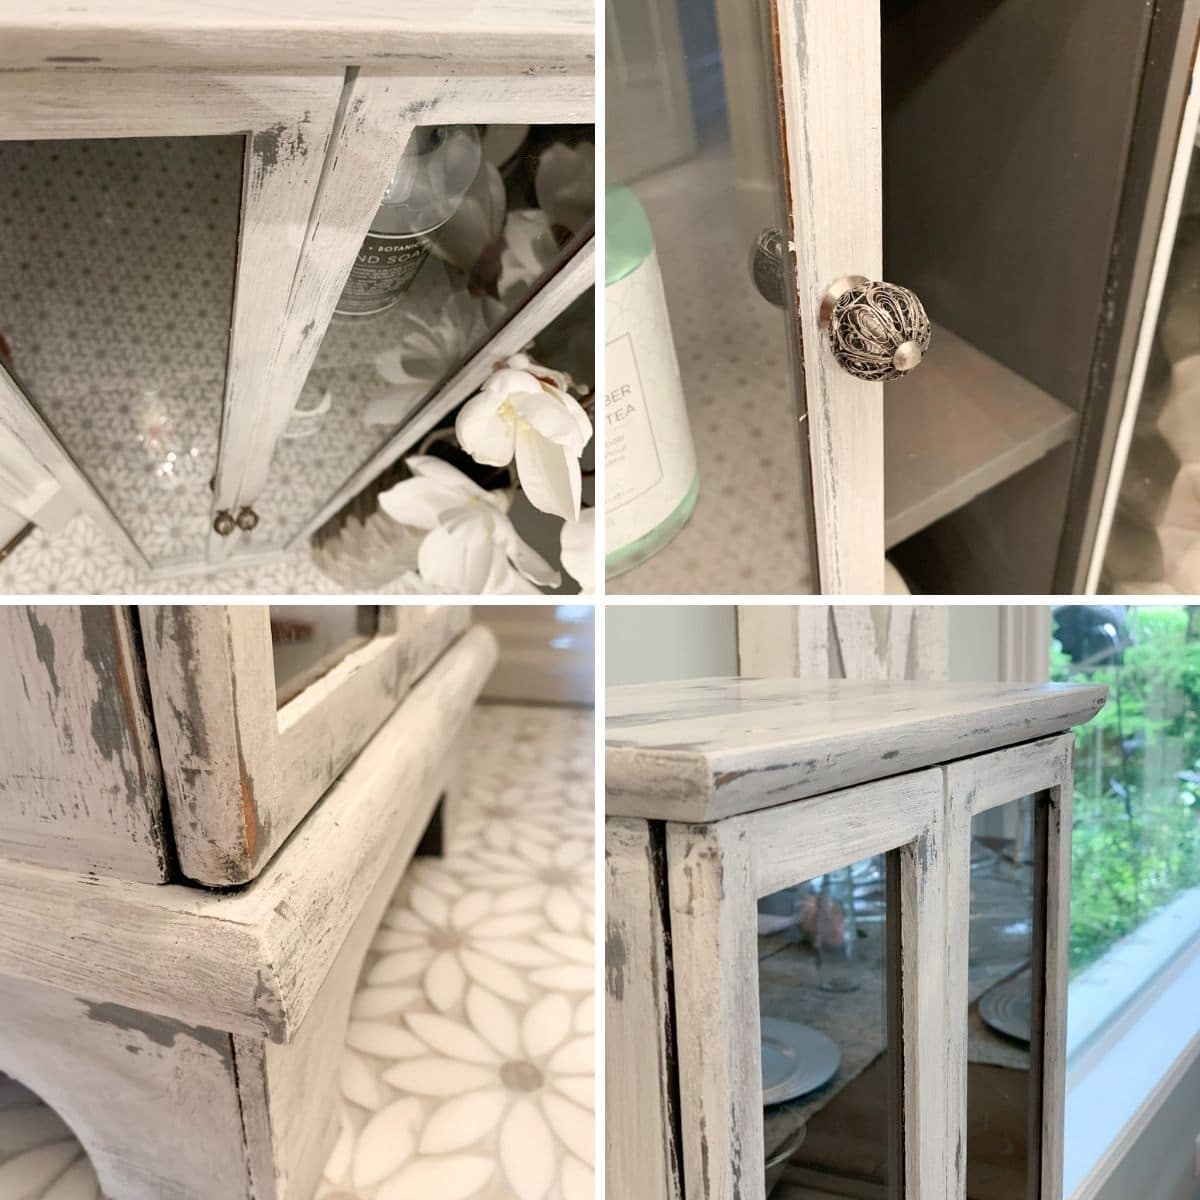
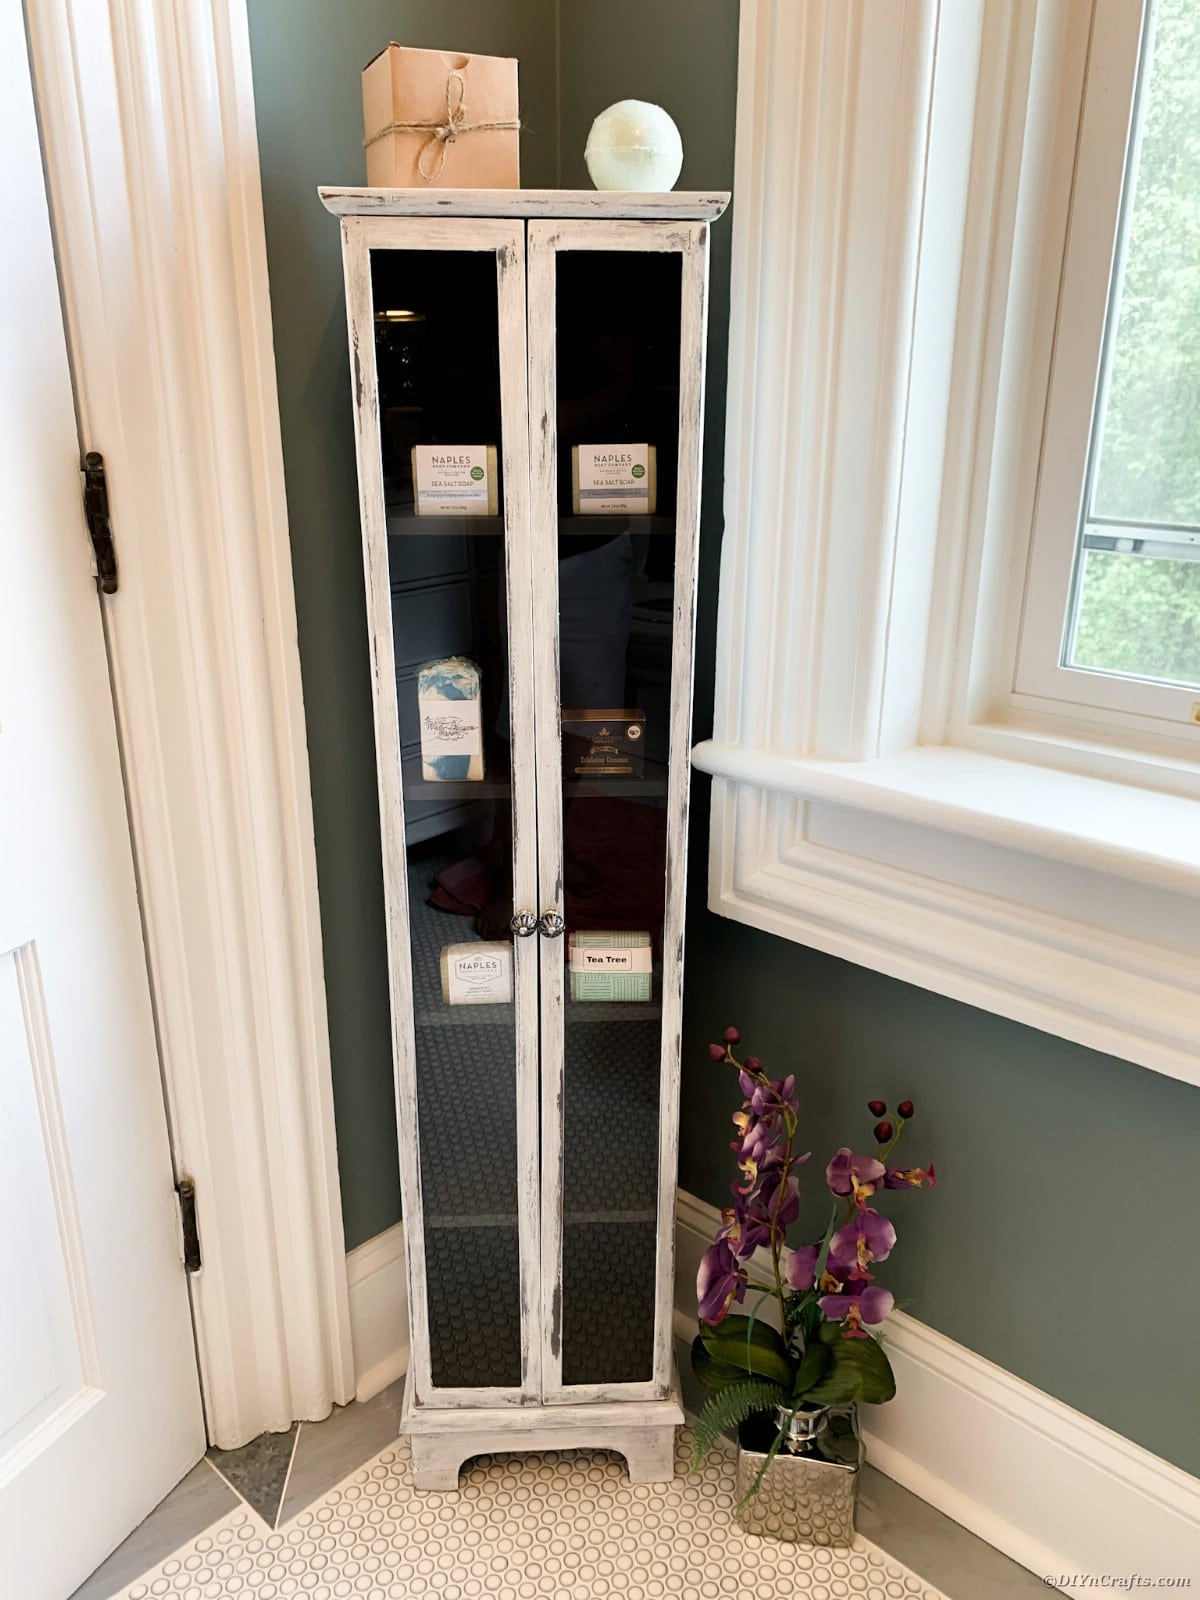
This absolutely stunning rustic curio cabinet restoration brings a lovely distressed look that fits beautifully into any modern farmhouse decor. A lightly weathered look makes this feel older than it is while keeping that sturdy base you want. If you love the modern farmhouse look or the idea of distressed or weathered wood, then you will definitely love this restoration project.
Curio Cabinet Restoration
Taking on a restoration project like this is not something you can do in minutes or even a single day. These projects are definitely a bigger process than you may be used to tackling, but the results are amazing and well worth the effort. This curio cabinet is a simple addition to any room in your home, and by restoring it yourself, you are sure to treasure this as much as you would a family heirloom.
We have shared other projects in the past, and if you want more inspiration you should check out some of those ideas below. They include restorations, DIY projects, and fun ways to repurpose items to turn them into great decor for your home.
- 30 Genius Ideas for Repurposing Old Bookcases
- 60 Furniture Makeover DIY Projects
- 40 Crazy Creative Spray Paint Projects
Where Can I Find Furniture to Restore?
While you may not be able to find this exact furniture piece, you can definitely find similar items to restore on your own. I love shopping for old furniture pieces, and while antique finds are amazing, it's the modern items that just need a new look that are best. Below are some places I like shopping for used furniture to use in restoration projects.
- Yard sales, garage sales, and estate sales in wealthier neighborhoods.
- Thrift shops and second hand stores. Favorites include Habitat ReStore and community salvage shops.
- Friends and family who are moving and getting rid of old furniture pieces.
- Flea markets and antique shops or shows.
Do I Need Experience to Do My Own Restorations?
No! While it helps to be familiar with different products, and sometimes tools, you don't have to have any prior experience to create something like this project on your own. A basic understanding of painting and sanding is necessary, but this tutorial is detailed and allows you to follow steps with extra tips so even a novice can make this project work for them.
If you have never worked with any furniture restorations, I recommend using YouTube to check out videos before you tackle this process. While step by step images help, sometimes it is handy to see something being done on video before you complete the project on your own.
If you are still hesitant to take this leap of restoration, you can start with some of these farmhouse wreaths, rustic kitchen signs, or even some fun little ways to repurpose wooden ladders. All give you beginner tips and small steps to begin the process of learning how to DIY your own furniture and decor.
What Tools Do I Need?
- Sand paper
- Foam brush
- Chalk paint brush
- Wax brush
- Lint free cloths
- Drop cloth
- Mineral spirits
- Petroleum jelly
- Dixie Bell chalk paints
- Dixie Bell waxes
Steps to Prepare for Restoration Project
Start by preparing your workspace, tools, and gathering all supplies. Then you will begin preparing the furniture itself for the restoration efforts. Below is how this process began and the steps that were taken to prepare for updating this curio cabinet.
- Place furniture in a clean workspace. If working in a garage be sure to sweep or blow all dirt and debris out of the area you will be working in. Lay a drop cloth down to ensure the paint does not drip and ruin your flooring.
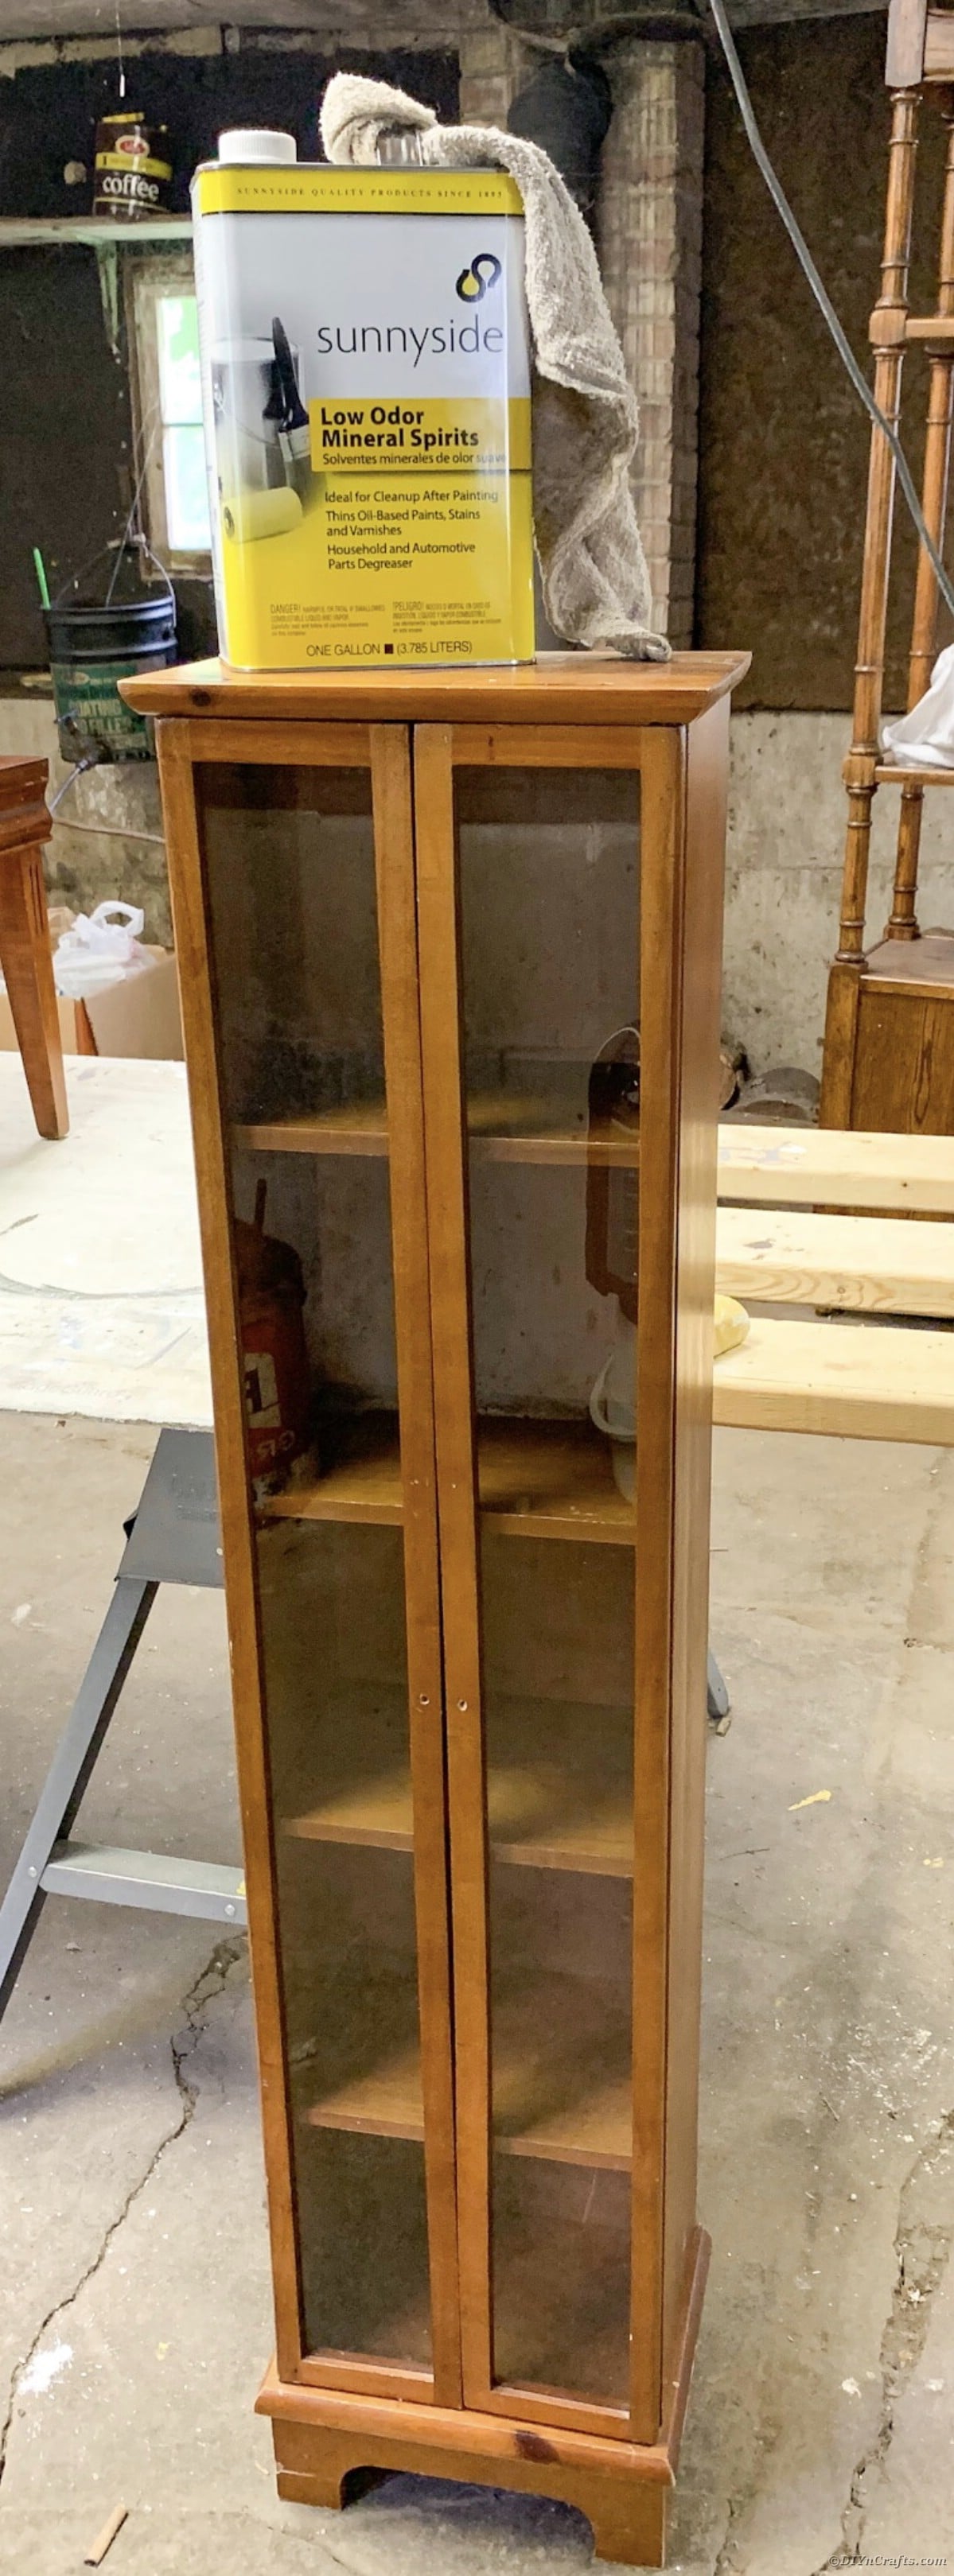
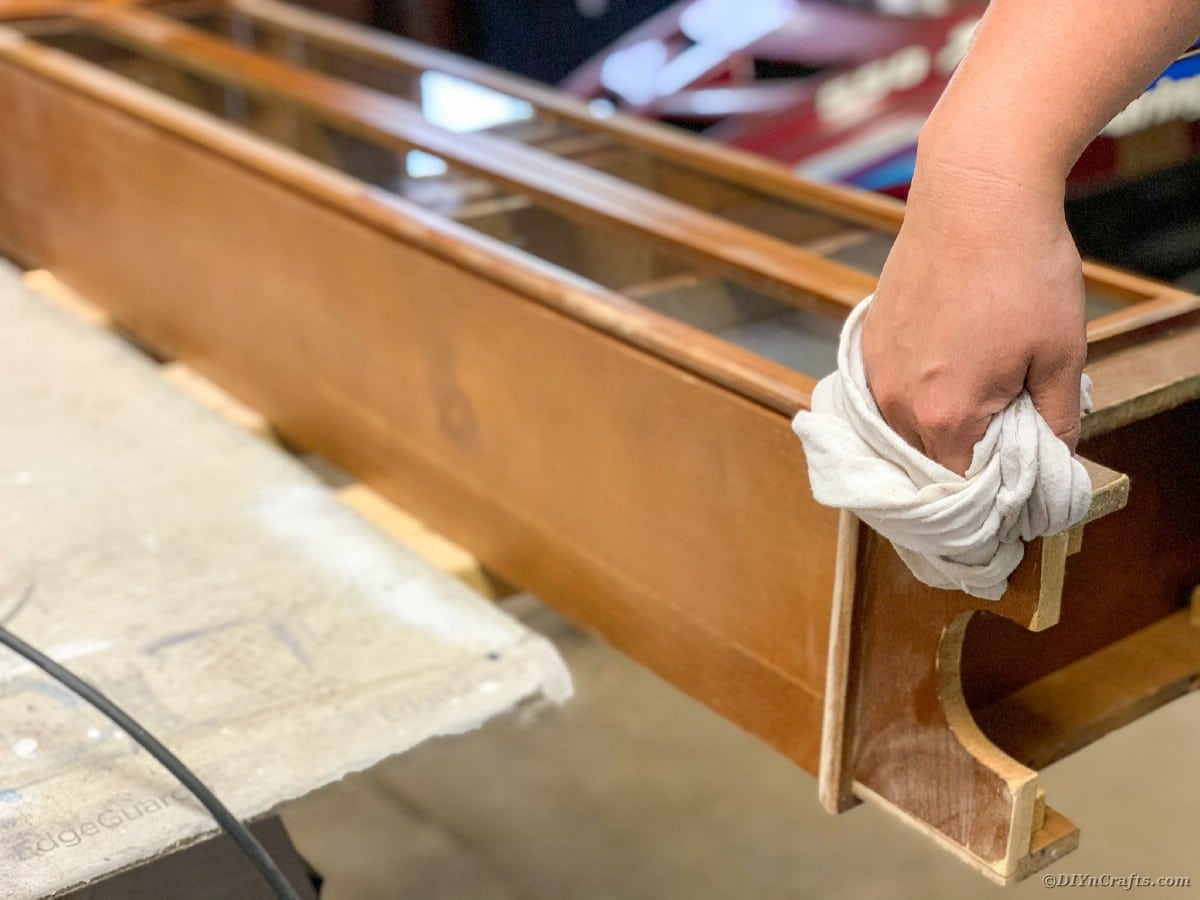
- Take one lint-free cloth and dampen with mineral spirits. Clean the entire piece of furniture with the spirits to remove any and all debris or oils that may be on the surface. Be sure to wipe down anywhere you will be painting, including the inside of drawers and/or doors. It is advised to wear a mask or be sure you are in a well-ventilated area.
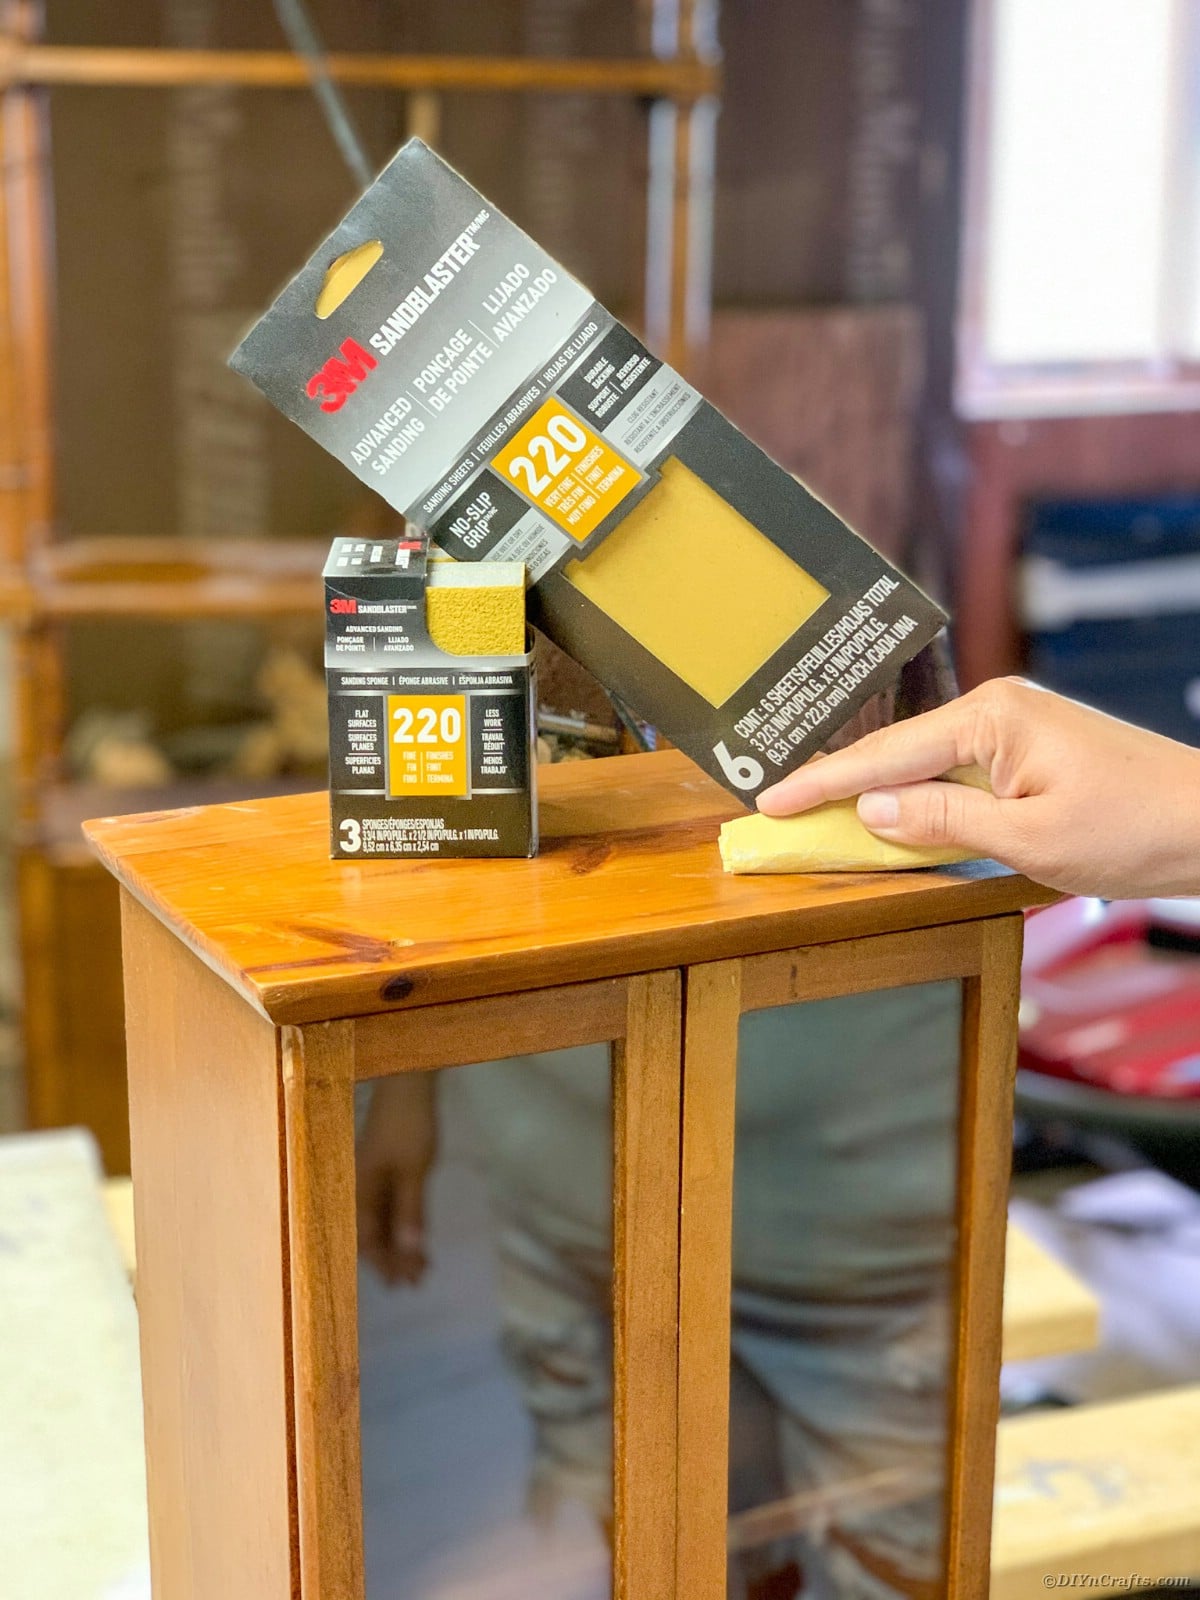
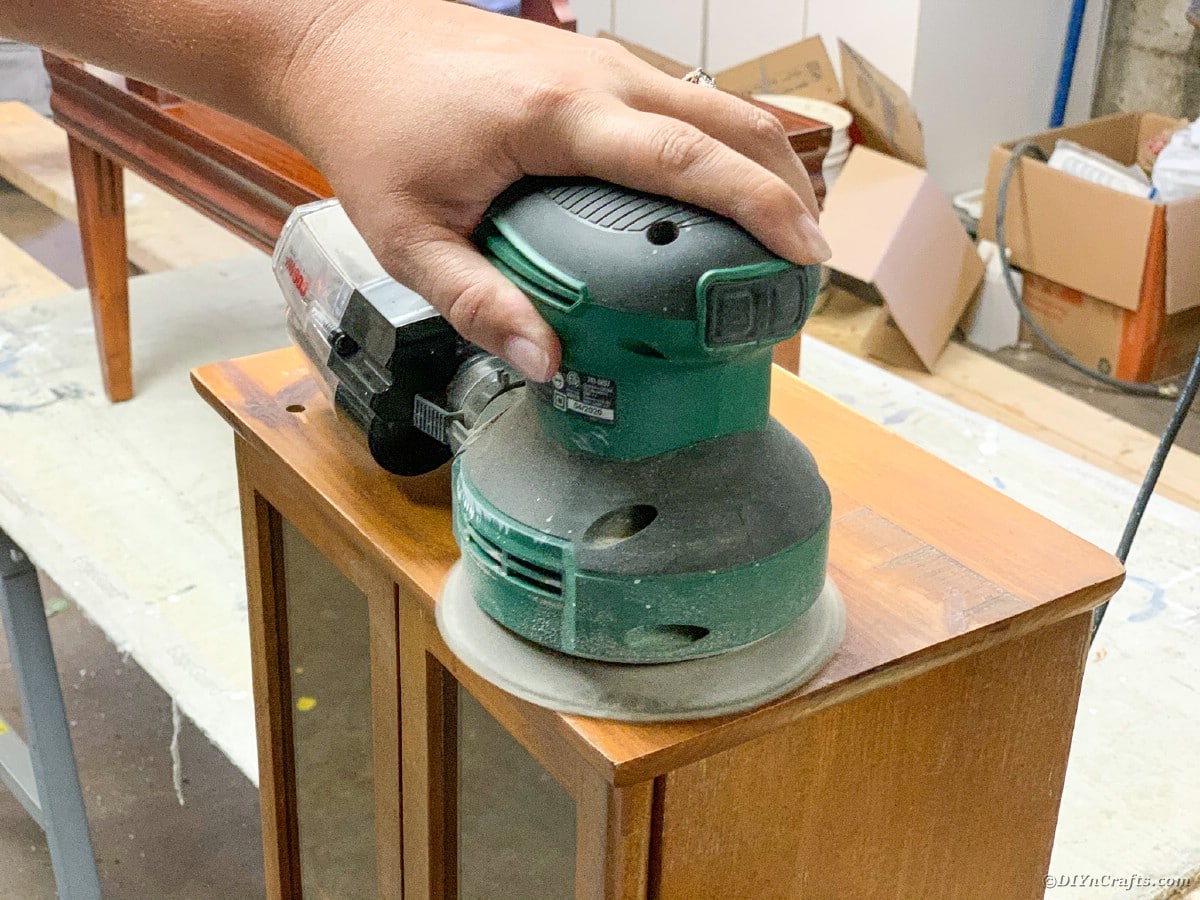
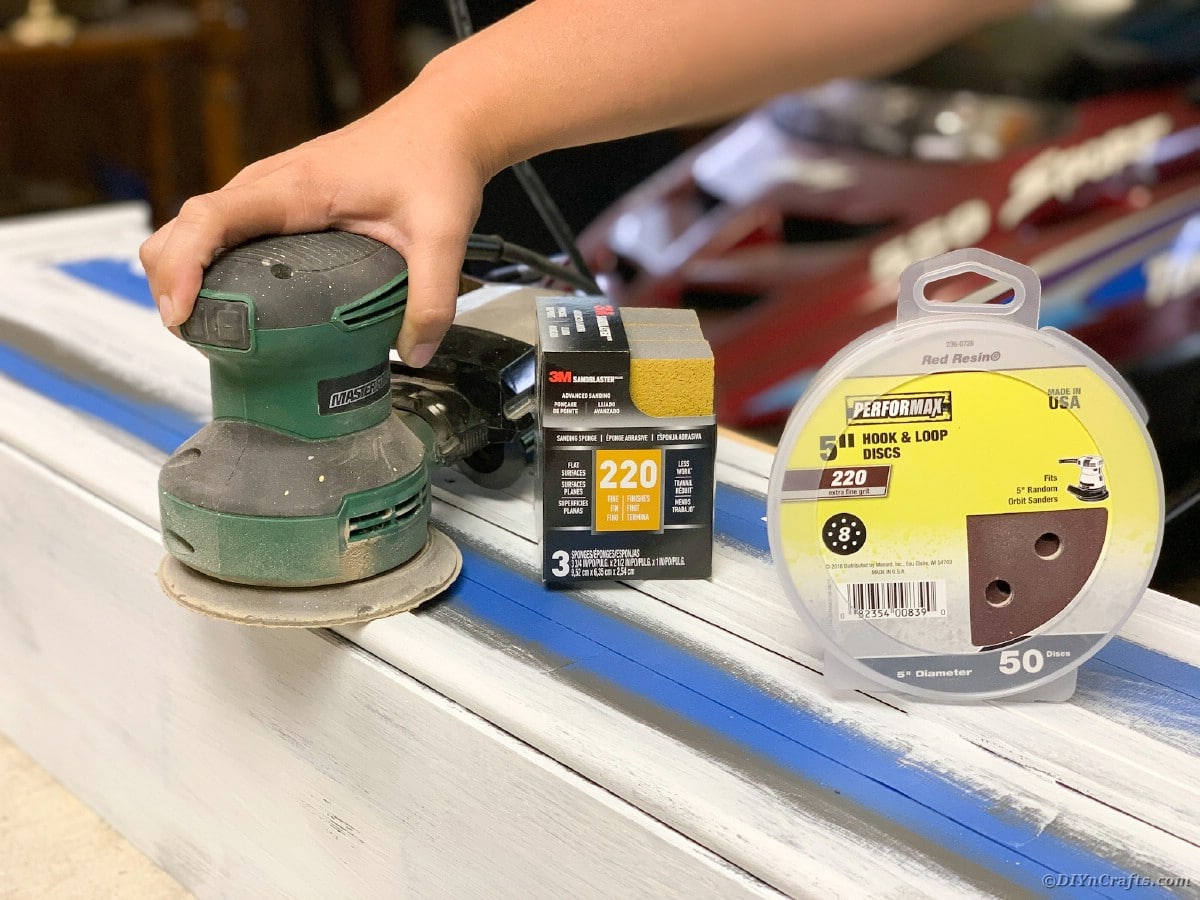
- Sand the entire piece using 220 grit sandpaper. If you have an orbital sander you can use this for the top of your piece and any larger areas to save you time and energy. If not, no worries sanding blocks and regular sandpaper will do just fine.
- Be sure to rough up the existing finish to expose the natural wood grain. Smooth out any imperfections and ensure your piece is smooth to the touch. Be careful around any small details. Sanding is all about the pressure you apply. Heavy pressure in areas that have thick existing finish, light pressure on corners and areas with detail you do not want to disturb.
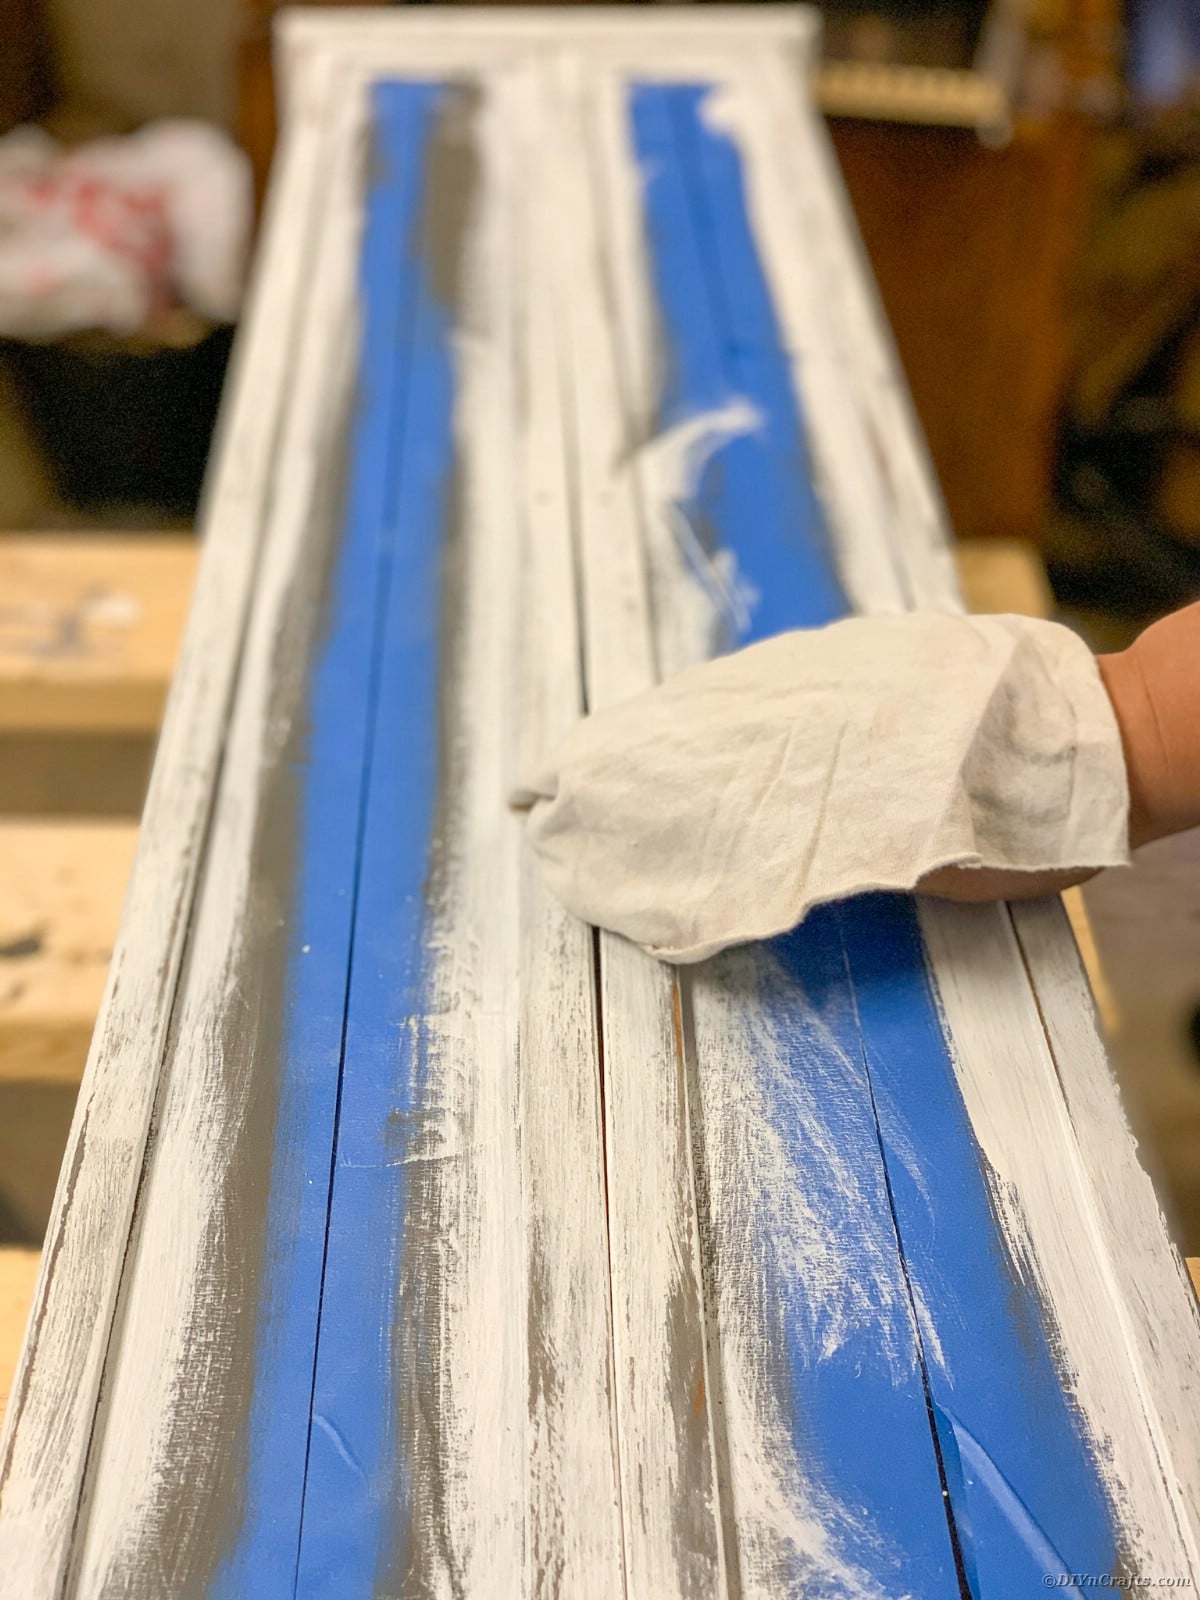
- Take another lint free cloth and remove all dust particles from the sanding process. Take your time, you do not want any lingering particles that will live under your paint. If you have an air compressor gun you will be done in no time. Don’t miss the corners and crevices!
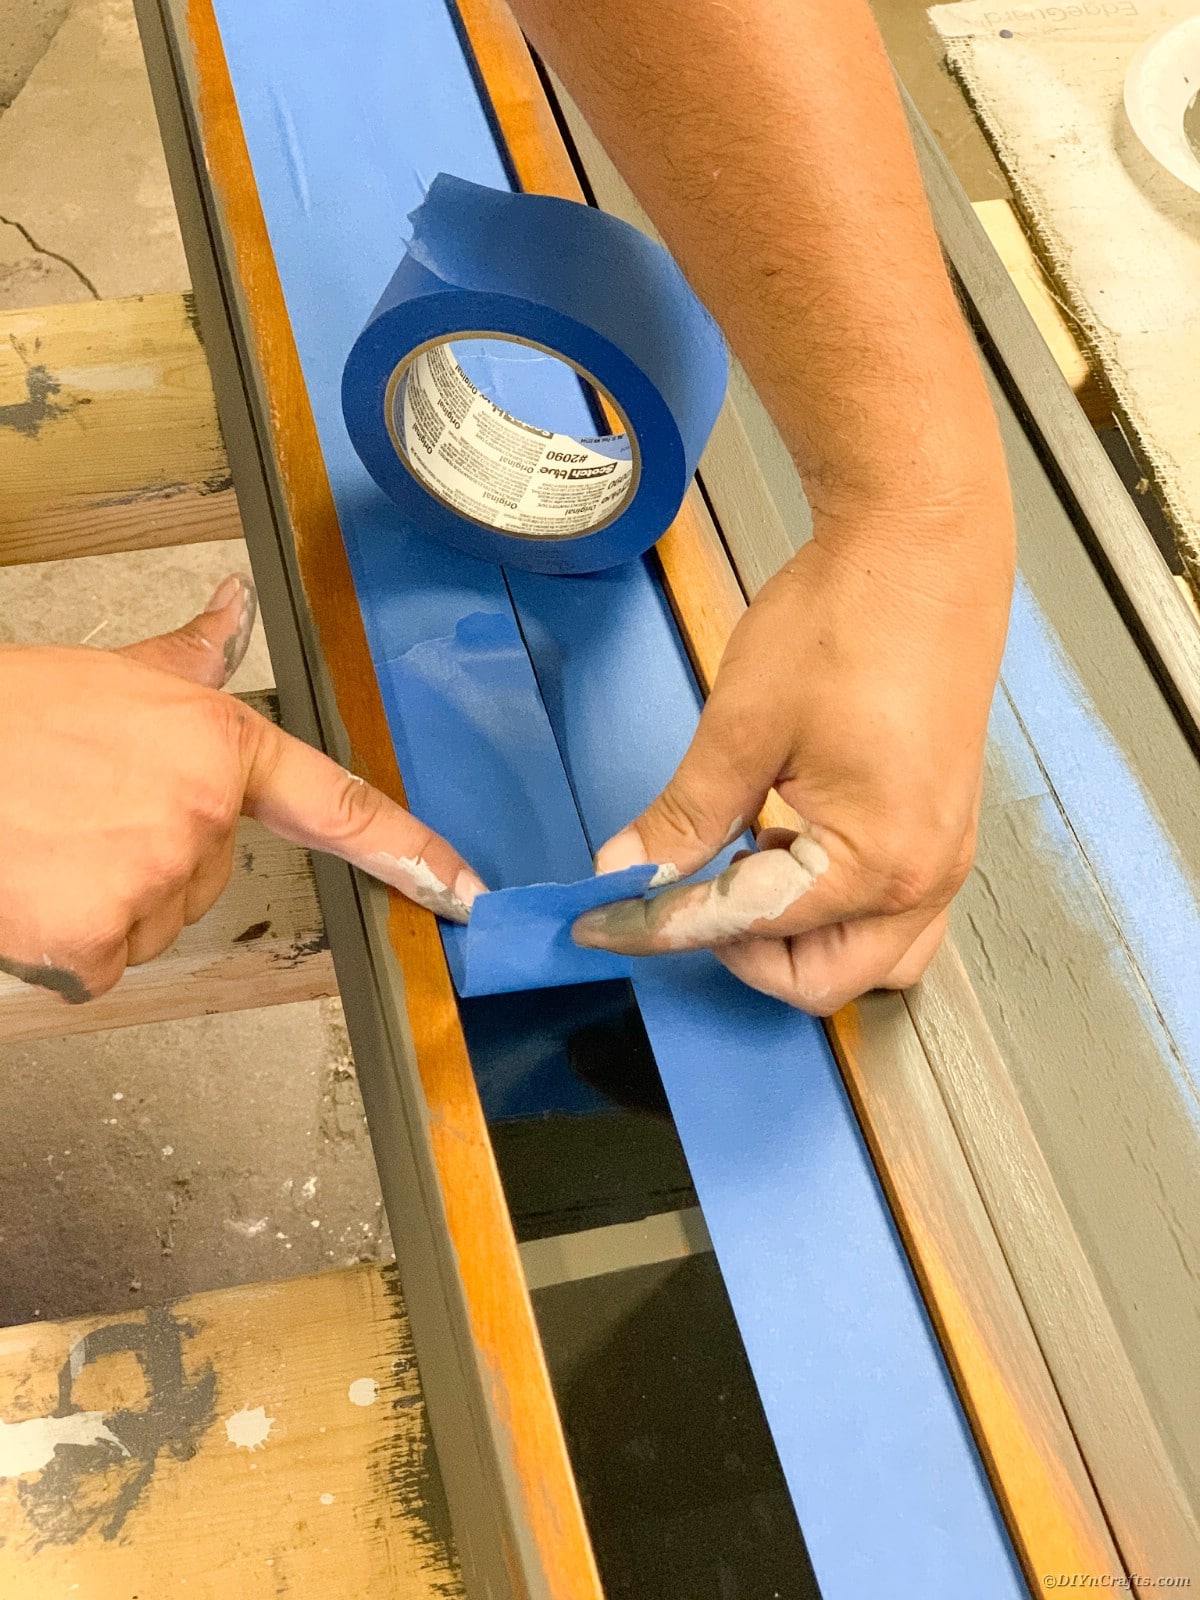
- Take painters tape and tape the inside of the glass and the outside of the glass. Make sure you place the tape along the edges of the wood to prevent paint drips. If you can easily remove the glass, go ahead and do so, and store somewhere safe
Start Painting the Curio Cabinet or Furniture
Once preparations have been made, you will begin the painting process. Make sure you are doing this in a place that is well-ventilated, and that you have taken steps to prepare yourself and the area with drop cloths and aprons to protect everything from any excess paint drips.
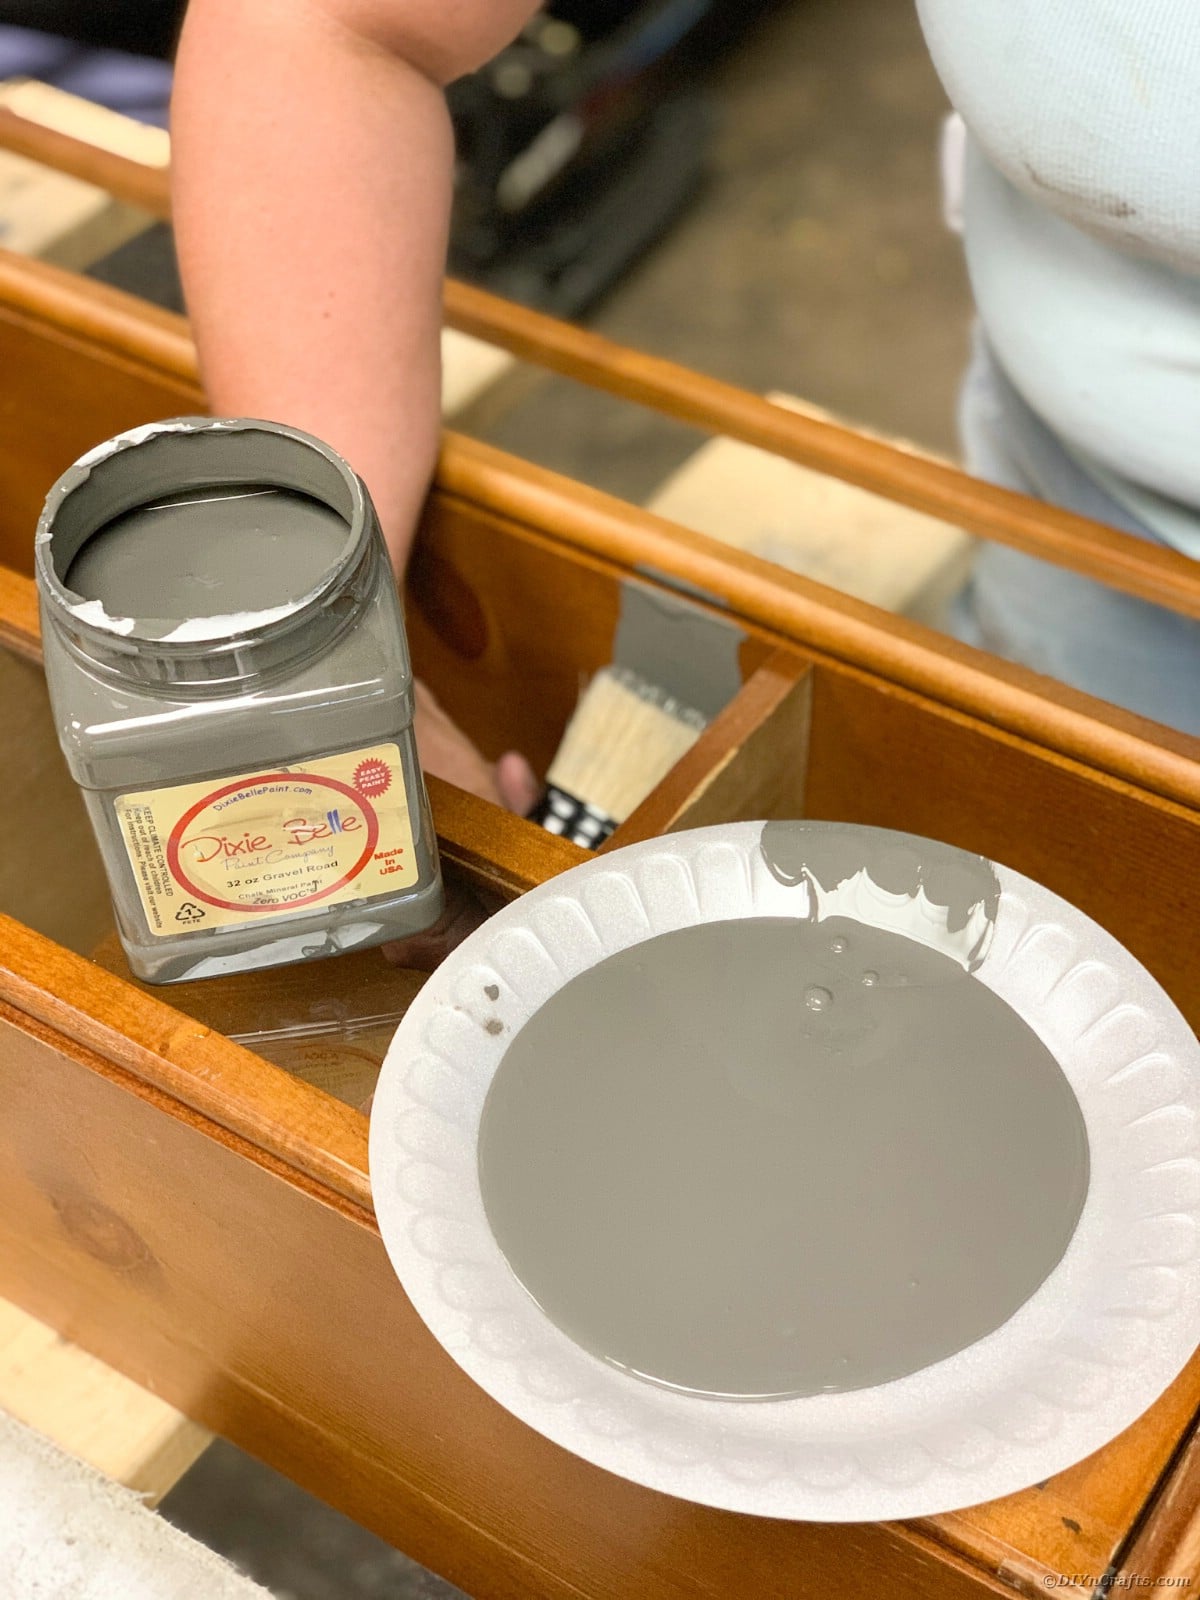
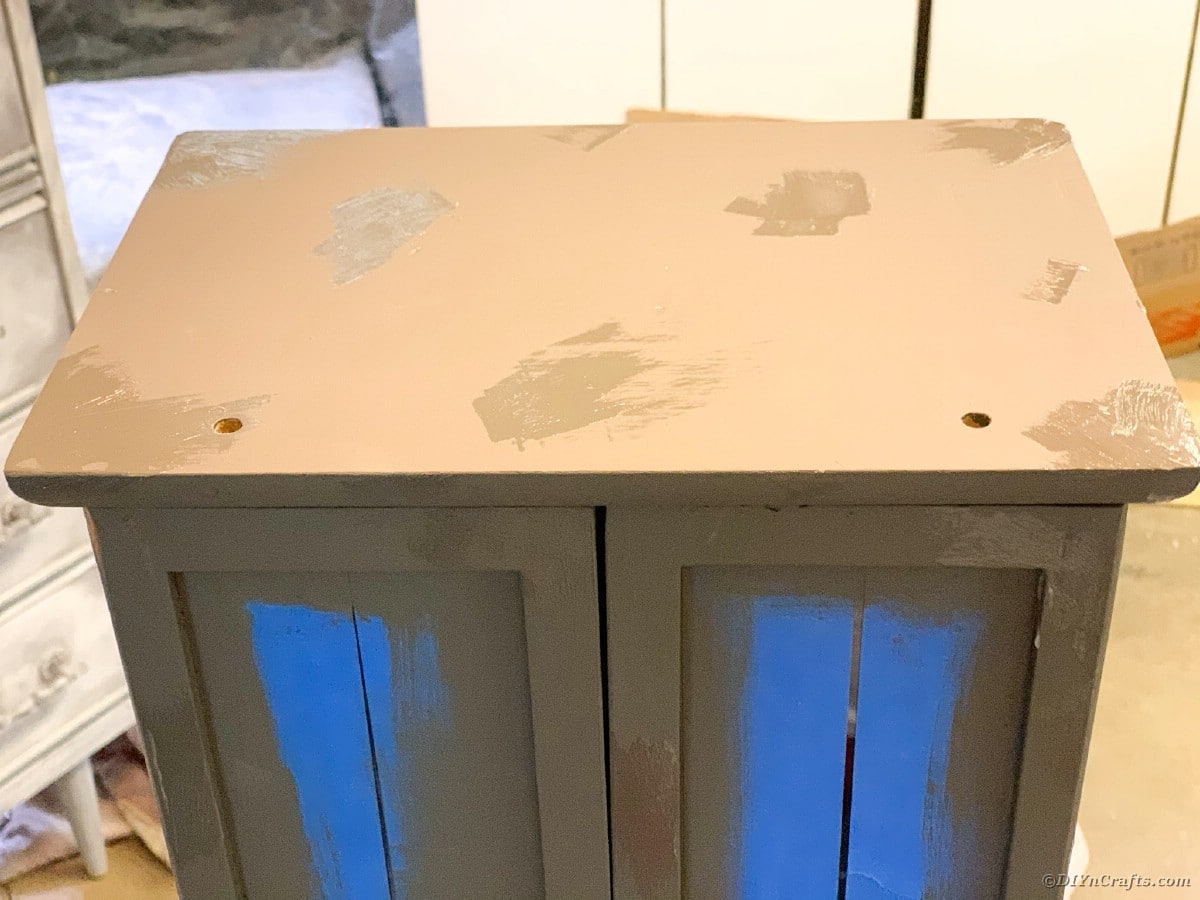
- Shake your Dixie Belle Gravel Road Chalkpaint for 30 seconds.
- Pour Dixie Belle Gravel Road on to a paper plate. A little goes a long way. Best to add more to your plate as you go to ensure you do not waste.
- Using one of your Natural Bristle Chalk Paint Brush’s, coat the bottom of your brush and start painting the top of your piece. Be sure to work the paint in the same direction as the wood grain. Working from top to bottom will help minimize drips. Coat the entire piece. Don’t worry if the paint looks streaky it will all flatten out.
- Let dry for 30 minutes.
- Flip piece and paint the backside and underneath with Dixie Belle Gravel Road. Be sure to focus on any edges, insides of doors, or areas that might be visible to ensure full coverage.
- Let dry for 30 minutes.
- Flip piece to have top of piece parallel with the ceiling.
- Apply a second coat of Dixie Belle Gravel Road. Work in the same direction of the wood grain.
- Open Doors and paint the inside of the piece. If you lay the piece flat this will give you easy access to be able to cover the shelves as well as the sides of the piece. Painting the inside will give you a beautiful finish.
- Let cure for 24 hours (depending on weather and humidity)
- If necessary, using 220 grit sandpaper lightly sand any areas of paint drips or build up.
- Using your lint-free dust cloth remove any debris.
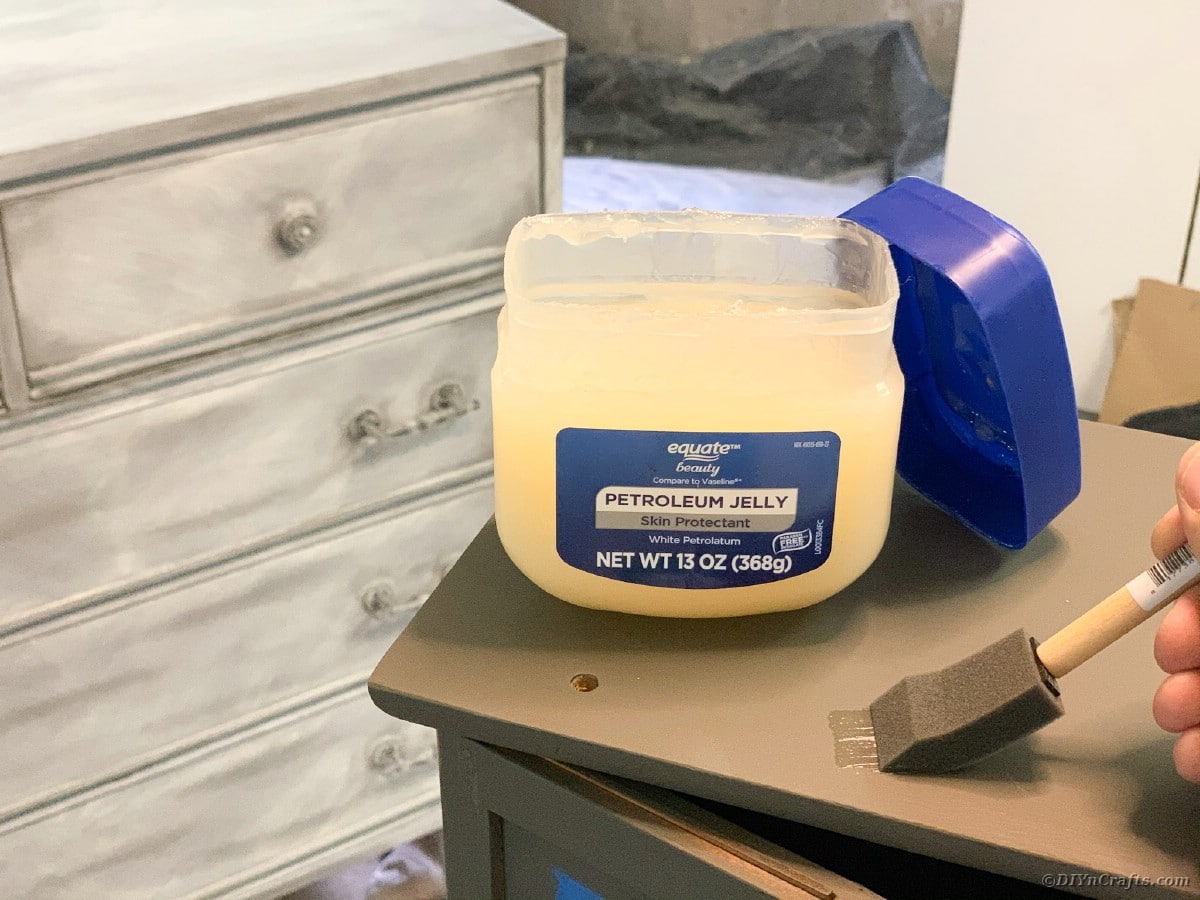
- Apply thin coats of petroleum jelly with a foam brush on any areas you want your Dixie Belle Gravel Road to chip through. Focus on corners, areas of detail, and areas that will show natural distress.
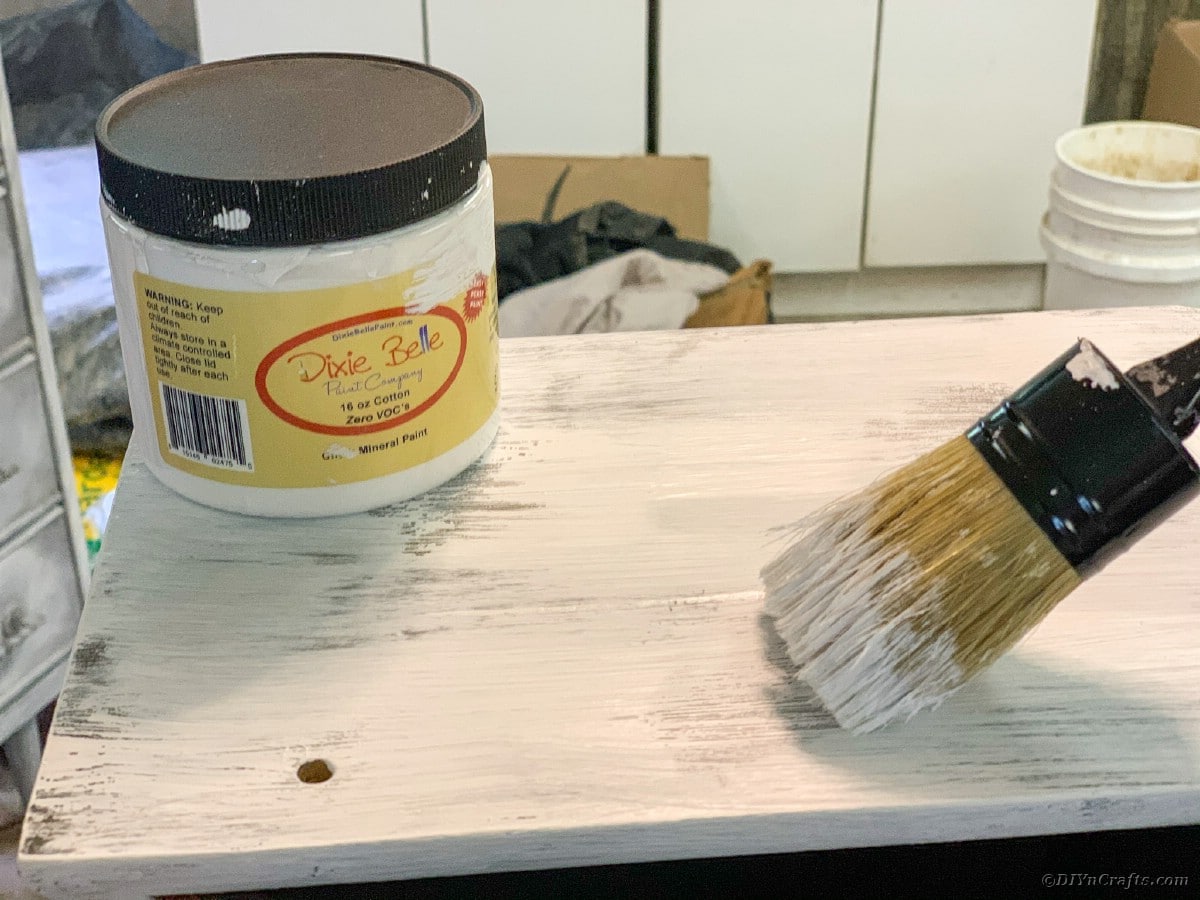
- Shake your Dixie Belle Cotton Chalkpaint for 30 seconds.
- Pour Dixie Belle Cotton on to another paper plate. Remember a little goes a long way.
- Using your natural bristle chalk paint brush, coat the bottom of your brush and start painting the top of your piece with Dixie Belle Cotton Chalkpaint. Paint in the same direction of the wood grain. Work from top to bottom. Be sure to paint over the petroleum jelly. You do not have to fully cover your piece if you don’t want to. You can apply quickly, remember we want some of the Dixie Belle Gray to show through the Dixie Belle Cotton Chalkpaint.
- Let dry for 30 minutes.
- Flip piece and paint underneath and back with Dixie Belle Cotton. Be sure to focus on any edges or areas that might be visible to ensure full coverage.
- Let Cure for 24 hours.
Finish the Curio Cabinet Restoration
The last steps are a must before you put your new furniture to use in your home. While it may feel done with the last stroke of paint, there is a curing time involved, so make sure to read all steps thoroughly.
- Using 220 grit sandpaper sand the entire piece. Areas, where the petroleum jelly was, will chip off exposing that beautiful Gray. Any areas you would like additional distressing for a natural aged look, sand away. Corners, legs, doors, and drawers are a great place to distress.
- Using your lint free cloth remove any dust or debris. Ensure your piece is clean before starting step 3.
- Set a timer for 15 minutes. Start the timer when you begin step 4.
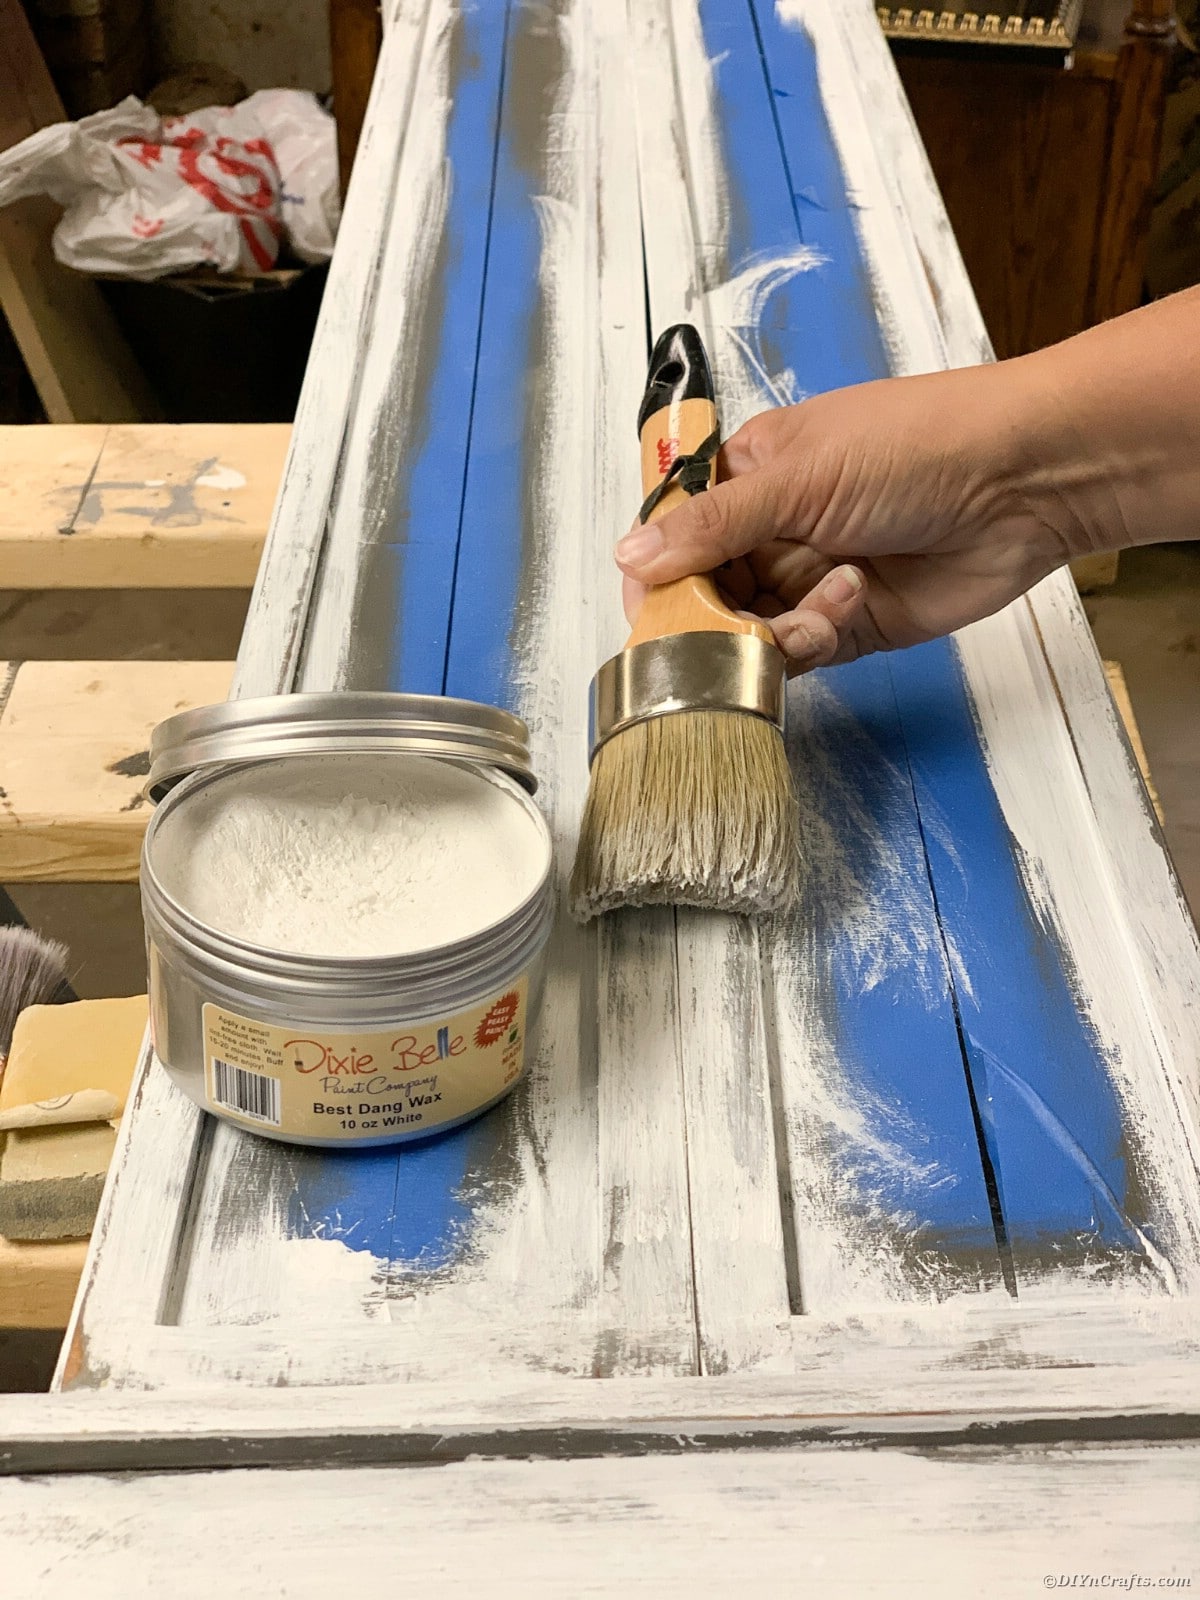
- Using your natural bristle wax brush and Dixie Belle Best Dang Clear Wax apply a thin coat to the entire piece, including the inside. You can dip your brush right into the tin. Remember to apply a thin coat. Work quickly
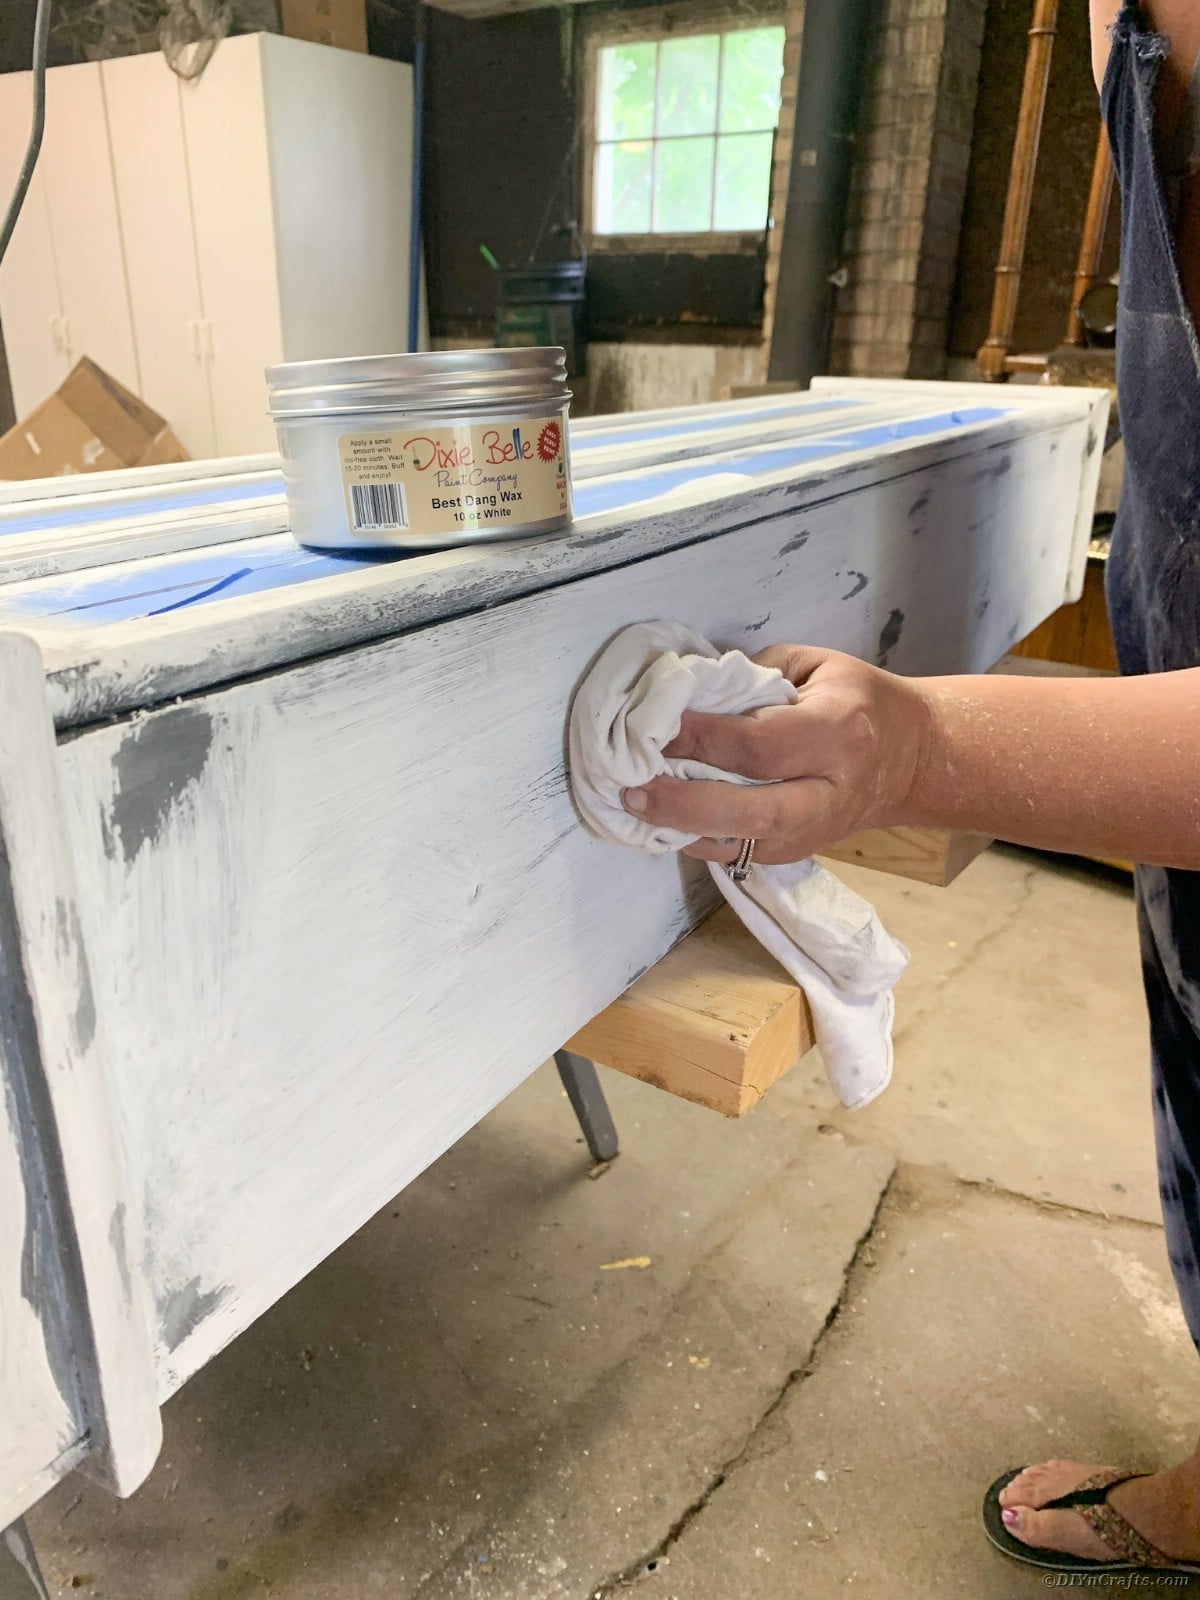
- Once the timer goes off you can start to rub in your wax. Work in the area that you applied to first. Using your last lint-free cloth rub your wax into your piece. Be sure to rub in all directions and press the wax into the wood. If you're not sweating you're not doing it right. This takes elbow grease.
- Let Dry for 2 hours.
- Set a timer for 15 minutes. Start the timer when you begin step 8.
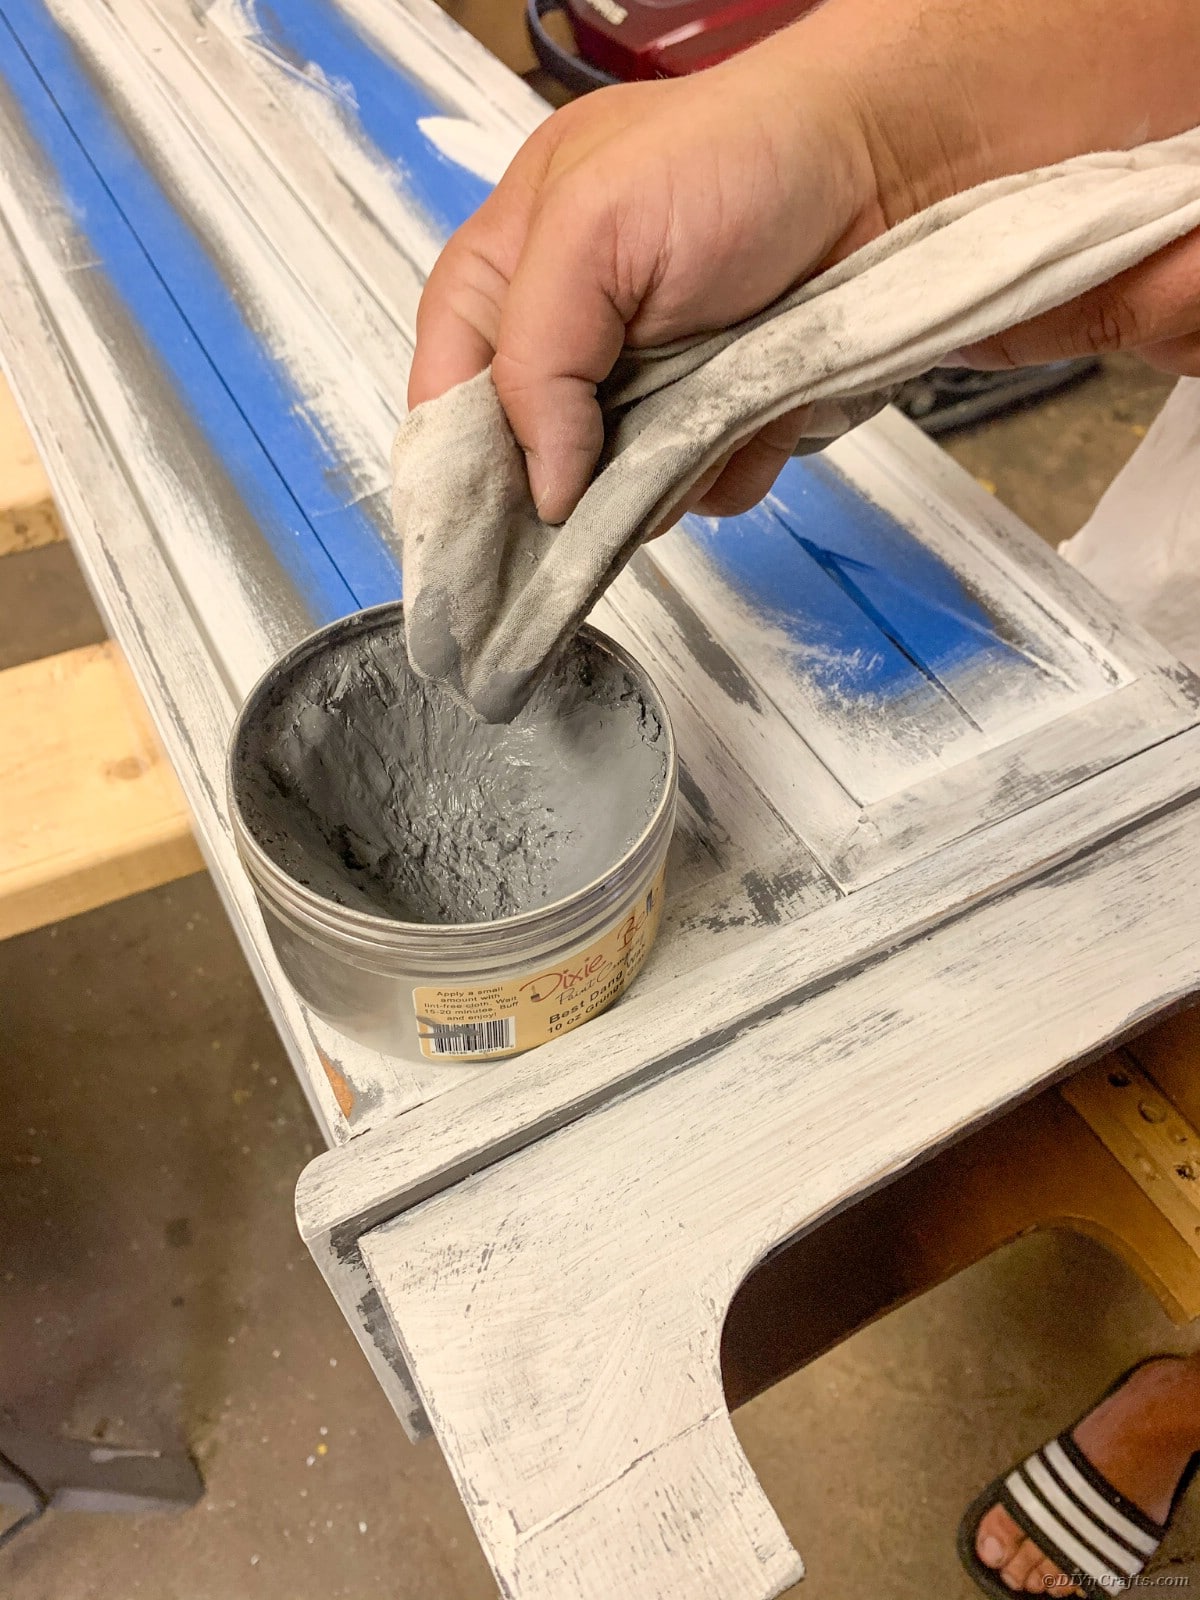
- Using your lint-free waxing cloth and Dixie Belle Best Dang Grunge Gray Wax apply a thin coat to areas that you want to darken. You can dip your lint-free cloth right into the wax container and select small areas to darken. Use this wax as an accent.
- The more Dixie Belle Grunge Gray Wax you use the darker your piece will be. You can dip your cloth right into the tin, use your finger to control where you want the wax to live: Remember to apply a thin coat. Work quickly
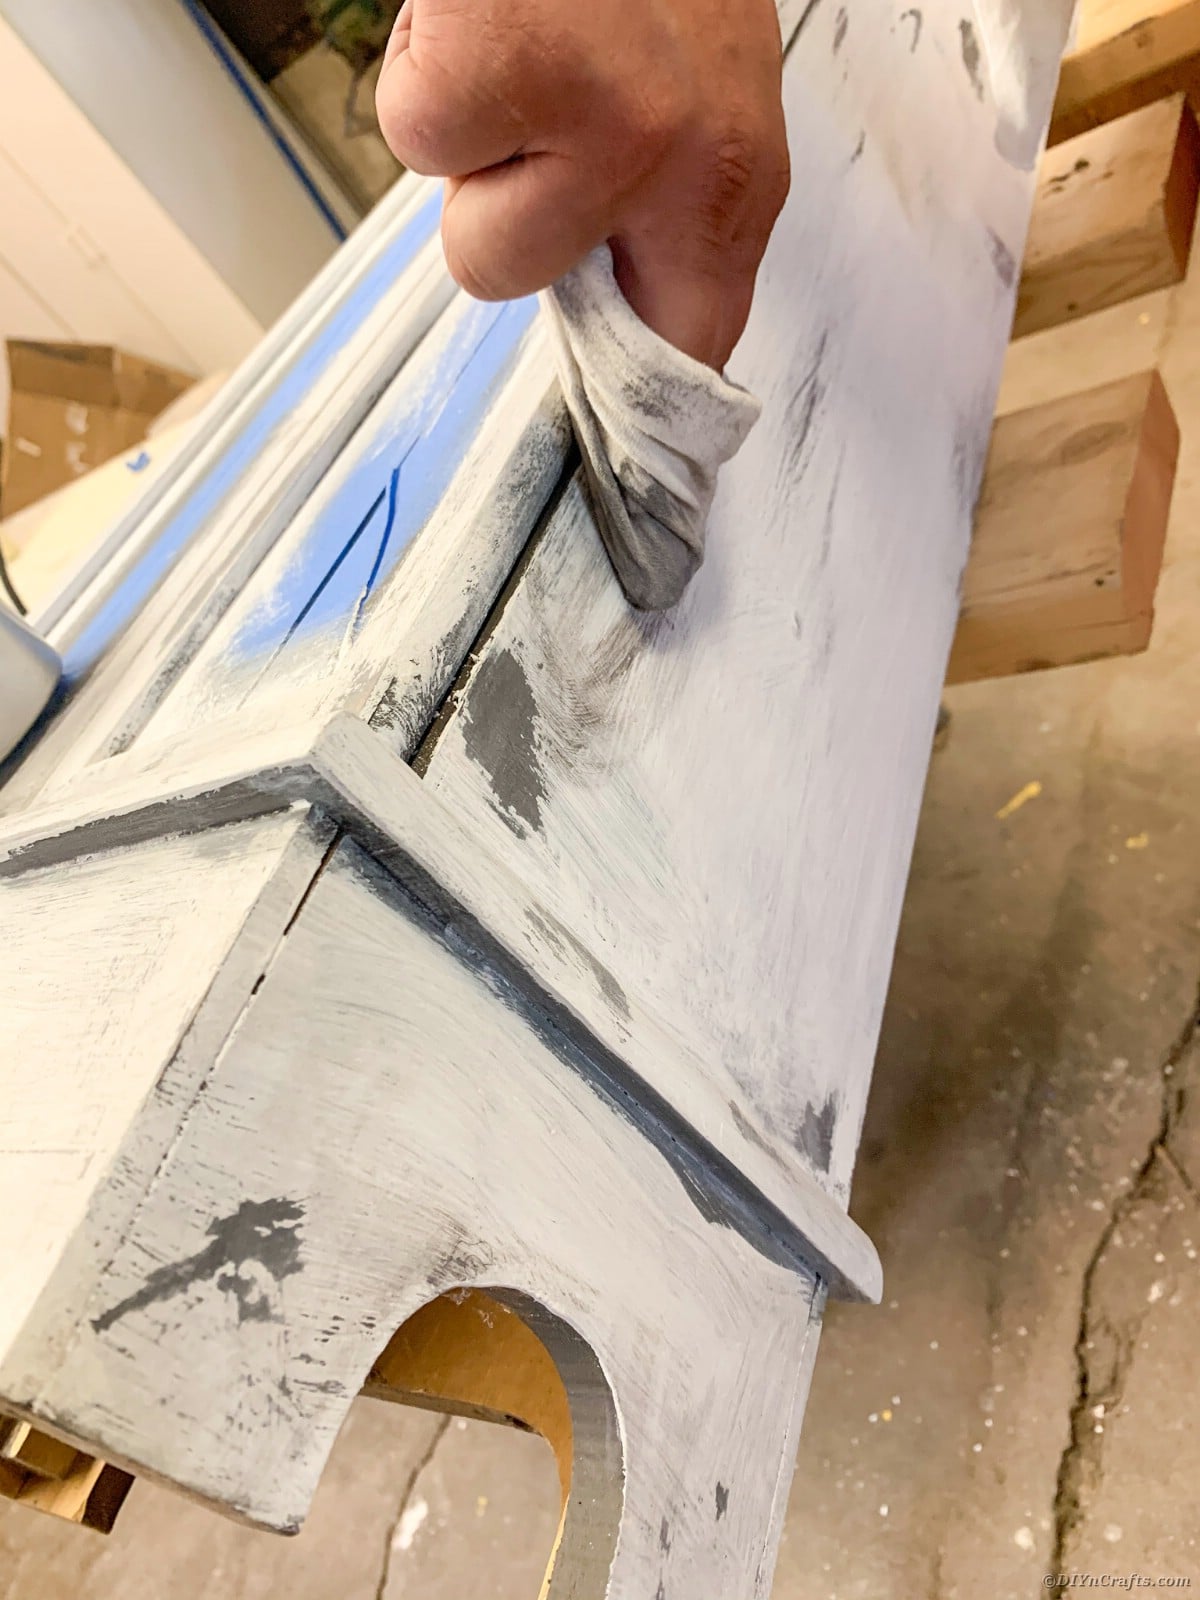
- Once the timer goes off you can start to rub in your wax. Work in the area that you applied first. Using the same lint free cloth rub your wax into your piece. Be sure to rub in all directions and press the wax into the wood.
- The Full Cure time is 30 days. (You can gently use your furniture after the first 48 hours) Be sure not to clean or drag anything across your beautiful creation before your 30 days is up.
Make Sure to Clean Up After Your Project
While it would be great to just walk away and it all magically be cleaned, you have to make sure to pick up and restore things to order.
- Clean all chalk paint brushes immediately after use with water. If buildup occurs you can gently clean with mineral spirits.
- Place wax brush in a ziplock bag. No need to clean your brush as long as you only use the same color wax with the same brush. Place in a ziplock bag immediately when you're done using.
Distressed Curio Cabinet Restoration with Farmhouse Style
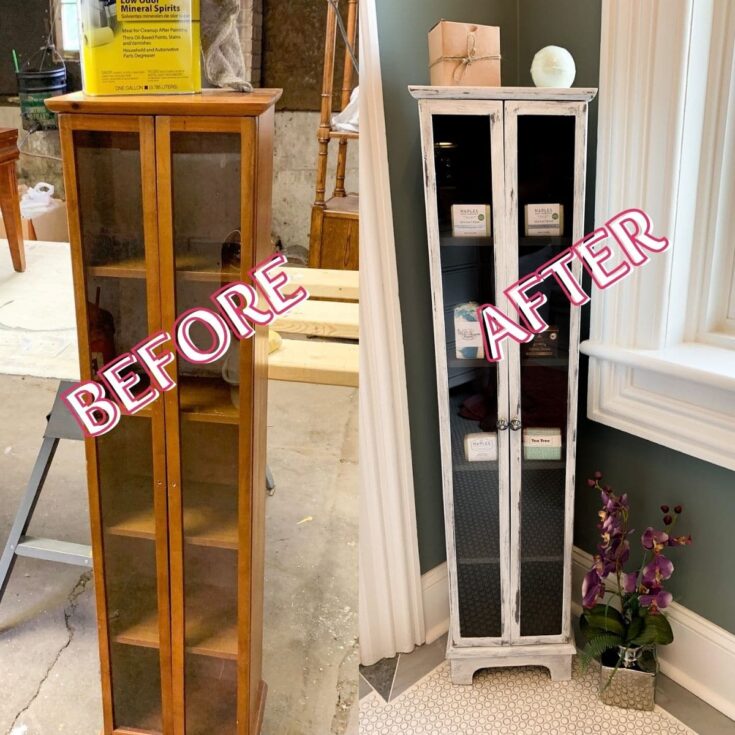
Follow this step by step tutorial to make your own distressed curio cabinet restoration come to life. This breakdown of steps turns what seems daunting into a project anyone can do at home.
Materials
- 220 grit sand paper or sanding block
- Foam Brush
- 2 Natural Bristle Chalkpaint Brush
- Natural Bristle Wax Brush
- Three Lint Free Cloths
- Drop Cloth
- 2 Paper plate
- Mineral Spirits
- Petroleum Jelly
- Dixie Belle Cotton Chalk Paint
- Dixie Belle Gravel Road Chalk Paint
- Dixie Belle Best Dang Wax Grunge Gray
- Dixie Belle Best Dang Wax Clear
Instructions
Steps to Prepare for Restoration Project
- Place furniture in a clean work space. If working in a garage be sure to sweep or blow all dirt and debris out of the area you will be working in. Lay a drop cloth down to ensure paint does not drip and ruin your flooring.
- Take one lint free cloth and dampen with mineral spirits. Clean the entire piece of furniture with the spirits to remove any and all debris or oils that may be on the surface. Be sure to wipe down anywhere you will be painting, including the inside of drawers and/or doors. It is advised to wear a mask or be sure you are in a well ventilated area.
- Sand the entire piece using 220 grit sandpaper. If you have an orbital sander you can use this for the top of your piece and any larger areas to save you time and energy. If not, no worries sanding blocks and regular sandpaper will do just fine. Be sure to rough up the existing finish to expose the natural wood grain. Smooth out any imperfections and ensure your piece is smooth to the touch. Be careful around any small details. Sanding is all about the pressure you apply. Heavy pressure in areas that have thick existing finish, light pressure on corners and areas with detail you do not want to disturb.
- Take another lint free cloth and remove all dust particles from the sanding process. Take your time, you do not want any lingering particles that will live under your paint. If you have an air compressor gun you will be done in no time. Don’t miss the corners and crevices!
- Take painters tape and tape the inside of the glass and the outside of the glass. Make sure you place the tape along the edges of the wood to prevent paint drips. If you can easily remove the glass, go ahead and do so, and store somewhere safe
Start Painting the Curio Cabinet or Furniture
- Shake your Dixie Belle Gravel Road Chalkpaint for 30 seconds.
- Pour Dixie Belle Gravel Road on to paper plate. A little goes a long way. Best to add more to your plate as you go to ensure you do not waste.
- Using one of your Natural Bristle Chalk Paint Brush’s, coat the bottom of your brush and start painting the top of your piece. Be sure to work the paint in the same direction of the wood grain. Working from top to bottom will help minimize drips. Coat the entire piece. Don’t worry if paint looks streaky it will all flatten out.
- Let dry for 30 minutes.
- Flip piece and paint the backside and underneath with Dixie Belle Gravel Road. Be sure to focus on any edges, insides of doors, or areas that might be visible to ensure full coverage.
- Let dry for 30 minutes.
- Flip piece to have top of piece parallel with the ceiling.
- Apply a second coat of Dixie Belle Gravel Road. Work in the same direction of the wood grain.
- Open Doors and paint the inside of the piece. If you lay the piece flat this will give you easy access to be able to cover the shelves as well as the sides of the piece. Painting the inside will give you a beautiful finish.
- Let cure for 24 hours (depending on weather and humidity)
- If necessary, using 220 grit sandpaper lightly sand any areas of paint drips or build up.
- Using your lint free dust cloth remove any debris.
- Apply thin coats of petroleum jelly with foam brush on any areas you want your Dixie Belle Gravel Road to chip through. Focus on corners, areas of detail, and areas that will show natural distress.
- Shake your Dixie Belle Cotton Chalkpaint for 30 seconds.
- Pour Dixie Belle Cotton on to another paper plate. Remember a little goes a long way.
- Using your natural bristle chalk paint brush, coat the bottom of your brush and start painting the top of your piece with Dixie Belle Cotton Chalkpaint. Paint in the same direction of the wood grain. Work from top to bottom. Be sure to paint over the petroleum jelly. You do not have to fully cover your piece if you don’t want to. You can apply quickly, remember we want some of the Dixie Belle Gray to show through the Dixie Belle Cotton Chalkpaint.
- Let dry for 30 minutes.
- Flip piece and paint underneath and back with Dixie Belle Cotton. Be sure to focus on any edges or areas that might be visible to ensure full coverage.
- Let Cure for 24 hours.
Finish the Curio Cabinet Restoration
- Using 220 grit sandpaper sand the entire piece. Areas where the petroleum jelly was will chip off exposing that beautiful Gray. Any areas you would like additional distressing for a natural aged look, sand away. Corners, legs, doors, and drawers are a great place to distress.
- Using your lint free cloth remove any dust or debris. Ensure your piece is clean before starting step 3.
- Set a timer for 15 minutes. Start the timer when you begin step 4.
- Using your natural bristle wax brush and Dixie Belle Best Dang Clear Wax apply a thin coat to the entire piece, including the inside. You can dip your brush right into the tin. Remember to apply a thin coat. Work quickly
- Once the timer goes off you can start to rub in your wax. Work in the area that you applied first. Using your last lint free cloth rub your wax into your piece. Be sure to rub in all directions and press the wax into the wood. If you're not sweating you're not doing it right. This takes elbow grease.
- Let Dry for 2 hours.
- Set a timer for 15 minutes. Start the timer when you begin step 8.
- Using your lint free waxing cloth and Dixie Belle Best Dang Grunge Gray Wax apply a thin coat to areas that you want to darken. You can dip your lint free cloth right into the wax container and select small areas to darken. Use this wax as an accent. The more Dixie Belle Grunge Gray Wax you use the darker your piece will be. You can dip your cloth right into the tin, use your finger to control where you want the wax to live: Remember to apply a thin coat. Work quickly
- Once the timer goes off you can start to rub in your wax. Work in the area that you applied first. Using the same lint free cloth rub your wax into your piece. Be sure to rub in all directions and press the wax into the wood.
- Full Cure time is 30 days. (You can gently use your furniture after the first 48 hours) Be sure not to clean or drag anything across your beautiful creation before your 30 days is up.
Make Sure to Clean Up After Your Project
- Clean all chalk paint brushes immediately after use with water. If buildup occurs you can gently clean with mineral spirits.
- Place wax brush in a ziplock bag. No need to clean your brush as long as you only use the same color wax with the same brush. Place in a ziplock bag immediately when you're done using.
Notes
This process will work on any furniture piece with a wood base.
Recommended Products
As an Amazon Associate and member of other affiliate programs, I earn from qualifying purchases.
-
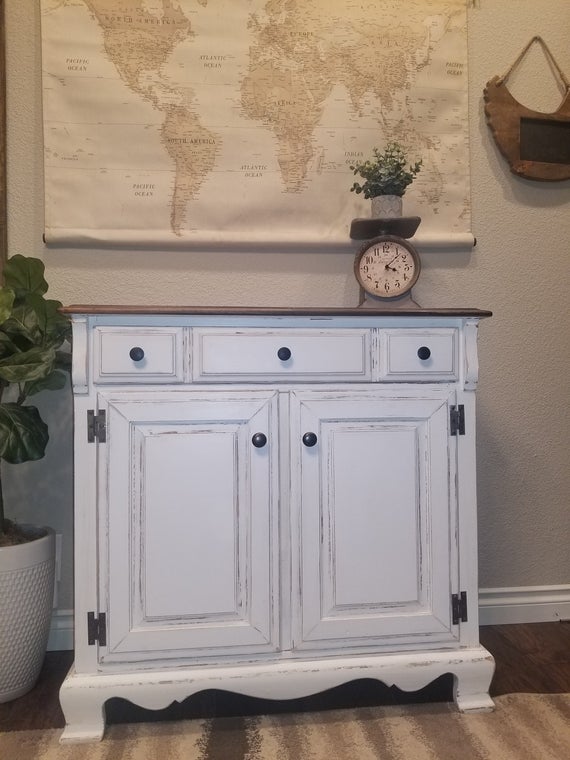 Do Not Purchase Shabby Chic Cabinet/ White Distressed | Etsy
 -
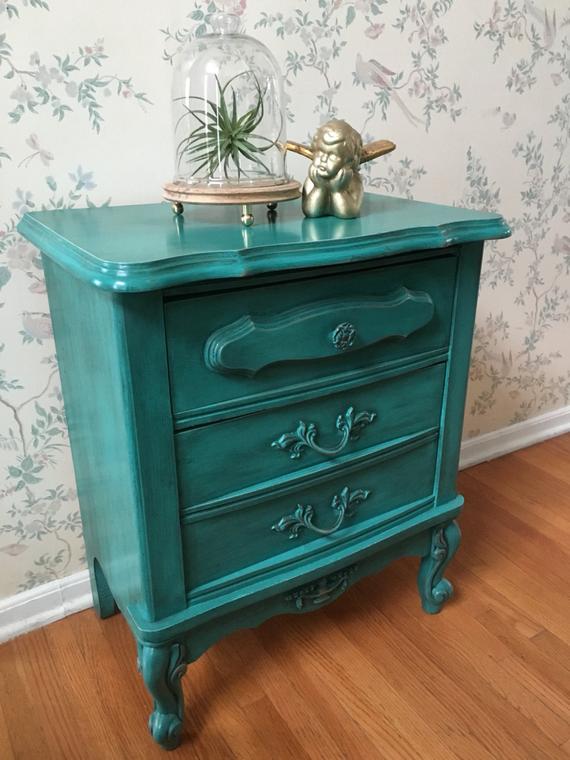 NightstandAccent TableUpcycled FurniturePainted | Etsy
 -
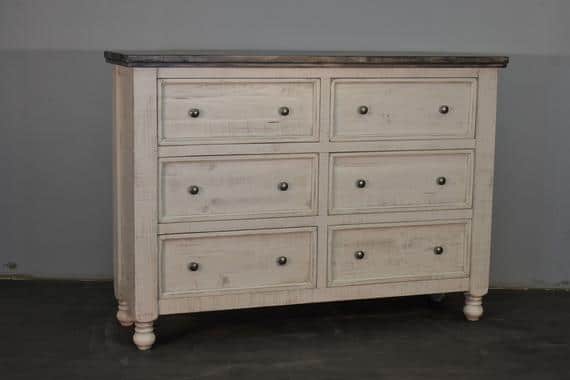 Rustic Farmhouse Distressed White Solid Wood 6-Drawer Dresser | Etsy
 -
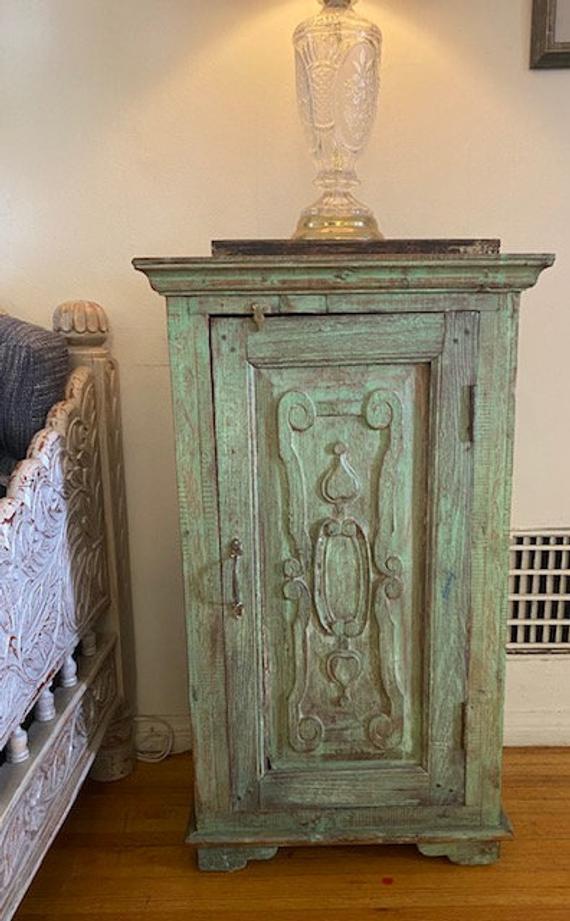 Green old door Nightstand Indian sow Rustic Distressed | Etsy
 -
 Dollhouse Furniture Curio Cabinet 70's 80's Cherry | Etsy
 -
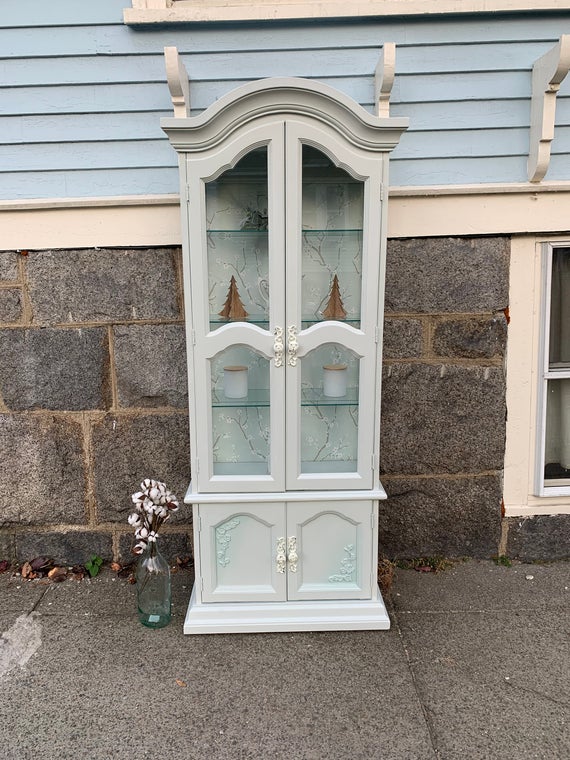 Stunning refinished tall | Etsy




Leave a Reply