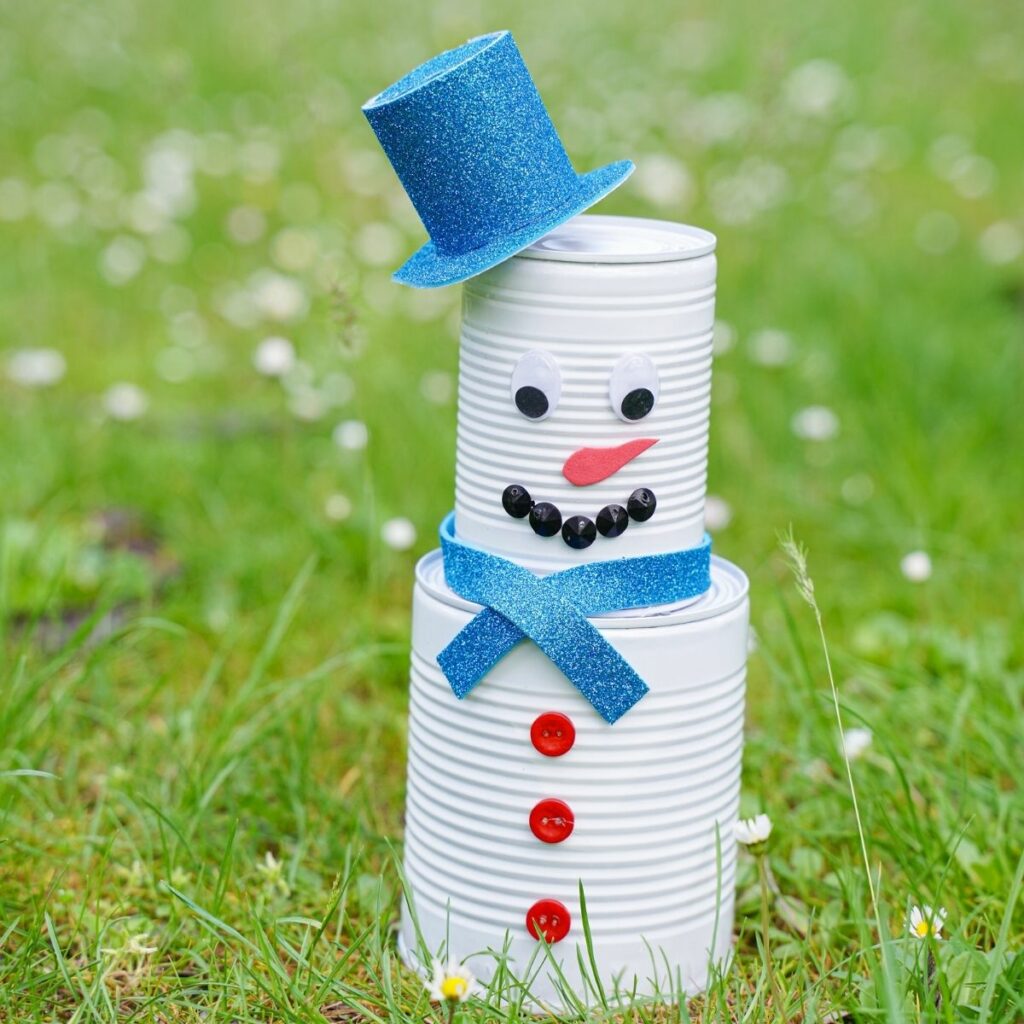
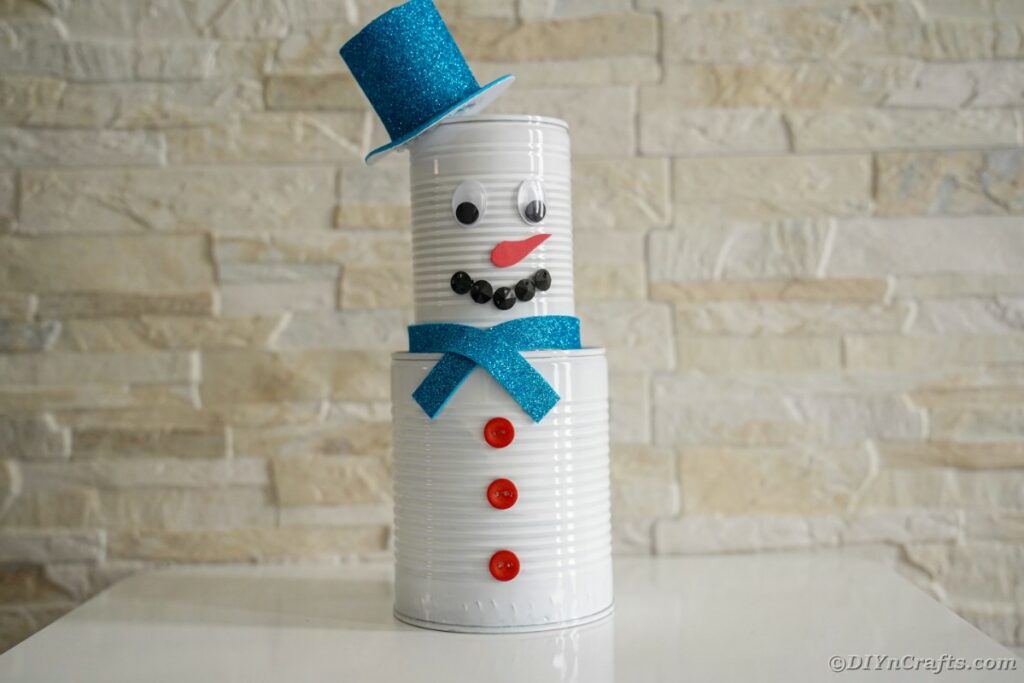
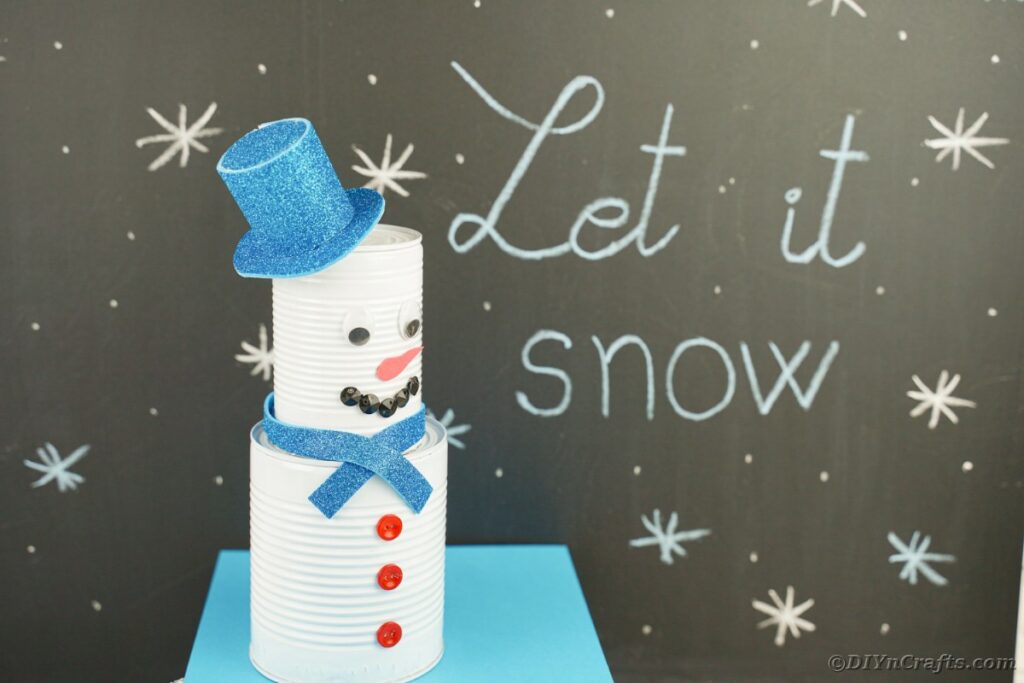
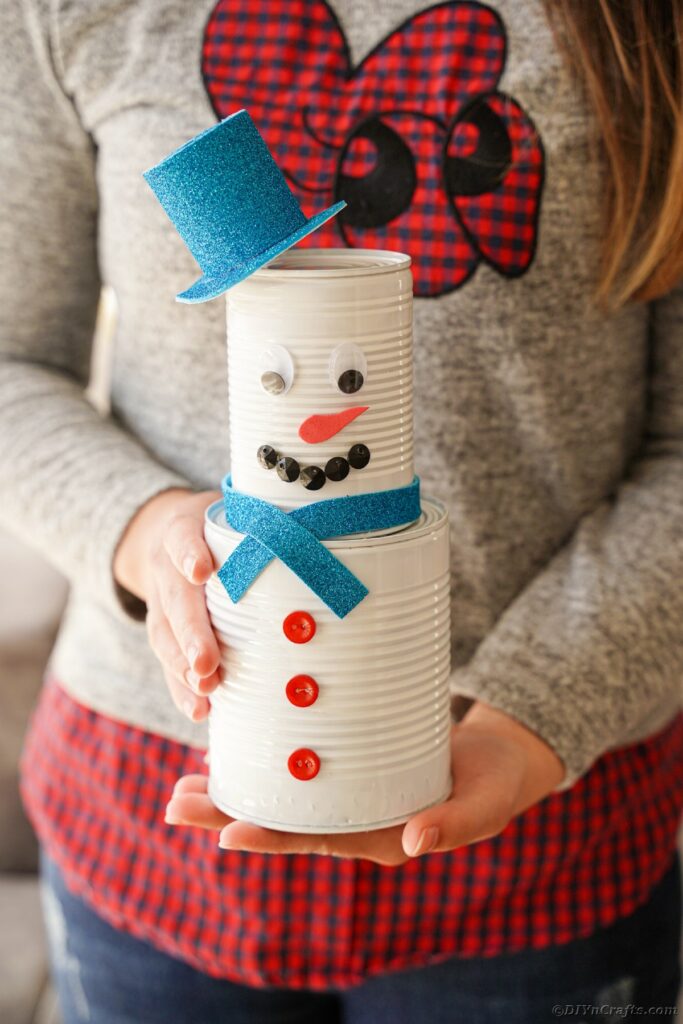
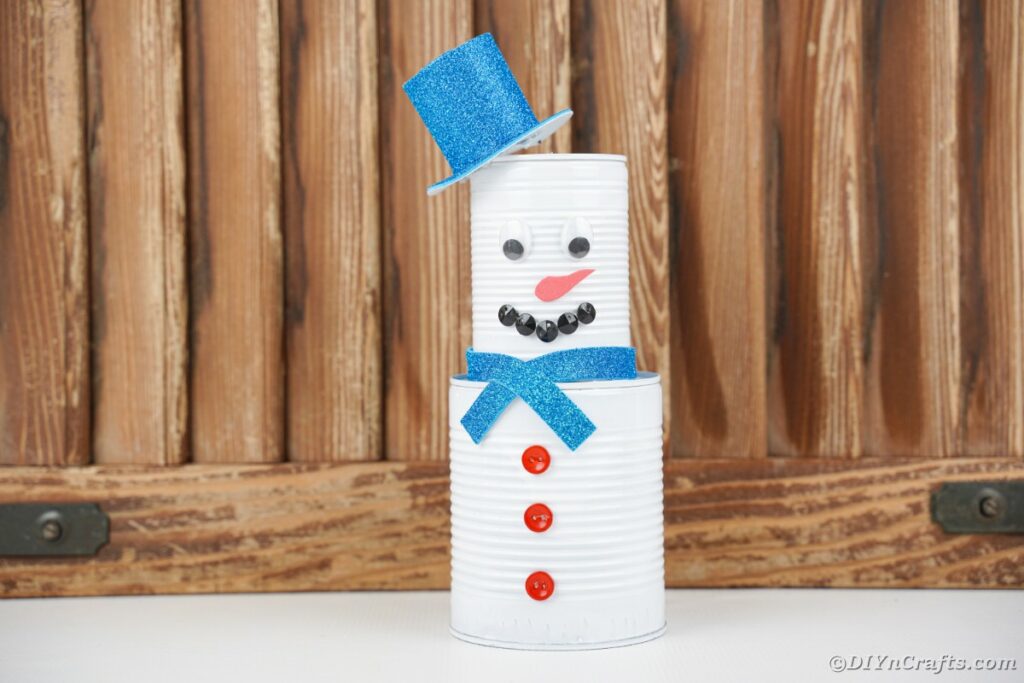
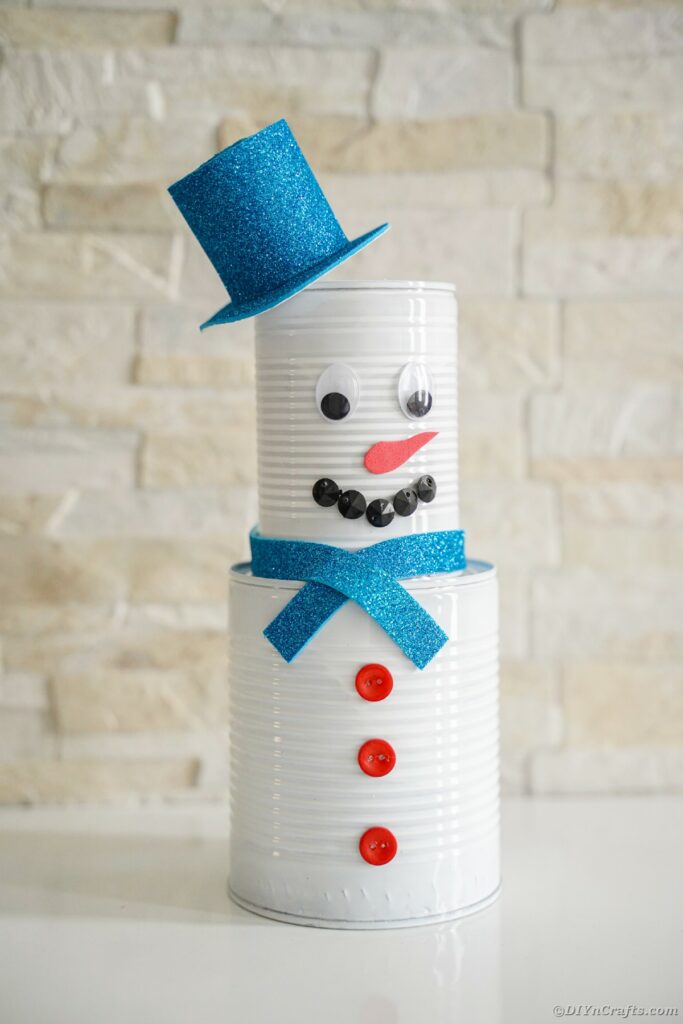
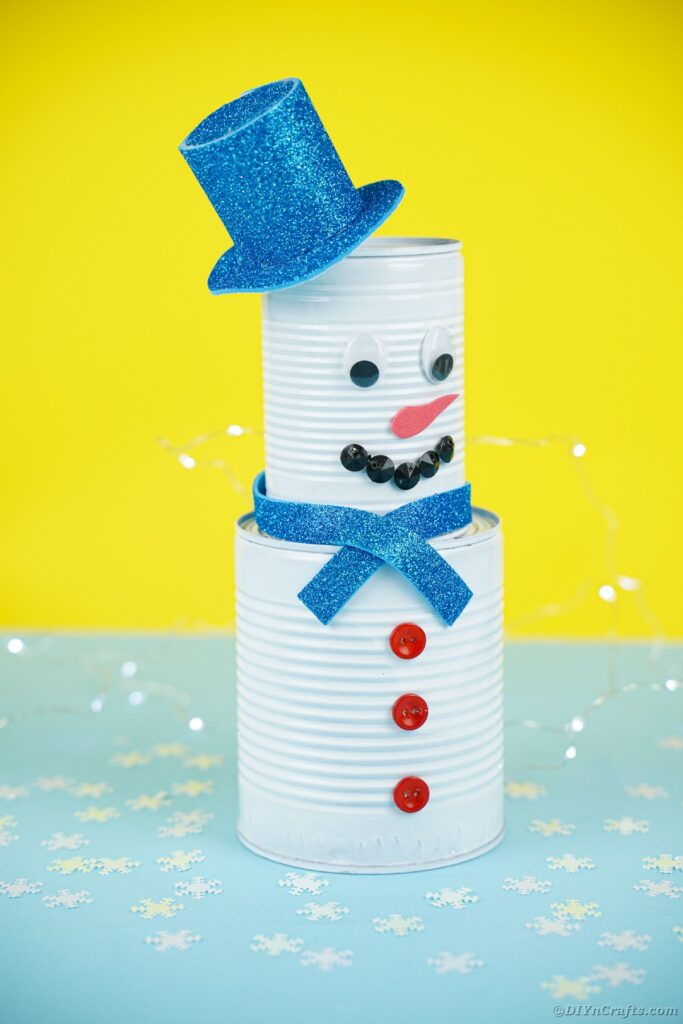
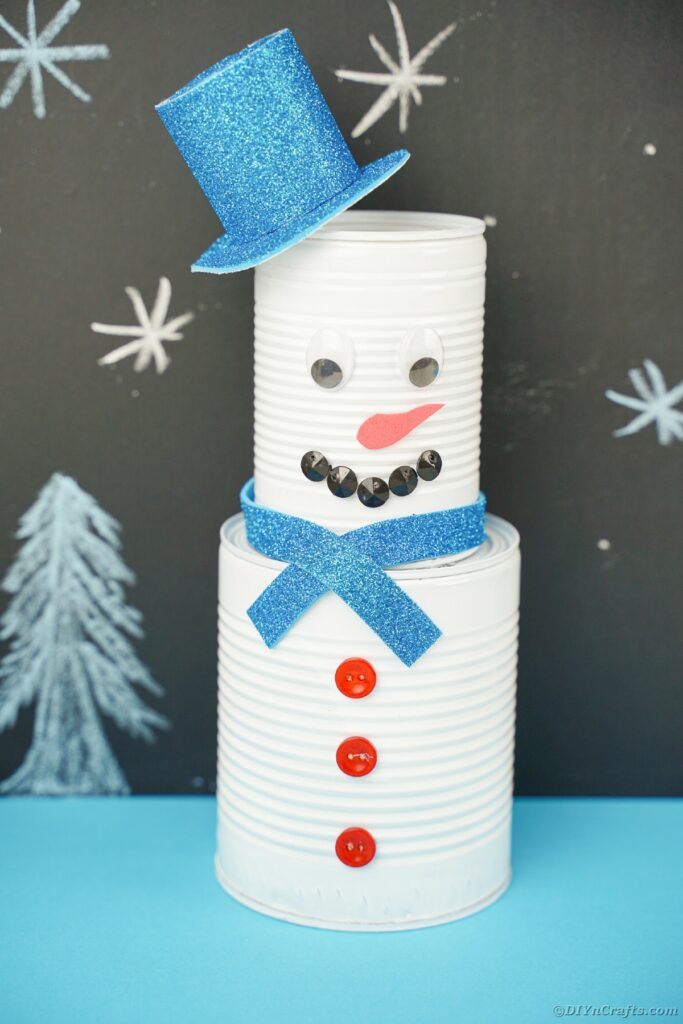
If you love snow and snowmen as much as I do, then this adorable tin can snowman decoration is going to be tons of fun to make. This easy snowman is made with upcycled tin cans you probably already have on hand. A bit of paint, some foam paper accents, and you have a treasured winter decoration that is super fun to make!
Painted Tin Can Snowman Decoration
I love how amazingly easy this tin can snowman is to make. It is absolutely adorable and can be placed anywhere. This snowman can be used as a decoration on your mantle or on shelves or if you use materials that can get wet, you make this to decorate outside.
While this is designed to be your own home decoration, you can also use this as a gift. What a cute idea it would be to add to a gift basket alongside some cute little bottle cap snowman ornaments or a popsicle stick snowman the kids made. Then you can load the basket with a few of these gifts in a jar and gift to your friends and family.
What Can I Decorate My Snowman With?
The things you can use to decorate this snowman are endless. You can paint the decorations on or you can use materials like velvet, felt, buttons, pom-poms, and/or paper.
If you want to make this snowman to decorate outside, you will want to use things that can get wet. You can use plastic or Styrofoam or crafting foam. These things can get wet without being damaged. I also like the idea of adding twinkle lights on or around the snowman to sit outside in the snow for it to glow during the day and night. Below are some more ideas that can work for decorating.
- Use fabric and felt scraps for the scarf, hat, or gloves.
- Add twigs or dowels to the sides for arms.
- Upcycle old clothing items for the hat and scarf.
- Spray the whole snowman with glitter spray or sprinkle with glitter while the paint is still wet.
- Use glow in the dark paint so it glows at night.
- Mount on top of a larger barrel or tub to become life-sized.
What Paint is Best for Tin Cans?
You will want to use long-lasting paint and not something like watercolor or finger paints. I like to use spray paint because it is easy to cover the tin cans without much effort. Acrylic paint is another good option. You can use a paintbrush or foam paintbrush to paint these cans.
If you go the route of drawing on things like buttons and eyes instead of gluing them on from other supplies, I suggest a waterproof paint pen for best accuracy and placement. Of course, if you are keeping these indoors, a simple permanent marker can also work for those fine details.
What Sized Cans Should I Use?
While there is no perfect answer to this question, I recommend using different graduating sizes. Large, medium and small look best for the layered snowman look you are going for.
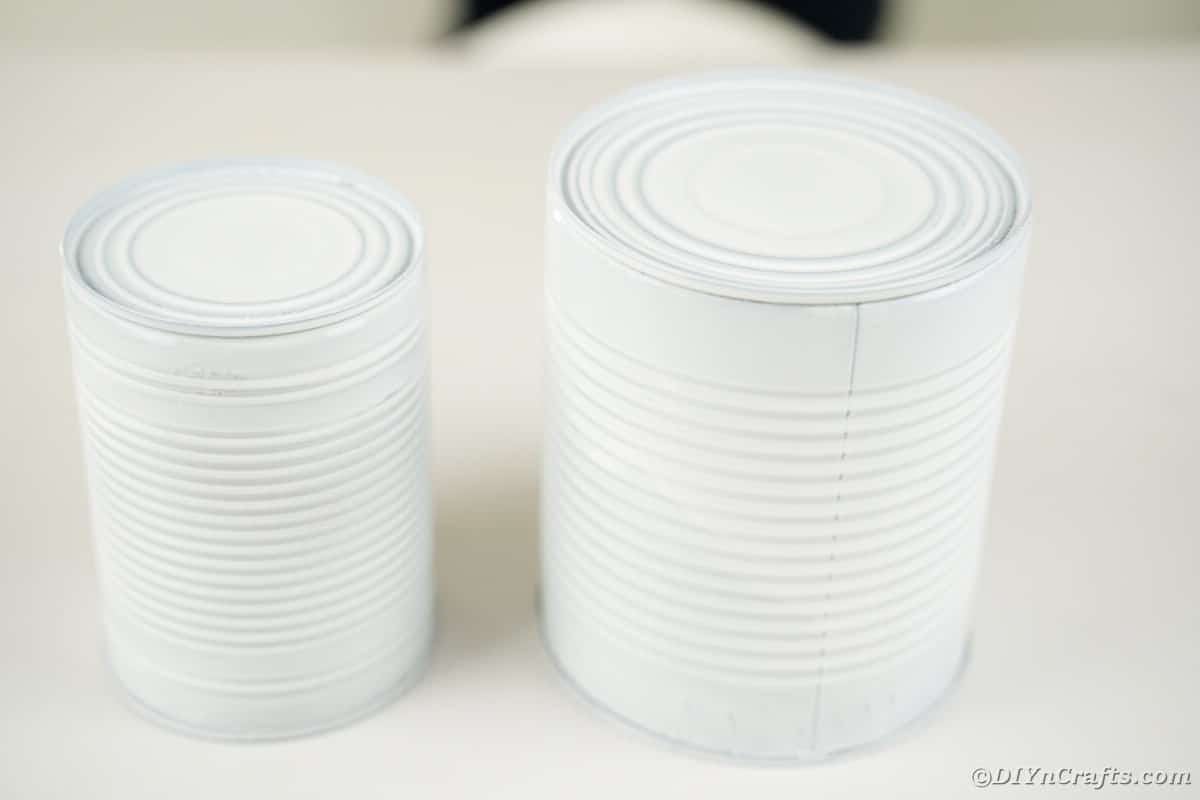
In the version I made, I used a #10 can and then a traditional 24 ounce can from pasta sauce. This turned out great for a small but cute snowman. You can easily adjust this for a three-tiered snowman by putting a large can on the bottom, medium in the middle, and small on top. I would use the #10 can, then a 24 ounce can, then a 15 ounce can if doing the three-layer version.
The size of the cans is not as important as that you make sure they are different graduating sizes to give the classic snowman look to the decoration.
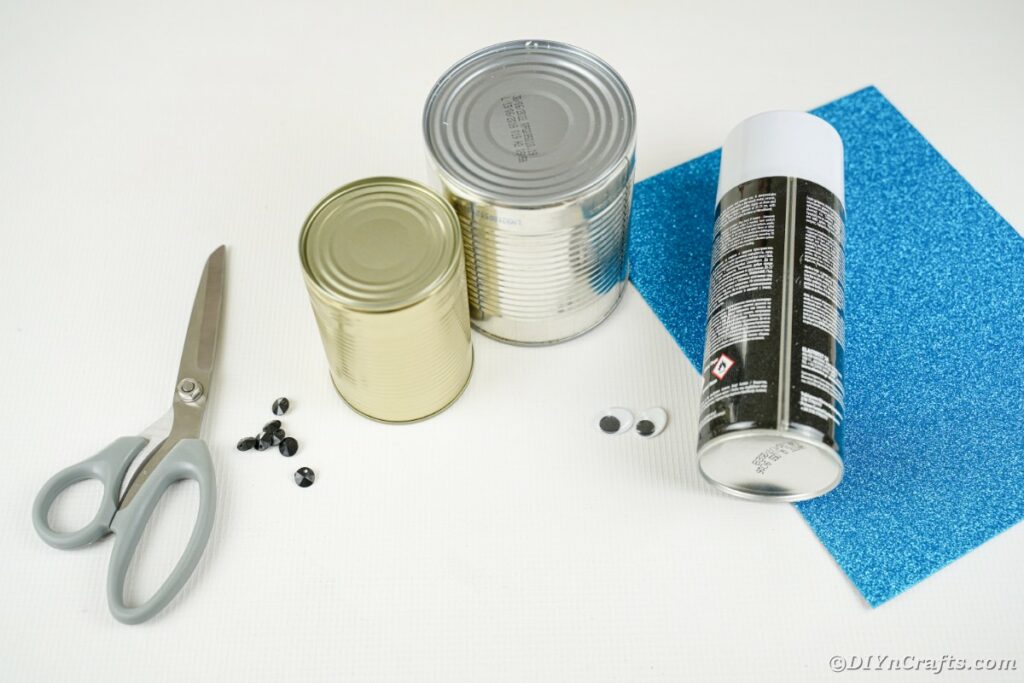
Supplies Needed
- Empty tin cans in 2-3 sizes
- White spray paint
- Red buttons
- Orange foam paper
- Blue glitter foam paper
- Black beads or buttons
- Googly eyes
- Scissors
- Hot glue gun
- Hot glue stick or hot glue rope
How to Make a Tin Can Snowman
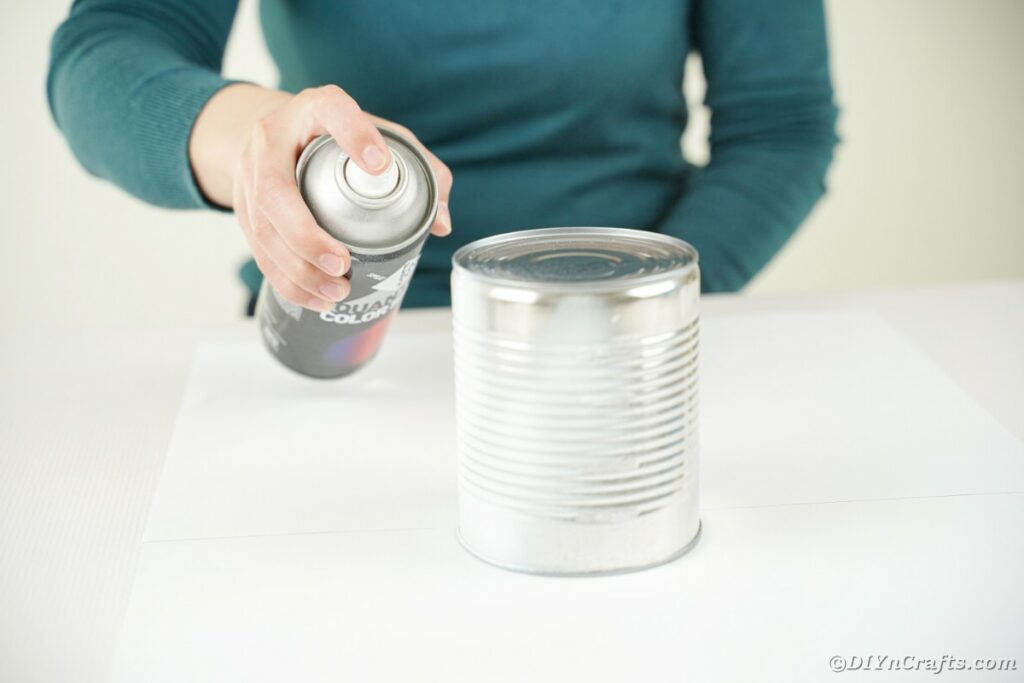
Remove the label and clean the tin cans then make sure they are completely dry.
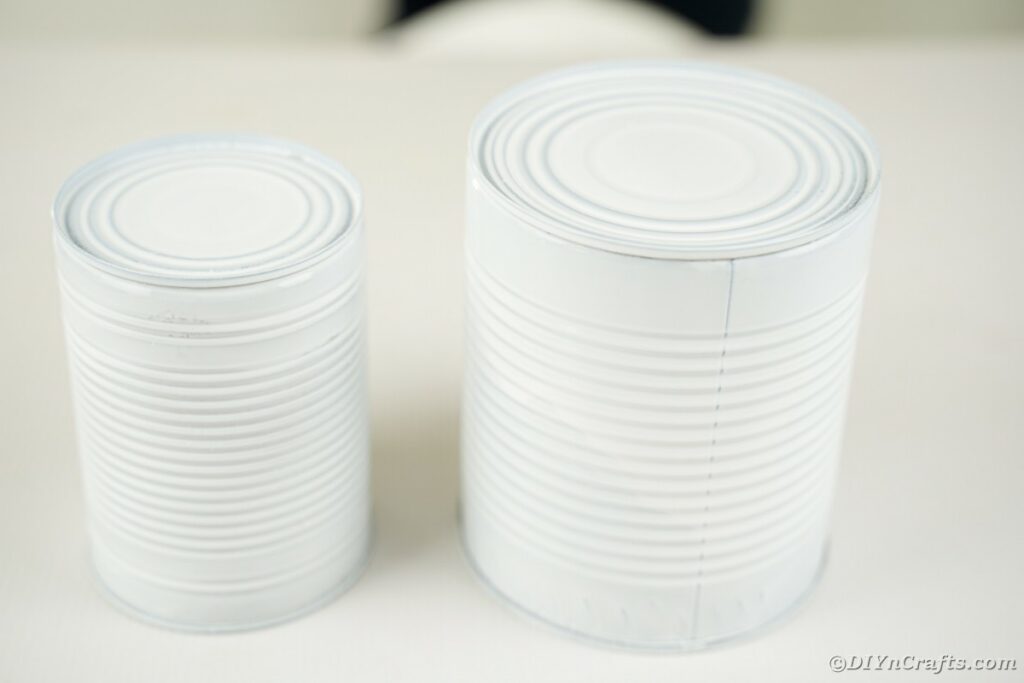
Spray paint the cans all over the outside.
Then set them aside to dry.
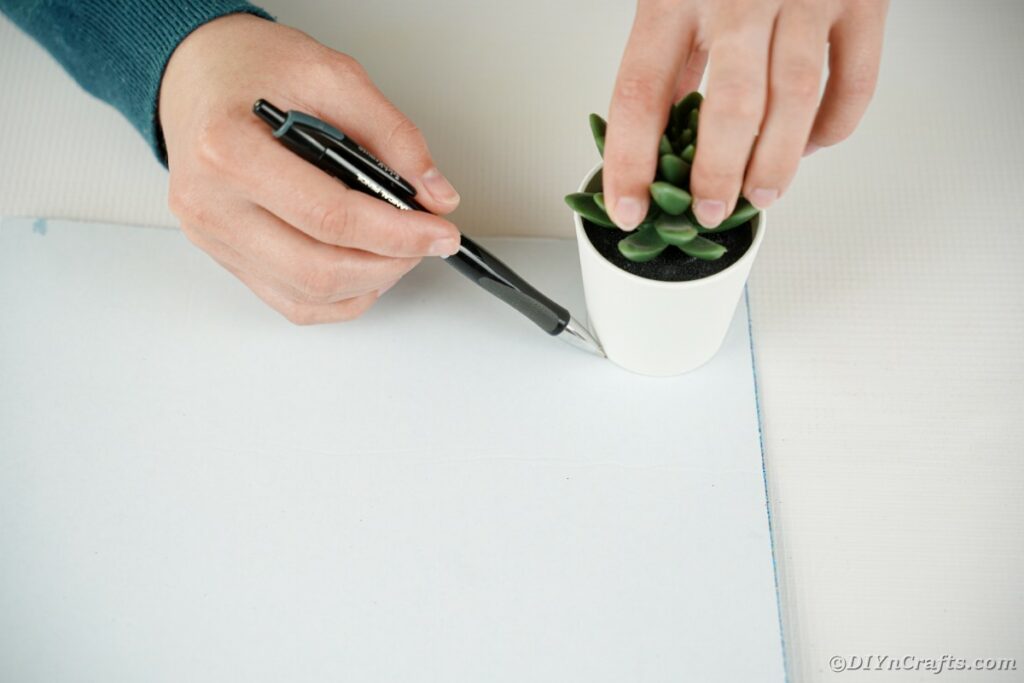
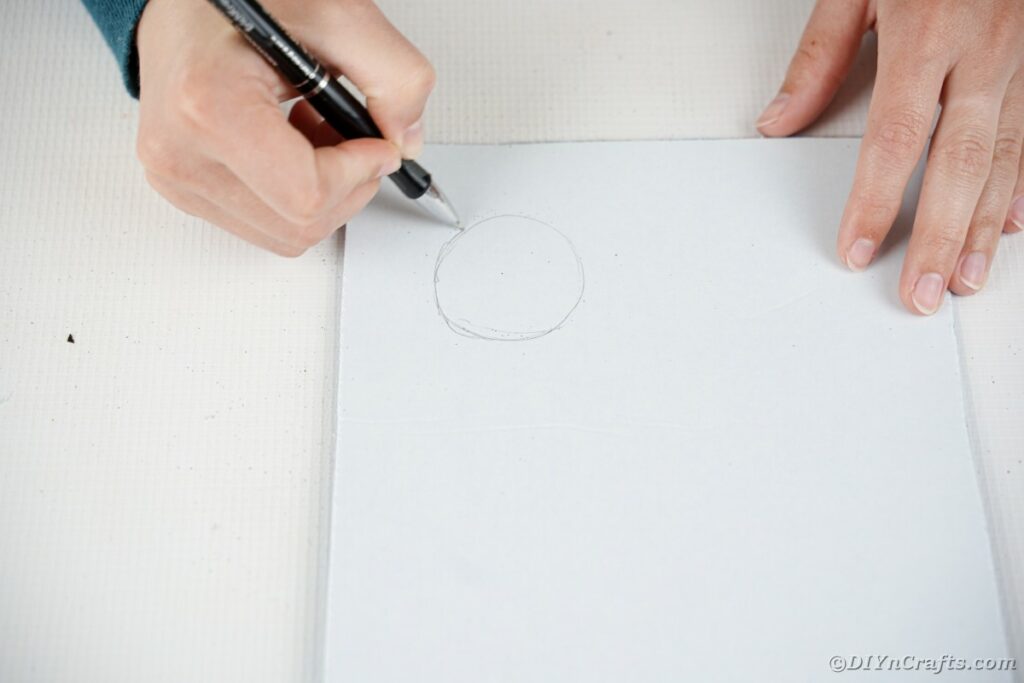
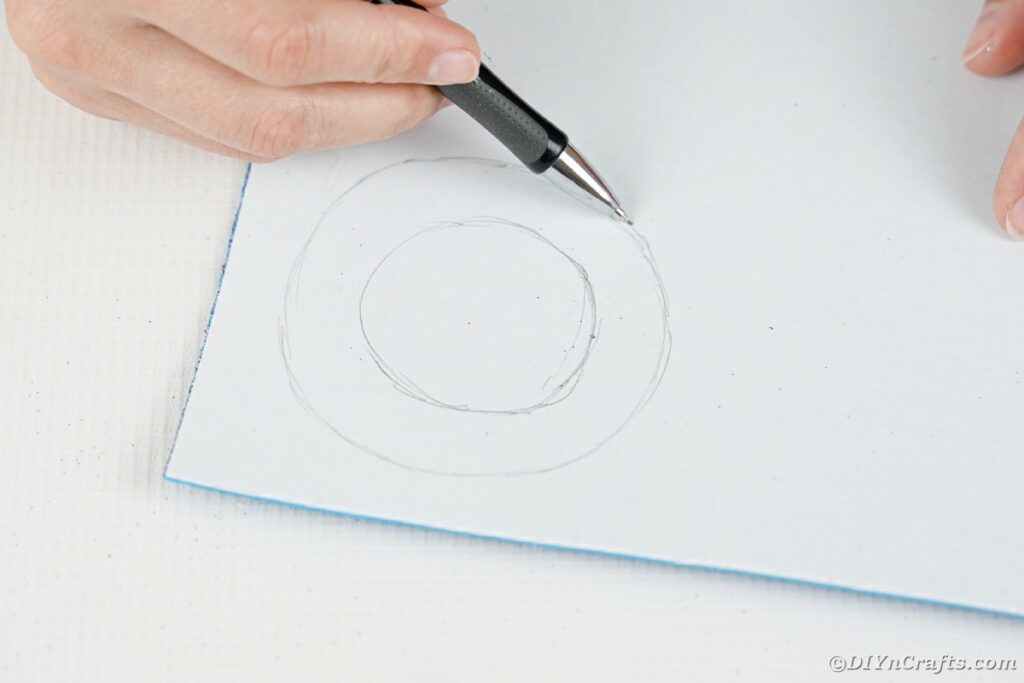
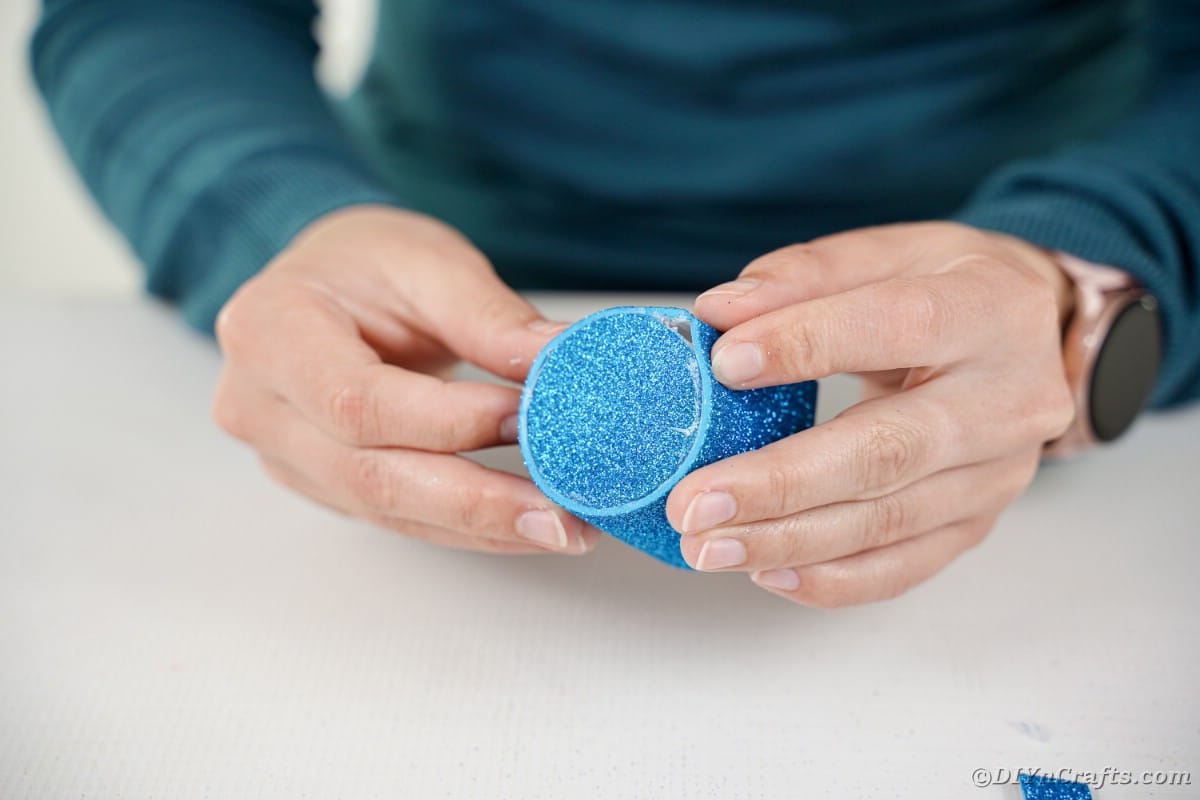
On the back of a piece of glitter foam paper, trace a 3" wide circle.
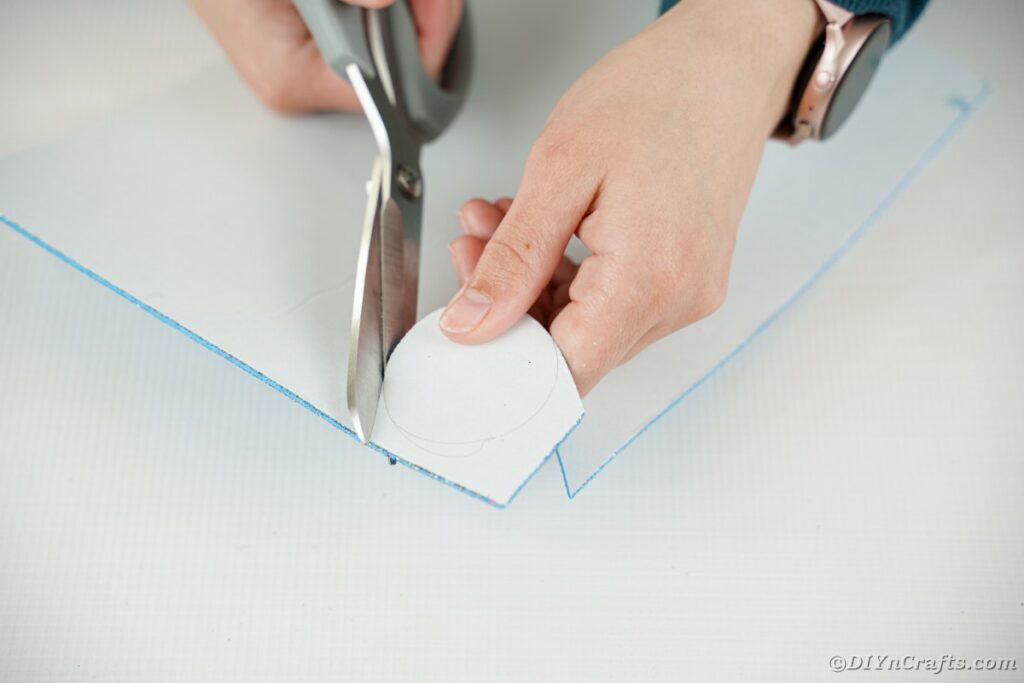
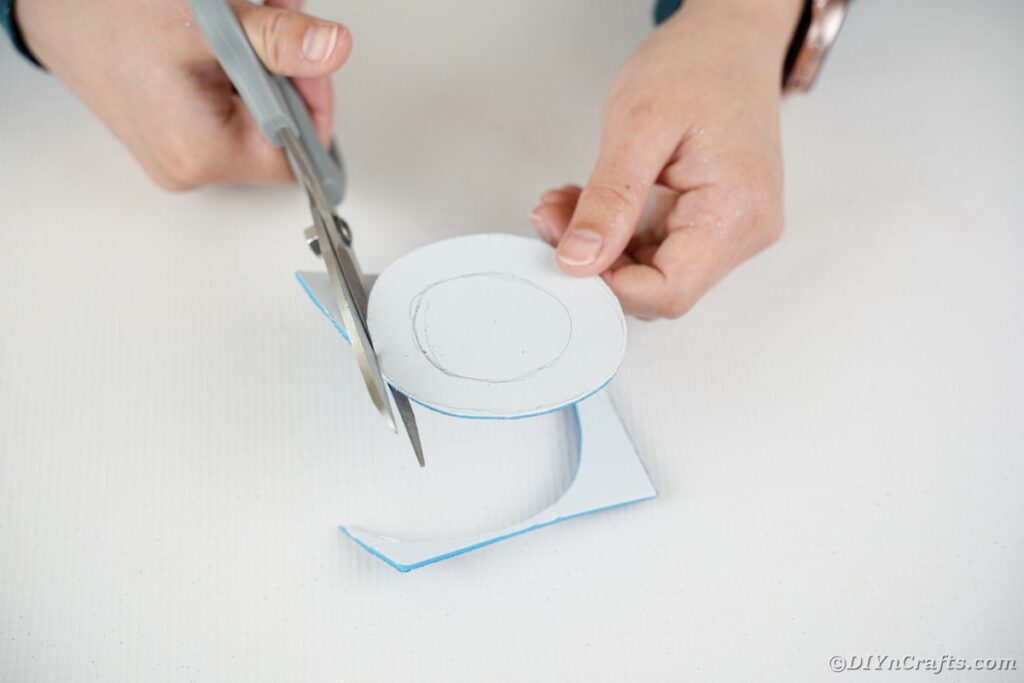
Cut out the circle and set it aside.
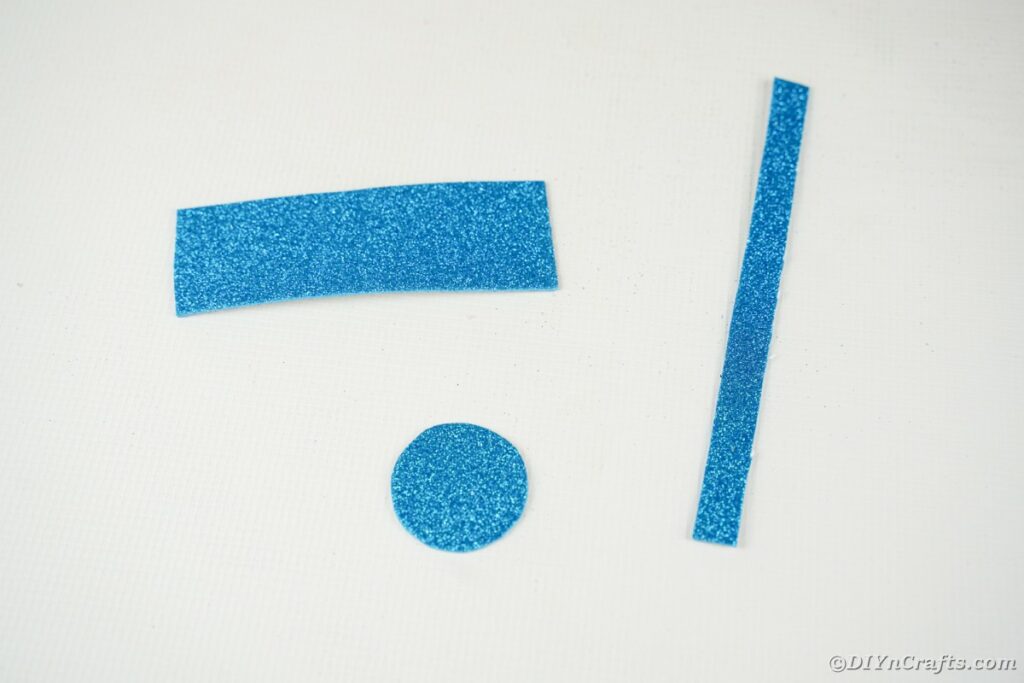
Next, cut out a 2 to 2 ½" wide strip of foam paper and a 1" strip of foam paper and set aside.
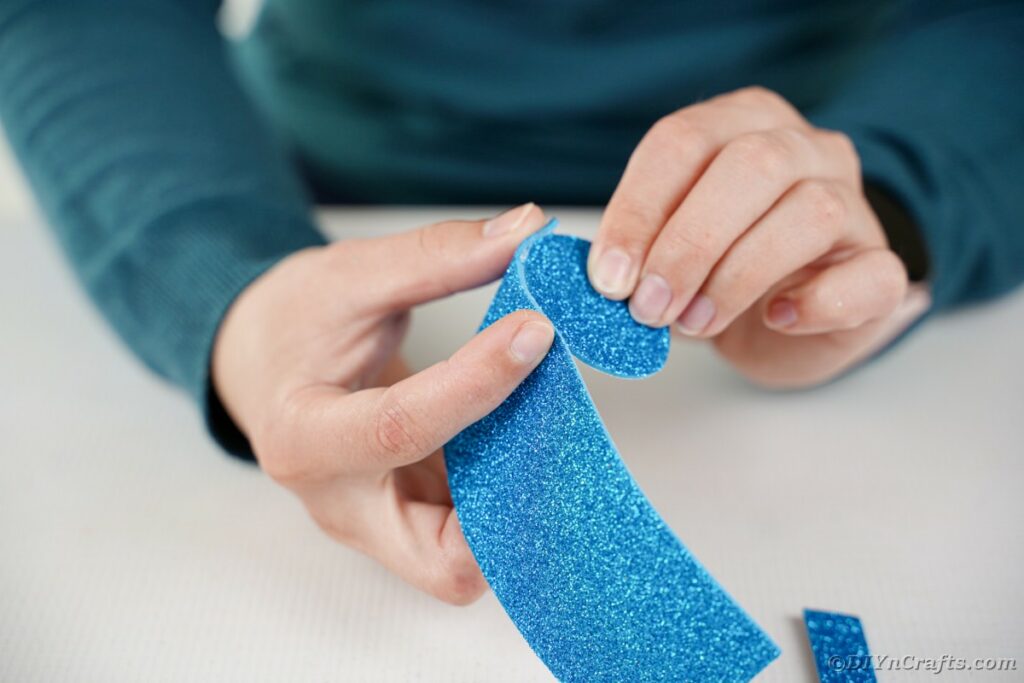
Glue the larger strip of paper around the edge of the foam circle with the color facing outward to create the top of a top hat.
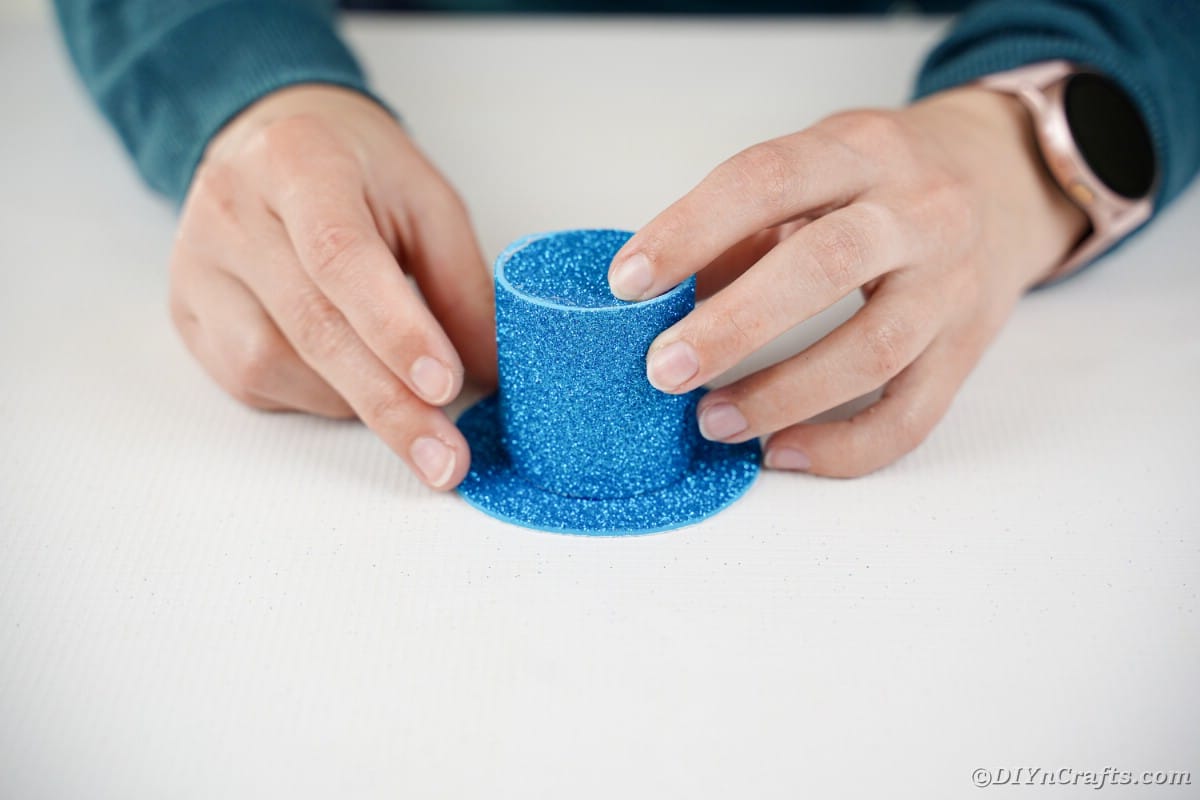
Use the top hat to trace a second circle onto the foam paper.
About an inch outside that circle, trace on another circle.
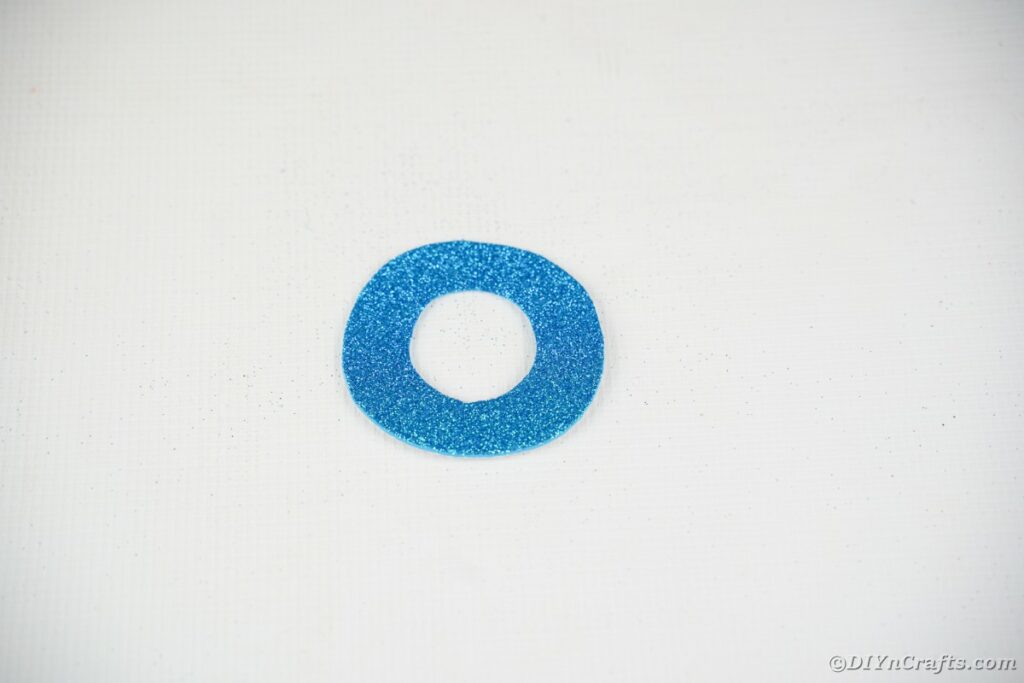
Cut this out and then cut the middle out of the circle and discard it.
This creates the brim of your hat.
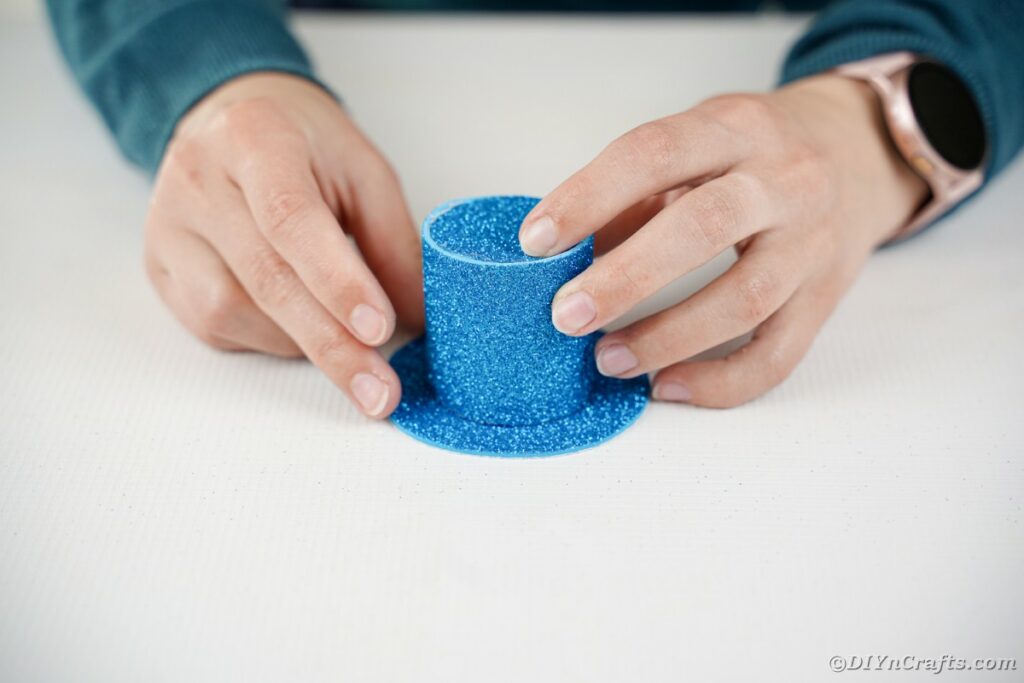
Glue the brim into place and set aside.
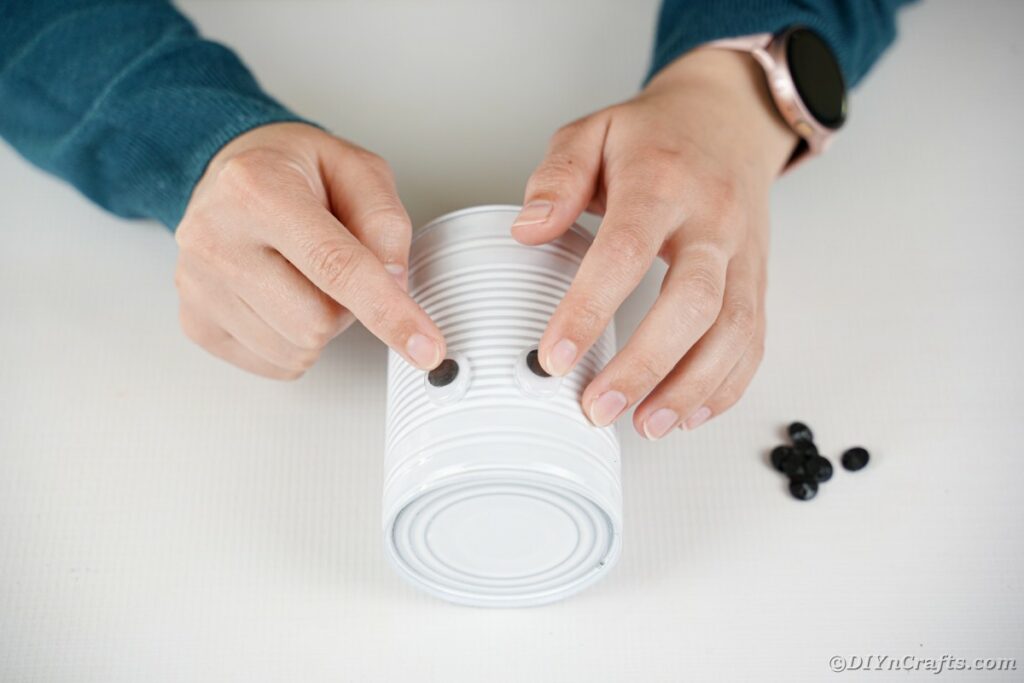
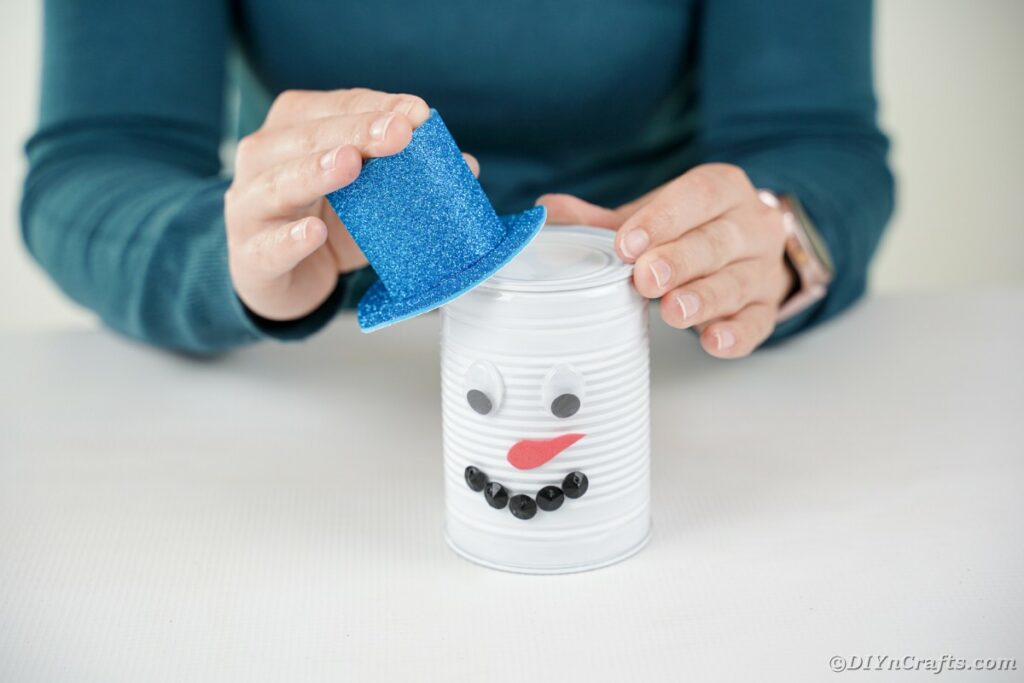
On the smaller can, toward what will be the top but used to be the bottom, place the googly eyes.
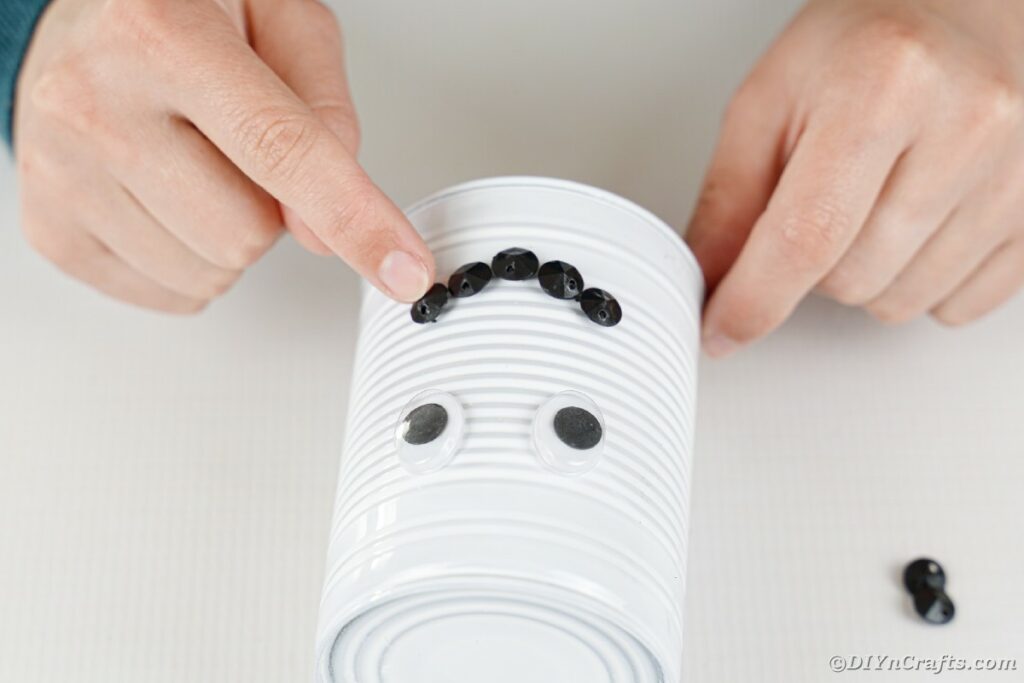
Toward the bottom open end of that can, glue on black beads to create a smile.
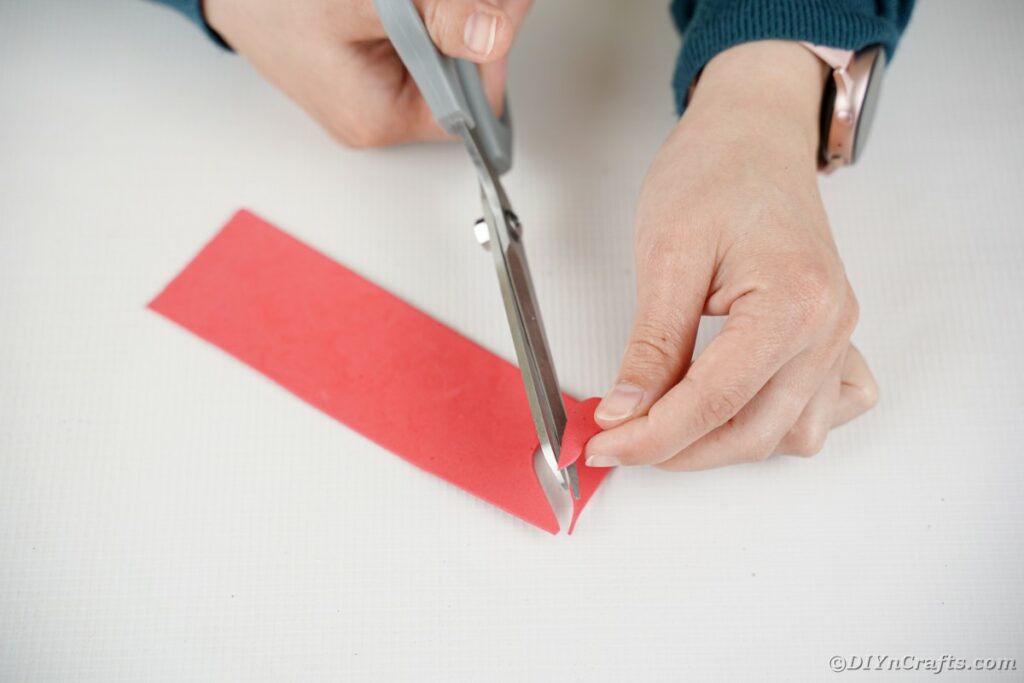
Cut a small carrot shape from orange foam paper.
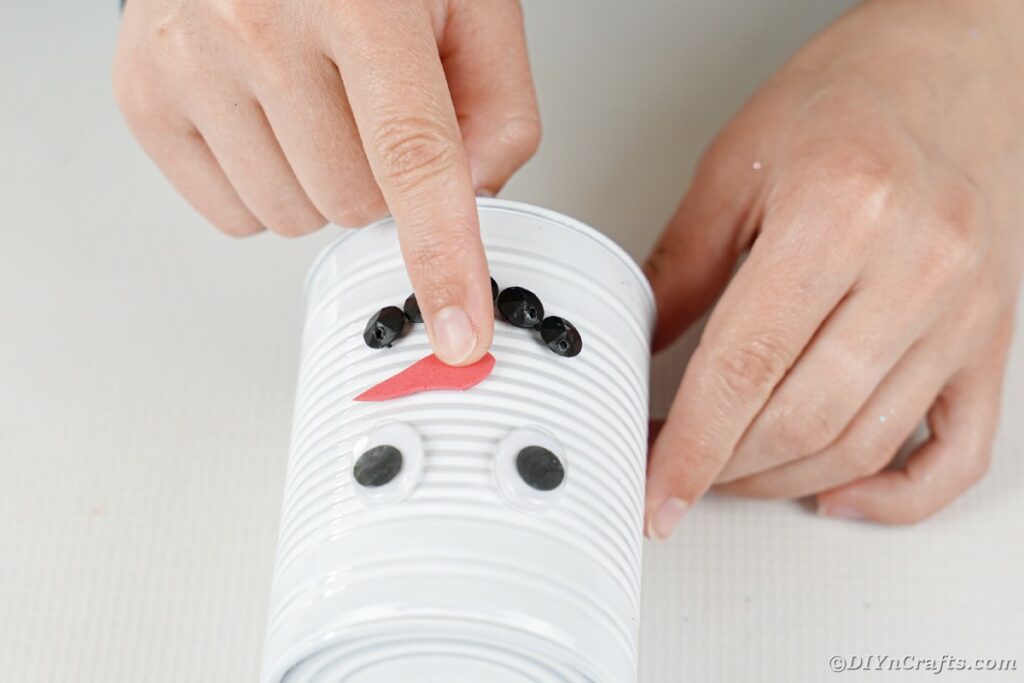
Then, glue it between the eyes and mouth for the nose.
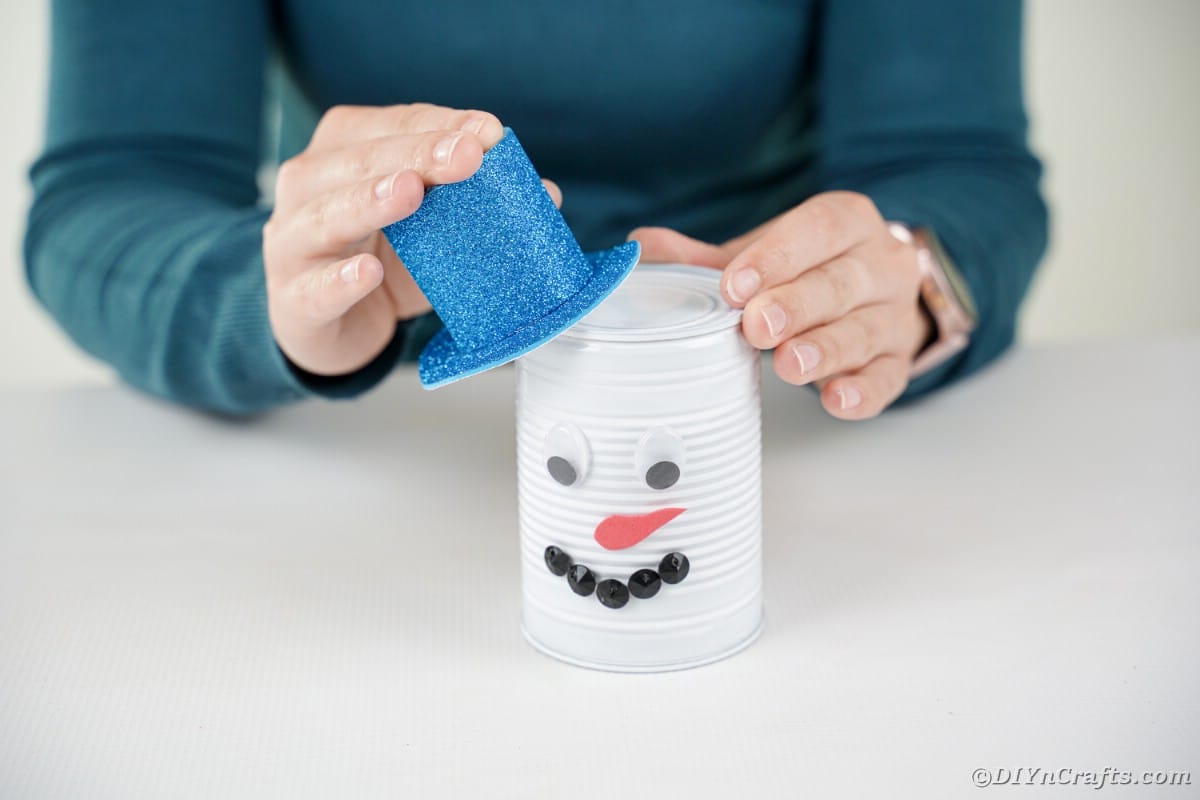
Glue the top hat at an angle on the top of the can.
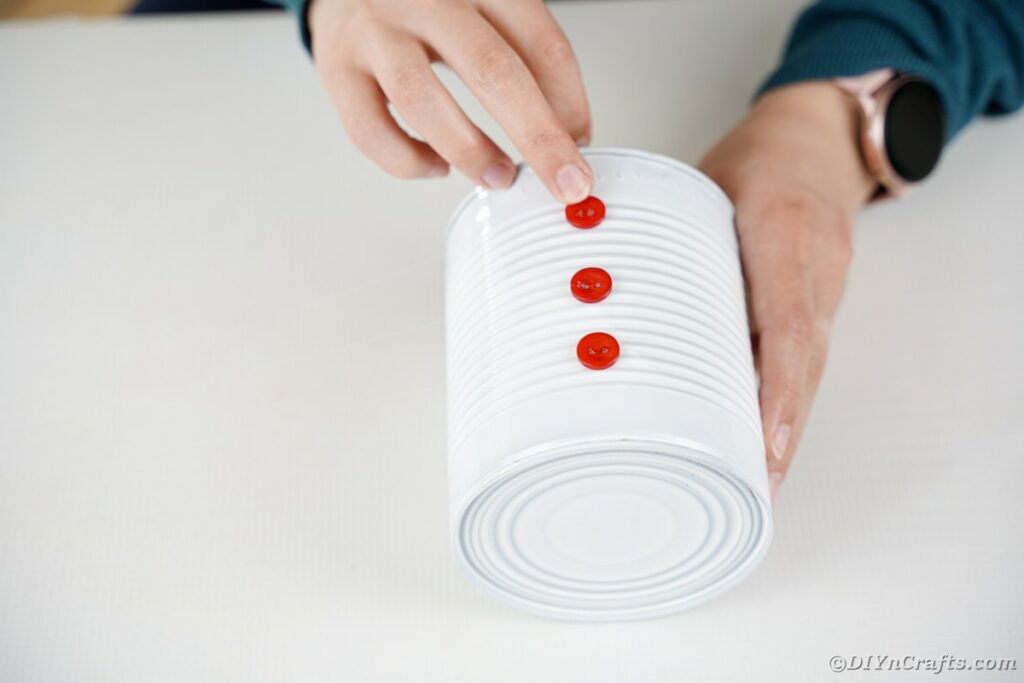
Next glue three red buttons down the center of the larger tin can.
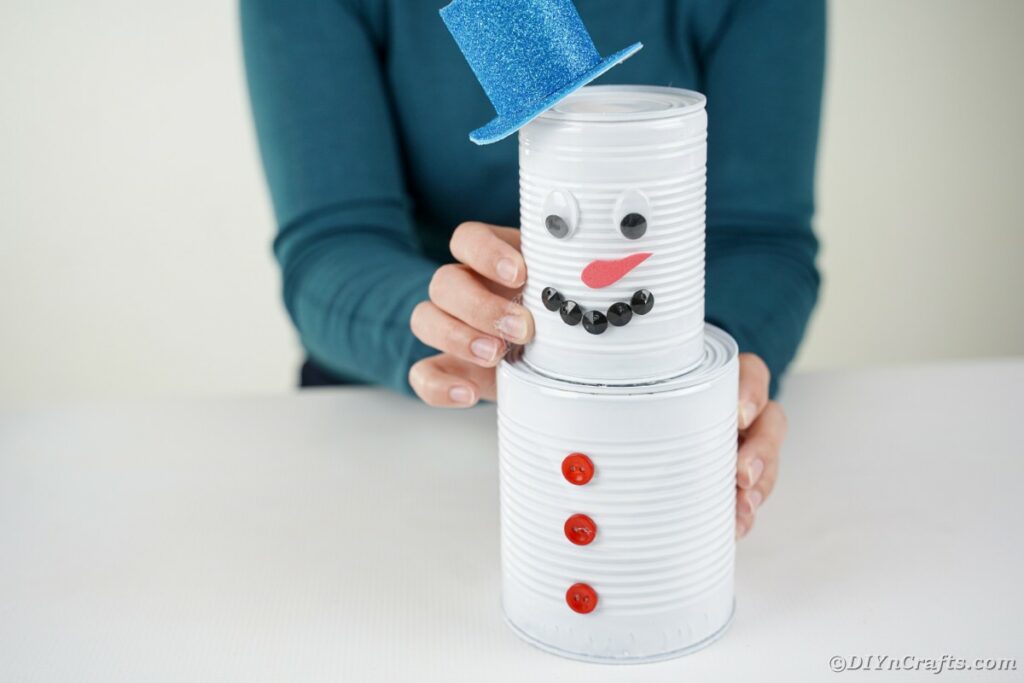
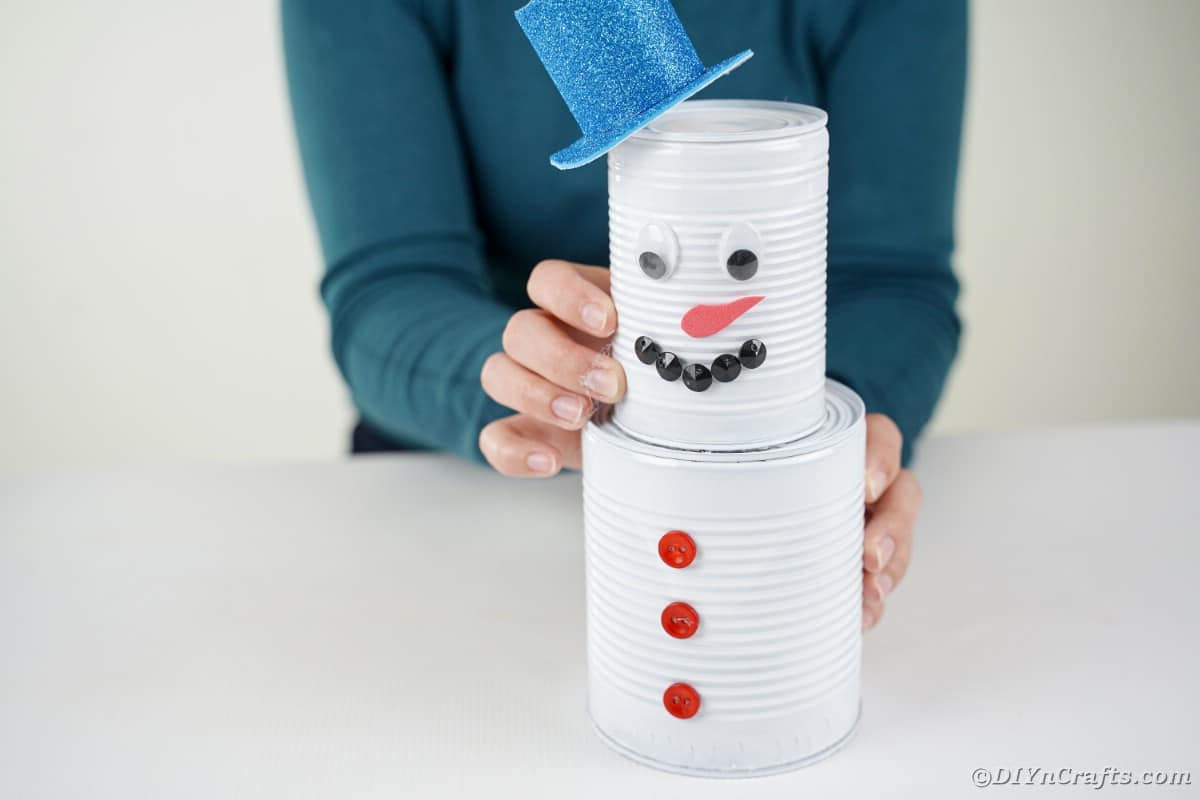
Attach the small can to the top of the larger can so that the open ends are facing downward.
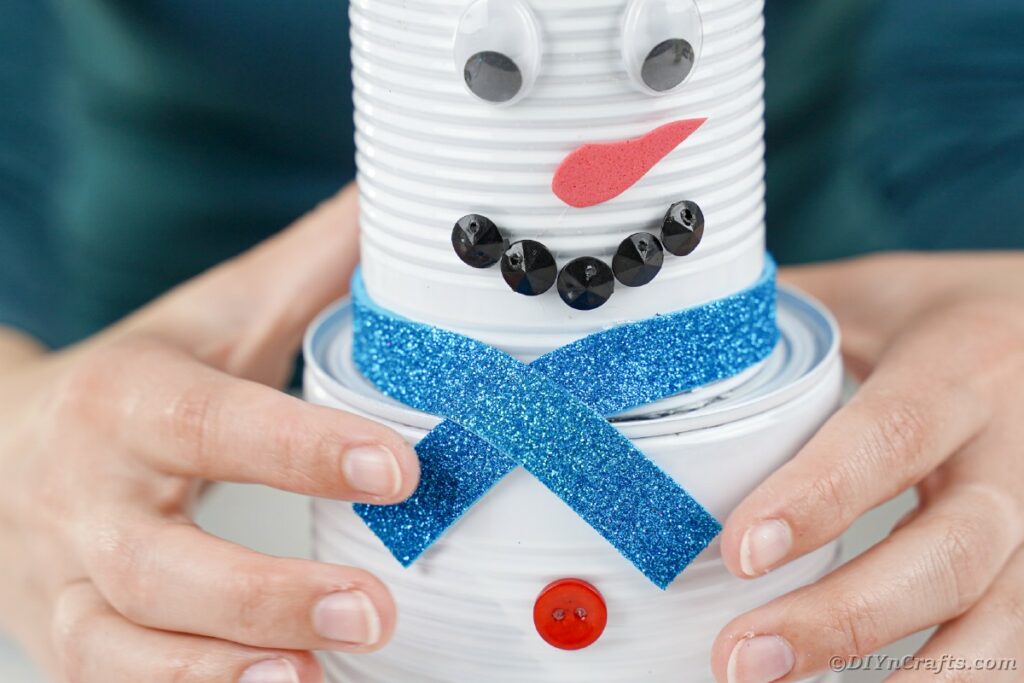
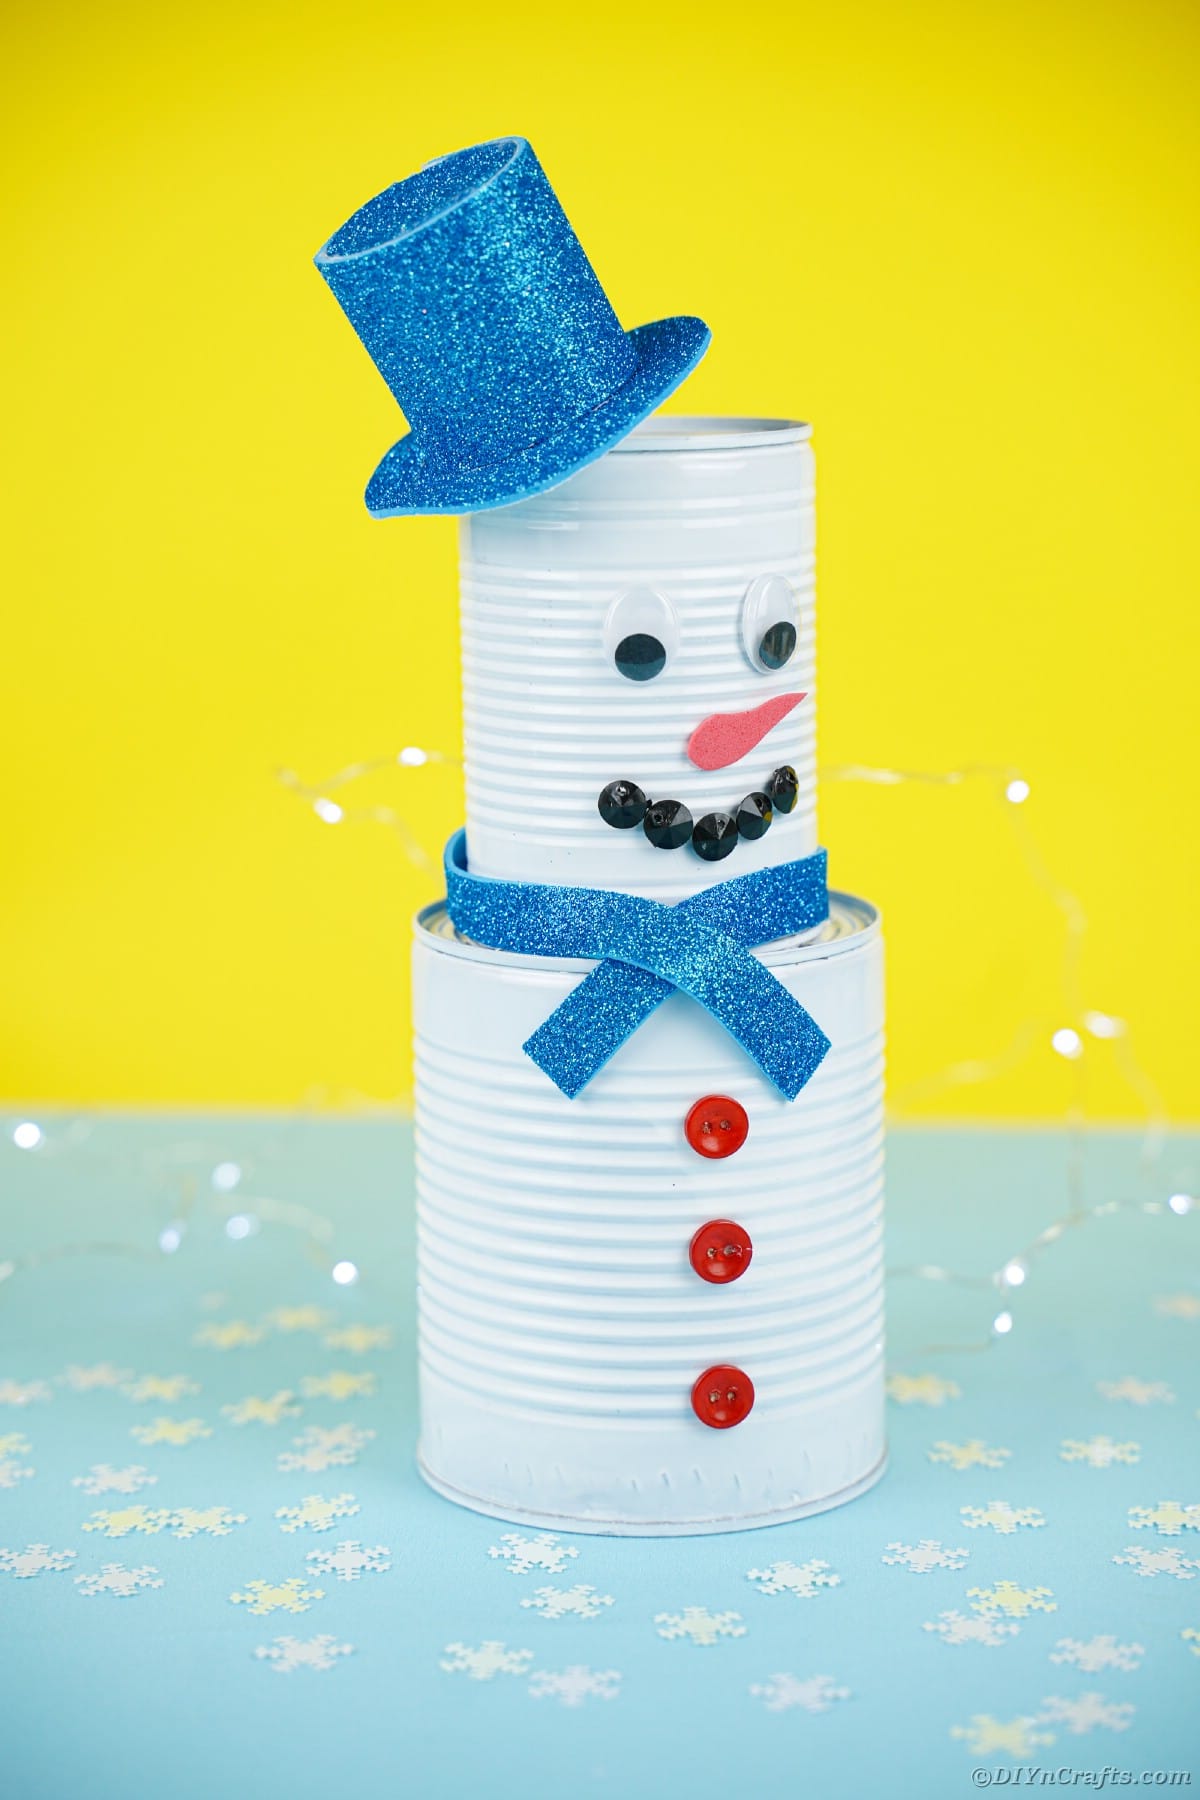
Wrap the extra strip of foam paper you cut earlier around the base of the smaller can to create a scarf. Crisscross the ends and cut fringe at the end if wanted.
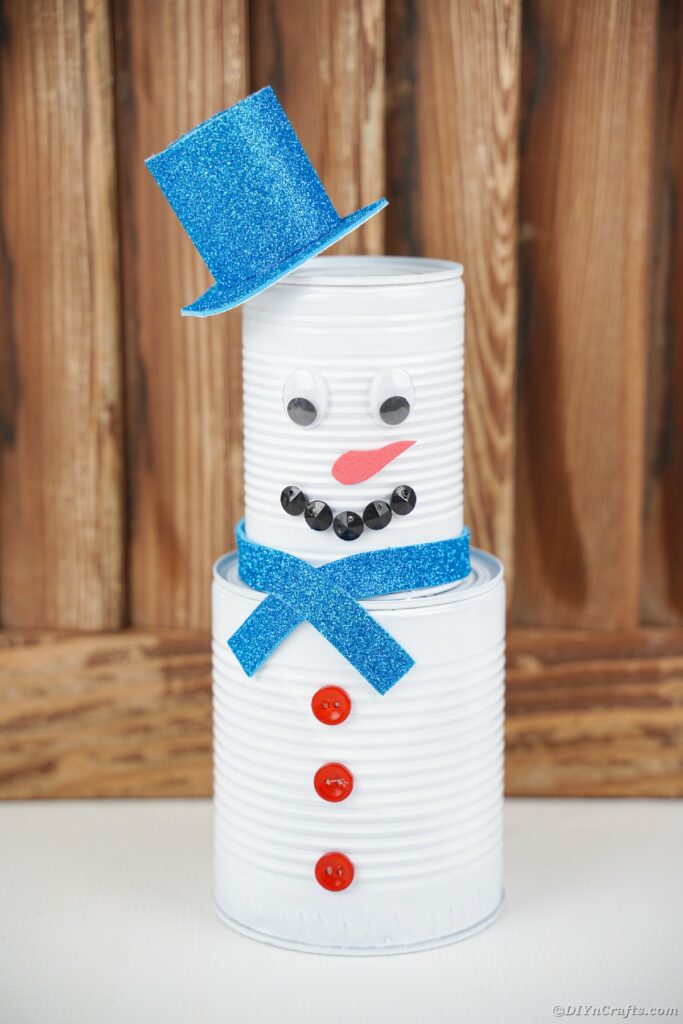
Decorate more if desired, then display on a table, mantle, or in your yard!
More Snowman Craft Ideas
Crafting Tip
When making the scarf for the snowman, if you plan to only display this indoors, I highly recommend using felt instead of the glitter paper. It will look a bit more natural and be softer and easier to drape around the neck.
Cute Painted Tin Can Snowman Decoration
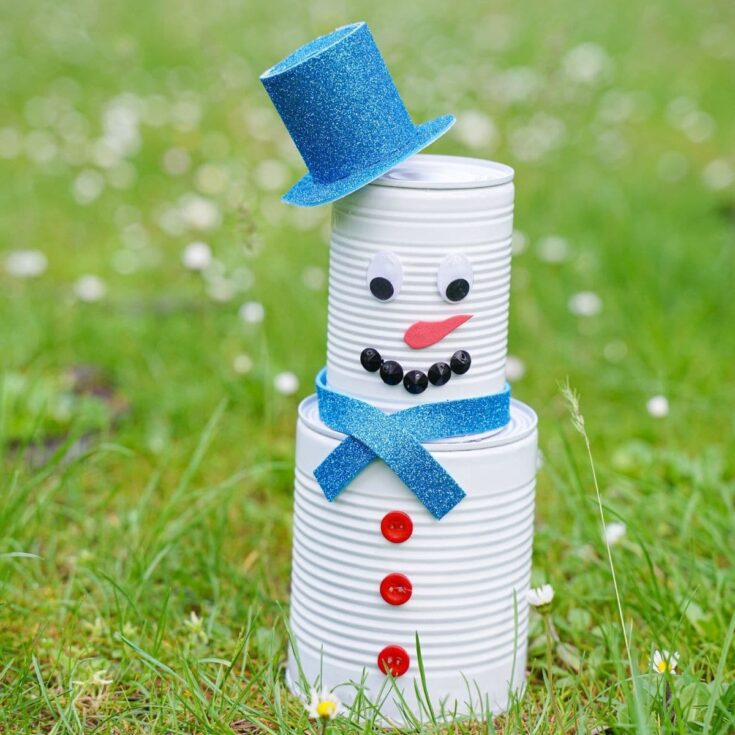
Follow this easy tutorial to make your own cute painted tin can snowman decoration perfect for both indoor and outdoor Christmas decorating!
Materials
- Empty tin cans in 2-3 sizes
- Red buttons
- Orange foam paper
- Blue glitter foam paper
- Black beads or buttons
- Googly eyes
Instructions
- Remove the label and clean the tin cans then make sure they are completely dry.
- Spray paint the cans all over the outside then set aside to dry.
- On the back of a piece of glitter foam paper, trace a 3" wide circle.
- Cut out the circle and set it aside.
- Next, cut out a 2 to 2 ½" wide strip of foam paper and a 1" strip of foam paper and set aside.
- Glue the larger strip of paper around the edge of the foam circle with the color facing outward to create the top of a top hat.
- Use the top hat to trace a second circle onto the foam paper. About an inch outside that circle, trace on another circle.
- Cut this out and then cut the middle out of the circle and discard. This creates the brim of your hat.
- Glue the brim into place and set aside.
- On the smaller can, toward what will be the top but used to be the bottom, place the googly eyes.
- Toward the bottom open end of that can, glue on black beads to create a smile.
- Cut a small carrot shape from orange foam paper and glue between the eyes and mouth for the nose.
- Glue the top hat at an angle on the top of the can.
- Next glue three red buttons down the center of the larger tin can.
- Attach the small can to the top of the larger can so that the open ends are facing downward.
- Wrap the extra strip of foam paper you cut earlier around the base of the smaller can to create a scarf. Criss cross the ends and cut fringe at the end if wanted.
- Decorate more if desired, then display on a table, mantle, or in your yard!
Notes
Use any color foam paper for the hat and scarf.
Recommended Products
As an Amazon Associate and member of other affiliate programs, I earn from qualifying purchases.
-
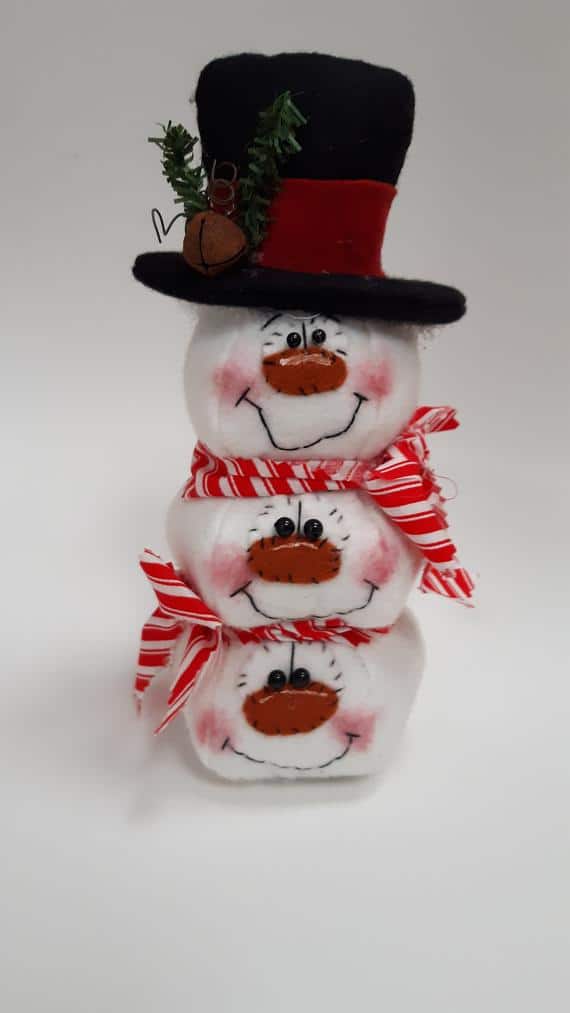 Stacked snowmen decoration snowmen snowman decor snowman | Etsy
 -
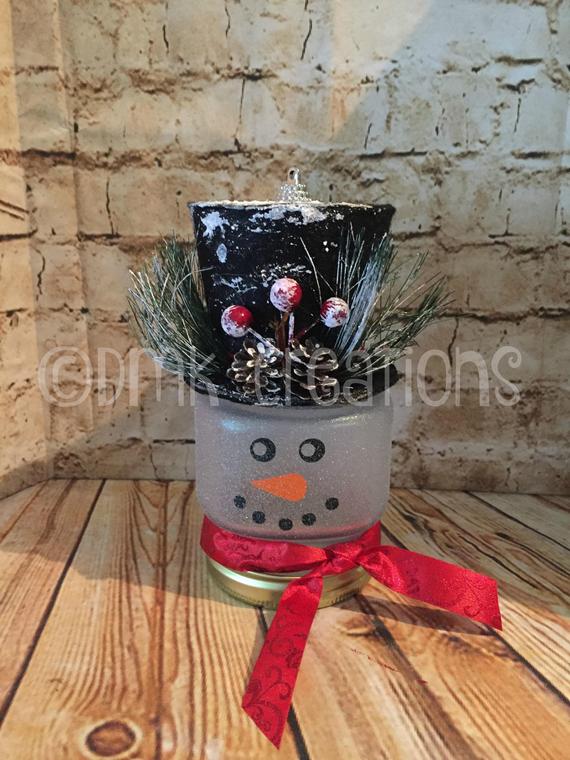 Mason Jar Snowman Light snowman mason jar Christmas | Etsy
 -
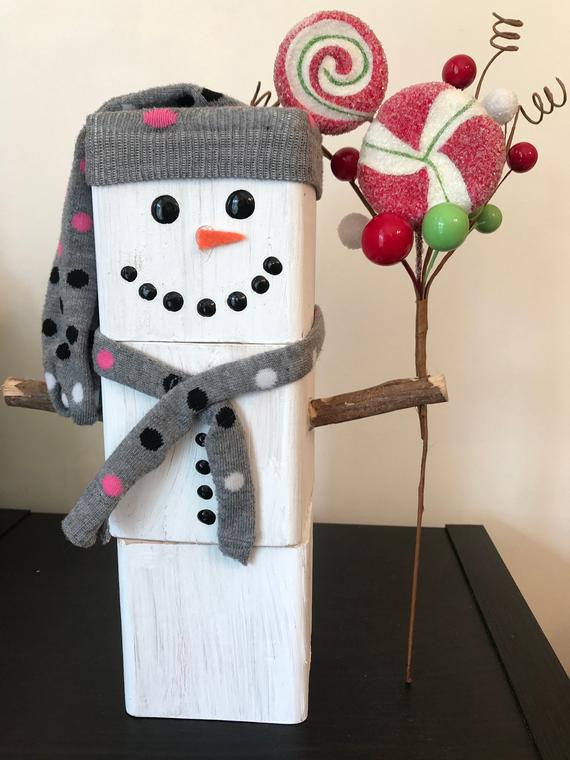 Wood Block Winter Wonderland Snowman Decorations | Etsy
 -
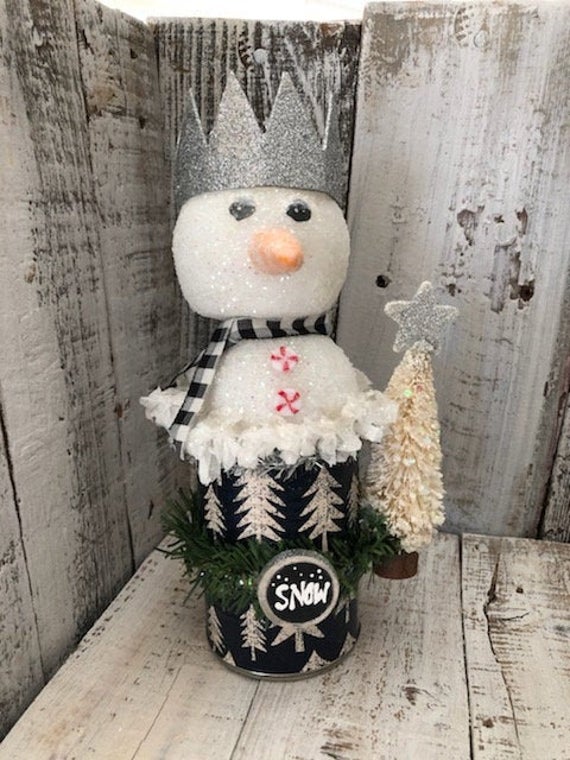 Tin Can Snow Snowman | Etsy
 -
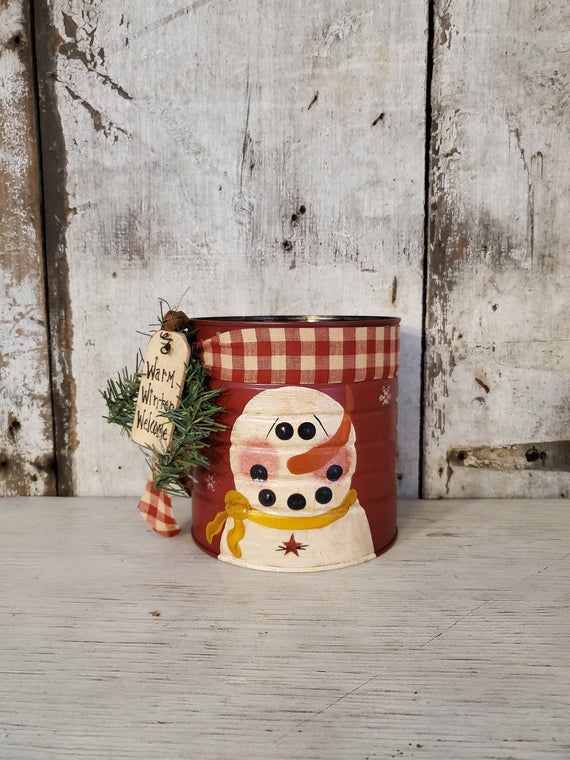 Primitive Snowman Coffee Tin Primitive Christmas Hand | Etsy
 -
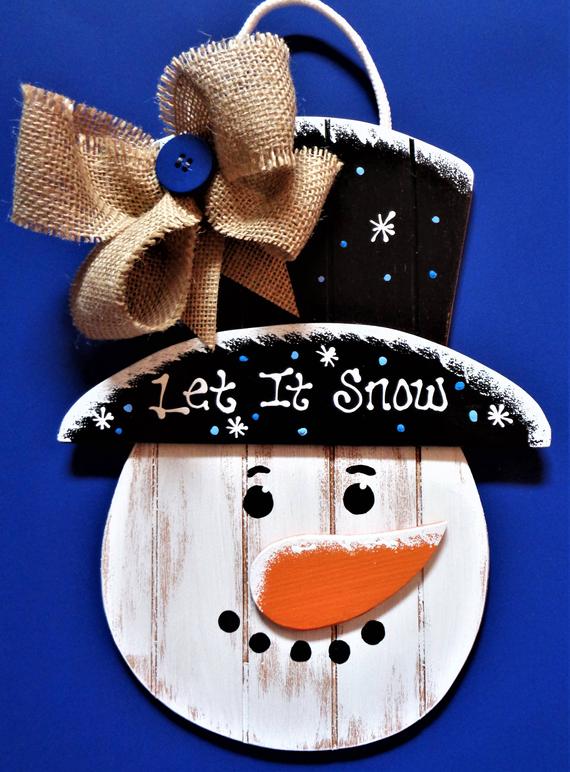 Let It Snow SNOWMAN SIGN Grooved Wood Hanging Hanger Plaque | Etsy
Finished Project Gallery
I love how this is so easy to customize with colors to match your home, holiday decor, or personal style.
Make these using different sized cans to create a family of snowmen.
You can even make them using individual cans and paint in accents to make them look layered.






Leave a Reply