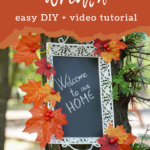
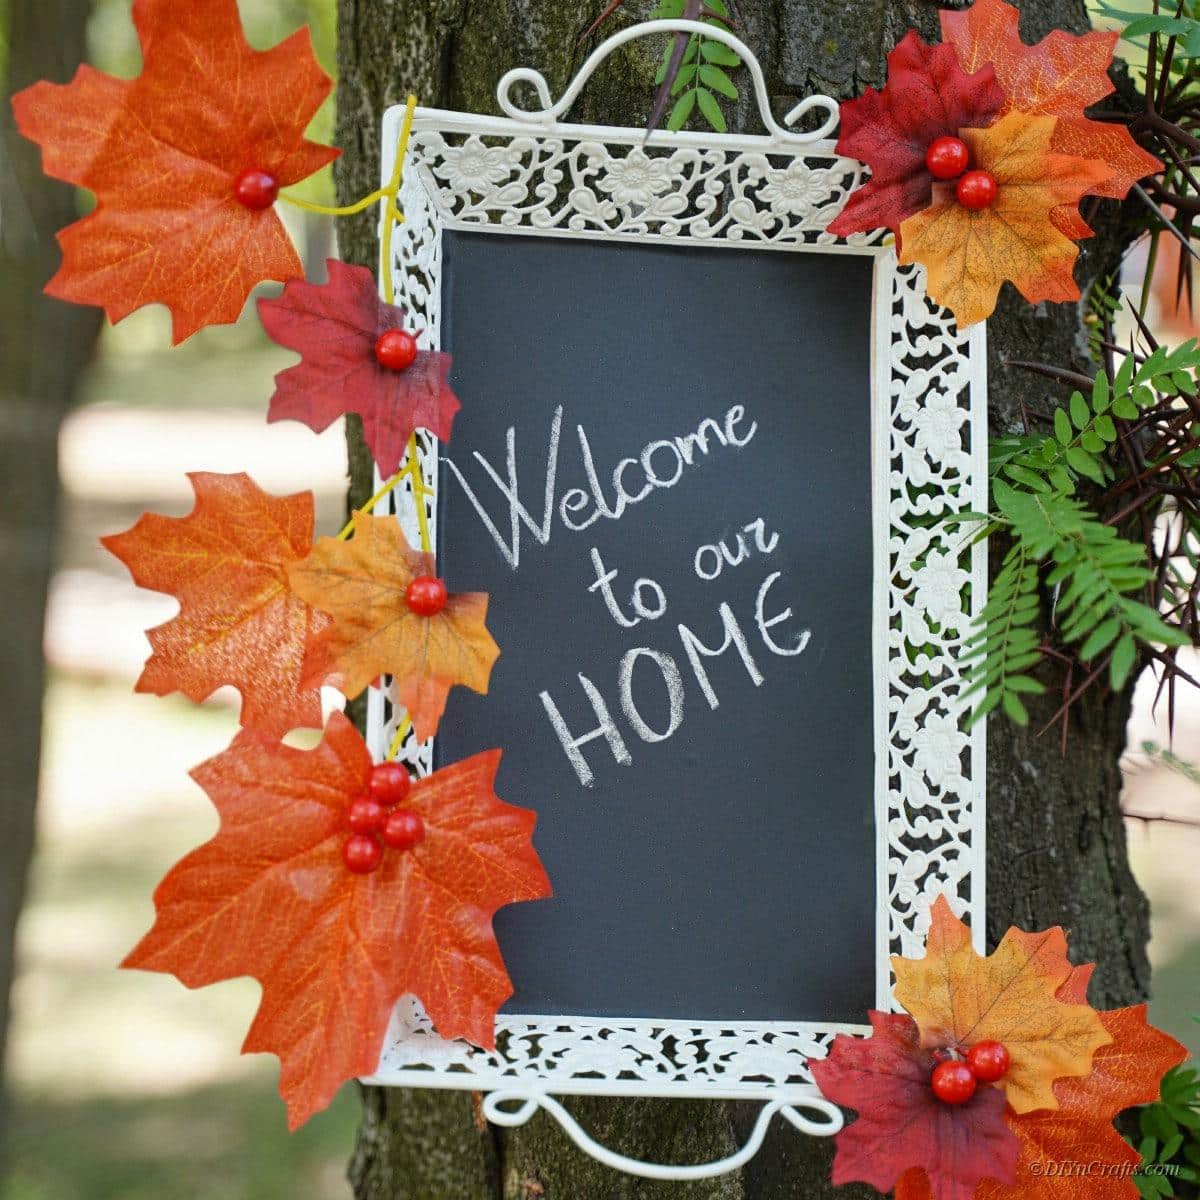
Create something warm and welcome to grace your front door this autumn! This is the type of craft you can proudly display outside on your front door each and every season for you and your neighbors to enjoy. It could also make a lovely housewarming gift for the fall! Place this welcome sign somewhere for your guests to see so they can enjoy its bright autumn charm!
Jump to:
- DIY Fall Welcome Wreath Sign
- What Kind of Tray can you use for This Craft?
- What do I use for the Chalkboard Backing?
- What Else Can I Decorate This With?
- How Can I Make This Craft Unique?
- Materials Needed:
- How to Make a Fall Chalkboard Wreath
- Materials
- Instructions
- Recommended Products
- Finished Product Gallery
DIY Fall Welcome Wreath Sign
This is much less a traditional wreath than it is a unique upcycle project! You might not expect to say a tray used this way, but it makes the perfect backing for a unique chalkboard project! A little DIY magic, and you’ve got yourself an interesting piece of décor that you can’t find on a store shelf!
What Kind of Tray can you use for This Craft?
If you’re looking to upcycle and give new life to some of the old pieces of décor you’ve got in the closet, this project is a great place to start. The first thing you can do is take a look around your house to see whether or not you can find anything suitable to use as the center for this wreath! Depending on what you choose, it might even be able to double as a centerpiece!
Any old tray, such as the white one found below in our step-by-step instructions, is a great example! Since we’ll be using pre-bought backing, you don’t have to worry about what materials are on the inside of your tray. If you don’t have one at home, this is where the dollar store is going to be your best friend! Try shopping online for some, and make a few for some fall gift ideas for your friends and family!
What do I use for the Chalkboard Backing?
We’re using a roll of chalkboard backing for our tray welcome sign. That being said, there are a couple of ways you can get the same effect, depending on what you might already have. If you’re using a similar tray but can’t find the backing, there are other methods for achieving the same effect!
Chalkboard paint or spray paint is an excellent substitute for this backing. You can apply as much or as little as you like. To do so, disregard the instructions asking you to apply the chalkboard backing. Instead, tape off the edges of your tray so only the center is exposed.
After that, brush-on chalkboard paint from a can, or use spray paint to apply a layer of chalkboard material before continuing. This may take two coats, so allow it to dry before proceeding to the next steps.
What Else Can I Decorate This With?
We'll be using cloth fake leaves, but you can use just about anything! Personally, I love the distinctly fall character these little leaves add to our project. Coupled with the foam crafting cherries, it just makes for a rustic and understated layer of color and texture to our sign.
Burlap bows, small lights, and even ribbons could also make good substitutes if you're not a fan of the leaves. Mix it up a bit and try out some different methods!
How Can I Make This Craft Unique?
For starters, there’s a lot you can do simply by your choice of materials in the first place! Opt for something like a round or oddly shaped decorative tray. This will add tons of character on its own, but you may need to scrounge together more materials to complete this craft. Employ some metallic spray paint to add color to the outside of the tray, or use different textured materials to make it something your own! Here are a few examples to get your creativity flowing!
- Use different natural materials attached to the tray to add some more textures
- Use burlap on the outside of the tray for a classic rustic fall look
- Grab some fall-colored chalk for an October-themed wreath project
- Use accents like acorns, pinecones, and cinnamon sticks to decorate
- For an indoor wreath, try using fairy lights to add a bright shimmering effect around the edge of the tray
Materials Needed:
How to Make a Fall Chalkboard Wreath
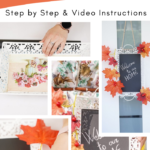
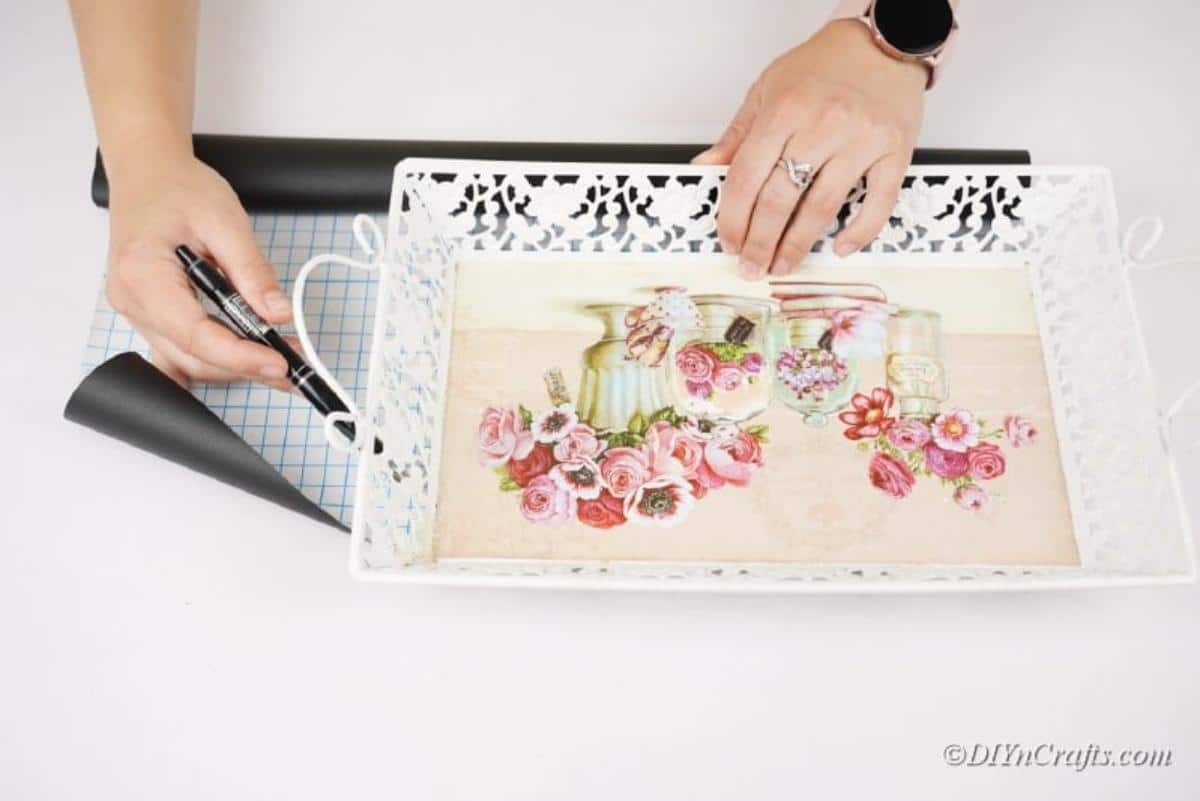
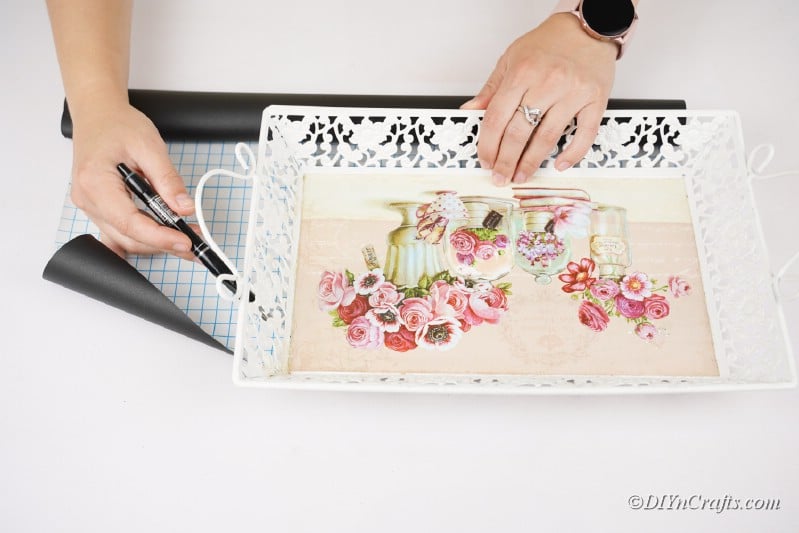
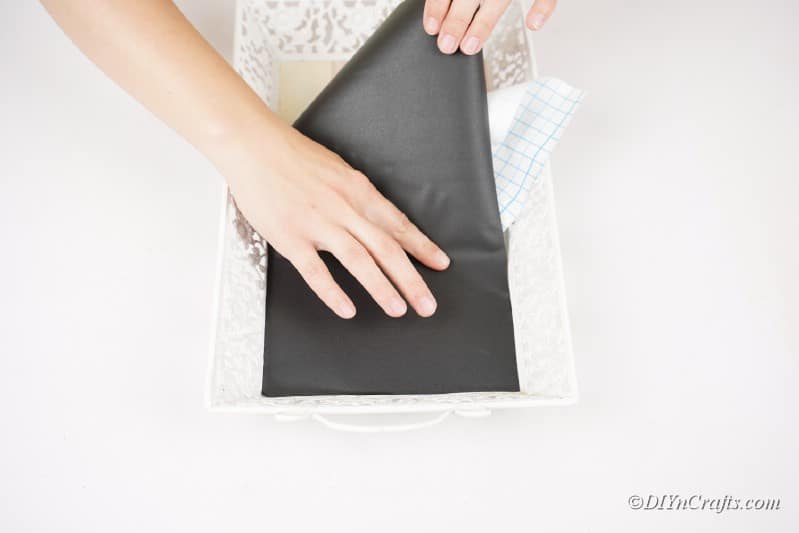
If you've decided to use a stick-on chalkboard backing, start by measuring the area inside the tray you've chosen. If you're using spray-on chalkboard paint, start by taping off all of the pieces of the tray that won't be painted.
After you've cut and measured your piece of chalkboard paper, apply it to the flat center of the tray. If using spray paint, spray the area not covered by painter's tape before proceeding. Be sure to give it ample time to dry.
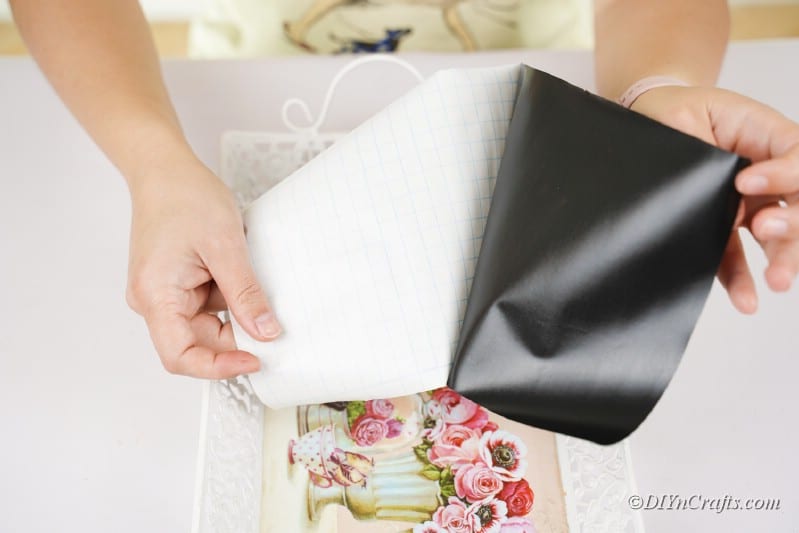
After removing the backing from the chalkboard paper, be sure that it's perfectly aligned in the center of the tray before pressing down. If you're using spray paint, ensure every piece of the tray you don't want painted is covered with plastic or tape.
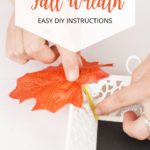
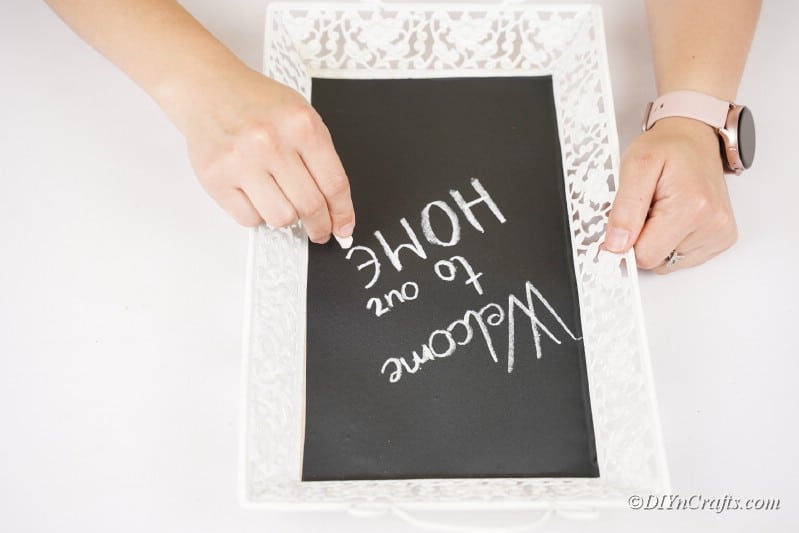
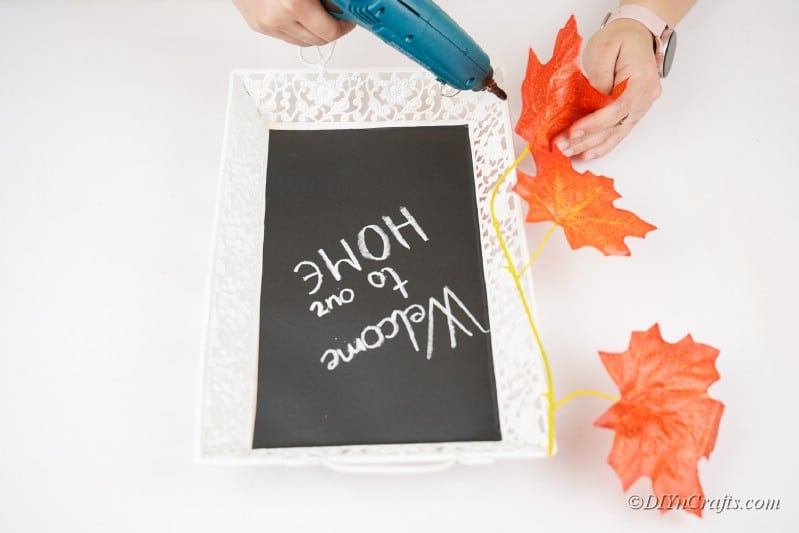
Once the chalkboard paper is securely in place, you can add whatever type of phrase, quote, or fall-themed saying you'd like! At this point, you can use a hot glue gun or traditional glue to secure fall-themed motifs like leaves, pinecones, or even Halloween characters.
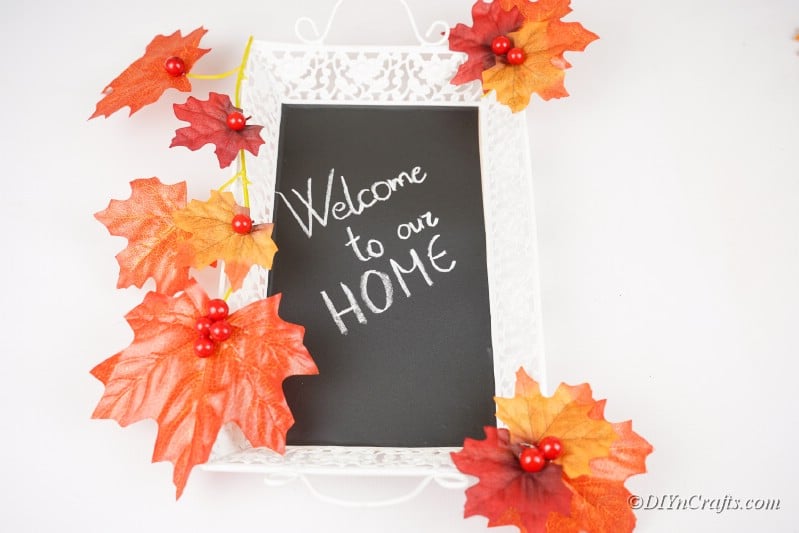
Your tray wreath craft should now be complete! Display it anywhere you'd like, particularly on a front door or in your entranceway.
Fall Chalkboard Wreath DIY Tutorial

This fall-style wreath consists of an upcycled tray you can rescue from the 'donate' bin! It makes for a lovely backing for a chalkboard wreath that can great your guests!
Materials
Instructions
- Trace the inside dimensions of your tray, this is how much chalkboard paper you'll need to cut out.
- Once you cut it out, remove the film off of the adhesive backing and apply it to your tray.
- You can now add a heartwarming fall themed quote, and begin adding some decorations! Use a hot glue gun, or other adhesive to apply fake leaves and other pieces you may have.
- By now you should have a completed upcycled wreath project! Hang it on a door, or in an entranceway!
Recommended Products
As an Amazon Associate and member of other affiliate programs, I earn from qualifying purchases.
Finished Product Gallery
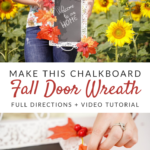
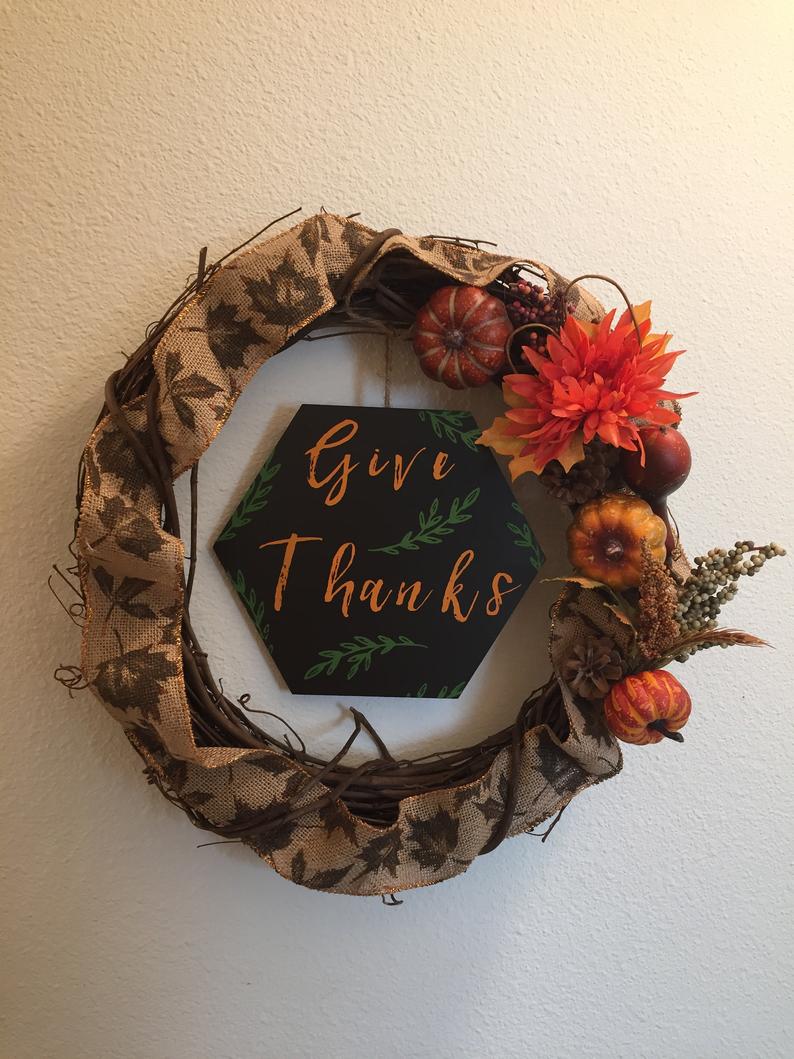
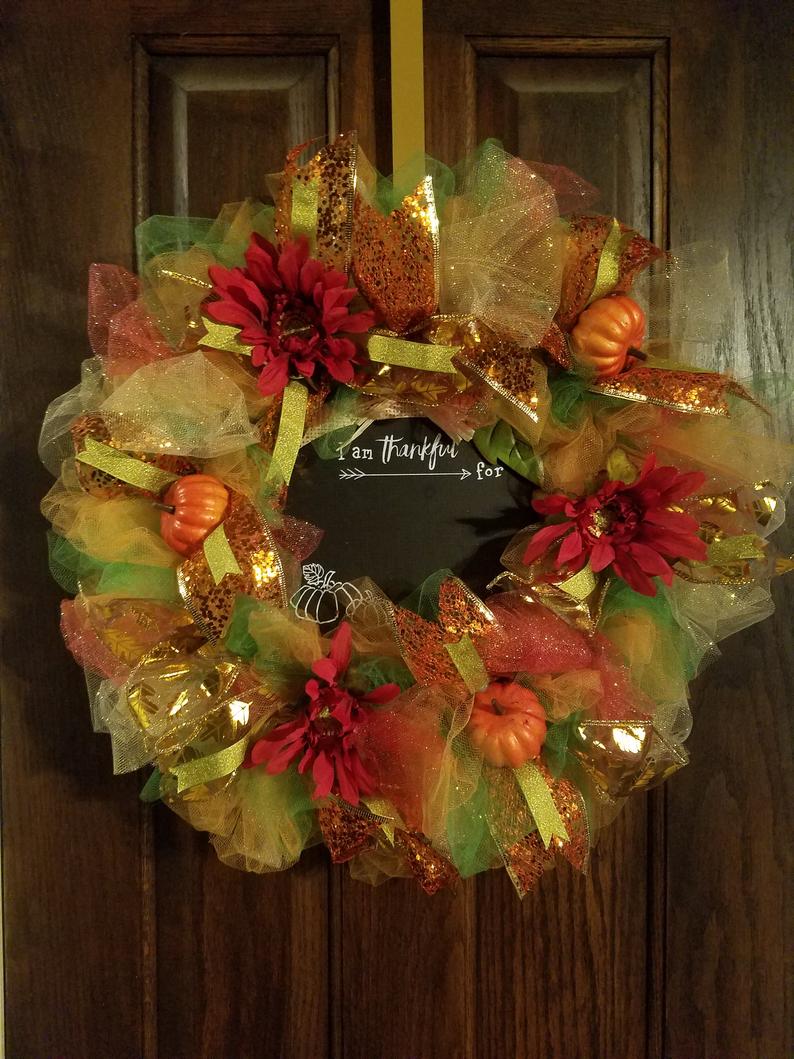
These signs are an adorable touch to any entranceway! Hang them by a piece of craft rope or twine, much like an old wire picture frame! These are perfect for greeting your guests and welcoming the crisp autumn breeze.
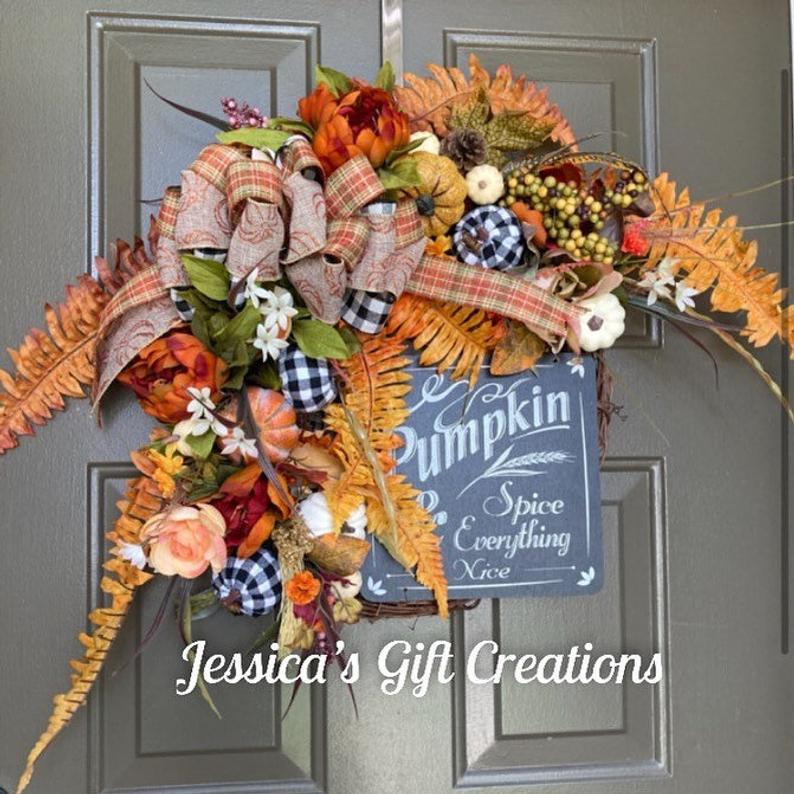
Leaves aren't the only thing that makes for a cute decoration on these wreaths! Consider using Halloween-themed decorations, motifs, and shapes so you can keep it hung up all the way through October.
This craft combines natural elements and colors with a wonderfully reclaimed piece! If you're using an old tray, keep in mind you can dress it up as much as you like before using it. Does it have a lot of rough edges? Artfully cover it up with some ribbon, burlap, or more leaves!










Leave a Reply