There’s a gorgeous wreath for practically every season, and fall is definitely no exception! I love my wreaths, they bring that perfect extra little touch to your entranceway. And, they take the best of the natural world to combine with your crafting goodies to create something really special! This rustic autumn wreath has so much natural, homemade character to it! Follow our step-by-step instructions below to learn how to create your own wreath!
The simplicity of this natural craft is what makes it so approachable! Design something stunning to hang from your front door, and show off your love for your favorite season! You’ll enjoy adding your own personal touch and doing a little foraging, too! Fall DIY projects are perfect for getting into the season!
Jump to:
- What are all of the Pieces Used to Create This Wreath?
- What’s the Best Way to Attach all of the Pieces?
- What’s the Best Way to Hang This Wreath?
- What Are Some Ways of Customizing This Wreath?
- Materials Needed
- How to Make a Rustic Autumn Wreath With Natural Elements
- Materials
- Instructions
- Recommended Products
- Finished Product Gallery
What are all of the Pieces Used to Create This Wreath?
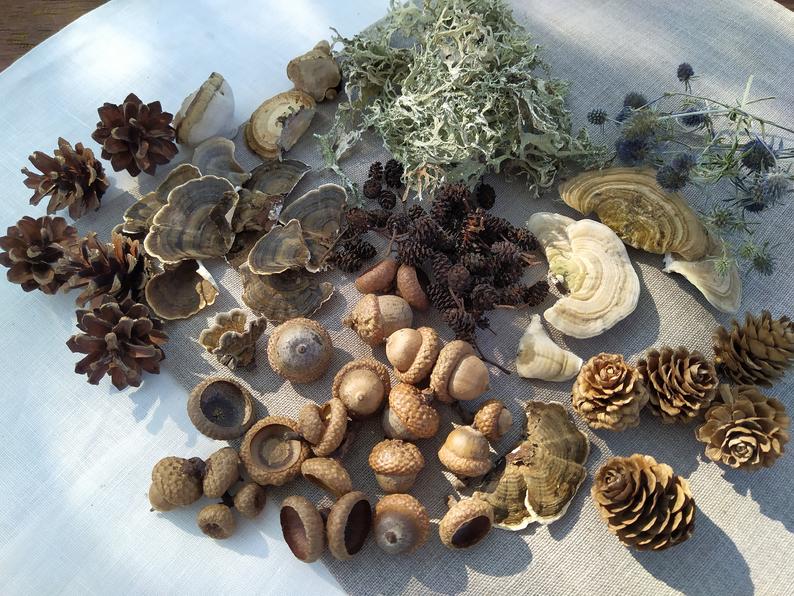
What you see on display here is a variety of tree nuts and foliage! If you live in Europe or North America, you’ll more than likely have a fairly easy time scrounging these up! If you’re struggling to find some for yourself, they’re definitely easy to purchase otherwise! What you can see here are acorns, walnuts, pinecones, leaves, pistachio nuts, and cinnamon sticks.
You can find a whole menagerie of natural acorns, pinecones, walnuts, and more in some of your favorite marketplaces or even craft stores! Another great option is dried potpourri! You’d be surprised to see what other natural-inspired materials they’ve got as well. While you’re at it, you might even find some additional pieces to inspire your decorating for this piece!
What’s the Best Way to Attach all of the Pieces?
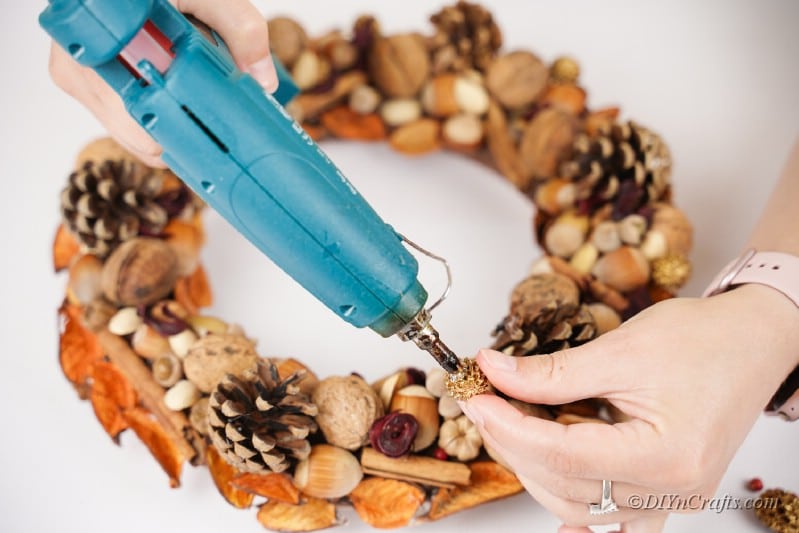
Once you’ve got your wreath all spray-painted, adding the pieces one at a time is what will give your wreath volume and style. Most of your pieces will go onto your wreath with a hot glue gun! This is the easiest way to make them secure, so you don’t have to worry about them falling off. Following our instructions below, you’ll see how easy it is to arrange them!
Starting with the largest pieces, make a pattern around the circumference of the front of the wreath. Be sure not to place any pieces too close to the top or inner circle! This will make your wreath difficult to hang. As you’re filling in the small spaces with each new layer of your supplies, make sure they have a good space to adhere to.
What’s the Best Way to Hang This Wreath?
Thankfully, this is the perfect time to find wreath hooks online and in stores! You can find these things just about anywhere. They’re typically two-sided hooks pointing in opposite directions. It will clip to the top of your door, and provide a hook to secure your wreath while it hangs on the front of the door. If you're making it a part of your outdoor decorations, consider using a sealing spray to preserve your wreath!
If you want to hang your wreath without using a wreath hook, there are alternatives! You can easily use a piece of twine, burlap, or string to secure the wreath from the inside of the door as well. This helps to carry on the rustic look and feel of your piece while still keeping it practical.
What Are Some Ways of Customizing This Wreath?
While this wreath craft project is deeply inspired by the natural elements of fall, that doesn't mean there isn’t room for your own creativity! Add some of your favorite materials, pieces, or colors to make it truly your own! Here are a few ideas for personalizing this heartwarming wreath to make it truly unlike any other:
- Use a piece of burlap to create a hanging wreath holder to continue the fall theme
- Add some glitter spray to make the pieces shimmer in the autumn moonlight
- Use transparent high gloss acrylic spray to make the pieces look lively and flush (This will also protect your pieces)
- Twirl a piece of twine along the edges of your wreath for an added texture and pattern
Materials Needed
- Foam floral ring
- Acorns
- Potpourri
- Cinnamon sticks
- Craft flowers
- Pinecones
- Twine
- Orange spray paint
- Hot glue gun
How to Make a Rustic Autumn Wreath With Natural Elements
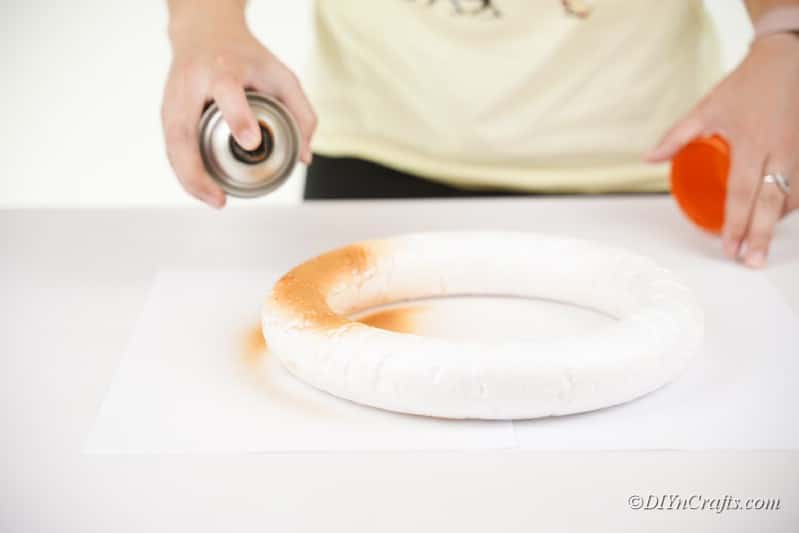
The first step is to take your foam wreath form and spray paint the entire surface. Give this ample time to dry so you can apply the decorations without any problems.
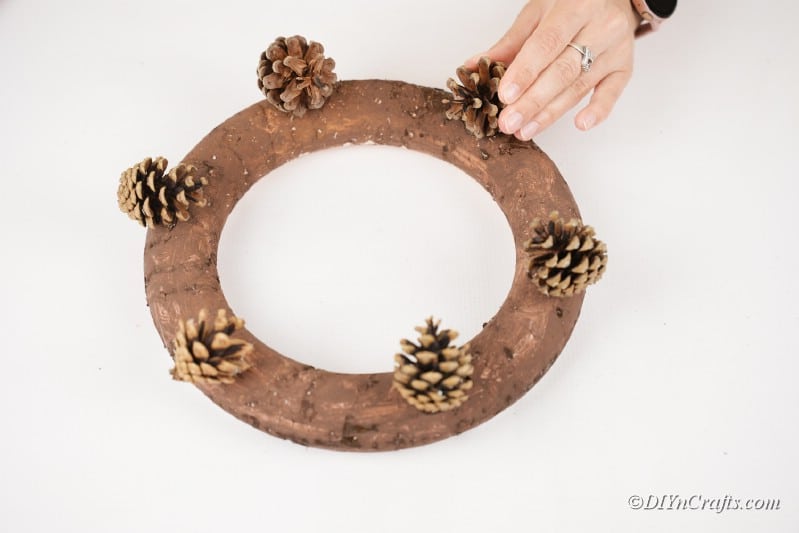
When spray painting the foam you'll notice a little bit of shrinkage, this is totally normal and won't affect the outcome of our craft whatsoever. Start by placing dots of glue, about 6, around the ring evenly spaced out. Place a pinecone firmly onto each one as you work your way around the ring.
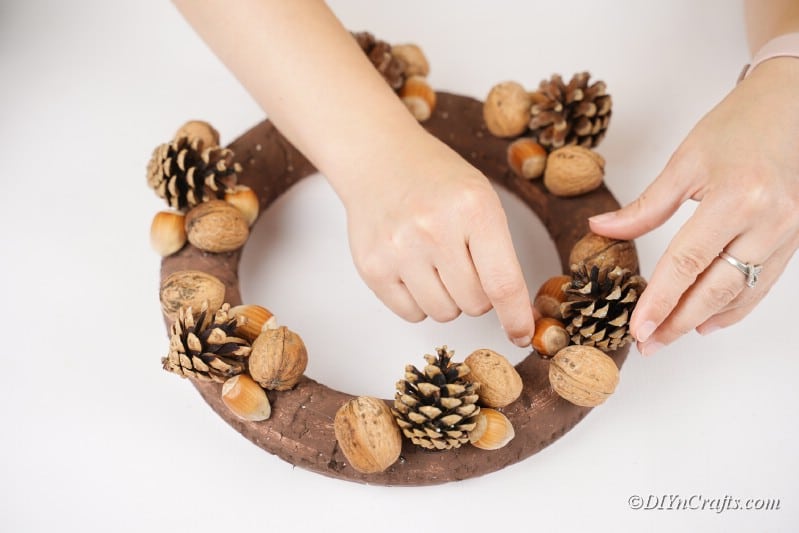
Repeat the same process with acorns or walnuts, this time placing two. You'll slowly start to notice a pattern developing.
Acorns or other nuts can now be glued on in bunches around the pinecones. By now, a lot of the surface area of the wreath should be covered.
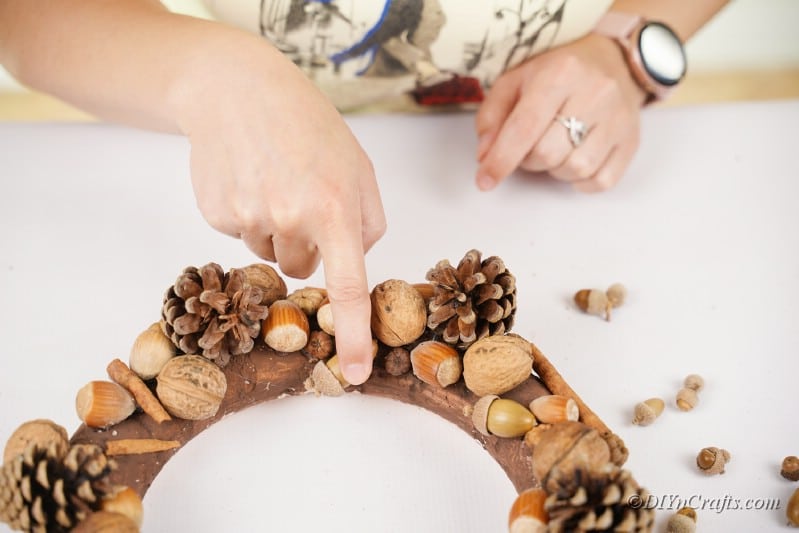
Once you've gotten this far, keep gluing the smaller natural pieces you have collected, bought or have laying around! Small twigs, pieces of potpourri, nutshell, and other little pieces all make for perfect decorations!
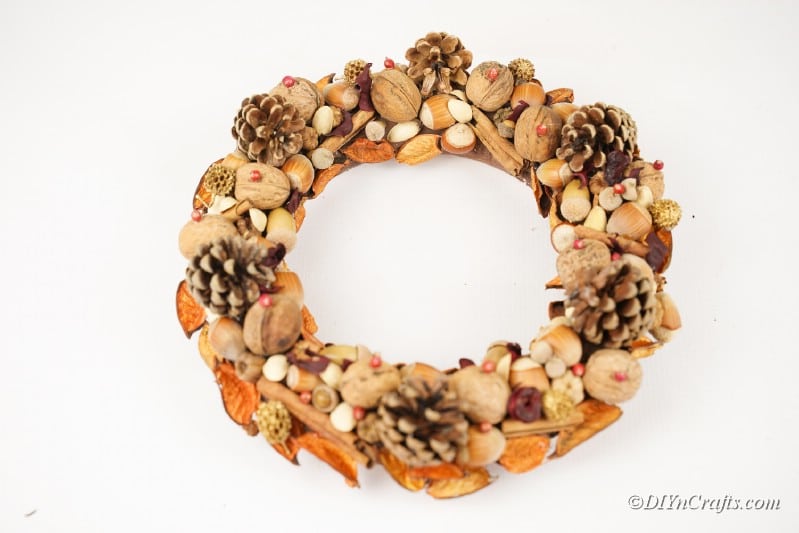
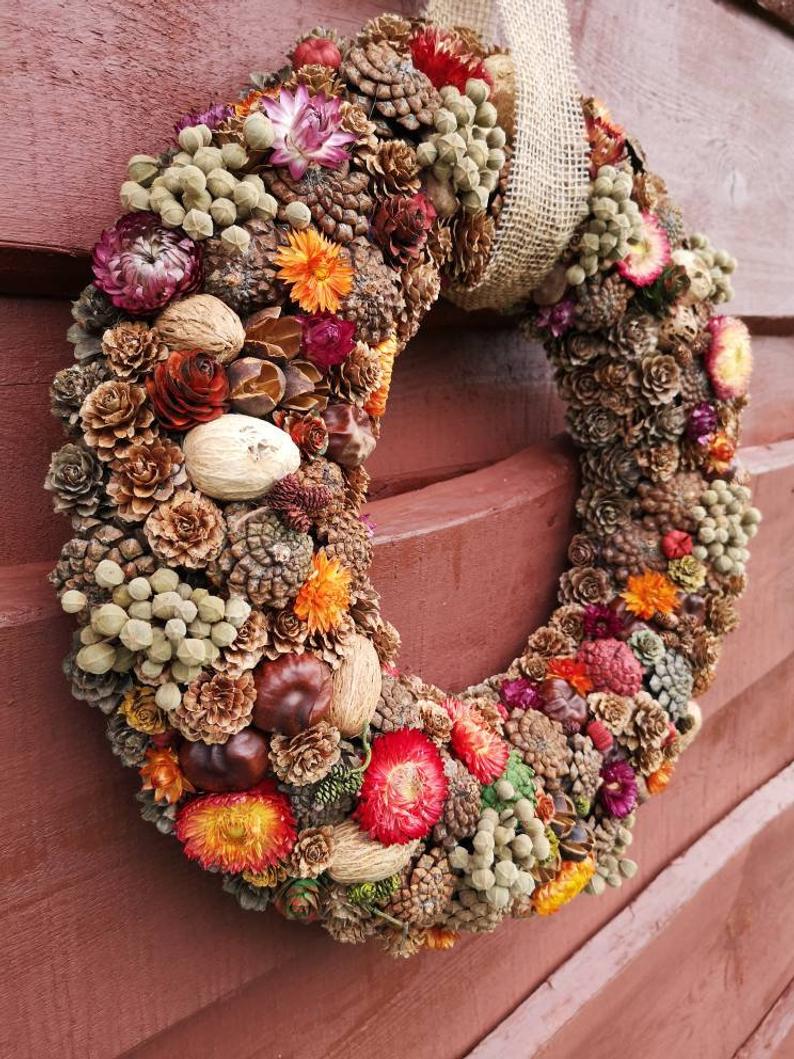
Once you've covered the whole surface of your wreath, it should look something like this! Don't be afraid to 'crowd' the decorations in some spots; this wreath should have some element of disorder in and amongst the pattern you've created.
Finish off with crafting leaves and other small pieces of foliage along the top and inner surface of the wreath, where you haven't placed any nuts or pinecones. This should be where the paint is still showing.
And there you have it! This natural wreath takes a little while to assemble, but the payoff is more than worth the effort. Hang it somewhere; your guests can admire the intricate detail and natural charm.
Rustic Fall Wreath With Natural Elements
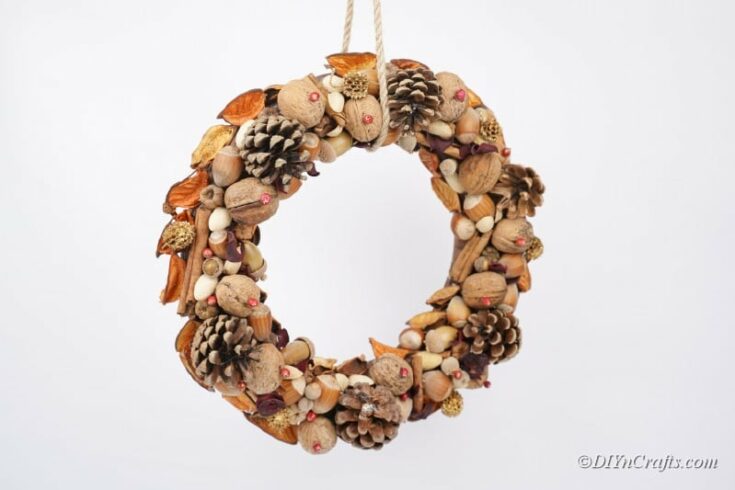
Enjoy this lovely rustic fall leaf with all of its natural fall goodness! You can display it on your front door, or entrance way for a seasonal harvest feel.
Materials
Instructions
- Start by spray painting the entire foam wreath. After it's dry, you can begin gluing pinecones around the surface of the wreath. Place about 6 of them spaced evenly apart.
- Next, begin gluing walnuts and other decorations, these can go in groups of two alongside the pinecones, as you add a new piece to each section, the wreath will slowly begin to fill in.
- Once you added all of the largest pieces, fill in with your smaller decorations so no paint is showing underneath. You can then add fake leaves to the inner and outer part of the ring so it's completely covered.
- You should have a completed wreath you can decorate with!
Recommended Products
As an Amazon Associate and member of other affiliate programs, I earn from qualifying purchases.
Finished Product Gallery
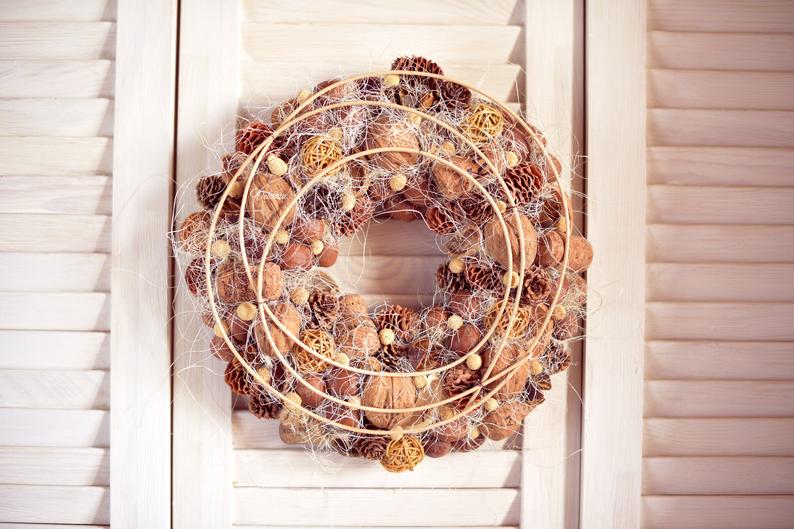
This wreath has a tone of natural beauty! Awe your guests by hanging it somewhere in your entranceway!
You can even use this wreath as a centerpiece if you lay it flat on the dining room table! Place candles inside for a natural glow that will add the perfect harvest touch to your dining room.
Enjoy your wreath even more by adding some strands of lighting to make it stand out in the evening! You can also add spray glitter or other effects to brighten it up if you wish.









Leave a Reply