Make these holidays a memorable one with a gorgeous wreath for your front door! I love the handcrafted charm of this craft, and making it is incredibly simple. In fact, there's nothing I love more for ringing in the holidays than a new, lovely DIY project to get me in the spirit of things! This button Christmas wreath decoration for your door is the ideal project for a cozy winter night by the fireplace. Get cozy because we're going to give you some step-by-step instructions with photos for creating this wreath!
You could also use this lovely craft for gifting! And, it's even perfect for making in bulk since it uses such simple craft supplies. I'll be you've already got a few of these materials, and tools laying around.
Jump to:
DIY Button Christmas Wreath
Add some unique holiday charm to your front entranceway with a lovely wreath to greet your friends and family! They'll love the cute details and bright appearance of this joyful craft project. This is exactly the type of project I would break out for a crafting party, too! It's the kind of DIY craft that just about anyone can get into. And, being a wreath, it's so easy to decorate and personalize.
We'll go into a little more detail about the pieces that make up this wreath, as well as some suggestions for ways you can make it all your own! What I enjoy most about making crafts like this is that they're totally unique. This way, you'll never end up with the same Christmas decorations as your neighbor!
What is the White Ring Made Out of?
The ring you see used in this project is in fact a foam floral ring. Typically they're used in flower arranging for fresh wreaths, but we'll be creating one that will last for years to come! What I love most about these is they're cheap, easy to decorate with, and lightweight. In other words, you don't have to worry about them falling off of your door. And if they do, they certainly won't break!
You can find these all over the place, but I'd personally recommend checking out the dollar store, and craft supply chains! There are of course alternatives that you can find at both of these places, too. You'll easily find the wire, as well as flat cardboard rings. Depending on what you're going for, you might find that those work better. In our instructions, we'll be using the foam floral craft ring.
How Can I Upgrade the Ornaments?
There's a couple of ways of going at it, here's some inspiration! You can simply swap out for other materials. Personally, I'd try using white sparkly foam craft paper, or even layered burlap under something else. Using materials like these, it would be easy to create something that could more closely suit your taste. Take a look and see what you can find, and don't forget about last year's wrapping paper!
Also, using twine or a different type of ribbon could add a little flair to it as well. Take and look and see what's in your crafting cupboard, you never know what you'll already have on hand!
What's the Best Way to Personalize This Wreath?
Adding details to personalize a craft like this is exactly what makes it so special! Implement some meaningful pieces of decorations, odds and ends, or even natural elements to add a whole new dynamic to your project! We'll cover a couple of pieces of inspiration to push you in the right direction, but the only limit is your own creativity! And I suppose what you've got on hand! I love this wreath for the large surface area you can use to decorate with. Check out some of these ideas below!
- I probably sound like a broken record on these, but fairy lights would make this wreath dazzle
- Add some (non-breakable!) baubles or ornaments to the center of this wreath for a more detailed look
- Add small Christmas motifs, characters, and decorations in and around the buttons and snowflake pieces
- Use spray glitter for a shiny effect; it will add to your snow design, as well
- Try some fake snow! First, apply a layer of spray glue, and then sprinkle fake snow along the sides and bottom
Supplies Needed
- Craft string or ribbon
- Wrapping paper
- Scissors
- White paper
- Craft floral foam ring
- White buttons
- Hot glue gun
How to Make a Button Christmas Wreath Decoration For Your Door
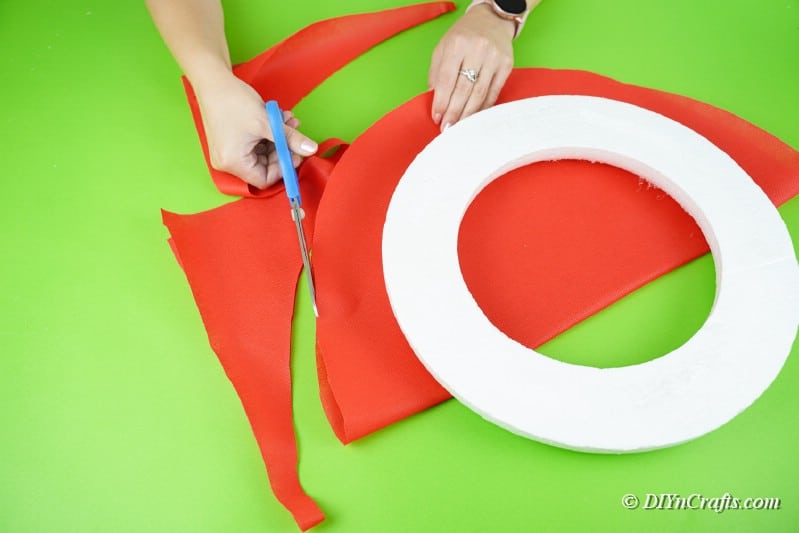
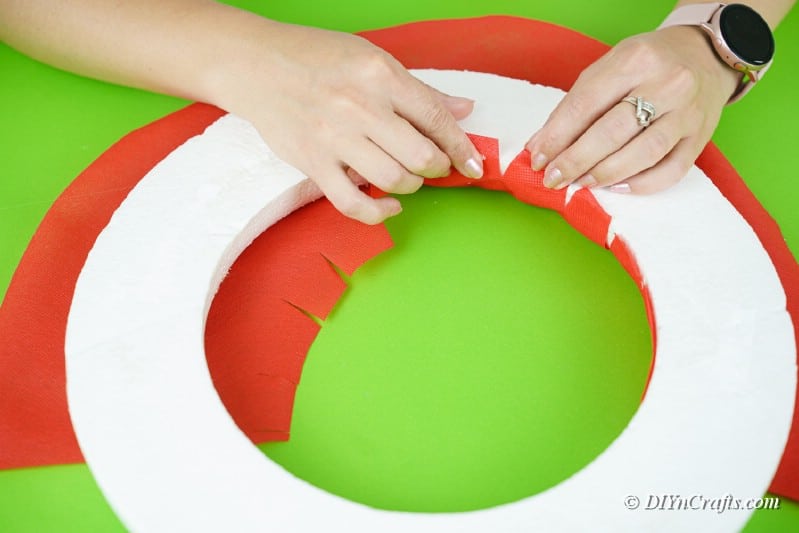
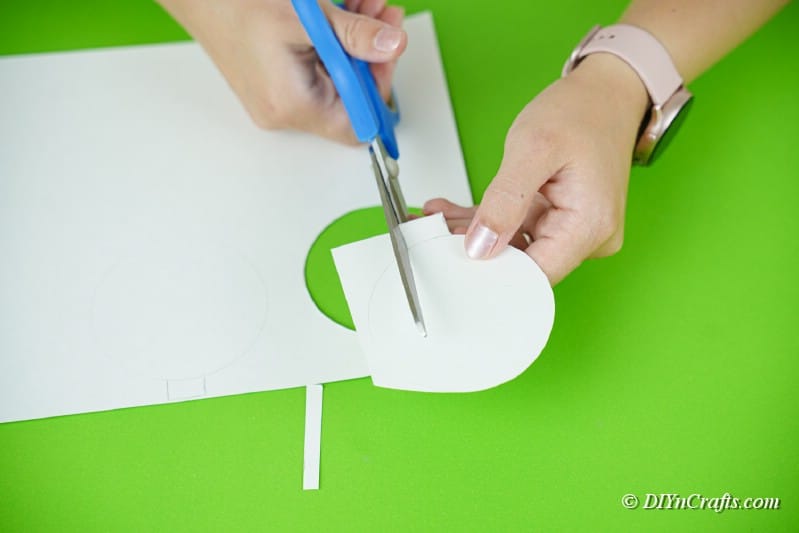
First, start by cutting out a piece of wrapping paper larger than the foam ring. This will give you more than enough material to work with. Next, You'll want to cut along the shape of the ring. However, you're going to cut one that's about 2 inches larger in diameter. In other words, cut further away from the ring while copying the shape. Do this as a top and bottom half to make two semicircles.
Now, roughly cut out the center of each of these to make a rainbow shape, as shown below.
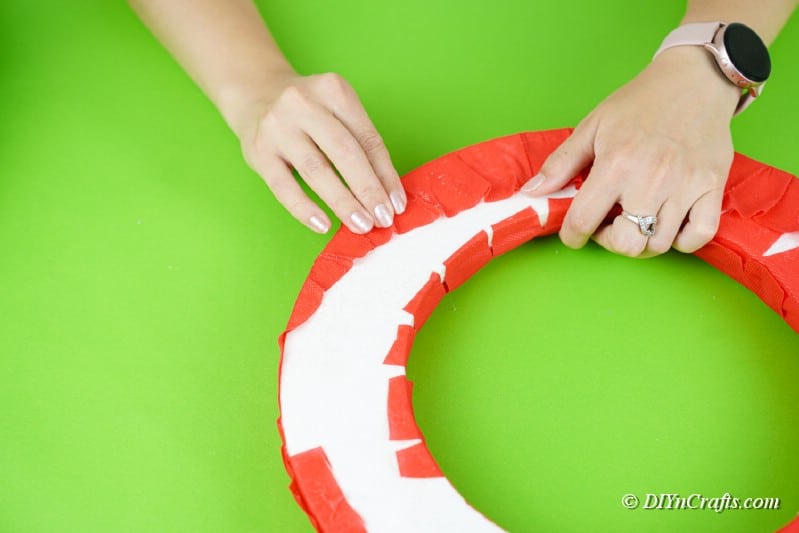
Place the foam ring on top of each half to make a whole red circle of wrapping paper underneath. Now, trim slits into the part of the wrapping paper that hangs out of the width of the ring. Press these up in and around the ring to cover the front with wrapping paper, use a hot glue gun to secure each strip.
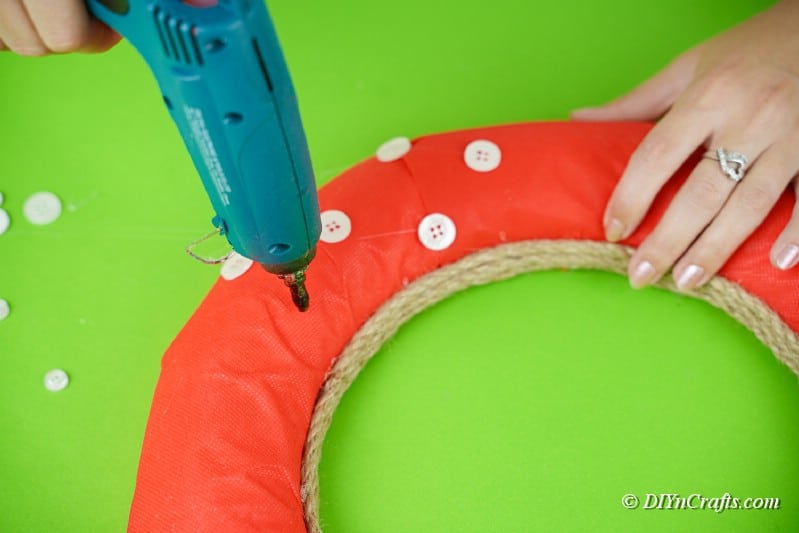
Add a piece of craft string or twine to the center for a rustic look that helps to cover up any remaining visible foam.
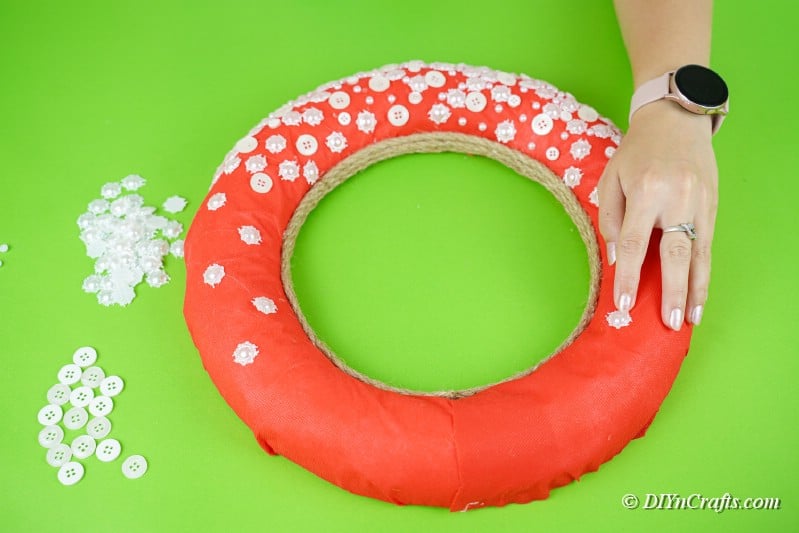
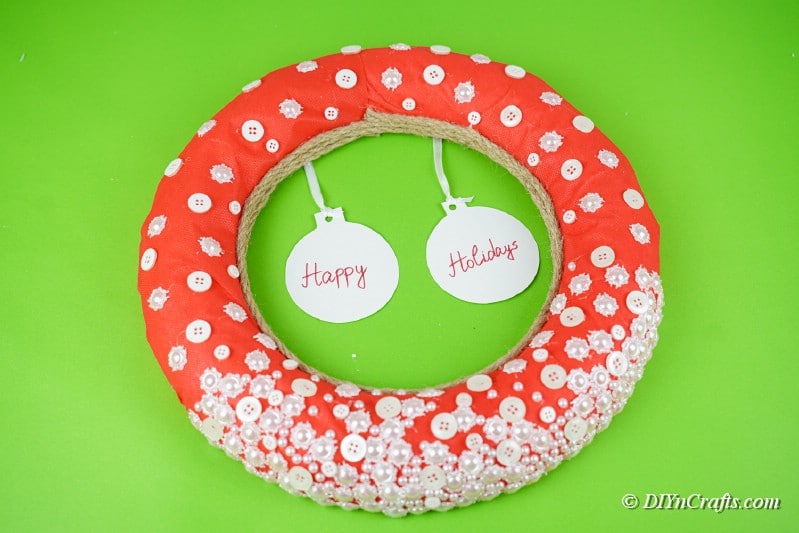
Now, you can begin hot glue gunning buttons onto your craft! On either side, begin with sparse, spaced-out buttons. As you move down the ring on both sides, make them closer and closer together. They will resemble snow falling on the ground.
Next, you can cut out pieces of paper shaped like ornaments to hang on the inside of this wreath. Make them as large, or as small as you'd like!
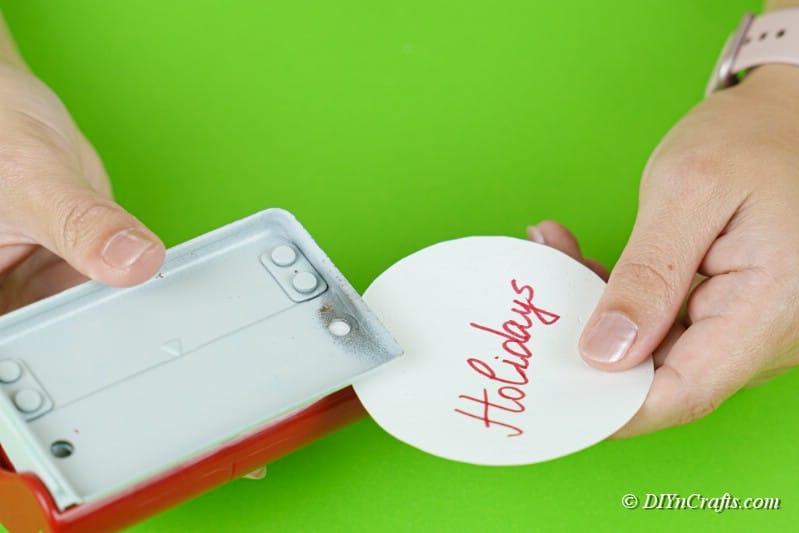
Simply write a holiday greeting on them before hole-punching the top and hanging them on the inside of the foam craft ring.
By now your wreath should look nearly complete! You can add as many additional decorations to it as you'd like.
Rustic Button Wreath Winter Decoration
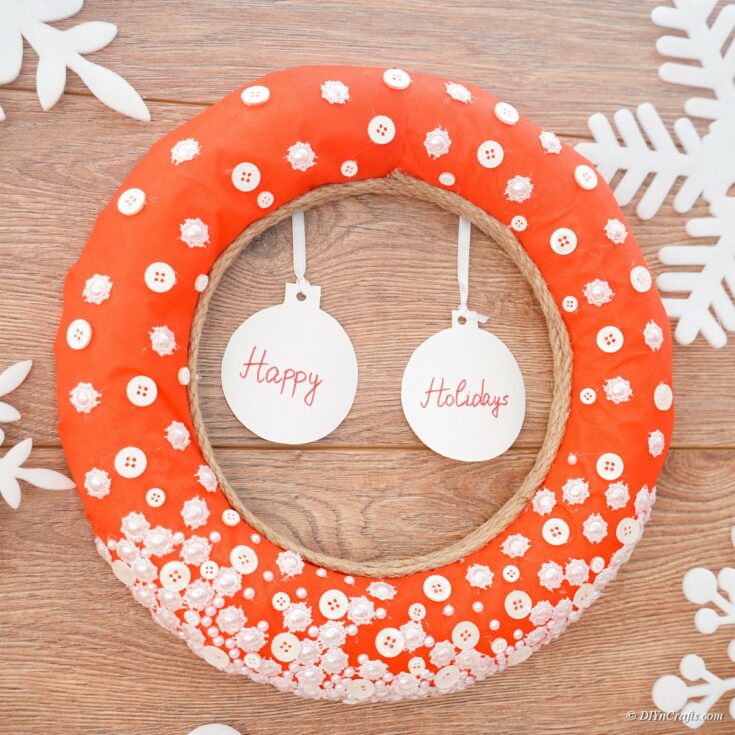
This lovely wreath can hang on the door of your front entranceway, greeting all of your holiday guests this year!
Materials
Instructions
- First, cut some wrapping paper so it's about two inches wider than your ring. Make sure it's the same shape, however. It's easiest to make two semicircles.
- After cutting out the center of these semicircles, cut slits into the inner and outer portion, using them to secure to the back of the wreath. This will leave the front of the wreath completely covered with wrapping paper.
- Now, you can start to hot glue gun on some buttons. Follow the pattern as shown in these photos, gradually placing the buttons closer together as you reach the bottom.
- Begin cutting out paper ornaments to hang in the middle of the wreath. Write or add a holiday phrase, and attatch them to the center with ribbon or string.
- This is what the finished product should look like!
Recommended Products
As an Amazon Associate and member of other affiliate programs, I earn from qualifying purchases.
Finished Product Gallery
Hang this wreath just about anywhere to add a splash of festive color!
Place it with some of your favorite holiday decors to add to the bright and beautiful scenes throughout your home.
If you want to enhance this craft project even further, consider adding some glitter or fake snow for an eye-catching glimmer!








Chere Carriger
This wreath you created is simply fabulous! How adorable and quaint its design looks to me, and it will just simply brighten up any window or doorway into to my family's new storefront and residence. I believe that your wreath design will surely bring an impression to other businesses downtown of our festive cheer this holiday season as the newcomers to the town. Thank you and your wreath is delightful.