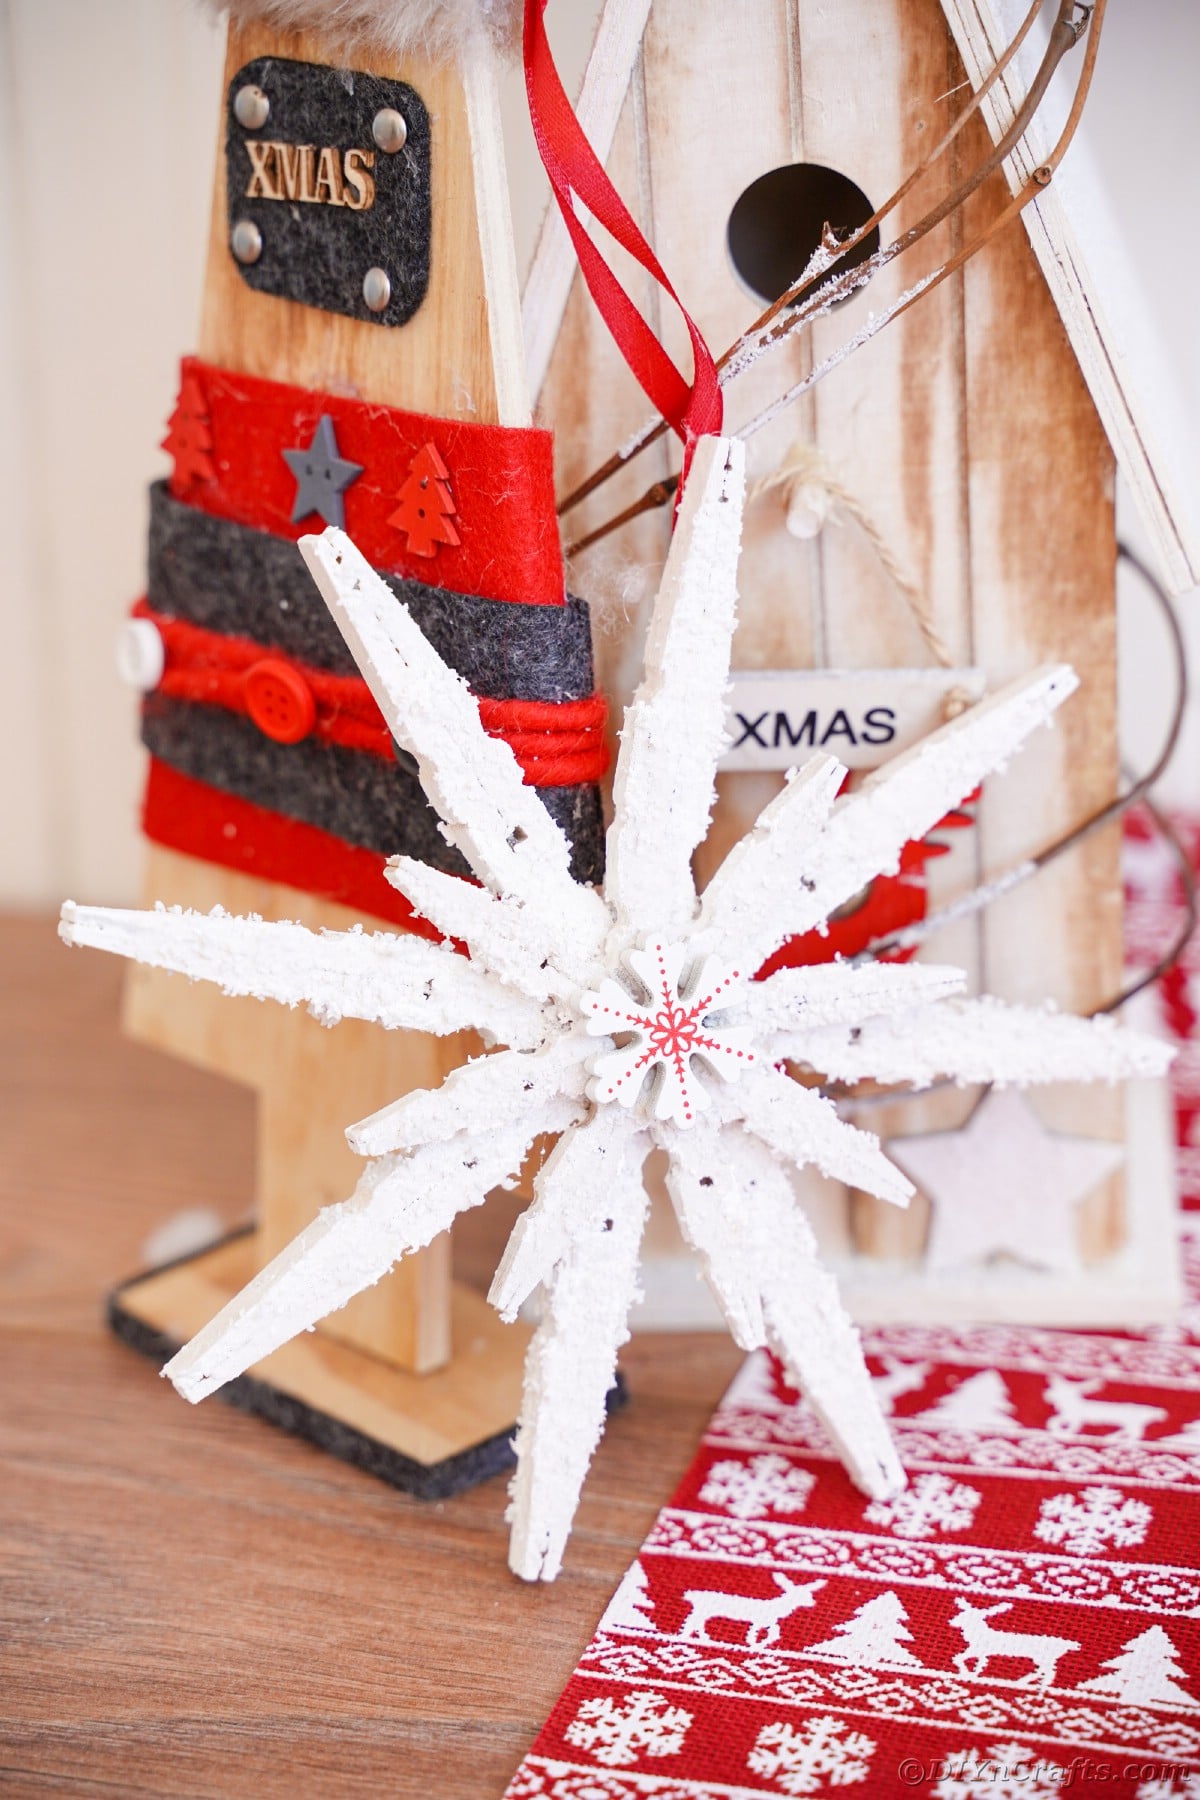
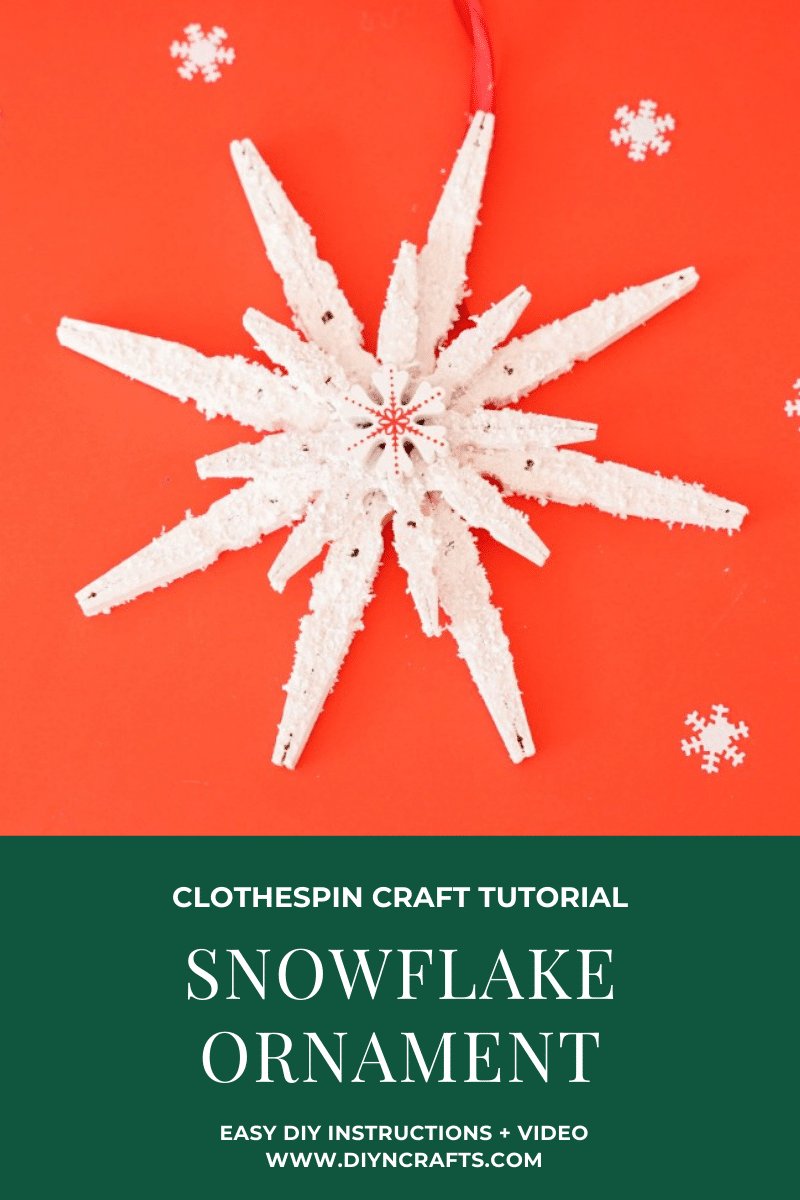
Let a little winter in with this quirky and clever DIY hanging clothespin snowflake decoration! You'll love showing off these easy to make, and fun to display decorations using a common craft supply just about everyone has lying around!
Creating these adorable little snowflakes is a fantastic way to ring in the winter season. It also gives you a great reason to park yourself in front of the Christmas movie channel for a little while! Breakout your bin of clothespins and get ready to dive into a fun to make, yet simple craft anyone would love to receive!
DIY Hanging Clothespin Snowflake Decoration
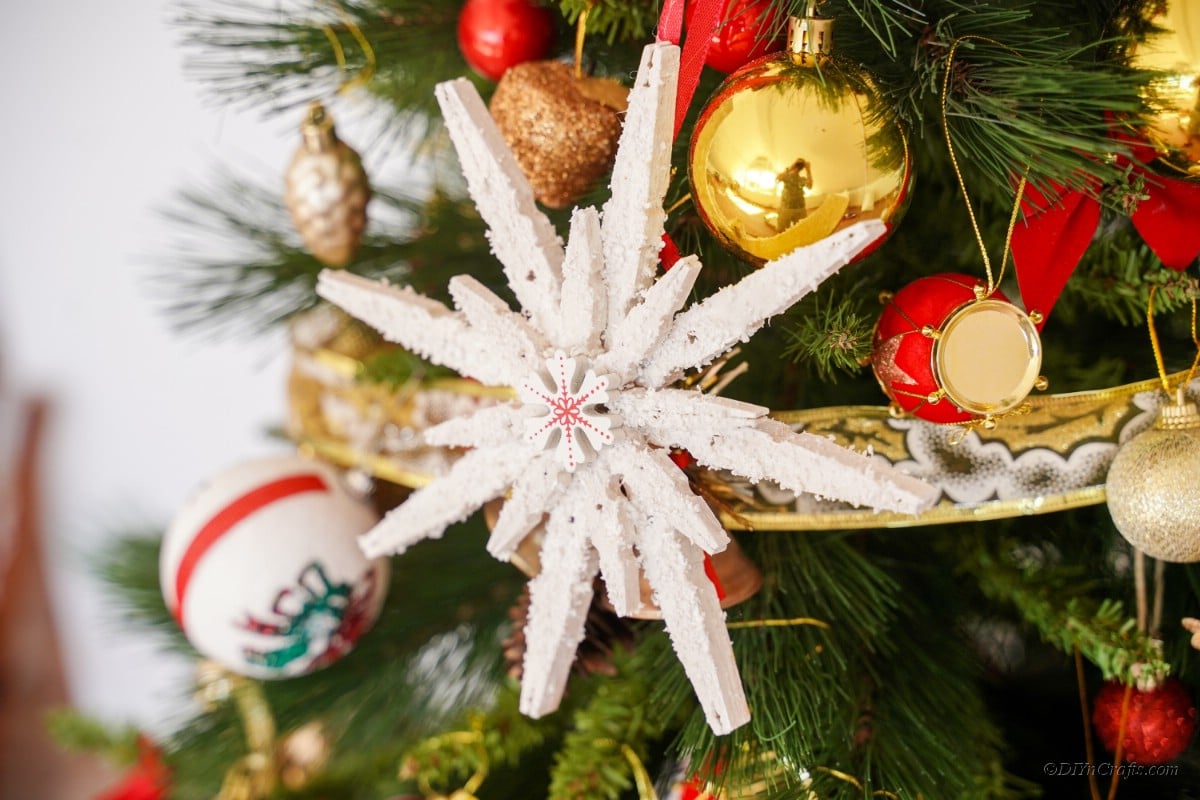
With lots of texture and bold snow-white color, these snowflake decorations make a festive and seasonal impression wherever you place them! They're perfect for hanging on the Christmas tree, used as a part of a winter-themed wreath, or hung with some tinsel or garland.
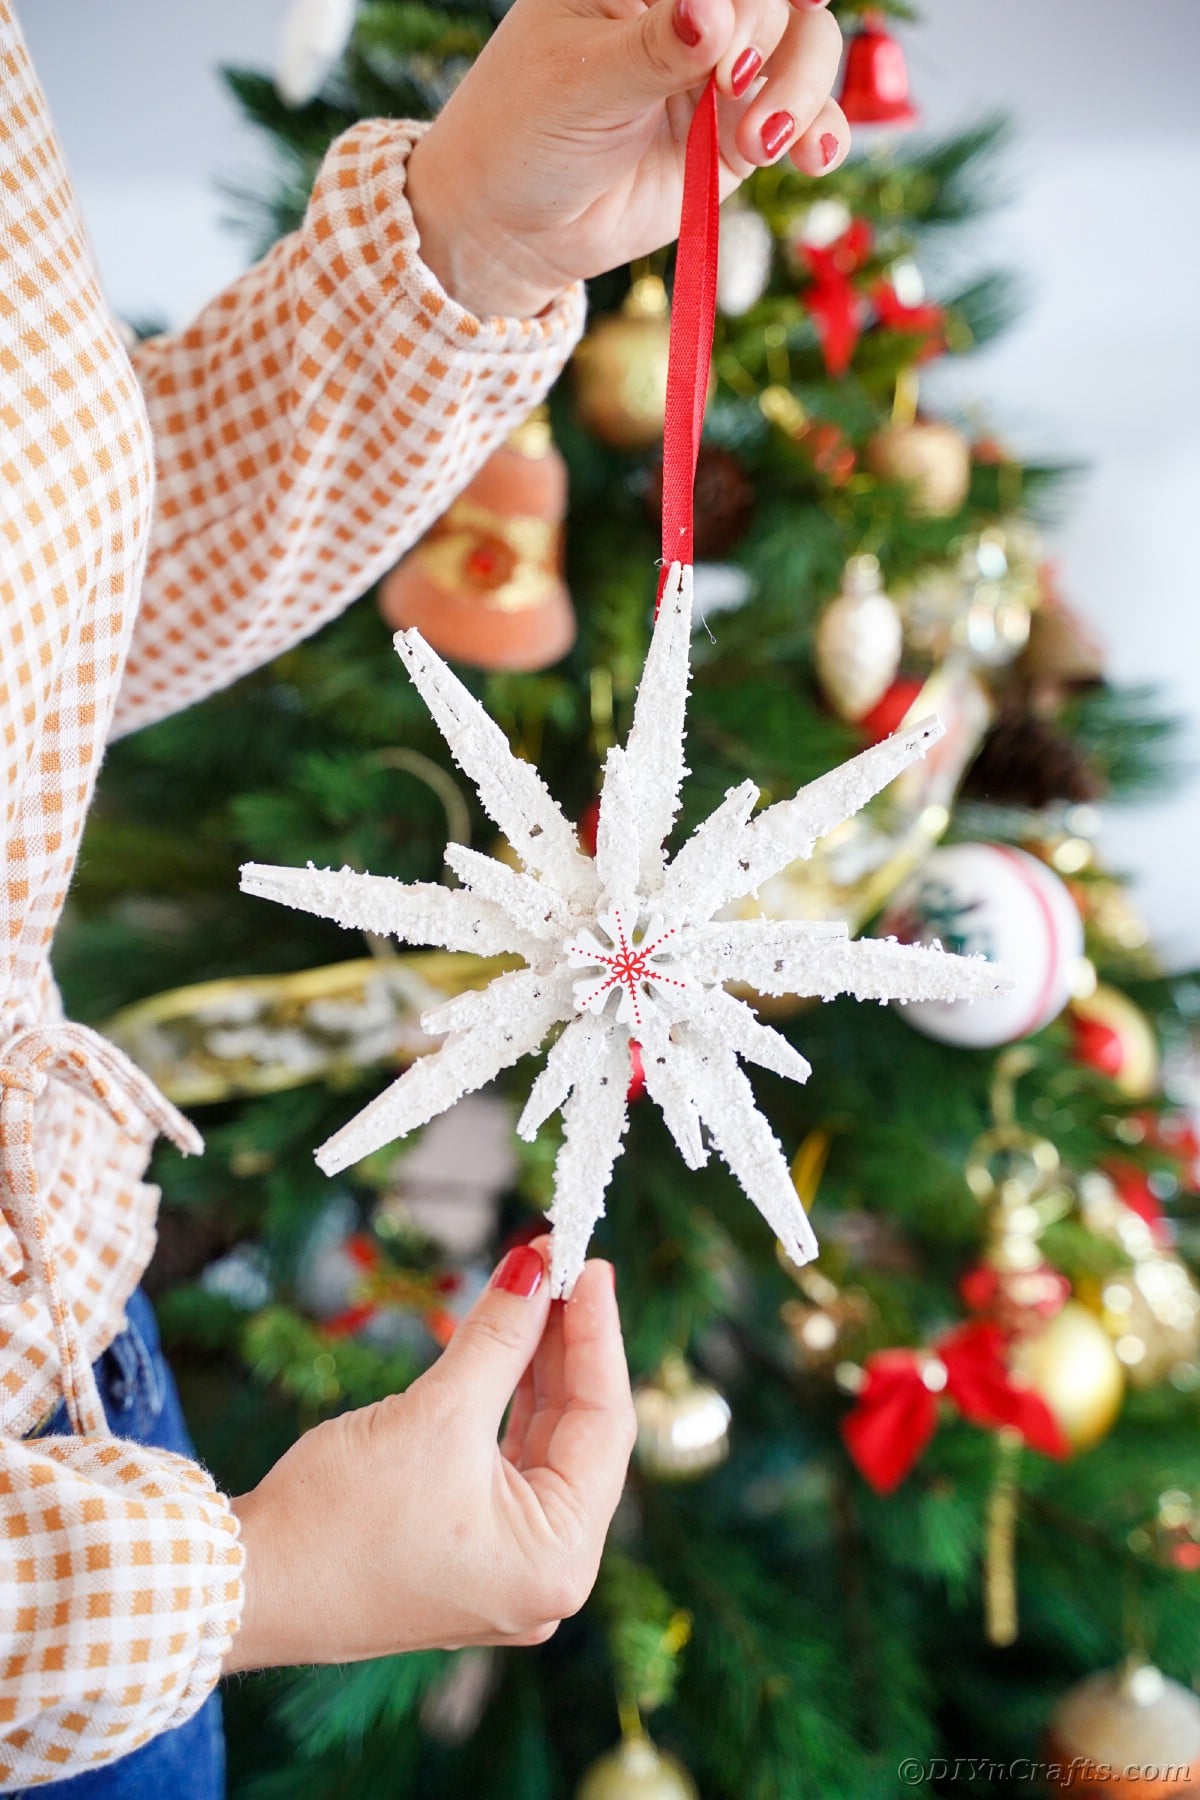
All it takes is a simple technique, a few basic craft supplies and you've got yourself fun to design a DIY winter craft project! What's perfect about these snowflakes is they're ideal for decorating, thanks to a little strand of ribbon at the top. You can even customize them by adding your own little design elements, colors, or textures to really make it your own!
If you like this project, then you might also like this adorable upcycled snowflake ornament made from an empty plastic bottle! So cute and perfect for a snowflake-themed tree! Kids also love making these little pasta snowflake Christmas ornaments and these 3D snowflakes and stars paper ornaments are also tons of fun. Of course, my favorite has to be the festive snowflake Christmas wreath!
How do I Paint These Decorations?
While your trusty craft paint and brush will make fairly quick and easy work of these, there is a faster way. As long as you're using plain, wooden clothespins, spray paint is also an option. This also gives you the option to quickly switch between colors if you're going for a unique design. Or, if you're making them in batches.
You can even take it one step further by using textured spray paint. The only downside is that it might create a texture on your craft that's too uniform, which might stand out less than the fake snow. That being said, it's totally up to you! Experiment with different methods until you find exactly the right look for your craft!
What's a Good way to Personalize This Craft?
In the detailed step-by-step instructions down below we'll talk about assembly. But we'd also like to give you some inspiration for how to customize these adorable clothespin snowflakes for yourself! There's plenty of different ways to make a craft stand out, here's a few ideas to draw some inspiration from:
- Paint red stripes along with the clothespins for a candy-cane like an effect
- String fairy lights in and around the clothespins for an adorable glow
- Use different pieces like Santa or Christmas tree motifs to make each one unique
- Apply small glitter foam snowflakes for some sparkle
How do you Take the Spring out of a Clothespin?
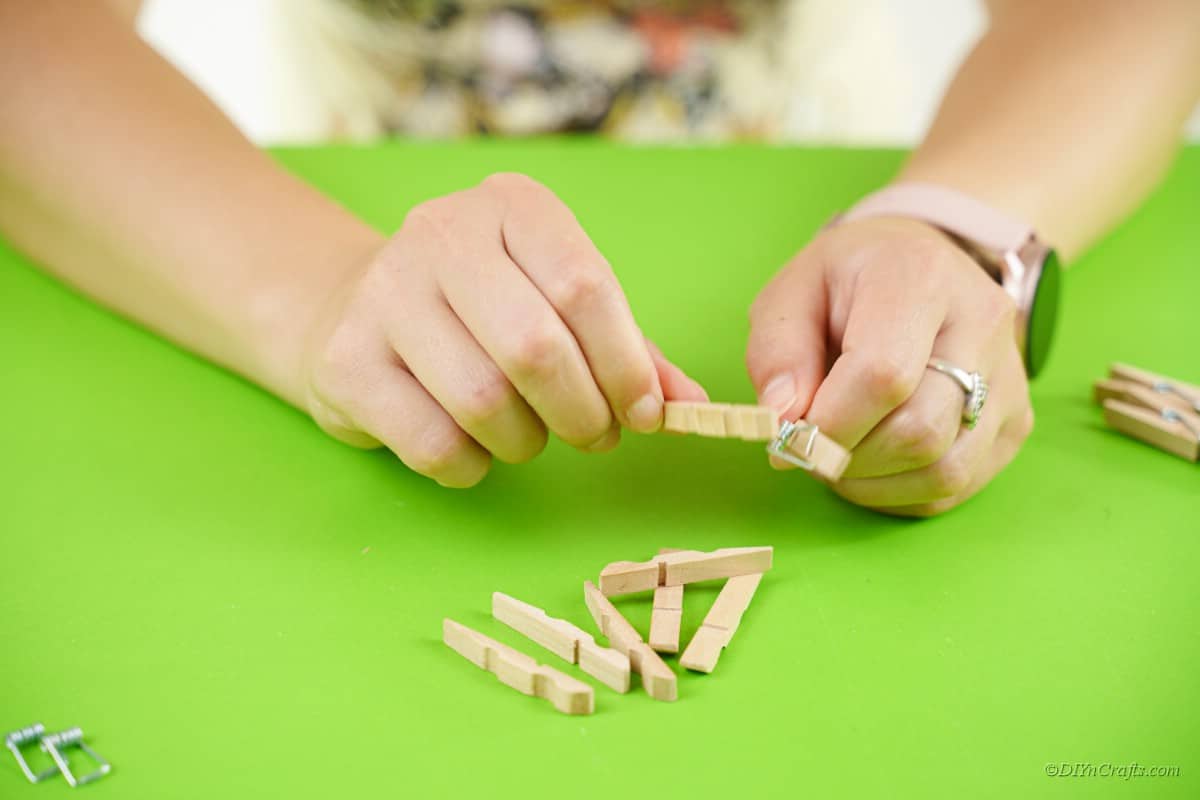
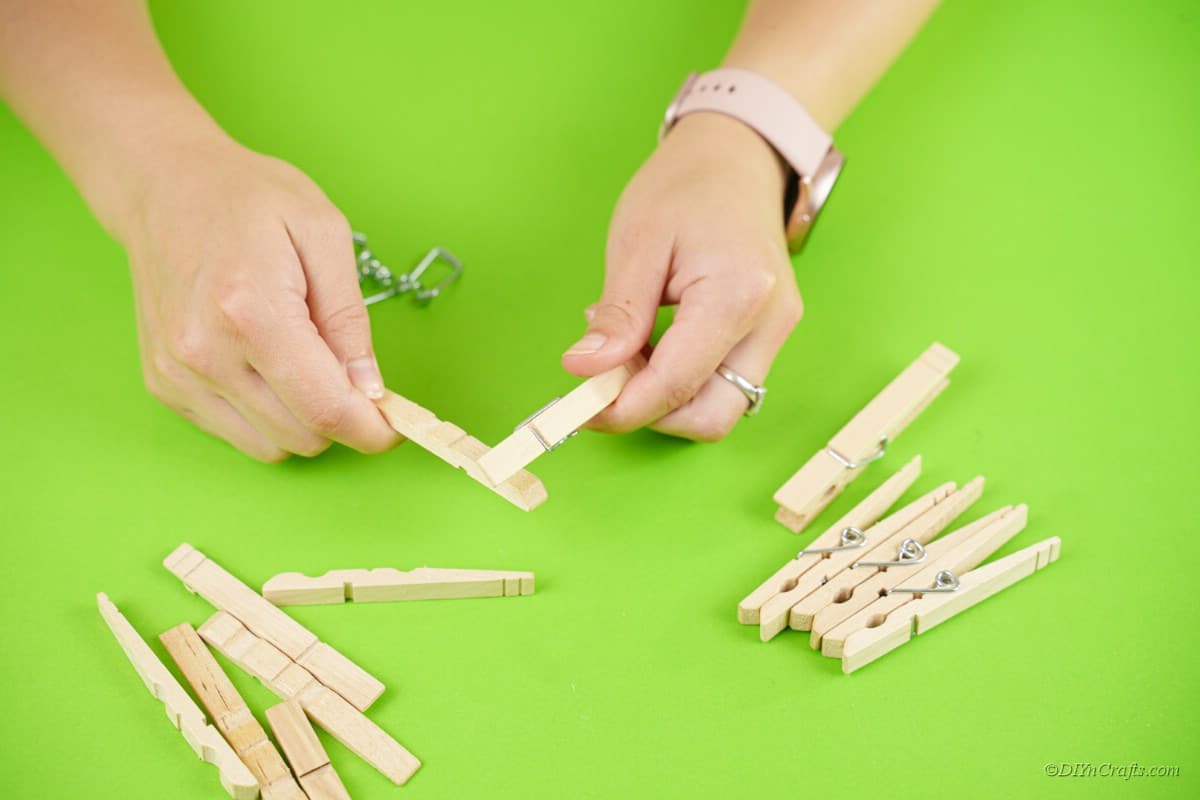
Very simply! All you need to do is grab the clothespin by each end, and pull them apart while gently twisting. there's virtually no tension on the small spring, so it won't exactly jump out at you, either. After you're done, you should have a pile of small and regular sized clothespin halves.
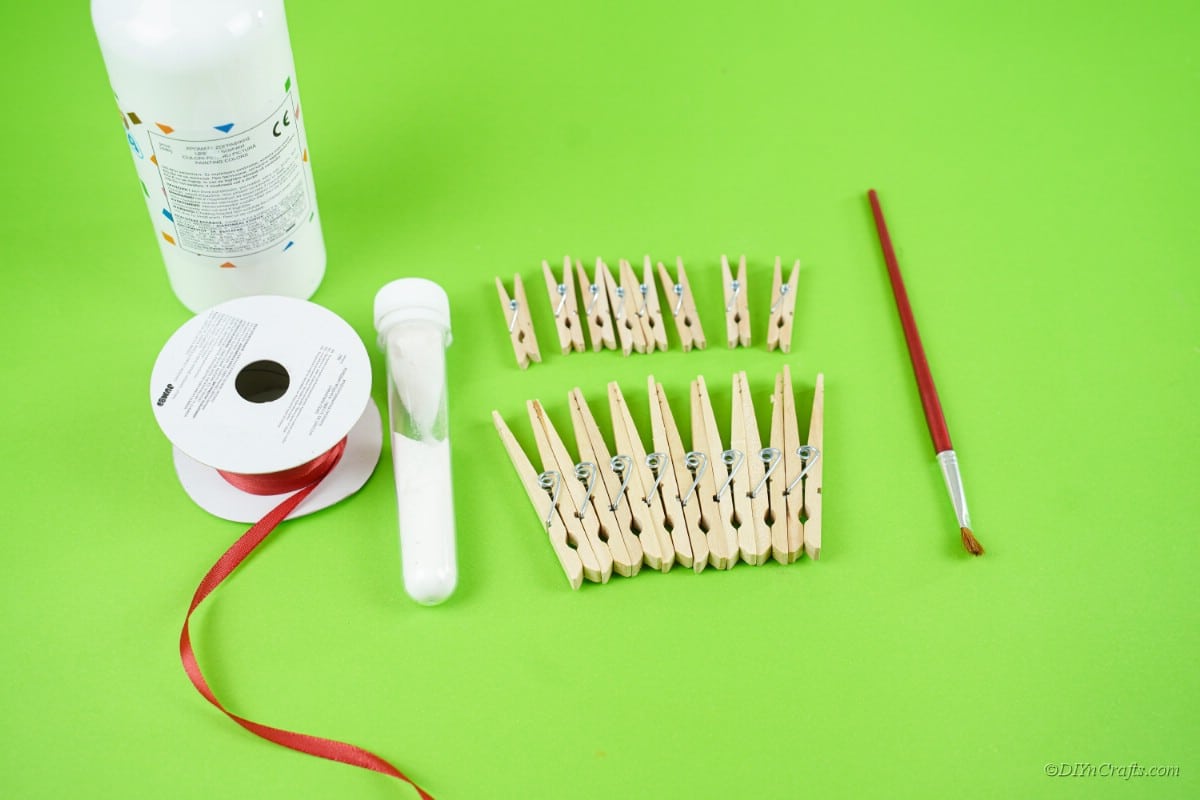
Supplies Needed
How to Make a Hanging Clothespin Snowflake Decoration
The first thing you're going to want to do is to separate each end of the clothespins. Do this by applying a little pressure in opposite directions, and twisting. This will free the ends from the spring so that you can arrange them afterward.
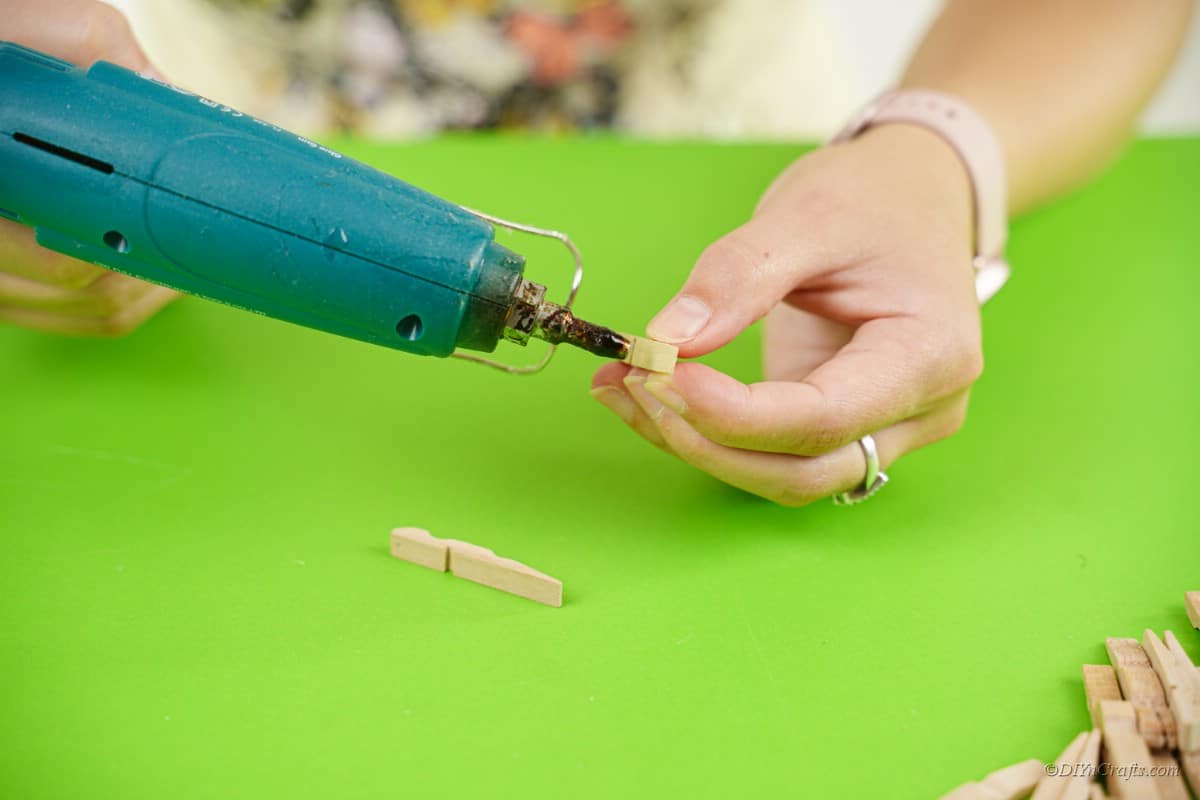
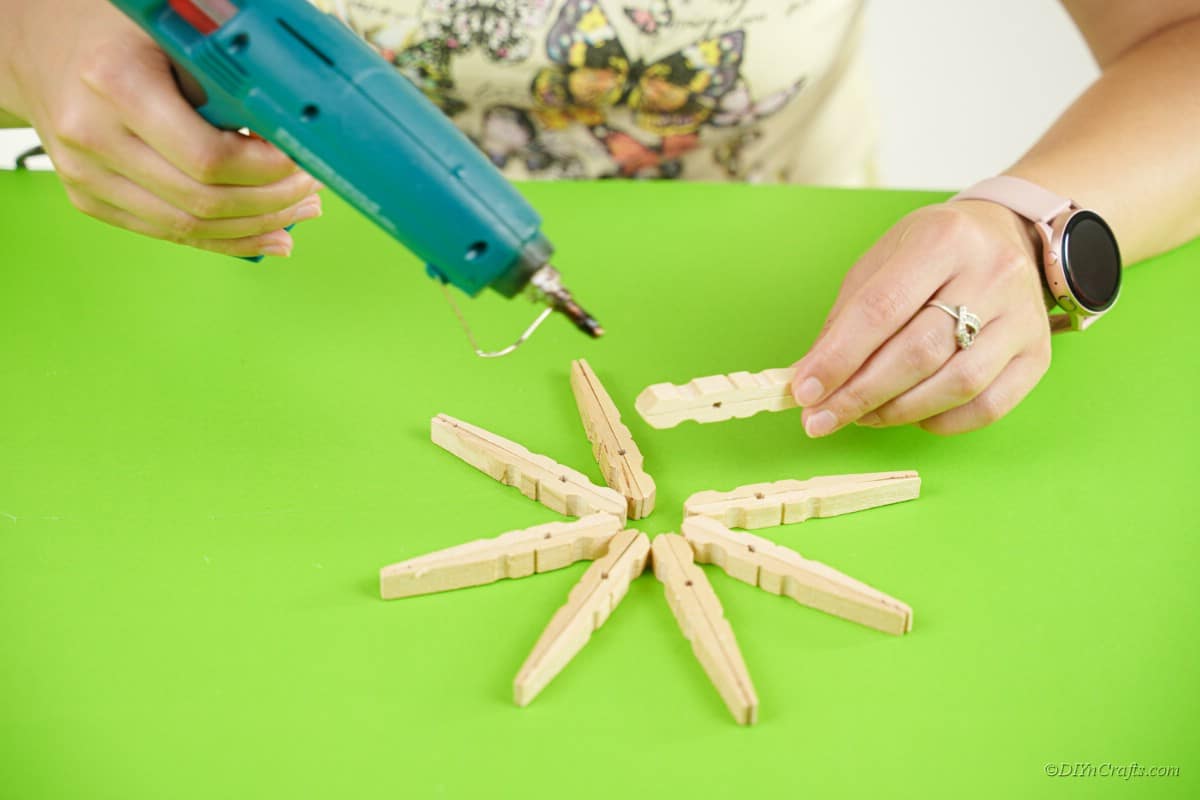
After you've separated all of your clothespins, you're going to want to start by gluing the flat end of one. Next, adhere it to the flat end of another of the same-sized clothespin. Be careful not to burn your fingertips!
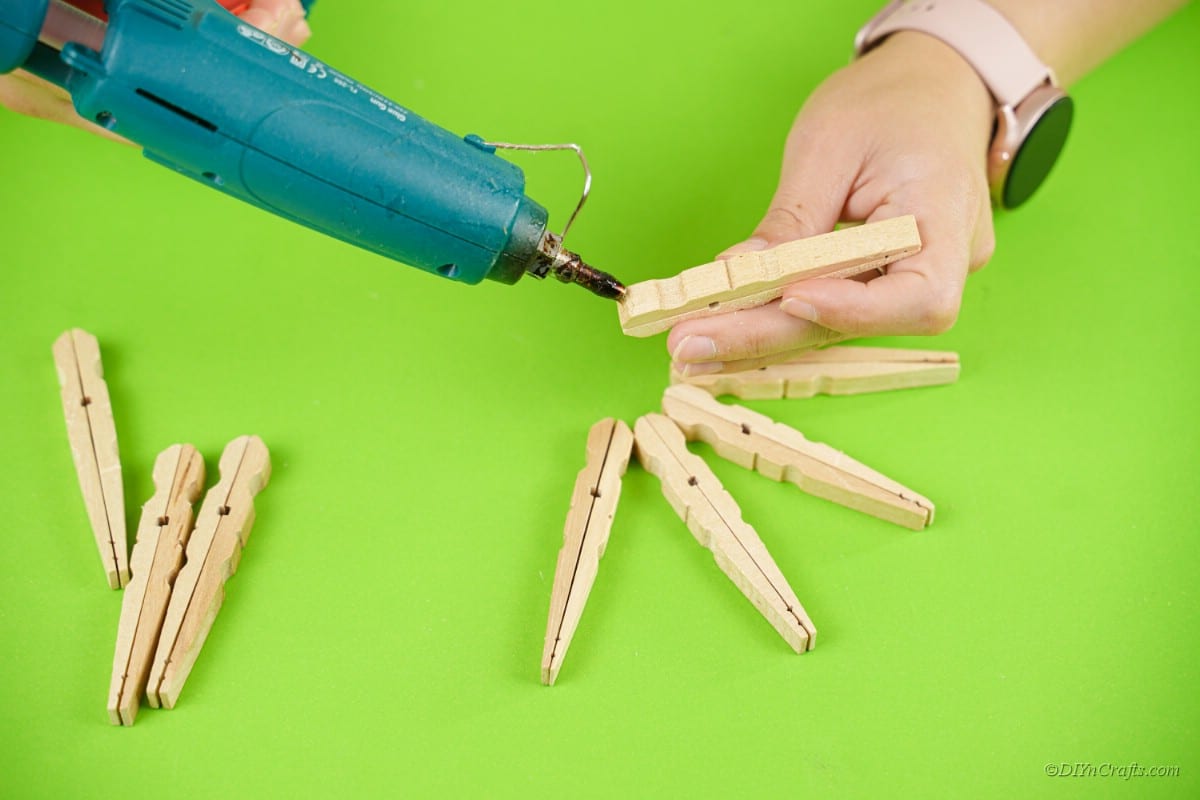
After you've made pairs of clothespin pieces start gluing them to one another in a circular pattern.
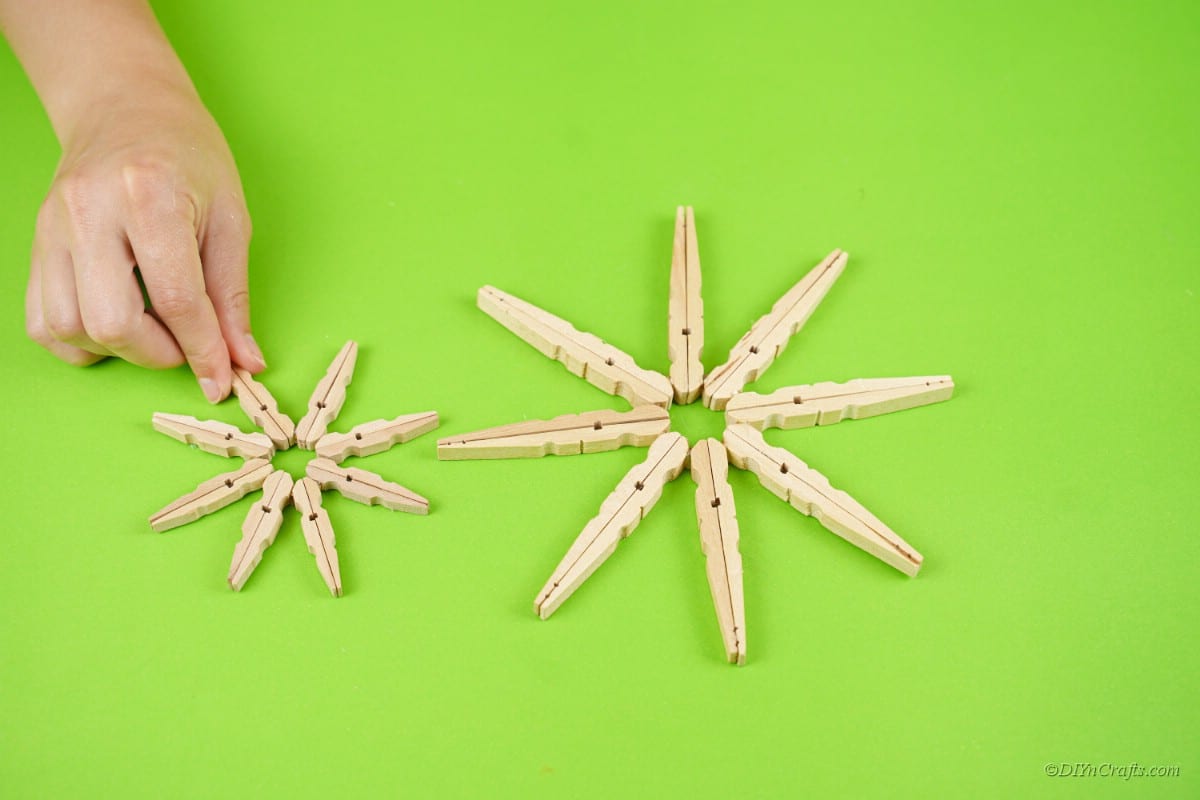
To do this, join them on the flat surface, on the side of the widest end. Eventually, you'll reach the first set of clothespins in a circular pattern. This takes about 8 pairs of clothespins all the way around.
Repeat this process with a set of smaller clothespins.
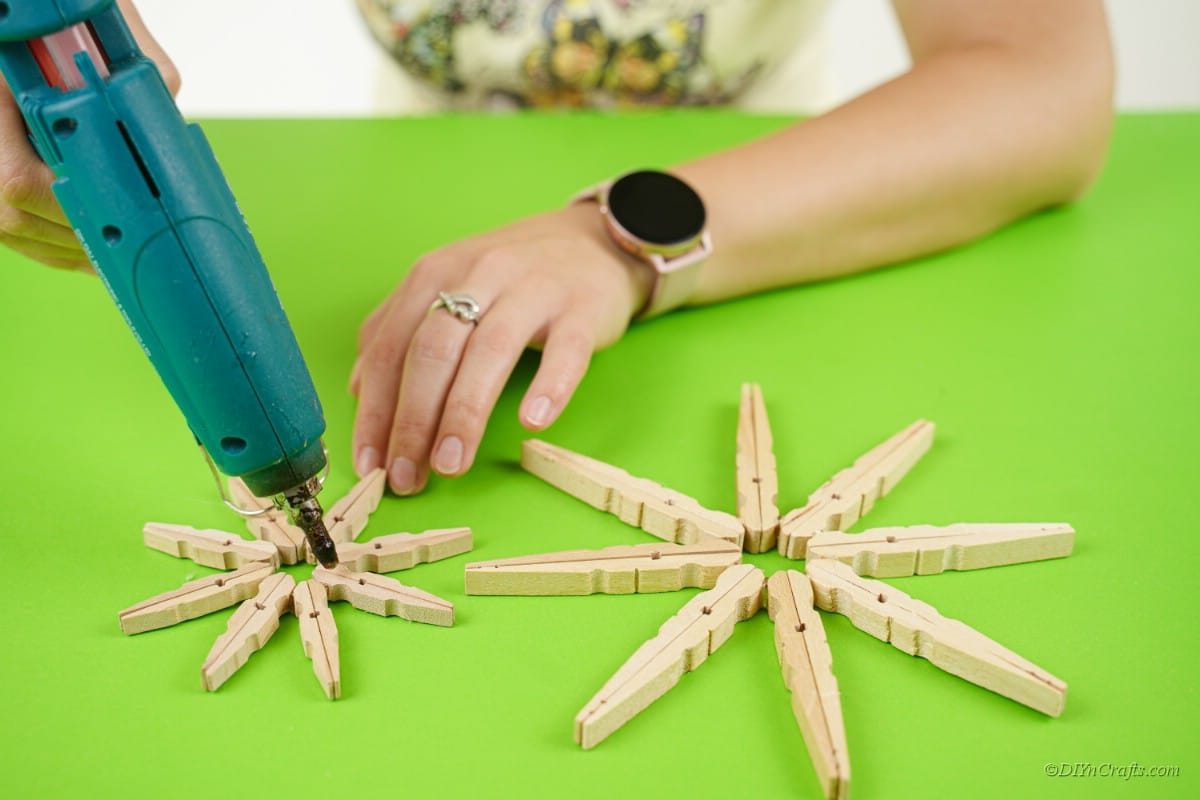
Next, apply a layer of glue onto the center of the smaller clothespin star.
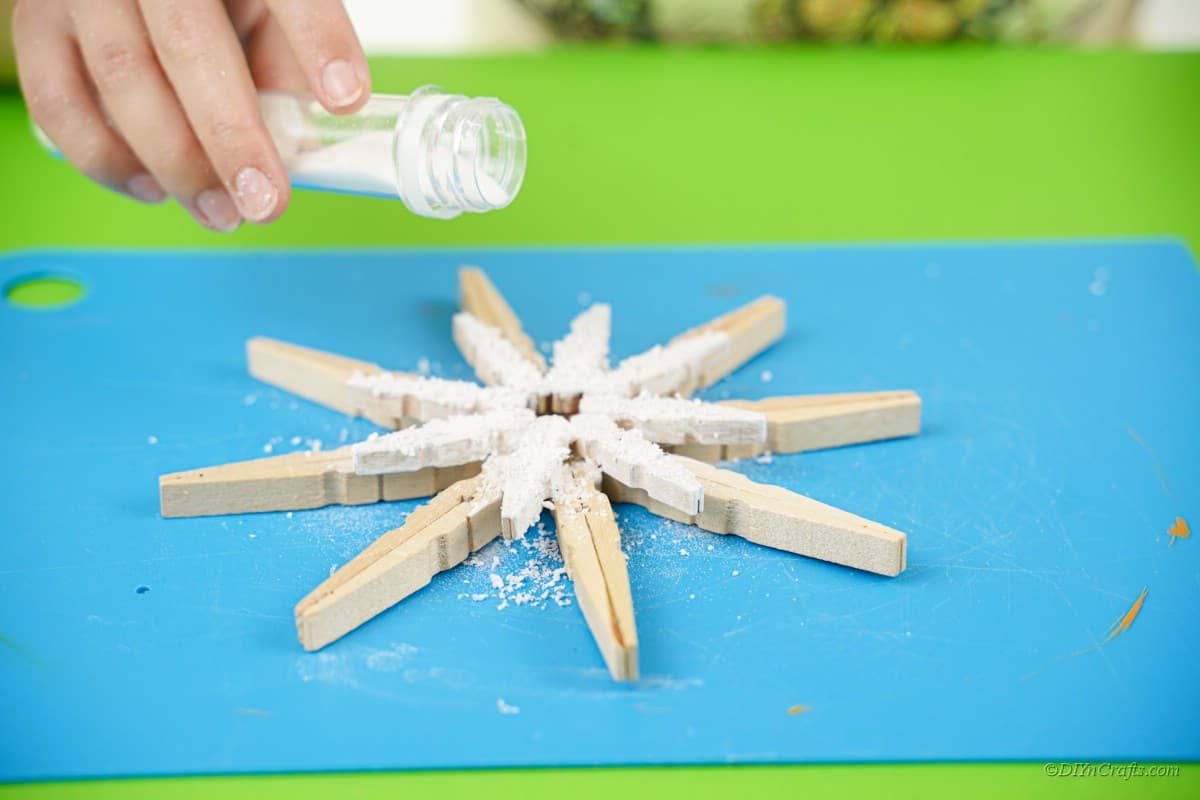
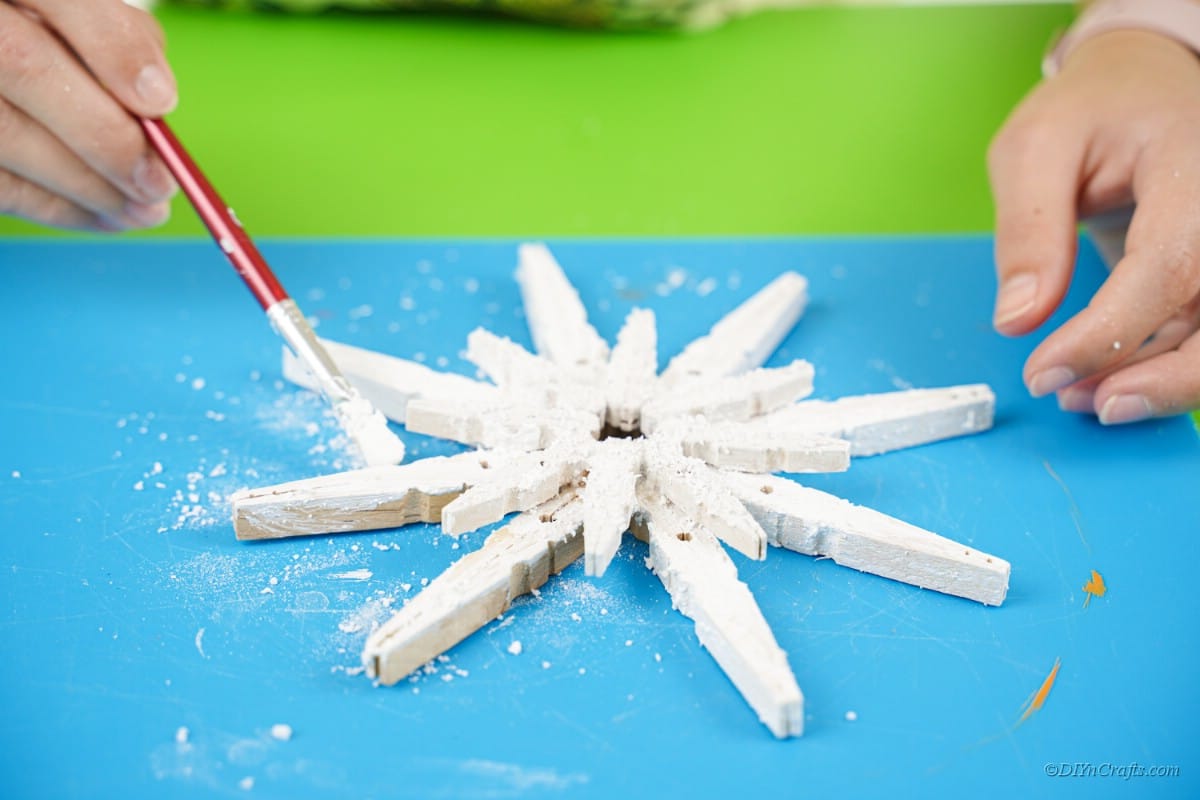
Place the smaller star on top of the larger one, with the ends of the clothespins pointing in between their larger counterparts. At this point, you can apply more glue, some spray glue, or paint to add fake snow to your craft.
Paint the star with white craft paint and a brush. Apply generously so you don't miss any of the small crevasses on the clothespins.
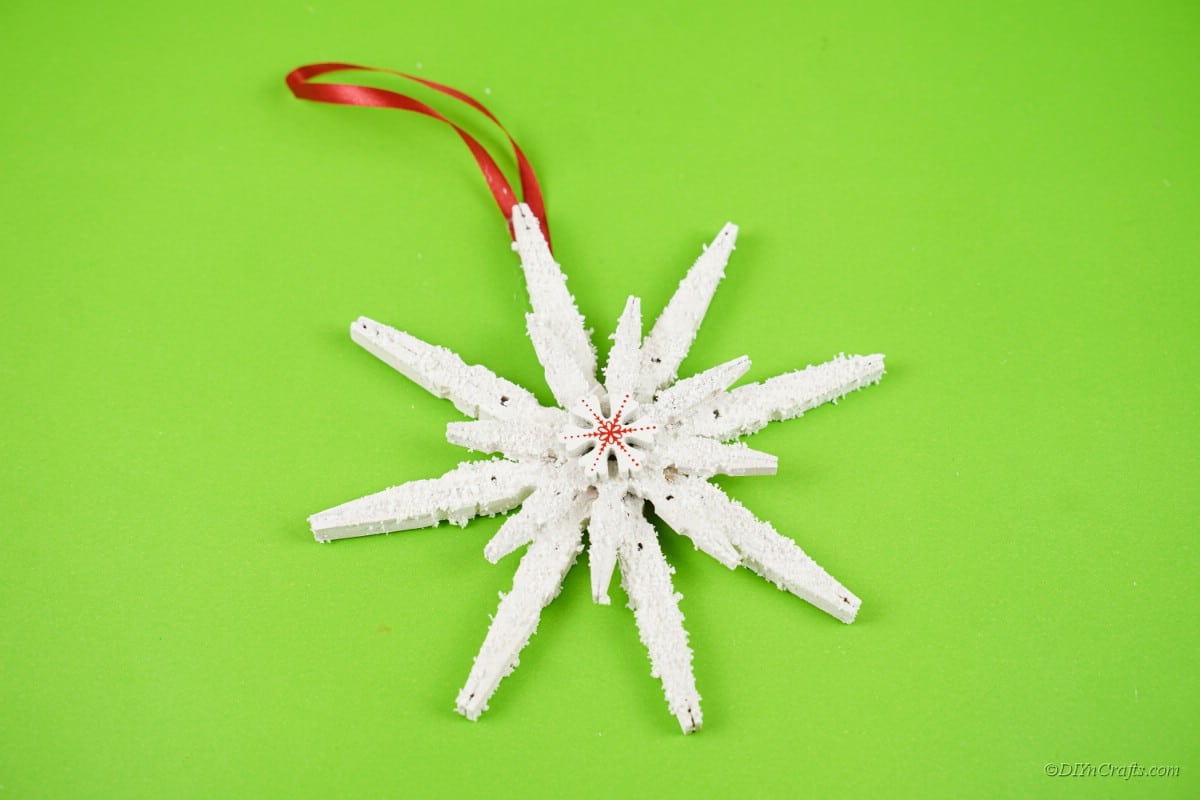
If you wish, you can add a small craft star sticker, or motif to finish off the piece. A small loop of ribbon can be added, too! To do this, make a loop with the ribbon and glue it to the end of one of the points on the larger star with a hot glue gun.
More Fun Christmas Craft Ideas
Small Christmas-themed crafts like these just bring a ton of joy to my heart! They're so simple to make, and they add a fun activity to the best time of the year! Let your creativity flow, and don't forget to find a nice place to display your new Christmas decoration! Any one of these crafts can make for a delightful evening in front of the fire! Check out some of these other brilliant crafts for some inspiration for your next project!
- Rustic Cardboard Christmas Star Decorations
- 13 DIY Clay Christmas Ornaments That Add Homemade Style To Your Tree
- 5 DIY Christmas Tree Ornaments You Can Easily DIY {Video Tutorials}
- 10 Memorable DIY Baby’s First Christmas Ornaments
- How to Make This Rustic Christmas Snowman Decoration
Hanging Clothespin Snowflake Decoration
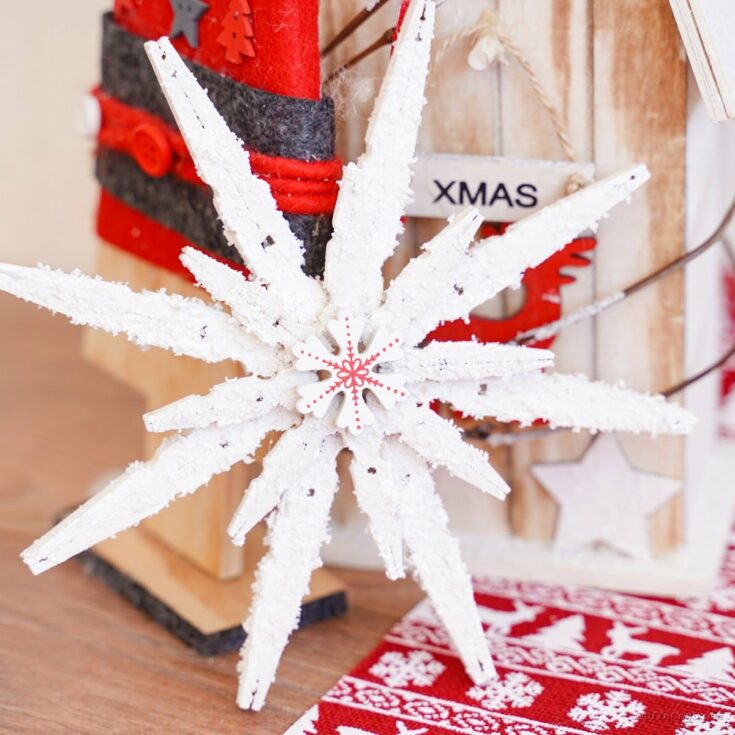
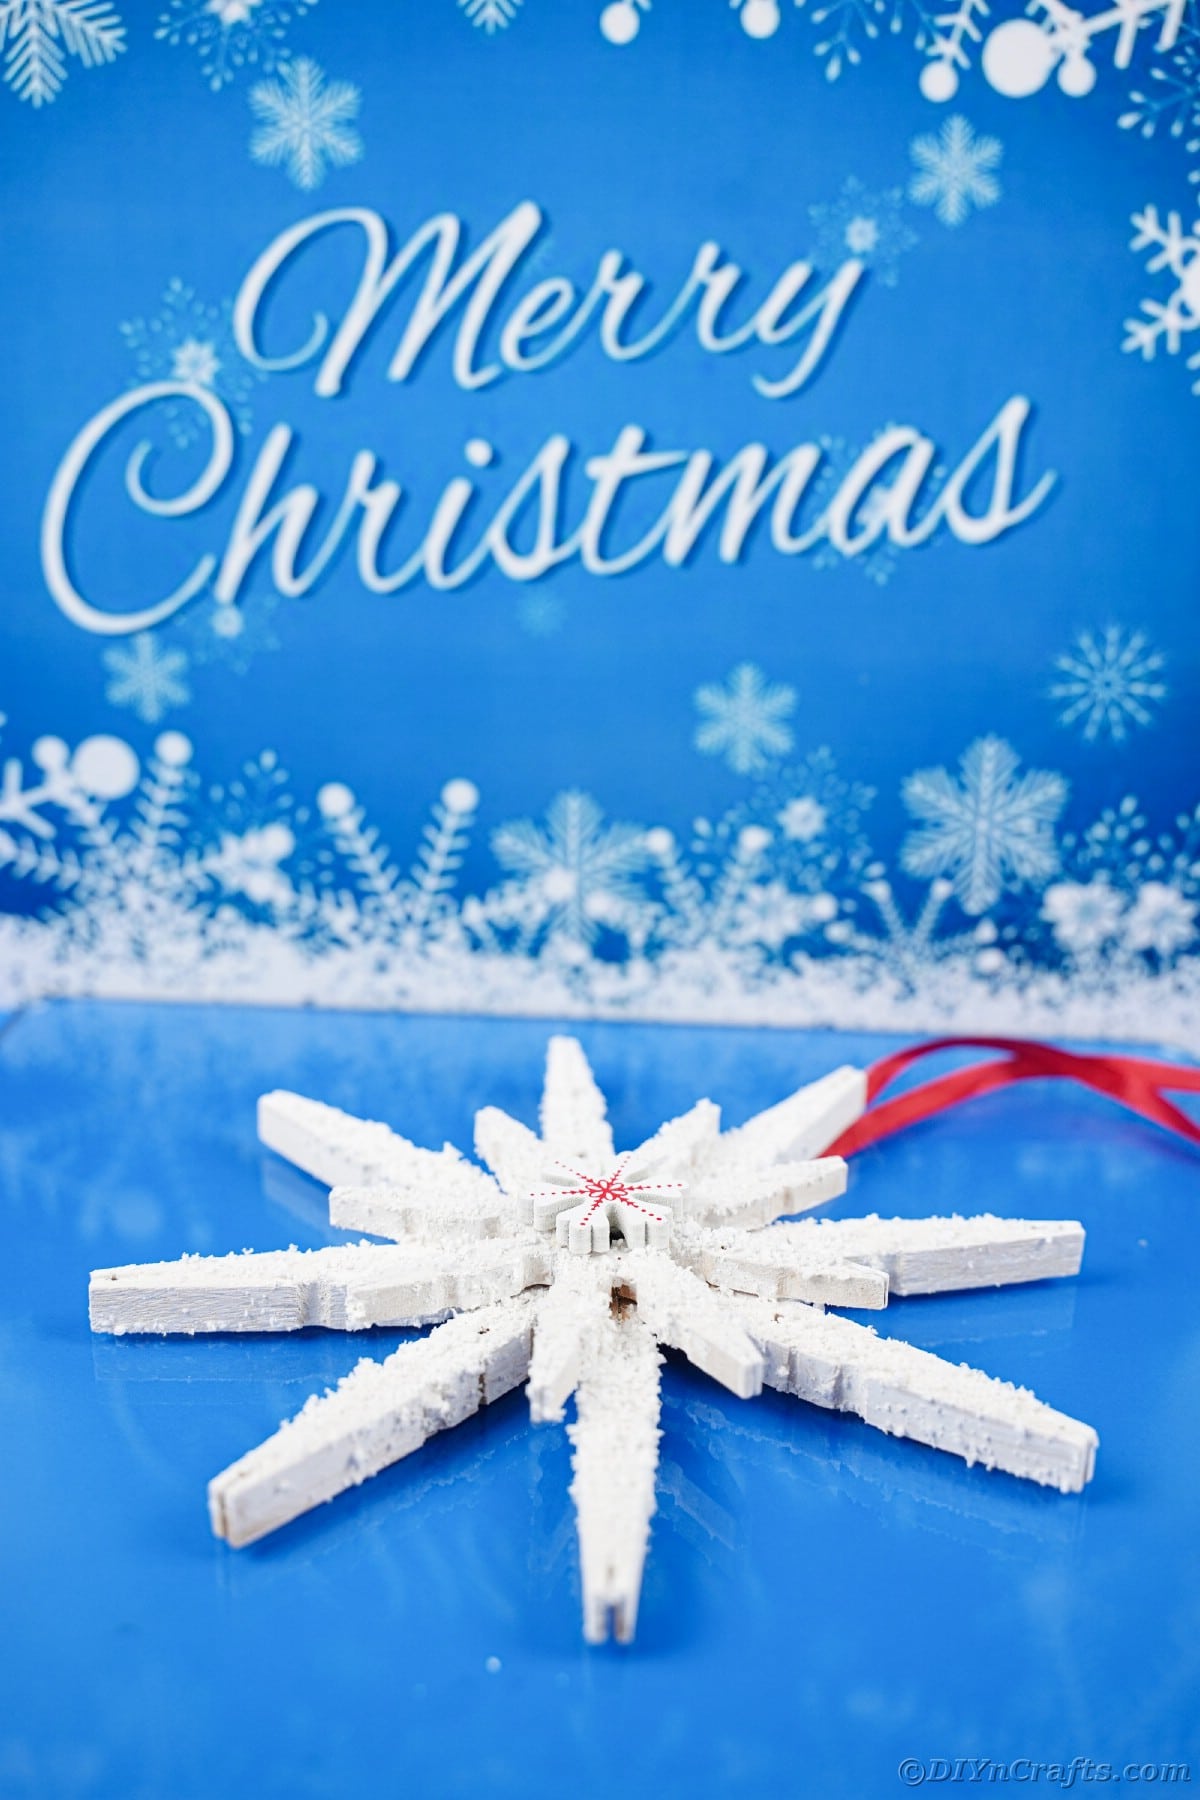
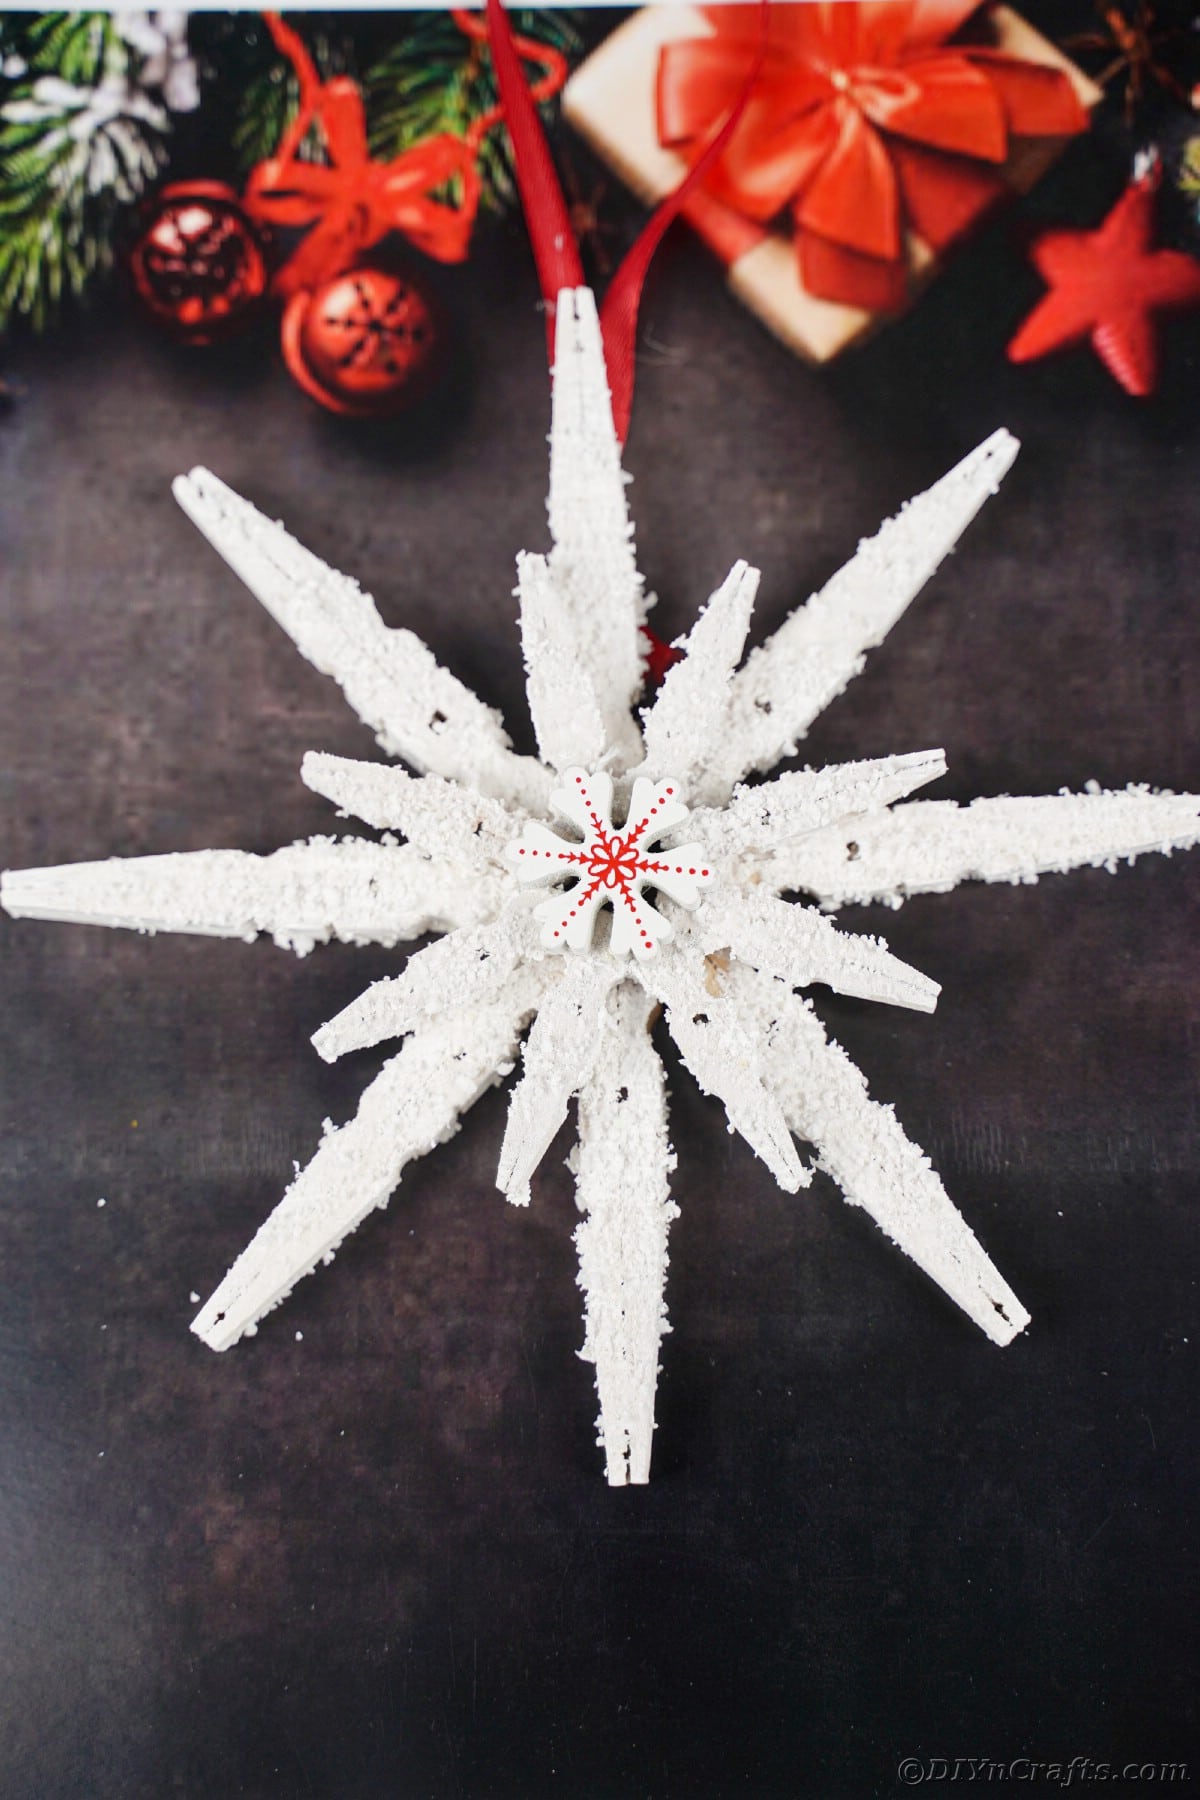
Gather up your old clothespins for this gorgeous upcycled star craft! It makes for a festive Christmas tree ornament, or decoration!
Tools
Instructions
- Separate clothespins into two pieces, without the spring attached.
- Glue the flat side of one clothespin.
- Glue together two sides by pushing on the flat side of another piece of clothespin.
- Next, glue each set together in a circular patter.
- Repeat this process with the smaller clothespins.
- Afterwards, attach the smaller star to the larger one and begin to apply fake snow detail.
- Paint the two stars white, and apply some more fake snow to suit your preference.
- Lastly, add a looped piece of ribbon, and a small star motif in the center.
Notes
Apply the piece of ribbon using the hot glue gun. If you want to apply the glue to the clothespins without risking your fingertips, use a pair of tweezers to hold them in your hand!
Recommended Products
As an Amazon Associate and member of other affiliate programs, I earn from qualifying purchases.
Final Product Gallery
This star makes the perfect handmade addition to your Christmas tree!
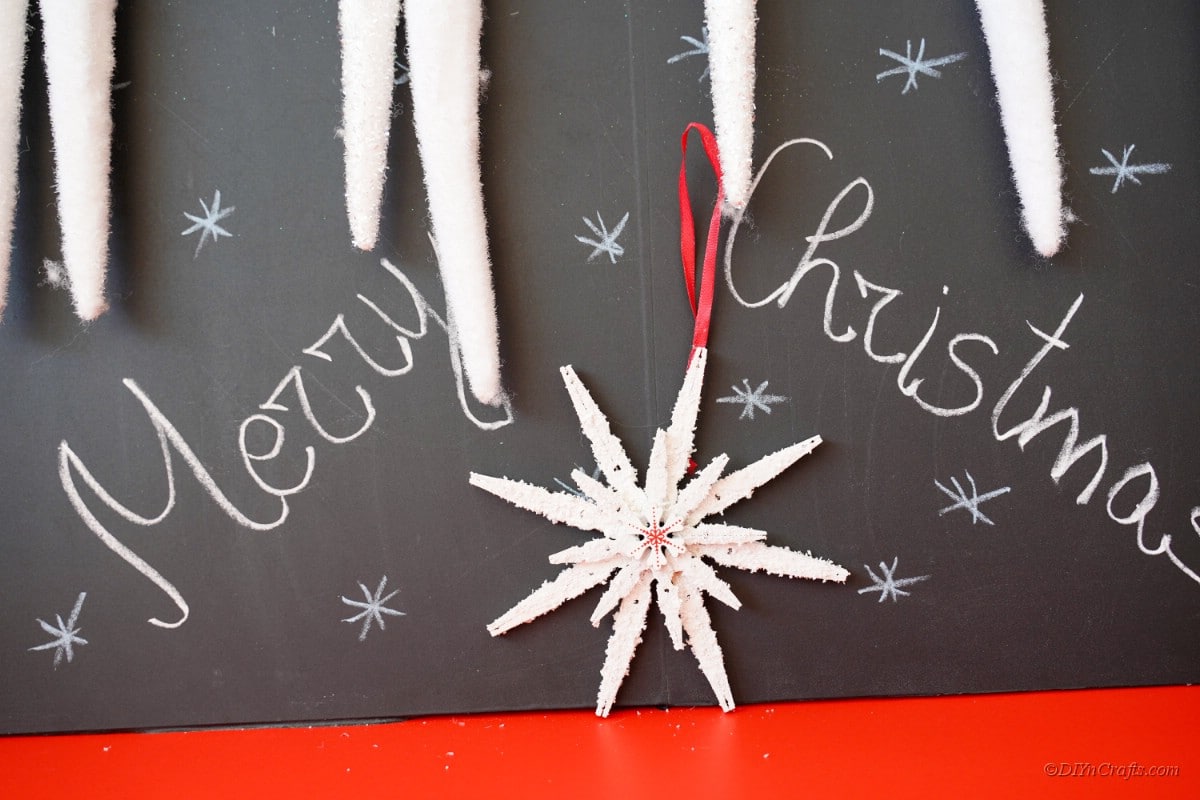
Hang it somewhere people will get a chance to admire the detail! The fake snow and paint give it a bright color that will make it stand out, especially on dark walls or backgrounds!
You can also display your lovely snowflake star along with some garland, or other greenery! This is an adorable Christmas craft you can look forward to putting out every year. Where will you display yours?









Leave a Reply