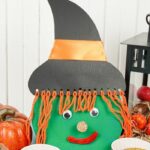
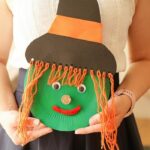
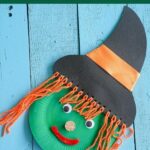
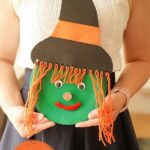
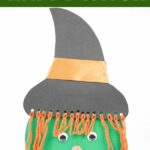
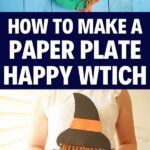
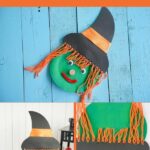
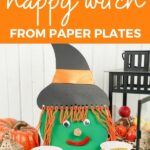
This cute little paper plate witch kids' craft is a perfect way to keep kids busy as you get ready for the Halloween holiday. Witch decorations often get a bad rap because they can be spooky, but this one is smiling, happy, and tons of fun to create. That makes it an ideal kids' craft and decoration that is budget-friendly, fun, and super easy to make.
Jump to:
Paper Plate Witch Kids Craft
I'm always excited to see kids working on fun craft projects. It's just nice to see them using their imagination and getting creative. So, when thinking about Halloween decorations, something like a paper plate craft just makes sense. They are super easy to make, fun to use in a variety of ways, and easy on a budget. This project is a good idea for a fun class arts and crafts project at school, a homeschool art lesson, or just a fun way to spend an afternoon with your kids leading up to Halloween.
How Can I Personalize This Paper Plate Craft?
Some of my favorite ways to personalize something like this are very simple little changes to the project. Check out the ideas below and use some with your own paper plate witch.
- Paint the face orange, purple, blue, or different shades of green
- Use different items to create hair on the witch hat
- Draw on the eyes, nose, and smile
- Use a fake wart for the nose
- Add glitter on the hat or hair
- Glue fake bats or ghosts to the hat instead of ribbon
- Add fake beads around the base as a necklace
- Cut out a paper bow tie and glue at the base of the face to make it a wizard instead of a witch
How Can I Use This to Decorate for Halloween?
Decorating at Halloween is one of my favorite things to do. You can add so many fun twists on styles and ideas. This isn't just a little craft to keep kids busy but is also a fun way to decorate. All you have to do is use your imagination and create a fun look for your home or space. This little witch is a fun addition to any Halloween decor theme.
- Add a fishing line to the top of the hat and hang from the ceiling
- Staple to a classroom bulletin board as part of a schoolroom decoration theme
- Attach to a bedroom door with a printed letter sign with kids' name
- Add to a dowel or yardstick and stick into a potted plant or along the garden outdoors. This will be best under an awning where no water can damage the witch.
- Make multiple witches and string them between twine or ribbon and hang on the mantle as a Halloween garland
- Glue or attach to a vase filled with fall flowers as part of a centerpiece
What Can I Use for the Witches' Hair?
This easy witches hat is perfect for using up yarn or yarn scraps, but it can also work with ribbon, twine, or string. I love the idea of using orange, purple, or green yarn to give it a different look. Brown or black could work also, and of course, you can't go wrong with grey.
If you don't have that on hand, you could also cut strips of paper and attach them around the rim of the hat. Cutting them into different lengths, thicknesses, and even jagged edging instead of straight gives it a much more natural look.
Supplies Needed
- Paper plates
- Black craft paper
- Green craft paint
- Orange yarn
- Red pipe cleaner
- Googly eyes
- Cork
- Scissors
- Paint brush
- Hole punch
- Craft glue
How to Make a Paper Plate Witch
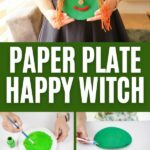
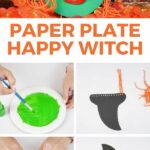
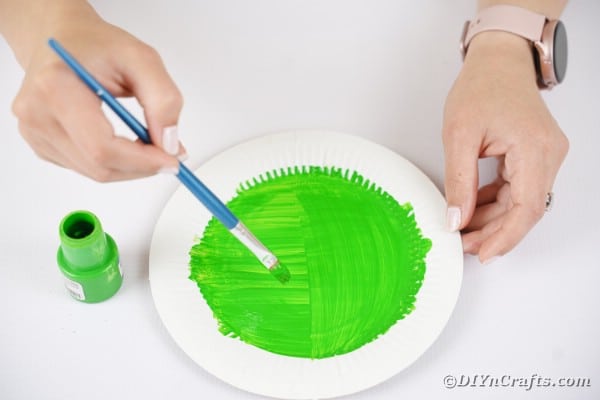
Paint one side of a paper plate all green, then set aside to dry.
Draw a hat shape onto black paper and cut it out then set aside.
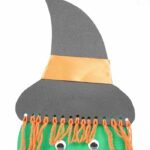
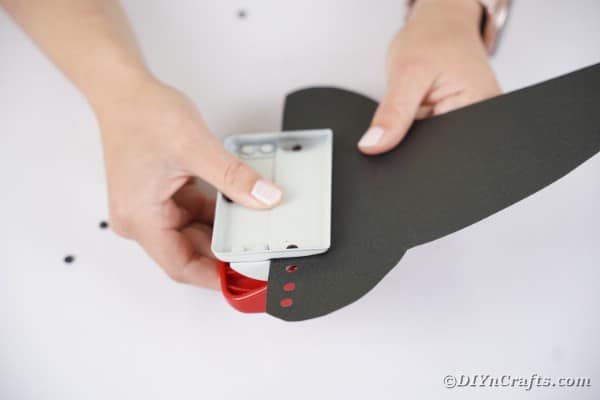
While the paint is drying, use a hole punch to add holes all along the bottom edge of the hat shape.
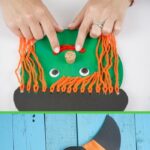
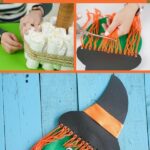
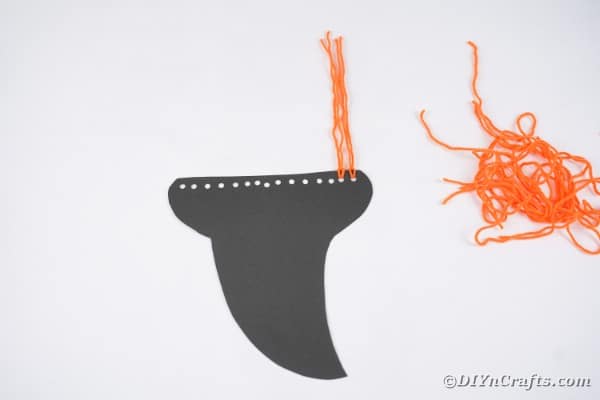
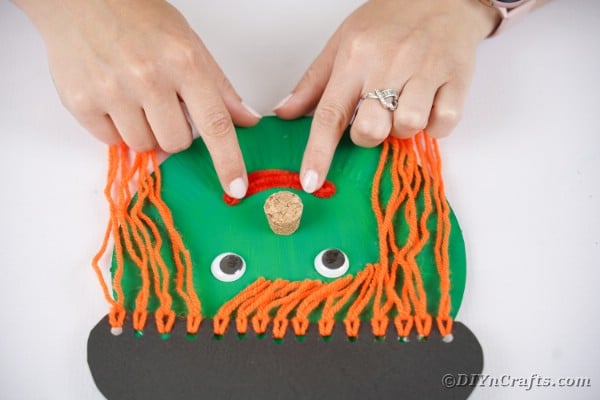
Cut a length of 12" length of yarn for each hole you punch out of the hat. String the yarn through the hole, pulling it so that half hangs on each side, and adding a simple knot to secure it.
Once the green plate is dry, add a strip of paint along the top edge.
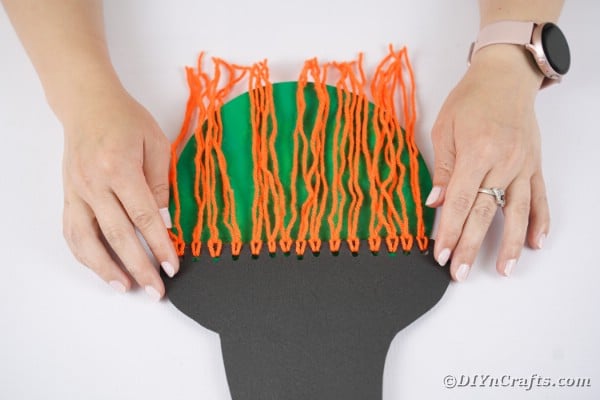
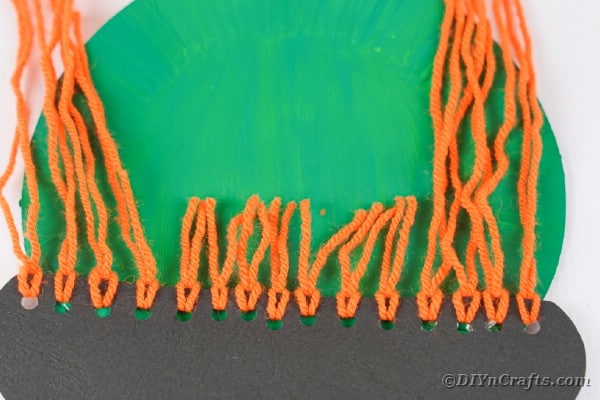
Glue the black hat onto the plate making sure to keep the yarn out of the glue.
Trim the middle section of yarn shorter to create bangs.
Add googly eyes just below the bangs.
Glue a small piece of cork below the eyes in the center as a nose.
Fold the red pipe cleaner into a smile shape and glue it in place.
Cut a piece of orange ribbon the width of the hat and glue it into place just above the brim section.
Add additional embellishments if desired and display!
More Halloween Crafts
As I mentioned before, Halloween is one of my favorite times of the year. There are so many unique ways to decorate and celebrate, and of course, you can't forget all of the candy! Below are some of my favorite crafts to add to the Halloween list. Kid-friendly, fun to make, and great to decorate with, this is a great list to start using for your Halloween plans.
- Cute DIY Yarn Pom Pom Monster
- Funny Upcycled Old Book Monster Kids Craft
- How to Make a Ghost Paper Lantern
- DIY Mummy Mason Jar Lantern Decoration
- Gorgeous DIY Witch Hat Halloween Decoration
- Easy DIY Paper Scarecrow Decoration for Kids
- Easy DIY Pumpkin Button Wall Art Decoration
Crafting Tip
Pick up a variety of paper plates in solid colors or patterns on Dollar Tree online to use for crafts like this. They come in large varieties of sizes and are a great budget friendly addition to your craft closet.
Hole punches are another great addition to any crafting tool kit. I like picking up a variety pack of hole punches in multiple styles and shapes to use for all kinds of projects like making confetti or adding holes to pages when needed.
Adorable Paper Plate Witch Kids Craft
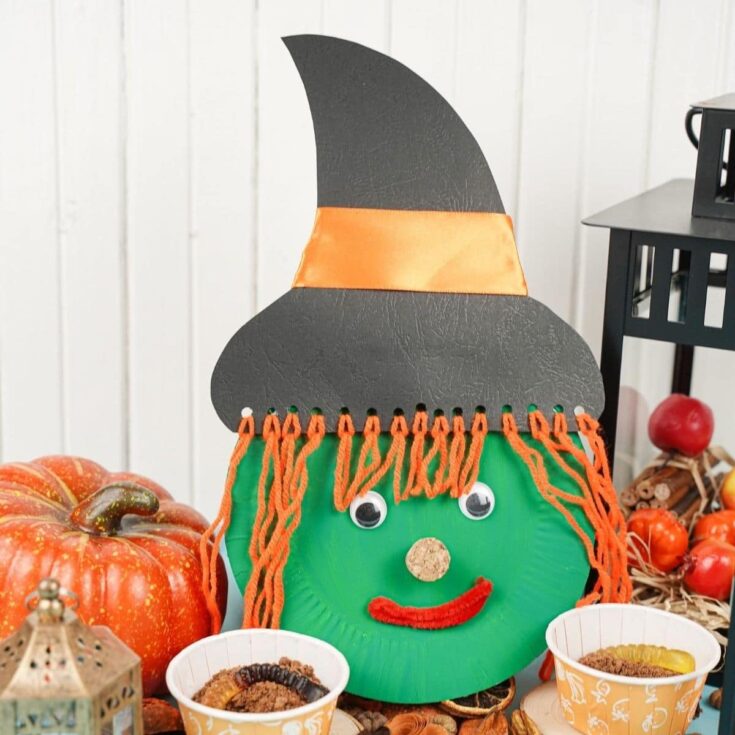
This adorable paper plate witch kids craft is super easy to make! A great kids craft that uses paper plates, paint, yarn, and your imagination is a great kids activity!
Materials
Tools
Instructions
- Paint a paper plate green then set aside to dry;
- Cut out a hat shape from black paper;
- Using a hole punch, add holes along the bottom of the hat;
- Cut 1 length of yarn per hole and then string them through each hole so half is on each side and tie a knot to hold in place;
- Once the plate has dried, add craft glue along the top half of the plate to secure the hat making sure the yarn doesn't get glued in place;
- Trim the middle section of hair to create bangs;
- Add googly eyes to the plate just below the bangs;
- Glue a cork between the eyes for a nose;
- Fold and glue in place a pipe cleaner smile;
- Cut a length of orange ribbon and glue just above the brim of the hat;
- Add accents if desired then display.
Notes
Use twine, ribbon, or raffia to create the witches hair on the hat.
Recommended Products
As an Amazon Associate and member of other affiliate programs, I earn from qualifying purchases.
Finished Project List
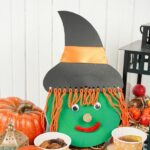
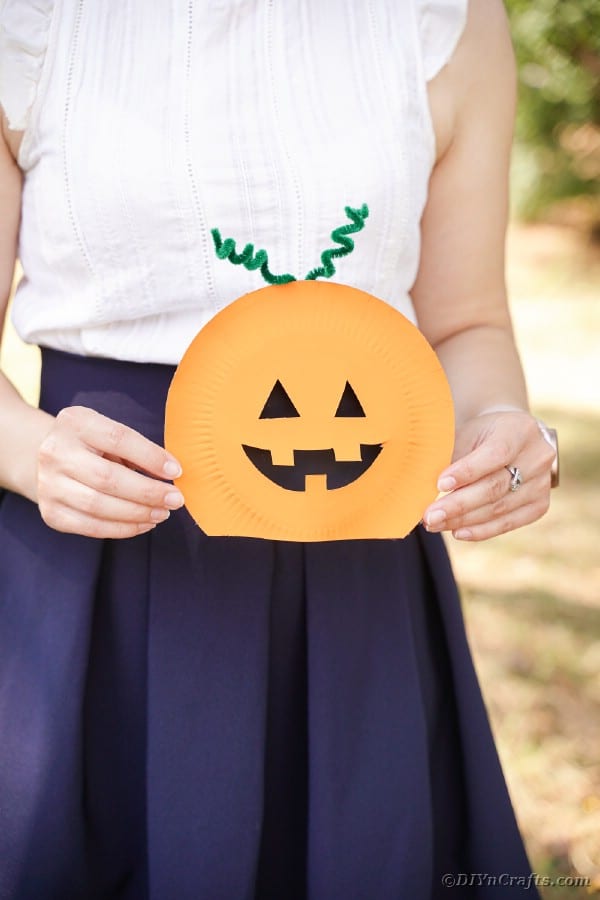
Use these cute kids' crafts to decorate around your home. Check out this simple display that features other fall and Halloween-themed items against a Halloween backdrop.
It doesn't have to have other items around it to pop and make cute for decor. This simple idea is great for a classroom setting.
I also love adding fake pumpkins, apples, and hay to create a unique centerpiece that uses natural looks while showcasing your kid's crafts.





Leave a Reply