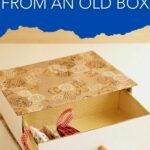
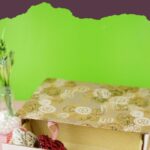
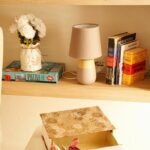
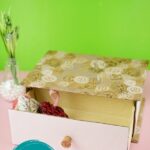
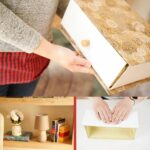
If you pay attention to our favorite types of projects, they are often upcycled items. This idea for an upcycled box drawer for storage was inspired by some really unique fake books with hidden compartments. I've seen these at Home Goods and Pottery Barn and knew that a homemade option would be tons of fun to create. The result was this simple and unique little addition to your home decor.
Jump to:
- Upcycled Box Drawer for Storage
- What Size Box Do I Need?
- What Type of Box Works to Make This Book Drawer?
- What Can This Hold?
- How Can I Add a Different Look to My Box Storage Drawer?
- Supplies Needed
- How to Make an Upcycled Box Drawer for Storage
- More Upcycled Home Decor Ideas
- Materials
- Tools
- Instructions
- Notes
- Recommended Products
- Finished Project Gallery
Upcycled Box Drawer for Storage
Is it a box to store items? Perhaps it's just a fun little addition to a shelf or table? Maybe it's actually a fun way to gift something to a friend. No matter what you use this for, it's a great way to turn an old box into something fun and unique to add to your home.
Since this is so easy to customize, it's a great way to add a few new storage items to your home, bedroom, or office. Get your kids involved and let them create their own secret hidden compartment in one of these fun drawers.
What Size Box Do I Need?
I used what I consider a medium-sized box for my book. It's a little larger than a shoebox, but not so large it won't easily fit onto a counter or table. When choosing the box for your storage drawer, look at the space you will be using it. Measure and use the box that best fits your needs.
There are no exact measurements on this project. Instead, it's something you will measure out on your own to fit the space it will be staying in once completed. You may also want to take note of how tall or deep you want this to be for use in your own home.
This can be made in small for jewelry, up to large box drawers to hold stuffed animals, or even clothing! There is no right or wrong. Just make what works for you the best.
What Type of Box Works to Make This Book Drawer?
I love turning trash into treasure, so any time we receive a package or buy something in a box, I always imagine what ways I can reuse that packaging. This uses a few boxes that came from items purchased, but you could use only scrap cardboard or even shoe boxes. You don't need anything fancy for this. Just pick out a box that is sturdy enough to hold up to what you decide to store inside the drawer.
What Can This Hold?
In general, this box can hold anything you want it to hold. The exacts depend more on how large you make the box. Since mine is medium-sized, below are a few ideas of what it could be used for in this size. You'll want to think about what you need to use it for in your home and size it accordingly.
- Hide yarn and crochet hooks or knitting needles by your favorite chair.
- Hold remote controls or similar items by your sofa for television viewing.
- Store coloring books with crayons, markers, or colored pencils so they are handy but out of sight.
- House diabetic testing supplies discreetly on a bathroom counter or bedside table.
- Hide candy or snacks on your desk that you don't want others to know about.
- Keep lingerie items organized in your closet.
- Hold candles and matches for use around the home.
- Store plastic utensils and napkins near your kitchen table or back patio for easy dining when guests are around.
How Can I Add a Different Look to My Box Storage Drawer?
You can truly decorate this in any way you prefer. I used papers and cork for mine that I already had on hand. My goal was to make something totally out of items already on hand, and thus, the look I ended up with was a bit simplistic but functional. You can decorate your box with different colors of paper, paint, stencils, ribbons, and other embellishments. You could even add a real drawer pull on the outside to match other items around your home if desired.
Supplies Needed
- Medium box
- Small box
- Cardboard
- Shelf liner or wrapping paper
- White paper
- Cork
- Washi tape
- Scissors
- Craft knife
- Hot glue gun
- Hot glue stick or hot glue rope
How to Make an Upcycled Box Drawer for Storage
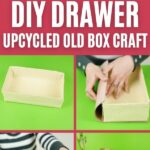
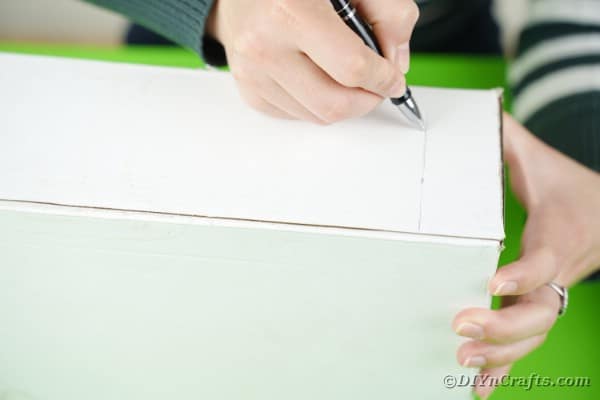
Measure the width of the small box against the side of the medium box and mark it with a pen.
Mark off the length of the box along the top of the larger of the two boxes.
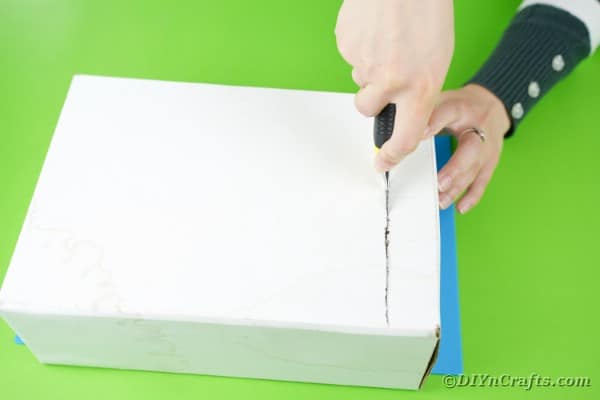
Using a craft knife, cut along the markings so that the larger box is cut down to just a little larger than the smaller box, removing one end of the box entirely.
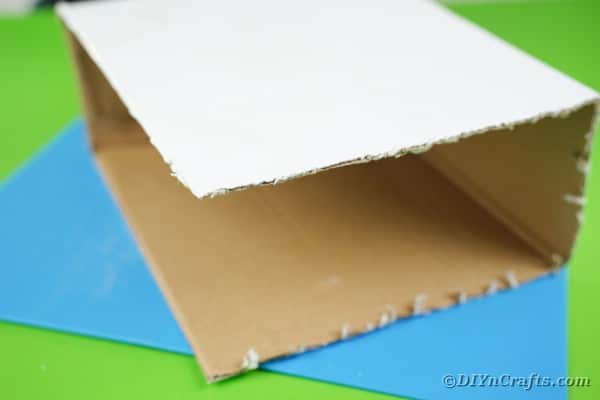
Cut off the front of the box so that one end and one side are open.
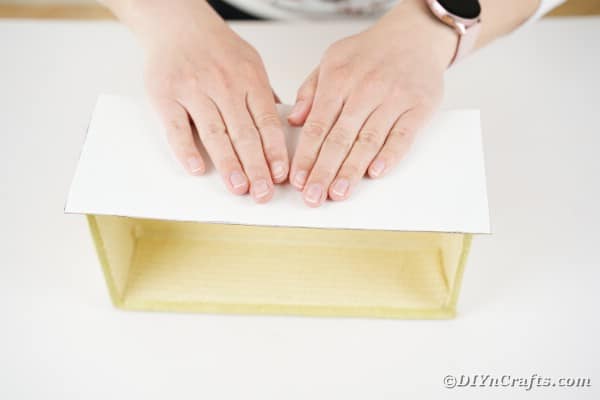
Using part of the cardboard you have already removed, cut it to fit on the end of this box, then glue it onto a piece of white paper or card stock.
Trim that piece down so only about 1" extra on all sides of the cardboard is left.
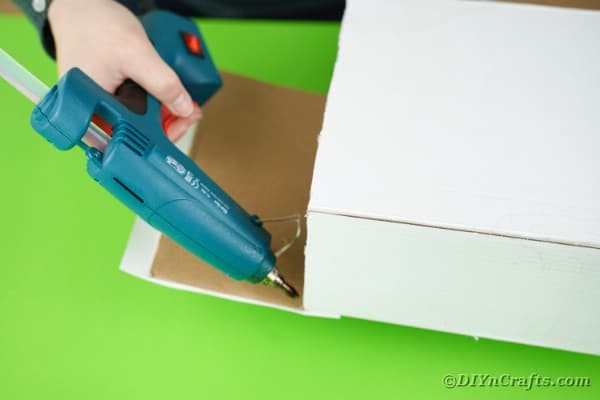
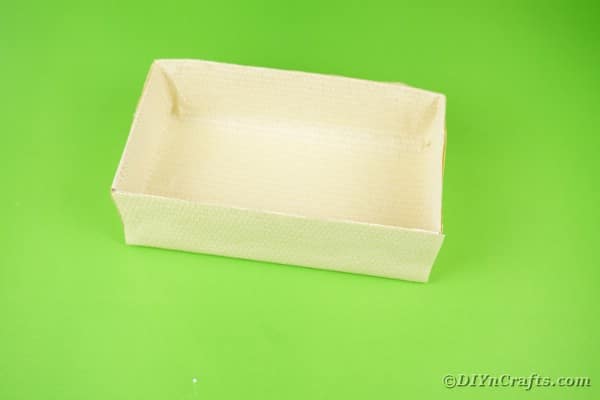
Glue the cardboard to the open end of the larger box, sealing the ends and leaving only one side open.
On the opposite ends of the box, glue white paper so that all edges are covered and only one side is open for the drawer to go inside.
Measure two pieces of cardboard that are slightly larger than the box.
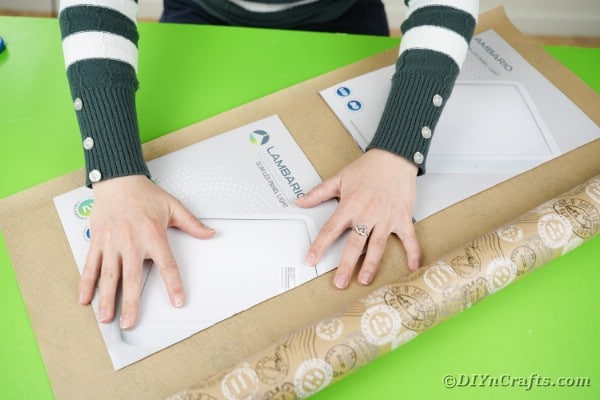
Glue those pieces of cardboard onto the back of your wrapping paper or shelf liner.
Cut out the cardboard pieces so there is 1-2" of excess paper on all sides of each piece.
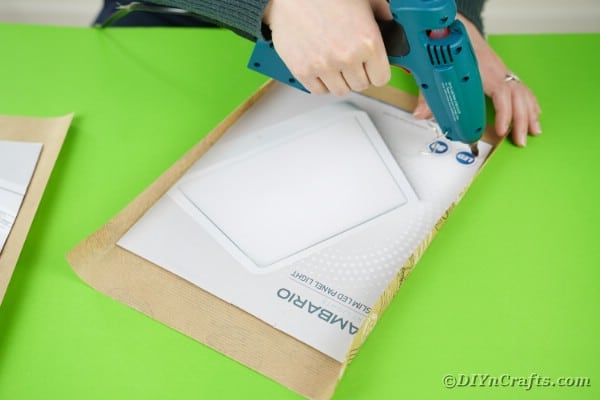
Fold down the excess paper and glue it in place so you have two pieces of cardboard that are covered in the decorative paper on one side.
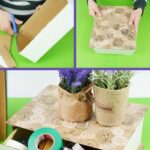
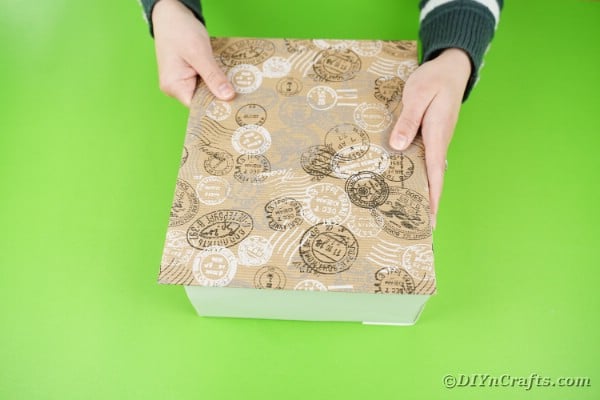
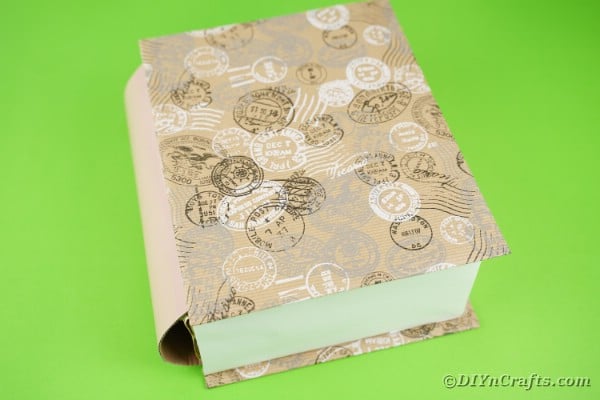
Glue these pieces on the top and bottom of the box leaving the overlap on the side that is open where the drawer will fit.
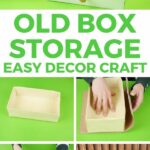
Trim the top off of the second smaller box you are using as a drawer.
Wrap this box in another matching color of wrapping paper or shelf liner.
Add trim around the edges of the drawer with washi tape.
Measure another piece of cardboard to be slightly taller than the edge of the box and cover it with white paper.
Glue this piece onto the long end of the box to create a front for the drawer.
Using additional cardboard that has been painted or wrapped if desired, roll it into a curved piece and cut to the length of the total box.
Glue this curved piece onto the back closed side of the larger box to create a bookbinding look.
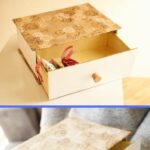
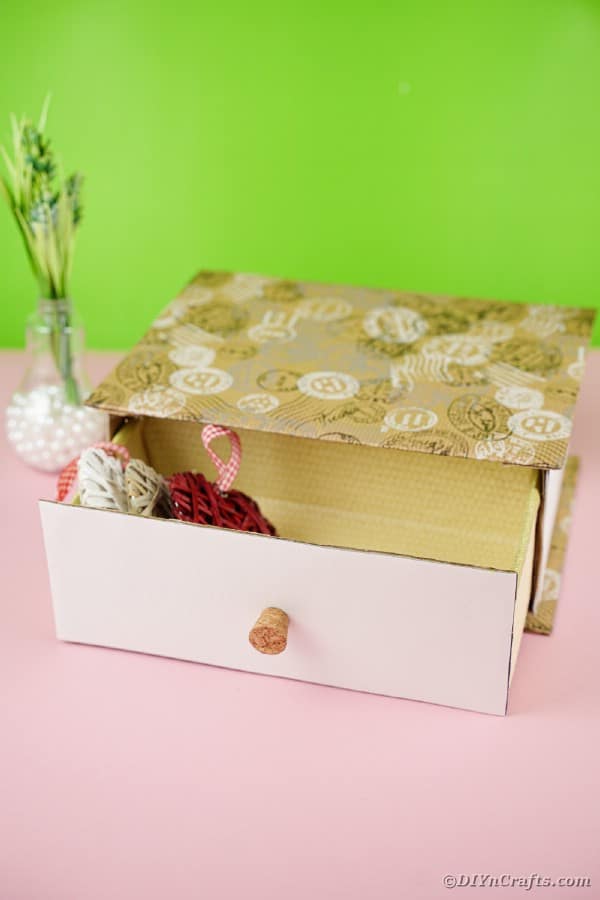
Add a cork or drawer pull to the front of the drawer.
Slide the drawer in place and add any additional embellishments as desired.
More Upcycled Home Decor Ideas
If you like the idea of decorating your home with upcycled and repurposed items, then you'll love my other projects. I recently made this upcycled cardboard box storage bin that is ideal for holding books, yarn, and crafting supplies. If you want to use old chip cans, this rustic Pringles cans storage container is tons of fun for the kids to personalize.
I added this rustic upcycled cutting board command center to my kitchen to keep the kids on task with chores. You might also like this cute little upcycled CD pocket wall organizer instead. Repurposing items are so great for adding not just decor but function to your home!
A favorite decor item is this upcycled picture frame tray. It's ideal for holding jewelry or makeup in your bedroom or a tea tray for the living room. It's super easy to customize and really affordable to make. Of course, real upcycling comes in projects like this list of repurposing ideas for broken mirrors that truly turn trash into treasure.
Crafting Tip
Recently I discovered how handy it is to keep contact paper and shelf liner on hand. For projects like this one, it may be a preferred option for covering the box. They are generally water proof and come in tons of different colors and patterns. I buy my shelf liner at Dollar Tree and can grab a whole case online and have it delivered to my house.
Cardboard Box Drawer Storage Craft
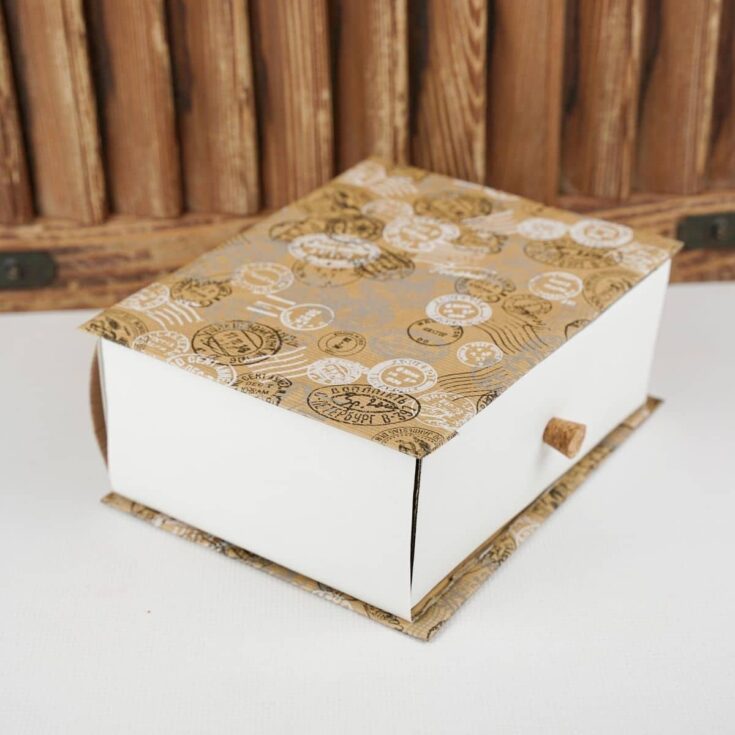
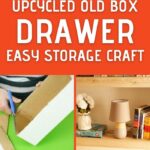
Watch this simple tutorial for an upcycled box drawer perfect for storage and home decor. A great dollar store craft anyone can create in minutes!
Materials
- 1 medium cardboard box
- 1 small cardboard box
- Scrap cardboard
- 4-5 sheets white paper
- Wrapping paper or shelf liner
- Cork
- Washi tape
Instructions
- Use the smaller box as a guide to measuring the width and length onto the top of the larger box;
- Use a craft knife to cut along these marks trimming the larger box to just slightly larger than your smaller box;
- Cut the ends and front off of the larger box so that only one end and one side is intact;
- Measure another piece of cardboard to fit over the open end;
- Glue this cardboard onto a piece of white paper and then glue in place on the end of the box;
- On the other two closed sides of the box, glue white paper so that all edges are covered;
- Cut two pieces of cardboard slightly larger than the large box and place onto the wrapping paper or shelf liner;
- Cut the paper about 2" larger on all sides than the cardboard pieces then glue into place covering one side completely with the decorative paper;
- Glue these pieces paper side out on top and bottom of the large box;
- Cut the top of the smaller box off;
- Wrap the smaller box inside and out with an alternate but a matching piece of paper;
- Line the edges with washi tape;
- Cut a piece of cardboard slightly larger than the small box front out and cover with white paper;
- Glue this to the front of the box to create the "drawer" cover;
- Cut cardboard the depth and length of the large box, and then curl to create a bookbinding look;
- Glue in place on the closed backside of the box;
- Place the drawer inside the box, and attach the cork with glue;
- Fill with treats or craft supplies and display.
Notes
Use shelf liner for a waterpoof exterior to the box.
Recommended Products
As an Amazon Associate and member of other affiliate programs, I earn from qualifying purchases.
-
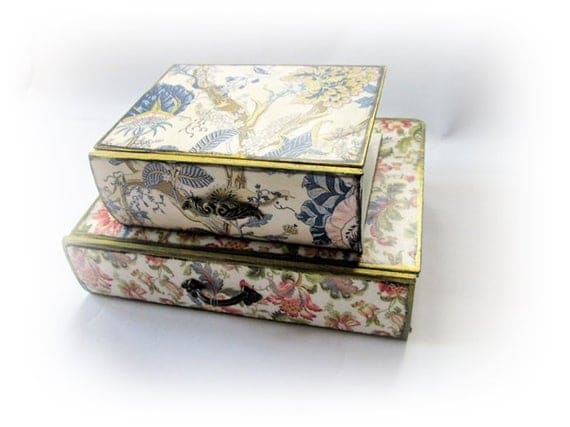 Book Boxes Book Stack Jewelry Organizer Desktop Organizer | Etsy
 -
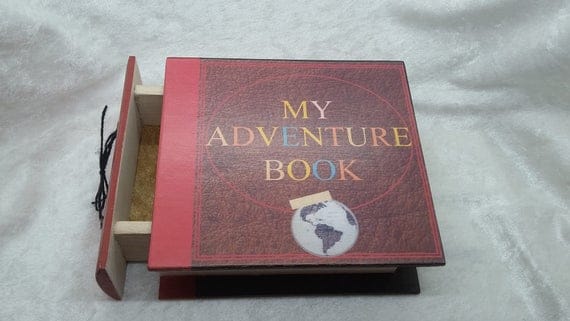 My Adventure Book Jewelry Box Book Ring Box Gift for Her | Etsy
 -
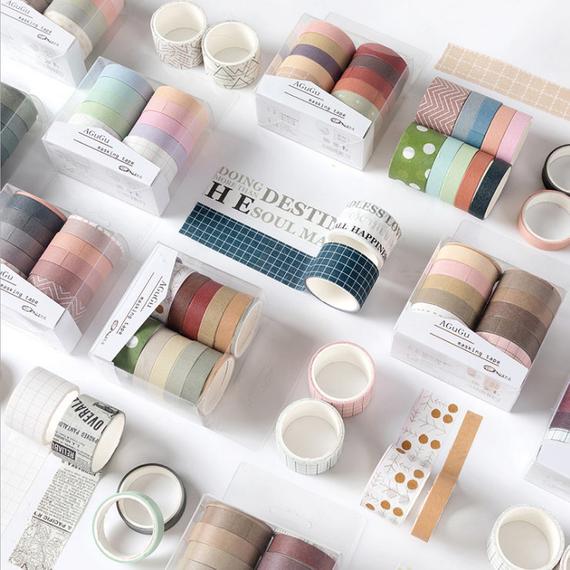 10 Rolls Washi Tape Set Washi Tape Skinny Washi Tape | Etsy
 -
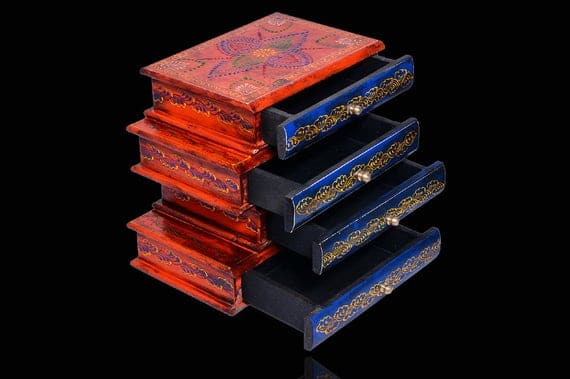 Wooden Drawer Hand Painted Book Shape Showpiece Drawer Table | Etsy
 -
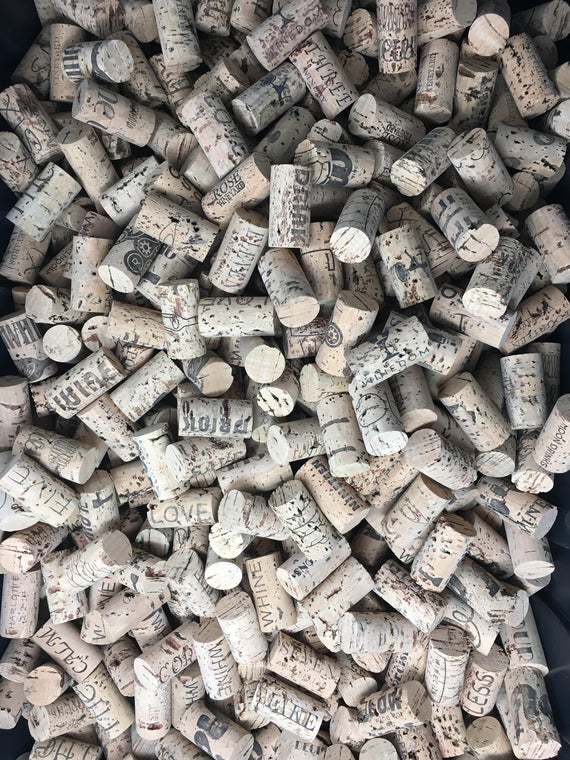 Crafting Wine Corks Brand New All Natural & Same Size With | Etsy
 -
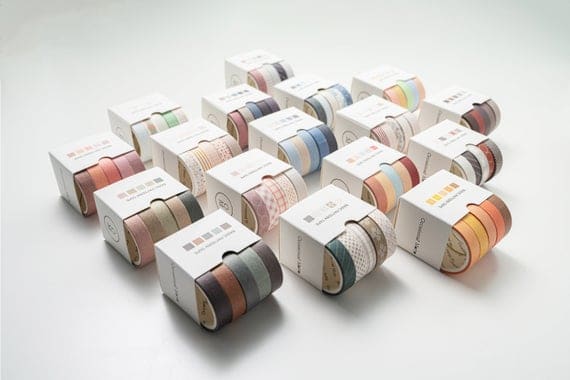 5 Colors Washi Tape Combo 10mm wide 3 Meters length | Etsy










Leave a Reply