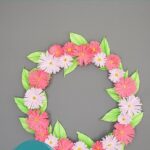
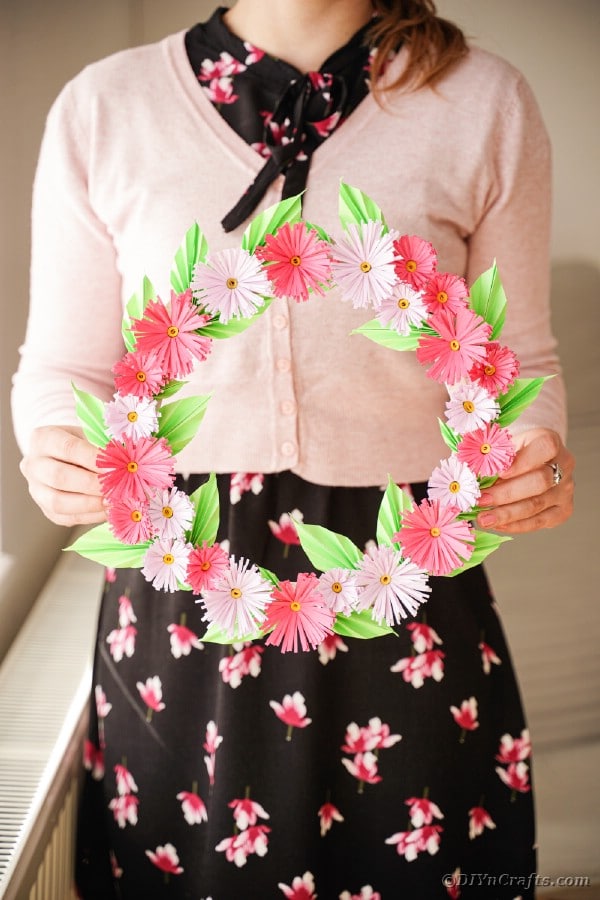
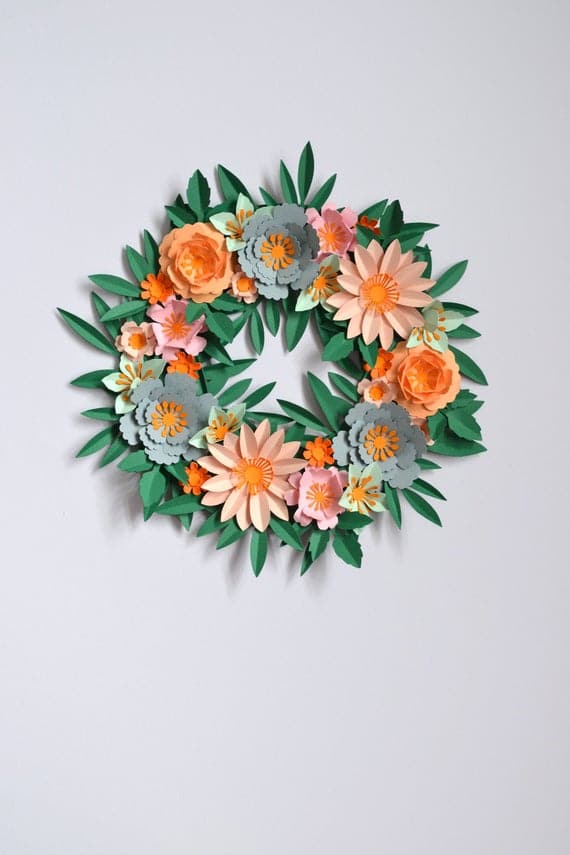
Paper flowers are always fun to make, but turning them into this stunning paper chrysanthemum flower wreath is brilliant! Simple cutting, folding, rolling, and gluing and you have an absolutely magnificent wreath to hang on your wall. This tutorial takes you through each step of making your own paper flowers and then turning those into a great addition to your home decor.
Jump to:
- Paper Chrysanthemum Flower Wreath
- What Papers Can I Use to Make the Flowers?
- Variations of Decorating This Wreath
- How Can I Hang This Wreath?
- What Wreath Form Can I Use?
- Supplies Needed
- How to Make a Chrysanthemum Flower Wreath
- More Paper Flower Tutorials
- Materials
- Tools
- Instructions
- Notes
- Recommended Products
- Finished Project Gallery
Paper Chrysanthemum Flower Wreath
I love making paper flowers for a variety of projects, but nothing beats seeing them combined and placed on a wreath. This creates a whole new look for your home and really adds that pop of color to your decor that you want.
There are a ton of different types of paper flowers you can use, but I have always been a fan of the look of this style. Chrysanthemums are lovely flowers in many colors.
Typically, you see them in the fall in deep oranges and reds, but I like the idea of these fun and bright colors that remind me of spring and summer.
What Papers Can I Use to Make the Flowers?
Basic colored craft paper is my go-to choice for making paper flowers. It isn't too thick to fold and isn't so thin that it falls apart. You can use other choices if you prefer. Scrapbook papers are great for adding different patterns and even textures. Foam paper is harder to manipulate into shapes but can be used for accents or leaves.
Some weight of cardstock can be really difficult to work with when heavier but it can be used for some flowers to create a stiff texture around the petals. This flower does well with lightweight cardstock or craft paper. You can even use origami paper if you are making smaller pieces, as it is designed to fold into shapes.
Of course, if working with kids, you can always reach for construction paper for an inexpensive and durable choice that folds, rolls, and cuts with ease. It doesn't create as pretty a flower with the sharper colors of craft papers, but it is a great choice for working with kids.
Variations of Decorating This Wreath
One thing I love the most about making wreaths is that no two are identical. You can turn them into entirely different looks with just a few simple changes. For this paper flower option, I love the idea of starting with different colors or types of paper.
The next thing would be to add ribbon to the form or around the form to add a flowing ribbon feature. Below are a few more ideas that can turn the wreath into an entirely new look.
- Add glue around the edges of the petals and sprinkle on glitter for more sparkle.
- Use buttons in the center of each flower to give the middle a unique and different look.
- Add pearls or beads to the center of each flower to give it a unique look.
- Spray the flowers with spray glitter after they are ready to be hung so the entire wreath has a glittery look.
- Use artificial leaves instead of paper leaves to go between each of the paper flowers.
How Can I Hang This Wreath?
Wreath hangers are my favorite choice. Whether a nice metal wreath hanger or wood wreath stand or a metal hook hanging on the door, these are traditional choices. I've also used a wire hanger that has been cut and shaped into a hook, and of course, the standard twine slipped over a nail in the wall or door.
One of my favorite choices, however, are the sticky-backed Command hook products. They have tons of options including basic white hooks as well as new modern matte black hooks or metal hooks. These are great since they are also removable and don't scar the wood or drywall in your home.
What Wreath Form Can I Use?
For making this wreath, I used a simple piece of cardboard cut into a circle. I like this method because it's free, easy to use, and sturdy enough to hold up under the weight of the numerous flowers. While you can use other methods, I really find this to be the best for this style of wreath.
Another great option is to use a wireframe and wrap it with ribbon or tissue paper before attaching the paper flowers. You could even create your own using a wire hanger you have cut and shaped into a circle. Of course, a foam wreath form is great, but it can require a lot more flowers to cover it. If you want to use that, know you'll need to make more flowers and potentially add more tissue paper or ribbon to cover the wreath form.
Supplies Needed
- Purple craft paper
- Pink craft paper
- Yellow craft paper
- Green craft paper
- Cardboard
- Ruler
- Scissors
- Craft knife
- Hot glue gun
- Hot glue sticks
How to Make a Chrysanthemum Flower Wreath
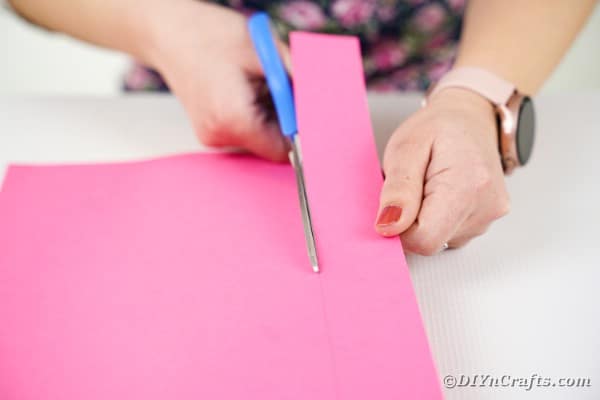
Measure 10 strips of pink paper 10" long and 2" wide;
Cut the paper into strips and set aside.
Repeat this process, making 10 strips of purple paper and 10 strips of pink paper 10" long and 1" wide.
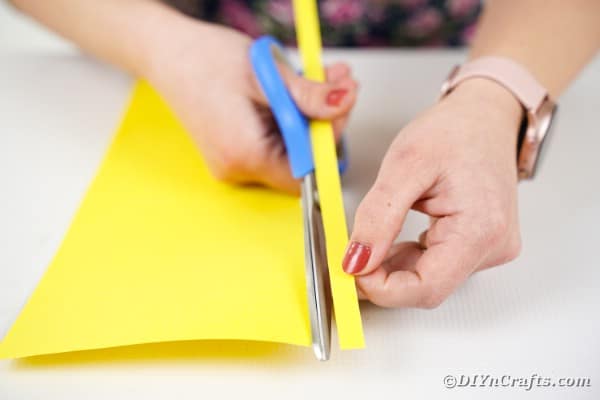
Cut a ½" wide and 10" long strip of yellow paper for each of the pink and purple papers created.
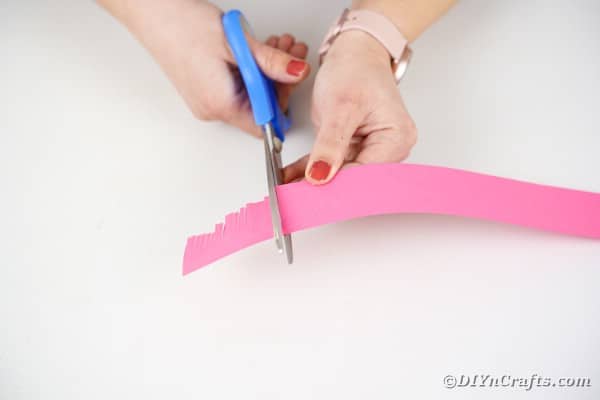
Using scissors, cut 90% of the way through the pink paper all along the length, creating a fringed look.
Repeat this process on all of the pink and purple pieces of paper.
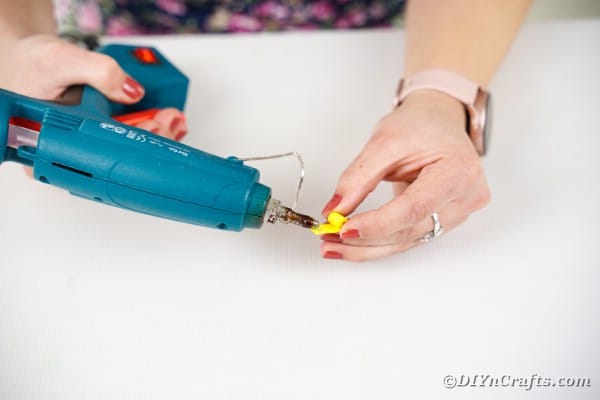
Roll the yellow strips of paper tightly into a small tube and glue at the ends to secure.
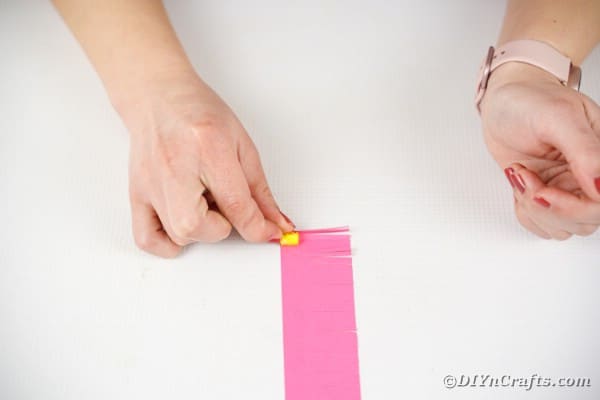
On the side of the pink or purple paper that isn't cut, glue the yellow piece so it is against the edge of the paper.
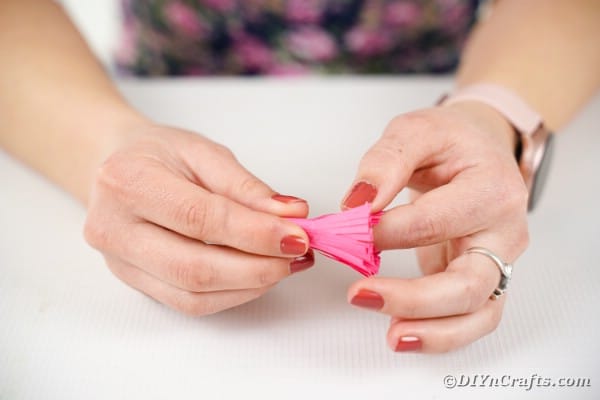
Roll the pink fringed paper up with the yellow on the inside until all the paper has been rolled and glue at the end.
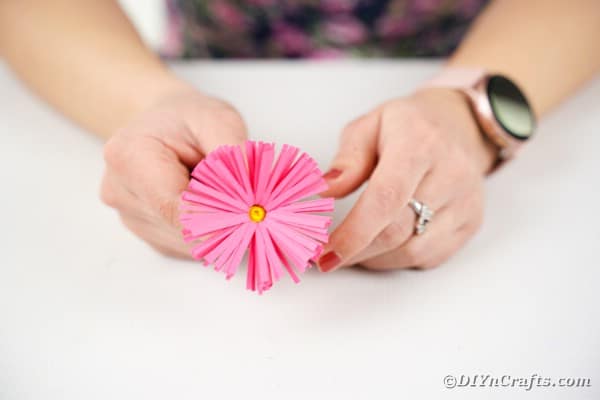
Fold the fringed sides down, creating a flower.
Repeat this with all of the pink and purple pieces of paper and set them aside.
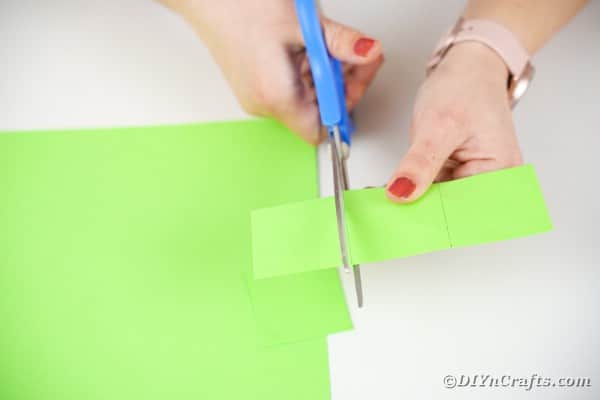
Measure several 2" squares and 4" squares of green paper.
Cut out these squares.
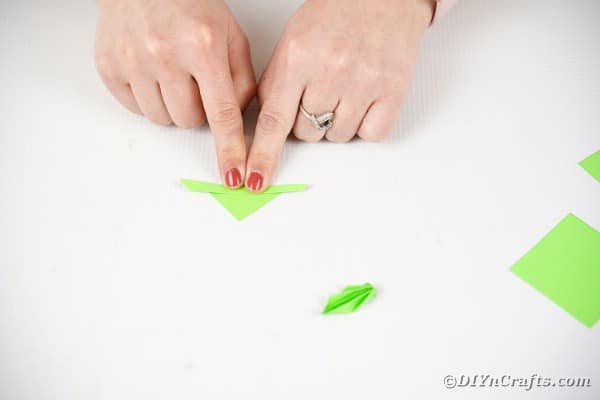
Fold the green square in half, forming a triangle.
Fold the bottom of the triangle upwards ½" and then fold upward again until it is a thin strip of folded paper.
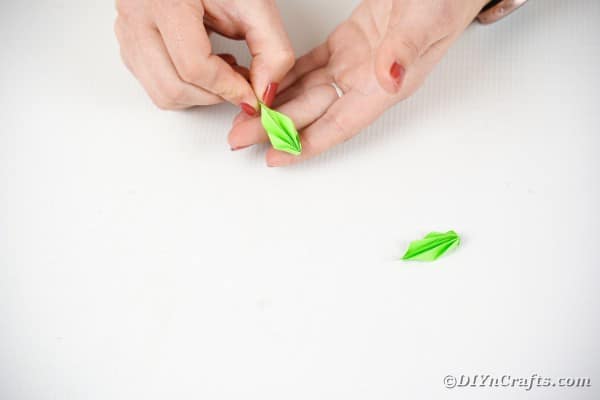
Fold this in half horizontally to create a "v" of paper.
Add a bit of glue between the folded sides and seal to form a ruffled leaf.
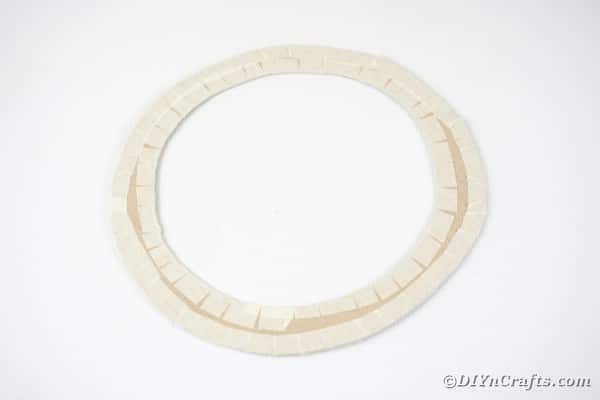
Draw a circle on a large piece of cardboard, then using a craft knife, cut the center of the circle out to create a wreath shape.
Add a strip of tape around both the outer and inner edges of the wreath to keep the edges smooth. You can also add ribbon instead if preferred.
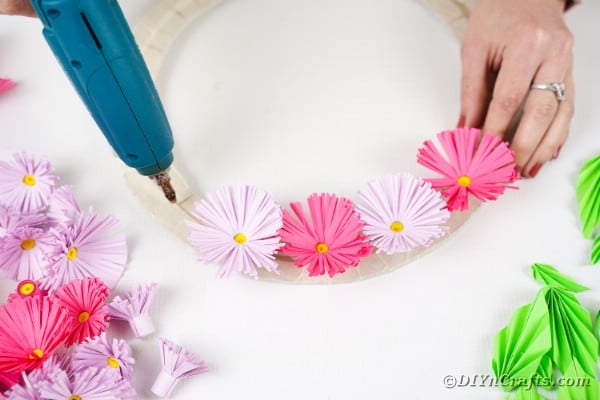
Begin gluing the larger flowers next to each other along the center of the wreath form, adding pink and purple flowers randomly.
Once one layer is done, add the smaller flowers around the outside edges and between the larger flowers.
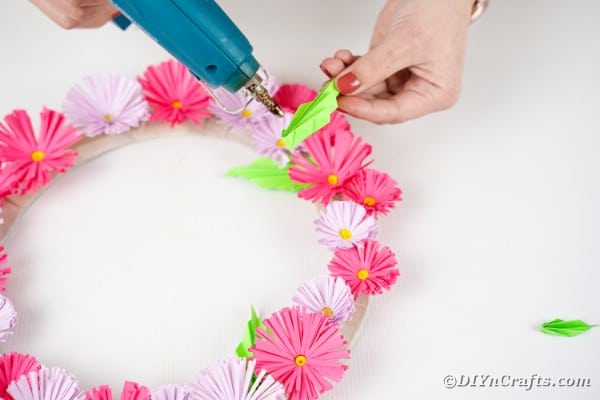
Glue the green leaf shapes randomly around the flowers until the wreath is covered and you are happy with the appearance.
Hang from a door or wall.
More Paper Flower Tutorials
I love making paper flowers and have used them on their own as well as part of wreaths and other beautiful decors. There are tons of fun ideas to add to your regimen, and below are just a few more you may enjoy making.
- Stunning Old Book Page Flower Wall Art
- Beautiful Handmade Paper Flowers
- Gorgeous DIY Tissue Paper Flowers
- Beautiful DIY Decorative Paper Flowers Tutorial
- How to Make a Paper Gorgeous DIY Paper Flower Ball
- Easy Paper Flower Wreath with Printable Template
Crafting Tip
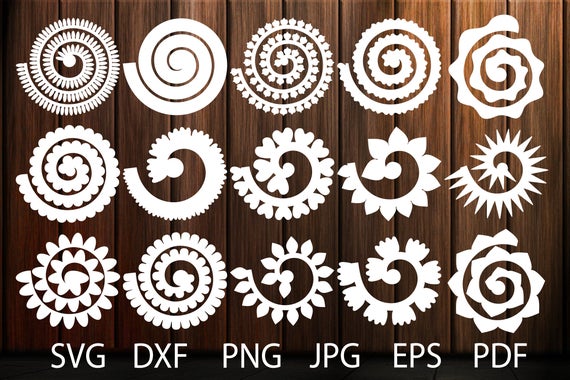
If you don't like to freehand cut the papers to fold into flowers, you can always use your Cricut machine instead. I love making paper flowers with simple SVG flower templates I find on Etsy and other craft sites. This makes it so much easier to finish a wreath that has a lot of flowers like this one. All you have to do is load the flower files into your Cricut and print. Then you pull off the machine and start rolling them and add to your wreath.
Stunning Paper Chrysanthemum Flower Wreath
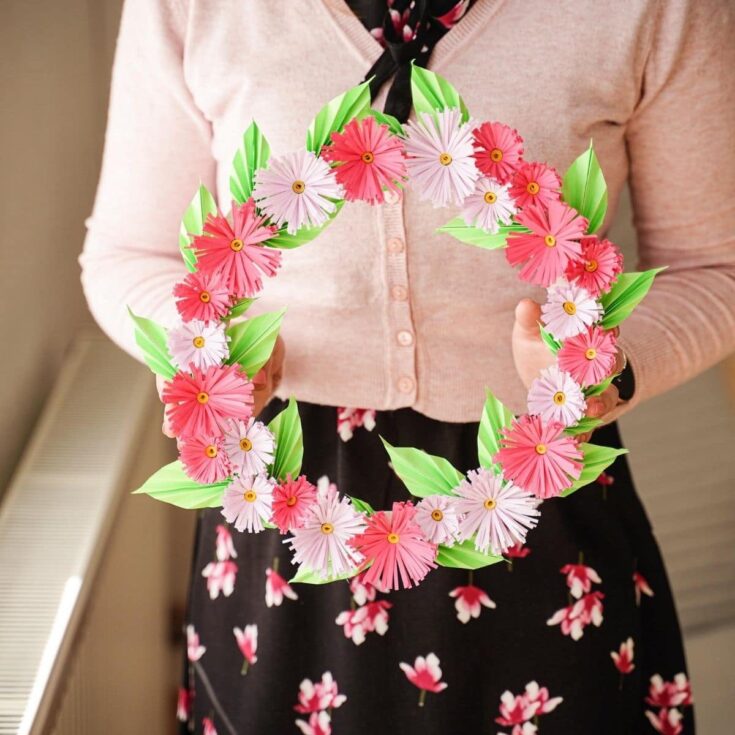
Follow this easy tutorial and learn how to make your own paper chrysanthemum flower wreath. This beautiful wreath is full of pink and purple flowers with a gorgeous green leaf border that looks great on any wall.
Materials
Instructions
- Measure and cut 10 strips pink, and 10 strips of purple paper into 10" long and 2" wide strips;
- Cut an additional 10 strips of purple paper in 10" long and 1" wide strips and set aside;
- Cut thirty ½" wide and 10" long strips of yellow paper;
- Cut a fringe on each of the pink and purple pieces of paper cutting 90% through the paper leaving one side in tact on;
- Roll the yellow pieces of paper together into a tight cylinder then glue together on the end;
- Glue the yellow paper onto the end flat side of the pink or purple paper, then begin rolling it together;
- Roll the pink or purple paper until it is completely wrapped around the yellow piece, and glue on the end to secure;
- Fold the fringed paper downward forming a flower and repeat this for all remaining pink and purple pieces;
- Measure and cut multiple green squares in 2" and 4" sizes;
- Fold each square in half to form a triangle;
- Continue folding each triangle until it forms a thin strip of paper;
- Now, fold each green piece of paper in half horizontally and glue to secure forming a leaf and set aside;
- Draw a circle on a large piece of cardboard then cut out with a craft knife;
- Cut the center of the circle out creating a wreath form;
- Add a strip of tape around both the outer and inner edge of the wreath to keep the edges smooth;
- Glue the larger flowers around the center of the wreath going all along the wreath and alternating colors;
- Next glue the smaller flowers around the edges filling in any gaps;
- Add the green paper leaves all around the flowers randomly until you are happy with the wreath;
- Now you can hang or display as you prefer.
Notes
This wreath can be made with any color of paper you prefer and hung on a door, mantle, or wall.
Recommended Products
As an Amazon Associate and member of other affiliate programs, I earn from qualifying purchases.
Finished Project Gallery
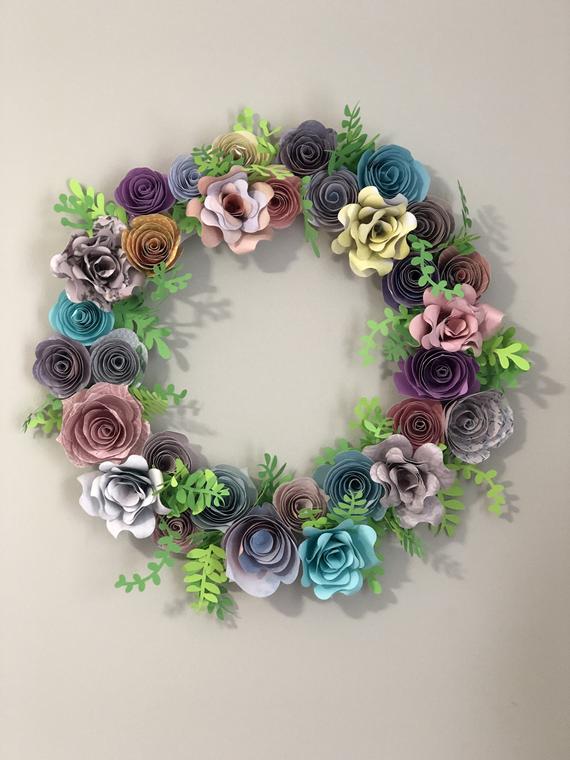
Wreath placed on a grey wall.
The wreath featured on a wooden wall.
YouTube Meta:
















Leave a Reply