For this latest tutorial, I’m going to show you how to turn those normal stones into gorgeous ladybugs for your lawn and garden. These DIY ladybug rocks are so simple to create, and they lend such style and beauty to your outdoors.
Jump to:
What Kind Of Rocks Can You Paint?
I happen to have tons of stones and rocks – and I mean literally tons of them – outside my home. If you don’t have any rocks that you can paint, you can pick up craft rocks at any Hobby Lobby or other craft store. If you are picking up your rocks outside, make sure that they are smooth, at least on one side, to make hand painting them a bit easier.
What Else Can You Hand Paint On Rocks and Stones?
Kindness rocks are a huge thing in my area. These are simply rocks that you paint and then leave places for other people to find. You can do these with this hand painted ladybug rock, or Melissa over at Empress of Dirt has tons of ideas for other designs that you can paint on your rocks.
DIY Hand Painted Ladybug Rocks
These DIY hand painted ladybug rocks are perfect for your garden this summer. They’re so adorable and so easy to do yourself. And, if you happen to have stones in your yard, this is a great way to repurpose them!
DIY Hand Painted Ladybug Stoines
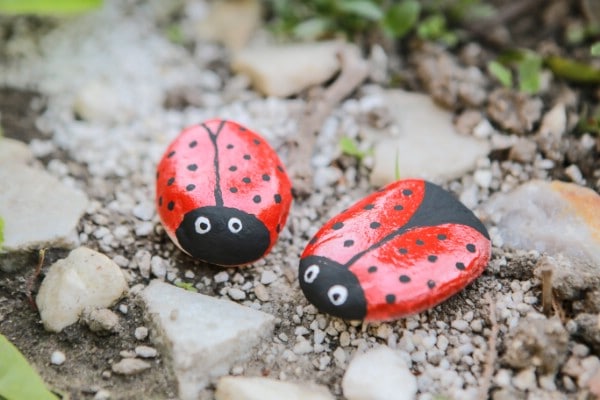
Learn how to turn ordinary stones into treasures for your garden. These DIY ladybug rocks are simple to paint and give your outdoors such style!
Materials
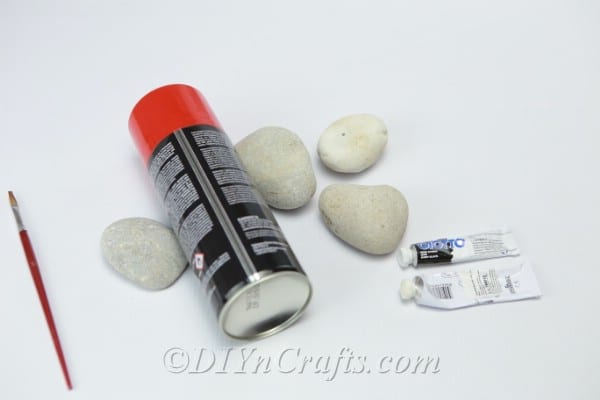
- Stones
- Red Spray Paint
- Black And White Craft Paint
- Small Paint Brush
Instructions
- Choose a few small stones or rocks that are smooth on at least one side. The size of the rocks depends on the size that you want your ladybugs to be.
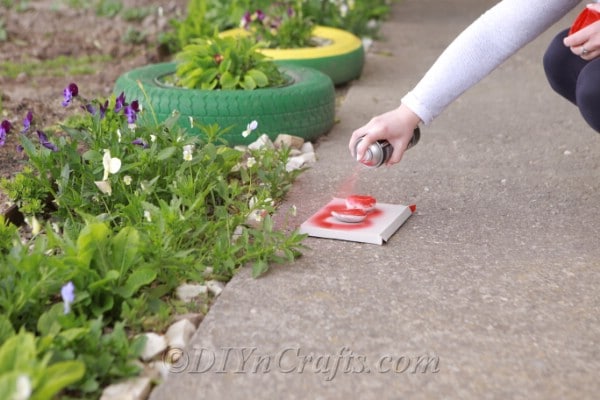
- Spray paint all of your chosen rocks red. Once you have them all painted, you need to give them plenty of time to dry.
- I recommend that you take them outside to paint them – to keep the fumes and mess out of the house, but you can bring them inside to dry.
- Once they are completely dry – and this will take a couple of hours – it’s time to make them into ladybugs.
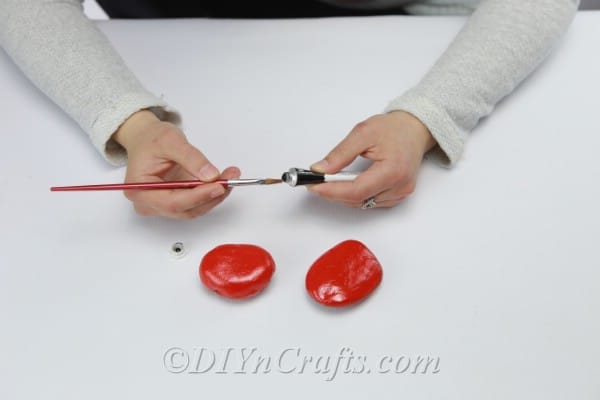
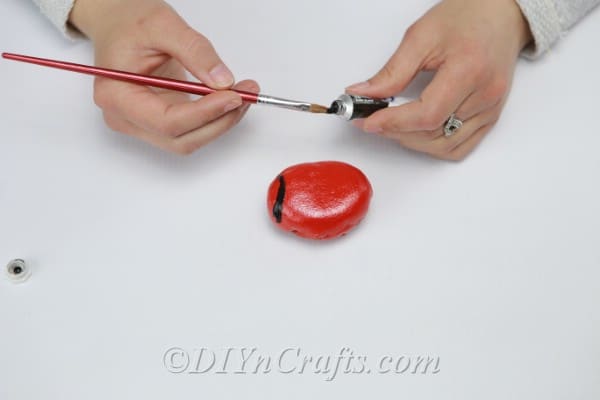
- Use your black craft paint to paint a head on your ladybug.
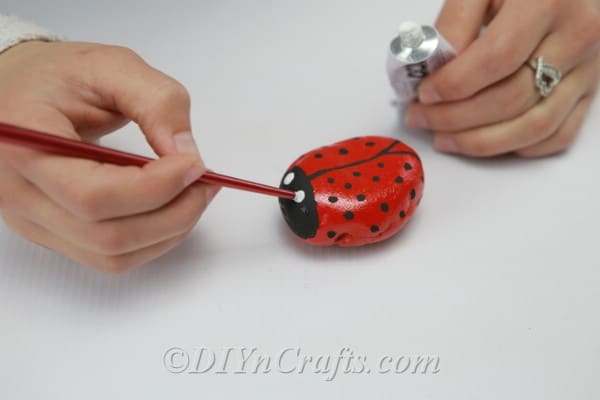
- Draw a line down the center of your ladybug with the black paint and add some black dots on the bottom – the section away from the head.
- You can also use black paint to paint a wider section at the bottom to make it look like your ladybug is taking flight.
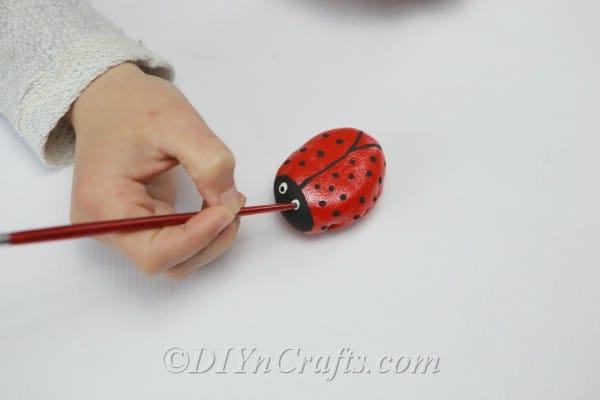
- Make little eyes on your ladybug rocks with the white craft paint, and add a tiny black dot inside each eye.
- Let these dry for several hours before you start adding them to your garden.
- When finished, your DIY ladybug rocks should look something like this one:
What Other Ways Can You Repurpose Rocks?
I’ve shared with you so many ways to turn ordinary rocks into outstanding decorations. Just take a look at these 5 craft ideas using garden stones or one of my favorites, these 40 rock and pebble crafts. There are also some beautifully painted rocks in these 25 DIY garden markers.
Pin this project:
What’s your favorite way to upcycle rocks and stones?





[…] Via: https://www.diyncrafts.com/54468/home/gardening/diy-painted-ladybug-stones […]