Even though it feels like 2019 just started, the year is going by quickly, and Easter will be here before you know it. In preparation for the holiday, I have decided to share all the fun DIY Easter projects I'm working on this year. In today's video, you'll learn how you can make DIY Easter Bunny decor using some free printables.
Jump to:
How to Download the Free Printable:
This is a fun, fast, and easy project which anyone can do. To save time, and also to make the project more approachable, you will be using our free printable. This saves you from having to draw your own bunny shapes from scratch to create your handcrafted Easter decoration.
Click here to download the free printable.
While I used hot glue for the bunny garland project, you can also use regular Elmer's glue if you prefer. Since the hot glue is not required, and because the printables make the project so easy, it is a great choice not just for adults, but for kids who want to enjoy some Easter crafting fun as well.
For these reasons, I would recommend it both as an at-home activity for the family and as a classroom activity. If you are ready to begin, find the materials and tools you need below along with written instructions and the video tutorial.
Step-by-step tutorial with instructions:
How to Make an Adorable Paper Easter Bunny Garland {Free Printable}

Those in search of a super simple Easter decor project which looks amazing when it is completed will love the newest DIYnCrafts video tutorial! Downoad our printables, and learn how to craft a cute string of Easter bunnies which you can use to decorate any room.
Materials
- Easter bunny printables (download for free here!)
- Twine
- Cotton stuffing
- Hot glue and glue gun
Tools
- Hole puncher
- Scissors
Instructions
- To get started, you will need to gather your supplies together, including the free Easter Bunny printable I have shared. If you missed the link in the materials section, download the printable here. You will get the best effect if you have a color printer, as the printables are in soft pastel colors perfect for Easter.
- Once you have printed out the printables, you will need to cut them out. Either work carefully around them with a pair of scissors, or you can try using a precision cutting tool on a flat surface. Take your time with this step so that the bunnies come out looking nice and neat.
- Next, you will need some cotton stuffing. Pull it apart and make a number of small cotton balls, one for each of the bunnies. These will be the tails of your bunnies, so size them accordingly.
- Use hot glue (or whichever glue product you have selected) to attach the cotton bunny tails to the bunnies.
- Once the glue has dried and the bunnies’ tails are firmly attached to their rears, use a hole puncher to punch holes at the tips of all of the ears. Make sure that you punch holes in both of the ears of each bunny, or they will hang at a lopsided angle.
- The last step is to string some twine through the bunnies’ ears so that they are all lined up and ready to hang on display anywhere you want. You can use some other material for stringing the bunnies, but the twine provides a nice rustic flourish.
Notes
Don’t have cotton stuffing handy? If you have some regular cotton balls, you are good to go. This works just as well for this project. In fact, it leaves you with less work to do in terms of pulling the cotton apart. You just need to make smaller cotton balls out of the larger ones that you are starting with.
What if you don’t have a color printer? You could print these in grayscale. Perhaps you will like them find that way. Personally, I think they would look a little odd and unsatisfying in grayscale, but there is a way around this issue.
You could print out one of these bunny shapes, and then cut it out. You could then use it as a template and trace around it on paper with the colors and patterns you want. You could even decorate blank paper yourself, totally customizing the outcome. If kids are working on this, they might enjoy drawing the bunny’s face on the other side of the paper opposite the tail.
Recommended Products
As an Amazon Associate and member of other affiliate programs, I earn from qualifying purchases.
Hang Your DIY Easter Bunny Garland on Display
Once you have finished making this easy Easter craft project, you can hang it up anywhere you want. This makes it ideal for decorating the home or the classroom.
Easter Projects
After you wrap it up, if you are still itching to do more fun Easter crafts, check out some of the Easter projects in our archives. Also, come back and pay us a visit sometime in the next couple of weeks, as we have many more video tutorials in store for you before the Easter holiday.



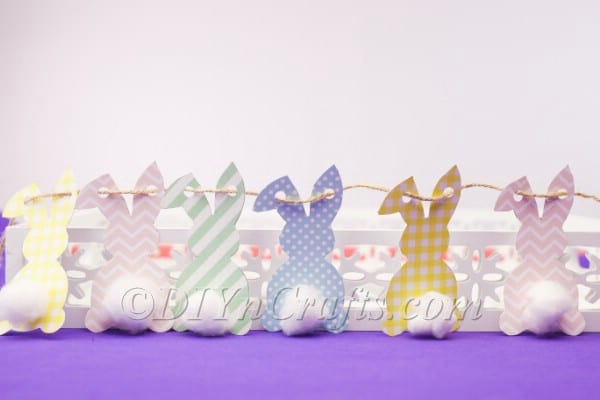

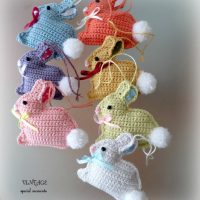
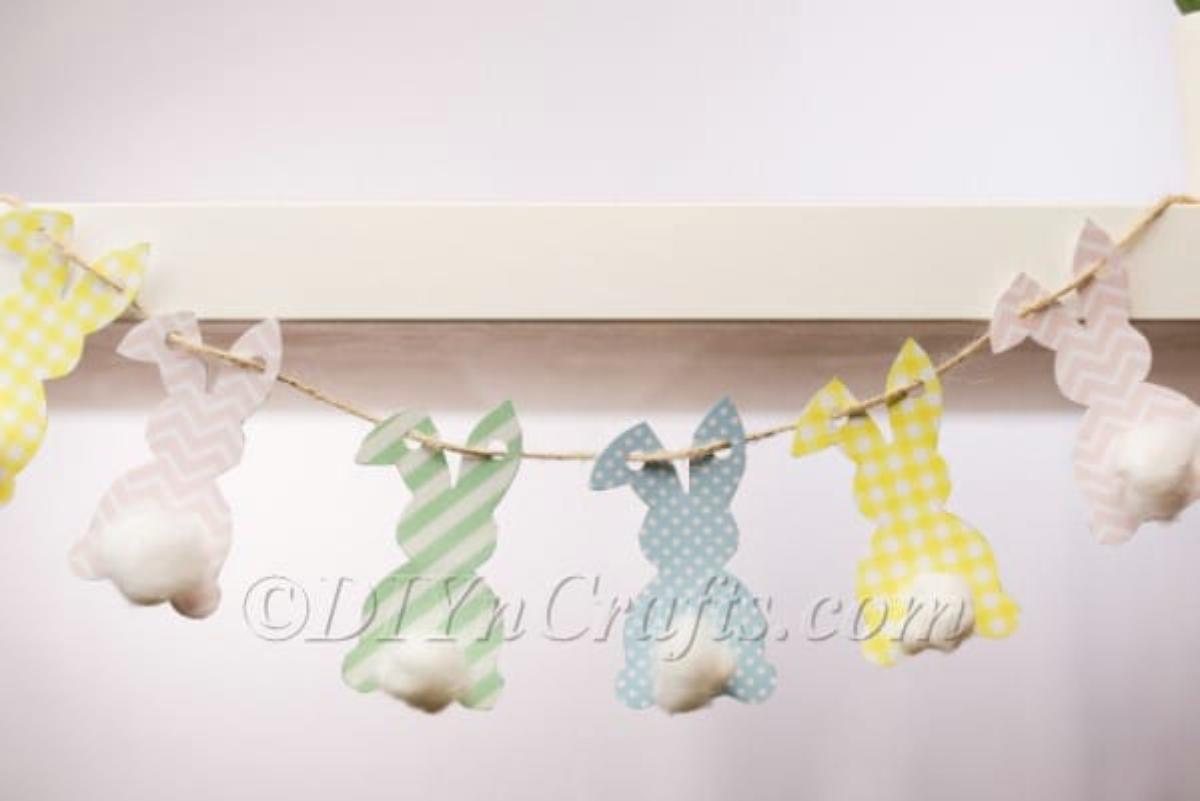

[…] pom pom (or cotton ball) tails make this Easter Bunny garland so cute. Making it with patterned scrapbook paper means your kids can customize it to their […]