
‘Tis the season for two things in my household: gift-giving and organizing. Okay, three things. How could I leave out crafting?
Recently, I was sorting through packaging supplies for gifts while also thinking about how I was going to organize that mess afterward, and I came up with a cool idea to combine all three of these things.

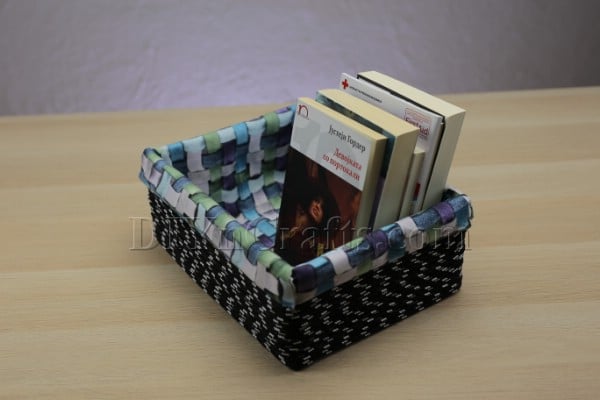
In my newest video, I will teach you how you can turn an ordinary cardboard box into a storage "basket."
The upgraded box is perfect for your storage needs during or after the holiday season, and also could be used as a gift box for holiday presents.
There are just a few basic materials that you need for this simple craft idea, which I have listed below. Most of them are pretty straightforward.
The exception is the fabric. You will notice while you're watching the video that the fabric that I have has a basketweave pattern on it.
This is essential to the concept of turning the cardboard box into a storage "basket." So you will want to search for fabric like this if you want to replicate this project exactly.
If you cannot find any, you can still do this project. You simply will not have the basket illusion when you are done.
But what you will have is a beautiful storage box or gift box that looks nothing like the original cardboard container you used.
With that addressed, let's go ahead and get started with the tutorial. You can find written instructions to accompany the video and the lists of materials and tools below.

How to Upcycle a Cardboard Box Into a Gorgeous Storage Basket
Have a plain old cardboard box you are looking to spruce up? In my newest exclusive video tutorial, I show you how you can transform any cardboard box into something truly amazing. Take a look at the post, and enjoy upgrading your cardboard boxes into works of functional art.
Materials
- Cardboard box
- Fabric
- Rope
Tools
- Scissors
- Hot glue and glue gun
Instructions
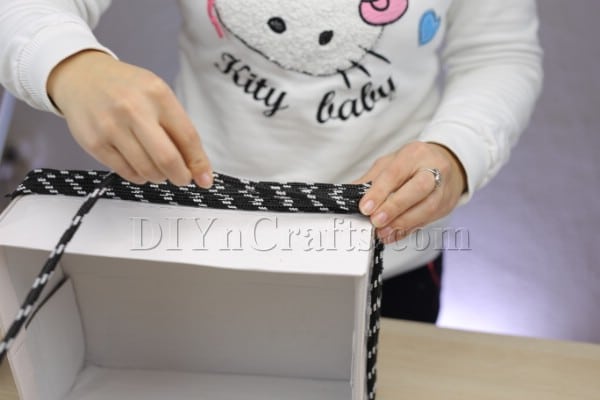
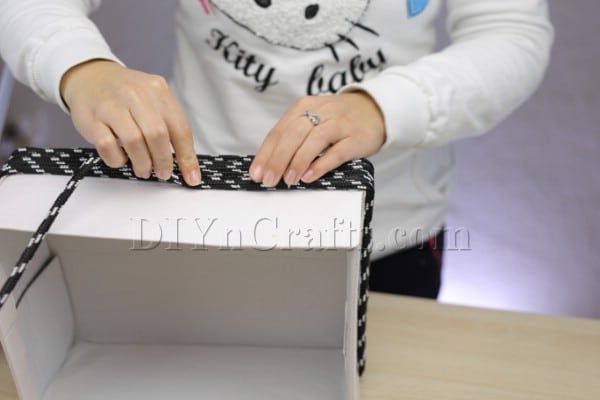
- To begin, measure a sufficient amount of rope to wind around and around the box. You want to cover about two thirds of the box with rope starting from the bottom. Use hot glue to start attaching the rope at one of the bottom corners.
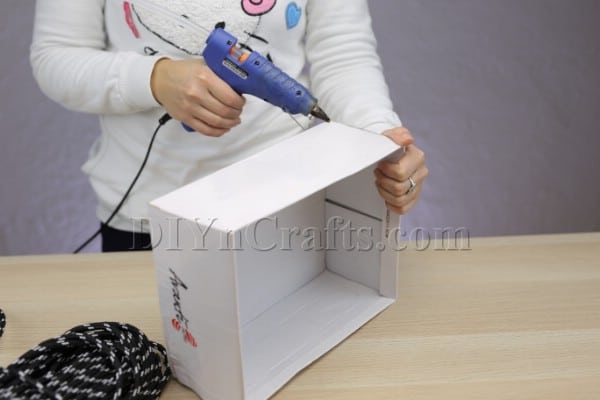
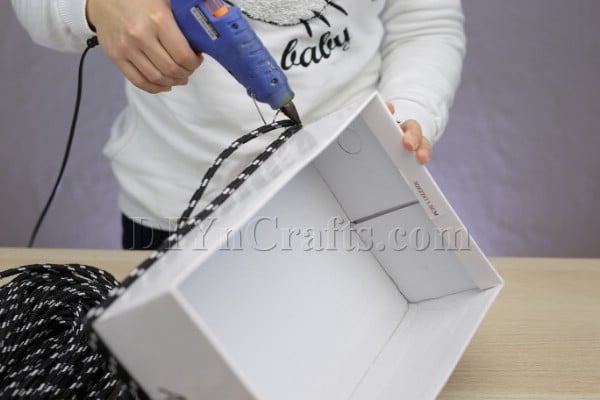
- Continue winding the rope around the box until you reach that point about two-thirds of the way up the sides. Once you reach that point, cut the rope at one of the corners.

- Your next step is to cut a rectangle of fabric of sufficient size to fill the interior of the box (the bottom as well as all four sides) and to overlap the outer sides as well. The fabric needs to reach all the way down to where you stopped with the rope. The easiest way to figure out how much you need is to set the box down on top of the fabric. Then, pull the fabric up and over each side individually, taking care not to move the box. This should allow you to eyeball whether the fabric will go down to the edge of the rope. If it is too long, simply trim it to the appropriate size.
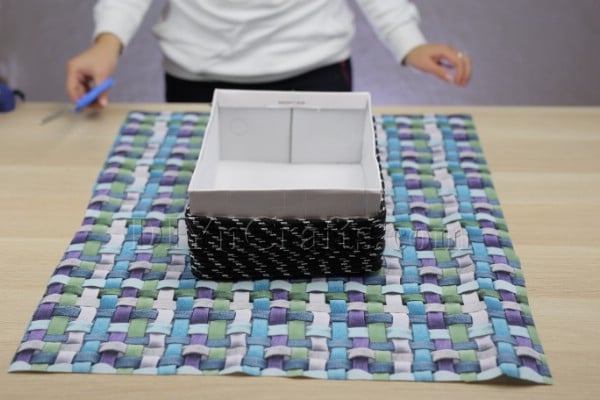
- Cut the corners out of the piece of fabric. There should be four flaps extending from underneath the box on all four sides. The fabric in the center of the flaps should span the bottom of the box.

- Next, stuff the fabric down inside the box. Arrange it neatly, doing your best to make sure that the fabric is flush against the sides and bottom.
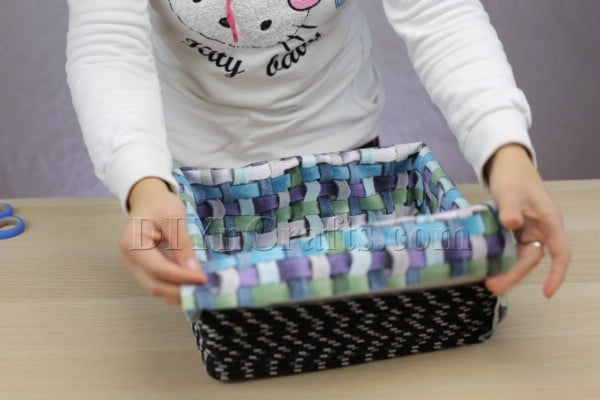
- Use hot glue to attach the fabric flaps down over the outer sides of the box. Do this very carefully. Getting good results relies on even application of the fabric. I did not take the time to glue the fabric inside the box as well, but you could optionally do this if you feel like taking the extra time and effort for a more secure result.
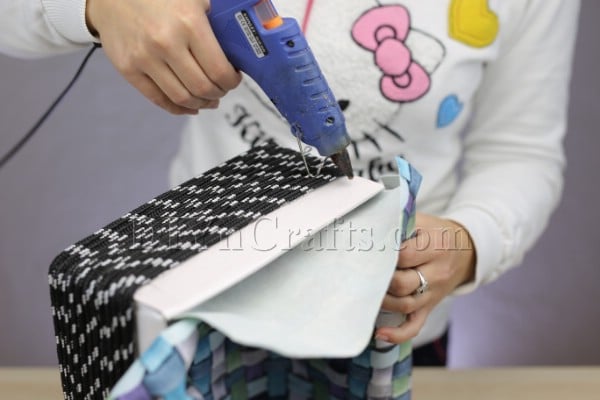
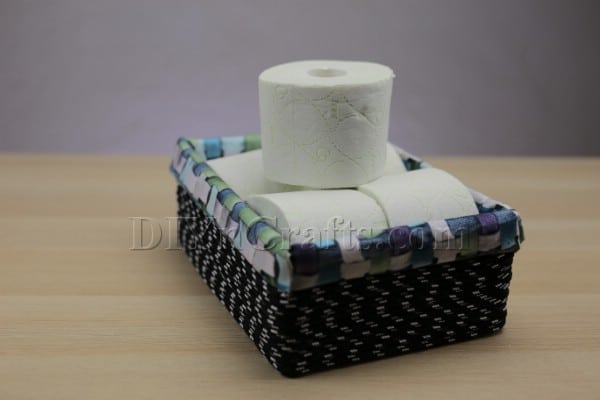
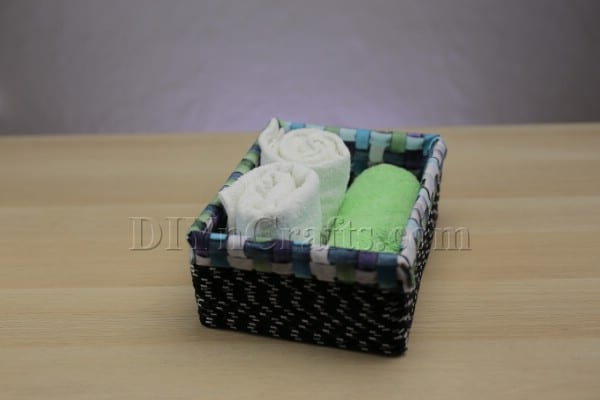
- At this point, your "basket" is complete. It is hard to believe that it started out as an ordinary cardboard box. You are now free to use it for whatever you want.

Notes
The size and shape of the cardboard box that you use is entirely up to you. You can convert any box that you have handy and which would otherwise go to waste. Just make sure that you measure and cut enough fabric and rope to cover whatever box you choose to use.
Also note that the same idea can translate well to other materials. If for example you have a wooden box or plastic storage bin, you can also use rope and fabric to decorate them as well.
Recommended Products
My favorite Etsy storage boxes. (Affiliate links)
-
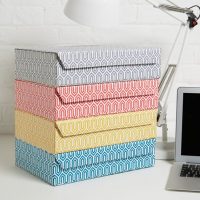 100% recycled geometric print a4 storage box
 -
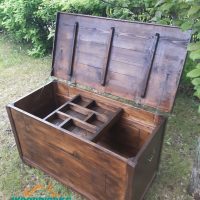 Rustic hope chest
 -
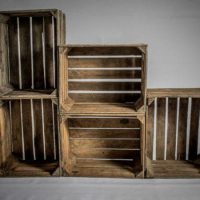 Beautiful Wooden Crates Storage Box Fruit Crates Box Shabby Chic x 1
 -
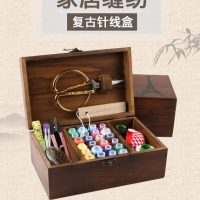 Retro Wood Sewing Box-Home Sewing Series Storage Box Cross-stitch Tool(Lines, Needles, Scissors, Buttons and etc.)
 -
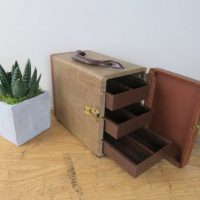 Vintage Photo Slide Storage Box, Carry Case, Photography, Slide Tray Caddy
 -
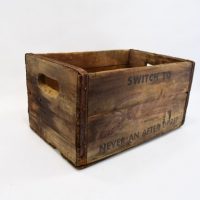 Wood Box, Storage Box, Advertising Box, Squirt
As you can see here in the photos I have shared, I ended up using my "basket" for storage purposes. Nobody glancing at it would be able to guess that originally, it was just a cardboard box that contained a gift item for the holidays.
On that note, this would also be a great way to present a gift. While wrapping presents can be fun, I, for one, like to look for alternatives in the name of being eco-friendly (and creative). What is nice about something like this is that it can hold a gift, but it also is a gift. It is pretty and functional, and can be used for just about any storage application.
I hope that you enjoyed this easy DIY storage idea, and that you find it useful in your home or for presenting a gift. If you are looking for more fast holiday DIY projects, be sure to check out some of my other recent Christmas craft videos.


[…] Storage Basket All you need is some fabric and rope to turn a box into a beautiful storage basket. […]