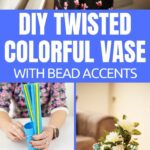
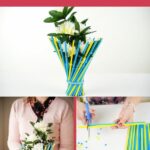
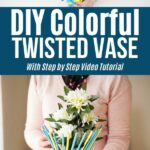
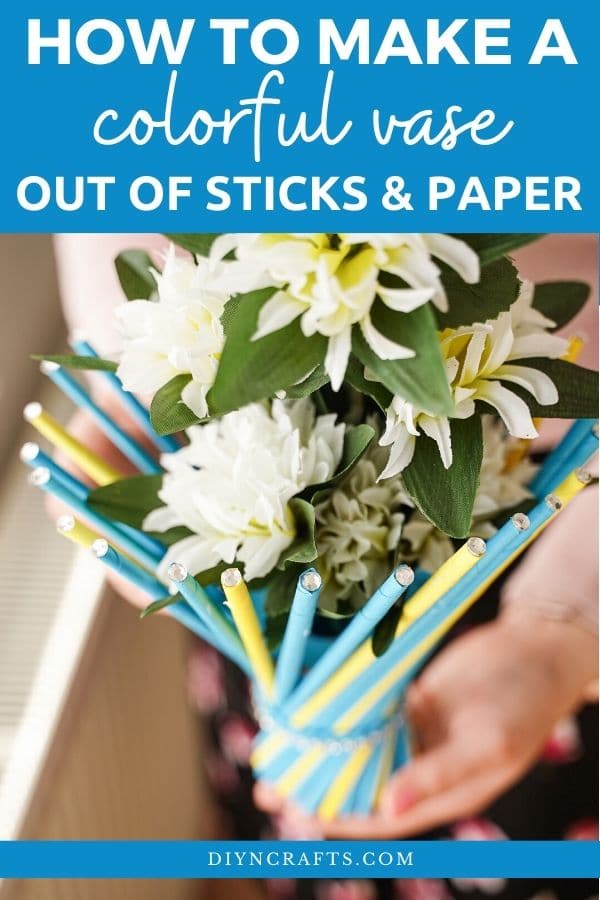
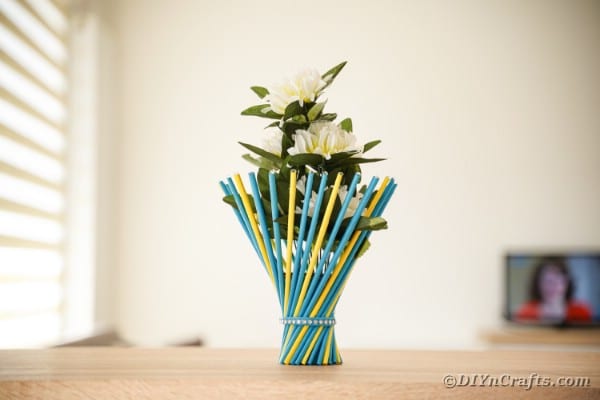
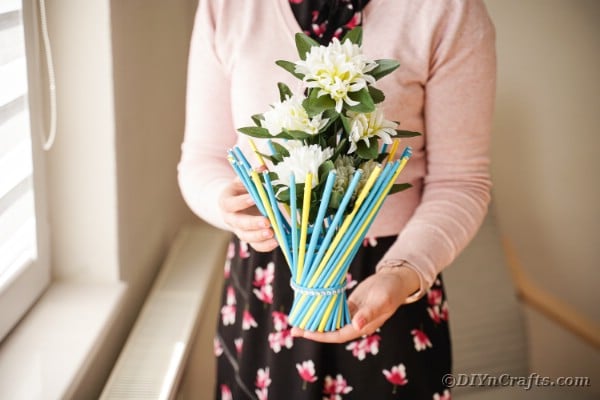
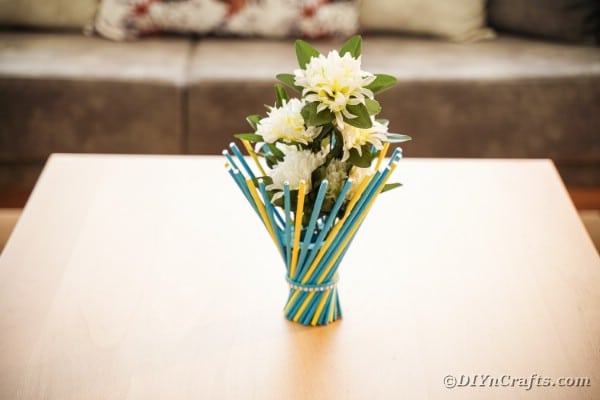
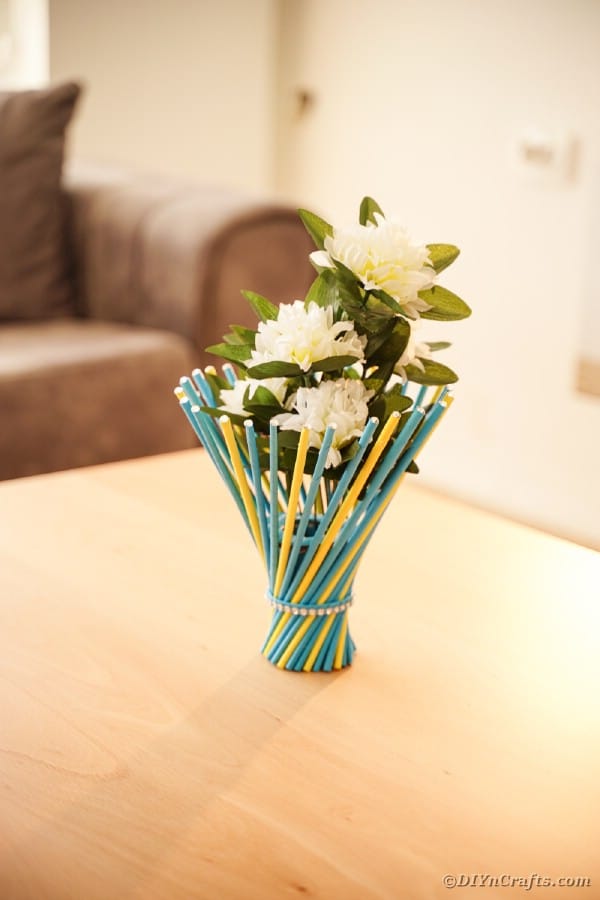
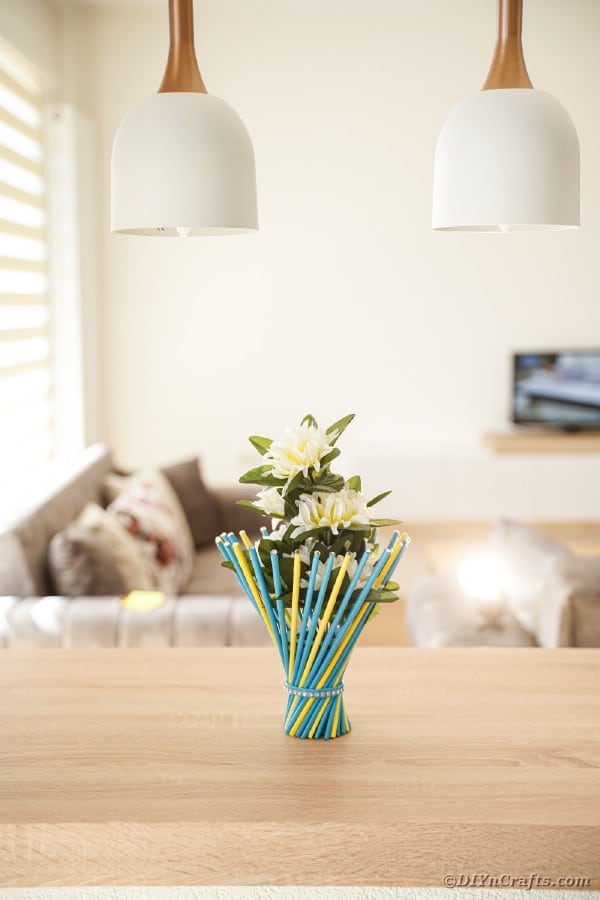
I am in love with this cute idea for a twisted vase! This style has been really popular in local decor stores, but I love the idea of turning trash into treasure by making upcycled home decor. A toilet paper roll, craft paper, a few dowels, and some glue are all you need to create a cute little vase that is ideal for decorating your table or shelf.
DIY Paper Straw Twisted Vase
This is a combination of a few different styles. First, you have the upcycled element using old paper rolls and scrap paper. Secondly, you have a twisted rod style that is slightly open around the top but enclosed on the bottom.
Using craft paper in alternating colors makes this pop more against any background. The blue and yellow work great for a birthday party, spring, or summer decorations. Around the holidays you could make this with gold, silver, white, green, or red for a different theme. That's why I love upcycled decor ideas like this. Since they are inexpensive to make, you can turn them into unique decorations for every holiday.
Can This Hold Real Flowers with Water?
If made according to this style and directions, it is not safe to add water and real flowers to this vase. Since the interior is simply a cardboard roll and craft paper, water would just leak out of the bottom and disintegrate.
You could go a step further and apply a waterproof spray to the project, but I think it would be better to simply make your centerpiece out of plastic cup and coat with paper foam. Otherwise, you should only use this for artificial flowers, or flowers sealed inside a bag with water.
What Should I Use for the Sticks?
The fun part of this project is that you actually make those side pieces yourself! They aren't sticks or straws, but paper tubes you make on your own. You can substitute them with dowels, paper or plastic straws, or even twigs outside for different looks.
I prefer using a dowel to wrap the paper around and tape or glue then pull off the dowel. It makes this lightweight and super easy to make on a budget. You could use any long stick-shaped item for this if you want it to be a bit more durable or look slightly different.
Decorating Variations for This DIY Vase
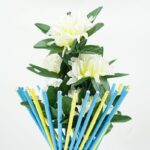
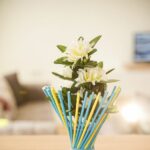
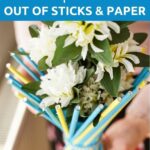
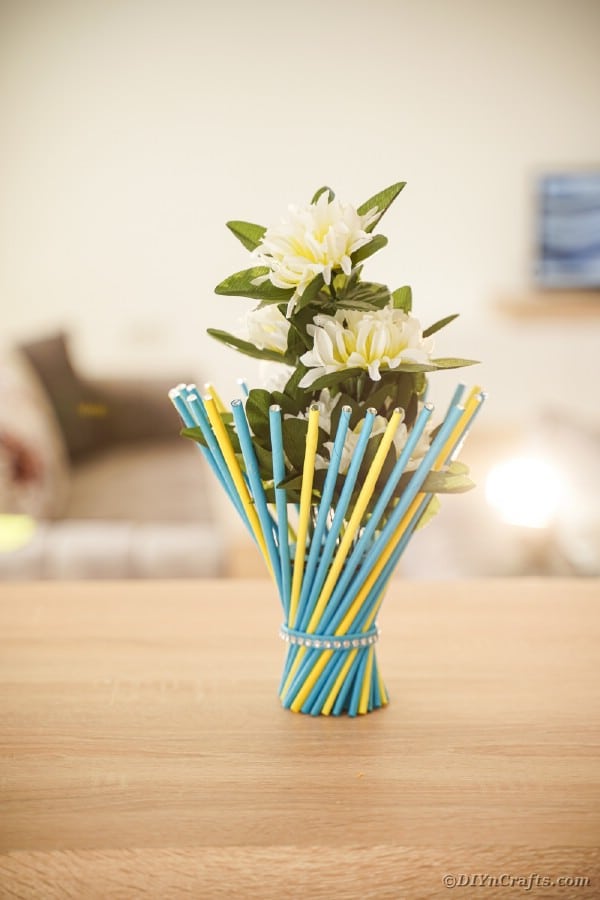
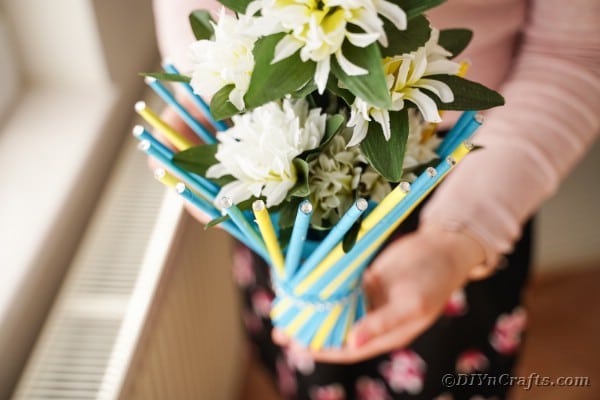
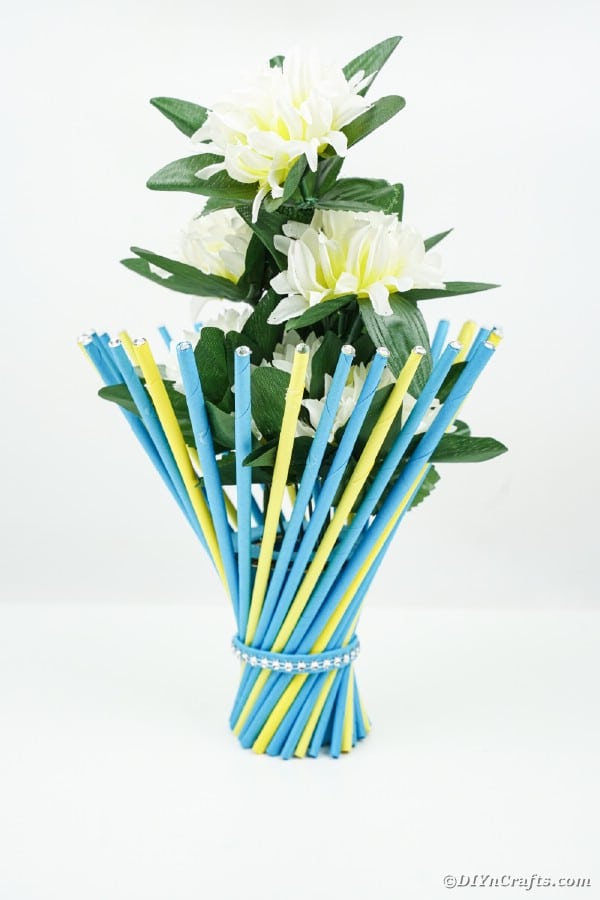
On this example, I used alternating blue and yellow paper then added small rhinestone like beads around the center of the base. I also added a few beads along the tops of each "stick" or straw. This is an easy way to add some sparkle, but there are tons of ways to really update the look. Below are a few of my favorites.
- Use different colors of paper for different holidays or events.
- Replace the paper straws with twigs for a rustic look.
- Use foam paper instead of craft paper for a waterproof option that may also come in glitter options.
- Add glue along the tops or sides of each paper then sprinkle glitter on for more sparkle.
- Tie a large ribbon around the middle of the base and tie it into a bow for a different look.
- Use all different colors to make them look like a rainbow.
- Make all monochrome with just one color of craft paper.
Can You Make This Larger?
You can definitely do this project in any size that you want. I stuck with a small paper roll from toilet paper as my base, but you can make it taller with a paper towel roll. You can also use any can or roll for the base. Things like soft drink cans, tin cans, old coffee cans, or any old canister in the same cylinder shape are all great ideas.
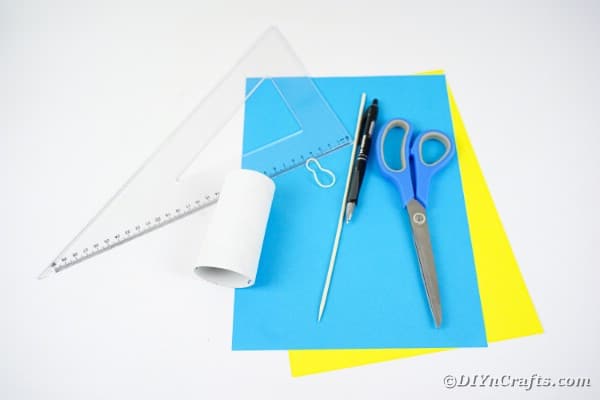
Supplies Needed
- Craft paper in desired colors
- Empty toilet paper roll
- Dowel or skewer
- Beaded ribbon
- Rhinestones or beads
- Rubber band
- Scissors
- Craft knife
- Ruler
- Pen
- Hot glue gun
- Hot glue sticks or hot glue rope
How to Make an Upcycled Twisted Vase
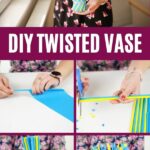
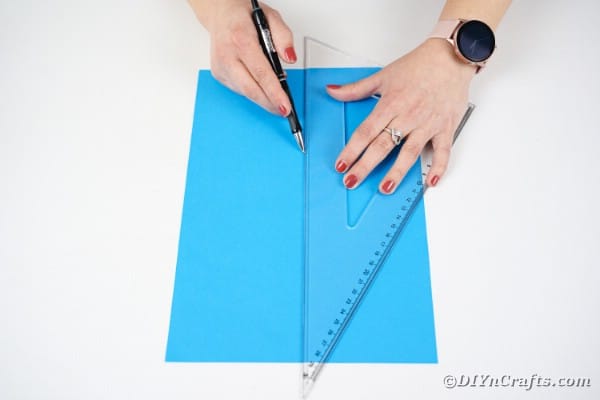
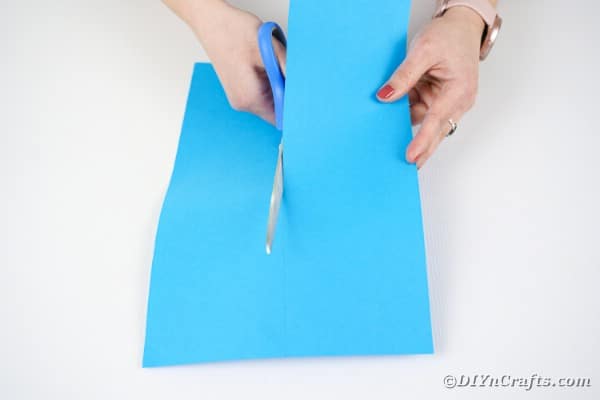
Measure a 10" long and 4" wide strip of paper.
Cut out the paper.
Use this as a template to cut out 10 more in both blue and yellow. You may need more, but it will depend upon the size of your vase.
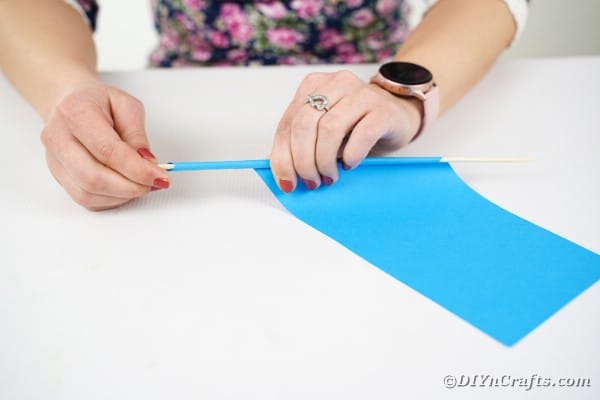
Starting at the bottom of the skewer or dowel, begin wrapping the paper around moving upward at a spiral to cover the entire stick. Secure periodically with a dot of glue or tape as you move upward.
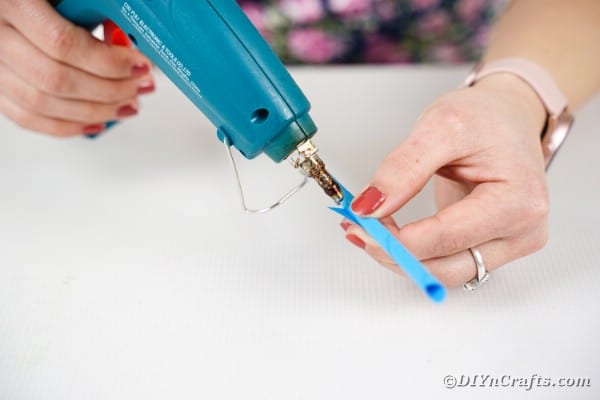
Glue the edges down when you reach the end.
Pull the paper off the dowel so you have a DIY paper straw.
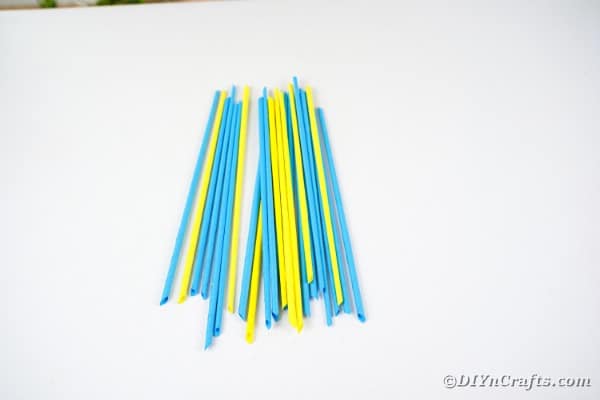
Continue this process until you have created 10 of each color straw.
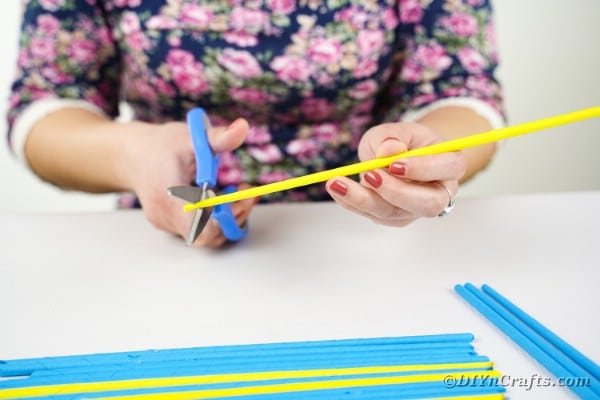
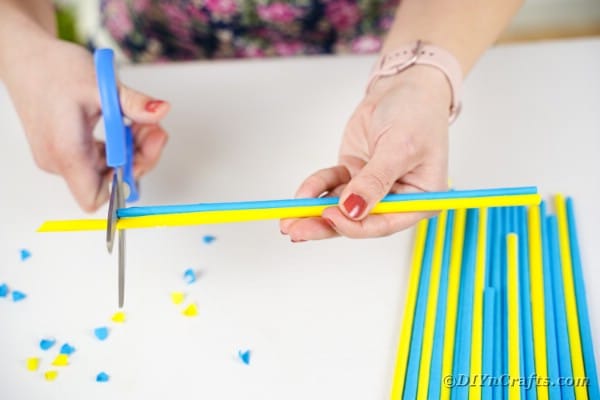
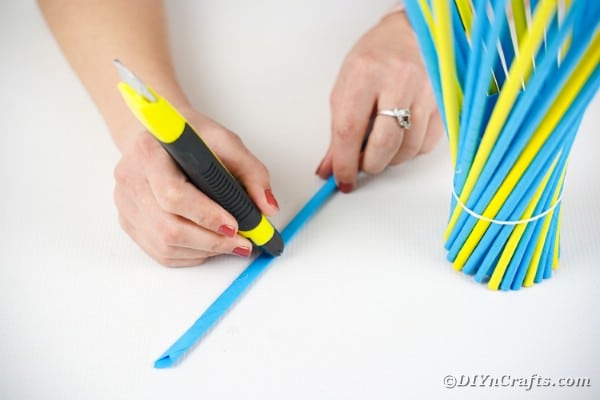
Trim the ends of the straws so they are flat and even.
Do this with all of the paper straws using the first as a template and guide, then set them aside.
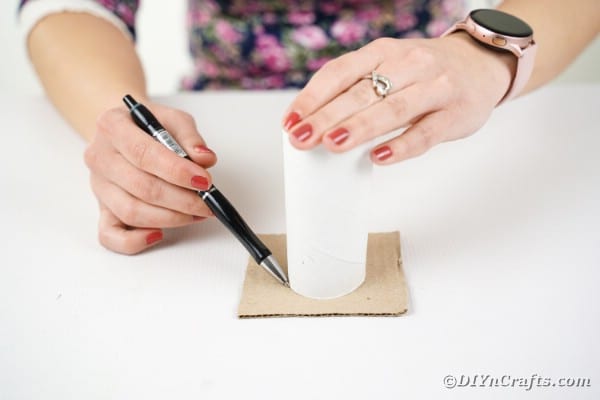
On a piece of cardboard, trace a circle using the empty toilet paper roll as the template.
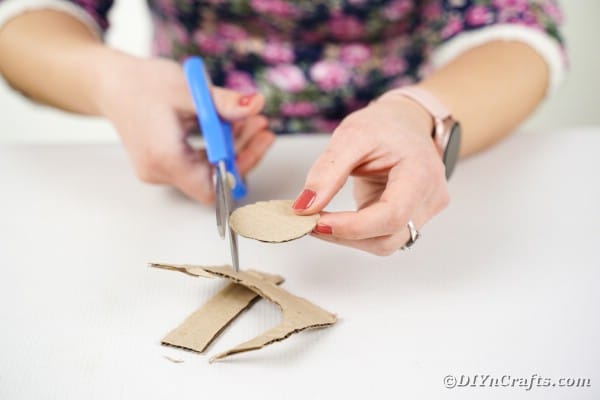
Cut out the circle.
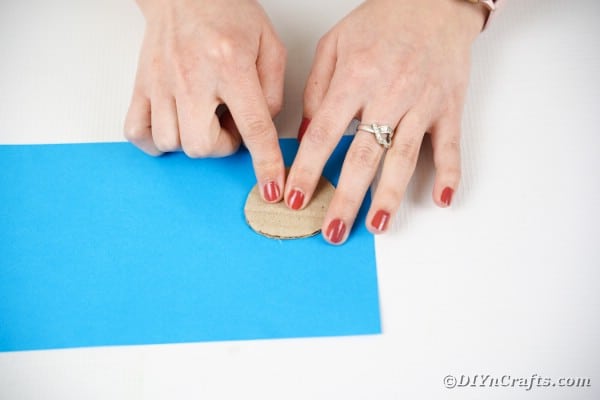
Use this circle as a template to trace the same sized circle on the blue paper and cut it out.
Glue the circle of paper to the bottom of the cardboard circle.
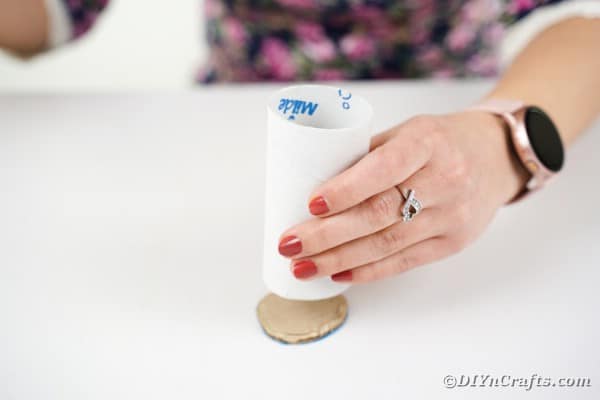
Next, glue the cardboard side of the circle to the bottom of the empty toilet paper roll.
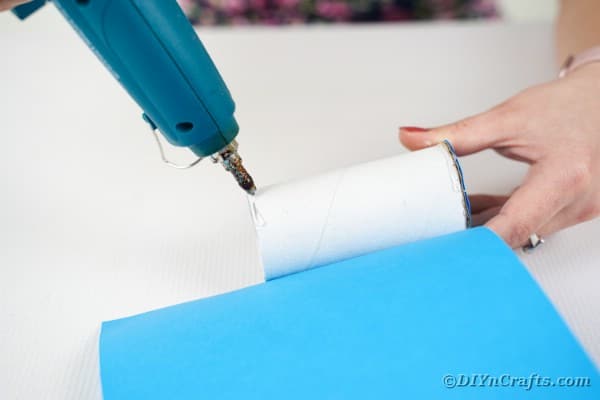
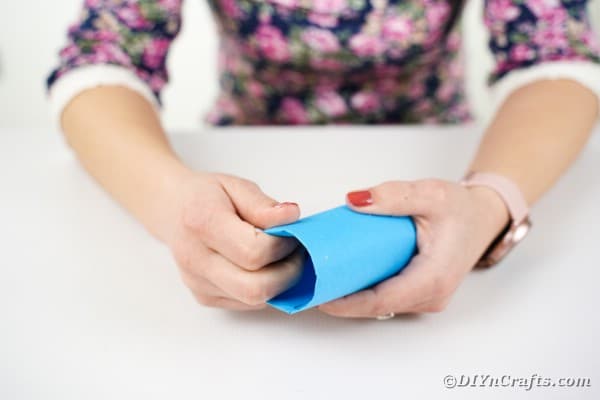
Lay the toilet paper roll on the blue paper and trace then cut out a length to cover the paper roll. Glue the blue paper in place on the paper roll.
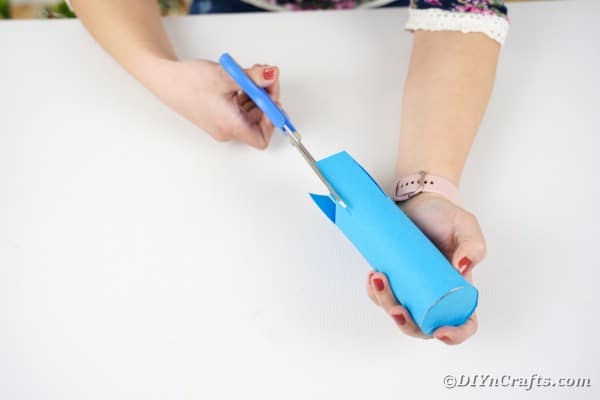
Trim off any excess paper on either end of the roll.
Tuck in any extra paper and fold down into the inside of the roll if desired.
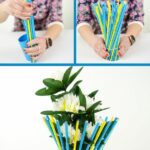
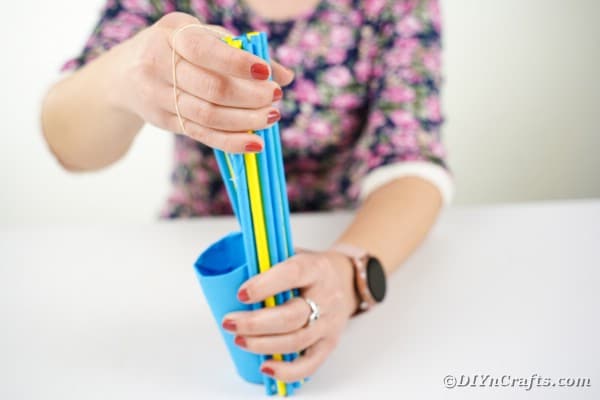
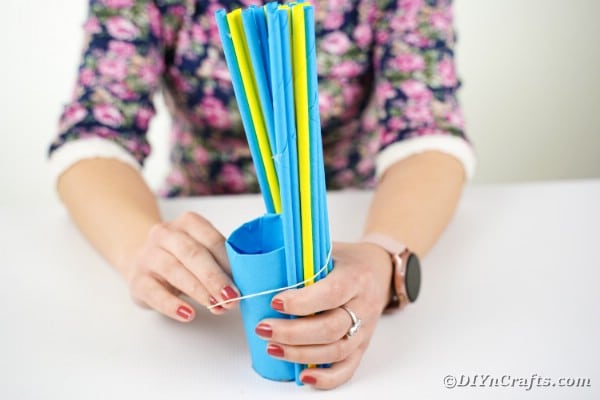
Start placing the paper straws around the outside of the tube alternating colors.
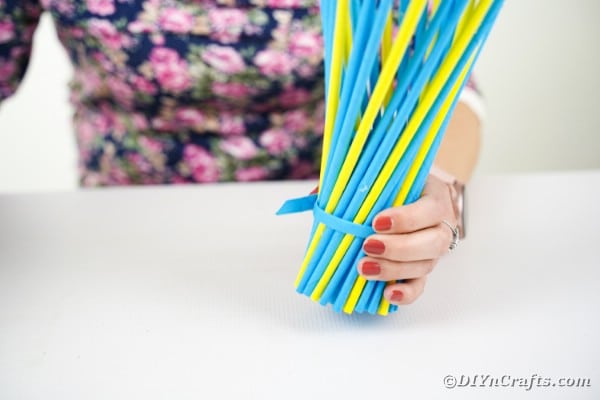
Once you have all about half of the straws in place, place a rubber band around them at the center to help hold them as you add more around the roll.
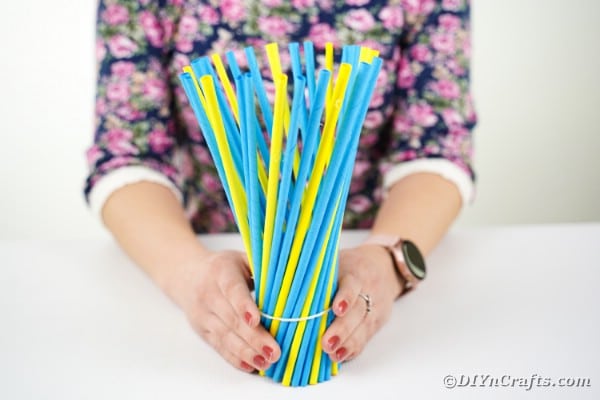
When you have all of the straws around the outside of the roll, spread them out at an angle to create a twisted look.
Add dabs of glue on each straw to hold it into place once you have them arranged how you like.
Cut another strip of paper and fold it to create a thin tube or strip, and cut to fit around the middle of the vase.
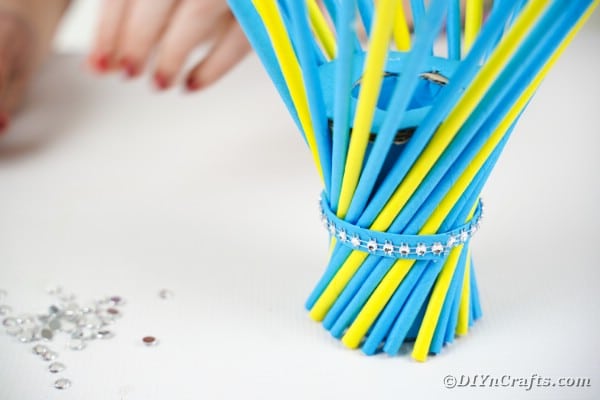
Wrap this piece around the middle of the vase where you have the rubber band and glue in place.
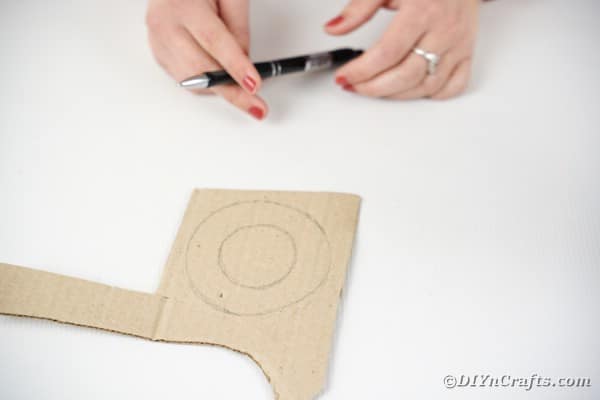
Draw a circle on cardboard with a smaller circle in the middle.
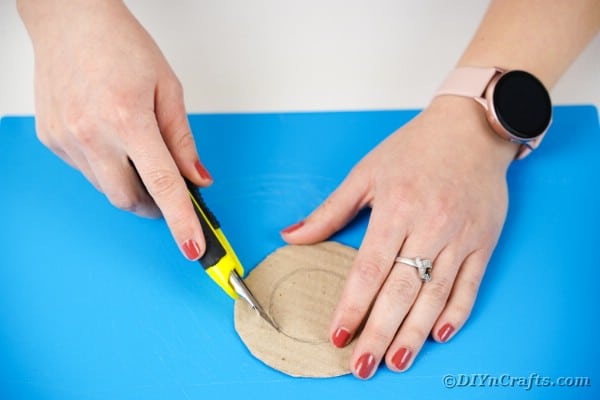
Cut the circle out.
Trim the center out with a craft knife to create a donut like shape.
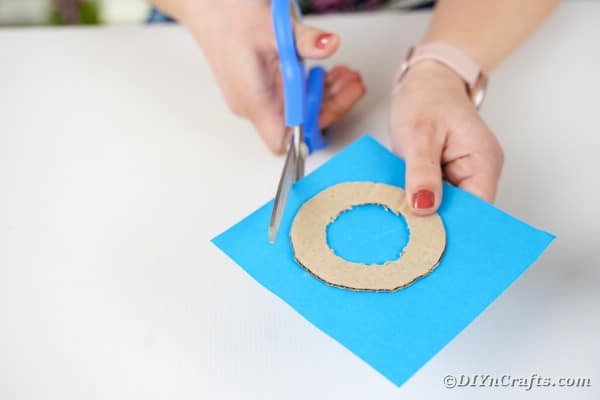
Use this as a template to trace and cut out a piece of blue paper slightly larger than the circle.
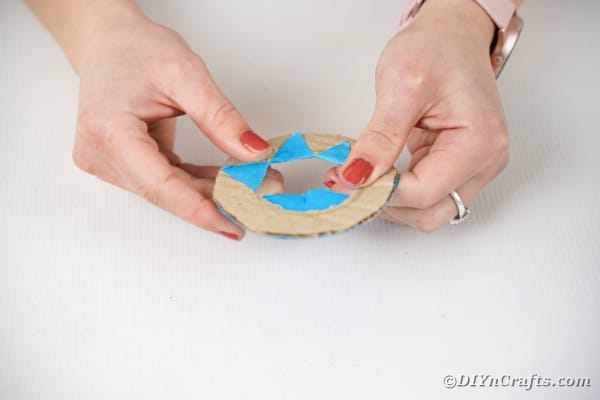
Cut the paper in the center then fold down around the circle and glue in place so it covers the circle leaving the center open.
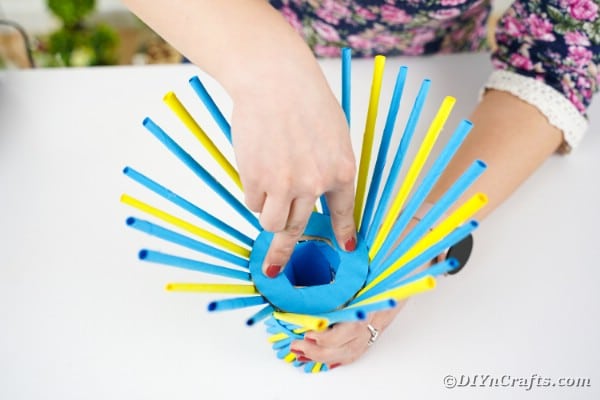
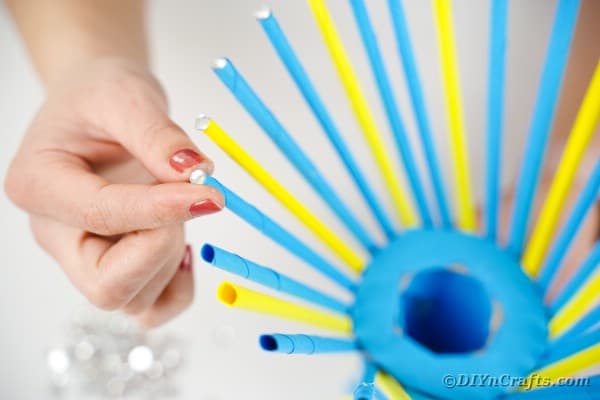
Put this paper side up into the center of the vase to hold the paper straws out at an angle.
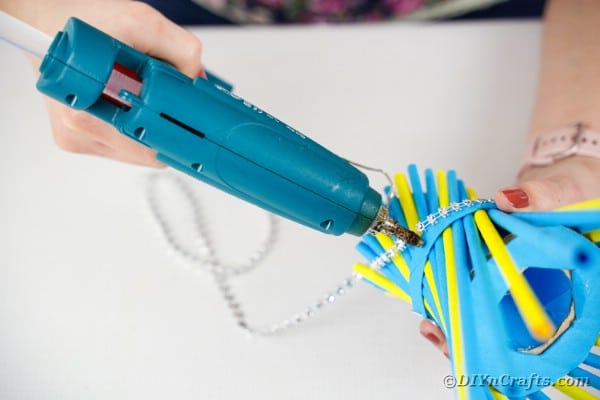
Add a strip of beaded ribbon arounnd the middle of the base over the blue strip of paper covering the rubber band.
Glue individual rhinestones or beads on top of each paper straw.
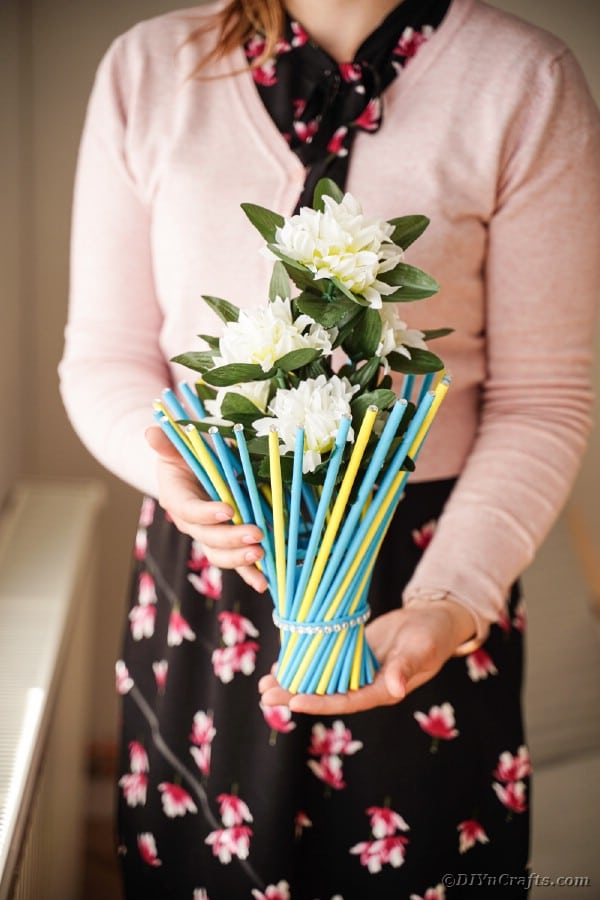
Now add artificial flowers to the middle and display.
More Beautiful DIY Vase Ideas
- Rustic Paper Vase Decor from Old Book Pages
- Gorgeous DIY Straw Decorated Mason Jar Vase
- How to Make a Beautiful Photo Jar Vase
- DIY Floral Wall Vase Decoration From an Old Jar
- How to Make a Wooden Jar Vase Hanger
- Rustic Rope Covered Vase Tutorial
Crafting Tip
I recently found a great deal on a large amount of rhinestones in various colors on ThreadArt. This was perfect for keeping on hand for all kinds of craft projects, just like this one. I highly recommend checking out their sales and email newsletters for great deals on common craft supplies.
Colorful DIY Paper Straw Twisted Vase
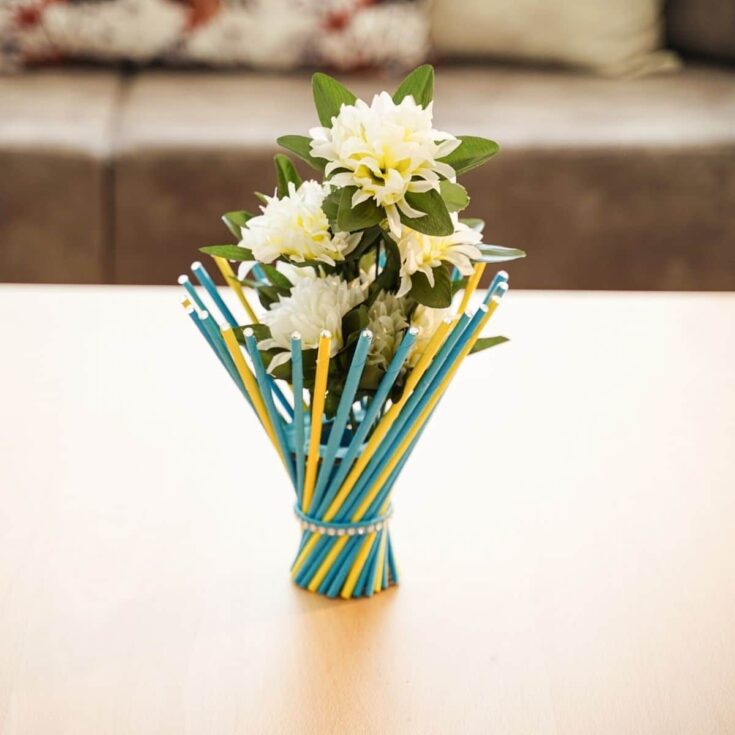
Follow this simple tutorial for making a colorful paper straw twisted vase for displaying your favorite flowers on any table or shelf!
Materials
Tools
Instructions
- Measure and cut out 10 strips of paper in each color that are 10" long and 4" wide;
- Beginning at the bottom of a skewer or dowel, start wrapping a single strip of paper around the stick at an angle moving upwards in a spiral gluing the paper to itself every few inches;
- Glue the end in place and pull the stick out of the paper creating a straw;
- Continue this with all strips of paper then set them aside;
- Trim the straws so they are flat on each end;
- Do this with all paper straws using the first as a template to keep them equal lengths;
- Trace a circle using the empty toilet paper roll as a template and cut it out;
- Use this circle to trace and cut out a piece of blue paper then glue onto one side of the cardboard circle;
- Glue the empty paper roll to the circle making sure the blue side is facing the bottom and the glue is on the cardboard side;
- Measure ad cut blue paper out to wrap around the toilet paper roll;
- Glue this in place then trim off any excess on the top, or cut and fold it downward into the tube;
- Begin placing the straws around the outside of the tube;
- When you have about half of them on the outside, add a rubber band around the middle to hold them in place while you continue adding more straws;
- Spread the paper straws out at an angle so they are all leaning and add a bit of glue to hold them in place if desired;
- Cut and roll another strip of paper then measure and cut it to length for wrapping around the middle of the vase base then glue in place;
- Draw and cut out another piece of cardboard in a circle with a circle in the middle creating a small donut shape about 3" wide;
- Cut out blue paper and wrap around this donut shape cardboard cutting and pulling the paper through the middle so it is wrapped around it;
- Put this in the middle on top of the paper roll with the blue side facing upwards;
- Add a strip of beaded ribbon around the middle of the vase base;
- Glue individual rhinestones on the top of each paper straw;
- Add flowers and display!
Notes
Use an color paper you prefer for this craft. You can also use regular paper straws if desired.
Recommended Products
As an Amazon Associate and member of other affiliate programs, I earn from qualifying purchases.
-
 Colored Paper 8.5 x 11 50 cents per sheet | Etsy
 -
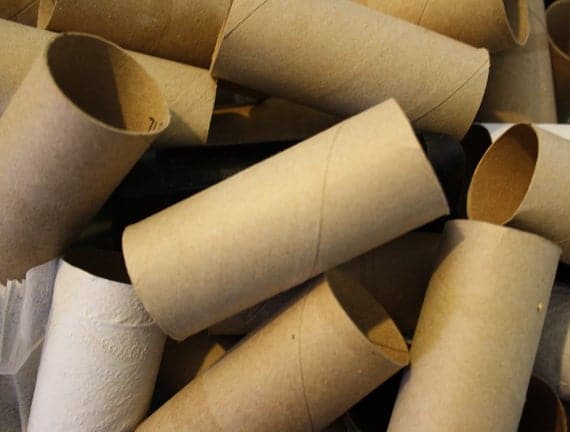 50 Toilet Paper Roll Tubes Craft Supply Recycle Paper Art | Etsy
 -
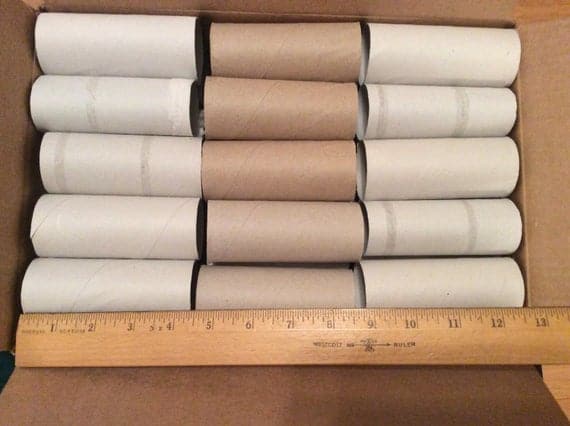 30 Toilet paper tubes great for school or camp craft projects | Etsy
 -
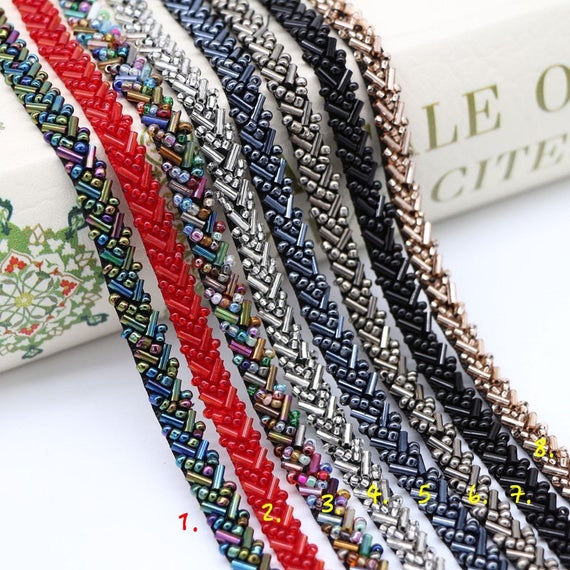 Heavy beaded lace trim bugle bead lace tape heavy beading | Etsy
 -
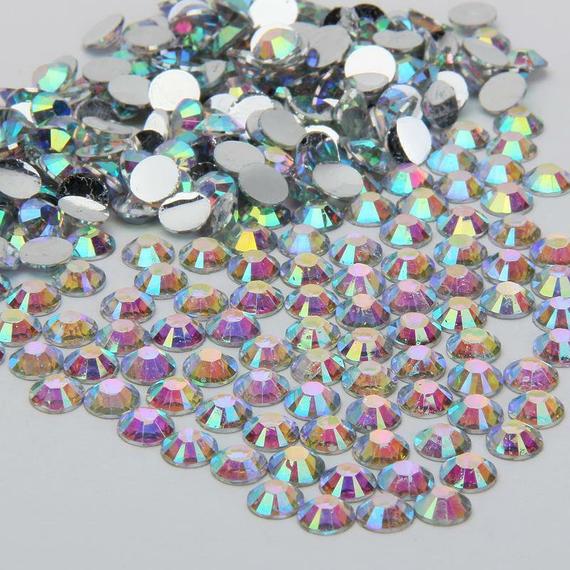 AB Iridescent Non-Hot fix Rhinestones 1000 pcs Resin | Etsy
 -
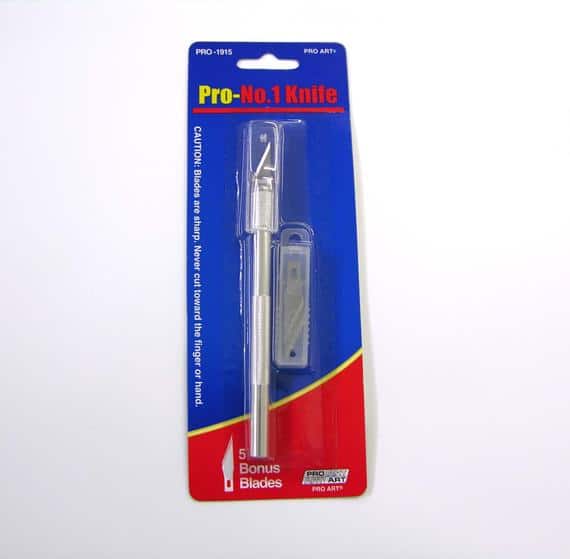 Hobby Knife Craft Knife Scrapbooking Tools | Etsy










Leave a Reply